
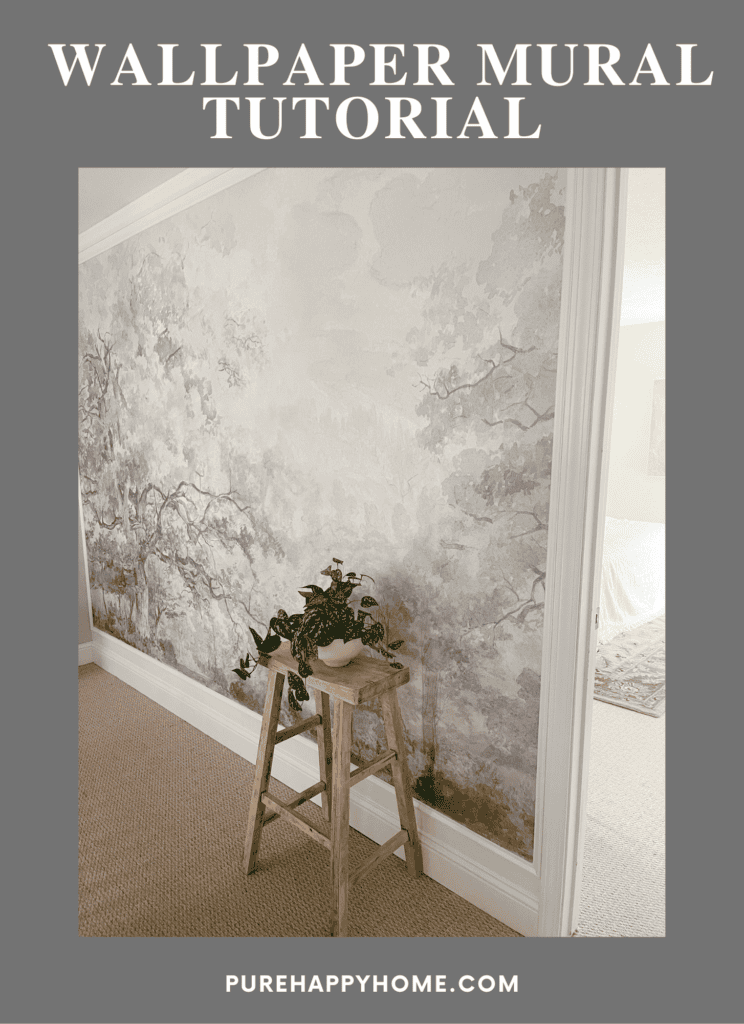
A popular choice for wallpaper these days is a wallpaper mural forest scene. Using one one of these creative illustrations on your wall can instantly transform a space turning it into one of the most interesting places in your home. They’re beautiful pieces of art and a way use nature without actually bringing nature inside. Anyone whose let a plant die you’ve paid good money for knows the value of this.

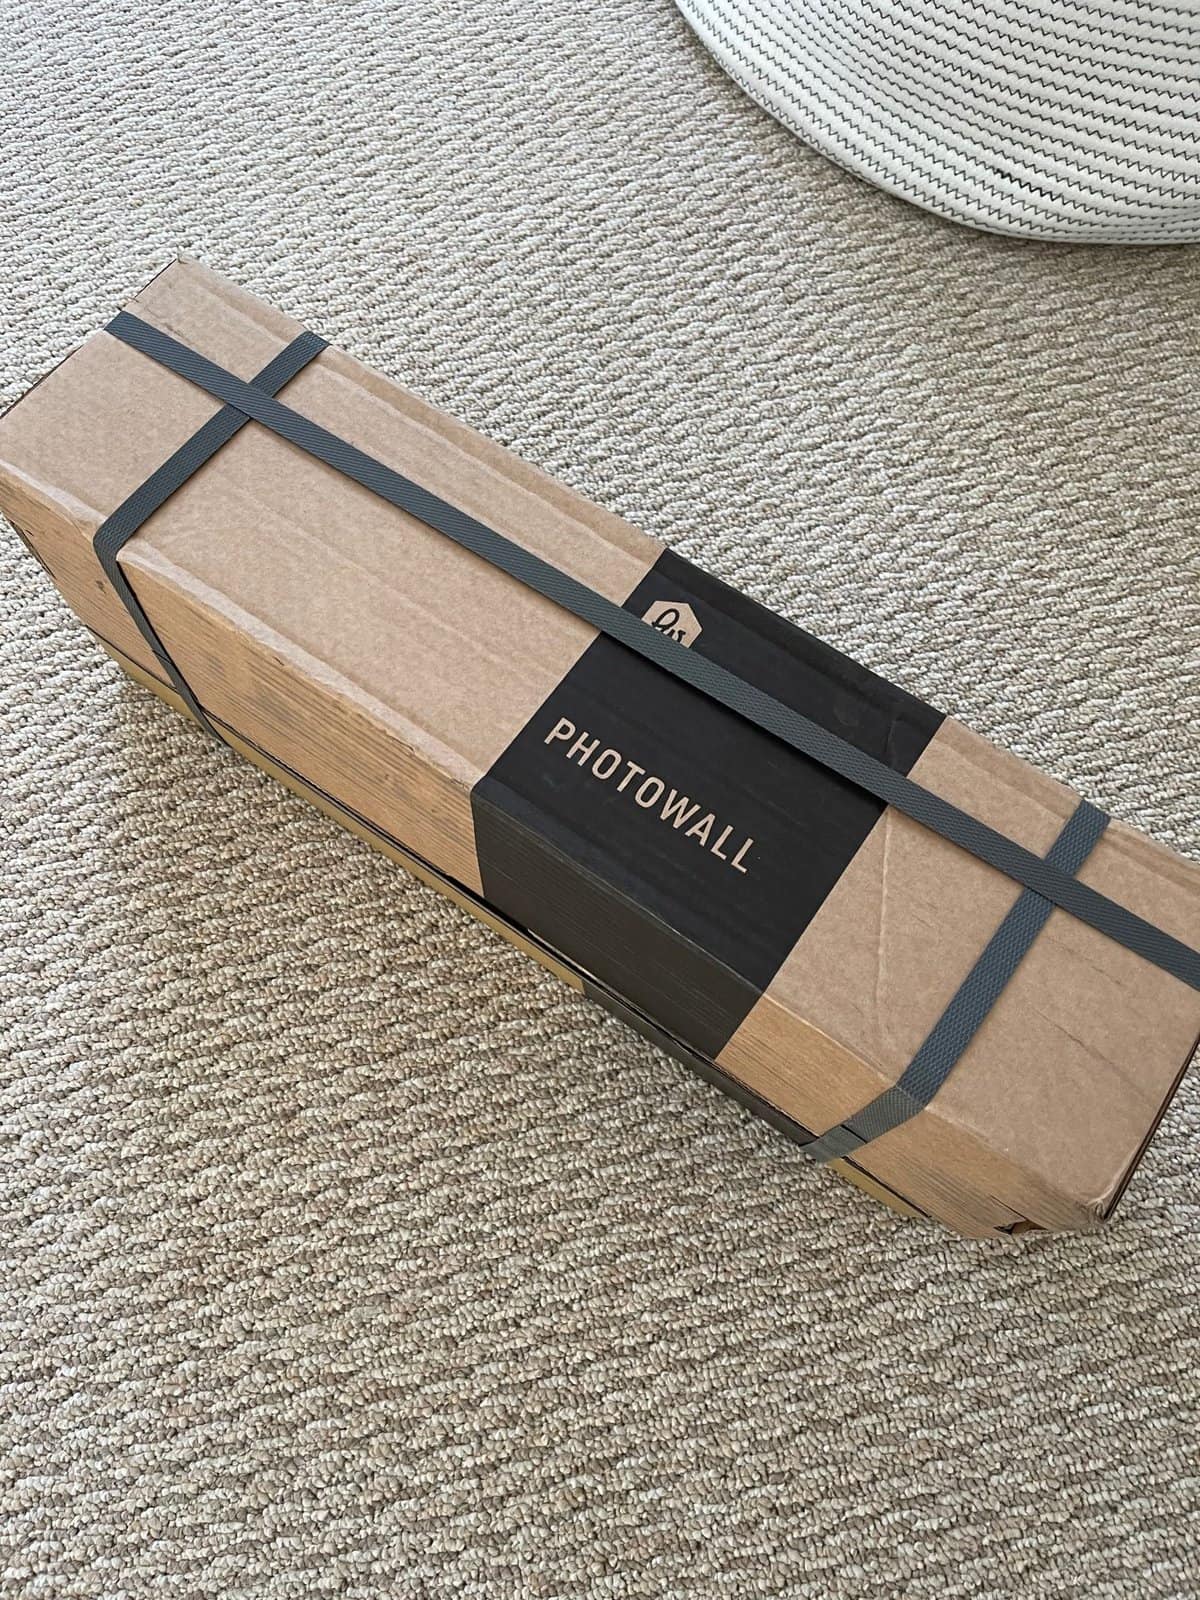
When PhotoWall of Sweden reached out to me about trying their wallpaper, I knew I had to give it a go!
Everything I needed arrived in a neat package.
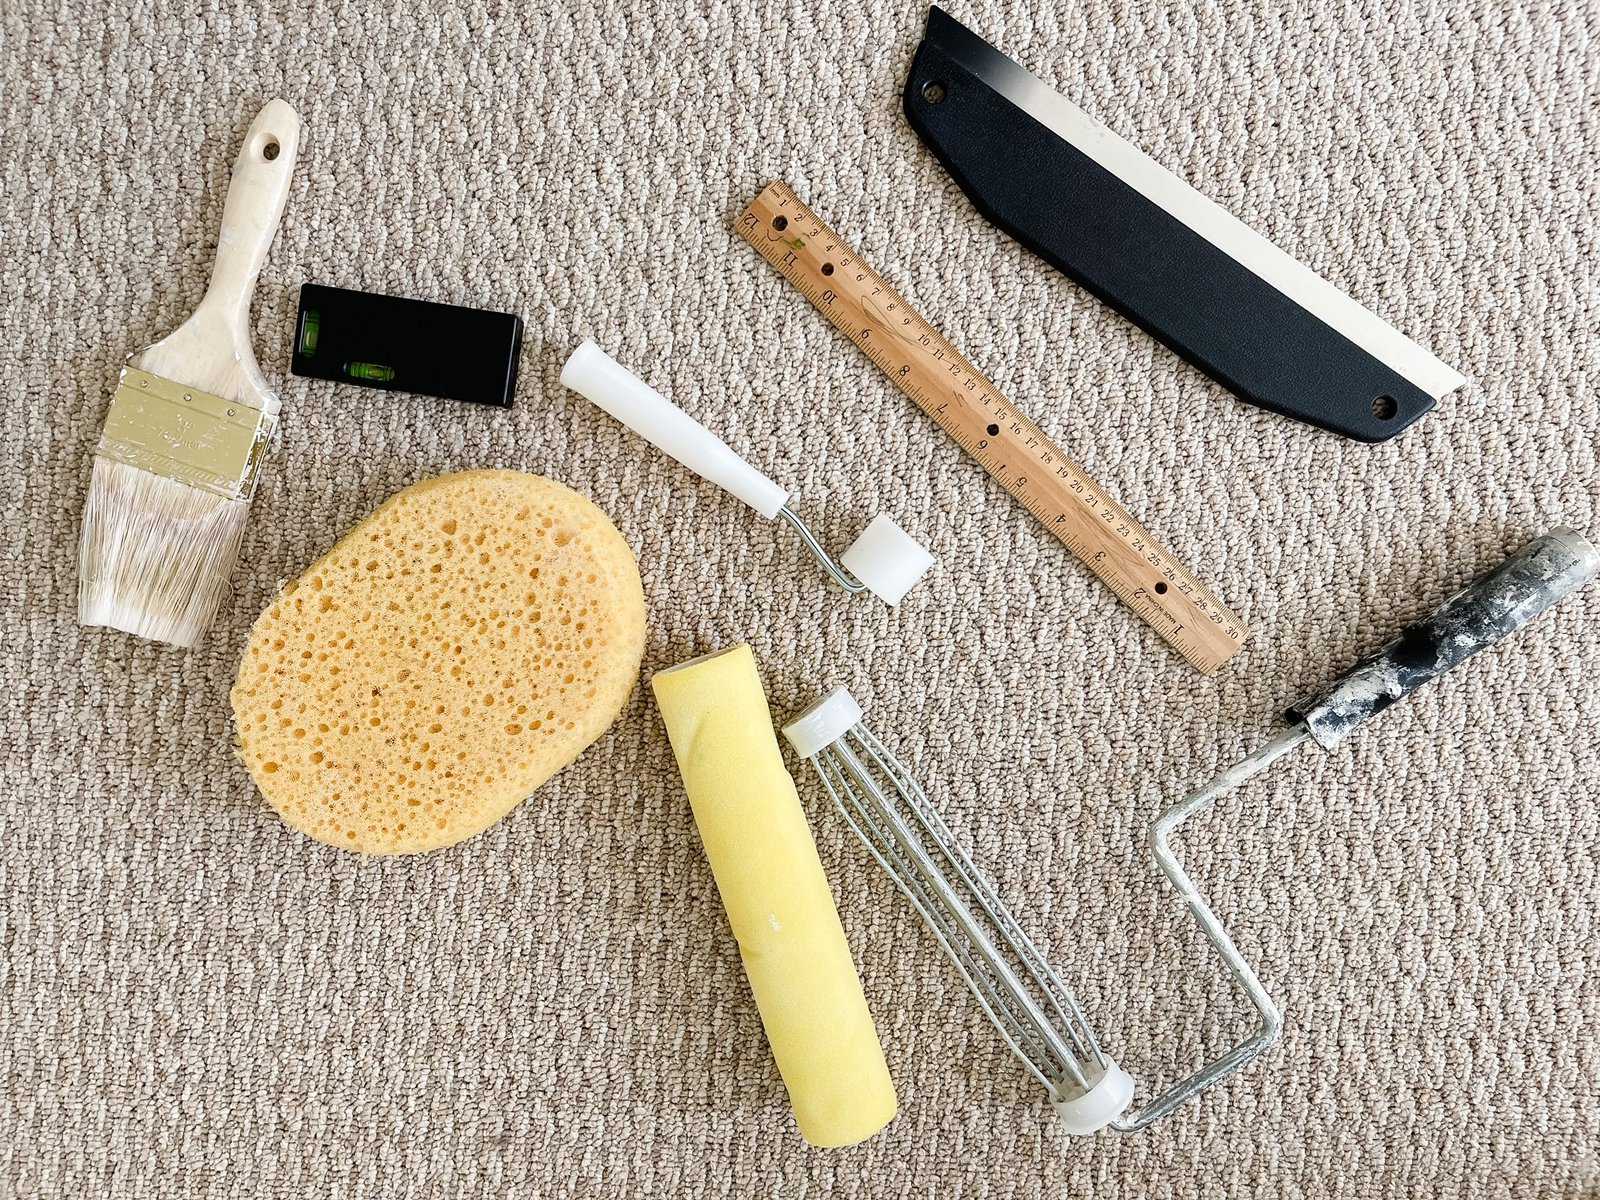
Gather Your Tools
When I say everything I needed I mean everything. Even a level and paper cutter come with the wallpaper kit. All you see here was packaged along with the wallpaper (and MORE) so I didn’t need to take any time looking for the right tools for the job. What a breeze. My least favorite part of any project is gathering the many supplies which was all done for me. A great start to this project.
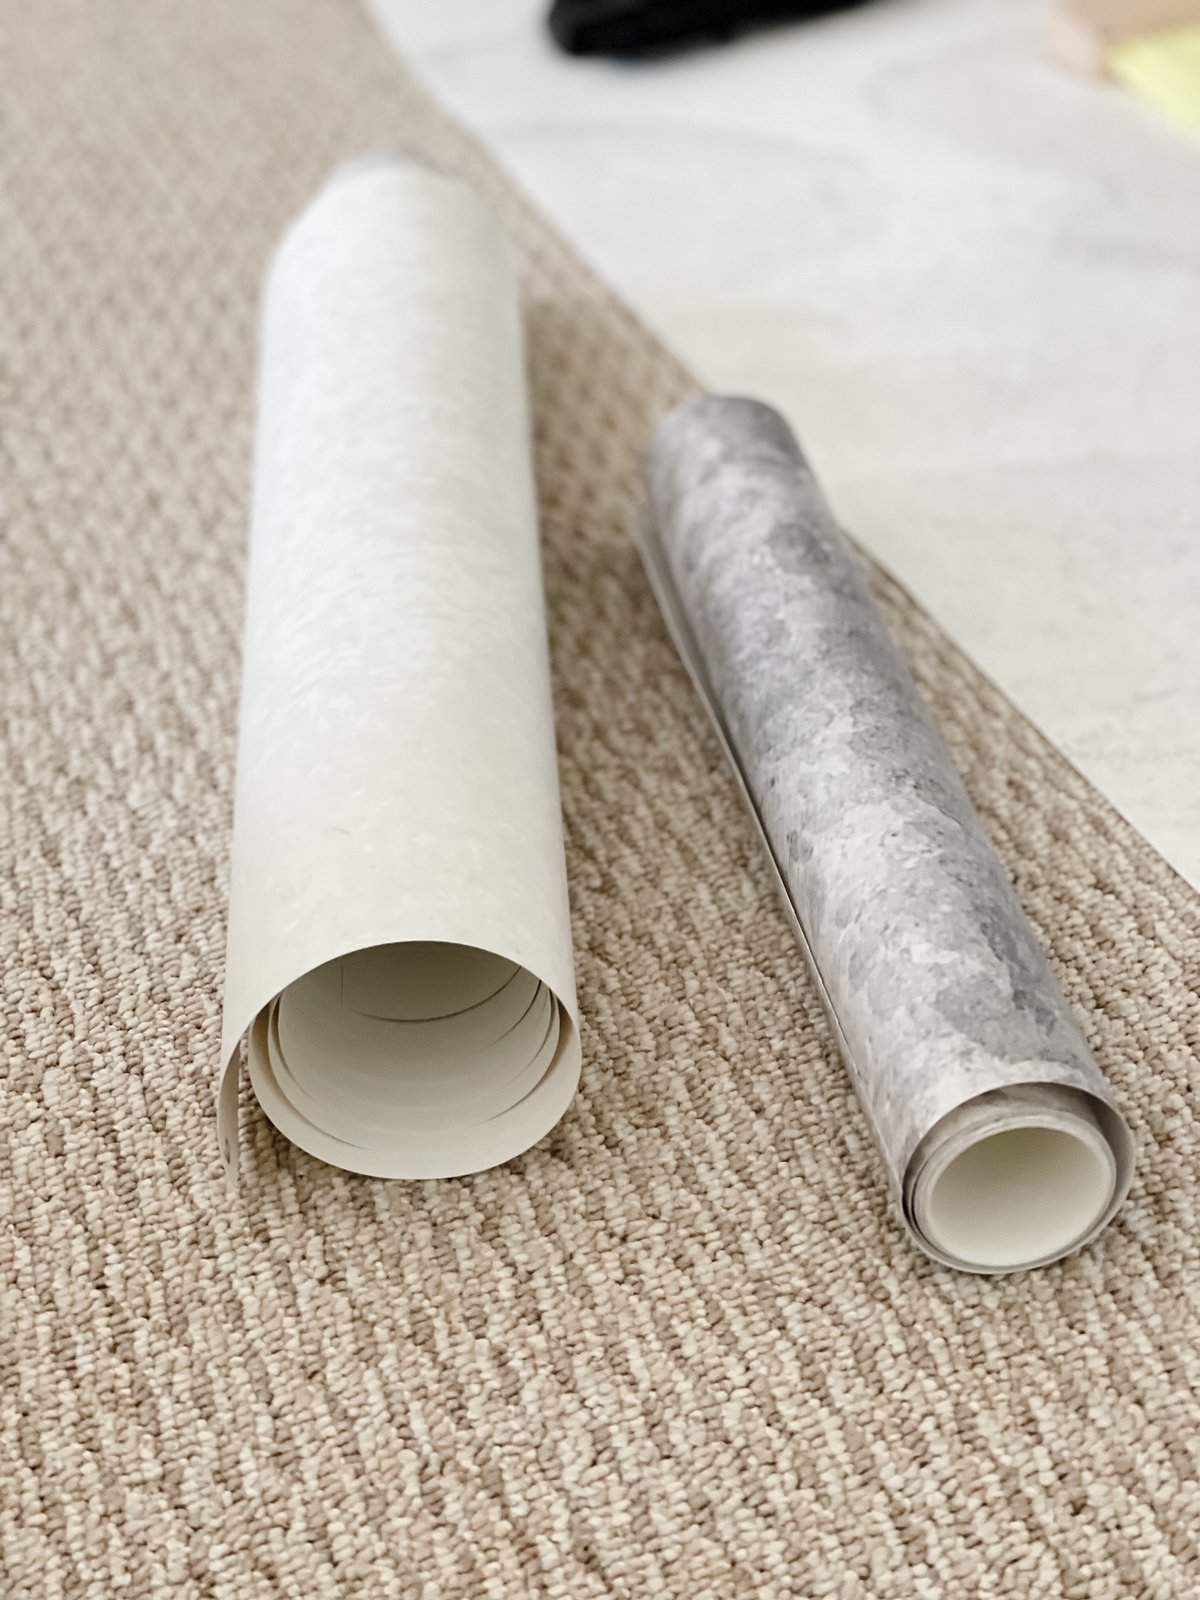
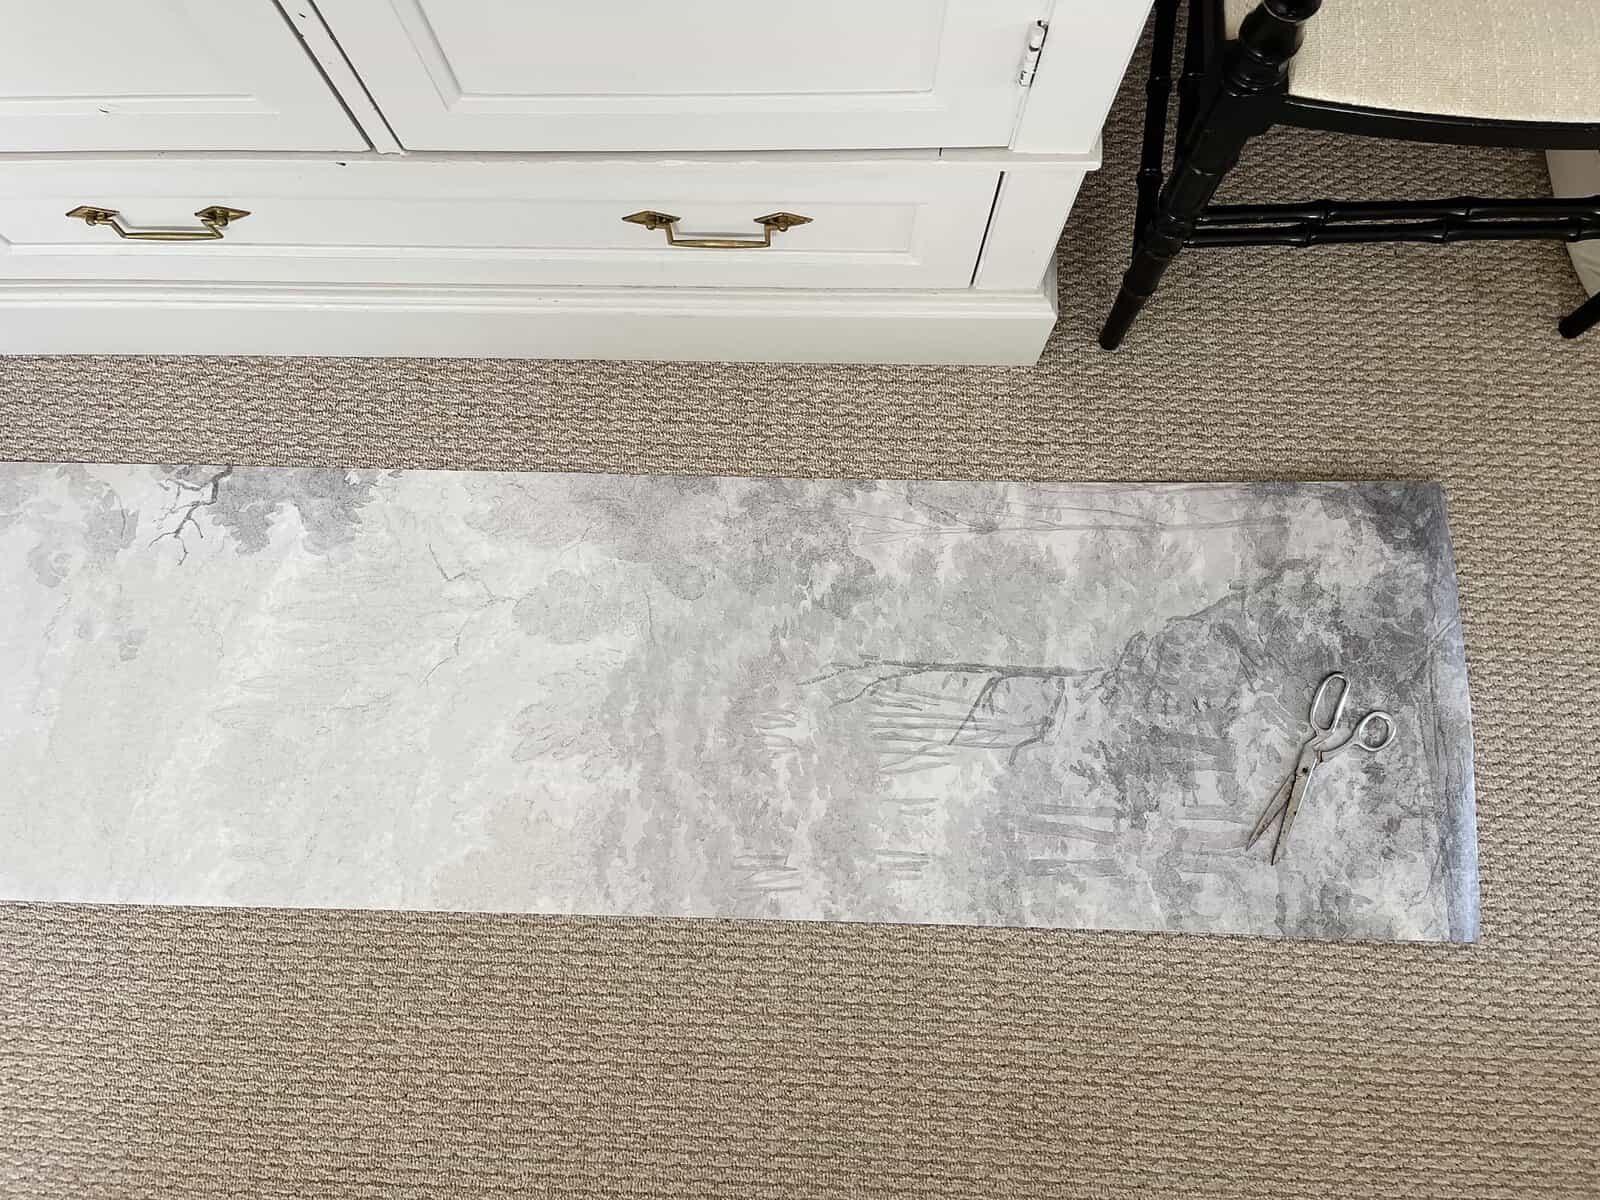
This was my very first wallpaper attempt at wallpapering and I was a little anxious about messing up. Thankfully PhotoWall gave written directions each step of the way. The wallpaper came in strips and it was like putting a puzzle together piece by piece. I’m not even a puzzle person friends, but this was satisfying.
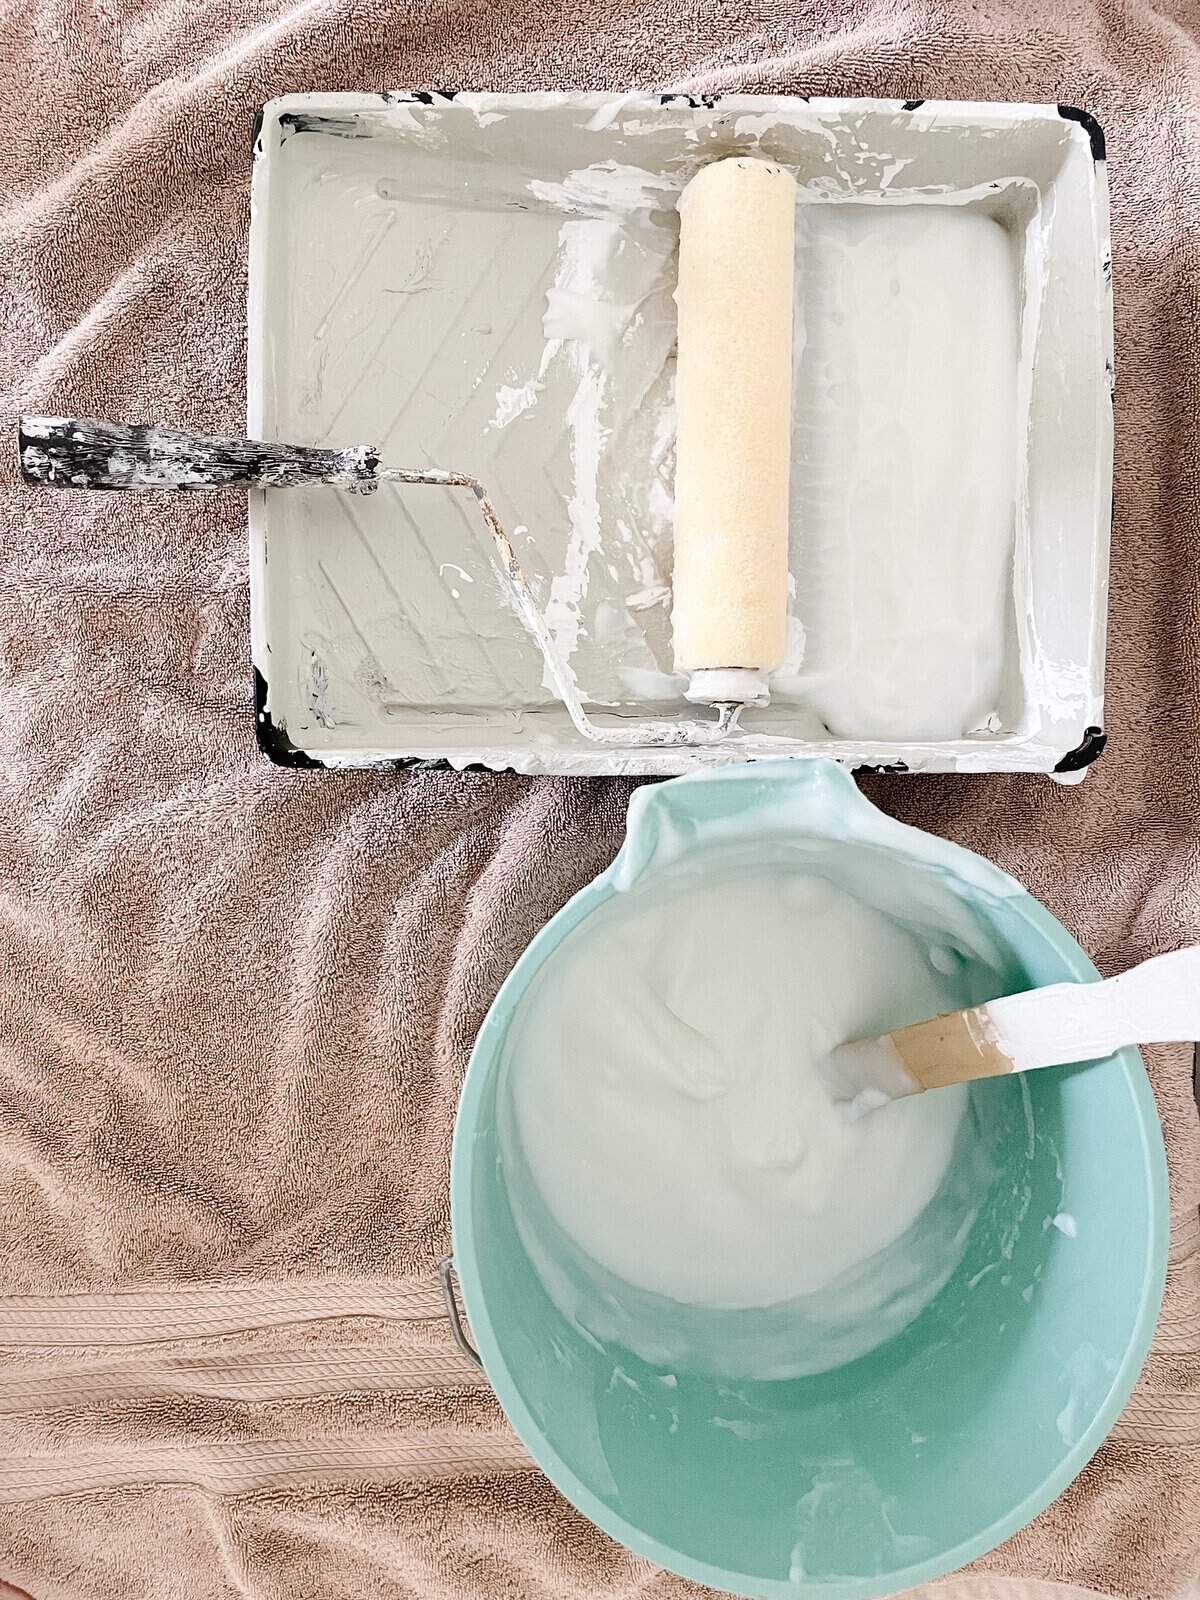
Apply Wallpaper Glue to Wall
The powder wallpaper glue mixed with water to form a paste. Then I just rolled it on my wall little by little as I put the paper up. No photos of me doing this because I was alone, but I did film it so go to my Instagram here and here to watch how easy it was to get it done.
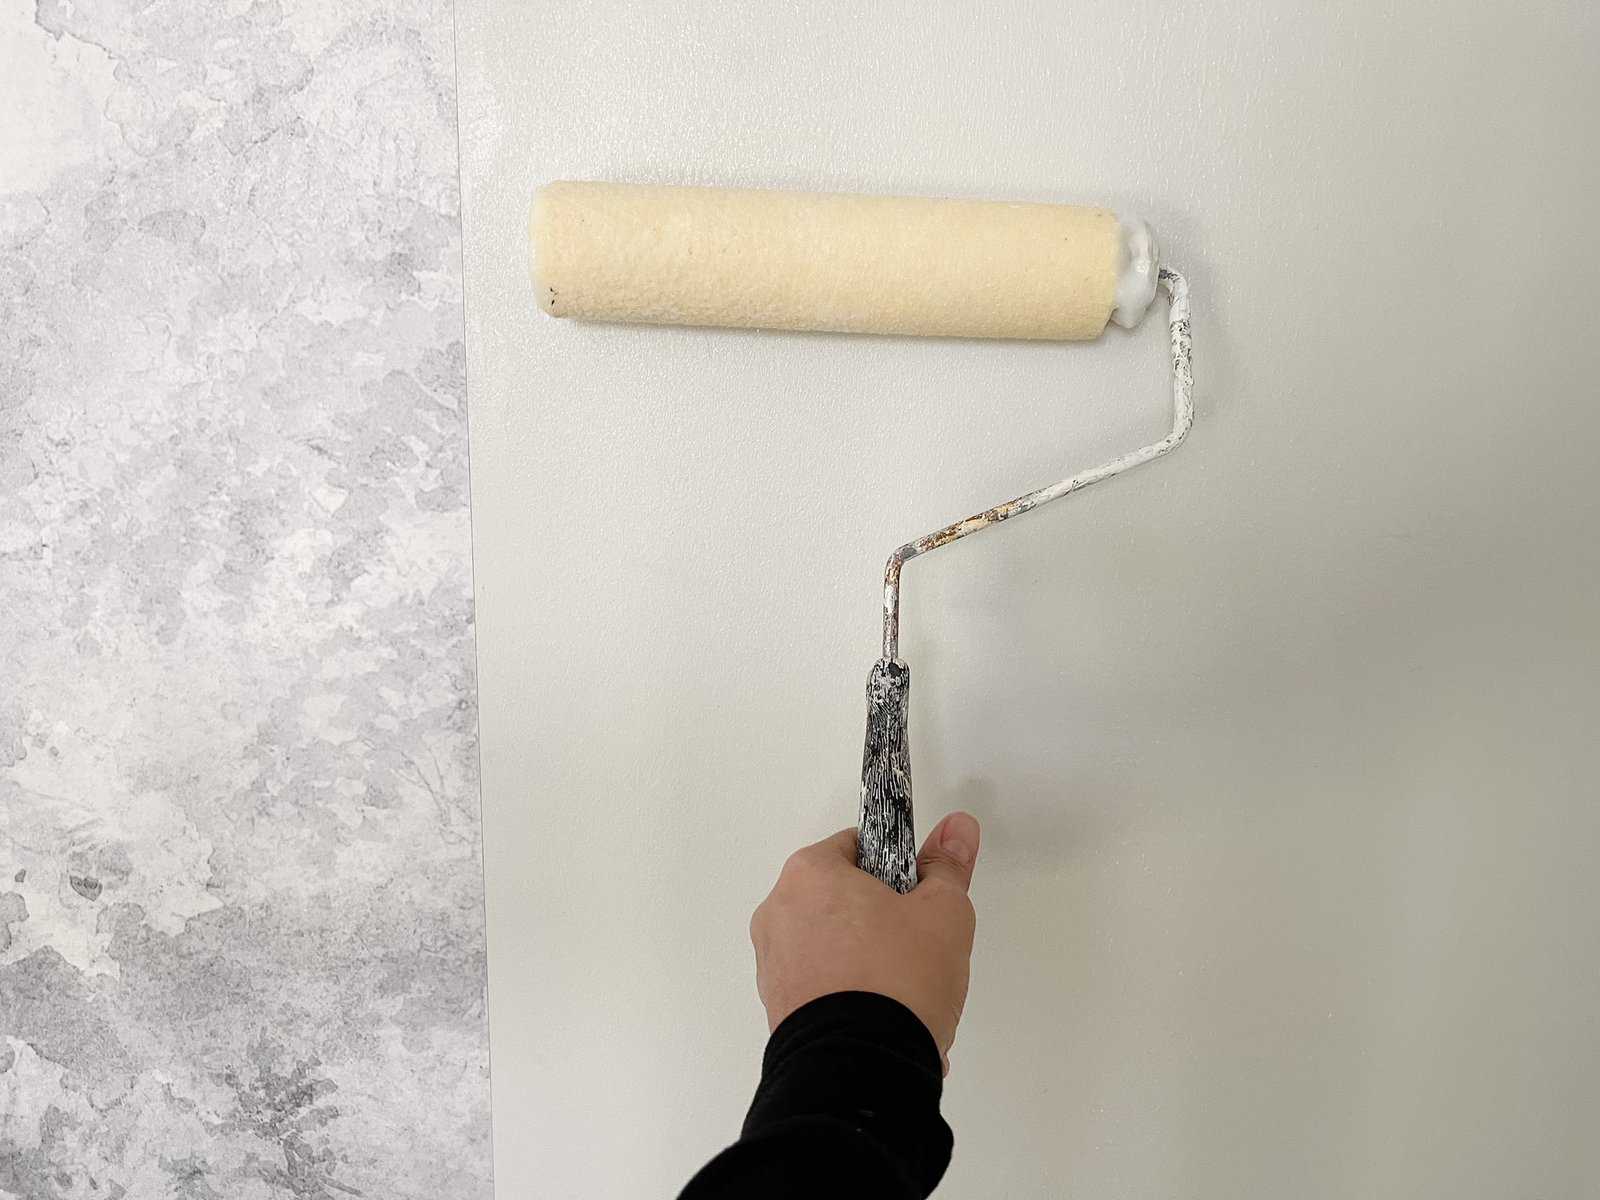
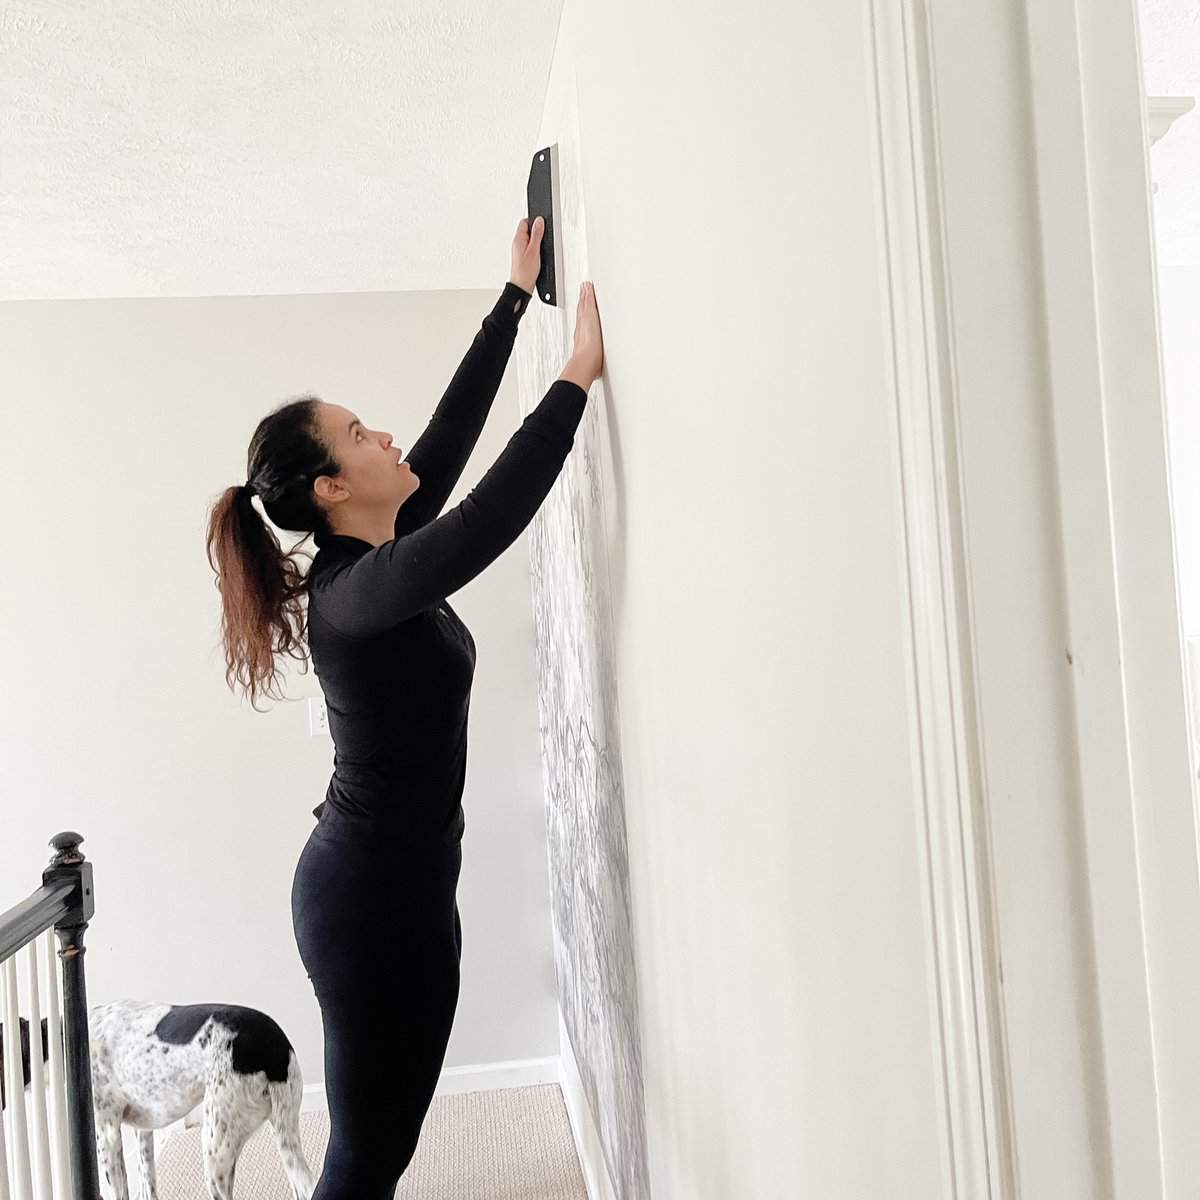
Apply Wallpaper to Wall
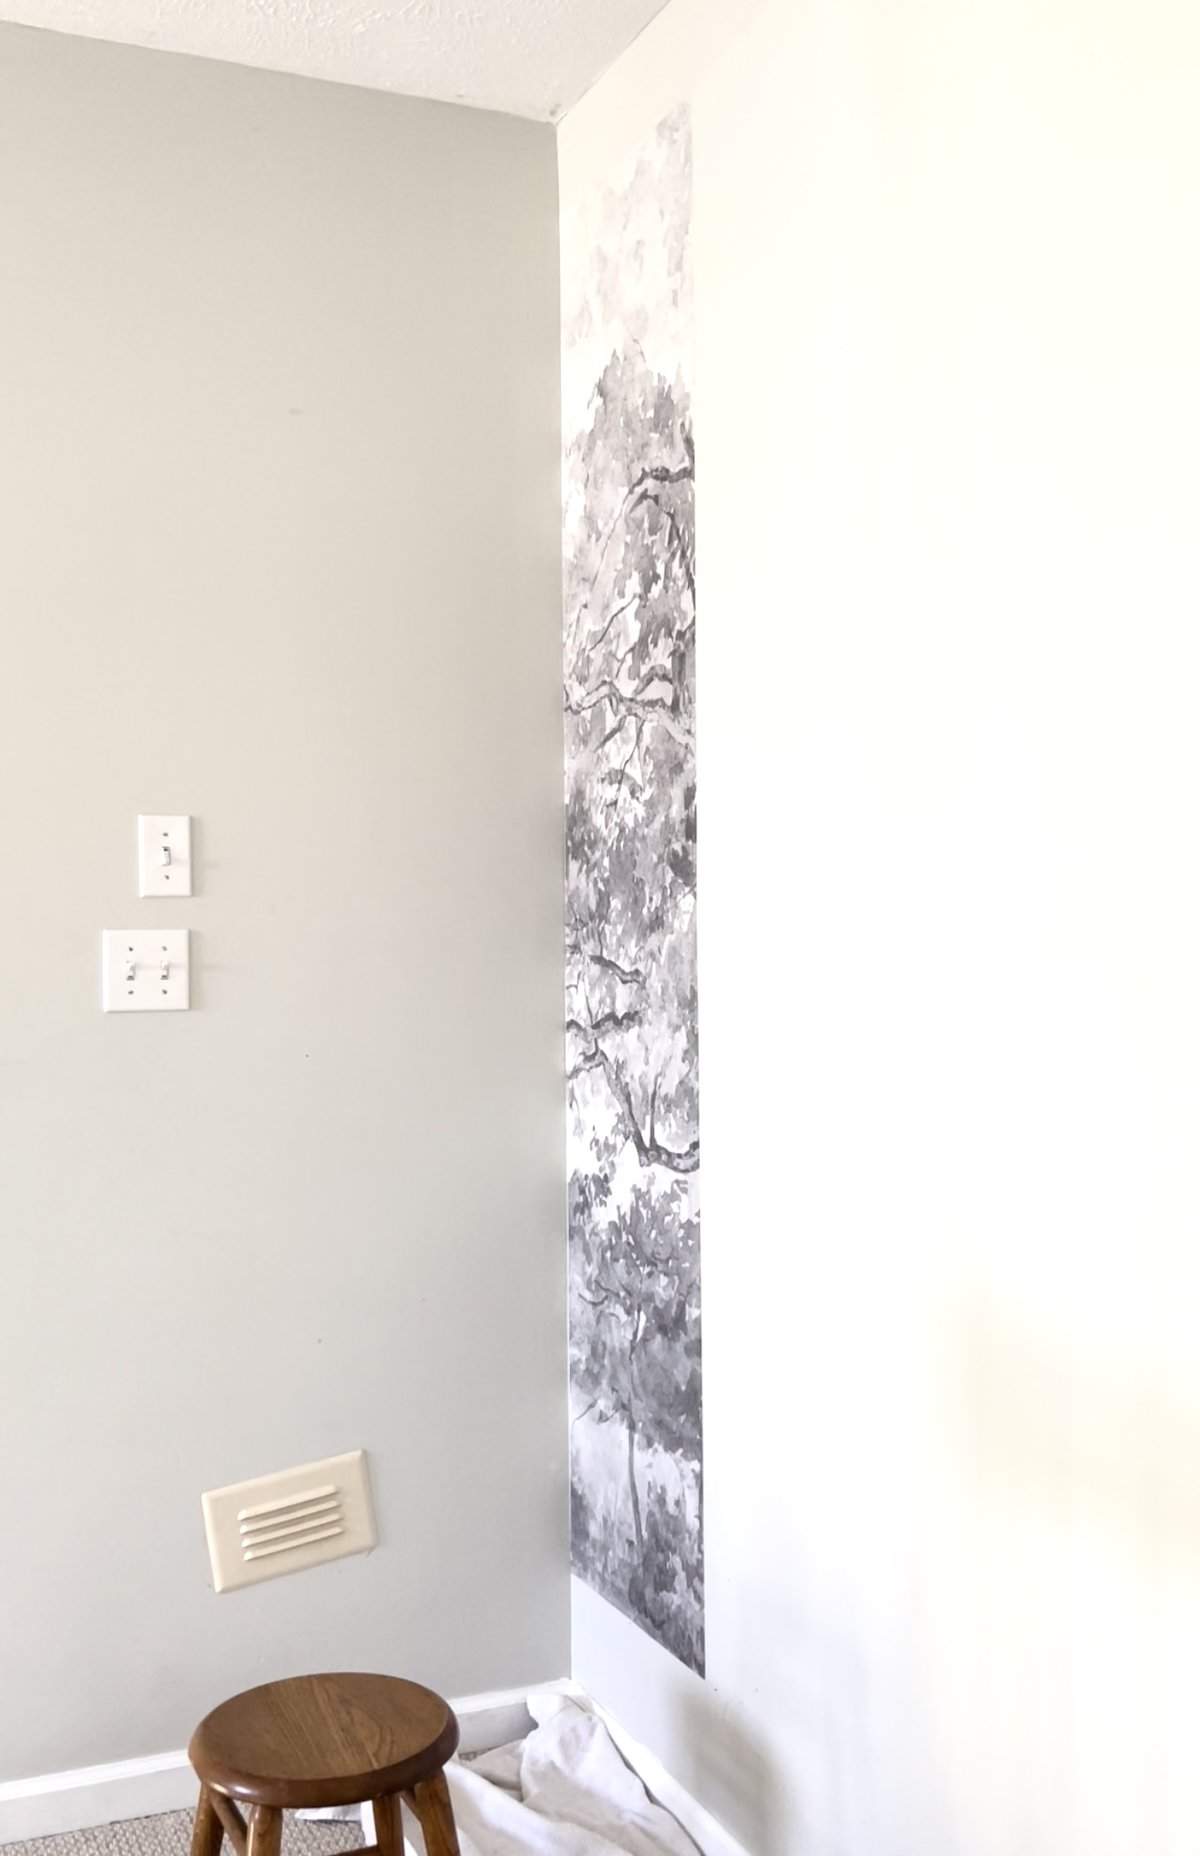
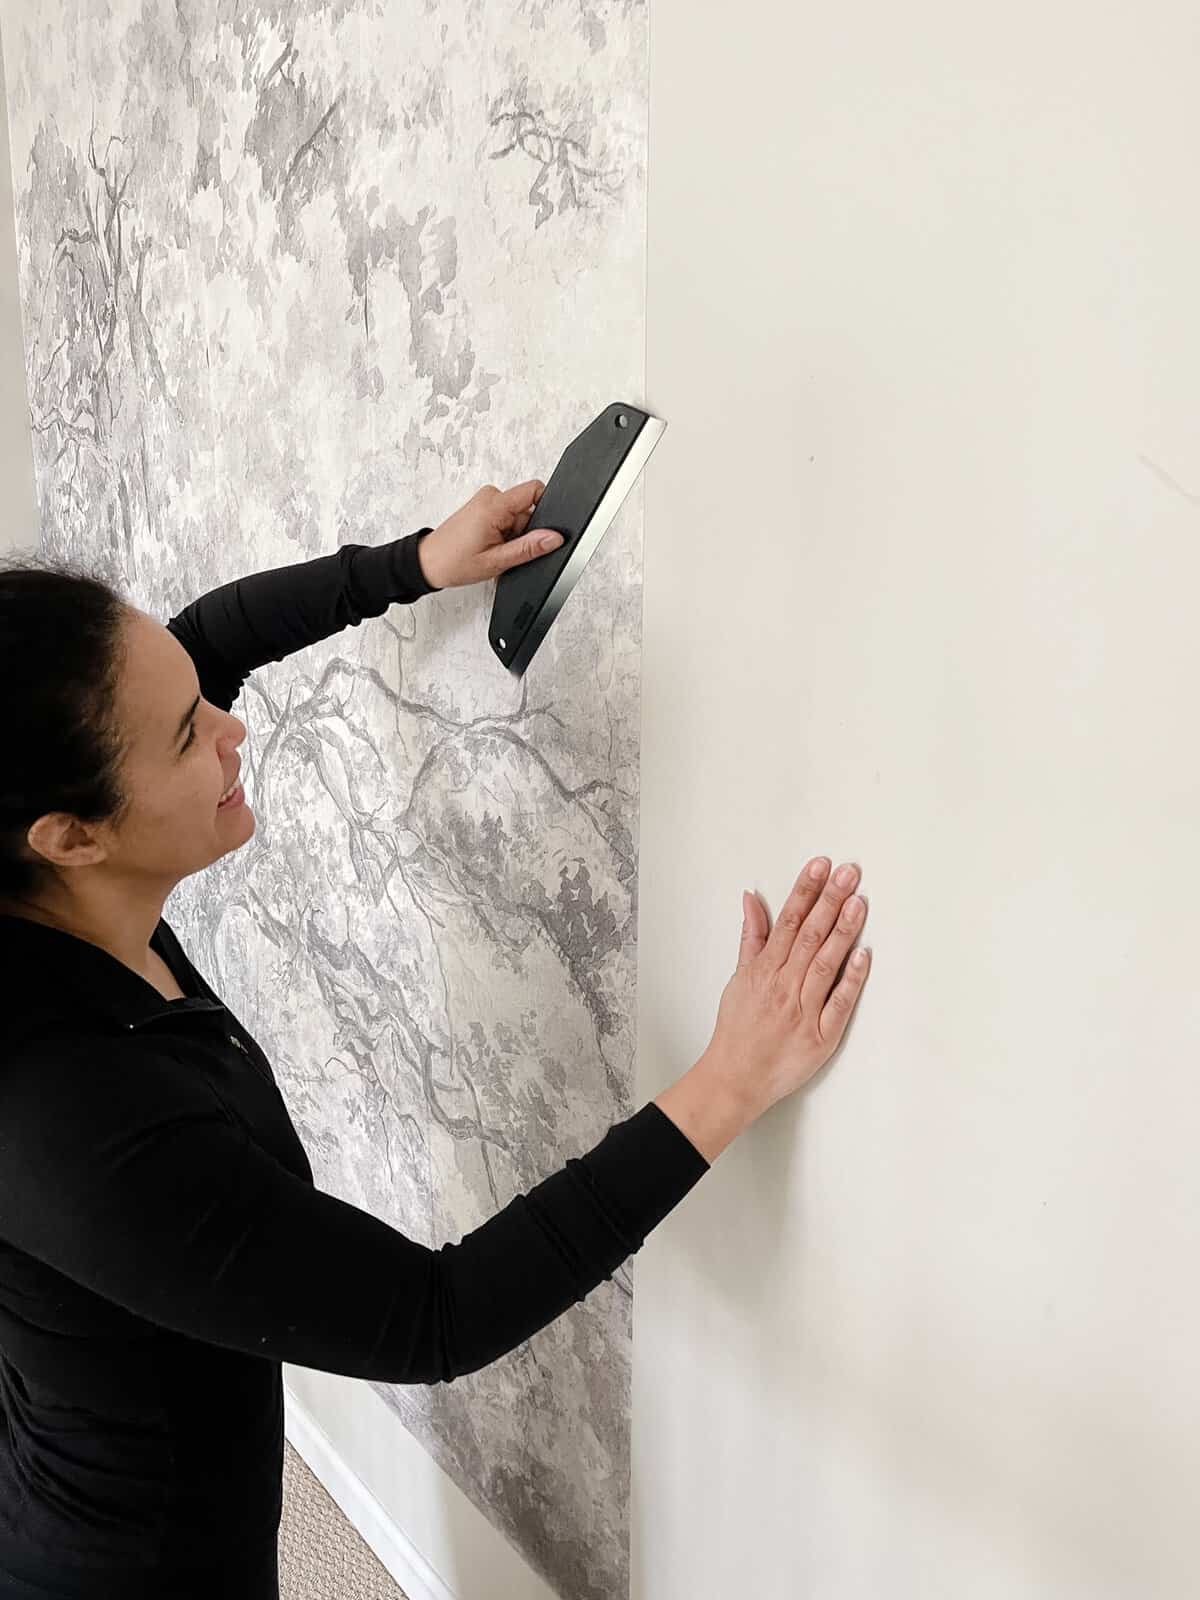
Yep, I’m actually smiling. No anxiety once I started this project and got each section of paper to line up evenly.
. It went smoothly up until I almost attached a piece upside down. I say almost because I caught the mistake and only had to pull a small amount of the paper off the wall and flip it around to the right side. The clock was ticking before the kid’s came back inside from playing and I was rushing to finish. Don’t rush and this won’t happen to you.
The applicator that came with the wallpaper helped to smooth out wrinkles and was actually fun for me to do.
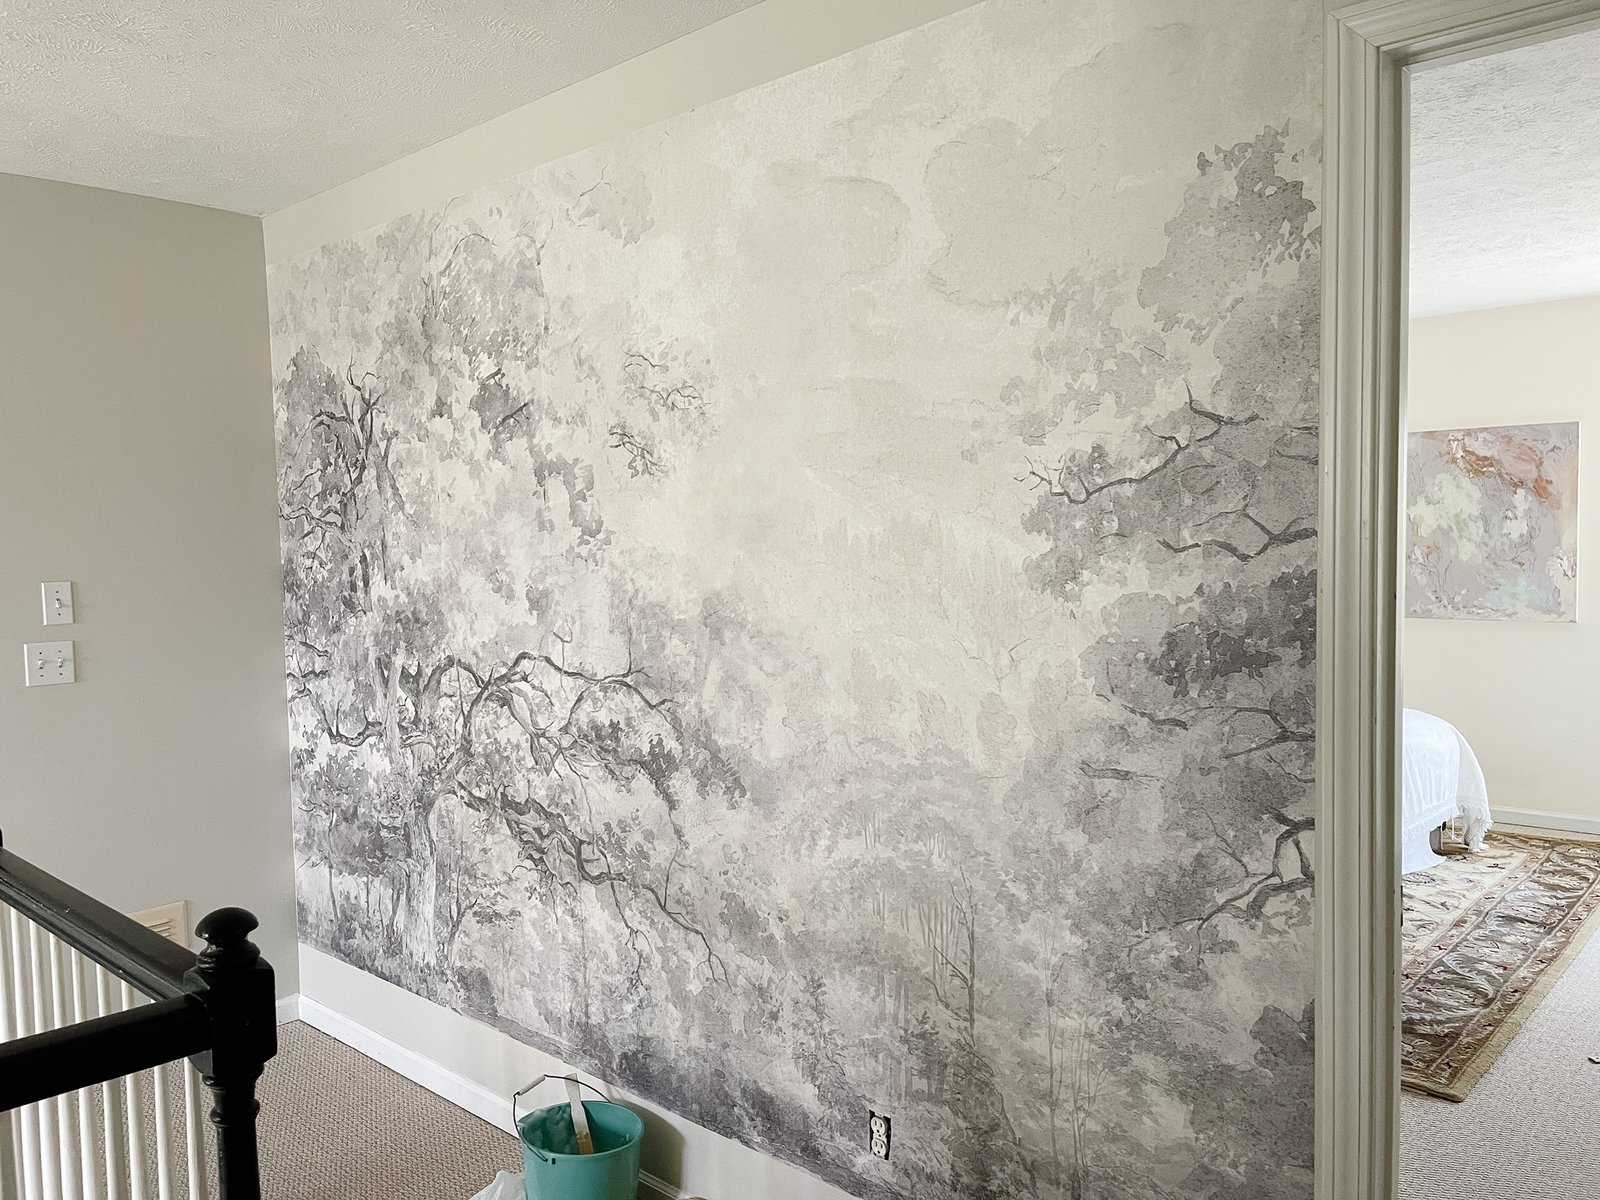
Wallpaper Up!
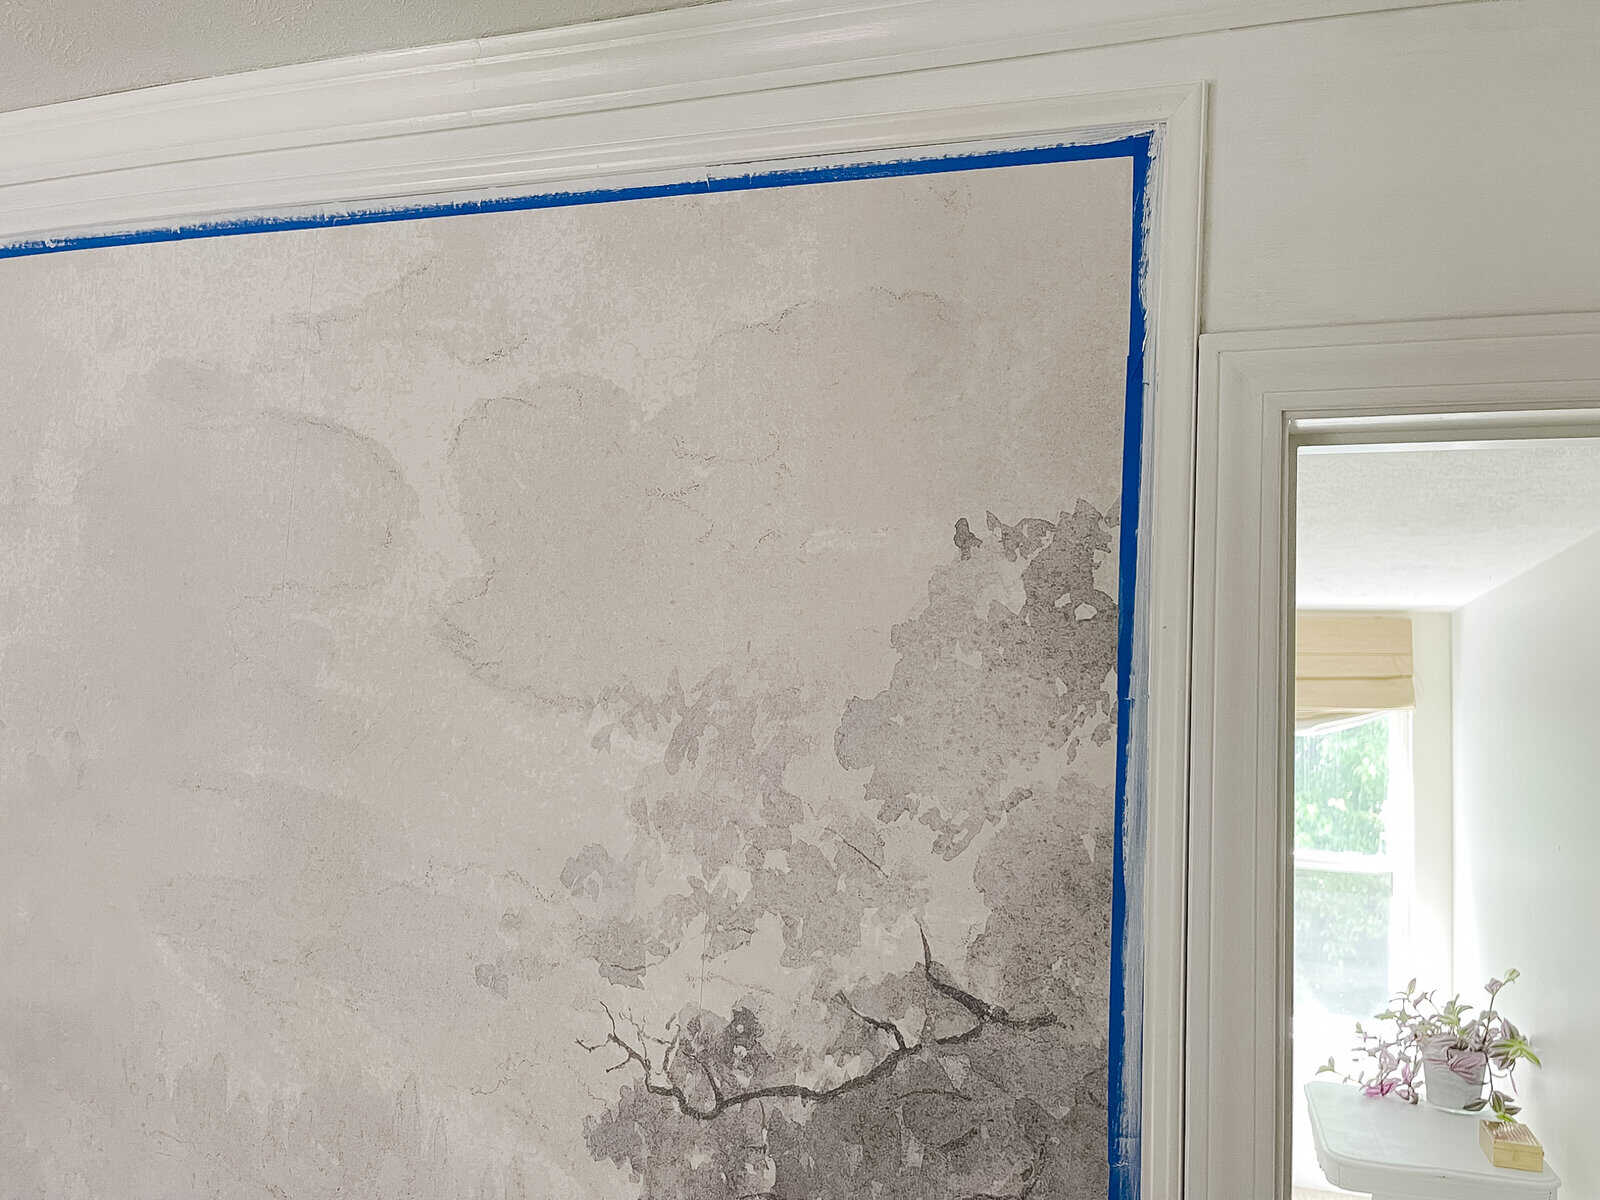
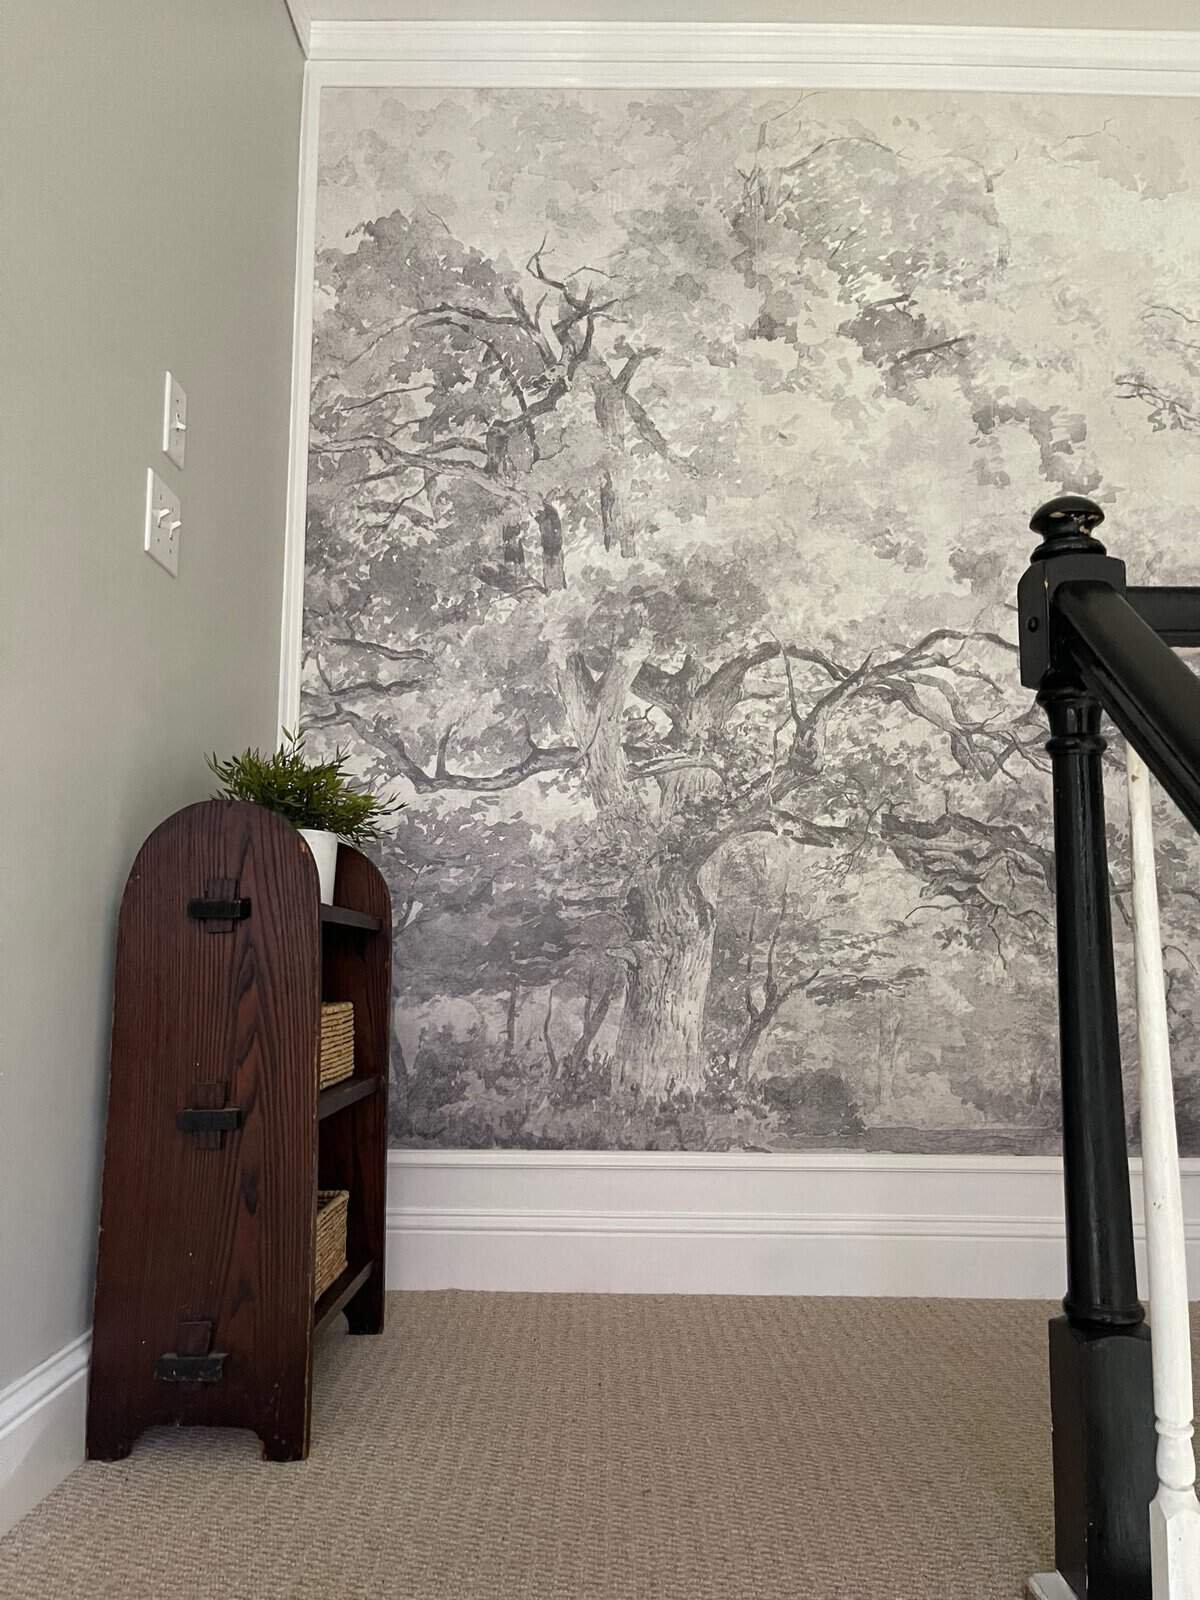
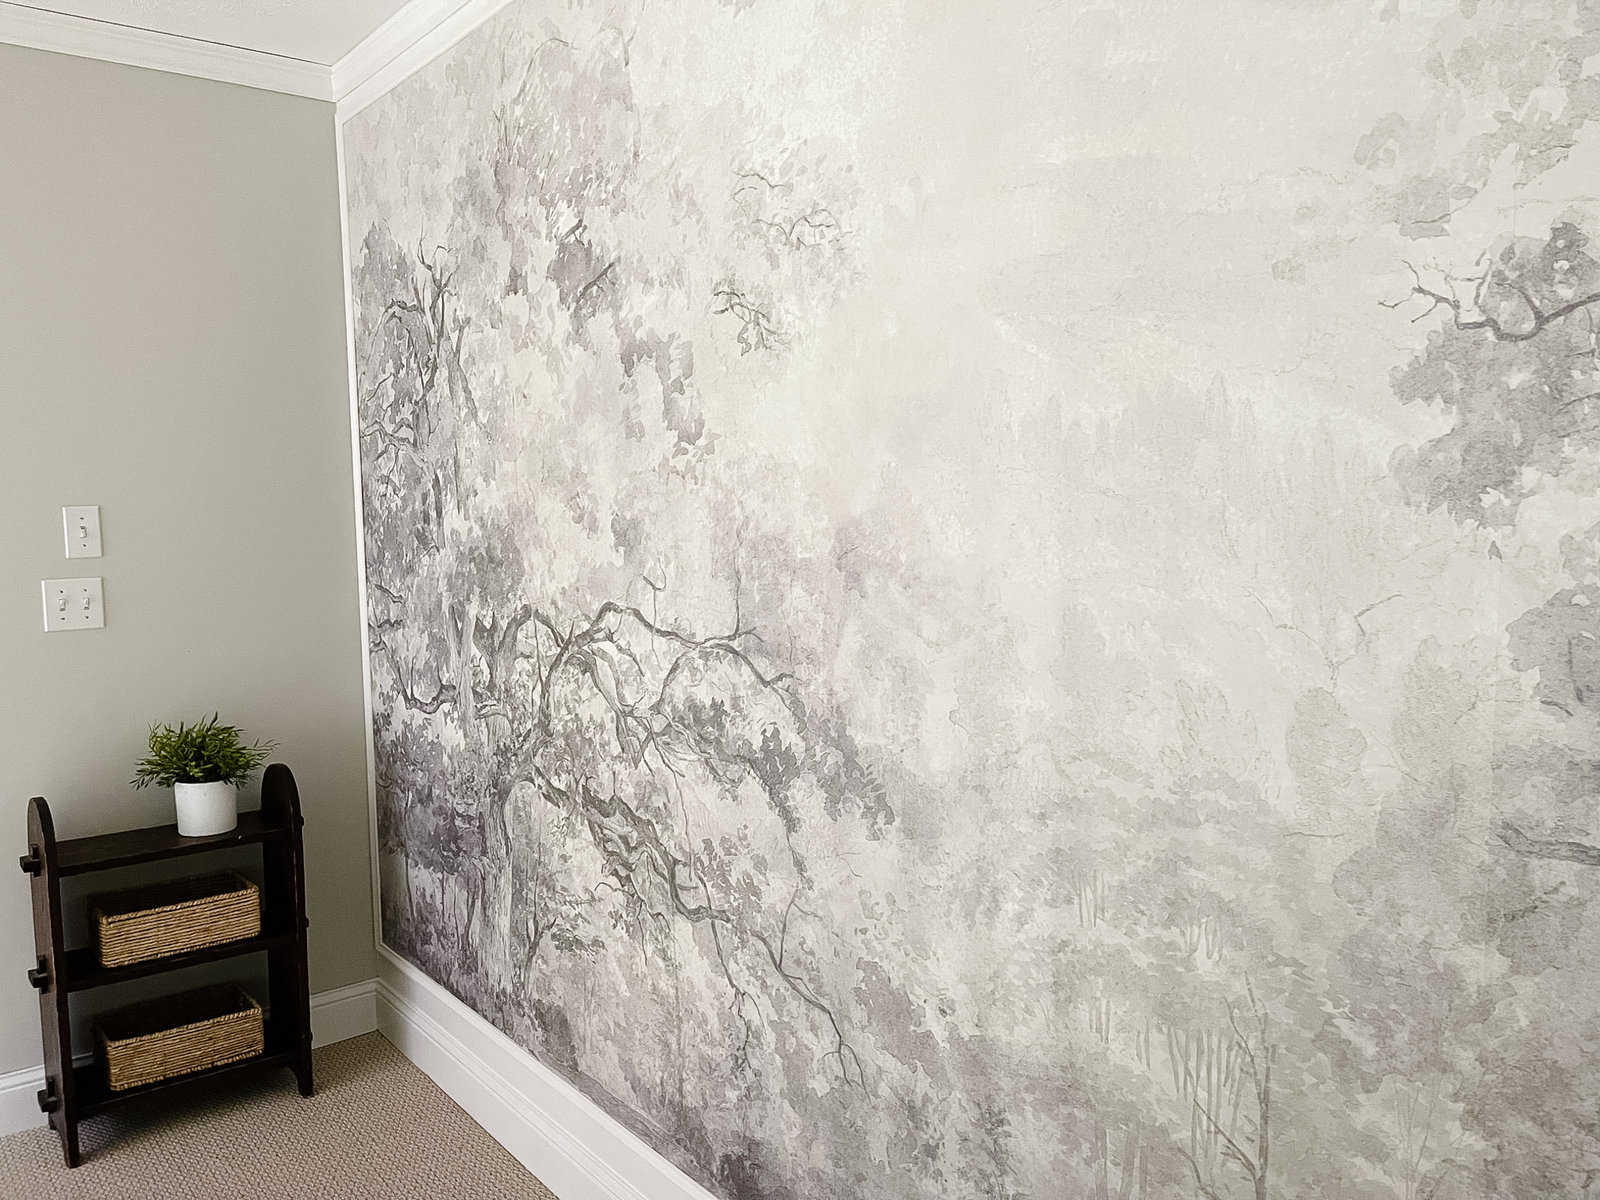
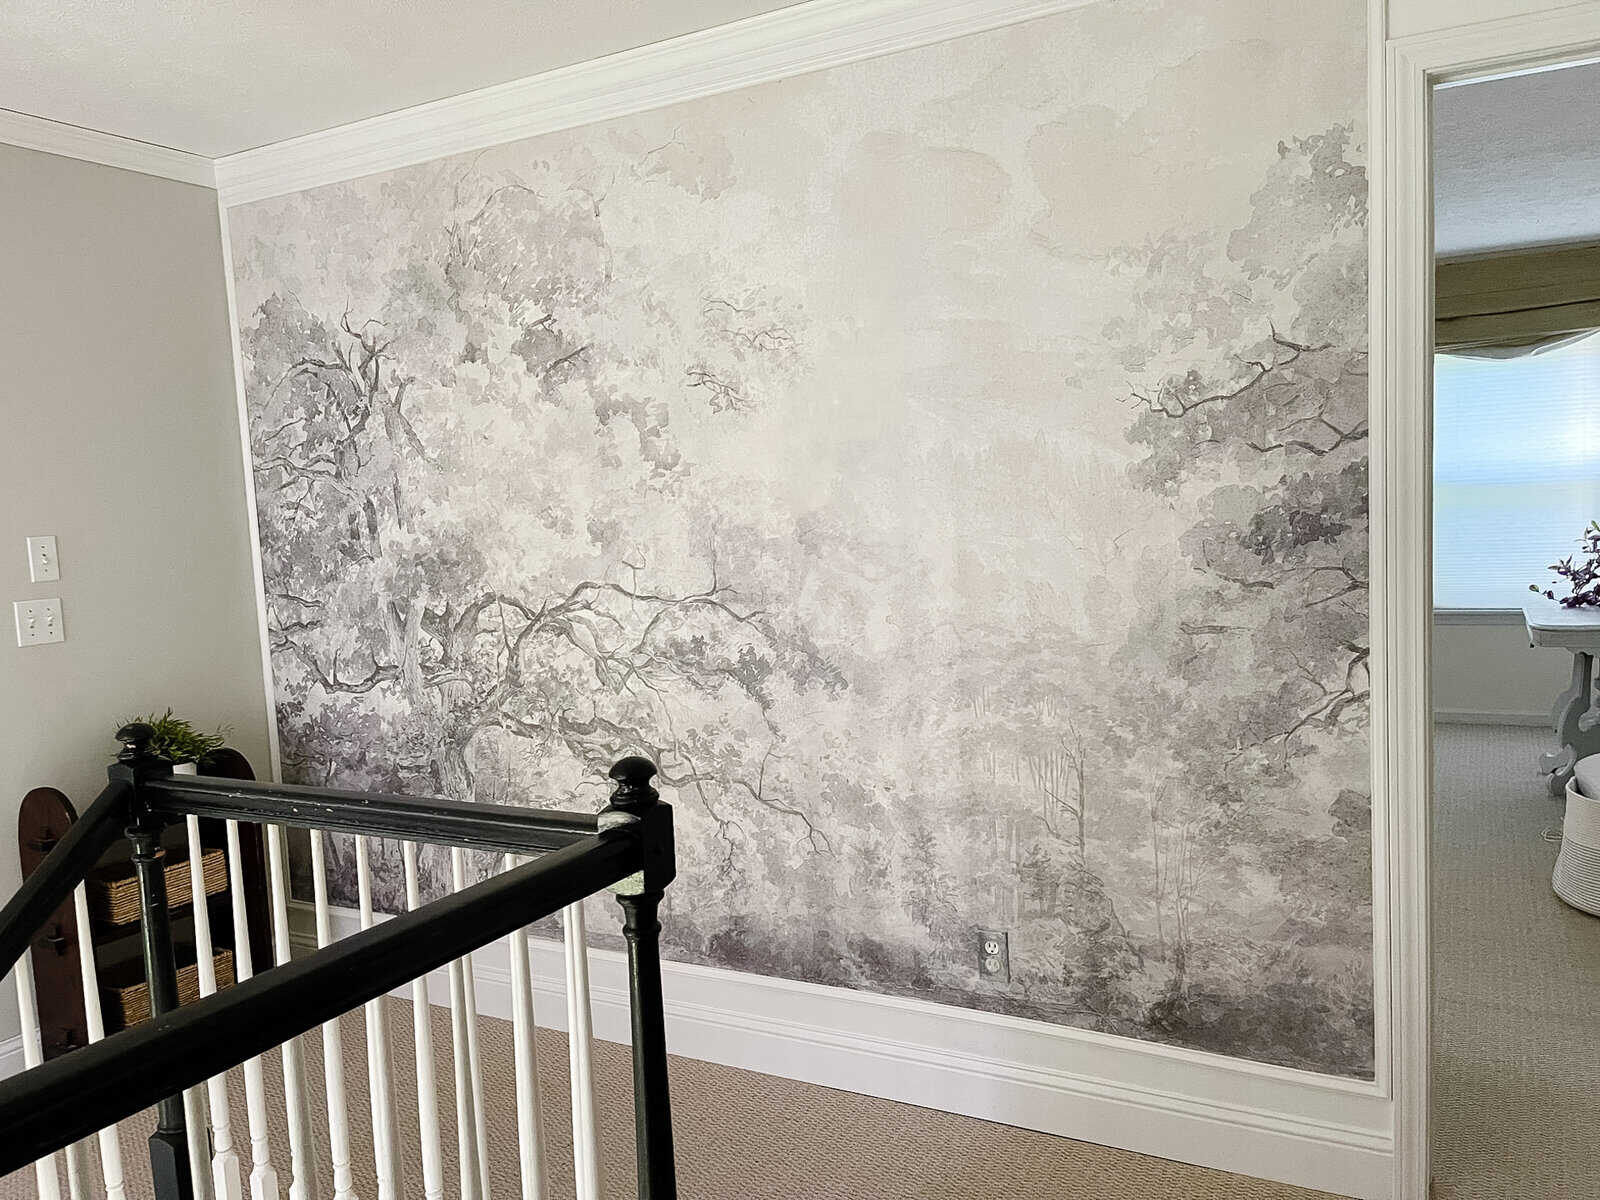
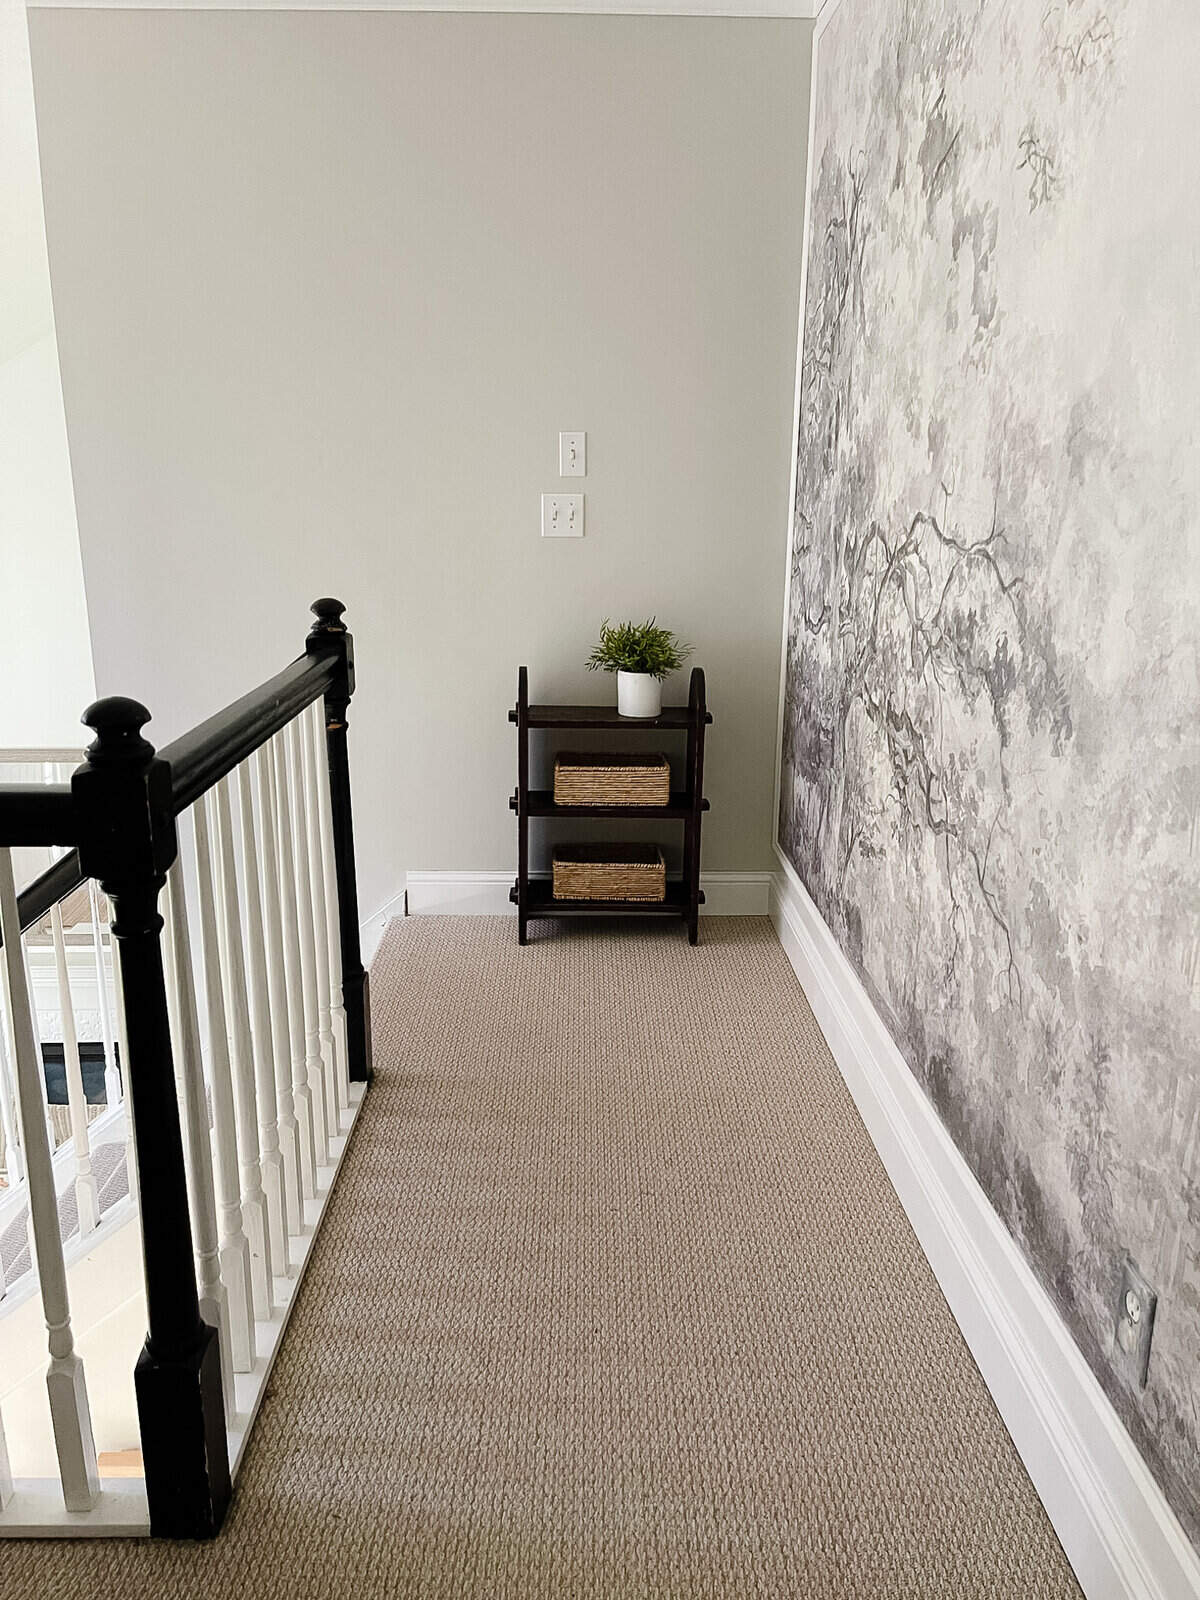
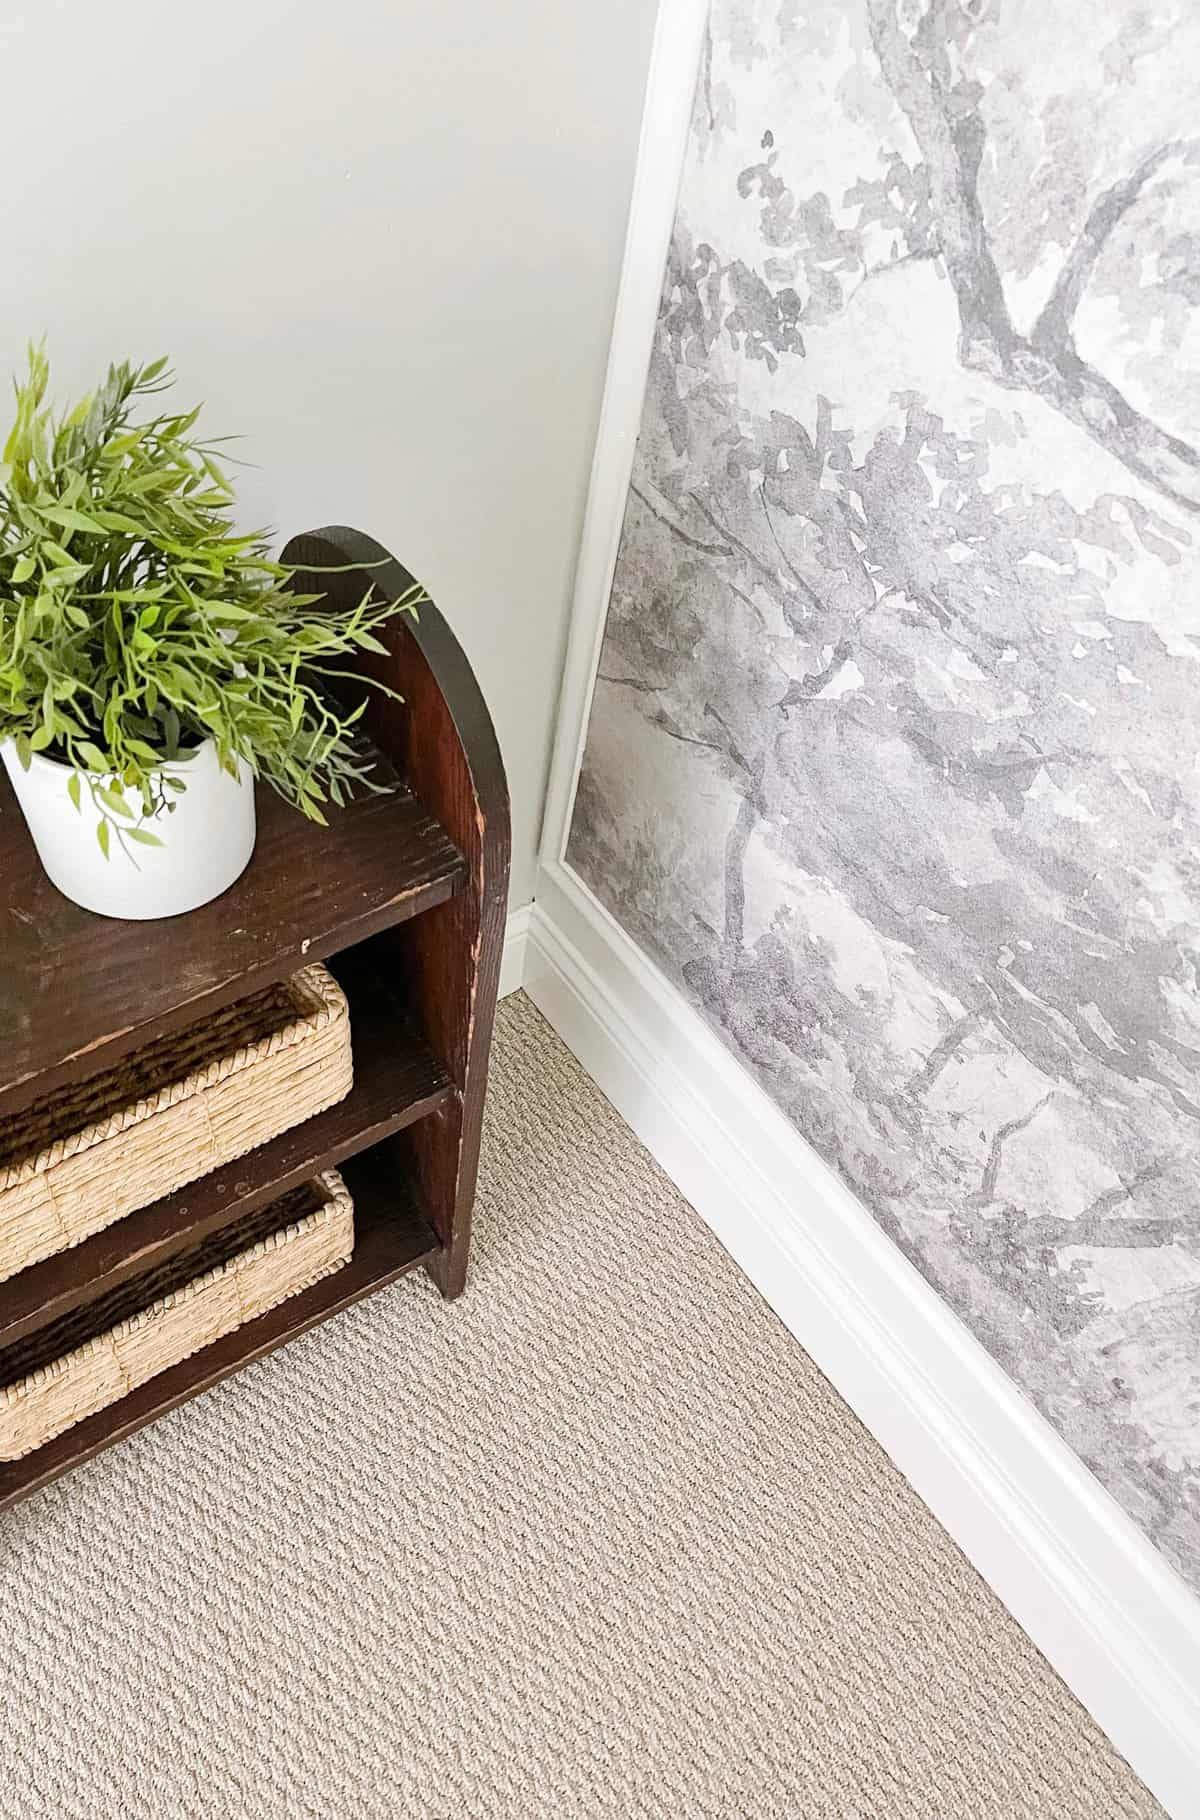
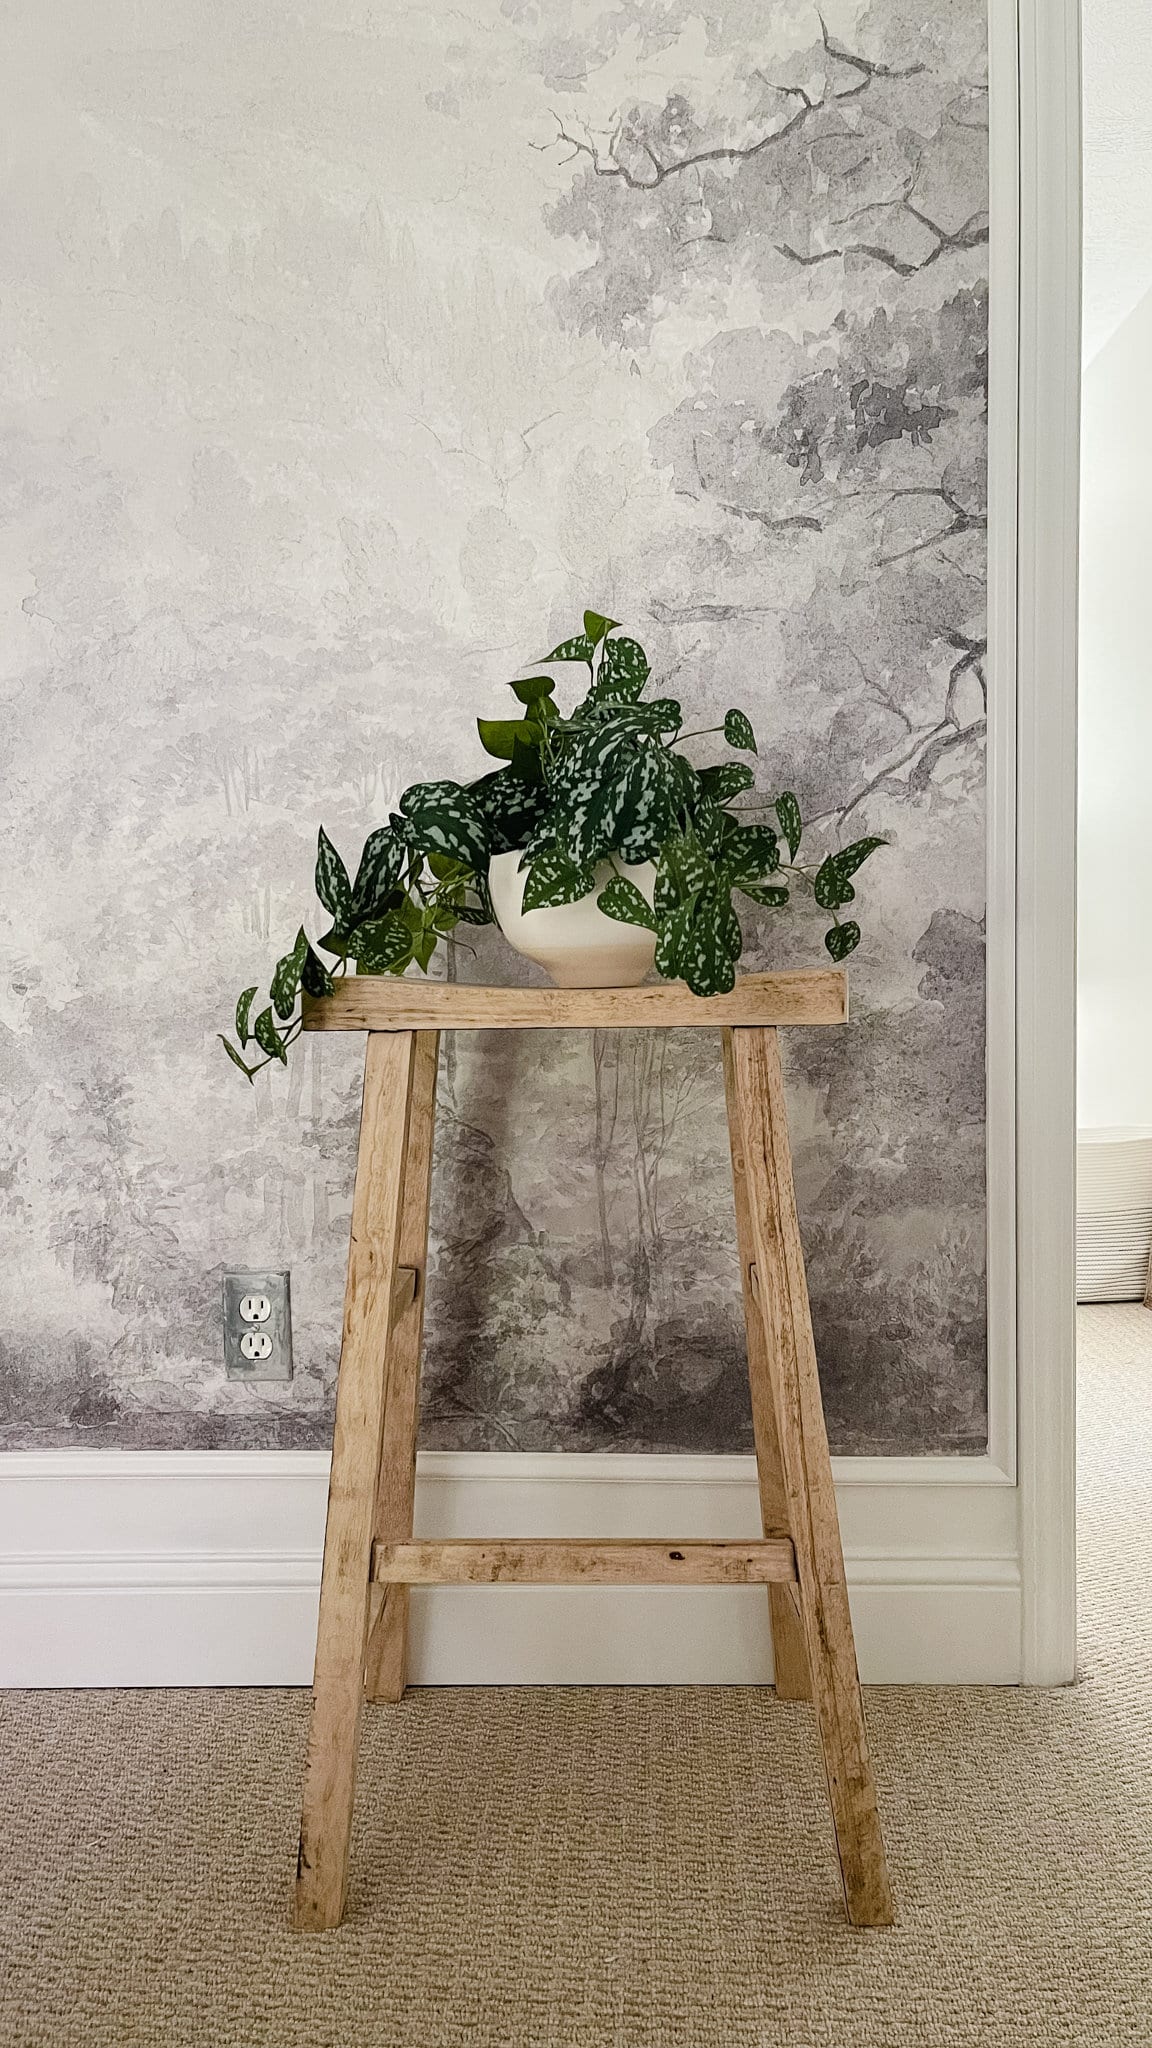
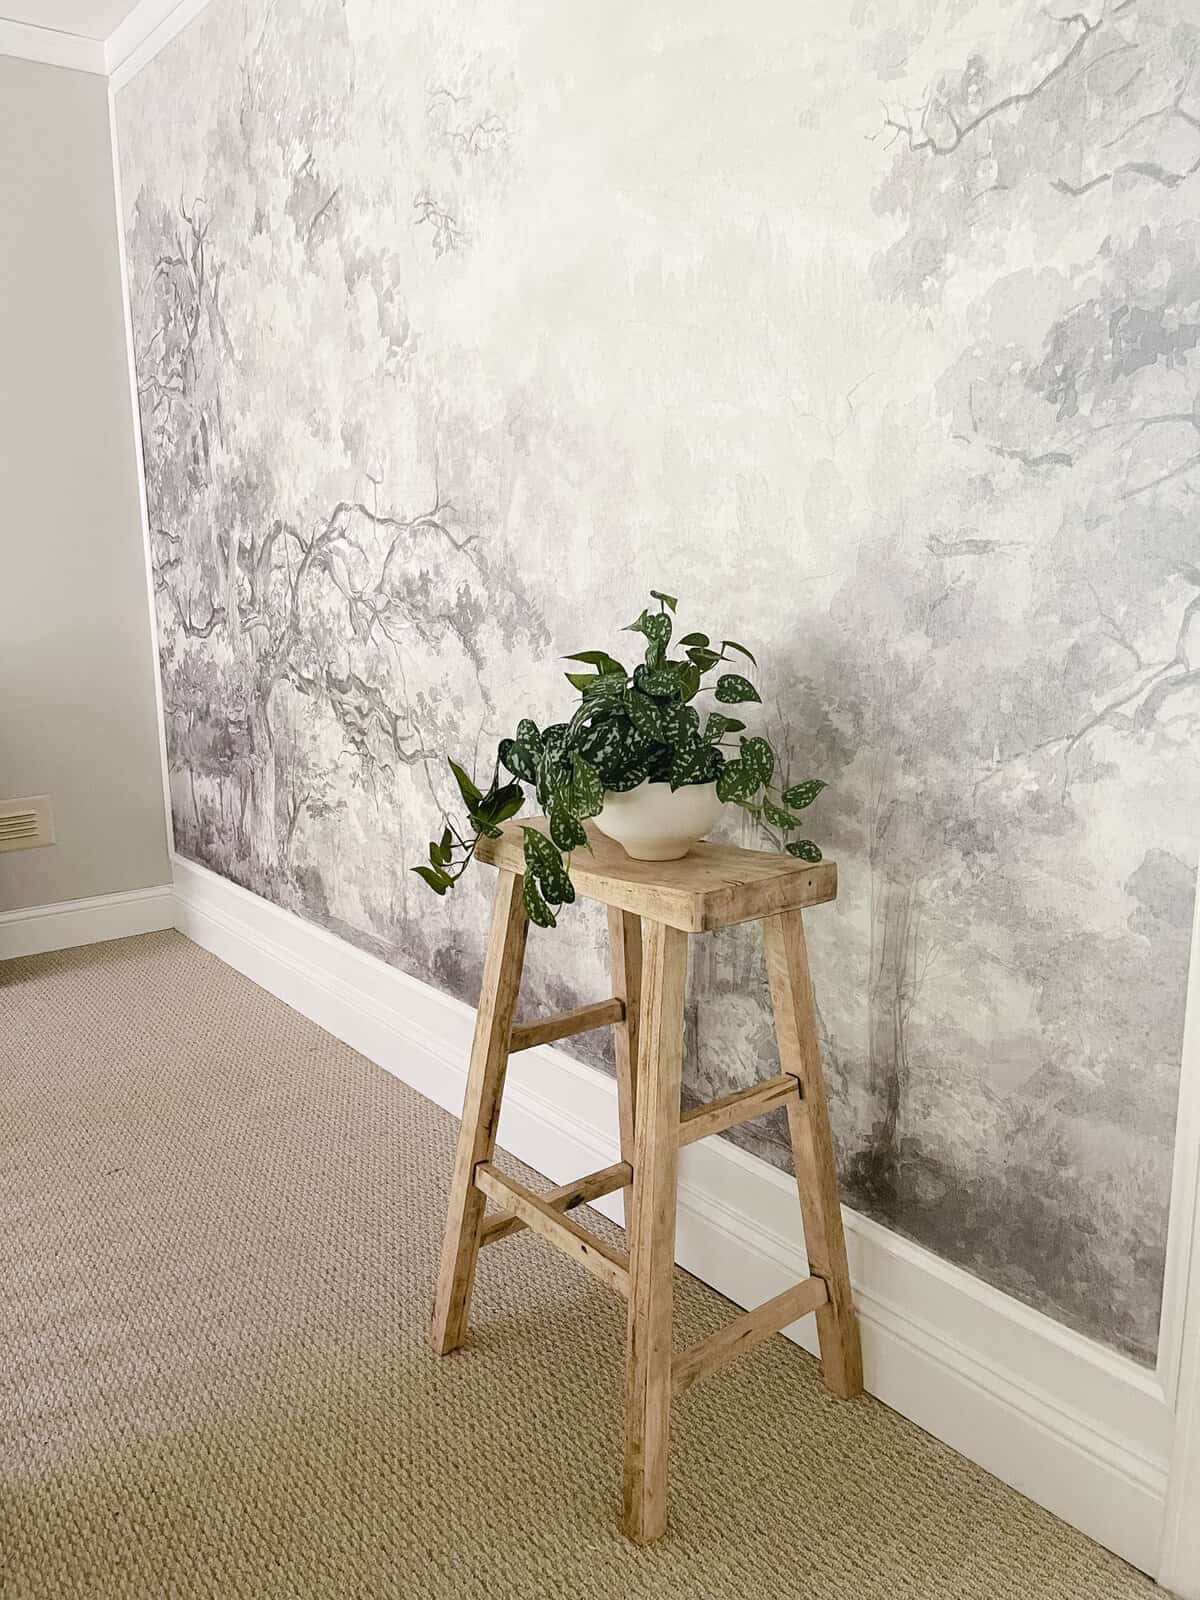
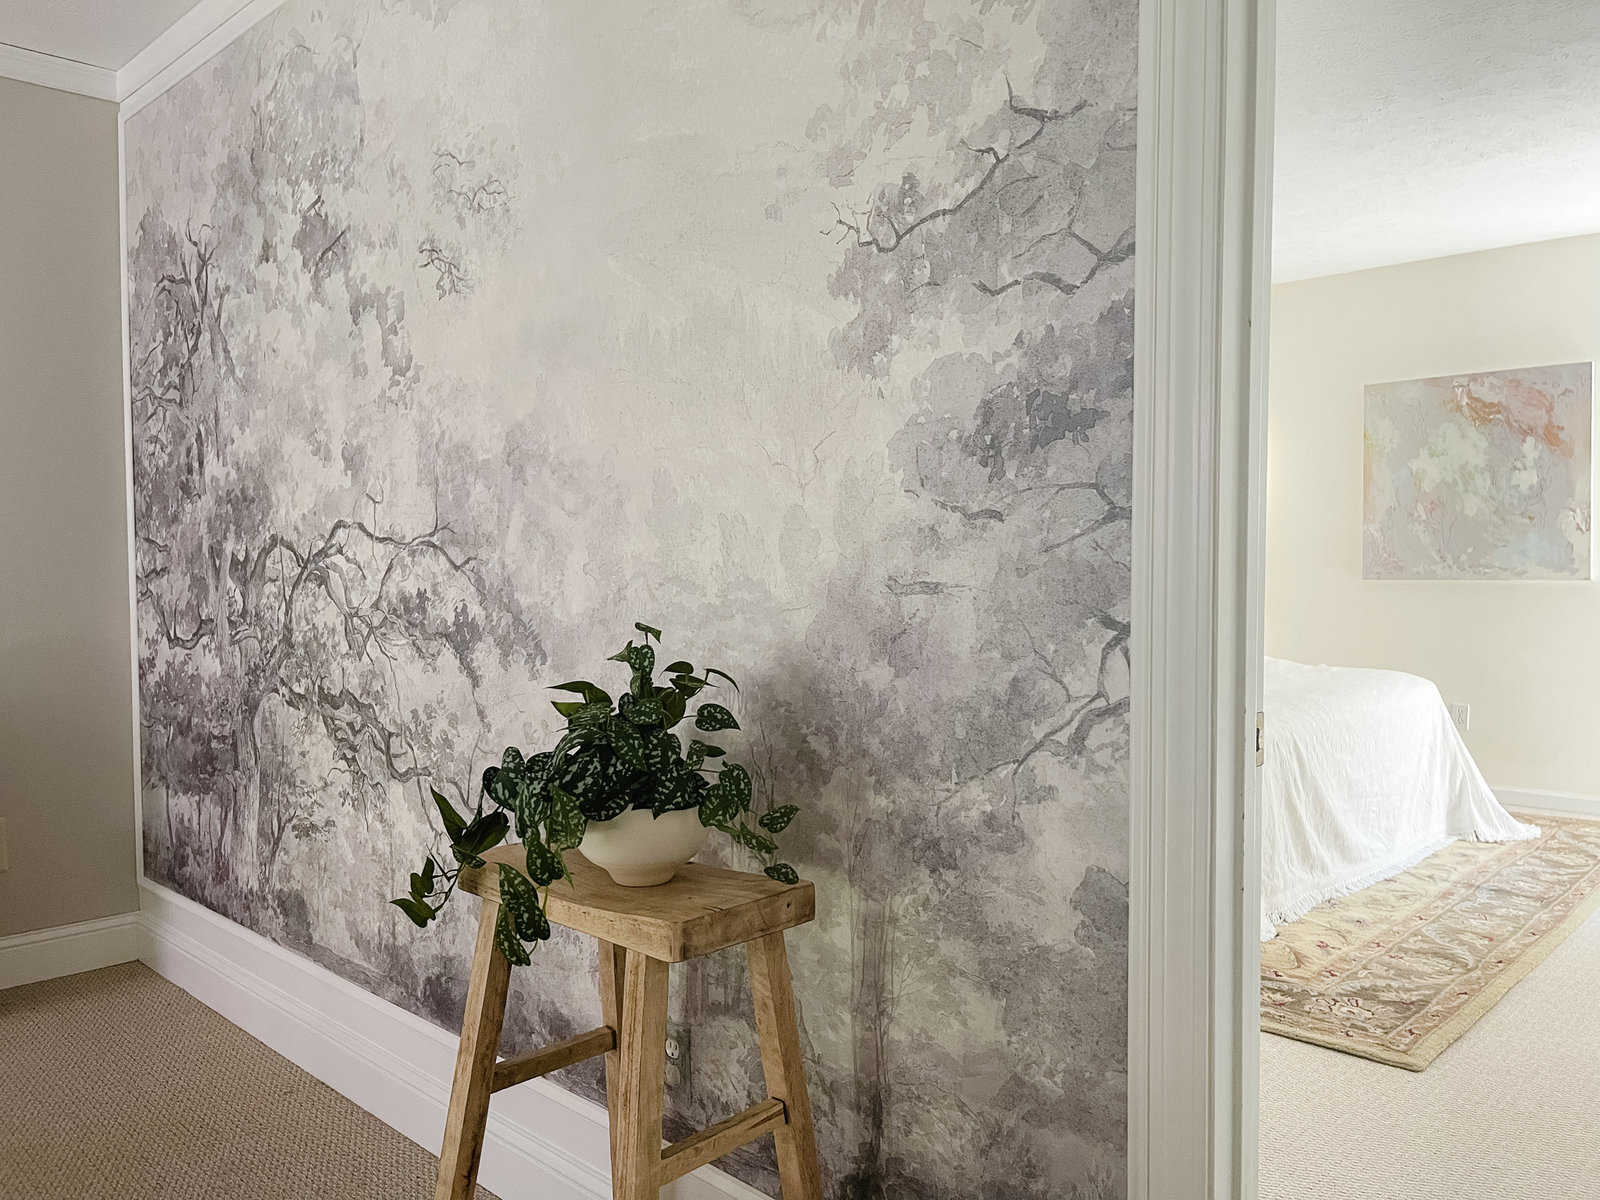
Voila! My quaint mural forest scene was up. When I stood back I saw the mural needed a little something else. I didn’t like the gap at the top and bottom of the wall. When in doubt, add molding. So I did.
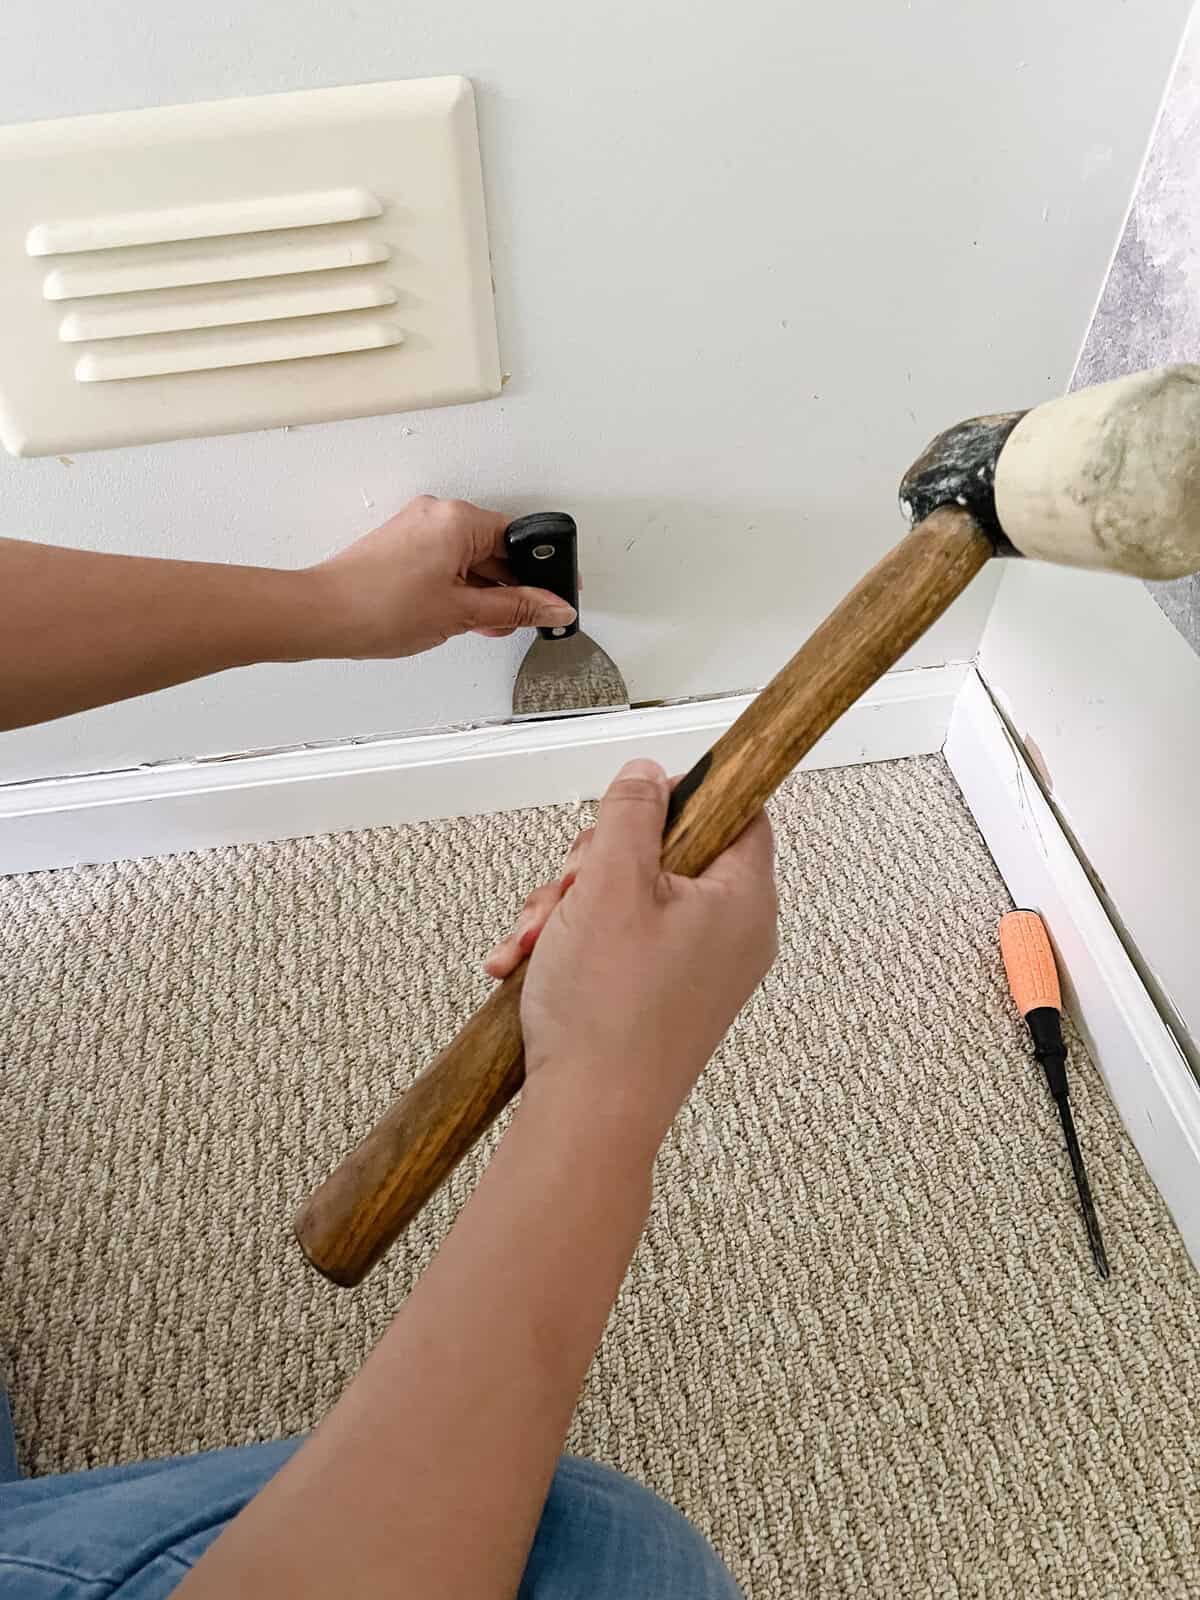
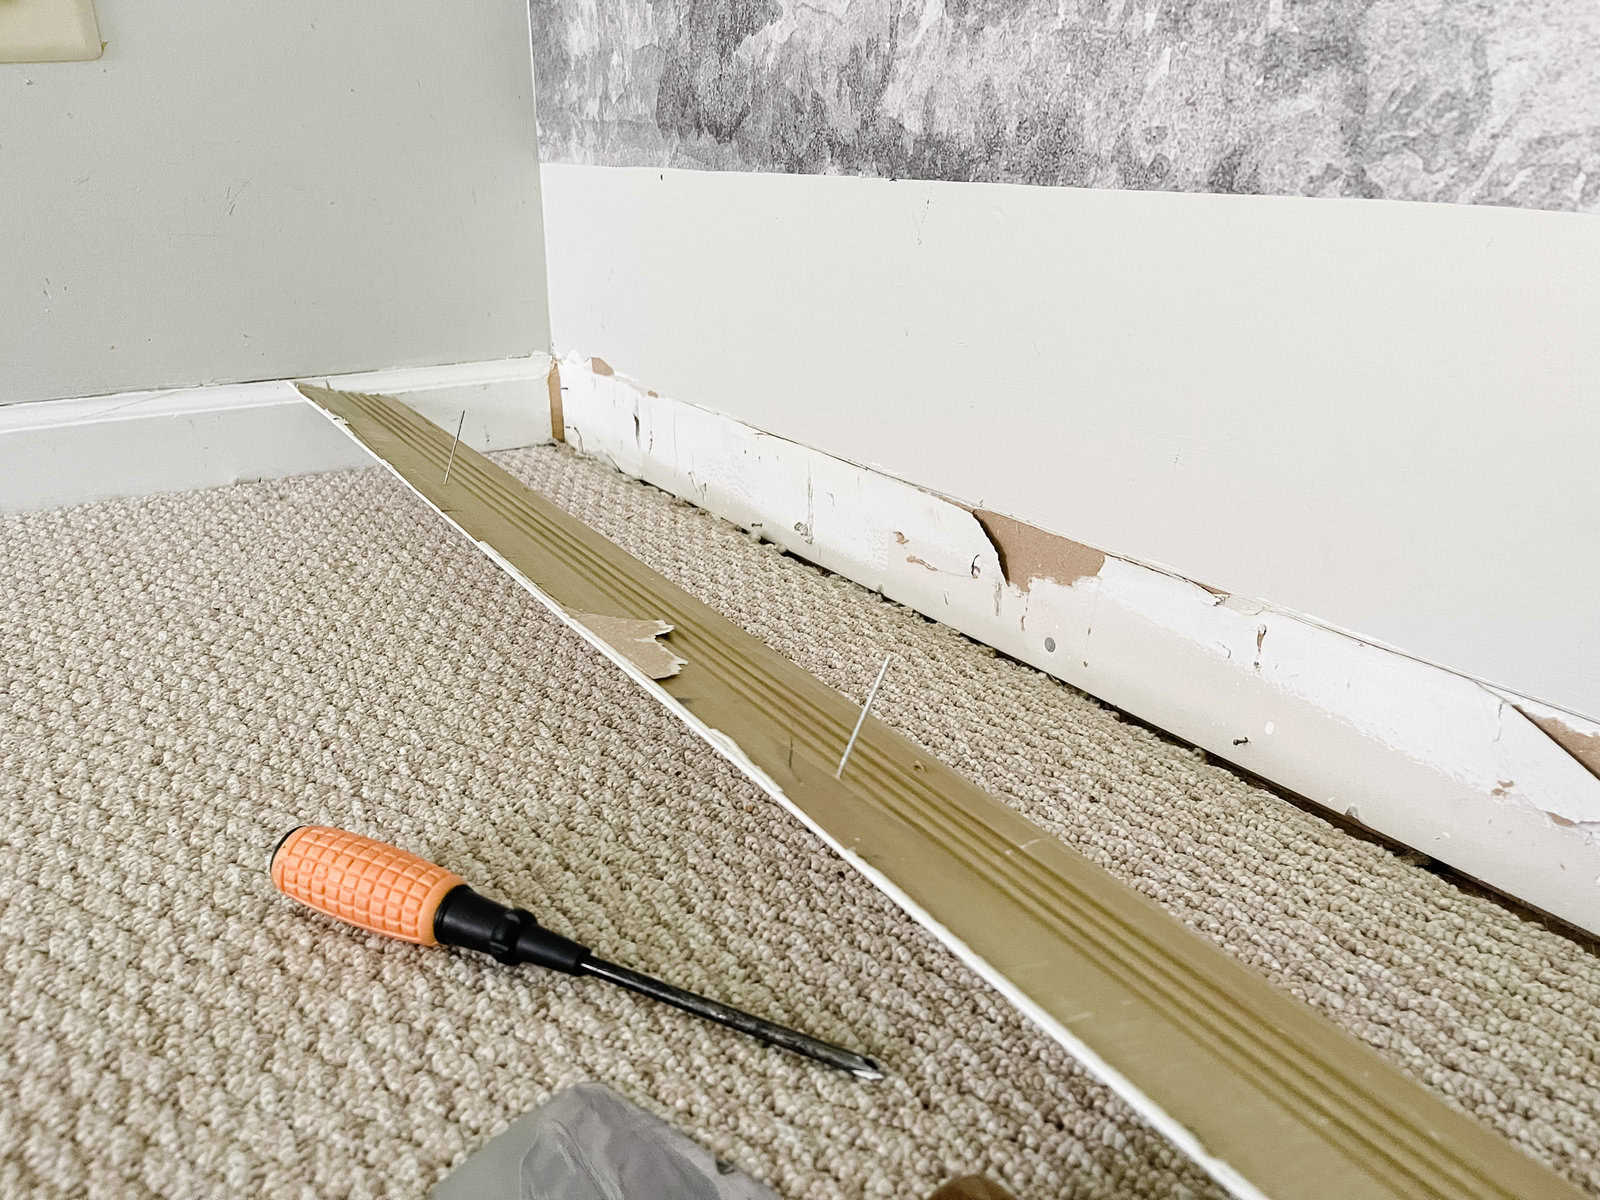
Remove Old Molding
I began by removing the existing builder grade floor molding. Don’t underestimate the impact of upgraded molding, it’s worth every penny. First, I used an Xacto knife to cut the old caulk between the molding and wall.
The I used a paint scraper and screw driver to separate the molding from the wall.
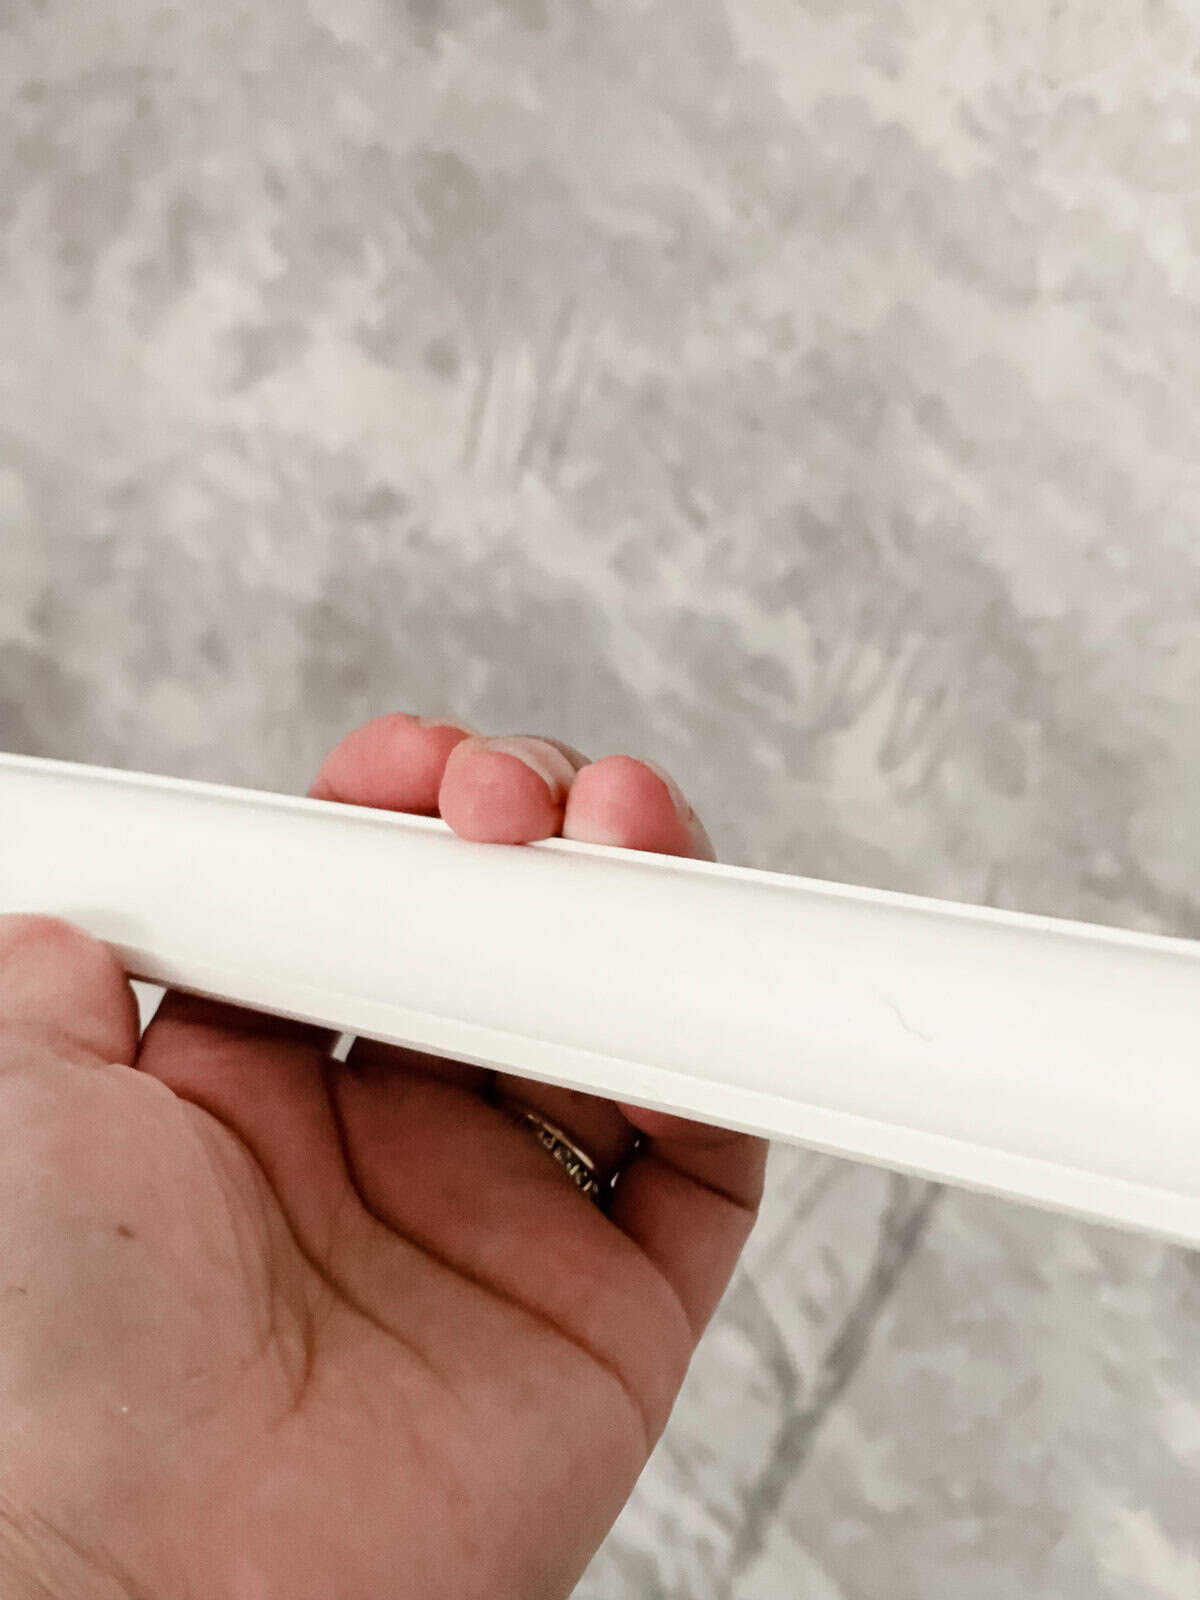
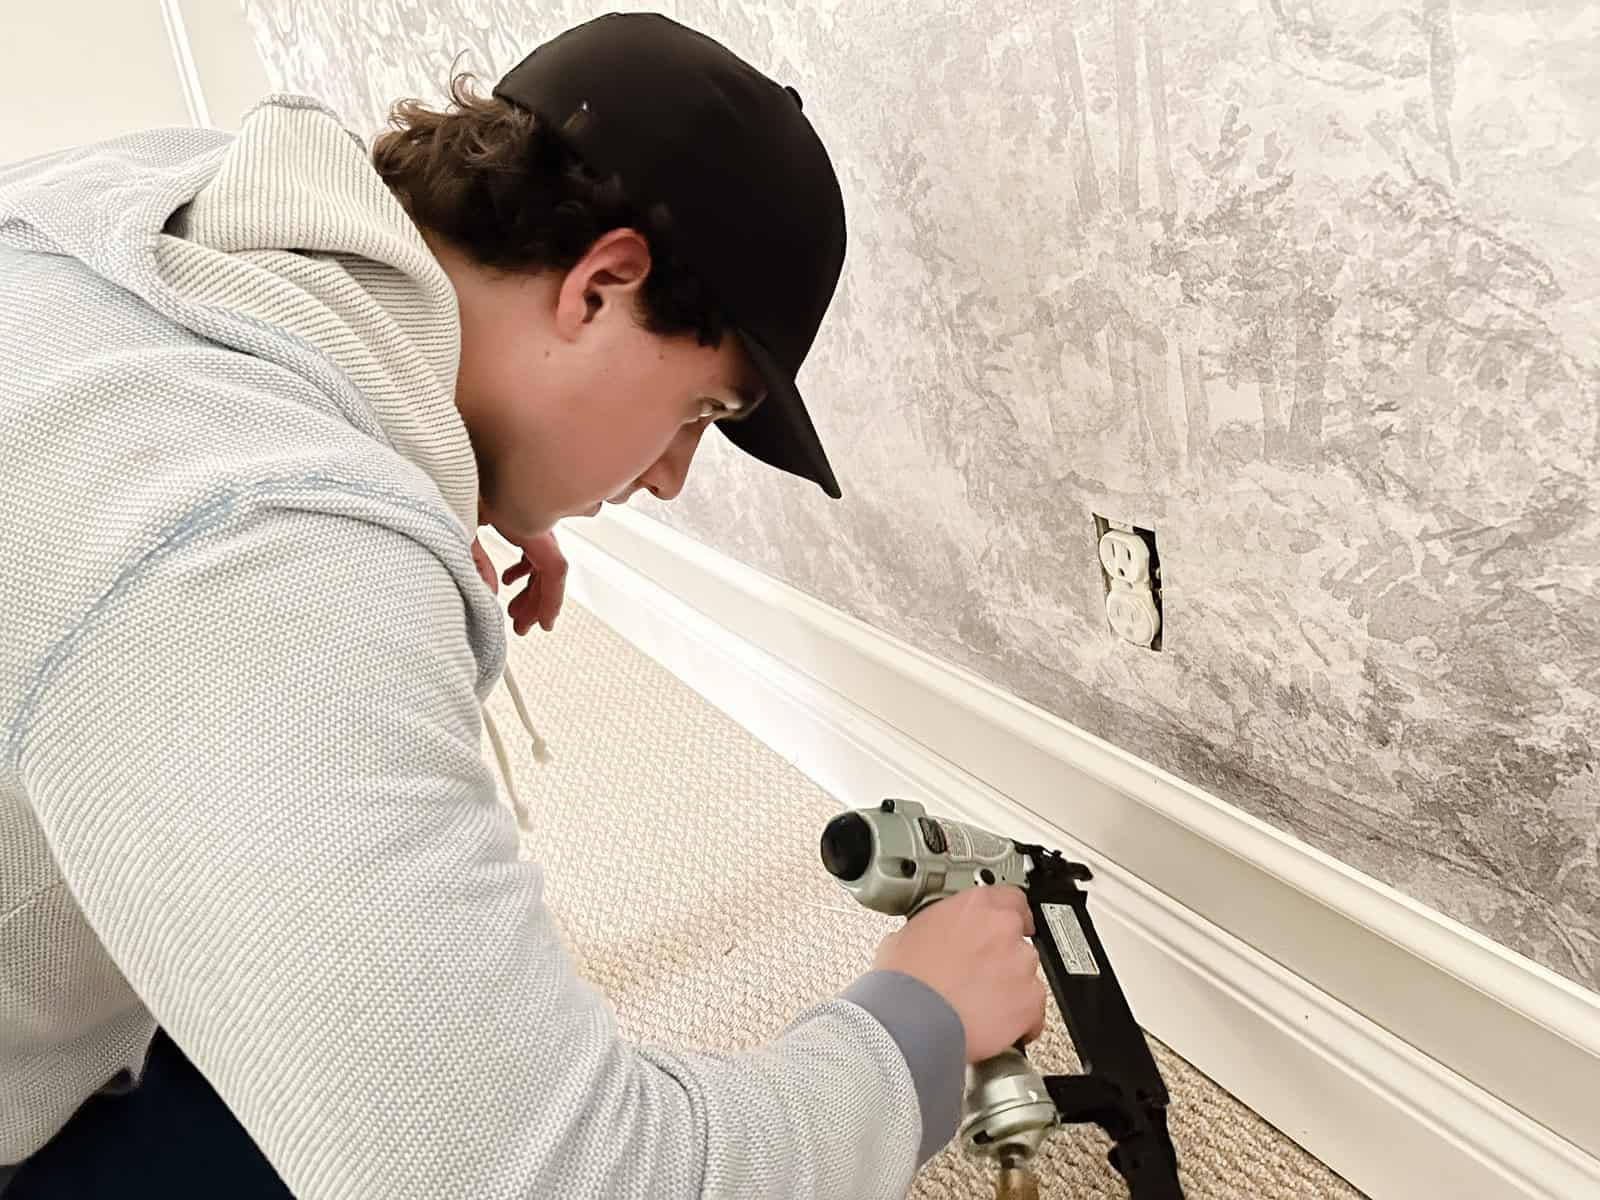
Add Trim
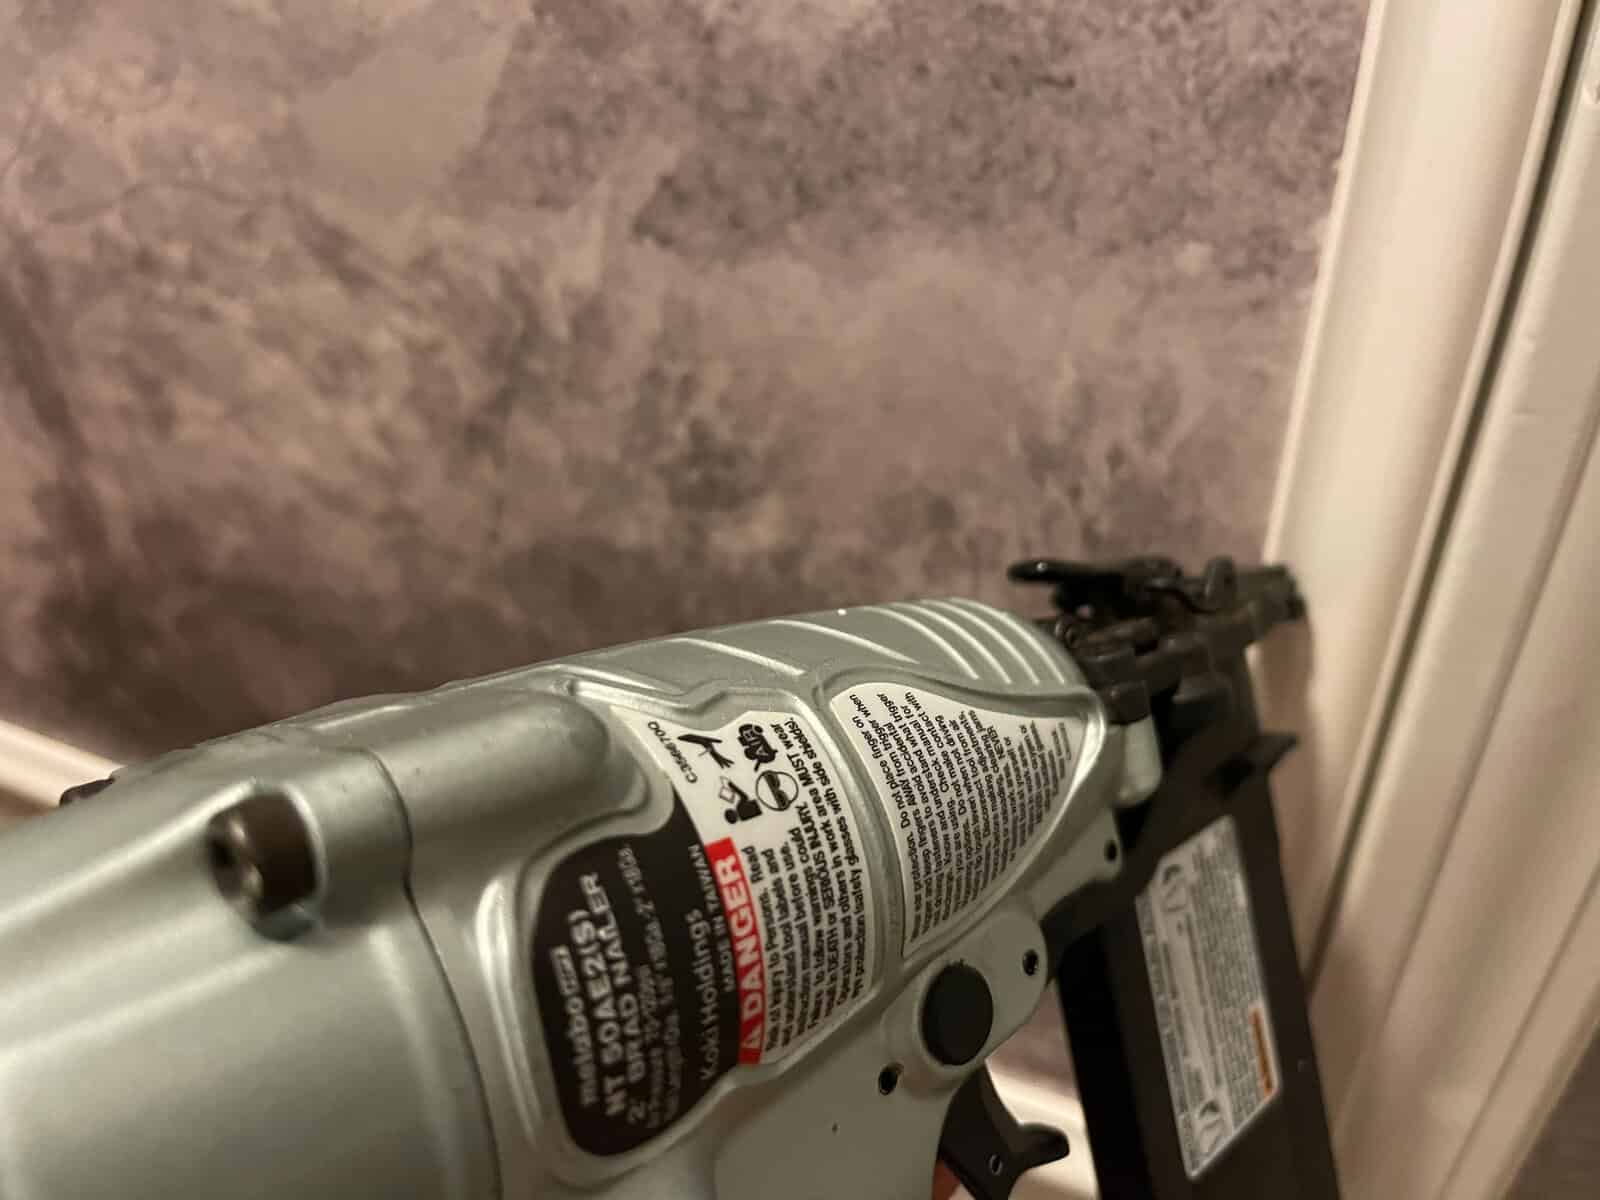
I found a trim the size I wanted to frame out the mural, and used a nail gun to attach the trim to the wall.
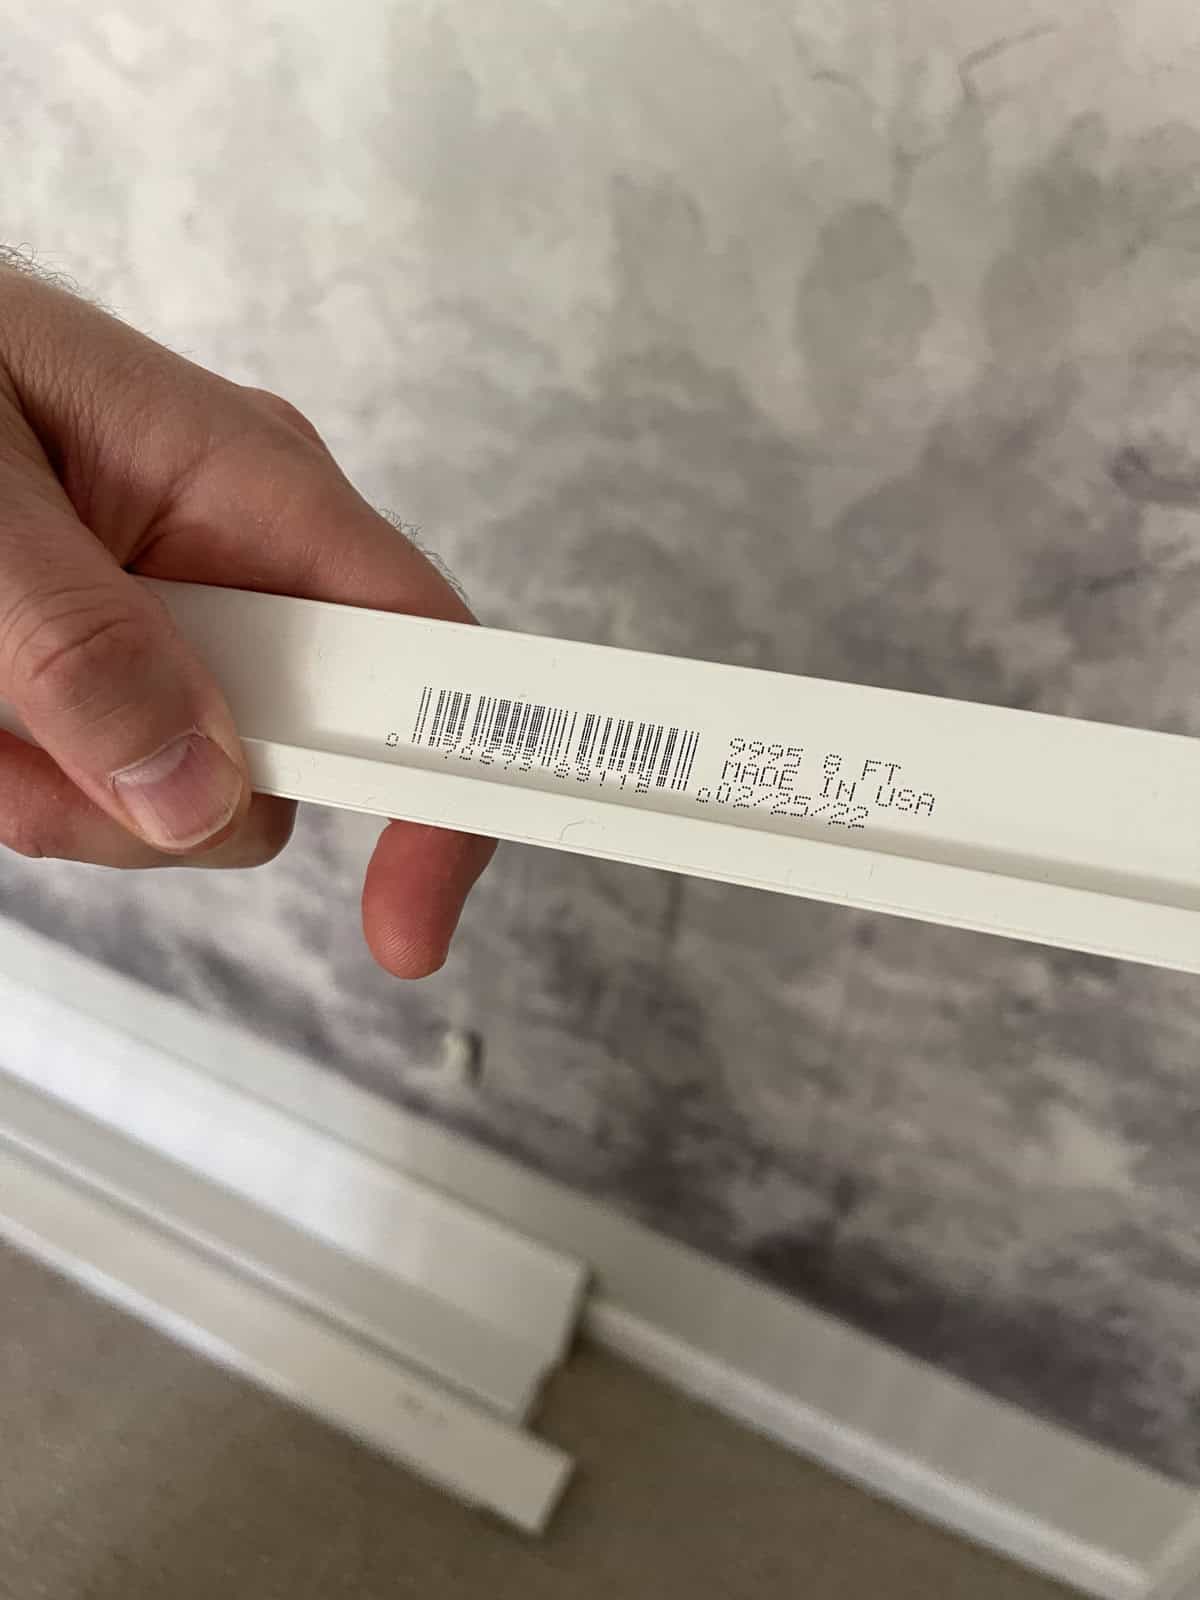
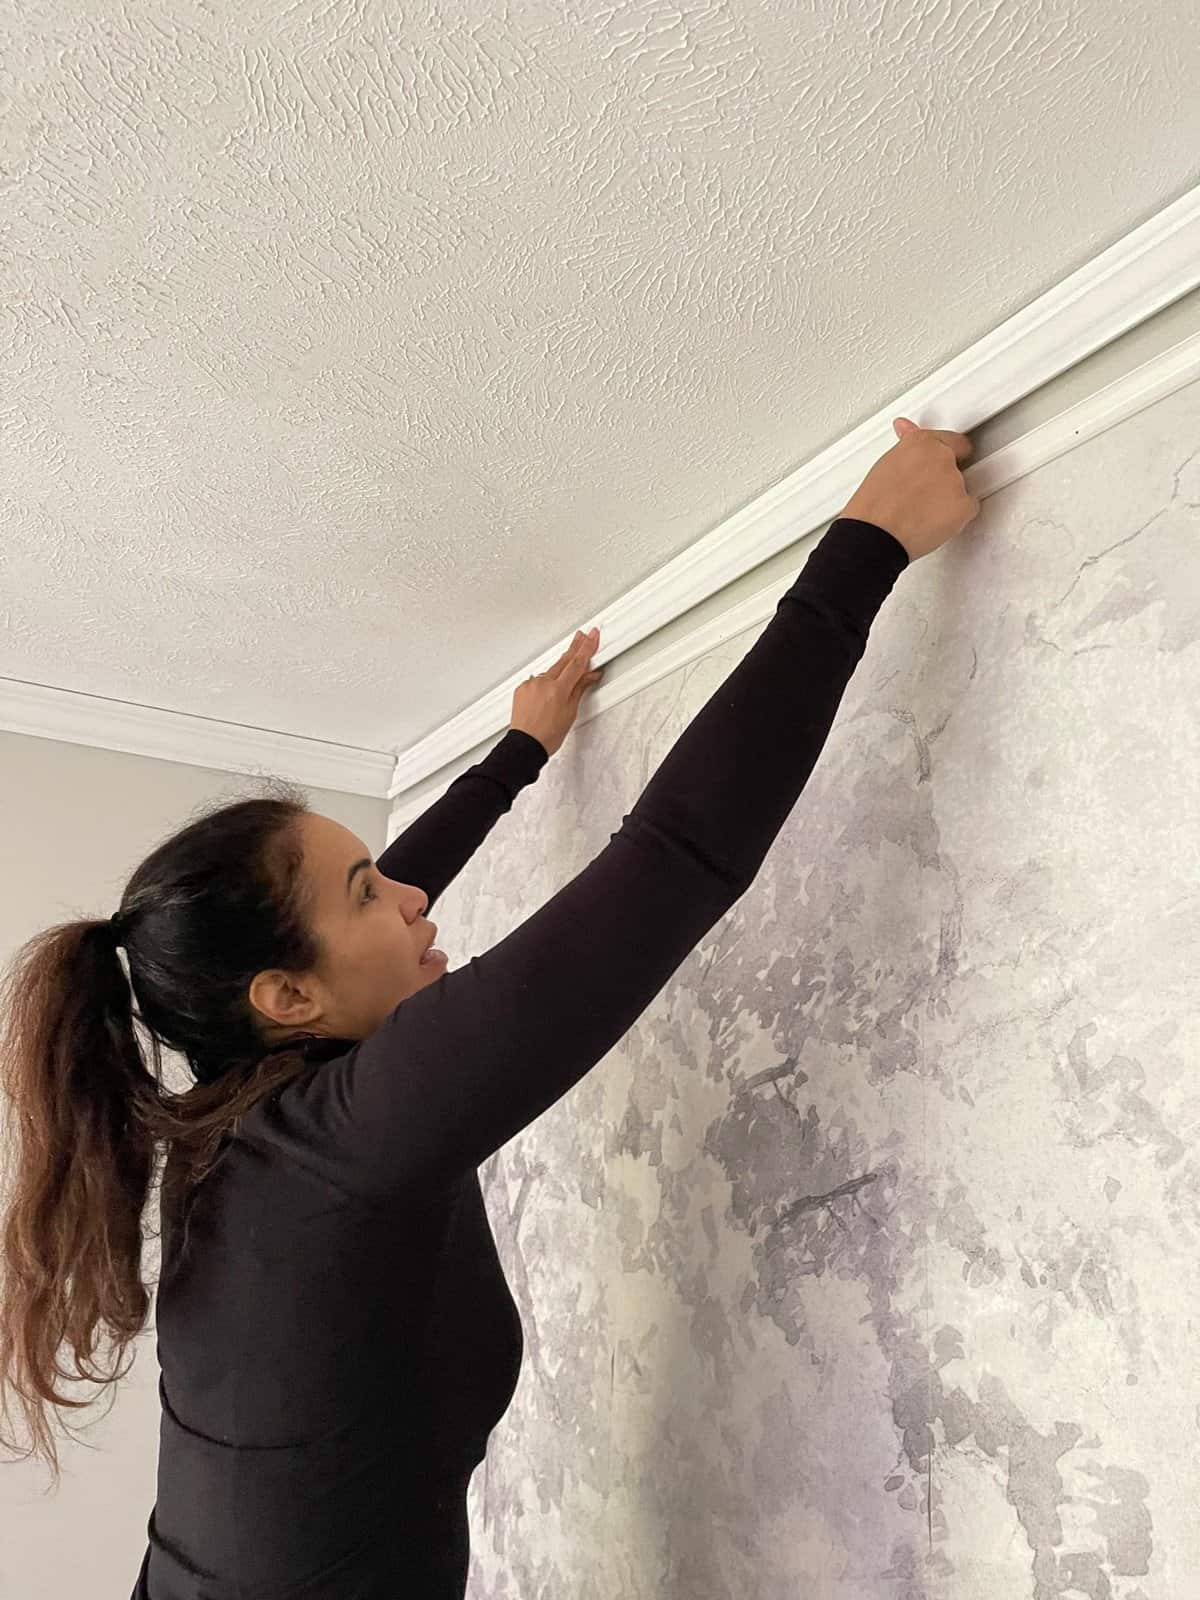
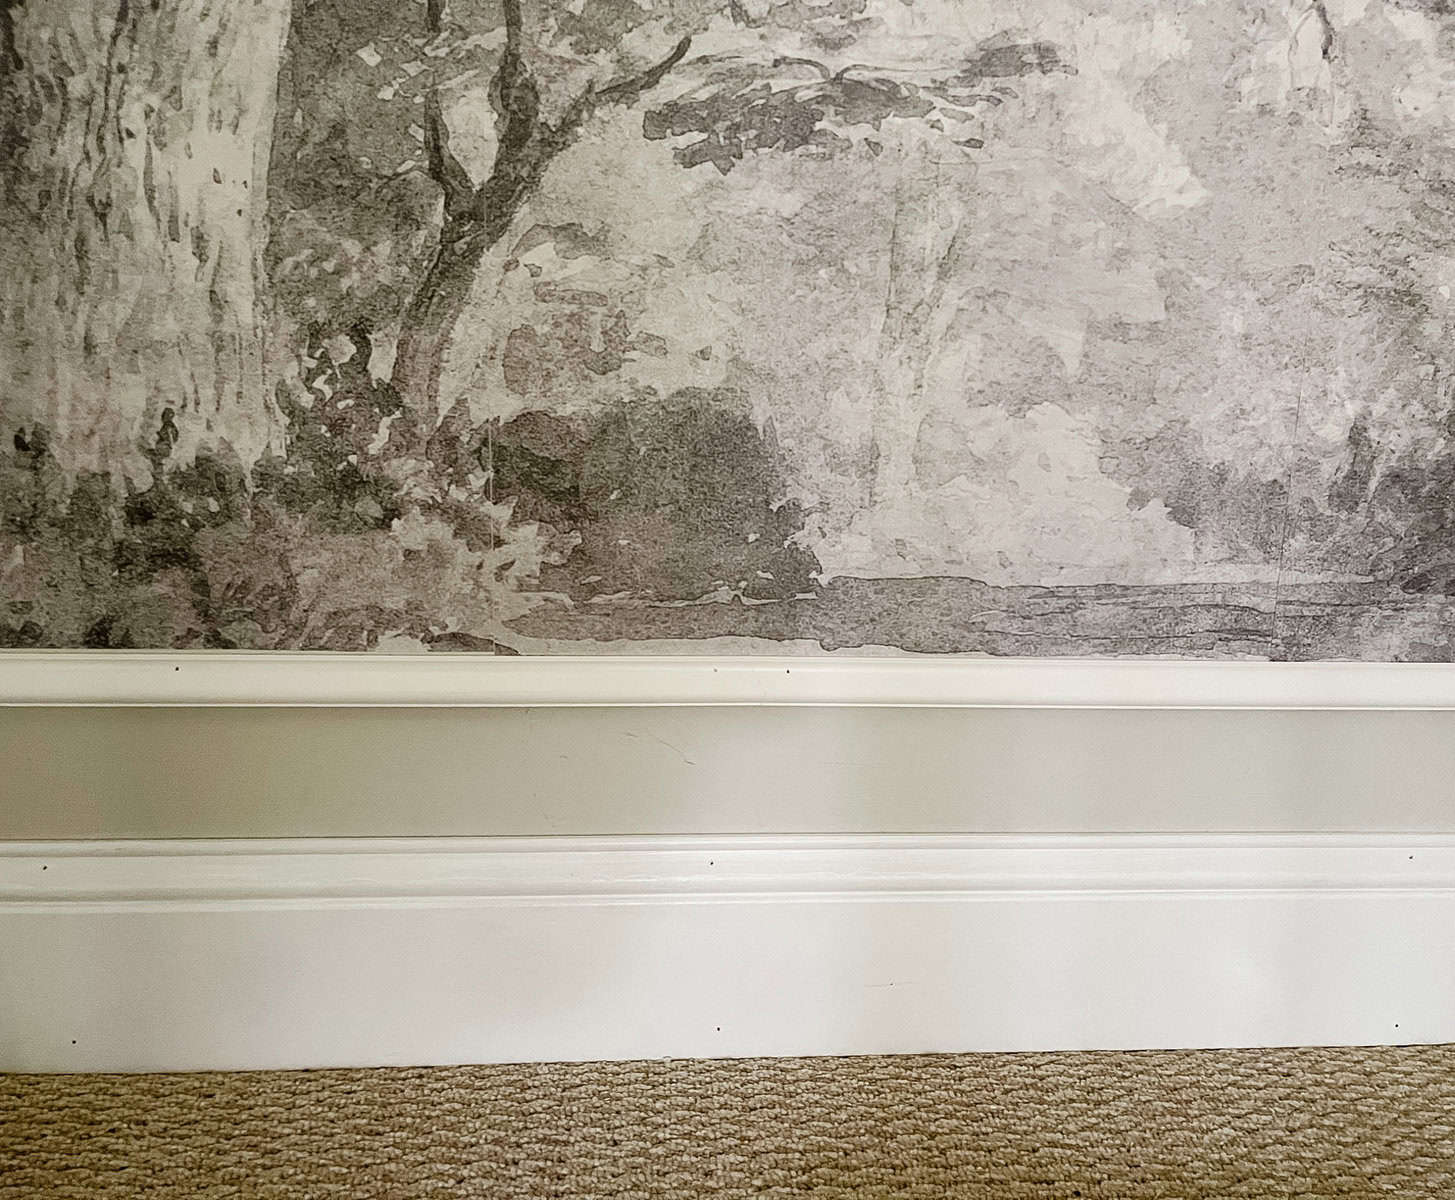
For the crown molding and baseboards I went with larger pieces of molding for a grander look to support the vintage feel of the mural.
Although I didn’t mind the gray color of the wall between the white trim and molding, I felt it drew attention away from the mural.
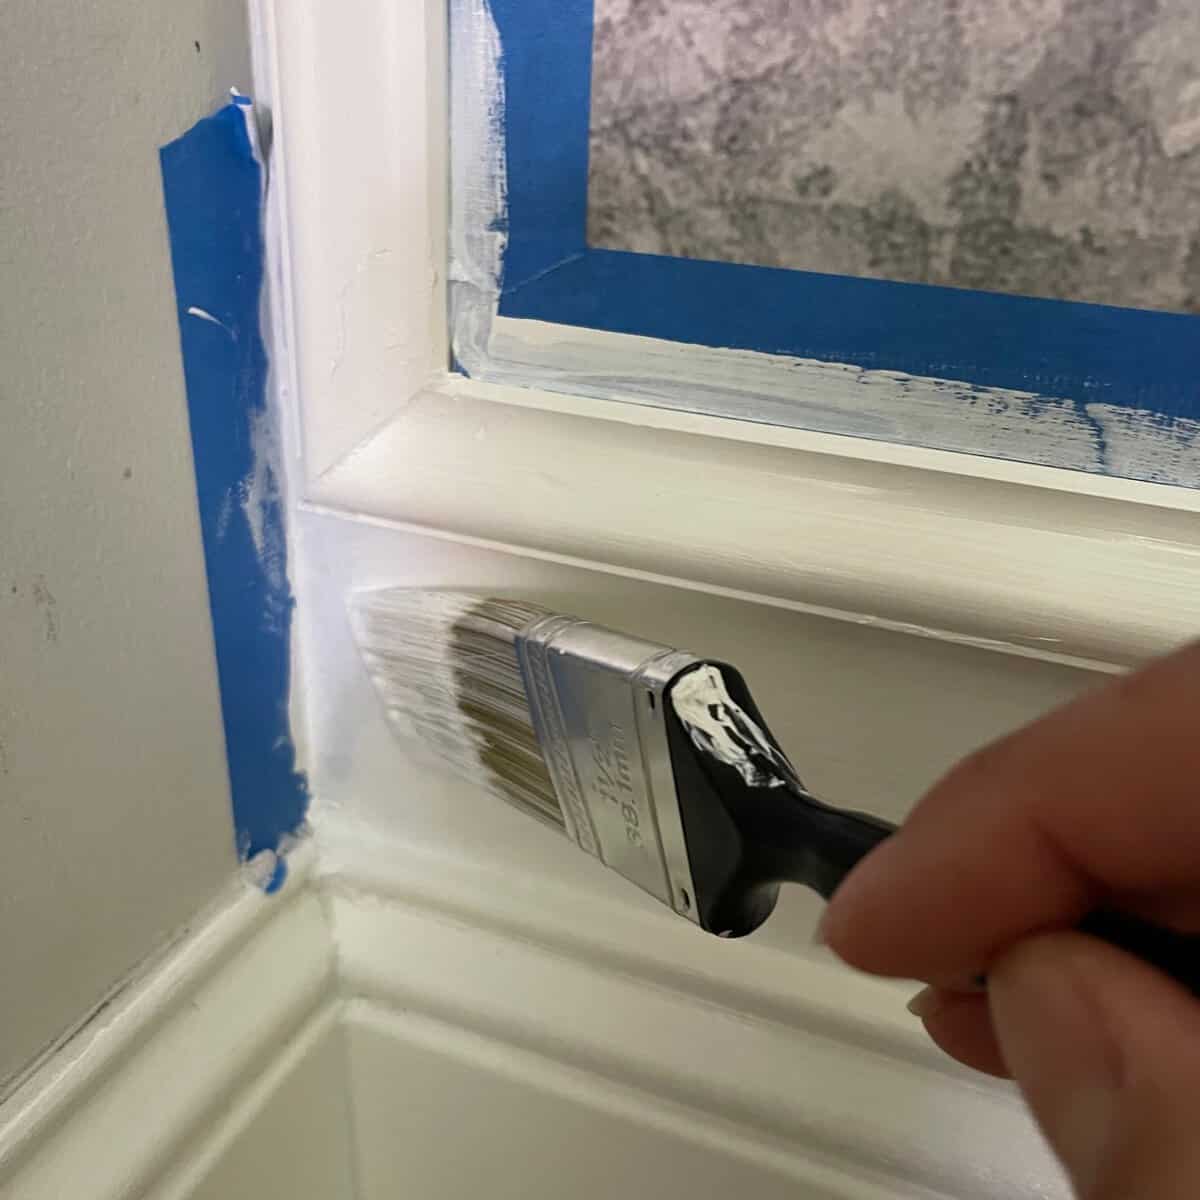
White Paint on the Wall
In order to give the illusion of more molding I painted the gray wall between the two moldings white. This unites the two moldings making them look like one visually. It also draws the eye to the center and mural. Game changer!
An Artistic End Result
The end result was better than I had hoped. It looks like a painting in an art museum! Super satisfying to see this all come together. The best part is adding trim comes at a minimal cost and adds to the value of your home.
ONE LAST DETAIL
Camouflage the Outlet Cover
With such a beautiful mural to admire I needed to find a way to camouflage the white outlet cover on the wall. All it took was mixing together black and white paint, as well as a little confidence.
I painted right over the cover and tried the best I could to make the outlet cover fade into the mural picture. So much better than a glaring white rectangle disrupting the peaceful woodland scene.
Check out our Instagram @purehappyhome and see the video of how I did this wall.
If you haven’t already tried wallpapering I highly recommend it. It took me a long time to finally give it a try and really I made it out to be much harder than it was. Now I’m deciding where I’ll use it next!
Let me know how you think I did and if you’d try this in your home.

Click HERE to see this project was featured on the Fabulous Friday Link Party!
MORE TUTORIAL INSPIRATION

SAVE IT FOR LATER
Pin this image to your Pinterest account for later!


Hi Maria – Thanks so much for sharing this post with The Fabulous Friday Link Party. We are sharing it as a feature this Friday.
Oh my goodness thank you so much Lynn! That’s super exciting! I’m honored, and will link back to that post here.
This is gorgeous Maria! Thanks for sharing at Fabulous Friday Link Party! We’re so happy to be featuring you this week!
Hi Diane, Thank you so much for featuring me! What an honor, you just made my week friend. Blessings!
Maria!! This looks stunning!! Love it!
Thank you so much Anna! I smile every time I walk by it.
oh my Maria, You do have your own art museum at the top of your stairs. This came out beautiful. Thanks for stopping by and helping us kick off our first link party.
So happy to join you talented women! Much more fun to talk all things home with those who love and appreciate it as much as you do. 🙂
Wow – love this! And now I know to use molding to fix my problems too! Thanks for the inspiration and the advice. 🙂
Yes totally Barbara! Thank you, I underestimated the power of molding for far too long. lol
Marie, I absolutely love this! You must smile every time you walk up the stairs and see the beautiful scenery.
I learned to wallpaper with my mom when you had to soak the paper rolls in a tray of water. Very old school 🙂
Your mural wall looks amazing, Maria! Great project!
Maria, we are featuring your wallpaper mural at our home imagined link party #2 (Tuesday 9am-Thursday 5pm standard Eastern time). Hope to see you there! congrats.
Thank you so much Meagan, I’m honored!