
Welcome to How to DIY an Inground Trampoline Part 2.
All the hard work of putting our above ground trampoline in the ground for a safer play space, was so, so worth it!
Go here to read about how we did it in Part 1.
How to DIY an Inground Trampoline Part 2
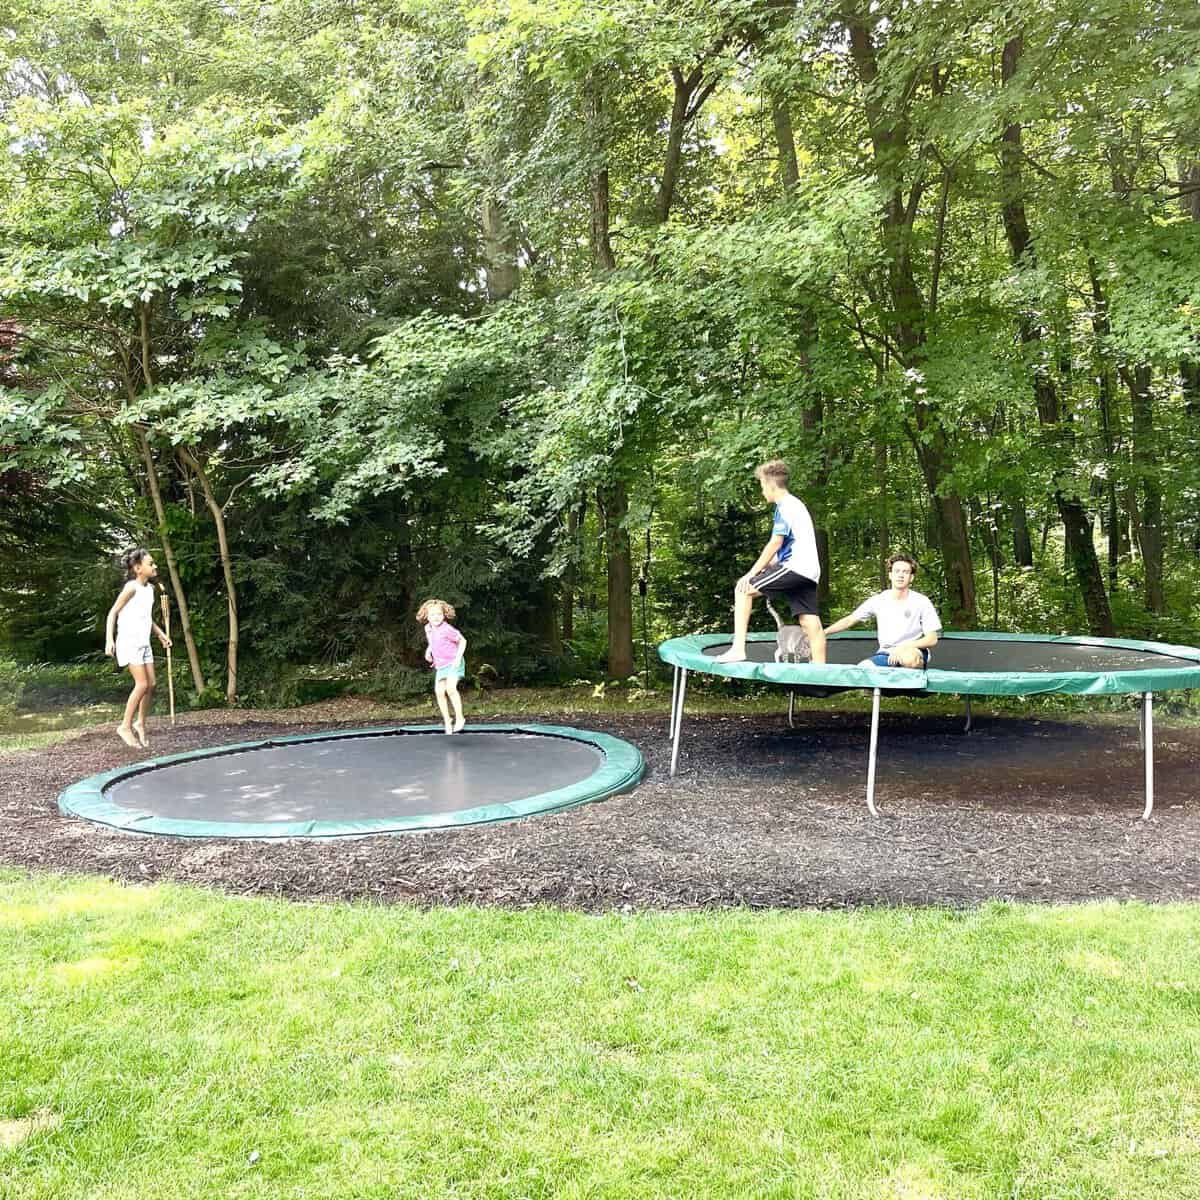
The trampoline is finally in the ground! The kids love it and Jeremy and I really like how easy it is for the little girls to get on and off to jump.
Trampoline safety has been doubled. Our boys were right. There, I said it!
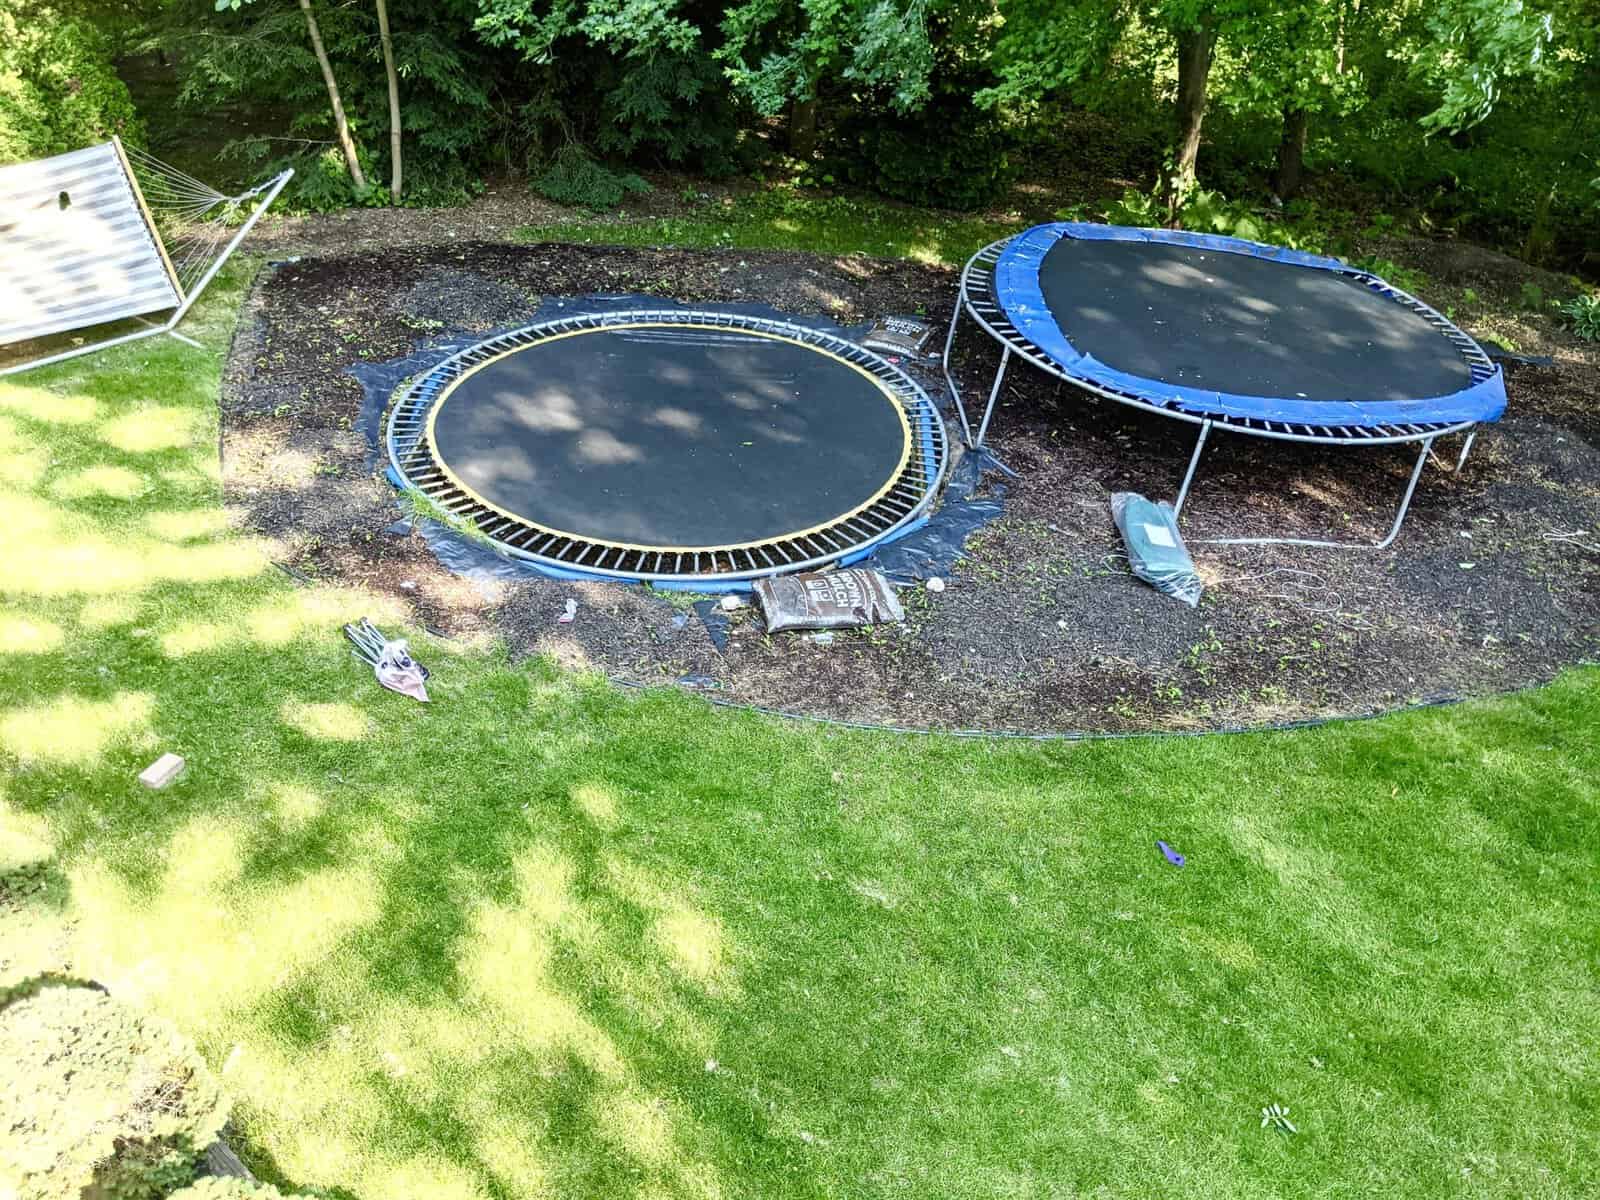
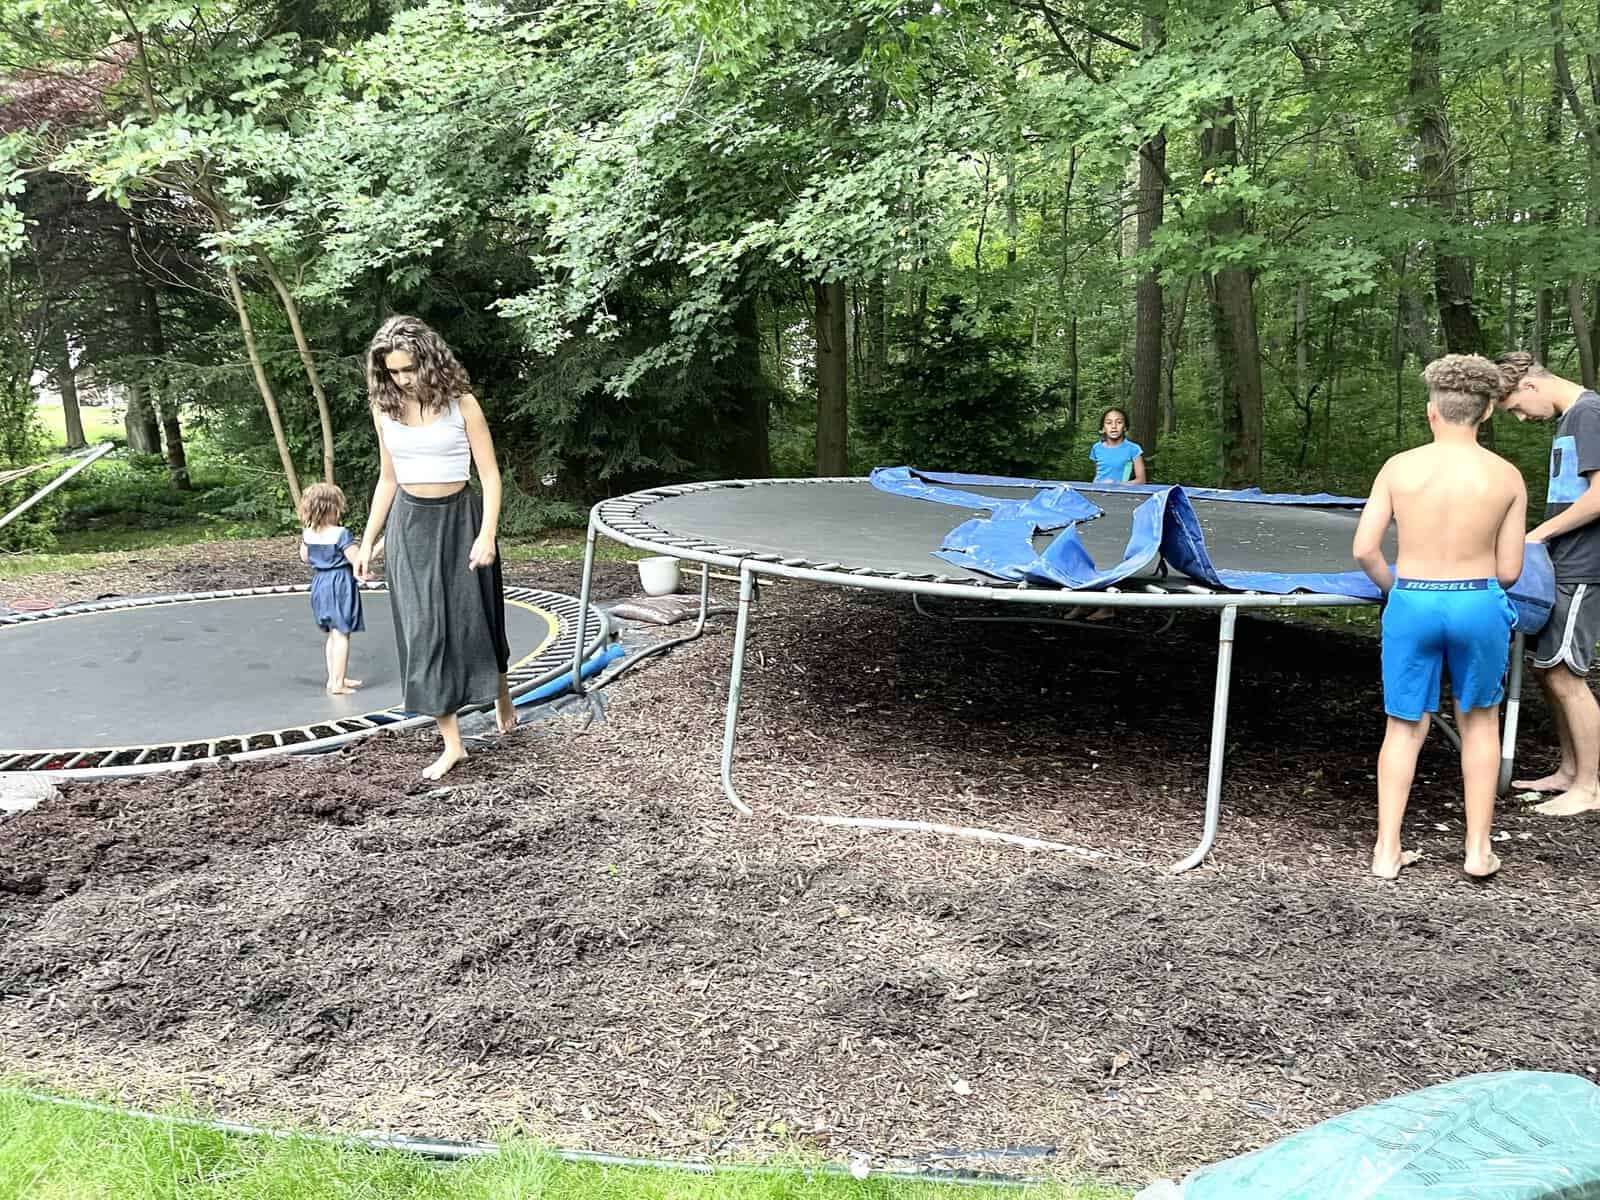
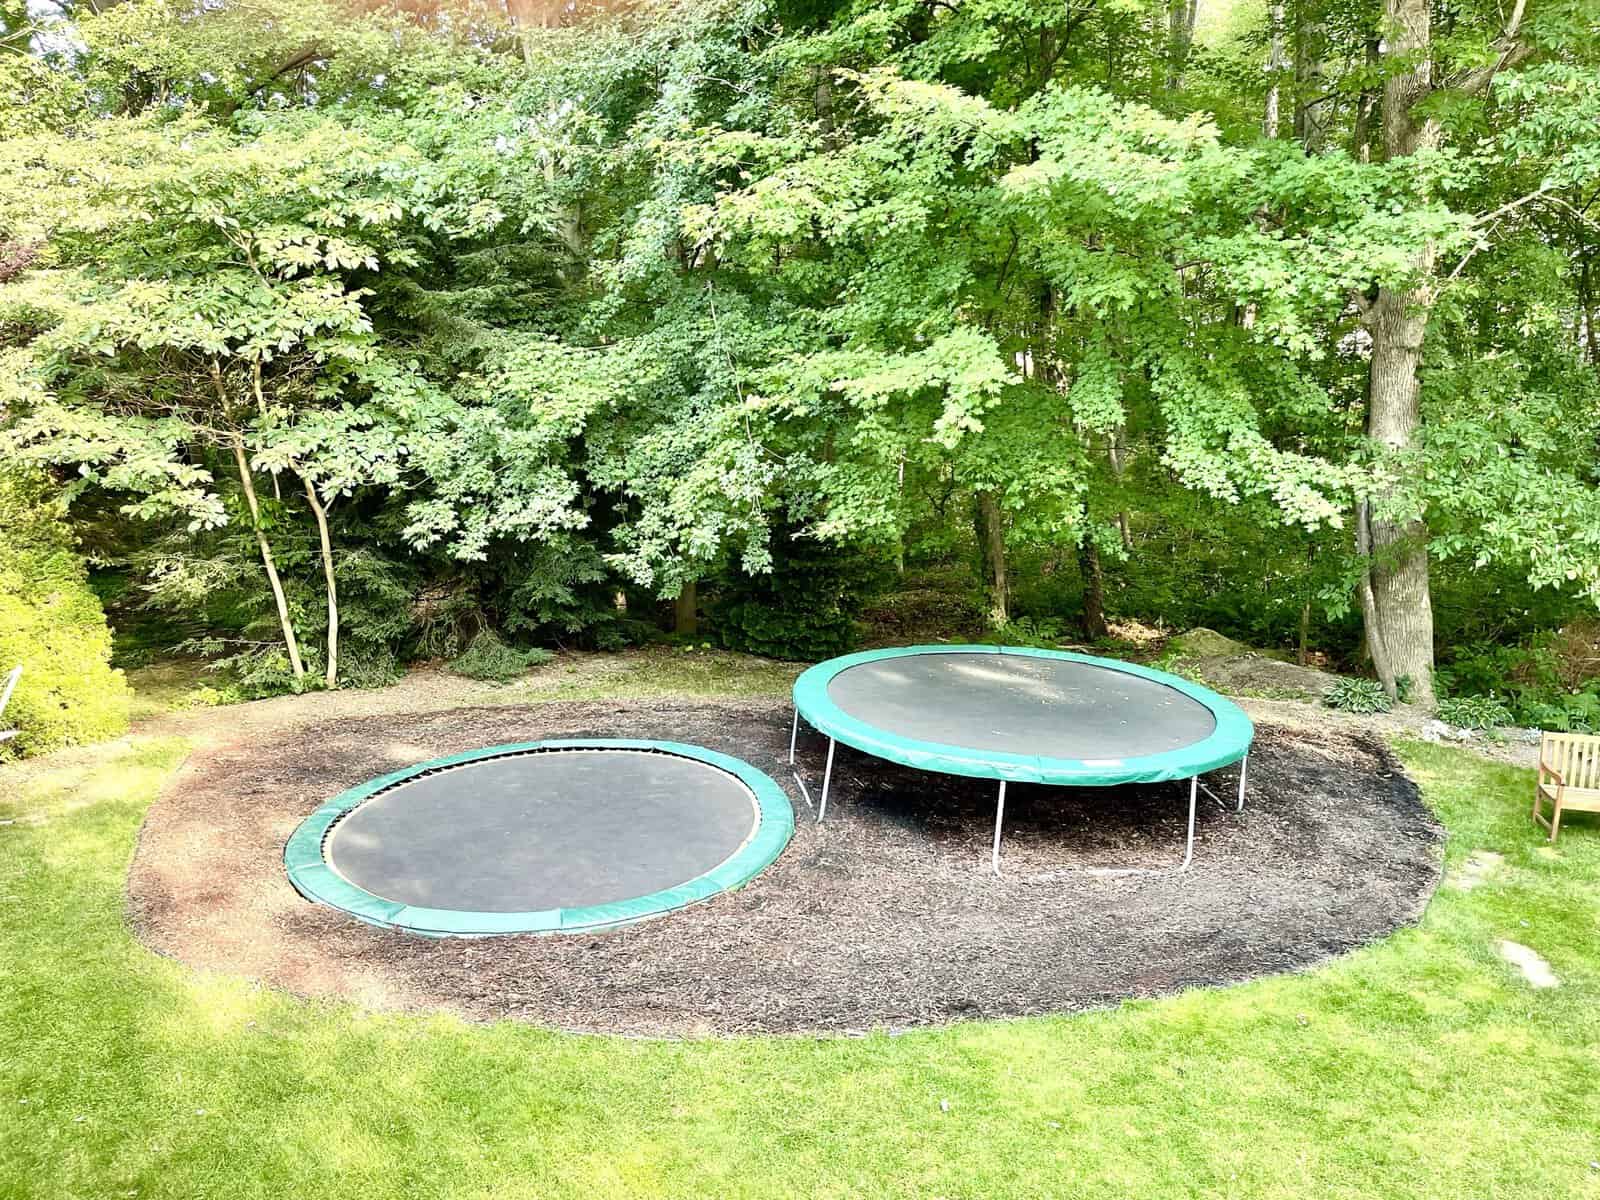
What was left was an area of our yard that didn’t look so great. Here’s where we left off after getting one of the trampolines in the ground and moving the other next to it.
The age old phrase, “hot mess”, comes to mind.
How Landscaped Around Our Inground Trampoline
Filled In Around the Trampoline
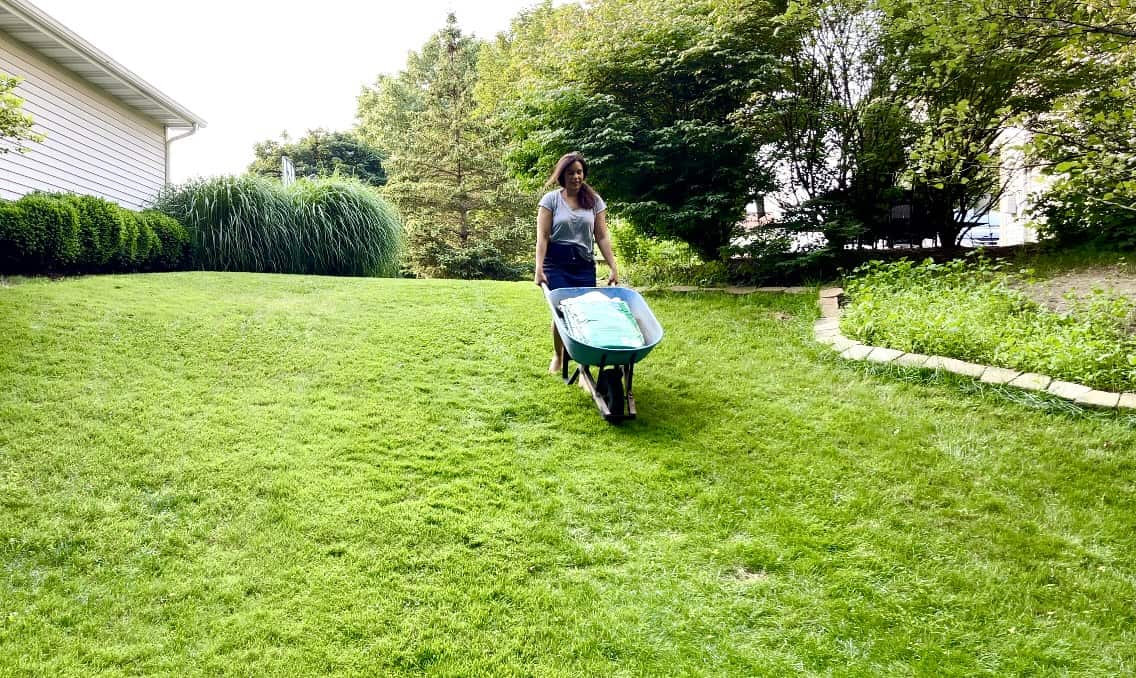
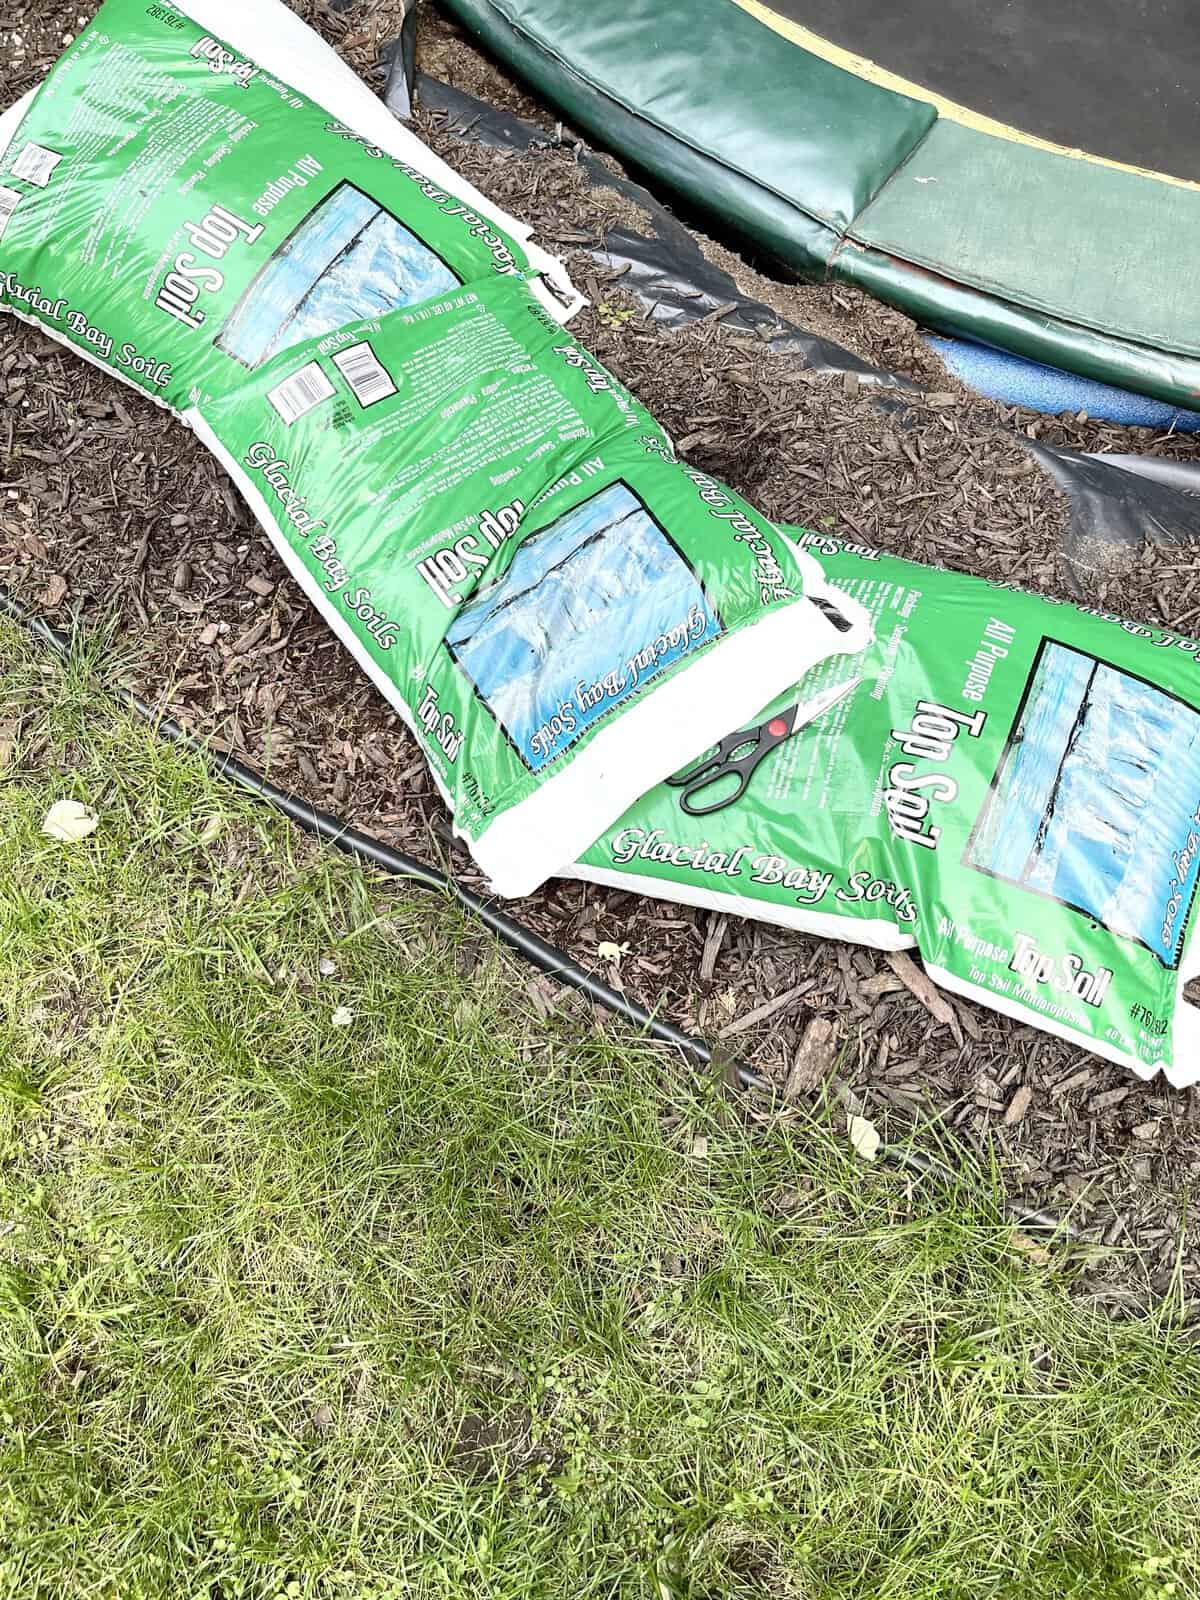

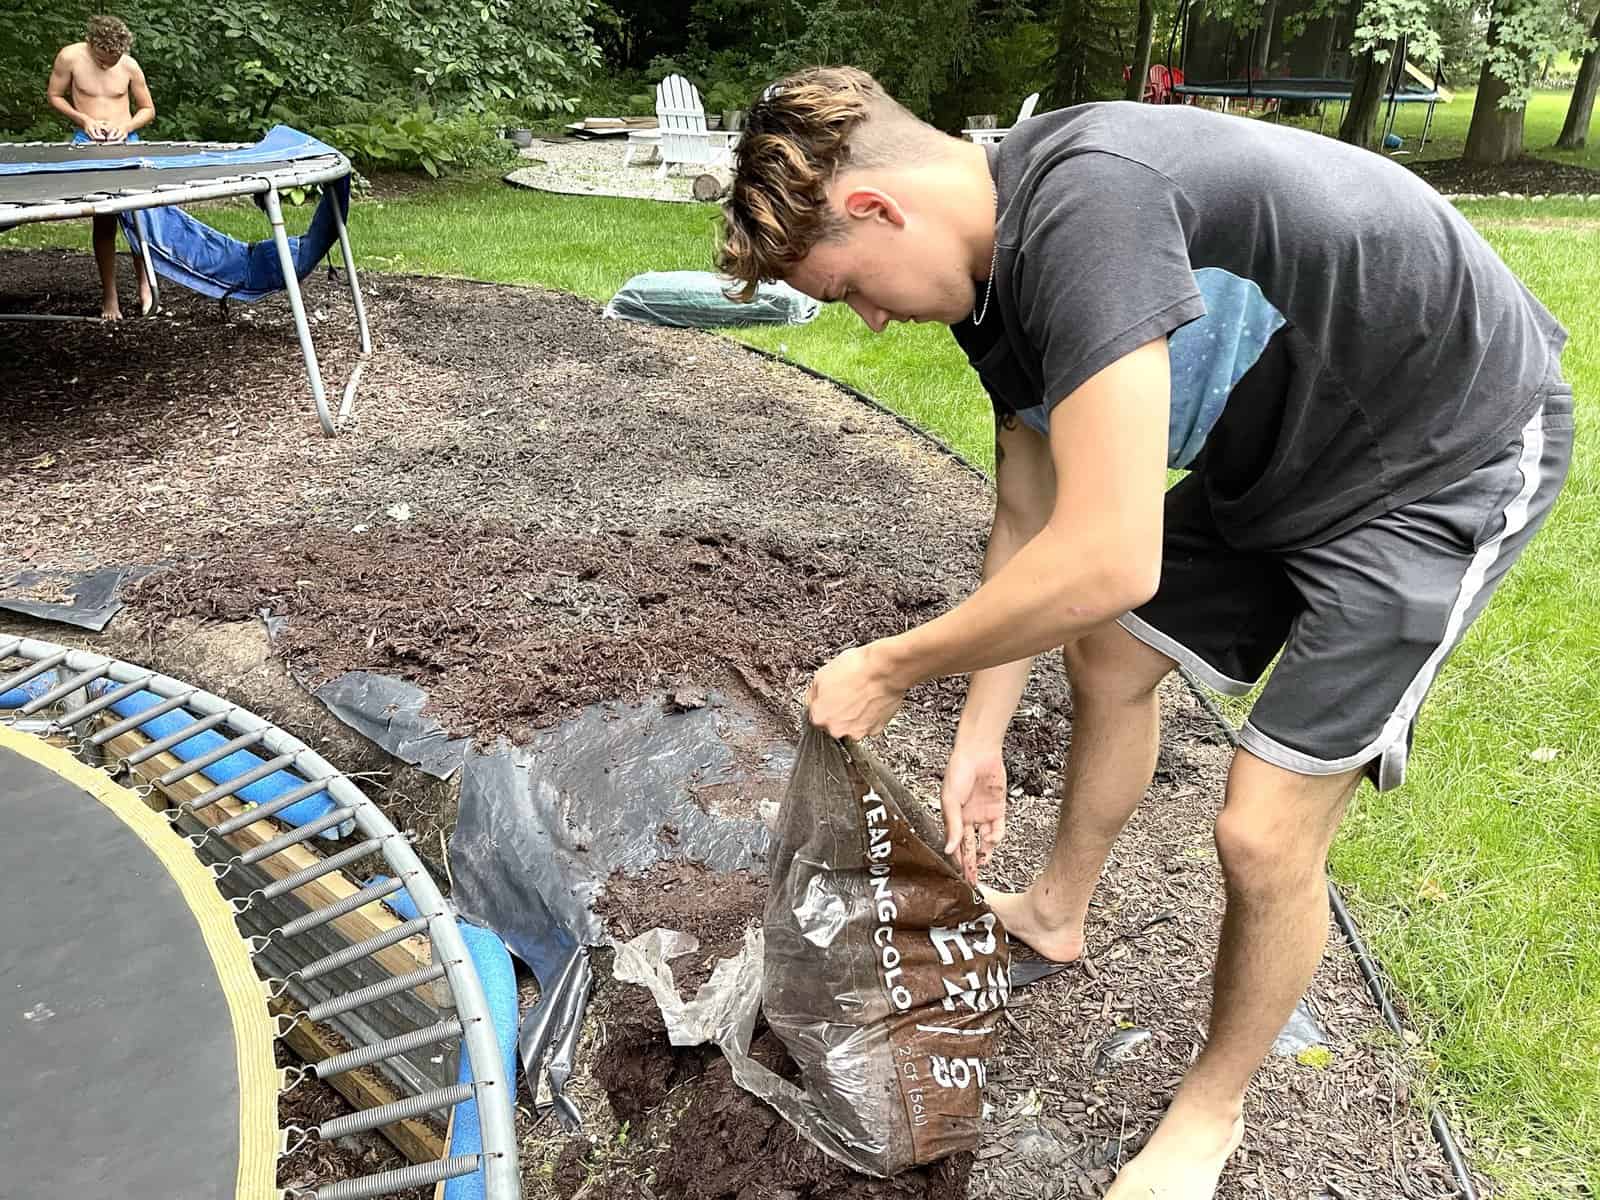
Several trips up and down our hill were made to bring in bags of dirt. We needed to fill in around the trampoline so that there was no gap between the earth and the trampoline frame for feet to slip through. When the boys initially dug the hole for our trampoline we used the soil for our raised garden beds. This meant another trip to Lowes for dirt. It took several bag of soil to get the job done but it was a must. We added mulch overtop the soil as well.
Lay Mulch Around the Perimeter of the Inground Trampoline
Instead of digging up the grass sod we laid down thick black plastic and added mulch over top. There has been minimal weeding and I like the look. It’s also has cut down on the amount of time it takes the boys to mow the backyard which they appreciate.
1. We removed the grass around the two trampolines and then edged it with a plastic edger.
2. Before laying mulch we laid down a thick plastic to stop grass from coming up through the mulch.
3. Then we laid mulch, so much mulch, around both trampolines.
4. The plastic edging helps keep the mulch in place and we don’t have to worry about grass getting torn up under little (and big) feet.
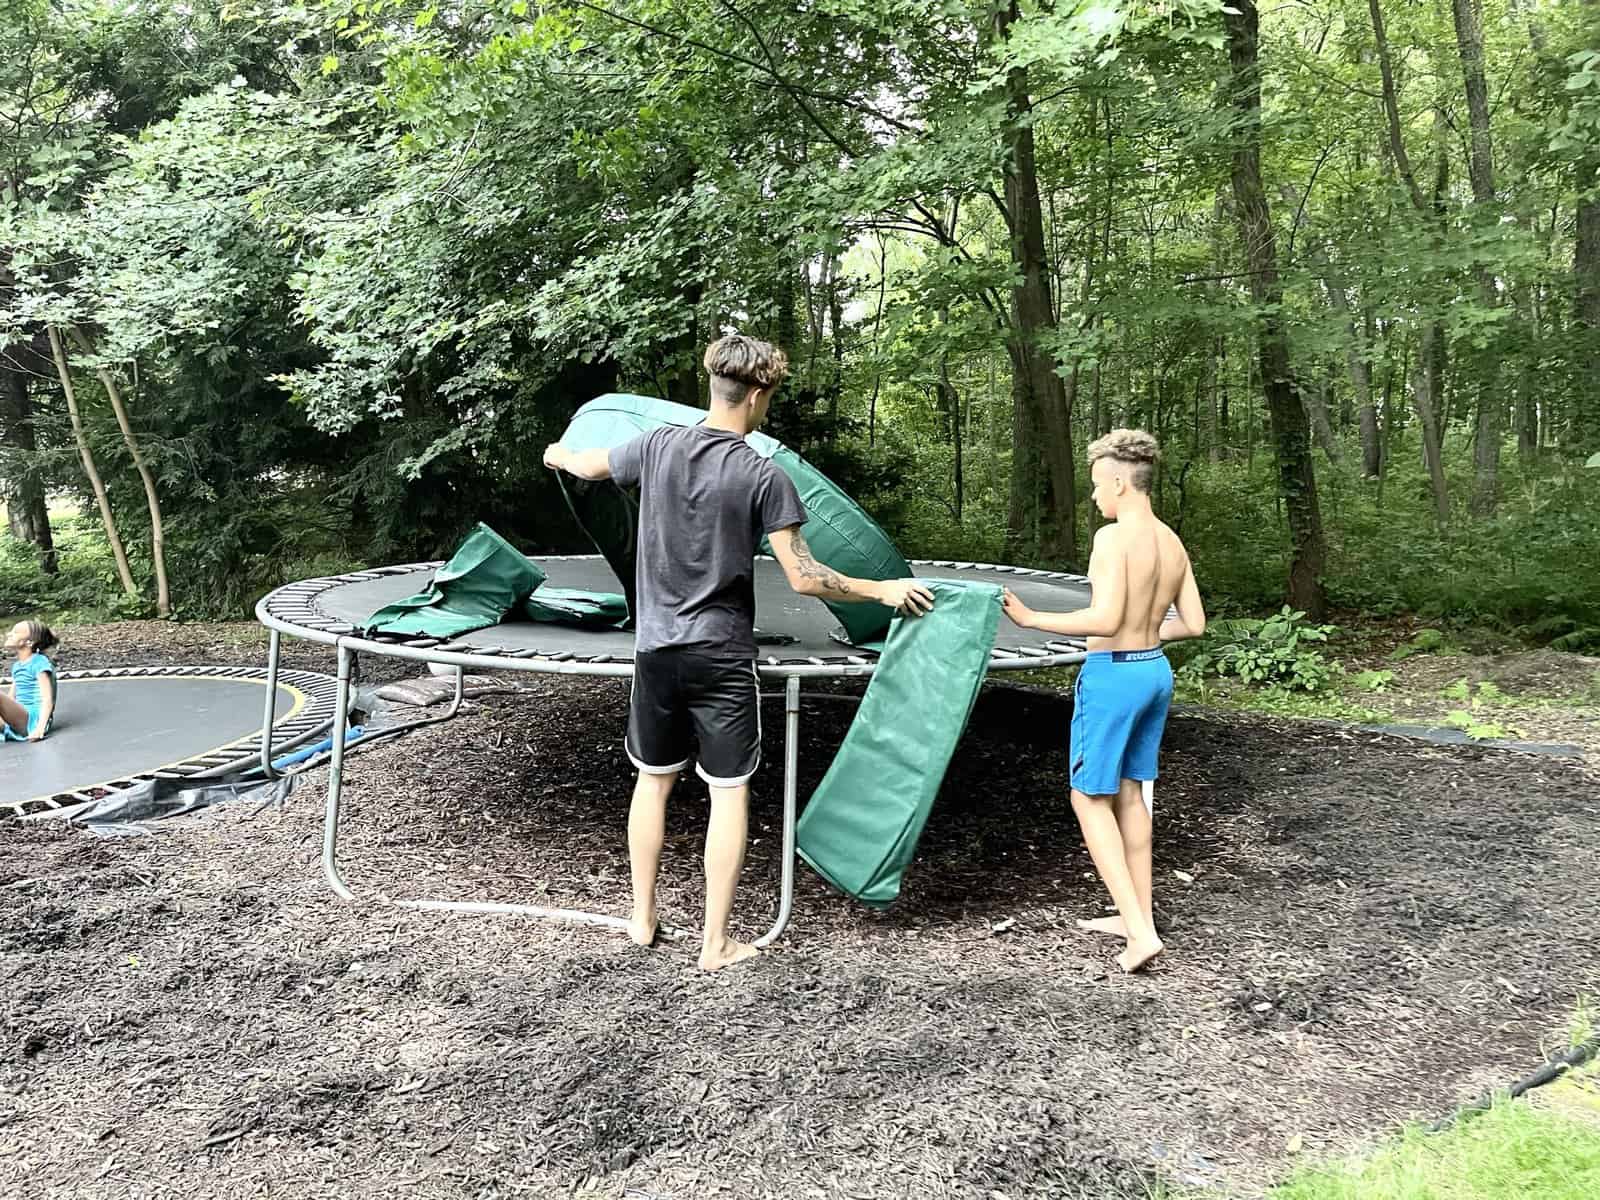
New Trampoline Cover
Both our trampolines had been bought second hand. They were old, worn and just plain ugly trampoline covers. One cover had to be completely replaced because it was no longer thick enough and kept falling off. We purchased this trampoline cover here and have been very happy with the look and function.
It comes in several colors, but I choose green to complement the outdoor area the trampoline is in. If I’m going to have two huge trampolines in my backyard they’re gong to work with their environment as much as possible.
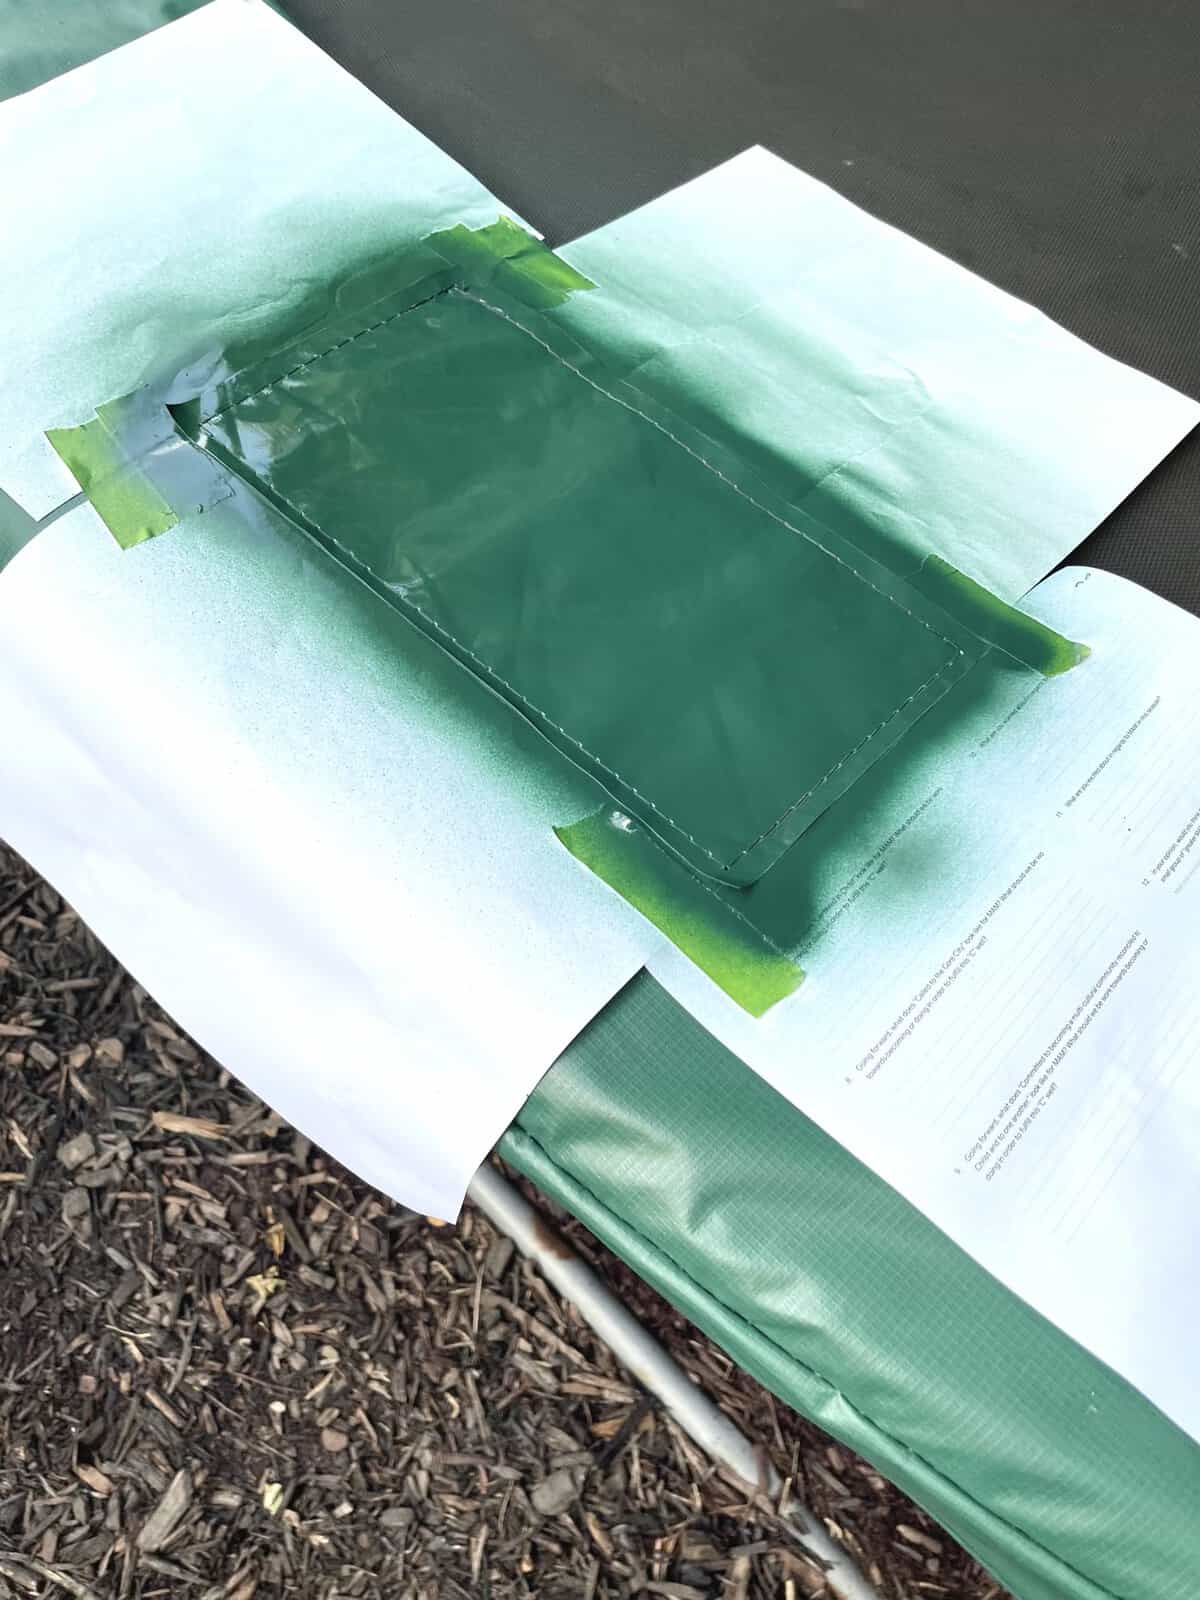
We also spray painted the large white square with installation instructions and manufacturing information on the new cover so it didn’t stand out as much which gives a seamless look.
Painted the Old Cover
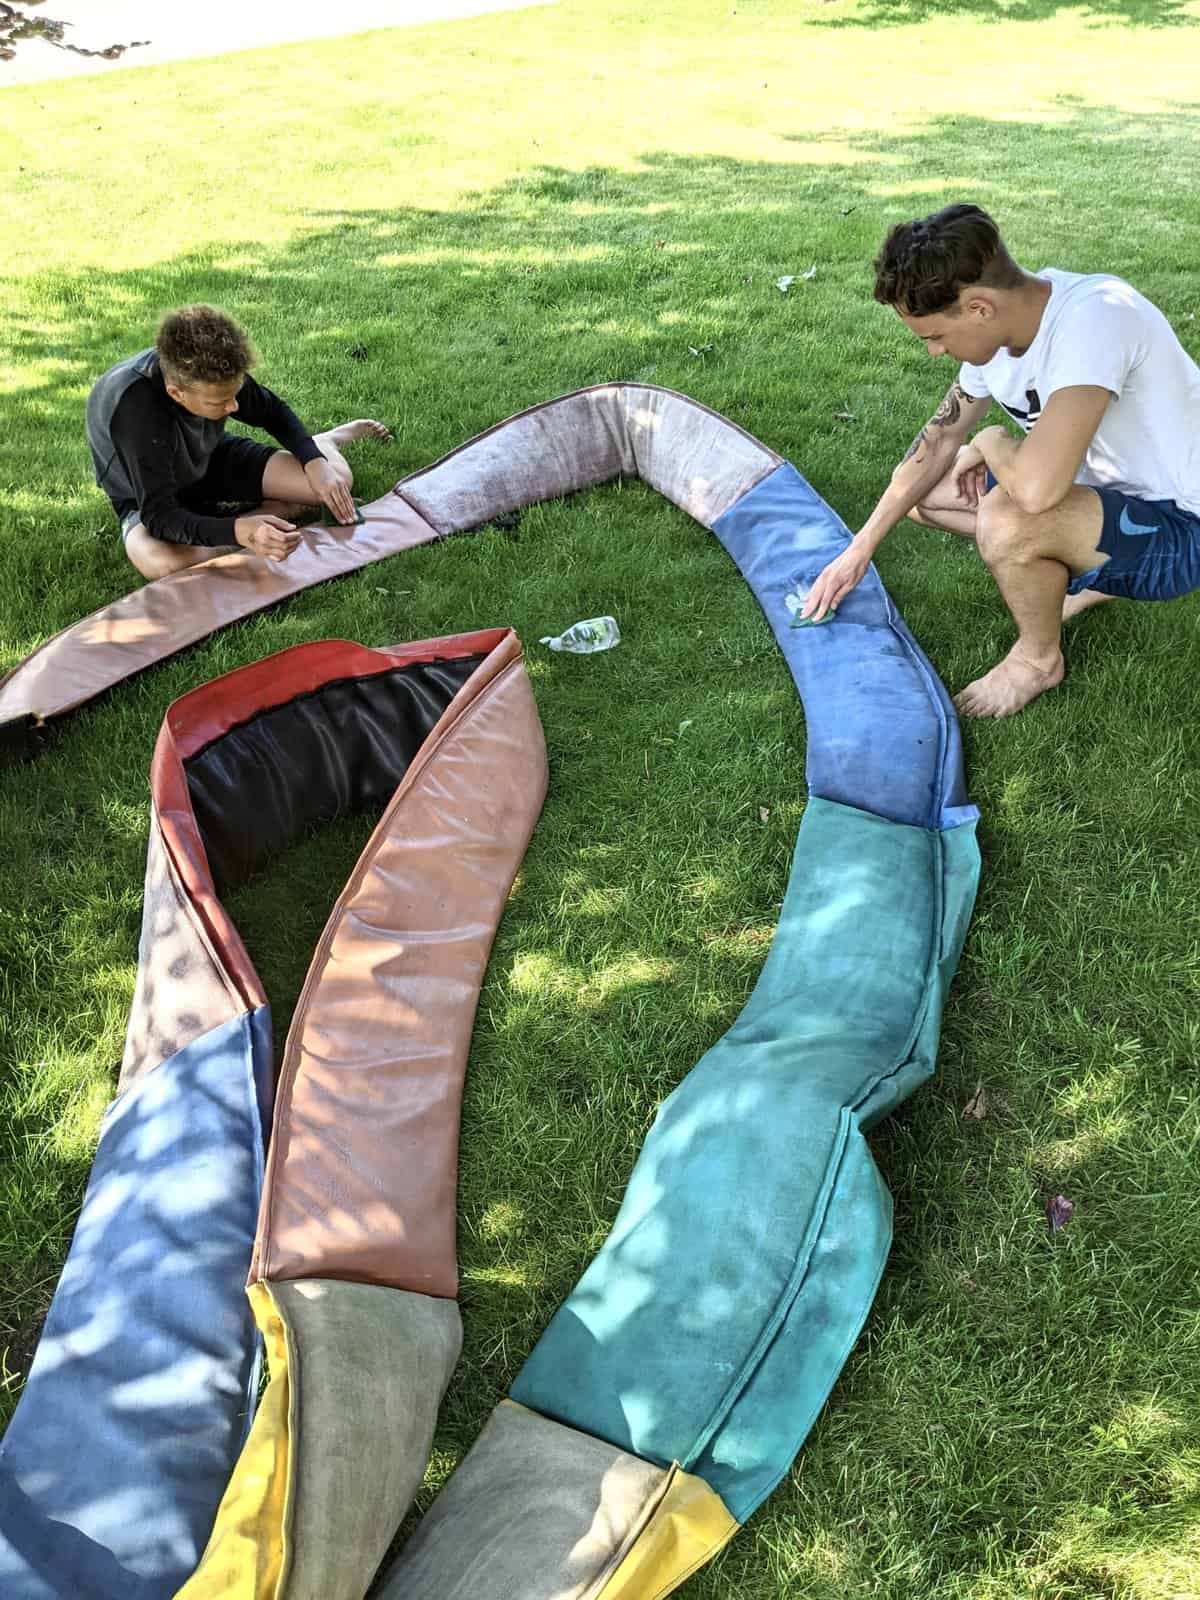
The other pad was much higher quality and still did it’s job of protecting the kids from the hard metal frame of the trampoline. Instead of buying a new pad we spray painted it to match the new one we purchased.
First we scrubbed the old trampoline pad down, cleaning it well, then we applied this spray paint here. The paint went on easily and covered the pads bright multi colors. The kids were sad to see the rainbow pad go, but I was not!
Cleaned and Prepared the Trampoline to be Painted
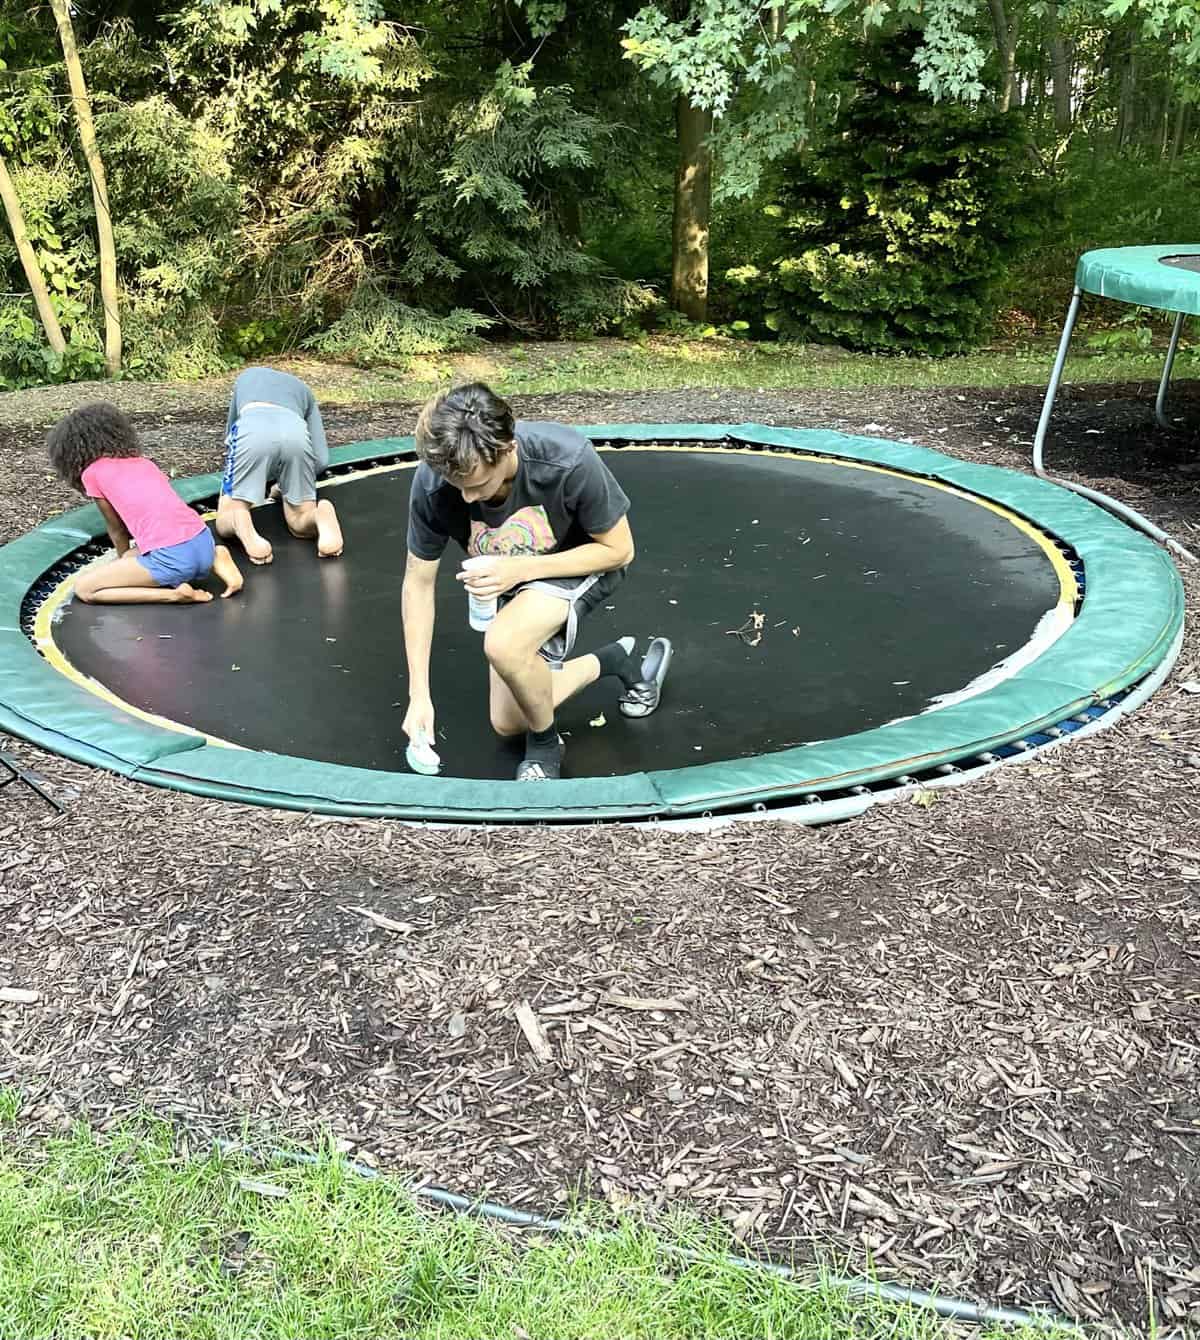
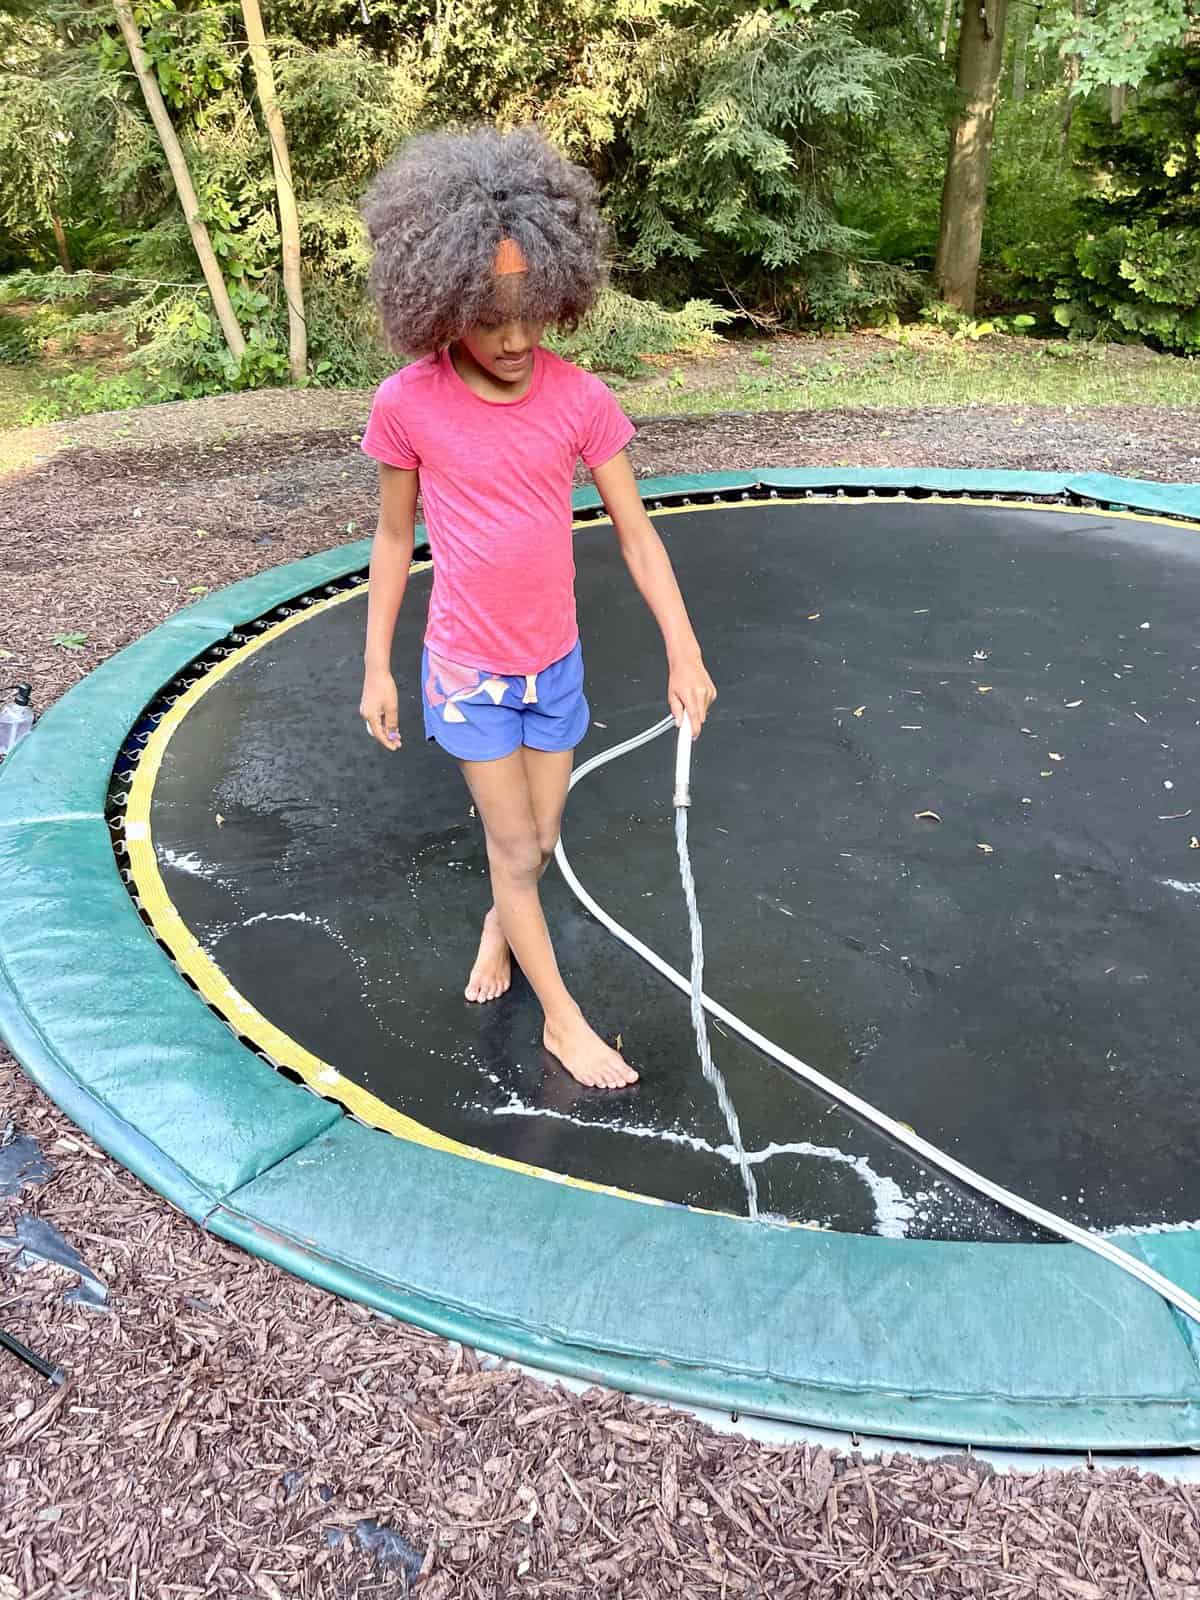
In preparation for painting the trampoline itself the kids cleaned where it would be painted so the paint had the best chance of adhering. Afterwards they rinsed it off thoroughly.
Painted the Trampoline
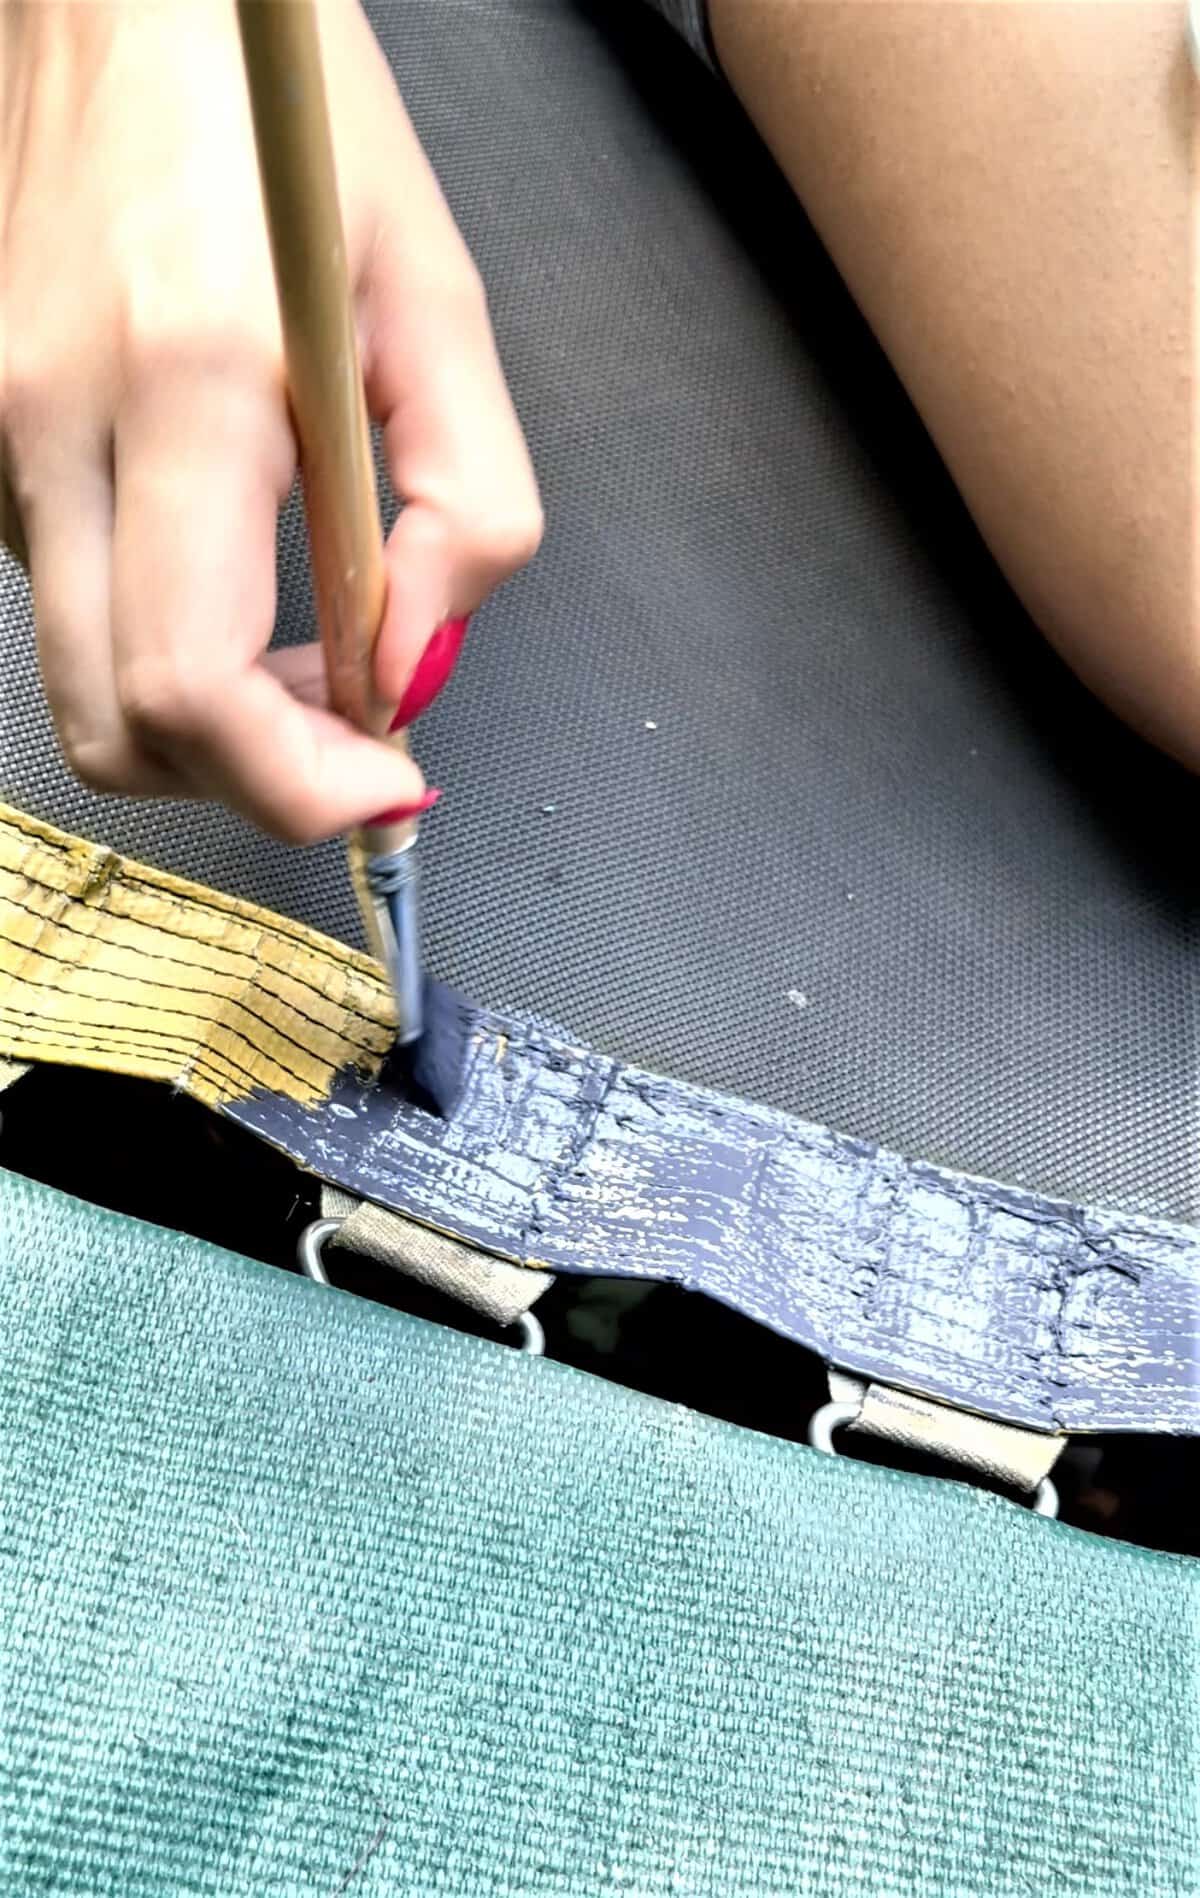
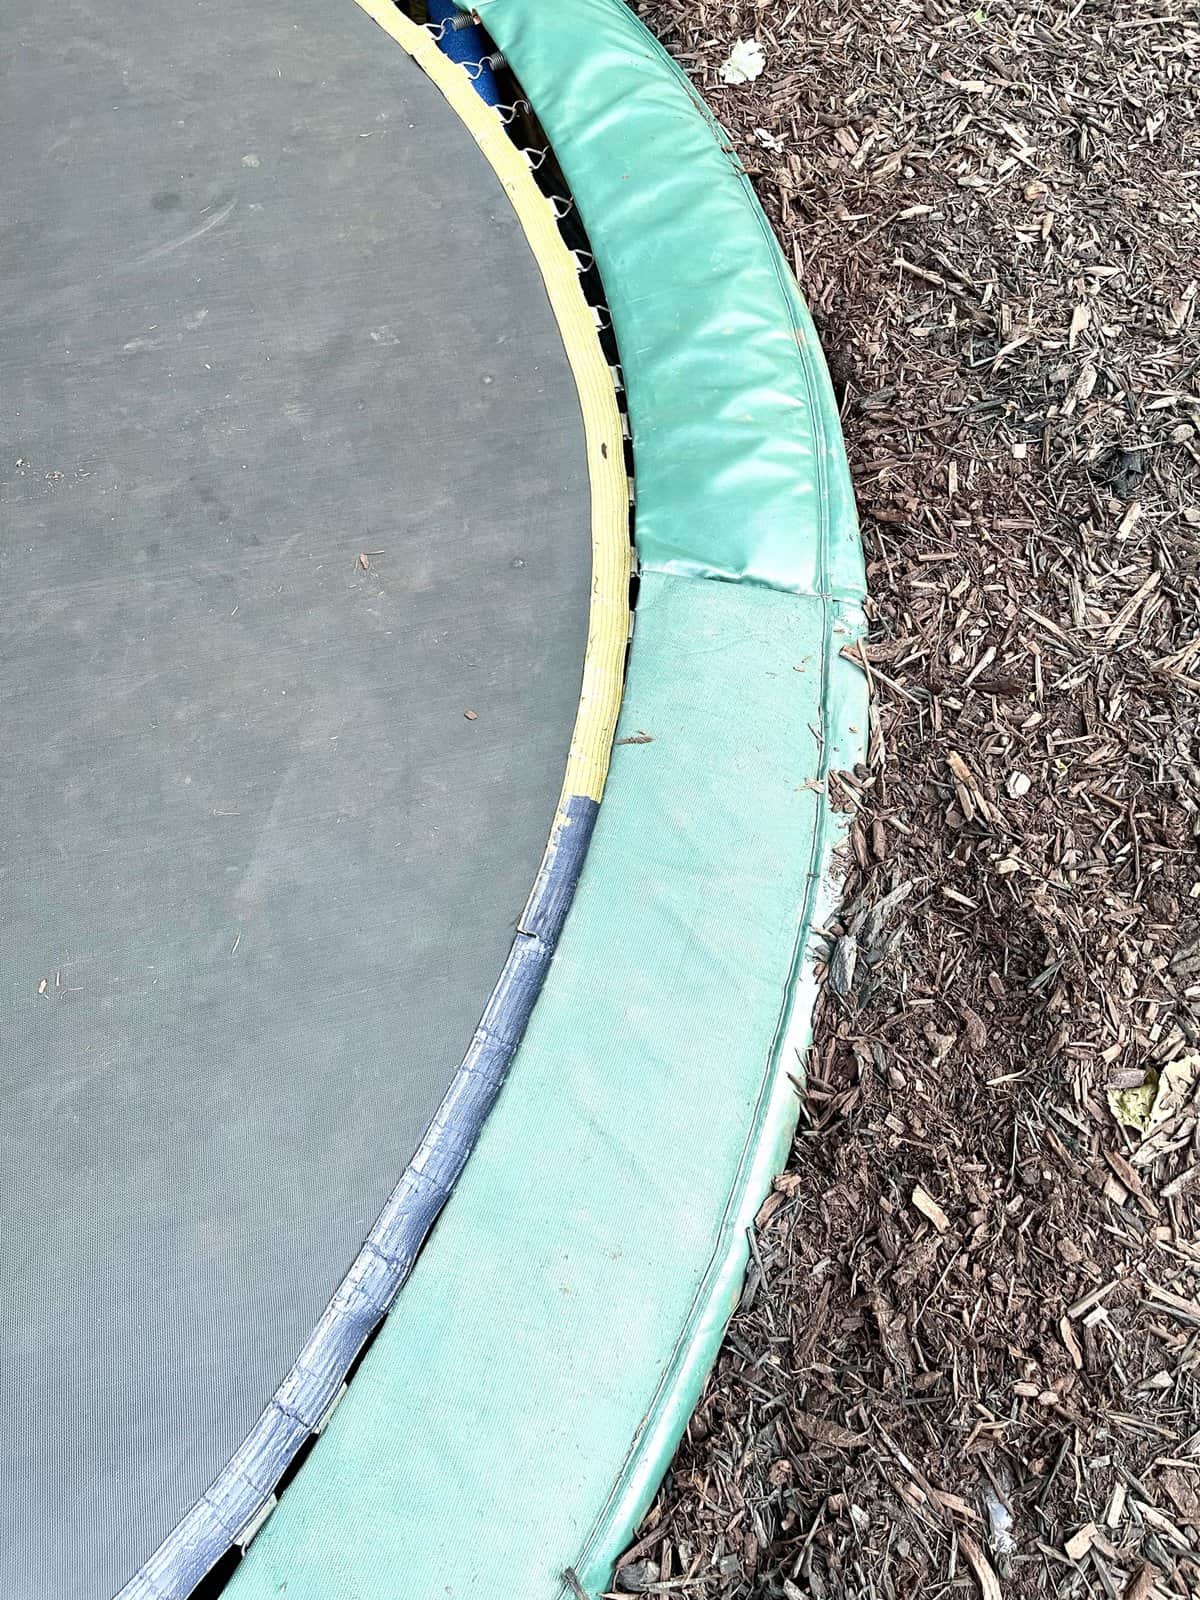
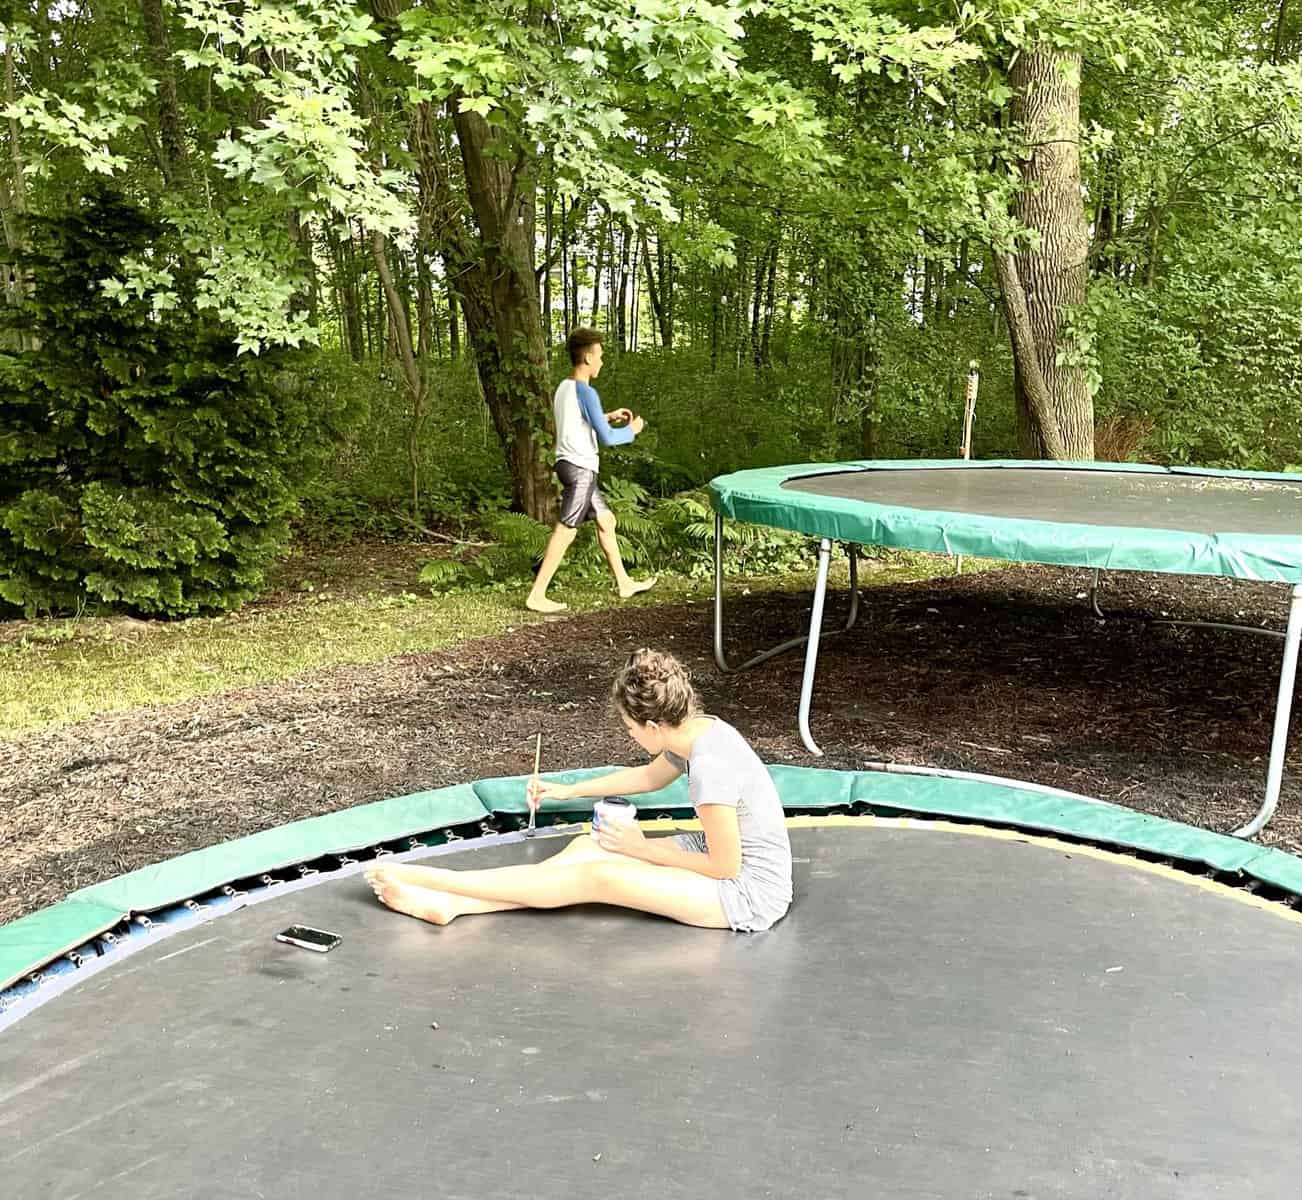
Our inground trampoline had a yellow ring around the mat. I was tired of being annoyed by the look of it so my daughter sat down and painted it while listening to an audiobook. So easy!
It’s little design touches like this that make a big project really come together and feel finished.
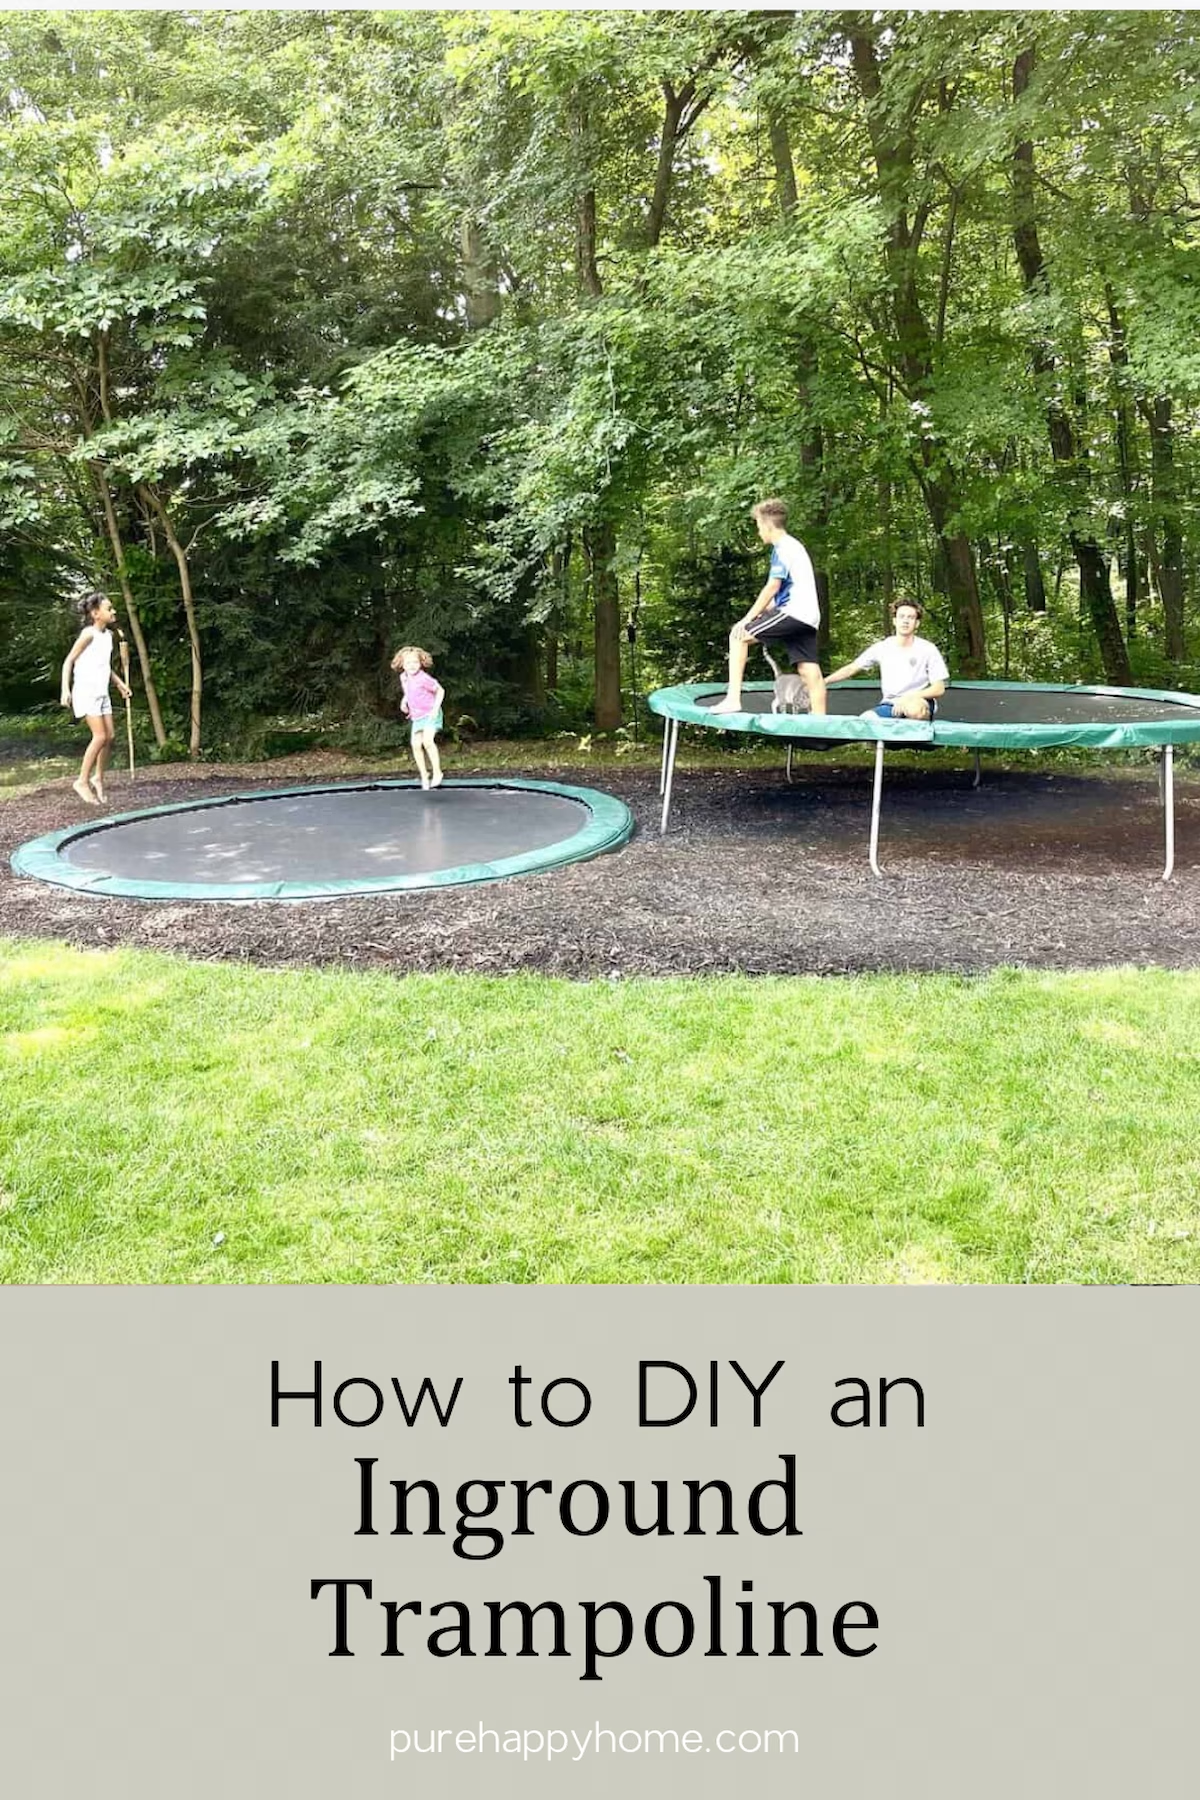
All in all the investment of time and money into these trampolines was one hundred percent worth it for our family. The kids are on them every single day, even in the cold.
As homeschoolers it’s a quick and much needed break from studying. It’s the envy of our neighbor kids who ask to jump on ours even though they have their own.
The experience of trampolining is part of why Isaac and Elsa excelled at diving when they started out.
So if you see me cheering them on at the Olympics in a few years you’ll know how it all began.

MORE FAMILY DIY PROJECTS
- DIY Budget-Friendly Plywood Plank Flooring
- Surprise for Sister: Laying Vinyl Flooring In a Bedroom
- How to Build a Built-In Command Center – Part 1
- How to Build a Built-In Command Center – Part 2

Pin It & Save It


0 Comments