

Hey DIY Friends, This is part 1 of How to DIY an Inground Trampoline. Scroll to the bottom of the post to see the results in part 2.
Last Spring after a few weeks of quarantine our boys started to get restless. They spent a lot of time jumping on our two trampolines, and I was grateful we had them. However, their restlessness made way for an idea which I was not in favor of.
They kept asking to put a trampoline in the ground, and wanted to DIY this inground trampoline themselves.
They had thought it through and were confident they could put a trampoline in the ground. It would be safer they said, and they were right. Several years before while trying to get off one of the trampolines by herself their little sister Elsa had fallen and broken her arm. We all felt terrible about it.
After another few weeks of them asking, I stopped saying no and gave them the go ahead. Quarantine makes you do things.
How To DIY an Inground Trampoline Part 1
It took a whole 7 weeks but they dug the hole with only a couple of hours of help from their Dad and 8 year old sister. They were determined to finish it. Homeschooling makes you do things too!
You’ll find tutorial were folks us an excavator, but our boys dug the hole with shovels by hand.
It is possible!
Supplies to DIY An Inground Trampoline
- Trampoline
- Shovel
- Spade
- Hand Spade
- Pool Noodles
- Corrugated Steel
- 2×4 Treated Lumber
- Tarp
- Trampoline Cover
Mark Location of the Inground Trampoline
First we decided where the inground trampoline would be put.
We were careful to avoid our lawn irrigation system. They took off the frame of the trampoline and used it as a template to outline were they should dig.
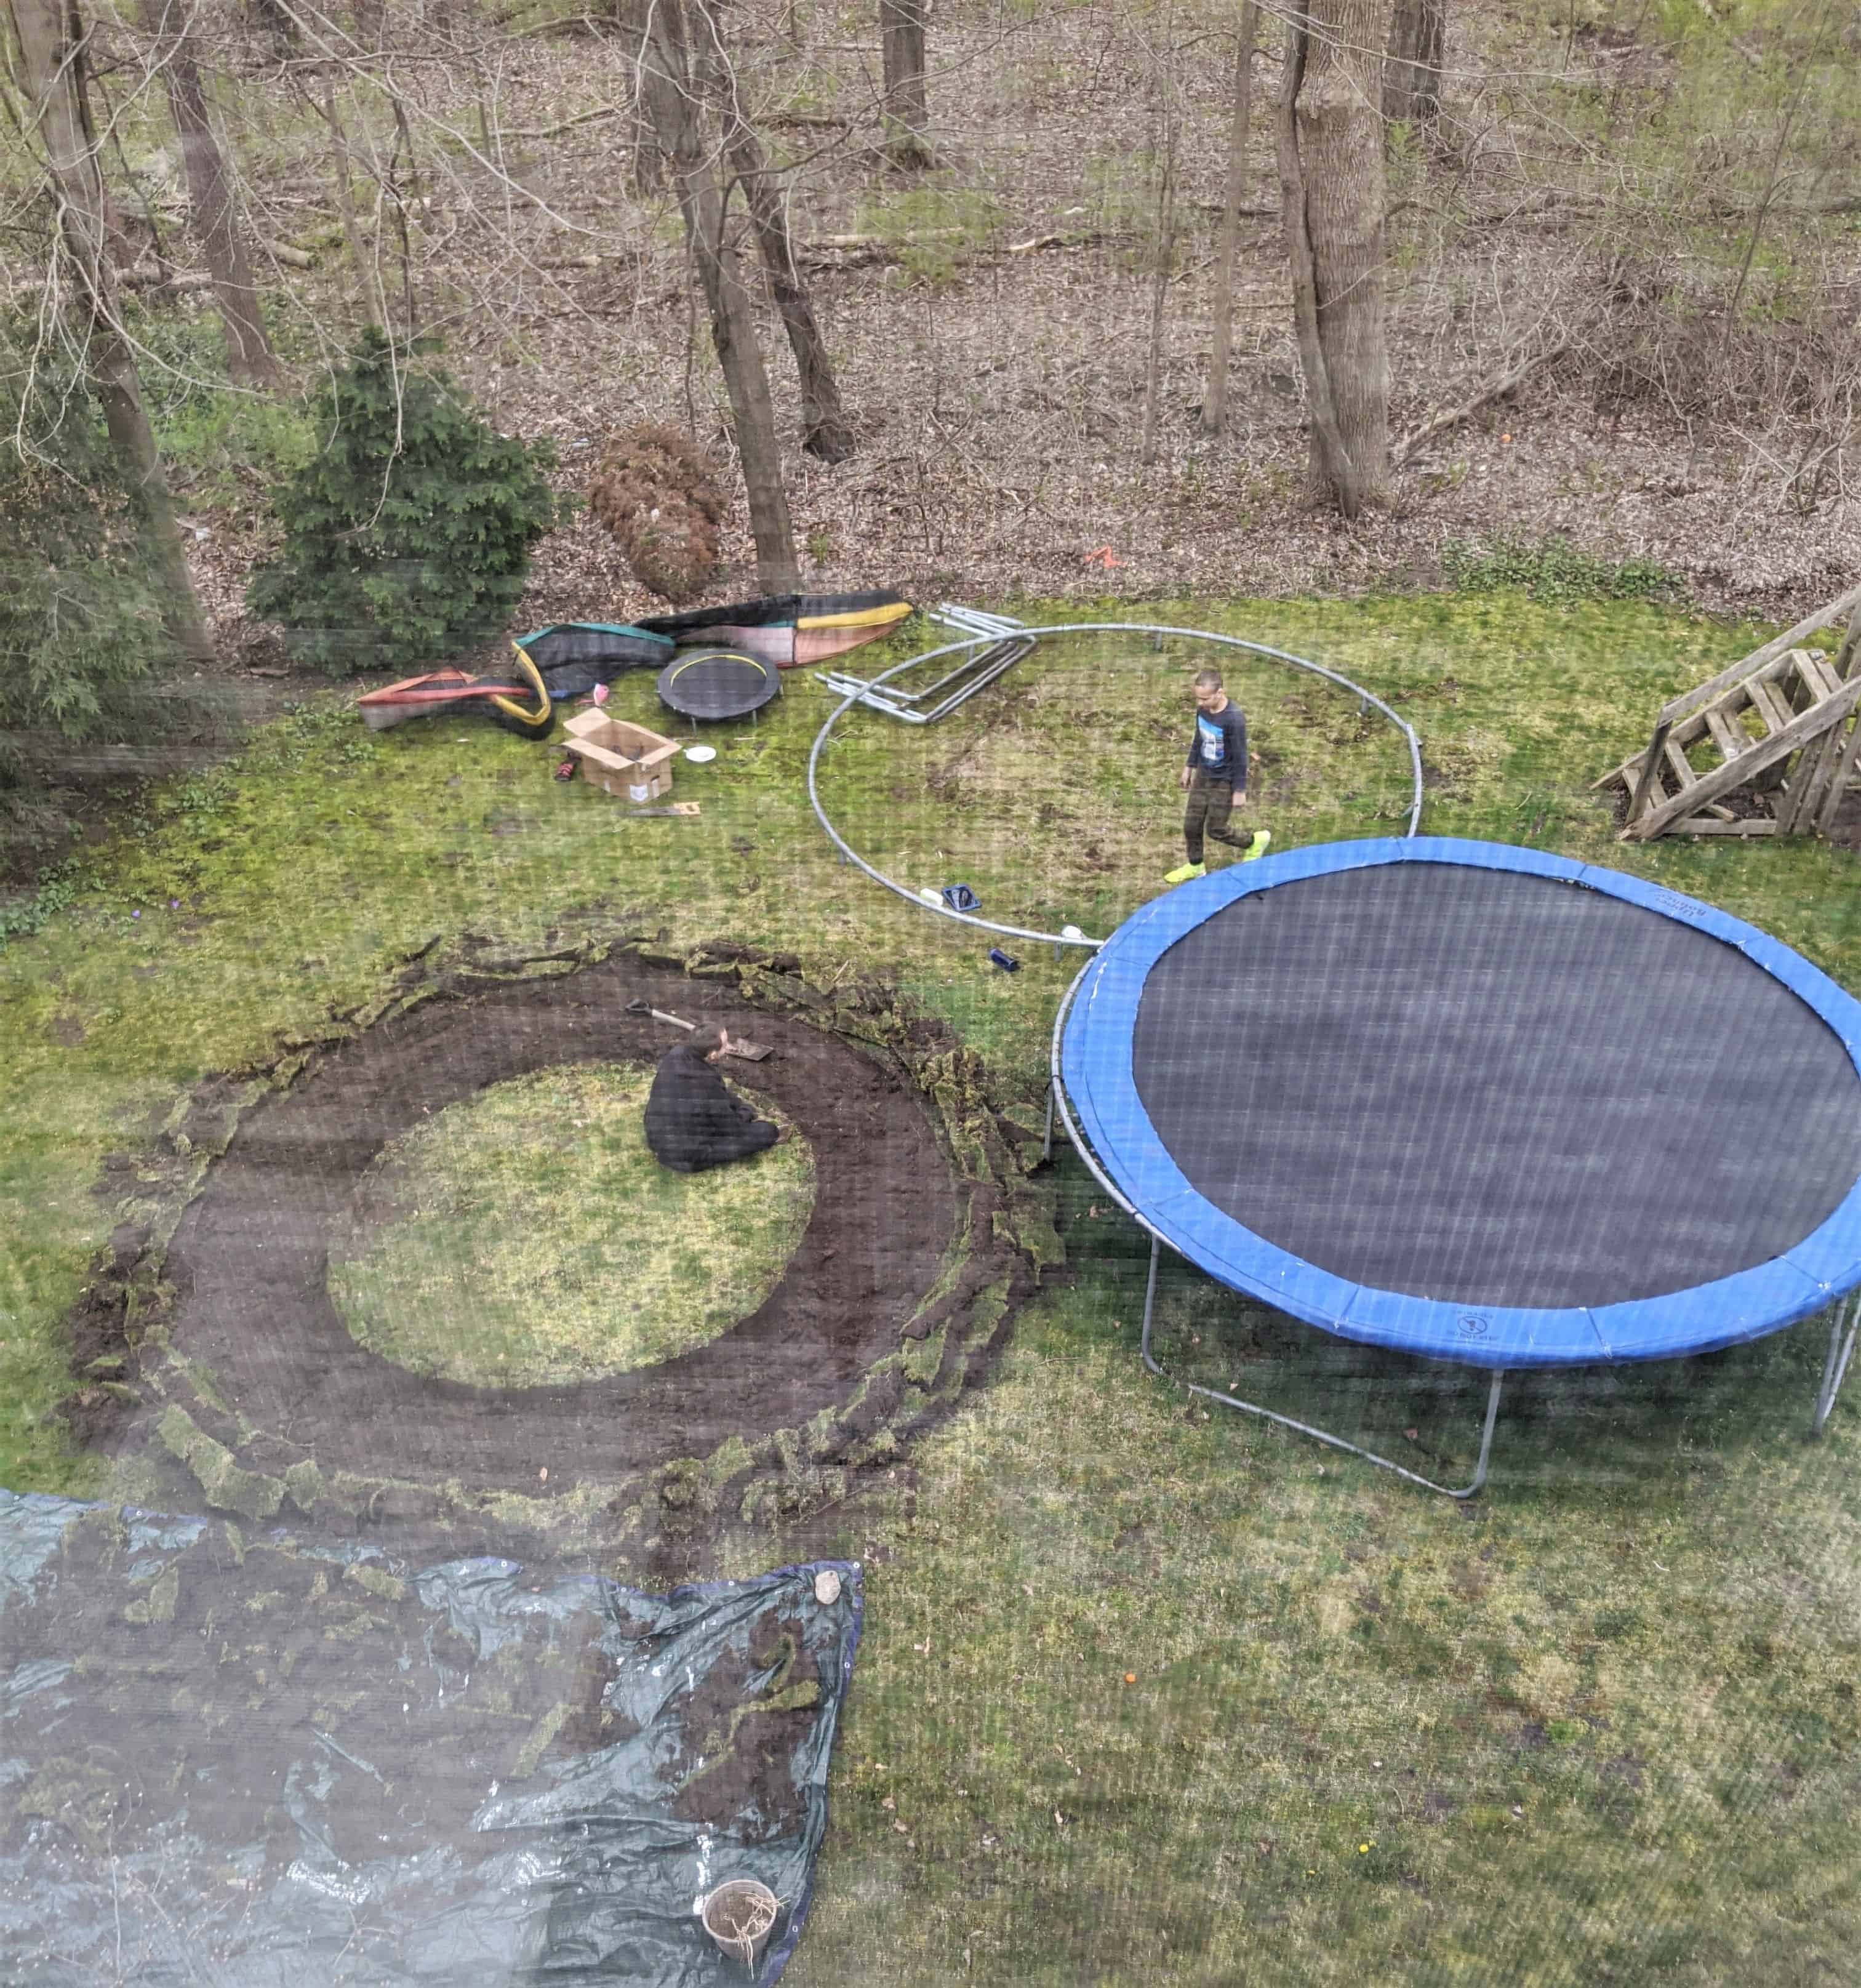
Remove Sodding
The boys wanted a clear outline of exactly were they needed to dig. They did this by removing the sod before they dug into the ground.
When you’re digging a hole this large it will take weeks. This was their way of staying organized. It also enabled them to see their progress and calculate the amount of work and time remaining on this project.

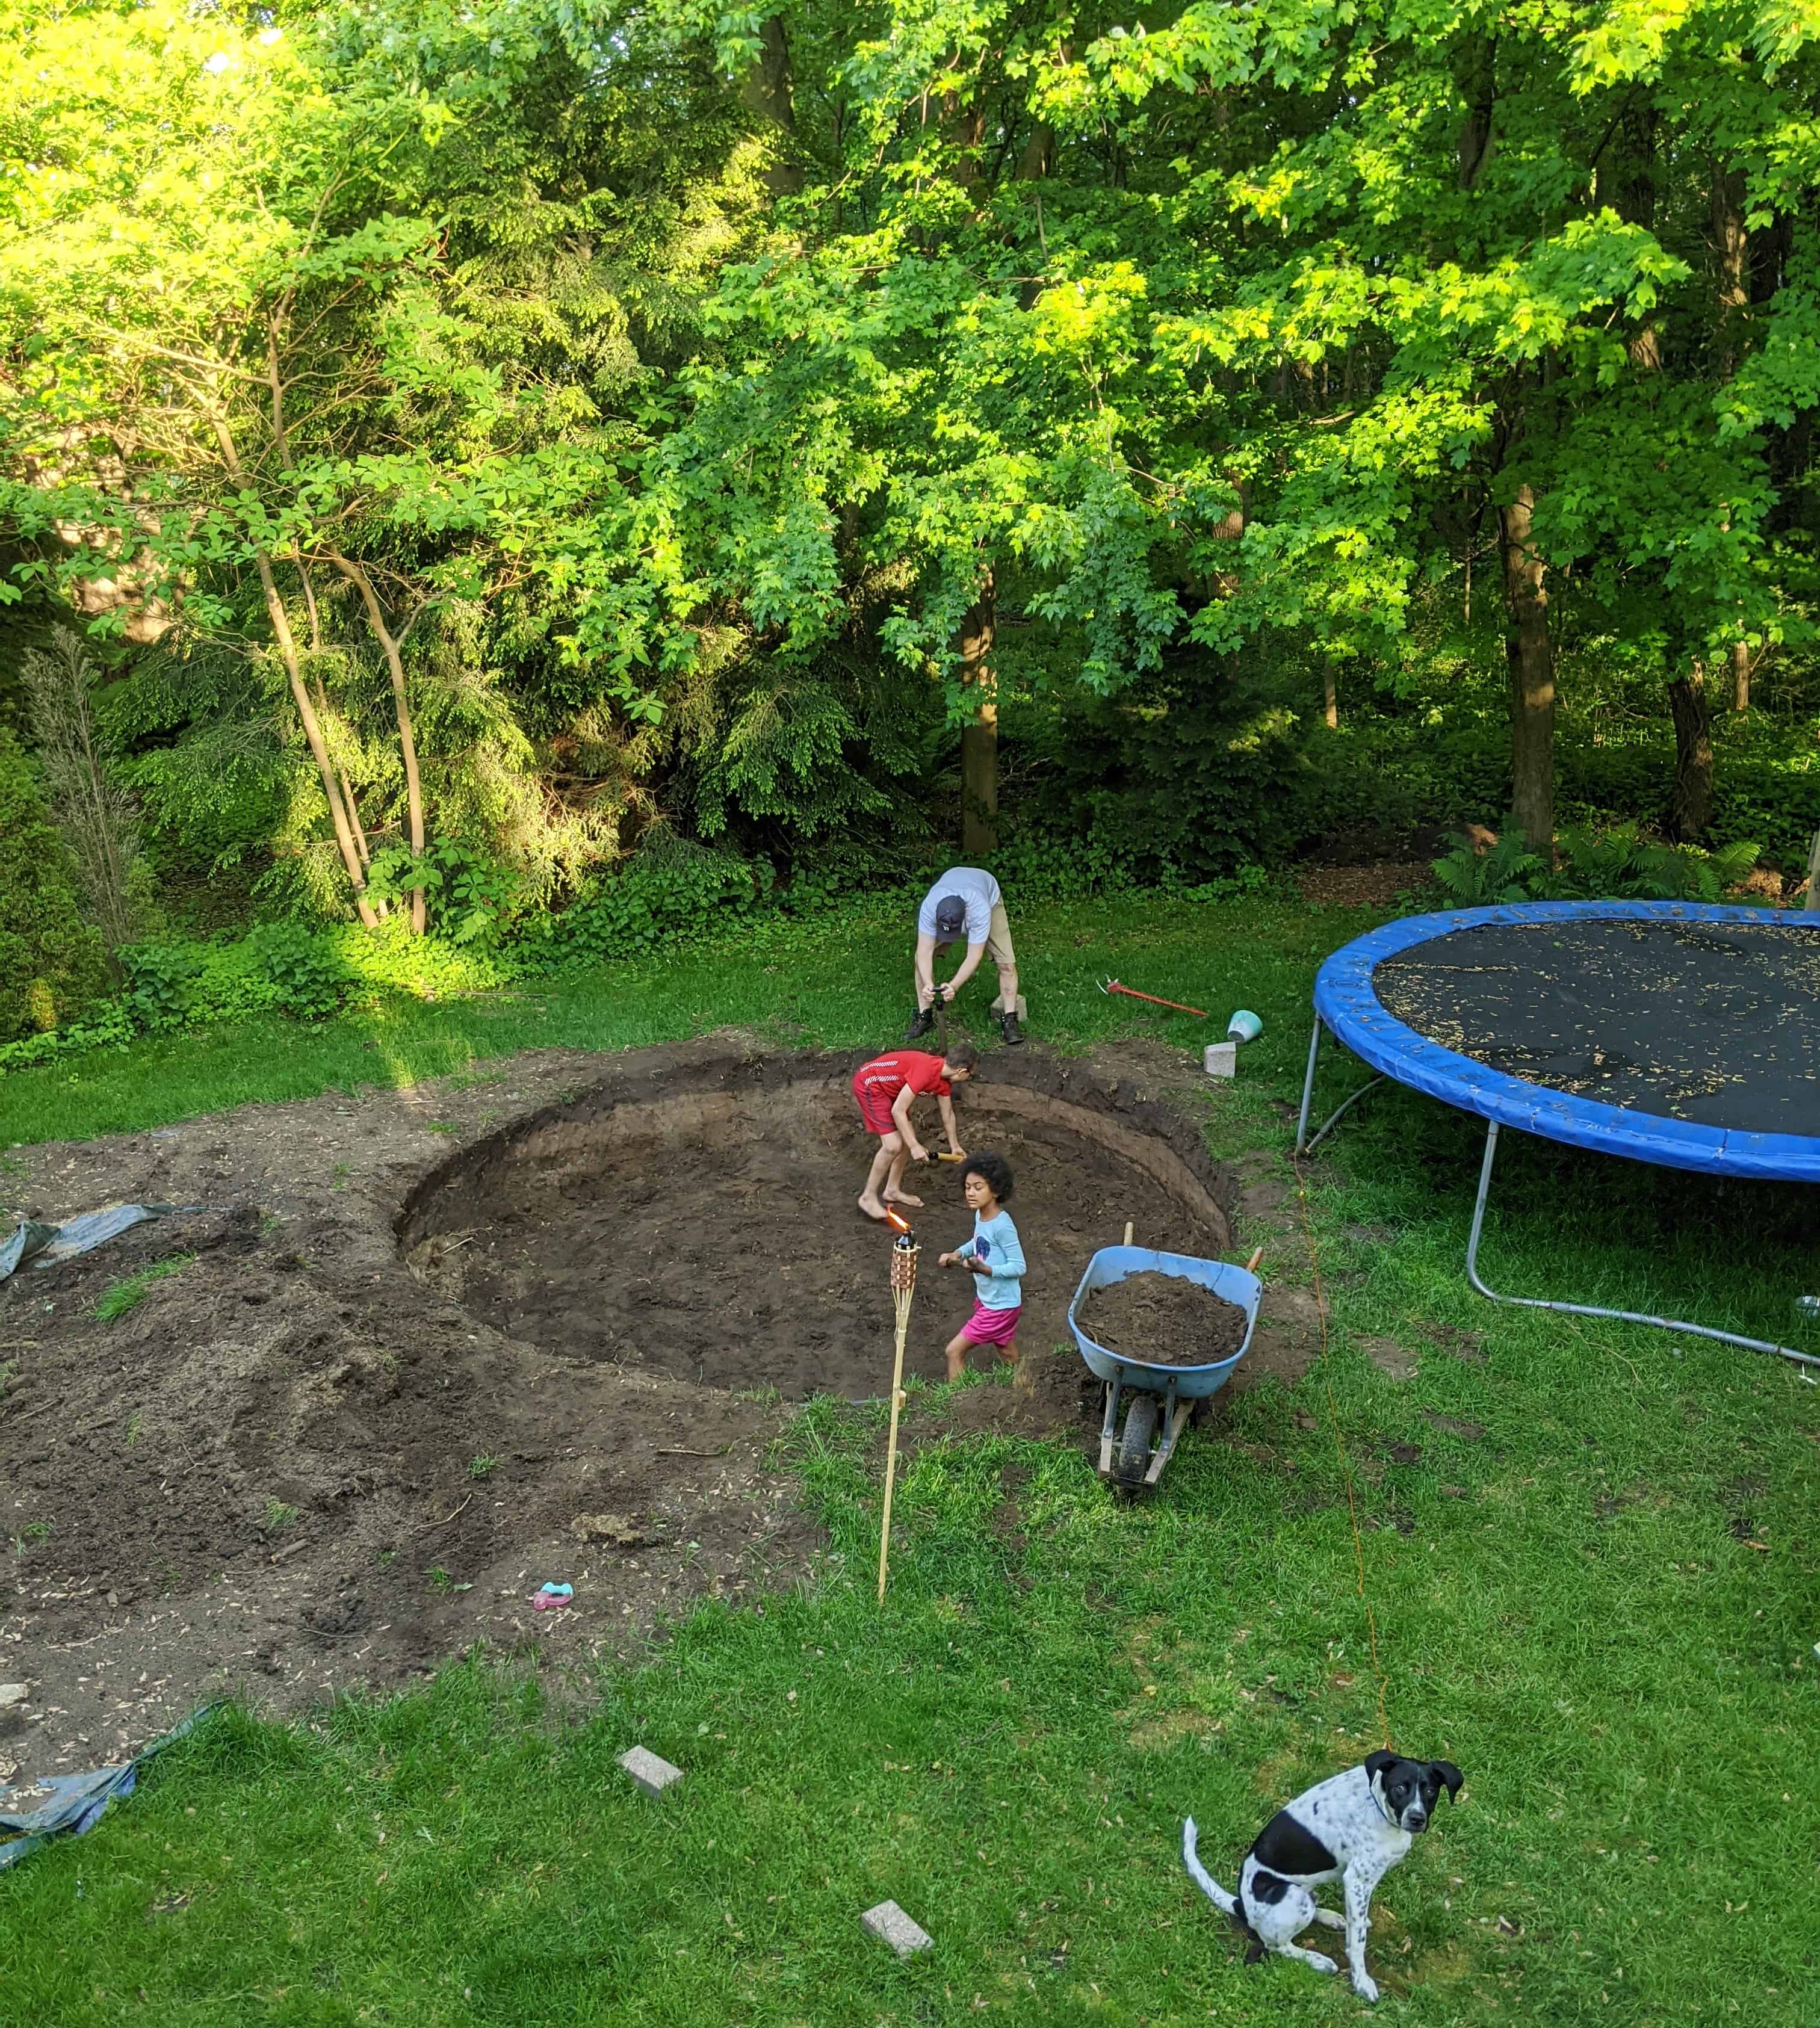
Just Dig Your Inground Trampoline
Now the real work begins! Digging is hard labor.
The determination it took these kids to do this job was incredible. I love gardening so I know the feel of a shovel in my hands, and a sore back, but I didn’t touch this project. This inground trampoline was all them with the assistance of one sweet little sister and only a little help from their Dad.
Yes, I am amazed by my boys.
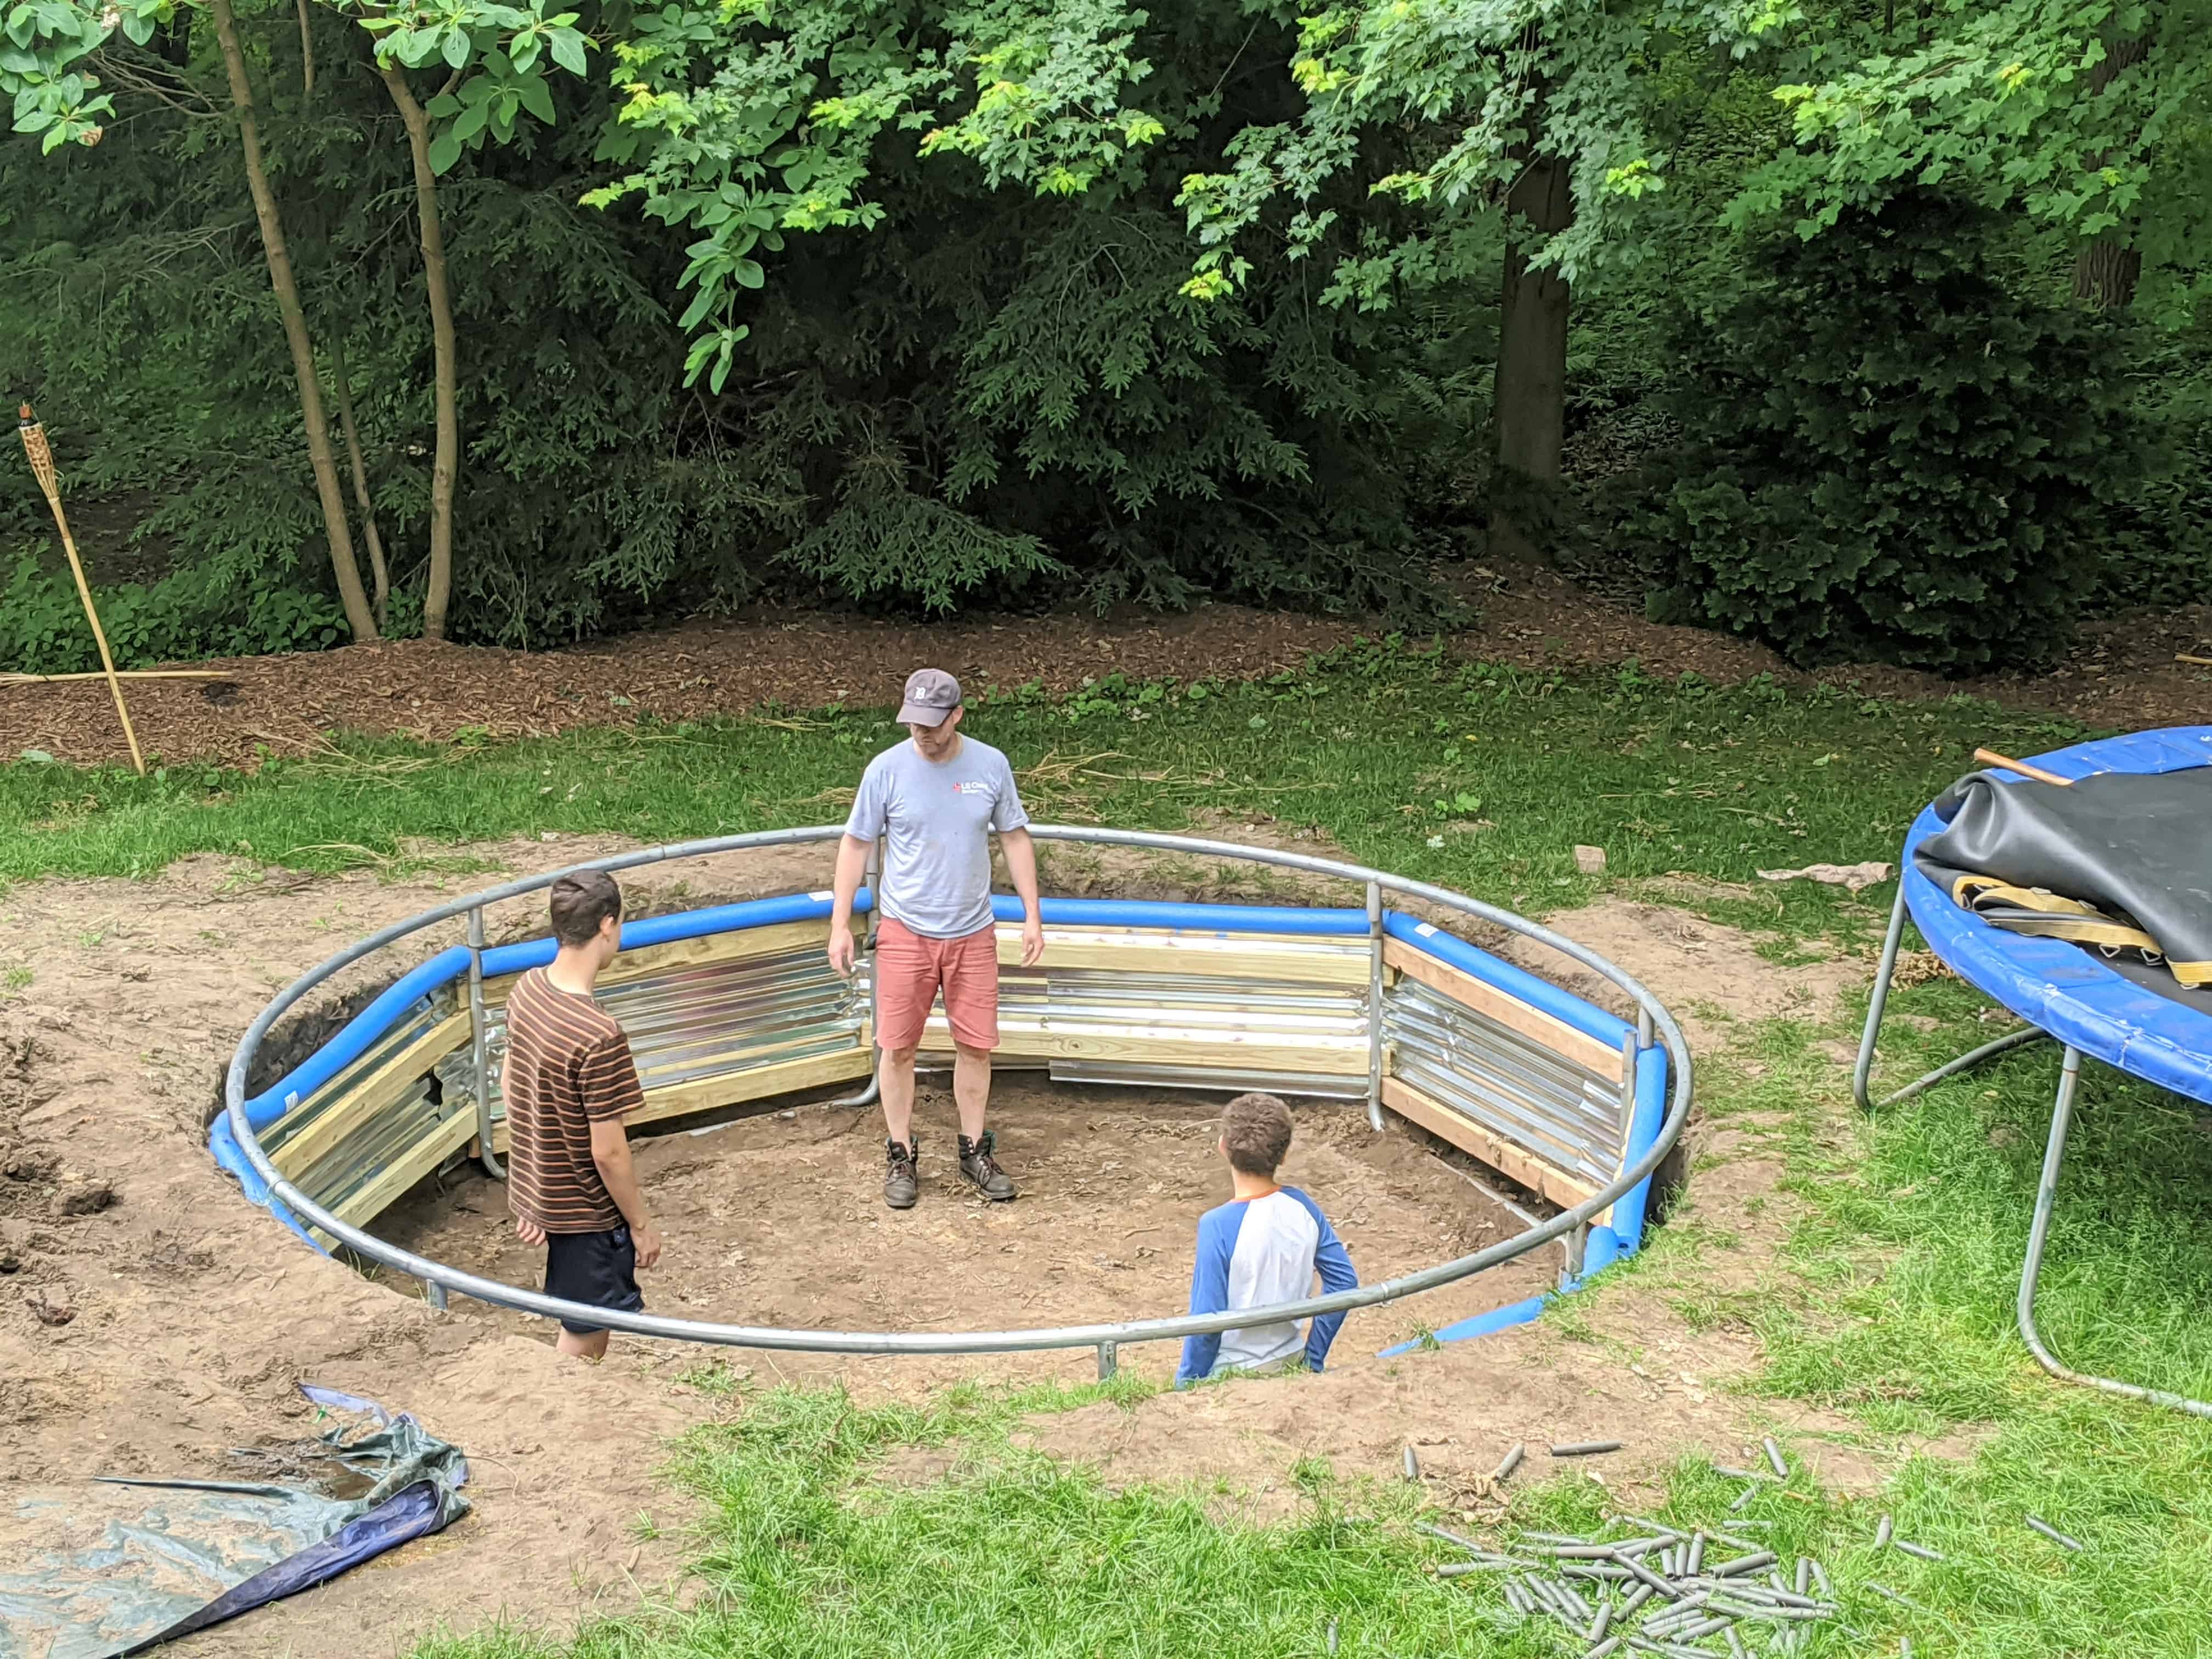
Reinforcing the Inground Trampoline
Before we placed our trampoline in the hole we reinforced the frame in case the sides of the hole loosened and put pressure on the trampoline legs.
We did this by first securing the legs with 2×4 lumber. We then attached corrugated steel all around the trampoline and secured it to the wood.
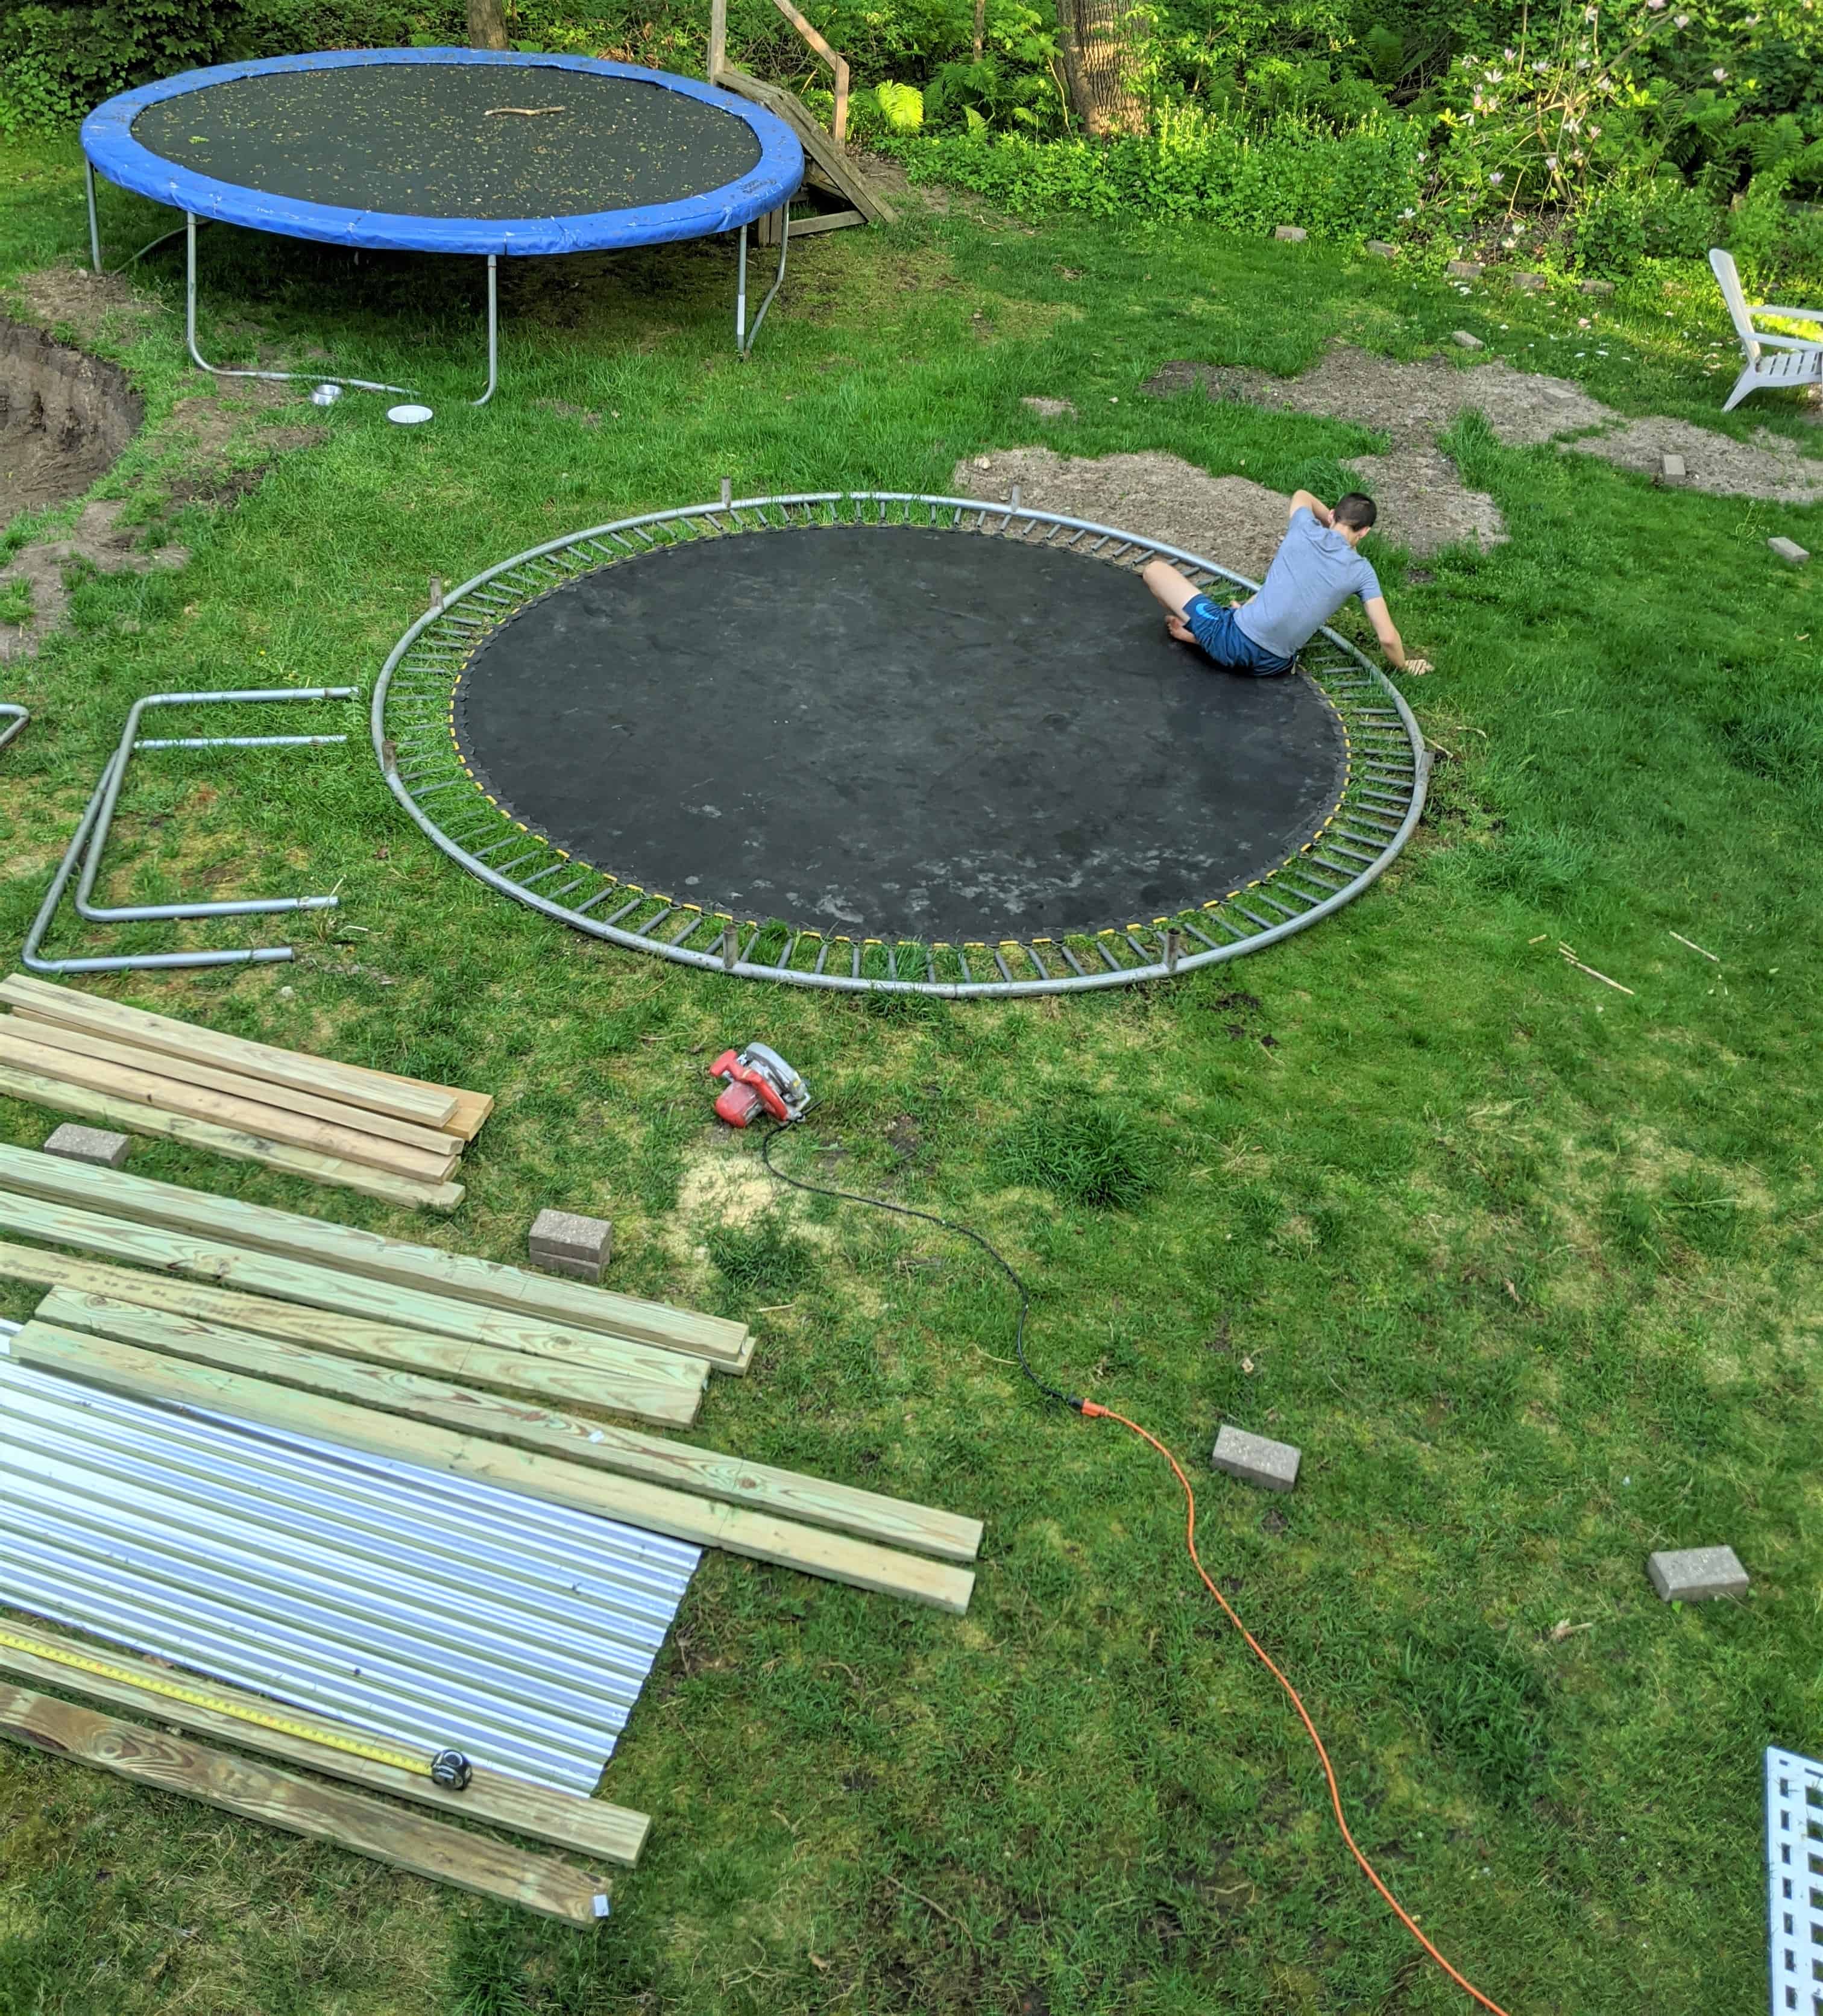
Add Padding to the Supports
Although the corrugated steel frame would be underground, we added a safety measure to protect little feet from injury.
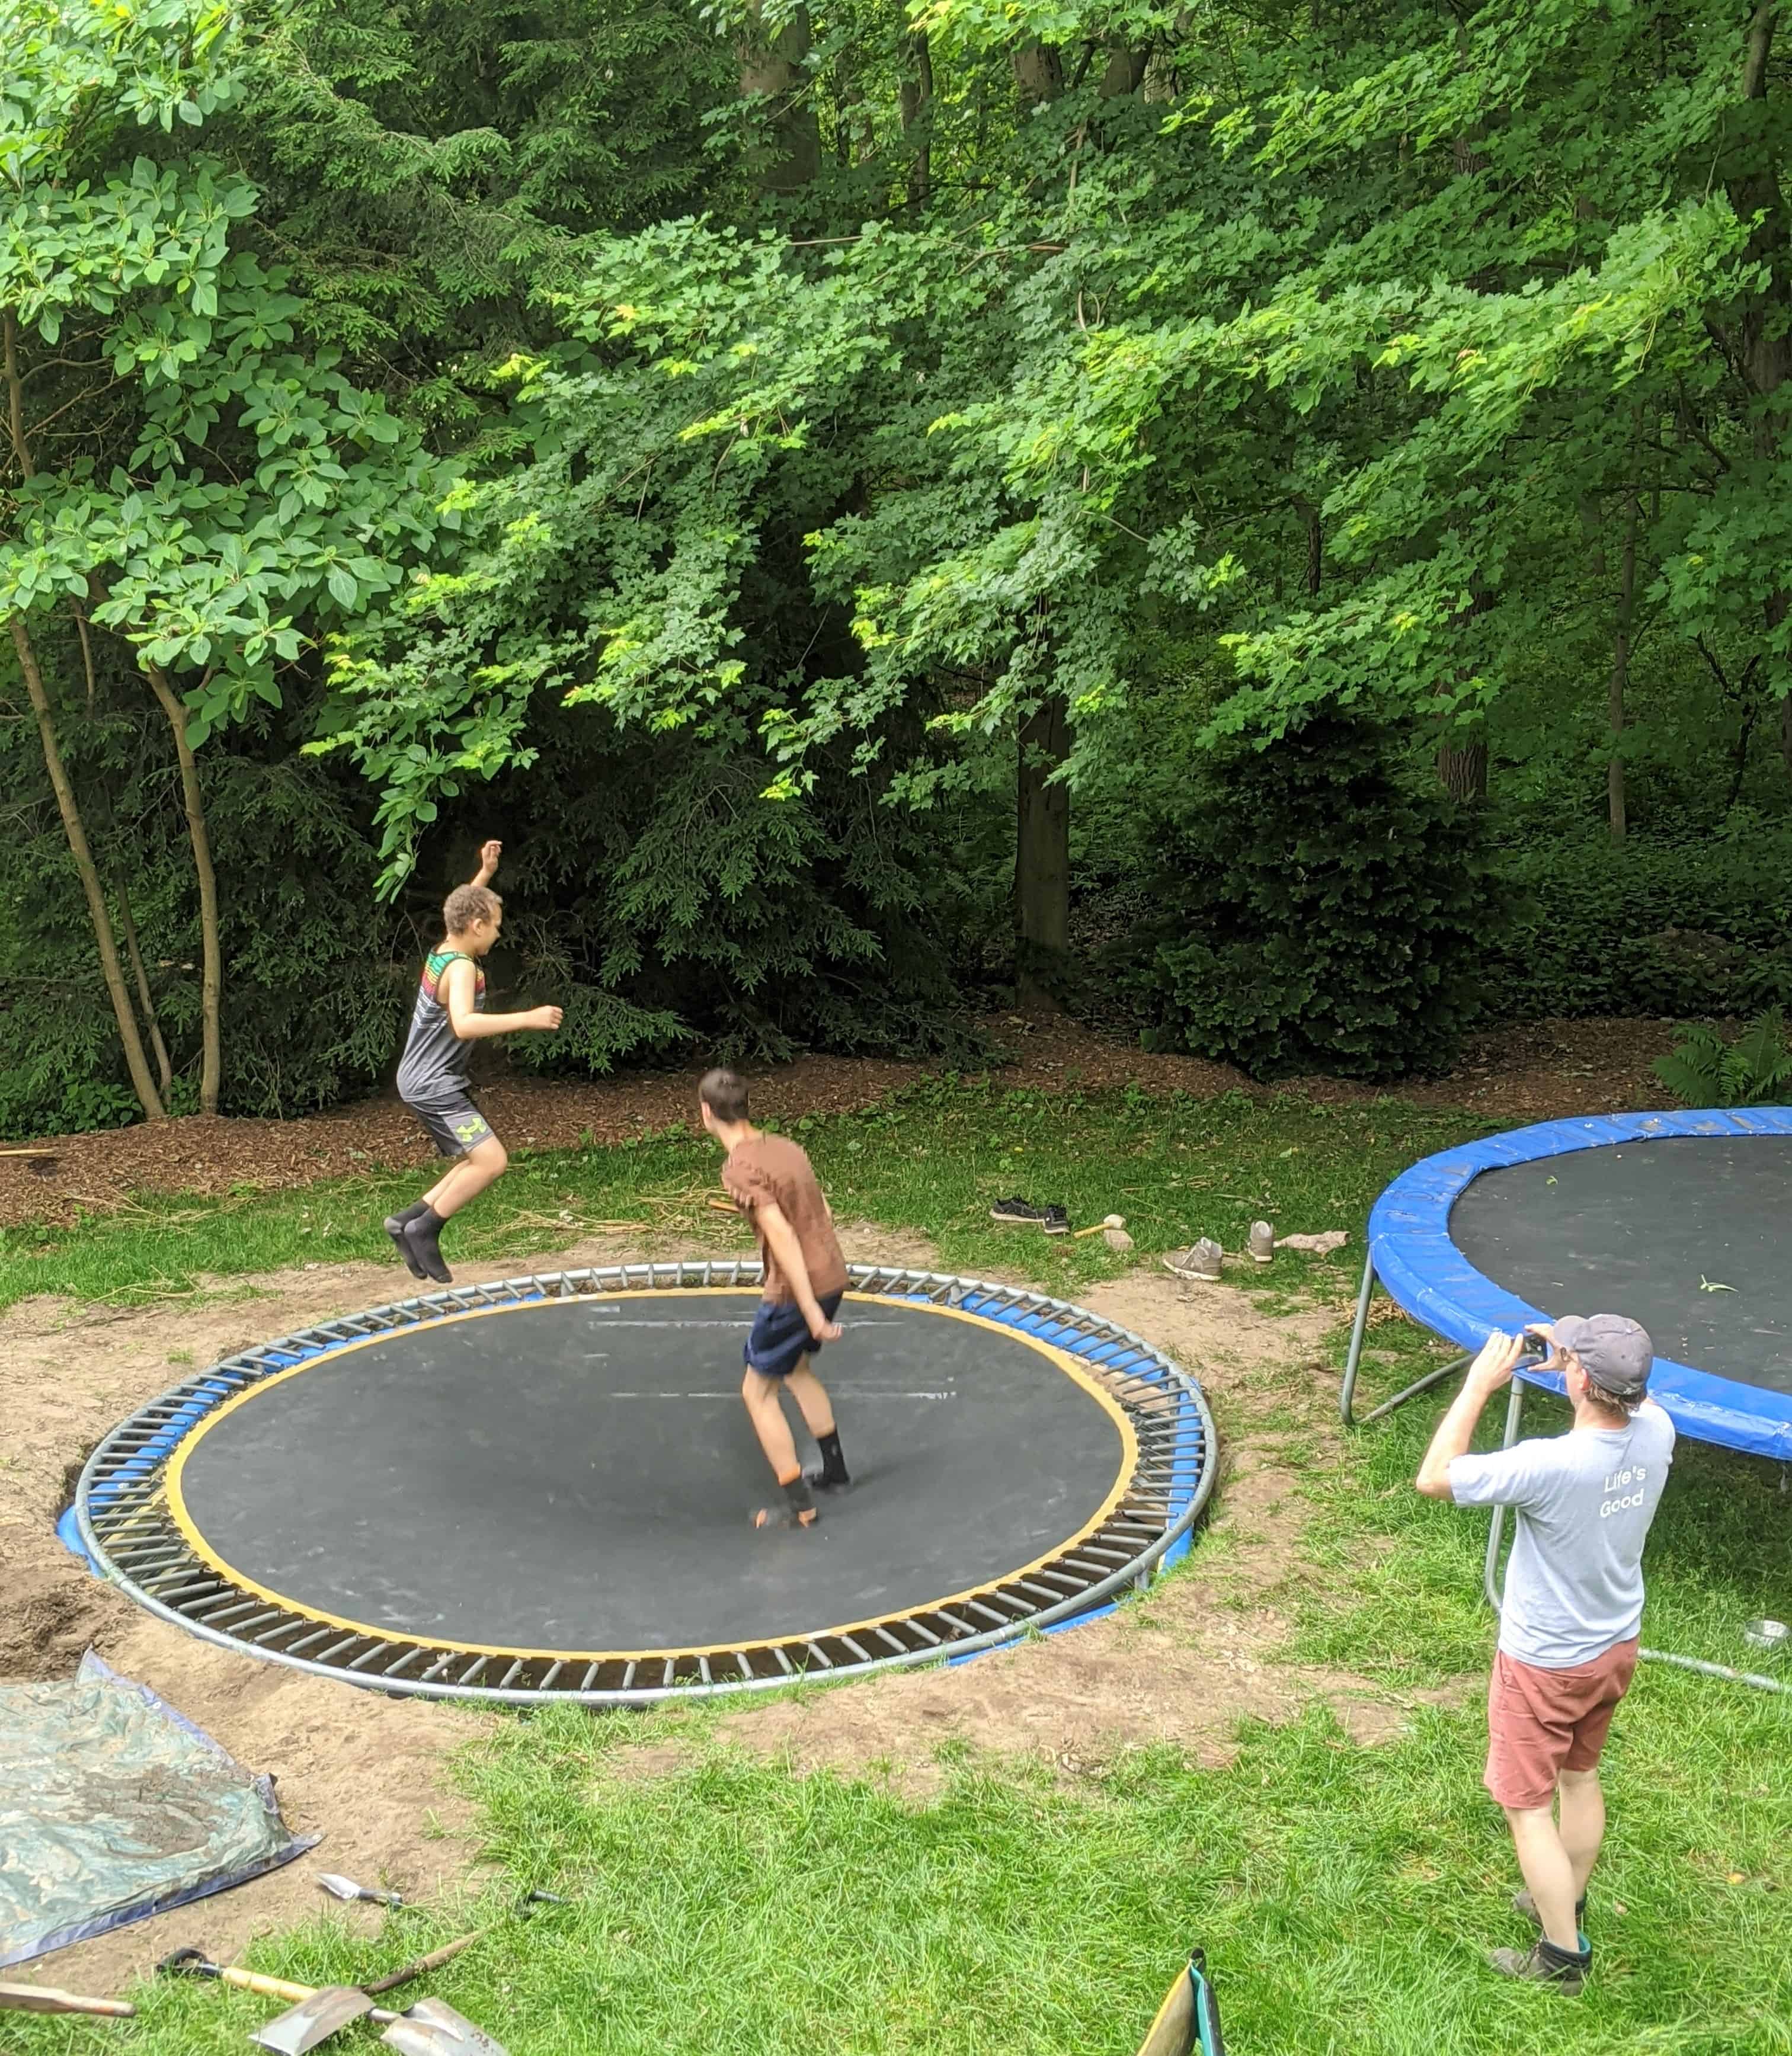
We cut pool noodles down the side and placed them over the corrugated steel edges. When it was time to move the trampoline we all slowly moved it into place together. This was one heavy trampoline!
Me taking a photo before our whole family plus our favorite neighbor friend move the trampoline into the hole.
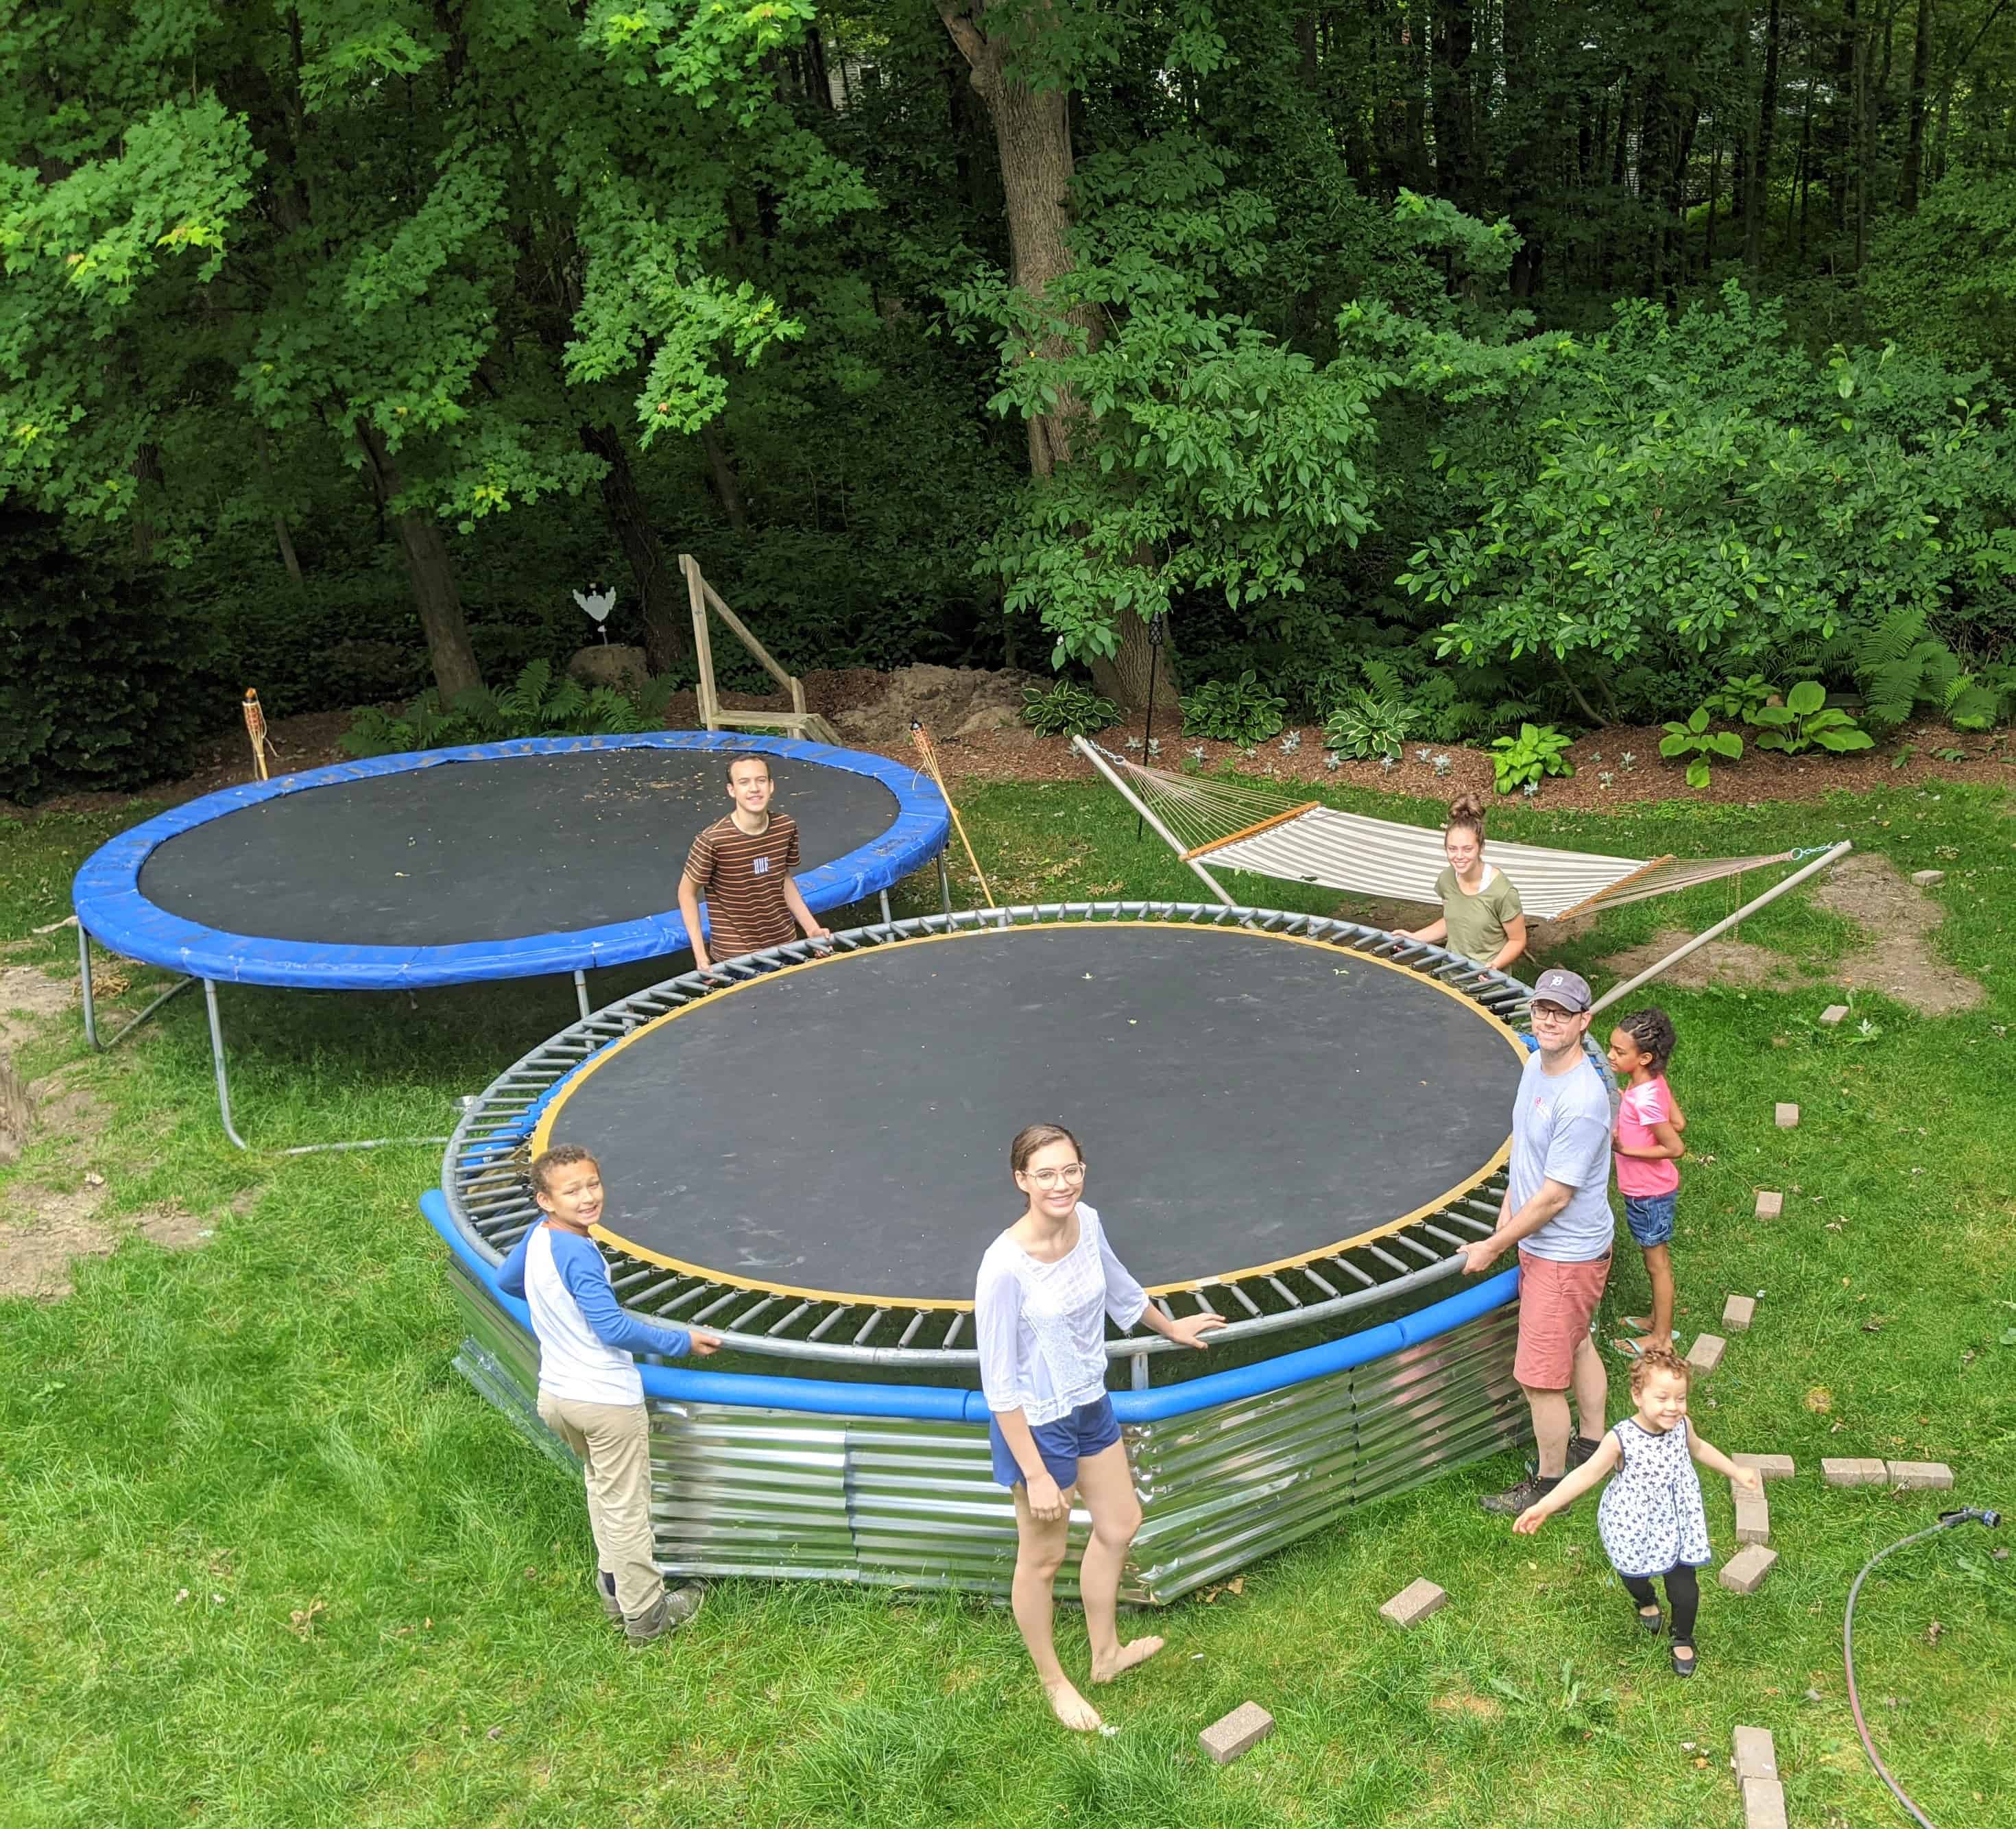
Now Jump!
These sons of ours really should be proud of themselves. They earned all the fun one shovel full of dirt at a time.
So thankful Jeremy and I gave them a chance to put a trampoline in the ground. Their idea became reality because they put in the hard work to make it happen.
The DIY inground trampoline was in place last Summer, but there were still a few things we wanted to do to make my design heart happy.
Check out the completed project How to DIY an Inground Trampoline Part 2.


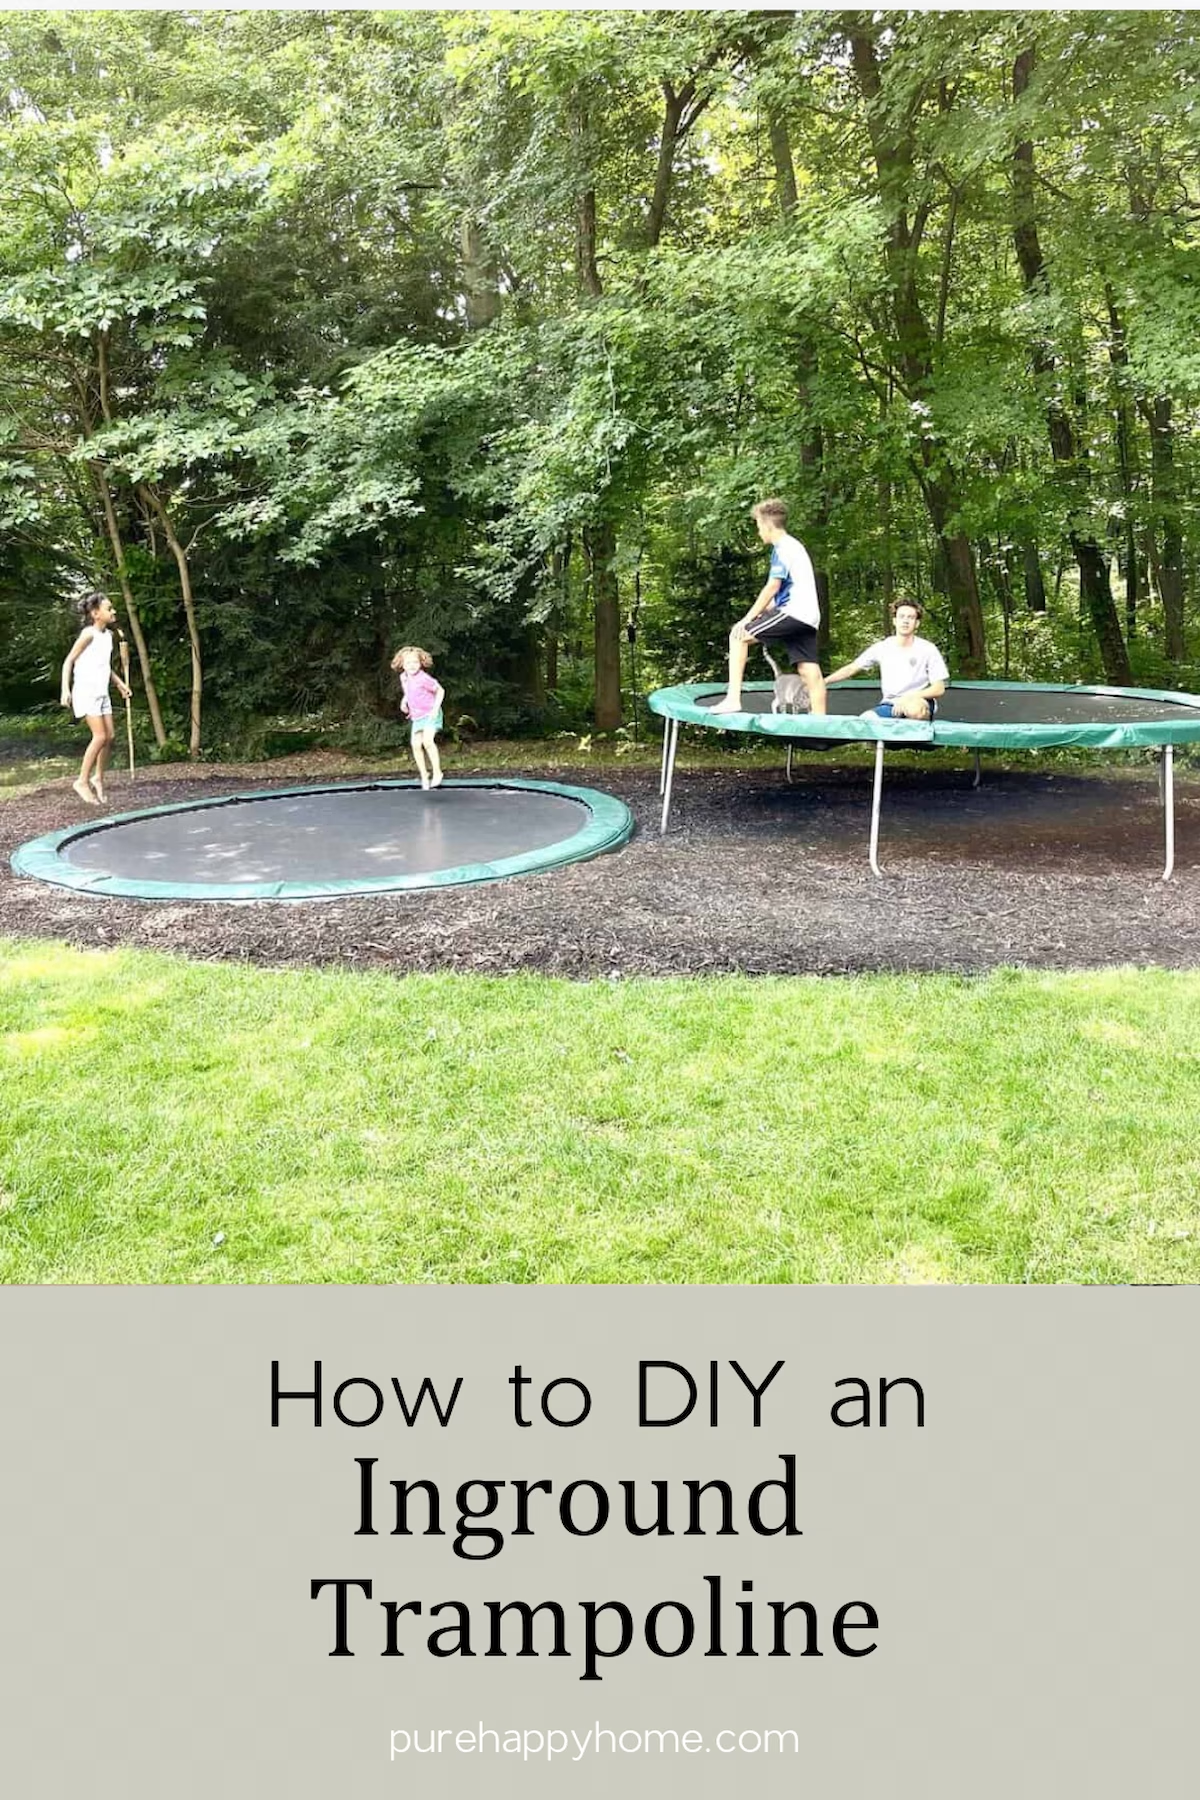
Pin It & Save It

Some of the products I use and suggest are from Walmart. I’m a Walmart Creator so if you purchase a Walmart product through my blog I receive a small percentage at no cost to you.


0 Comments