
")
We’re a big family. There are seven of us, and we homeschool three kids. Things get crazy, real crazy.
As our family grew so did my need for organization. Jeremy’s super laid back, but me, I need to plan. When we first renovated our home I made a place for a command center. It was modest but it held our calendar, kids chores, endless lists and the occasional motivational quote. It wasn’t cute, but it worked, and I didn’t loose my mind.
What I didn’t like about it was having to look at it whenever I walked into the kitchen, or when guests would take a look at it and comment! It was the inner workings of my brain trying to juggle all that was going on. It needed to be hidden behind doors.
Find a Nook
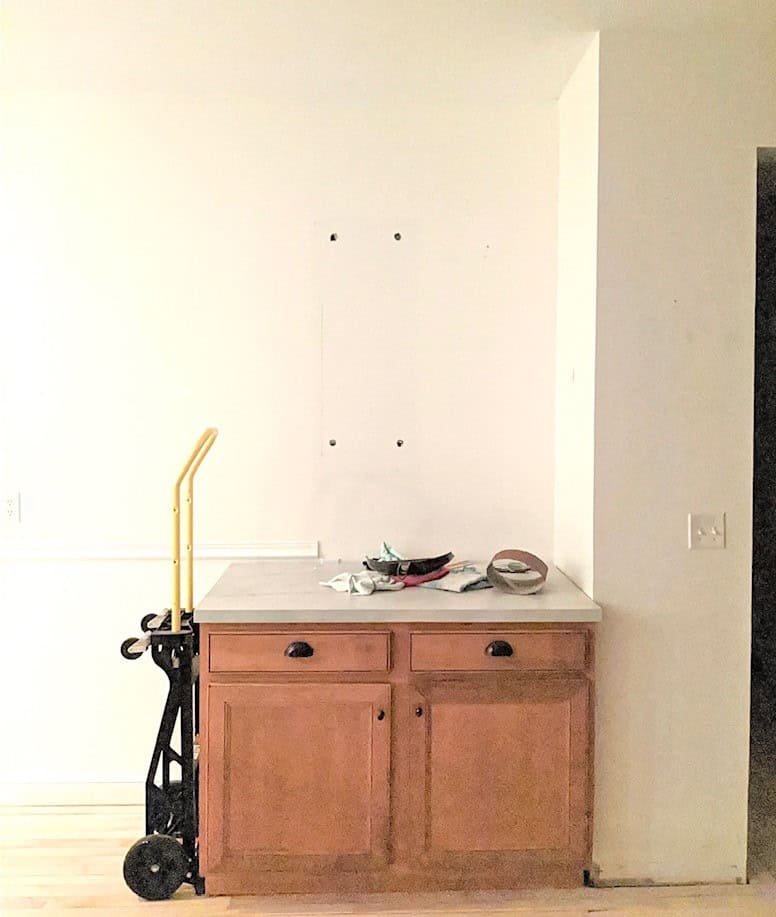
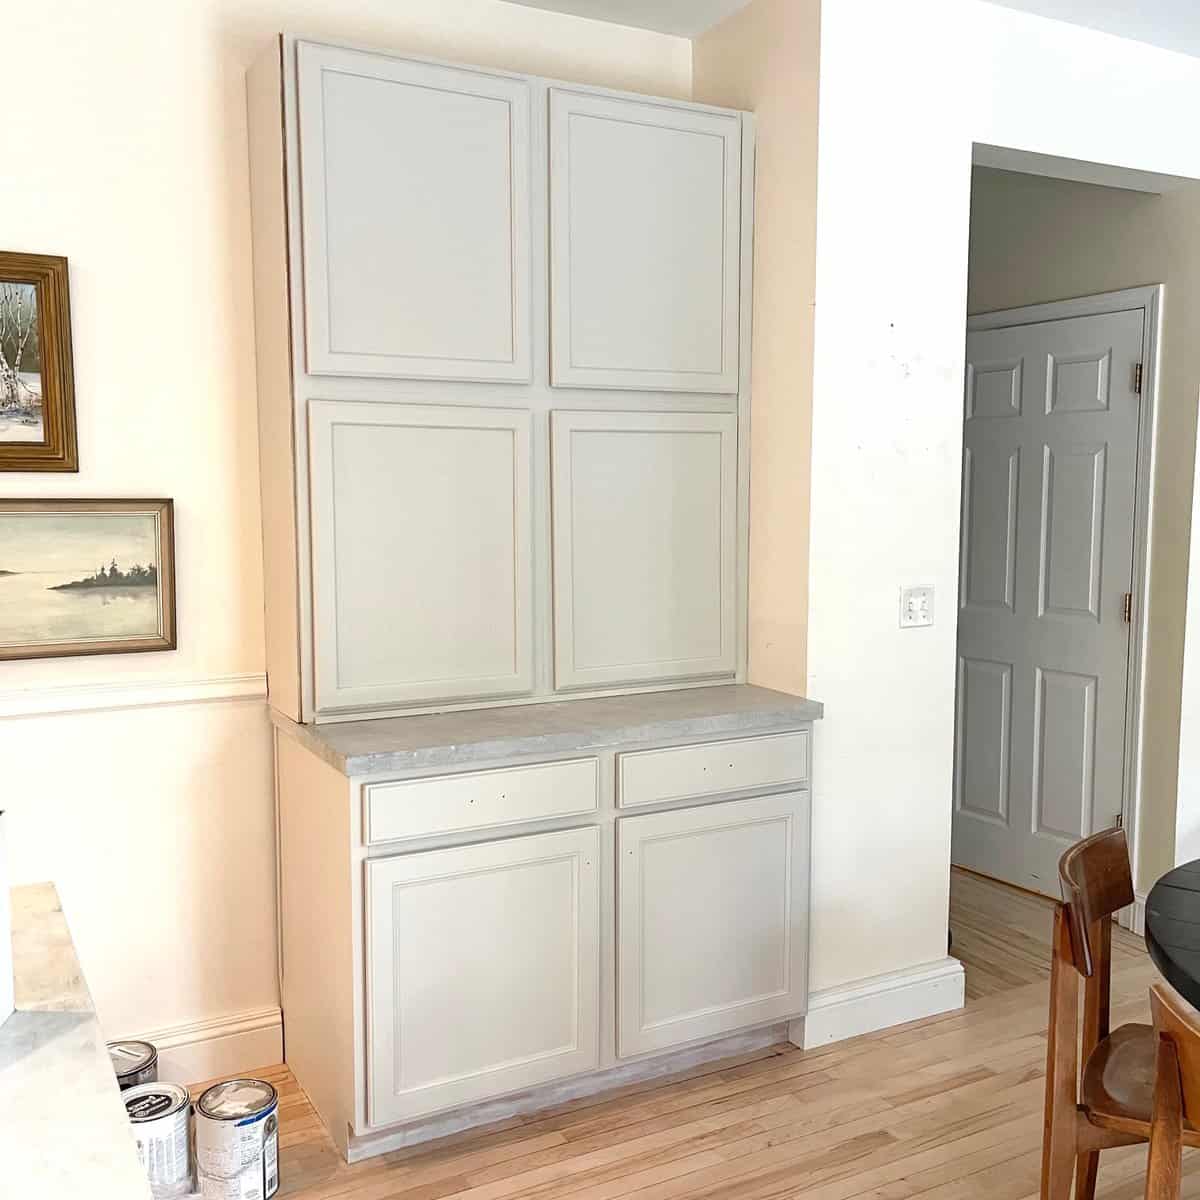
For years I’ve wanted a larger, command center with doors to help manage our growing family. We finally decided to use the little nook next to our kitchen and do build something on a budget that would solve the issues of space and privacy. Just across from our dining area and opposite our kitchen is the perfect place for a command center. You can see our kitchen here and how we renovated it on a budget. If you have a little corner like this then you could do the same thing. It’s going really slowly, but I’m going to show you how we are making my organizational dreams come true with only a few hundred dollars investment.
Source Your Cabinets
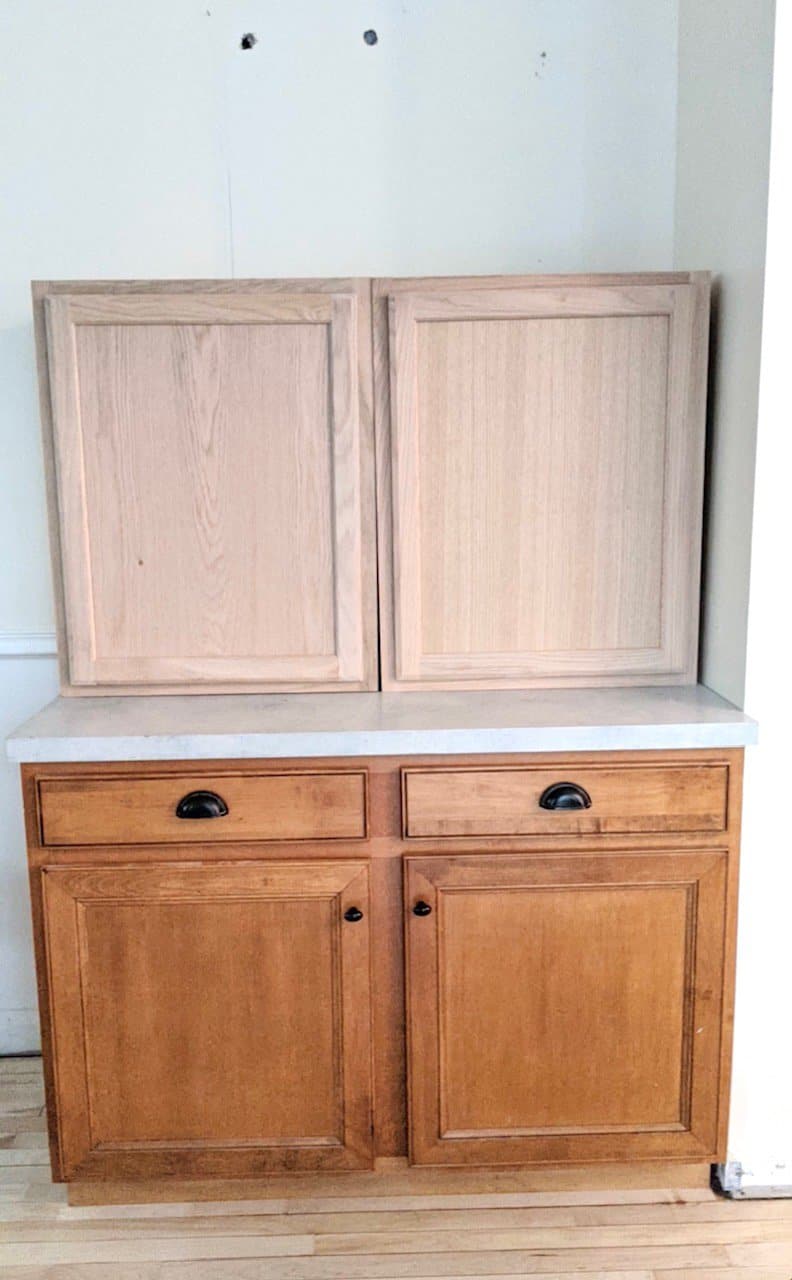
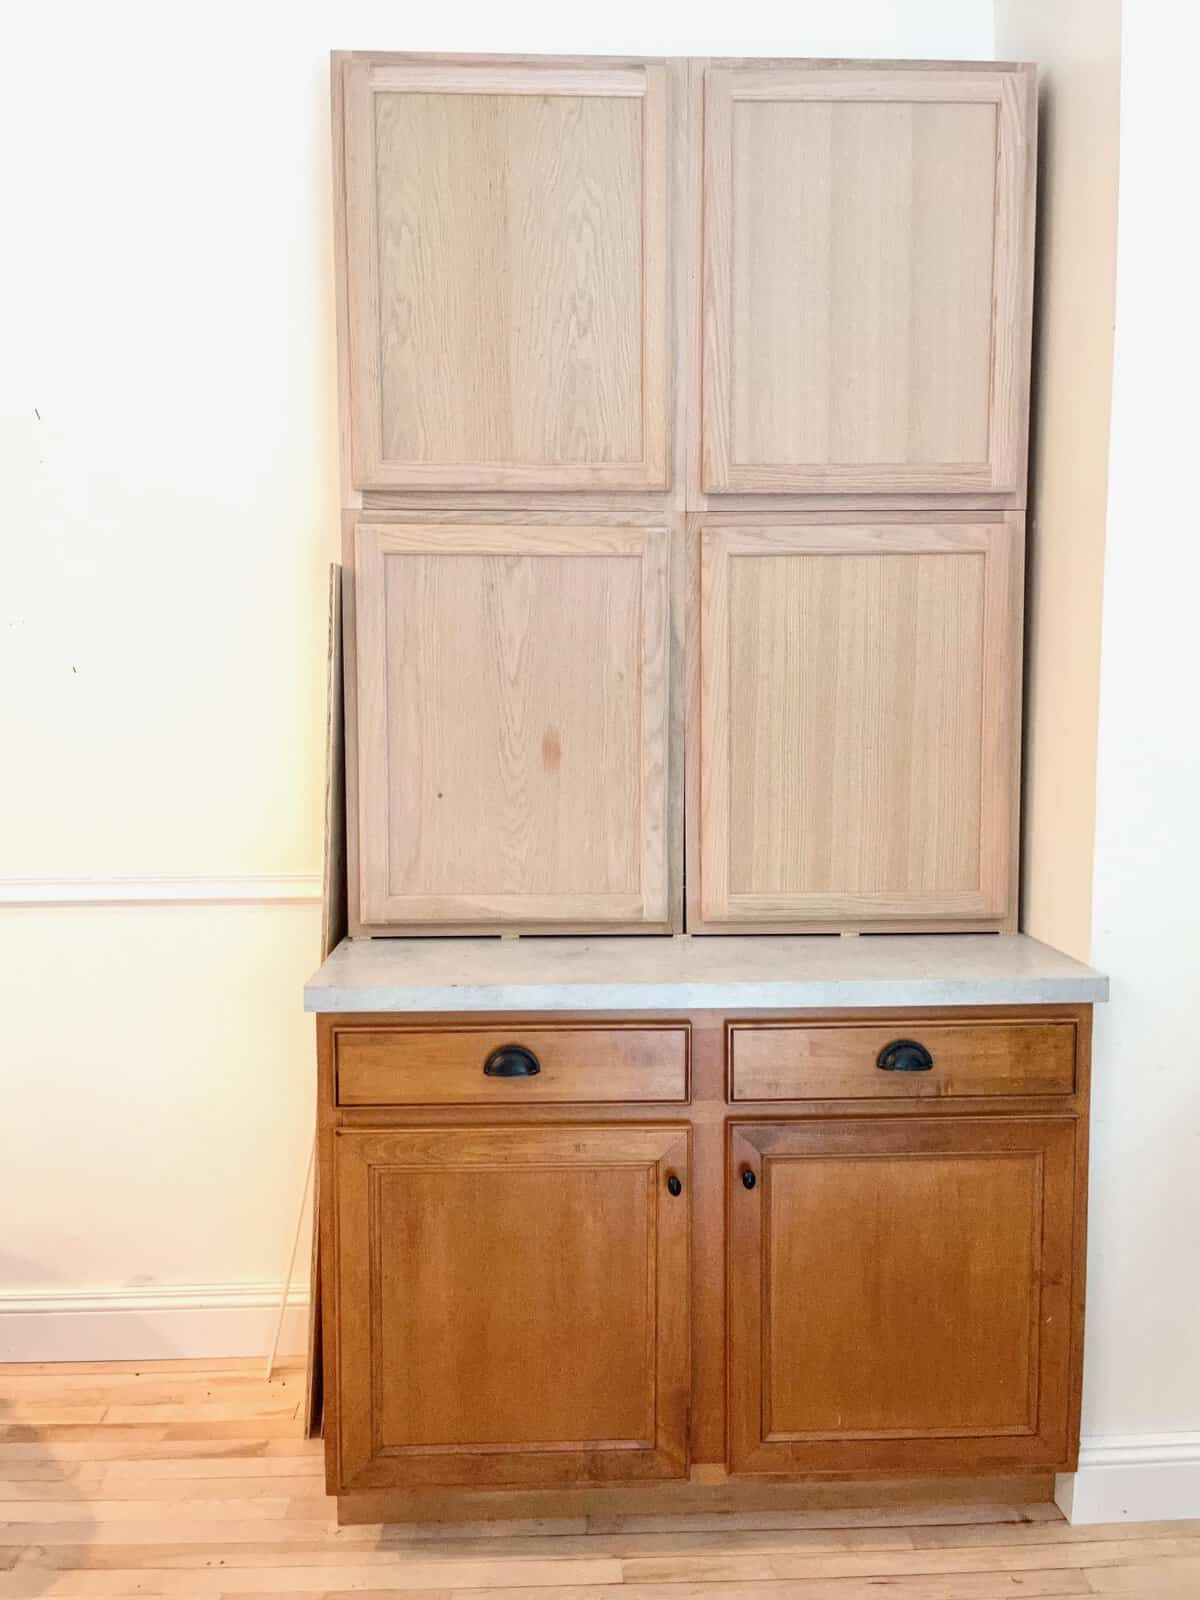
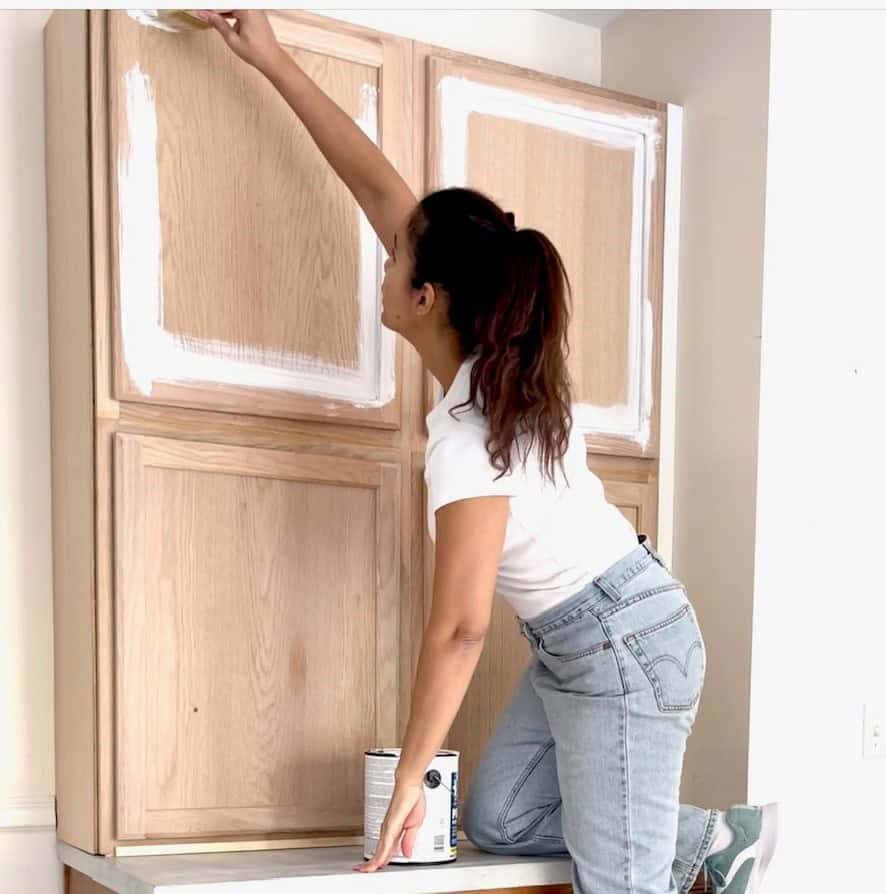
We found the base of our command center at The Restore for $15. We installed sliding drawers in the lower part of the cabinet that makes for easy access to everything we store there.
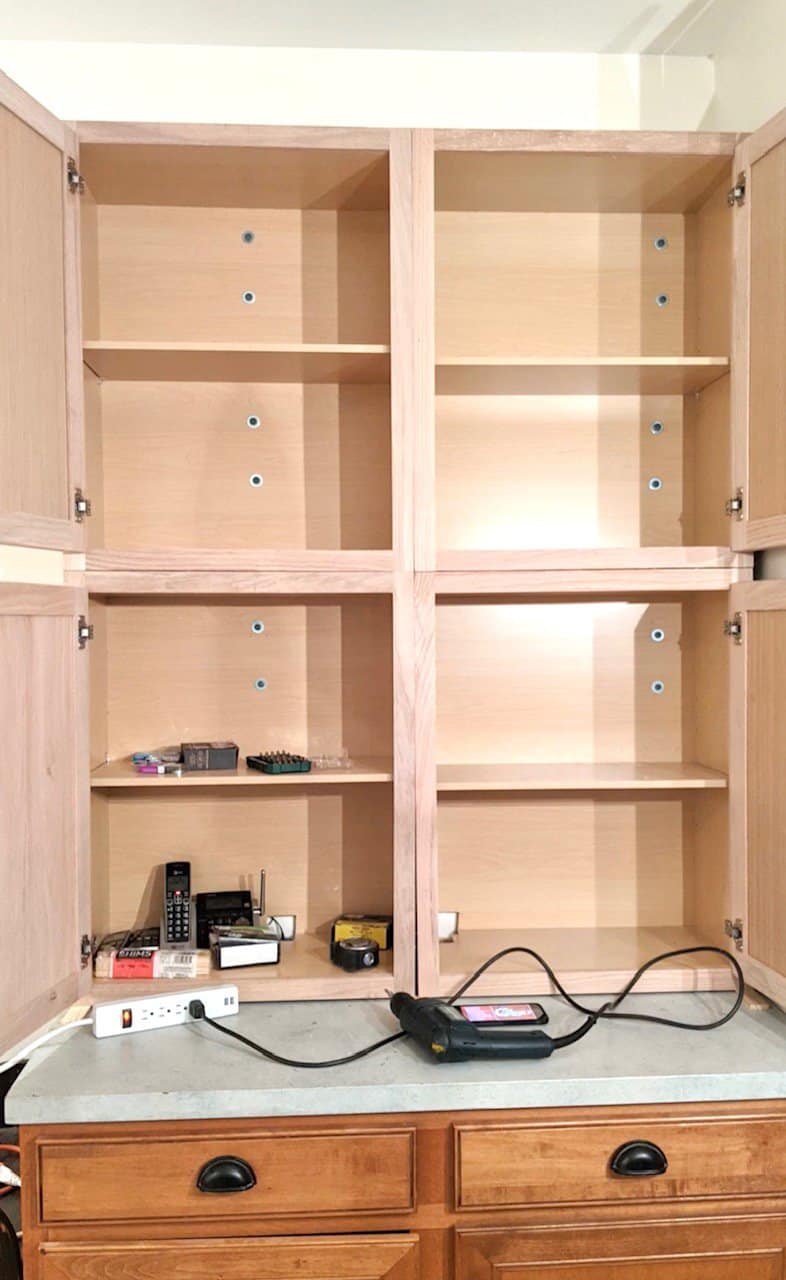
The upper cabinets were purchased from Lowe’s for around $200. They are great for all the things we want close at hand yet out of sight. We stacked them on top of the base cabinets so they were lower and easier to reach for the little ones of the family. I also wanted this cabinetry to look more like a piece of furniture, and doing it this way gives it the feel of an armoire or hutch.

Finish with Details
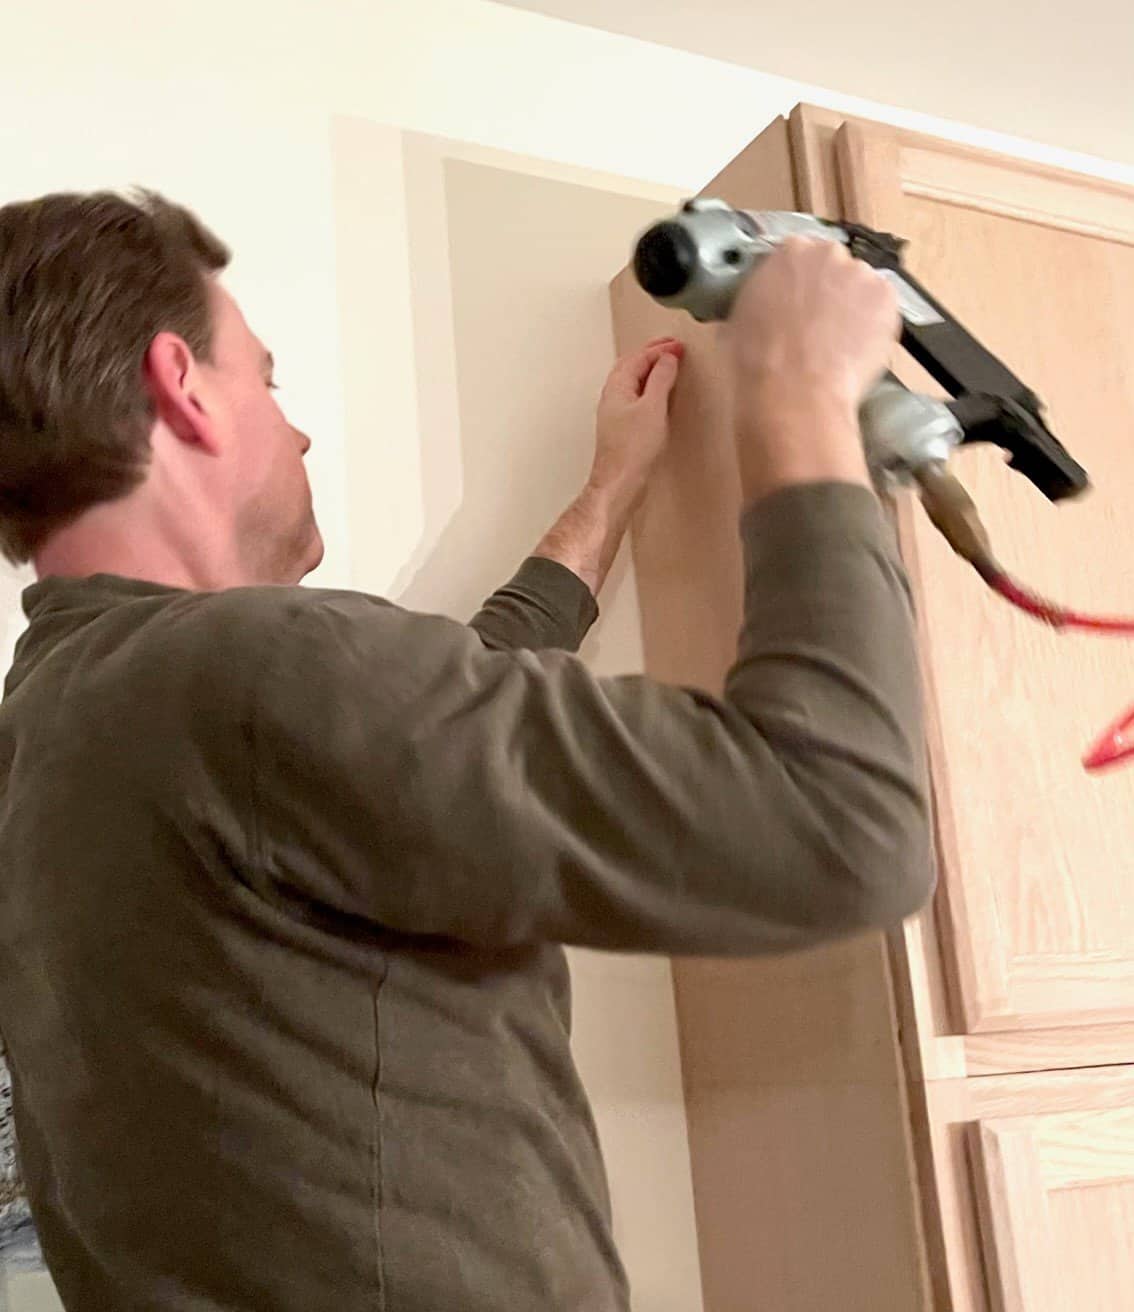
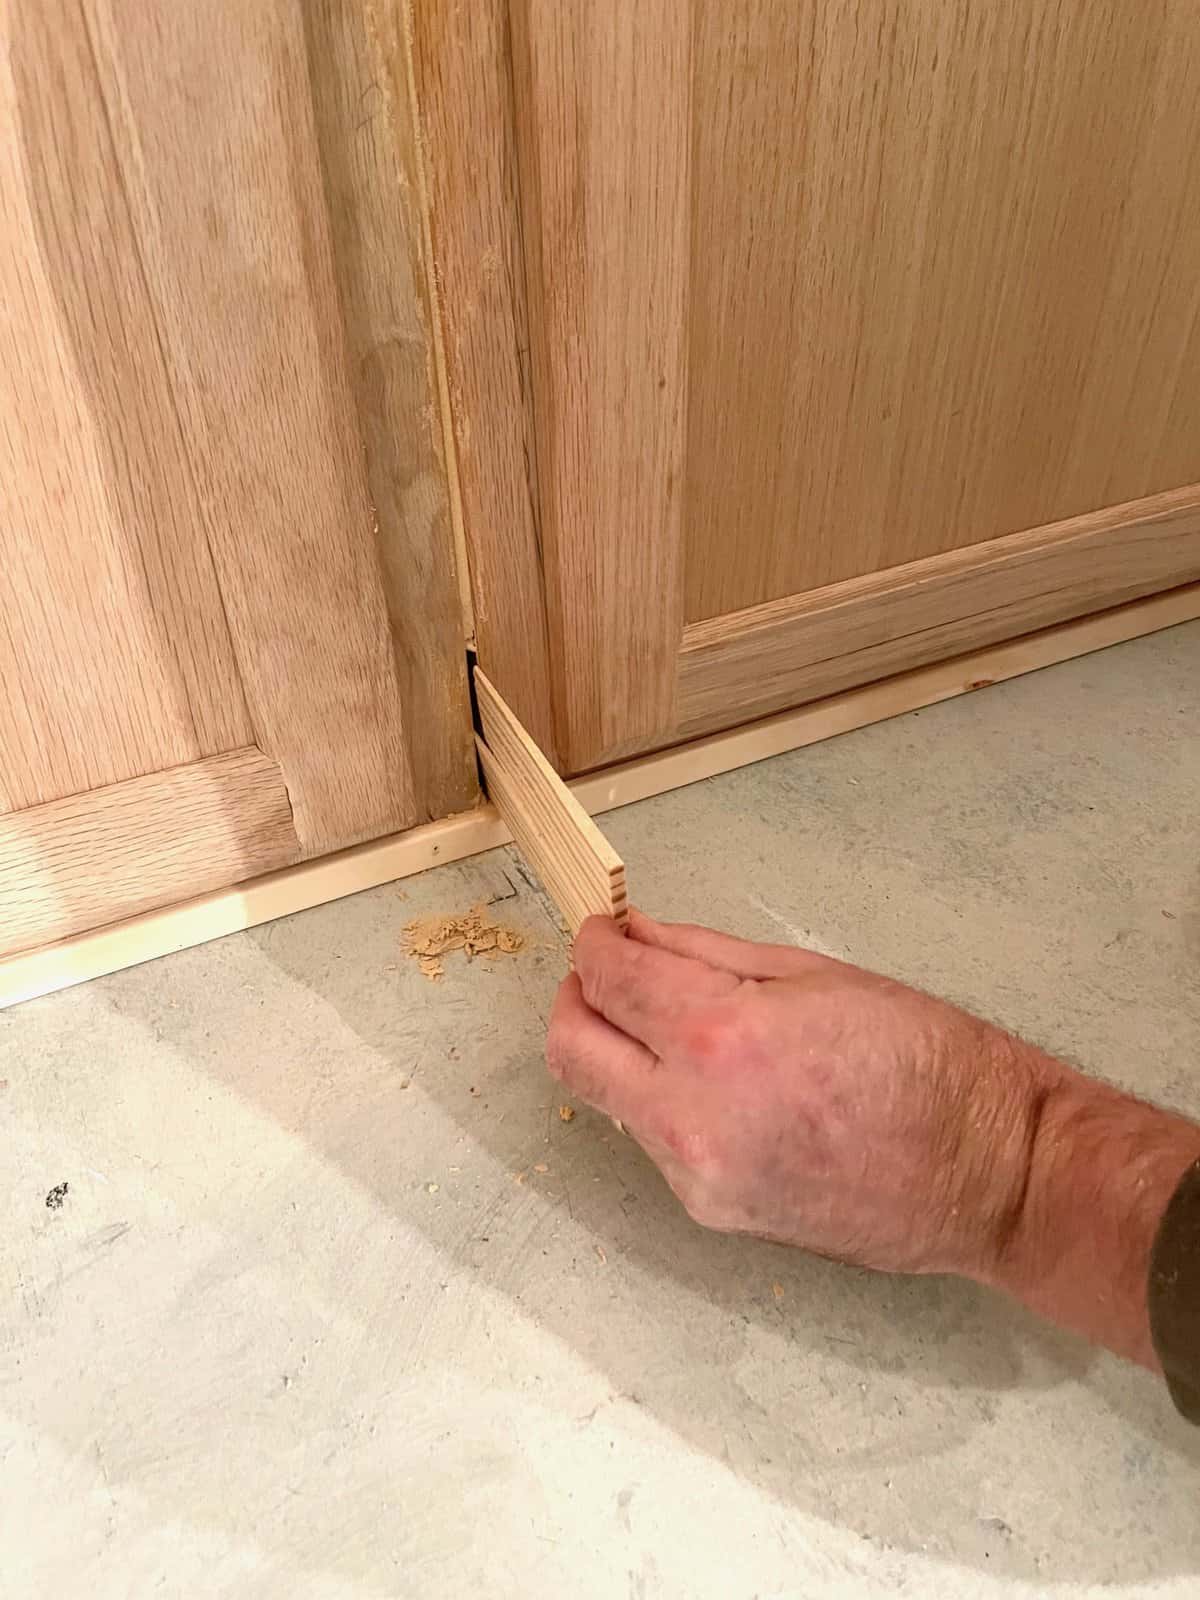
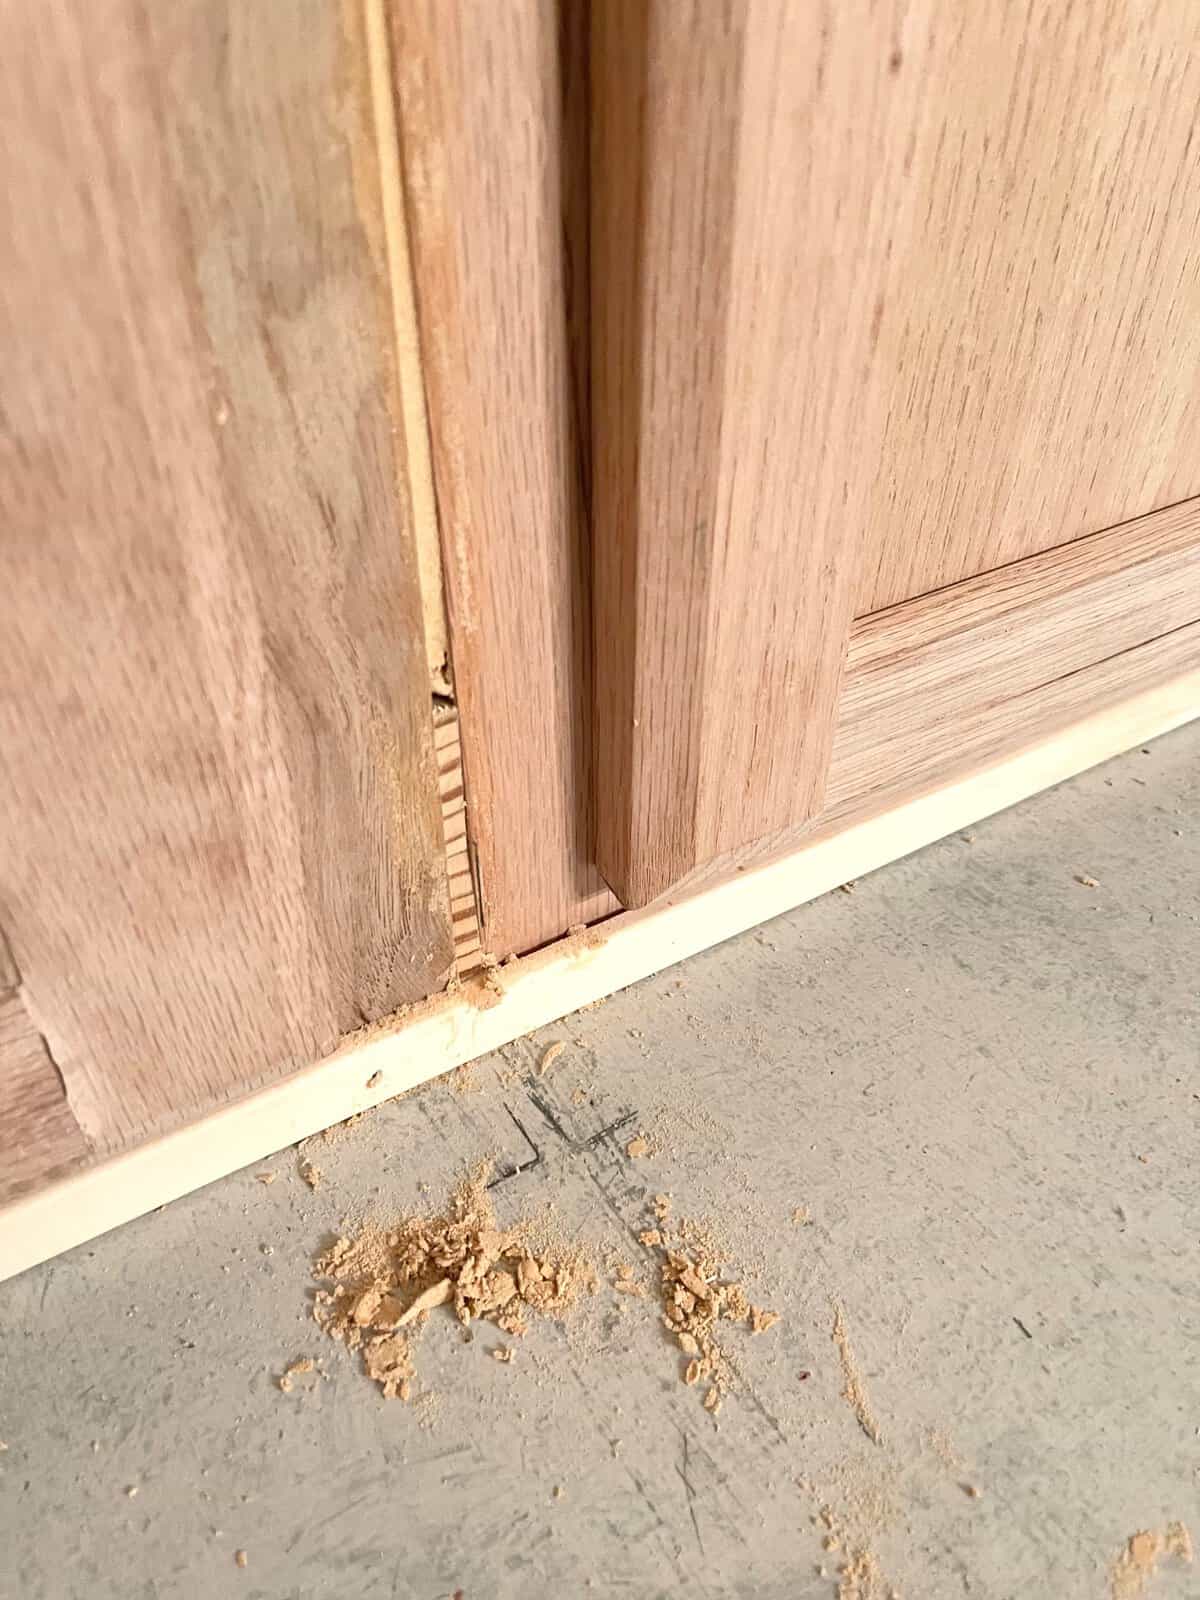
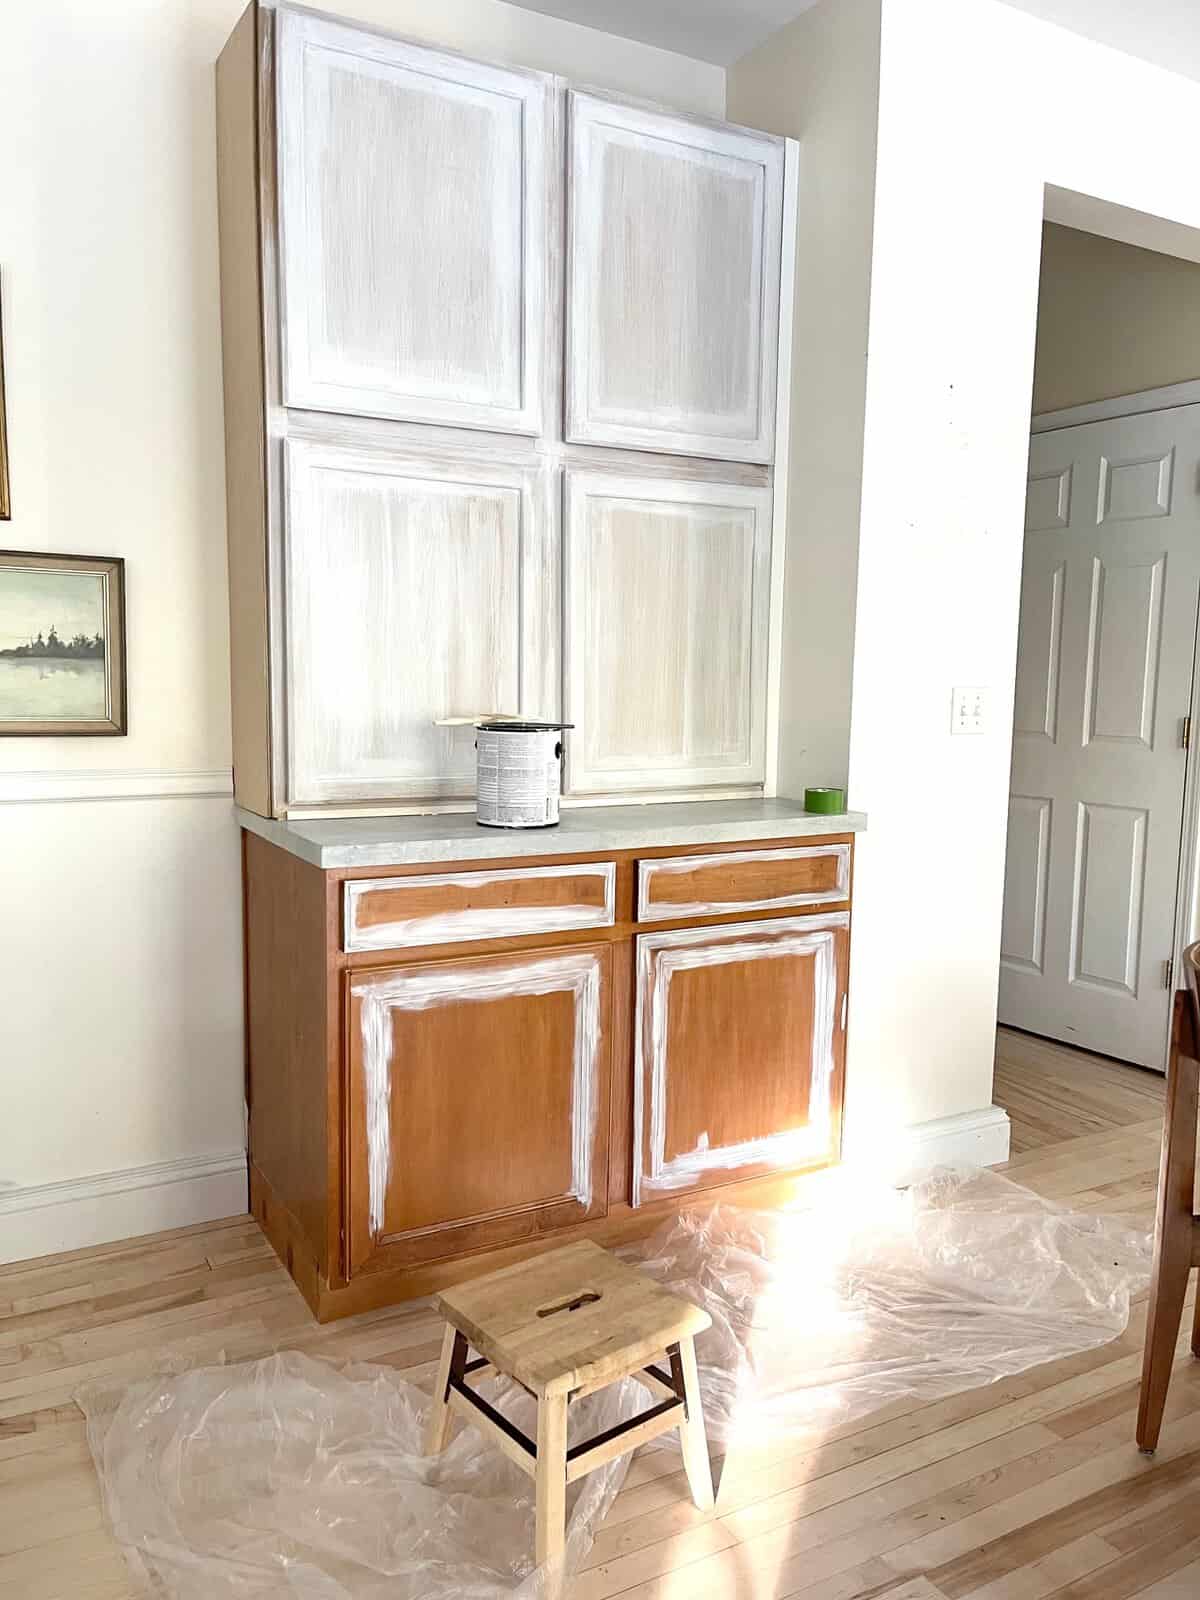
Jeremy placed veneers that we also purchased from Lowe’s on the side of the cabinets for a seamless look. We needed to add a few shims to fill in gaps in a couple of places after the cabinets were attached to the wall. Wood Filler was used to close up any small gaps and cracks. This is what we like to use here. We want the command center to look and feel separate from the kitchen cabinets which are directly to the right of it. Using different hardware and adding molding will help to give this built in cabinet a much different look than other cabinets in the room.

Sand, Prime and Paint for Durability
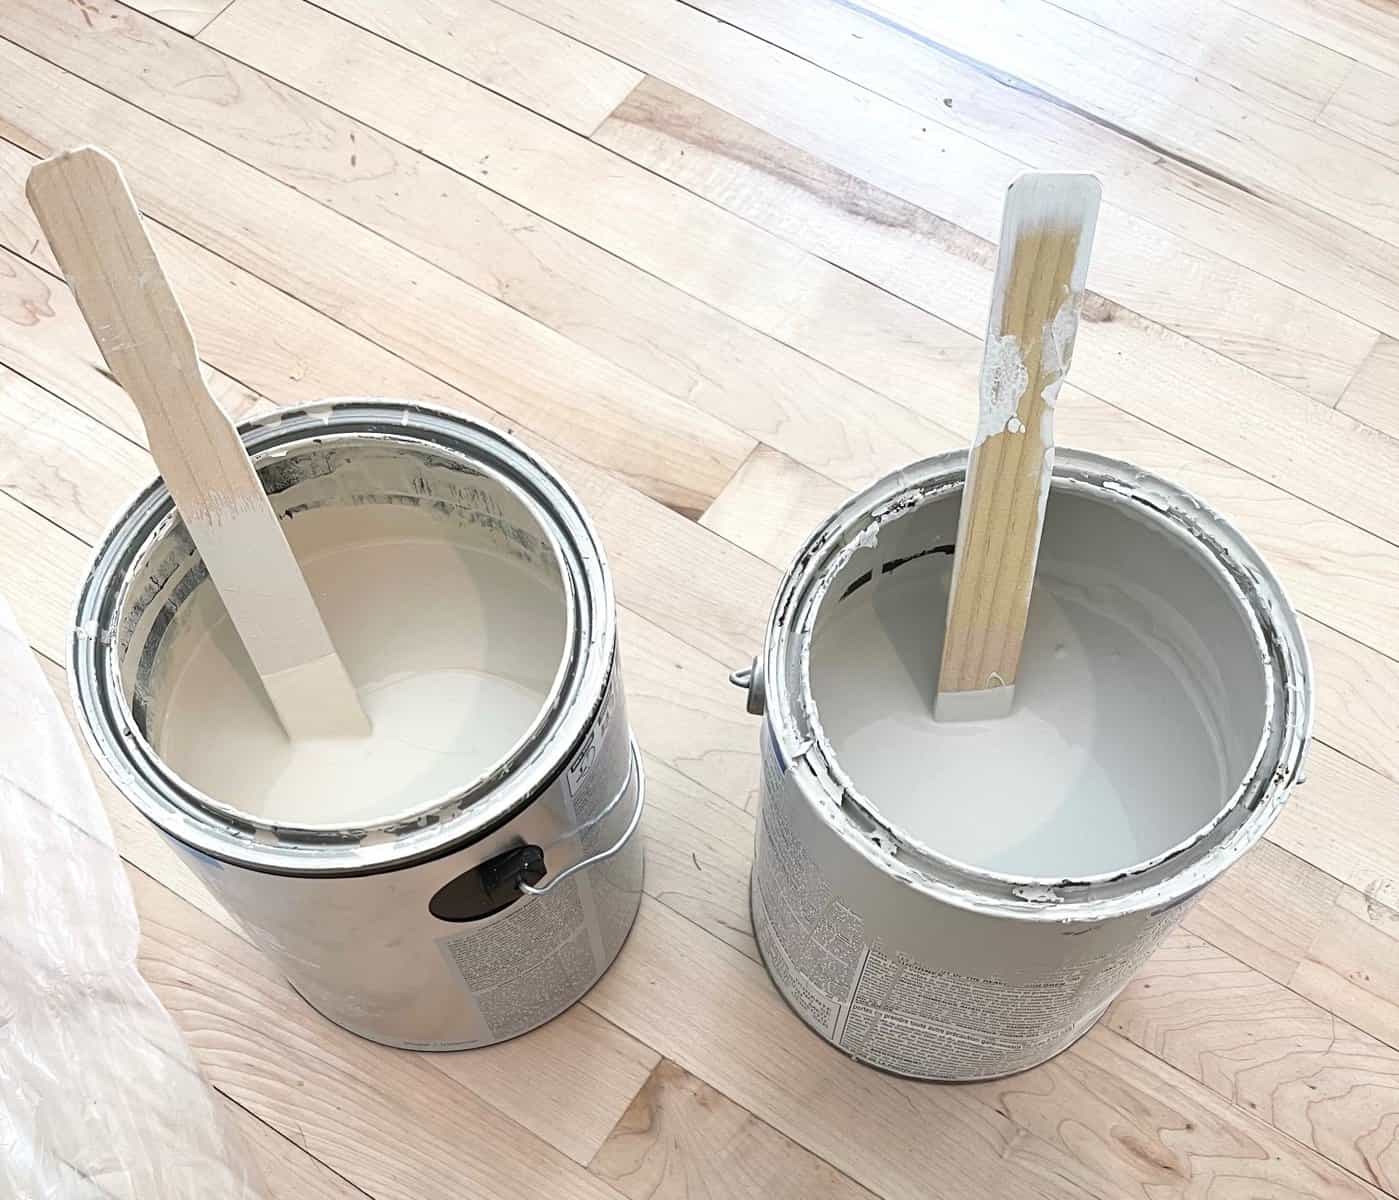
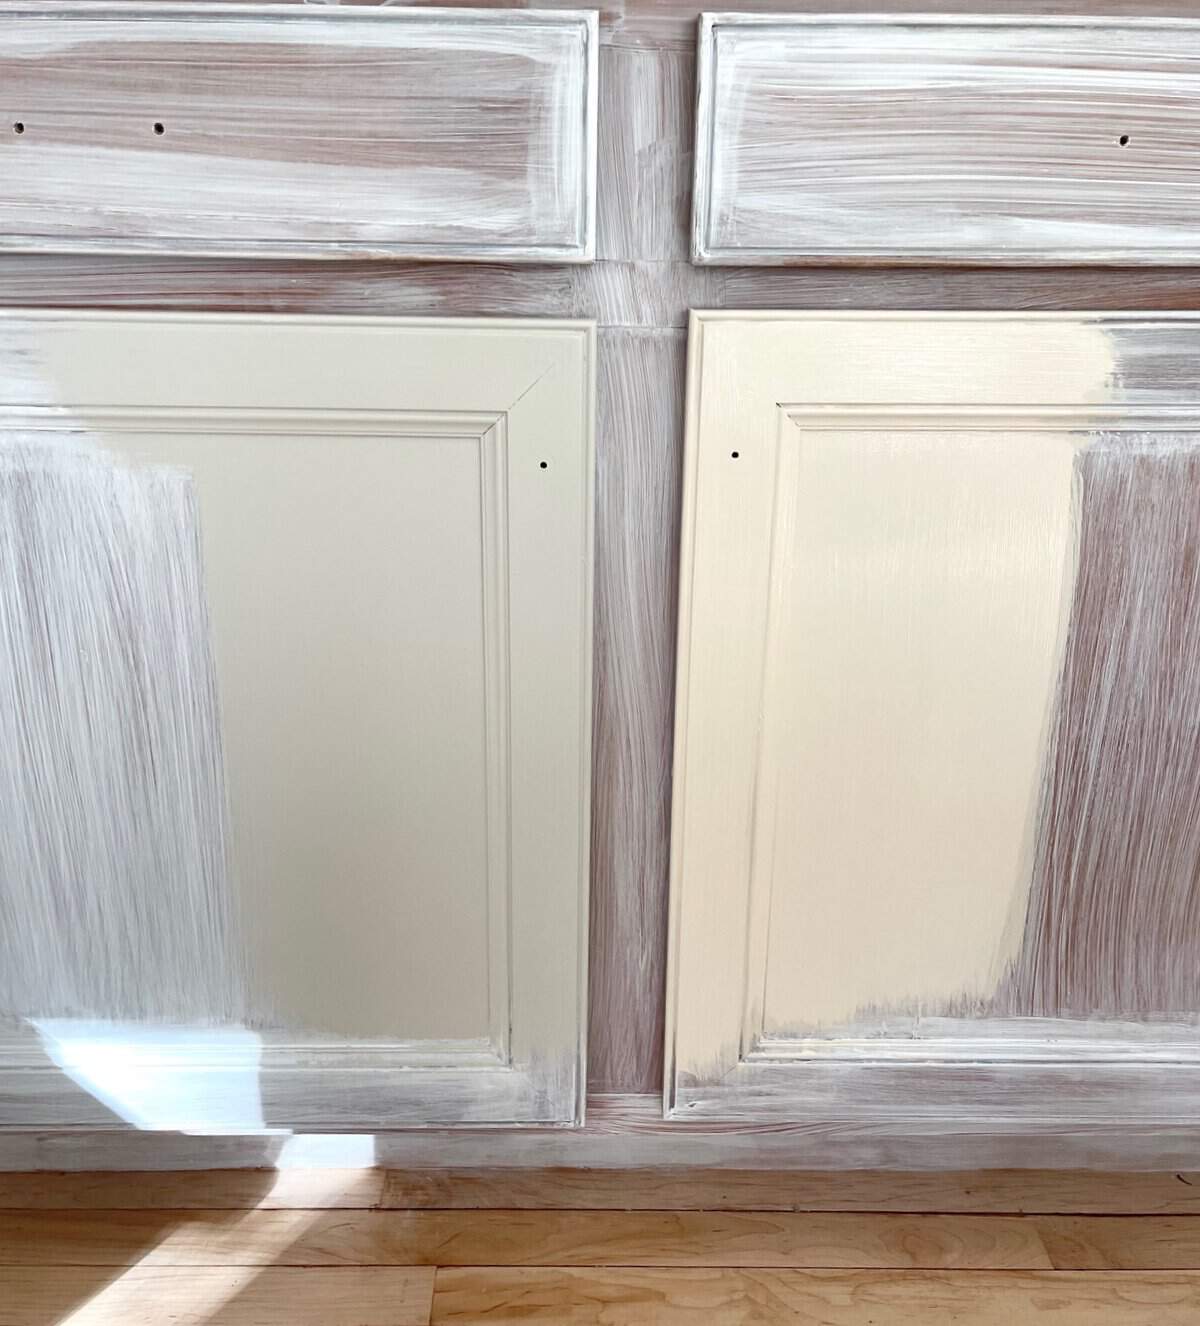
I sanded then primed both cabinets to prepare the surface for paint. The command center will be used a lot by our whole family and we wanted to make sure it has a durable finish so it stays looking great. We asked our design community on Instagram what color they would choose and although it was a very close vote, a soothing putty tone was the winner. After I got it on the cabinets I knew the right color had been selected. It makes our white cabinets really shine and is a nice contrast to the warmth of our floors while still complementing them.
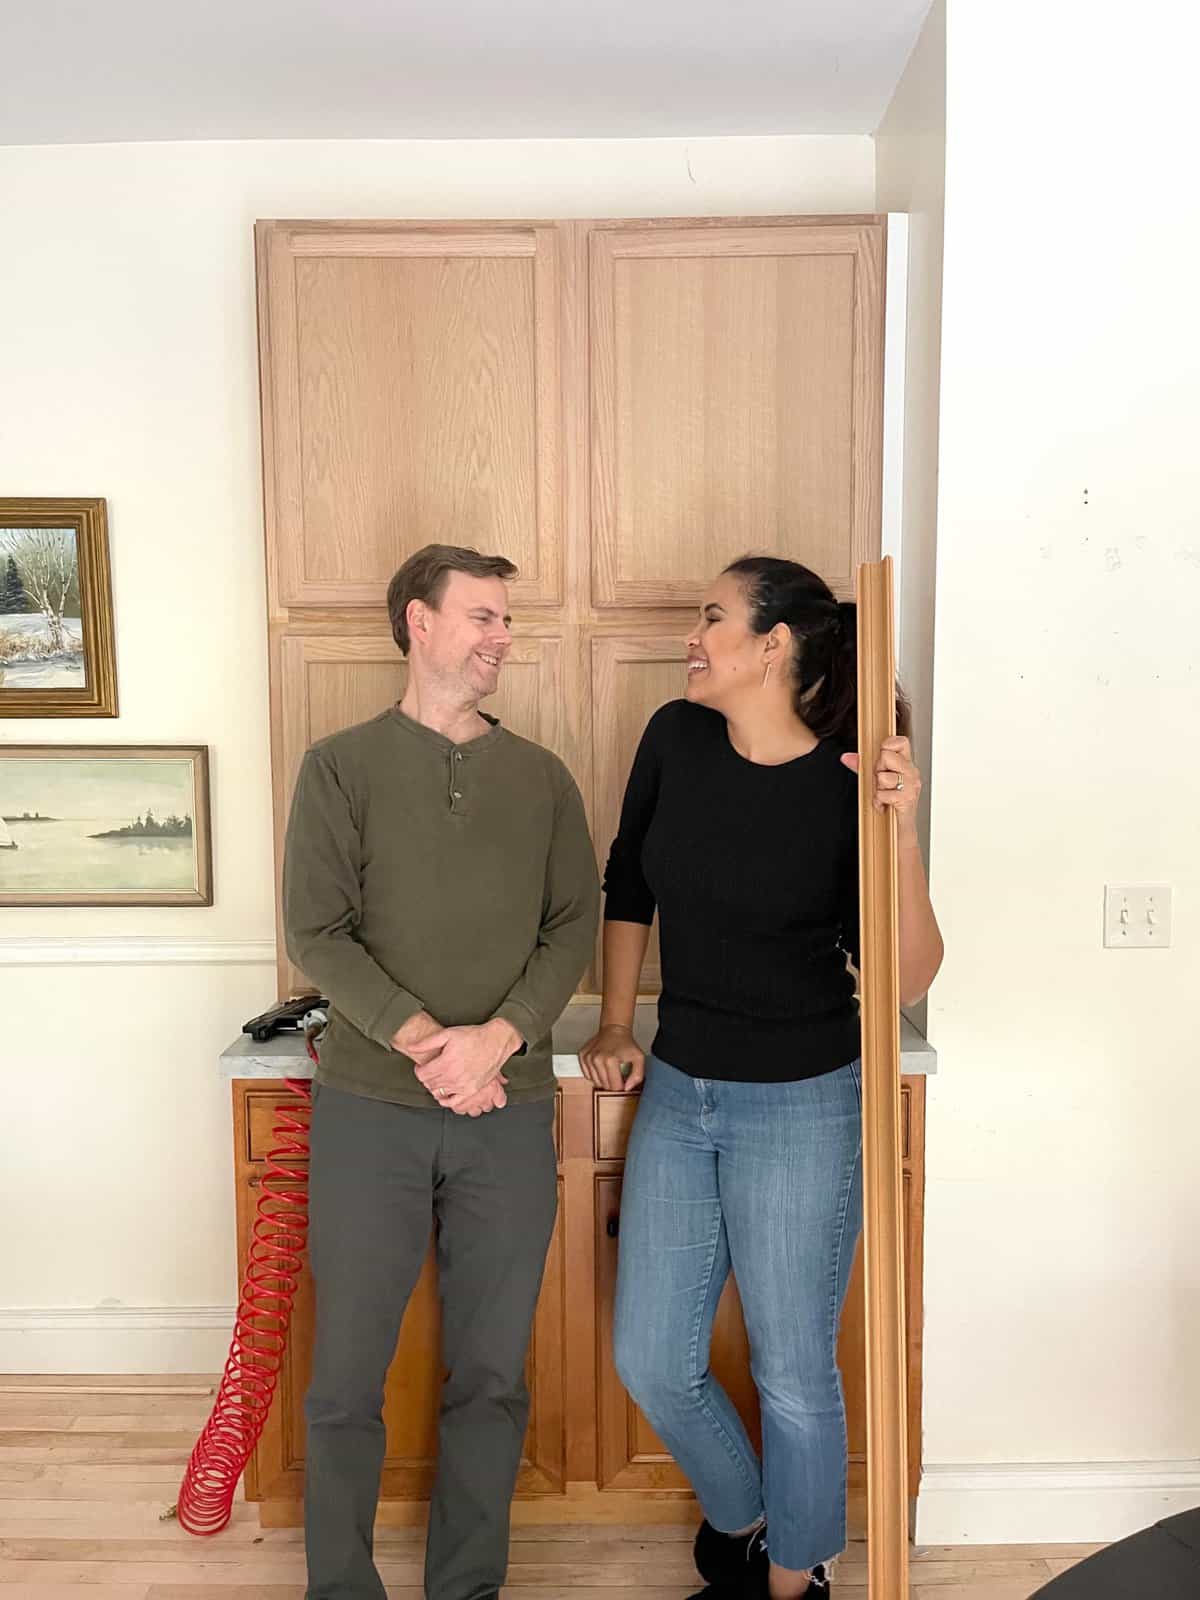
More To Come in Part 2
We aren’t done, but we’re headed toward the finish line. In any renovation you have unexpected delays and this projects no different. We waited for two weeks for the correct molding and have been looking for the perfect hardware. I’ve had to remind myself to be patient, and have resigned myself to the fact that home takes time.
Hopefully we’ll be able to show you the finished project soon. Know that you are not alone if you’re waiting on parts or just keep running into issues with your project. We’ll exercise the art of patience with you.
xo


0 Comments