
Hey Friends! You know I’m all about saving my pennies right?
Well, these DIY curtain rods and affordable curtains are case in point!
I got the exact look I wanted and save sooooo much money in the process.
DIY Curtain Rods and Affordable Curtains
Whenever I design a space, I always make a point of identifying what items in the room I can save money on.
The curtain rods in Elsa’s bedroom were never meant to be one of those items. Initially I had planned on using brass rods from Target in her room, but as I was collecting the necessary pieces for the room makeover, I feel in love with a few things that were priced higher than I was willing to spend.
Like, a lot higher, which was not gonna happen!
It occurred to me I needed to find another area to make more affordable. The curtain rods became my money saving target.
Channeling my inner Mission Impossible self, I set out to accomplish my goal.
They say use what you have, so I did!
Materials for DIY Curtain Rods
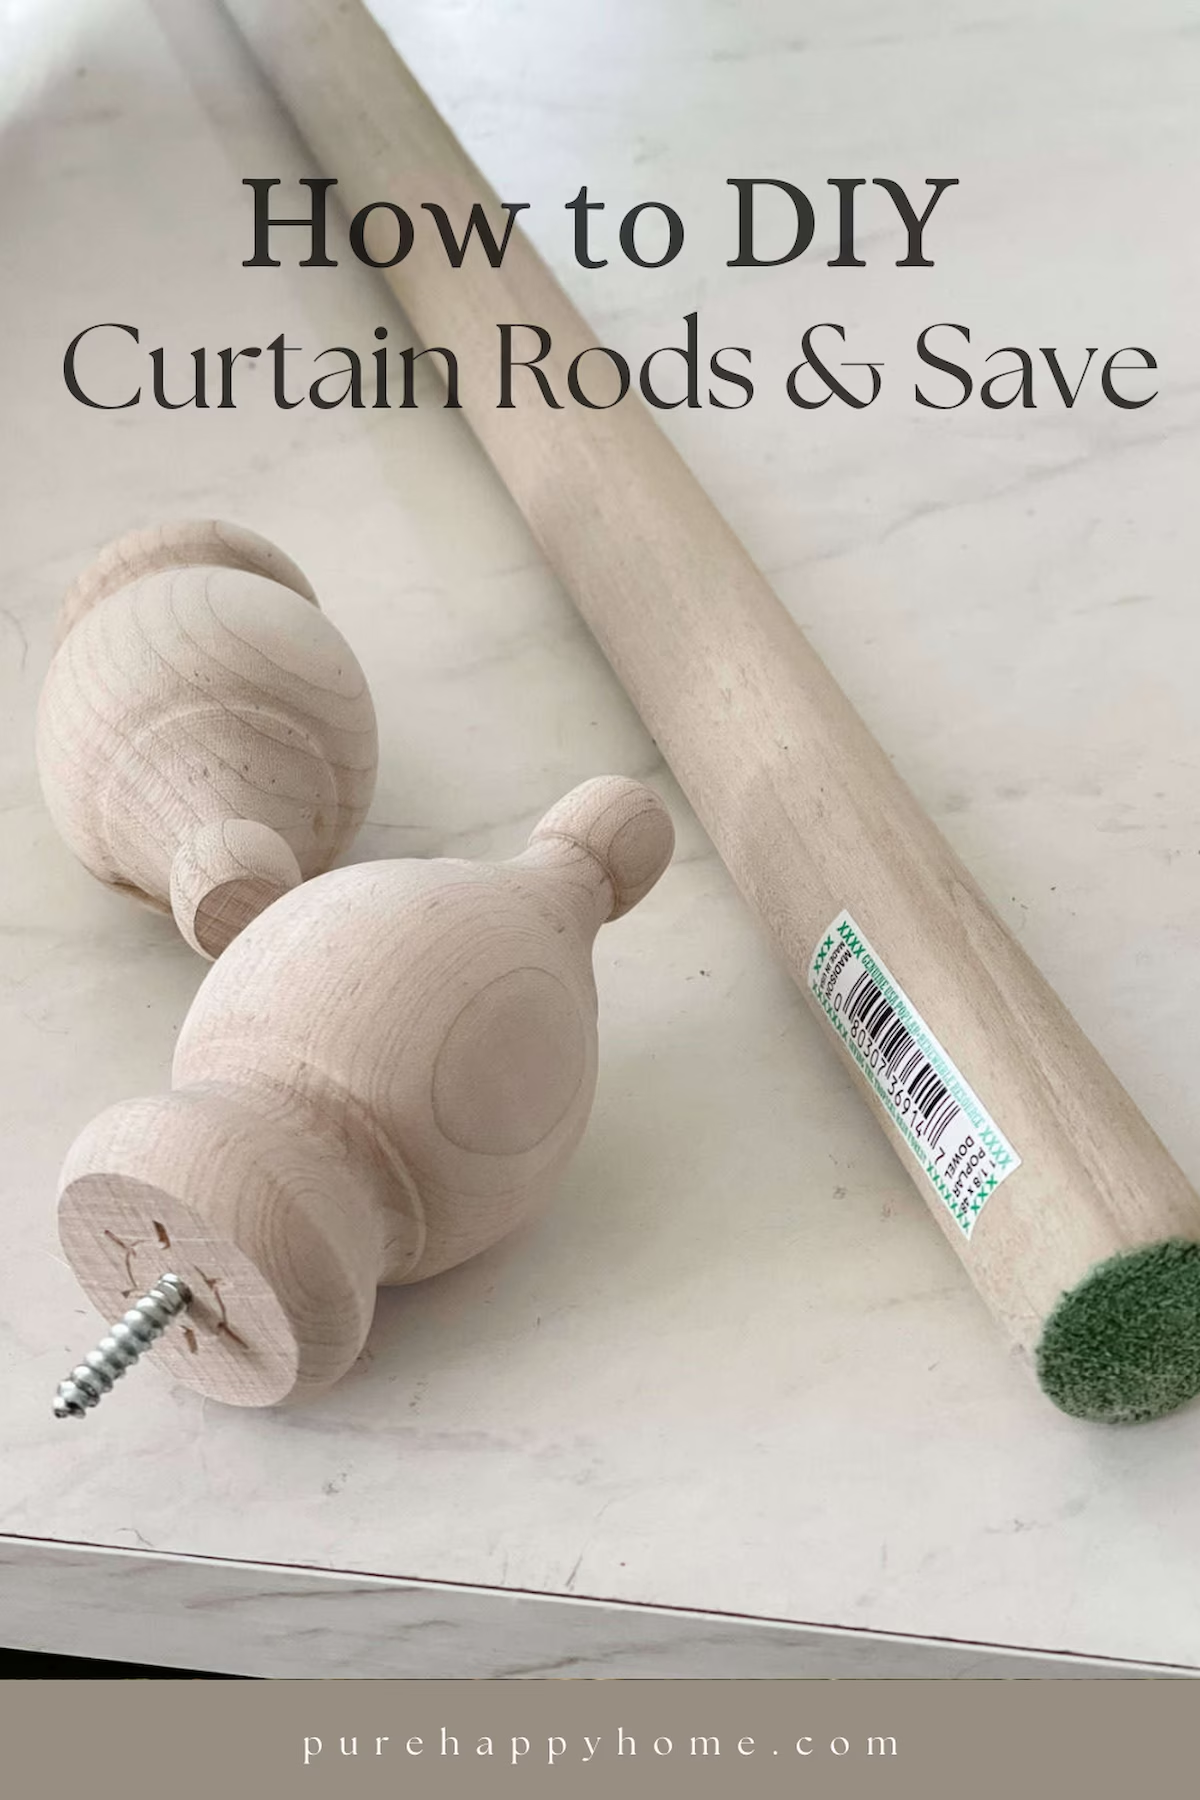
- Wood dowels
- Wood finials
- J hooks
- Spray paint
- Curtains
Tools for DIY Curtain Rods
- Drill (look at how pretty this one is!)
- Screw driver
In DIY Always Use What You Have
We’ll be working on our basement family room very soon and I had already decided to replace the window treatment there.
I realized I could use that curtain rod for one of Elsa’s bedroom windows and create another one for her second smaller window.
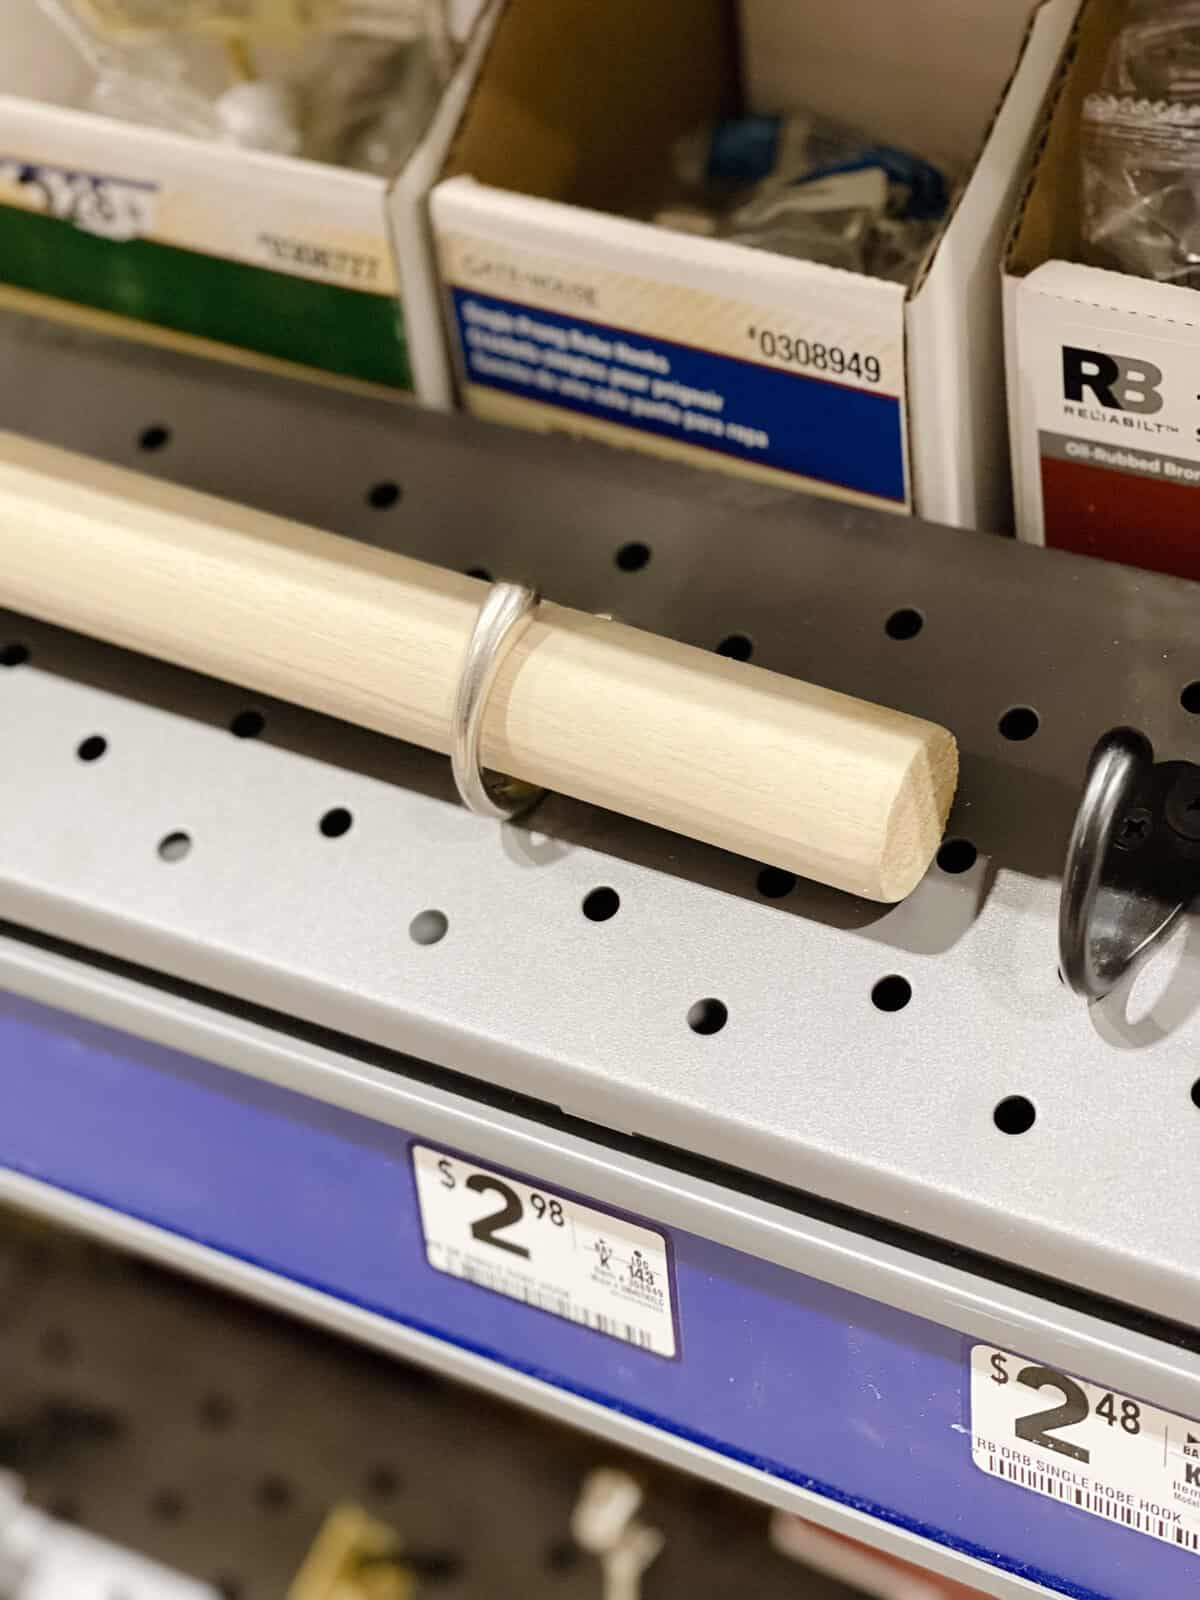
Browse the Hardware Store for Ideas
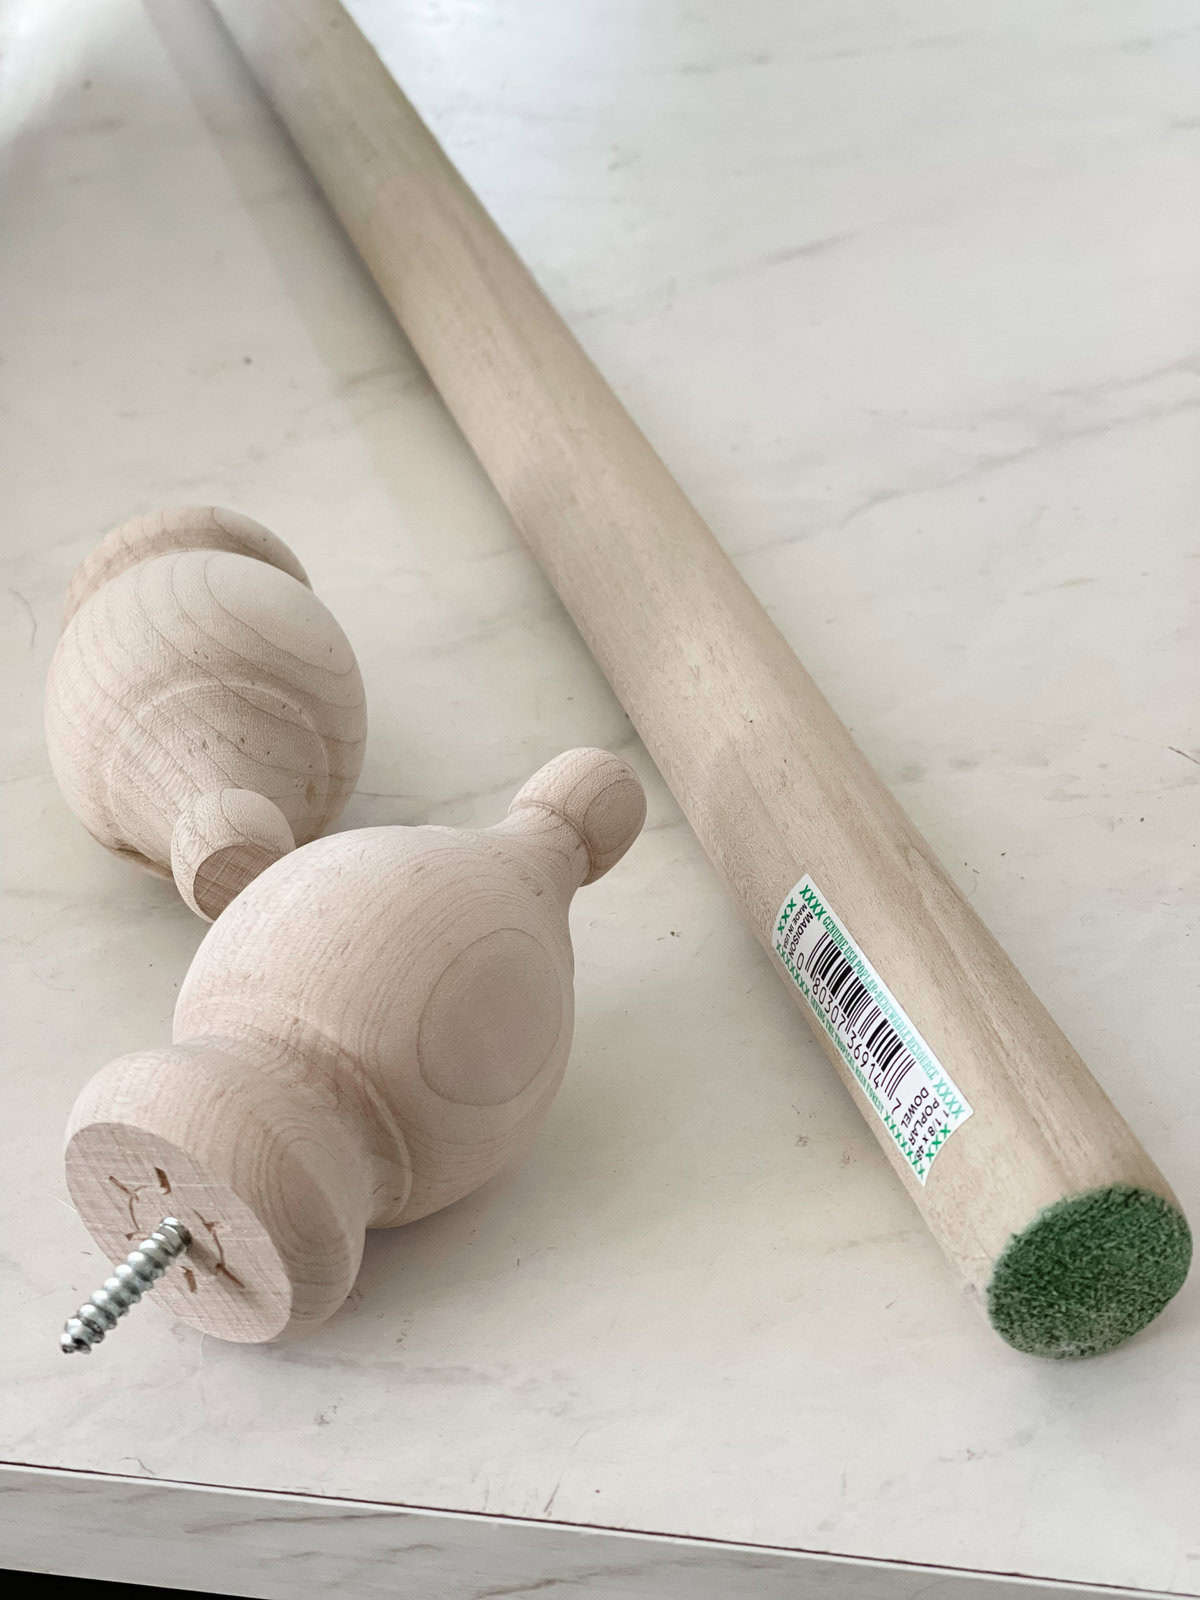
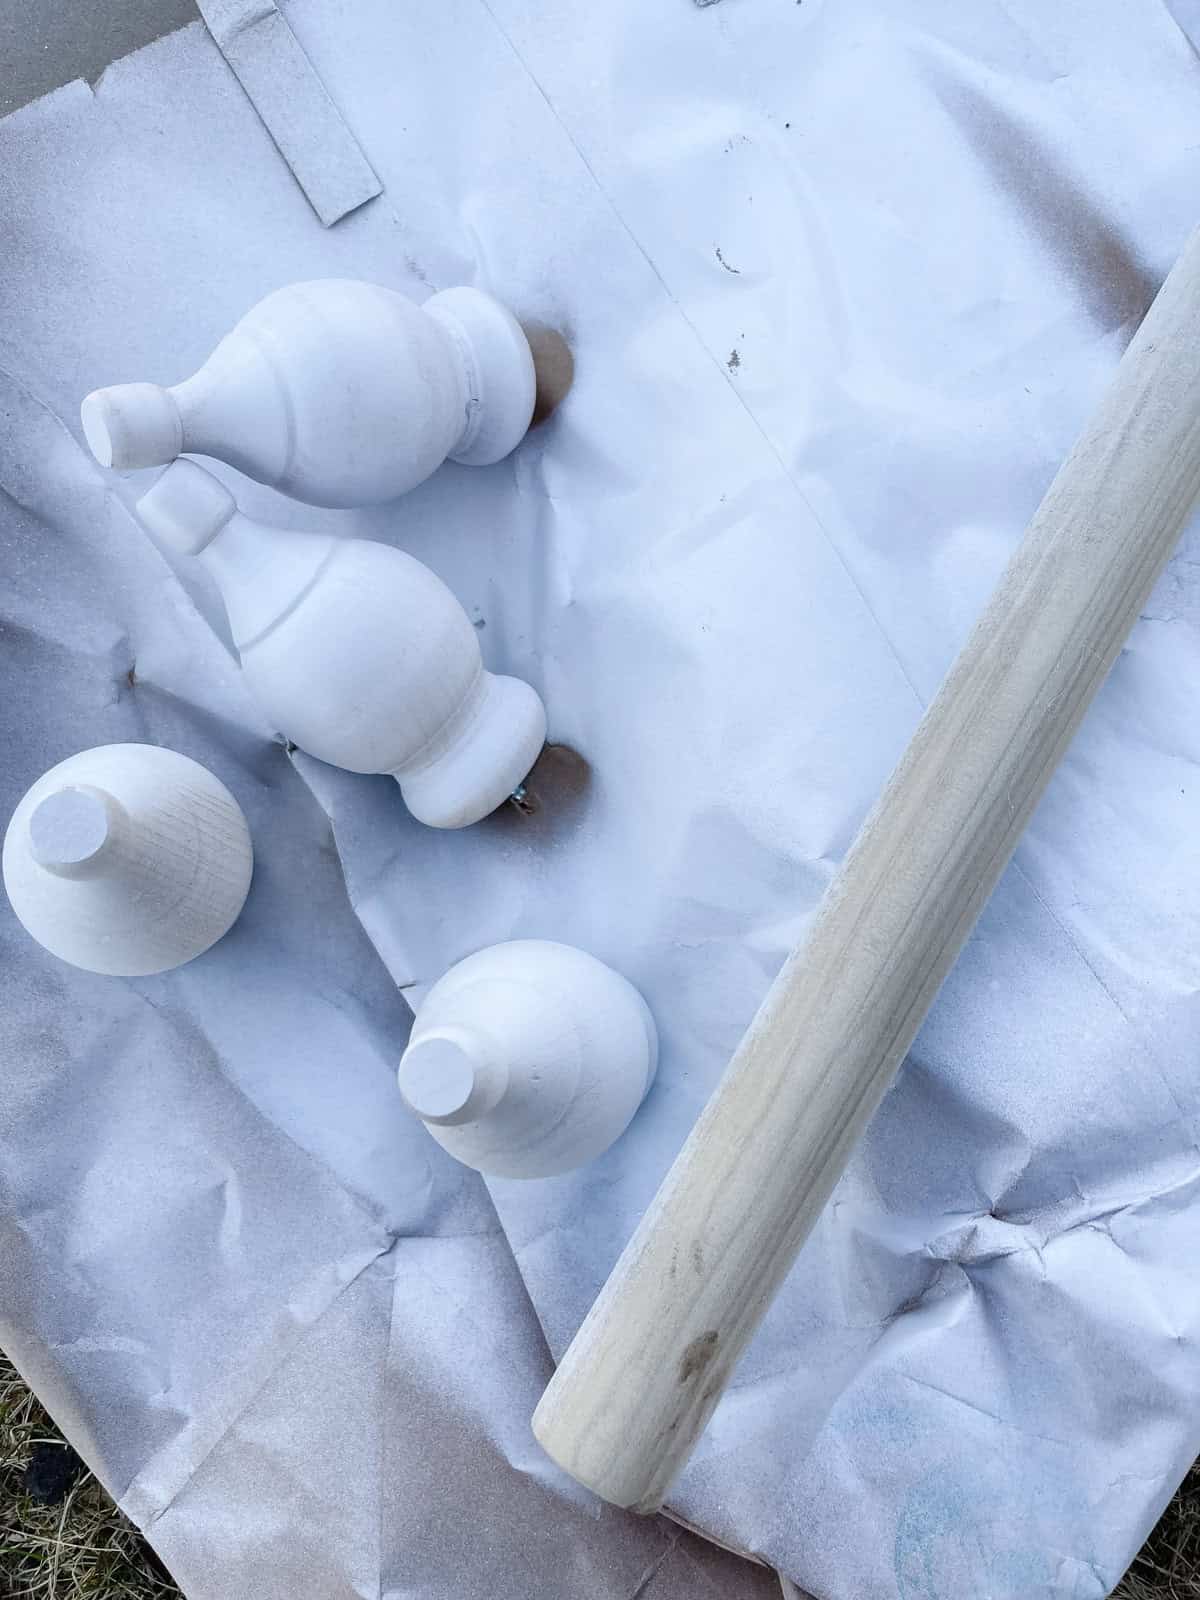
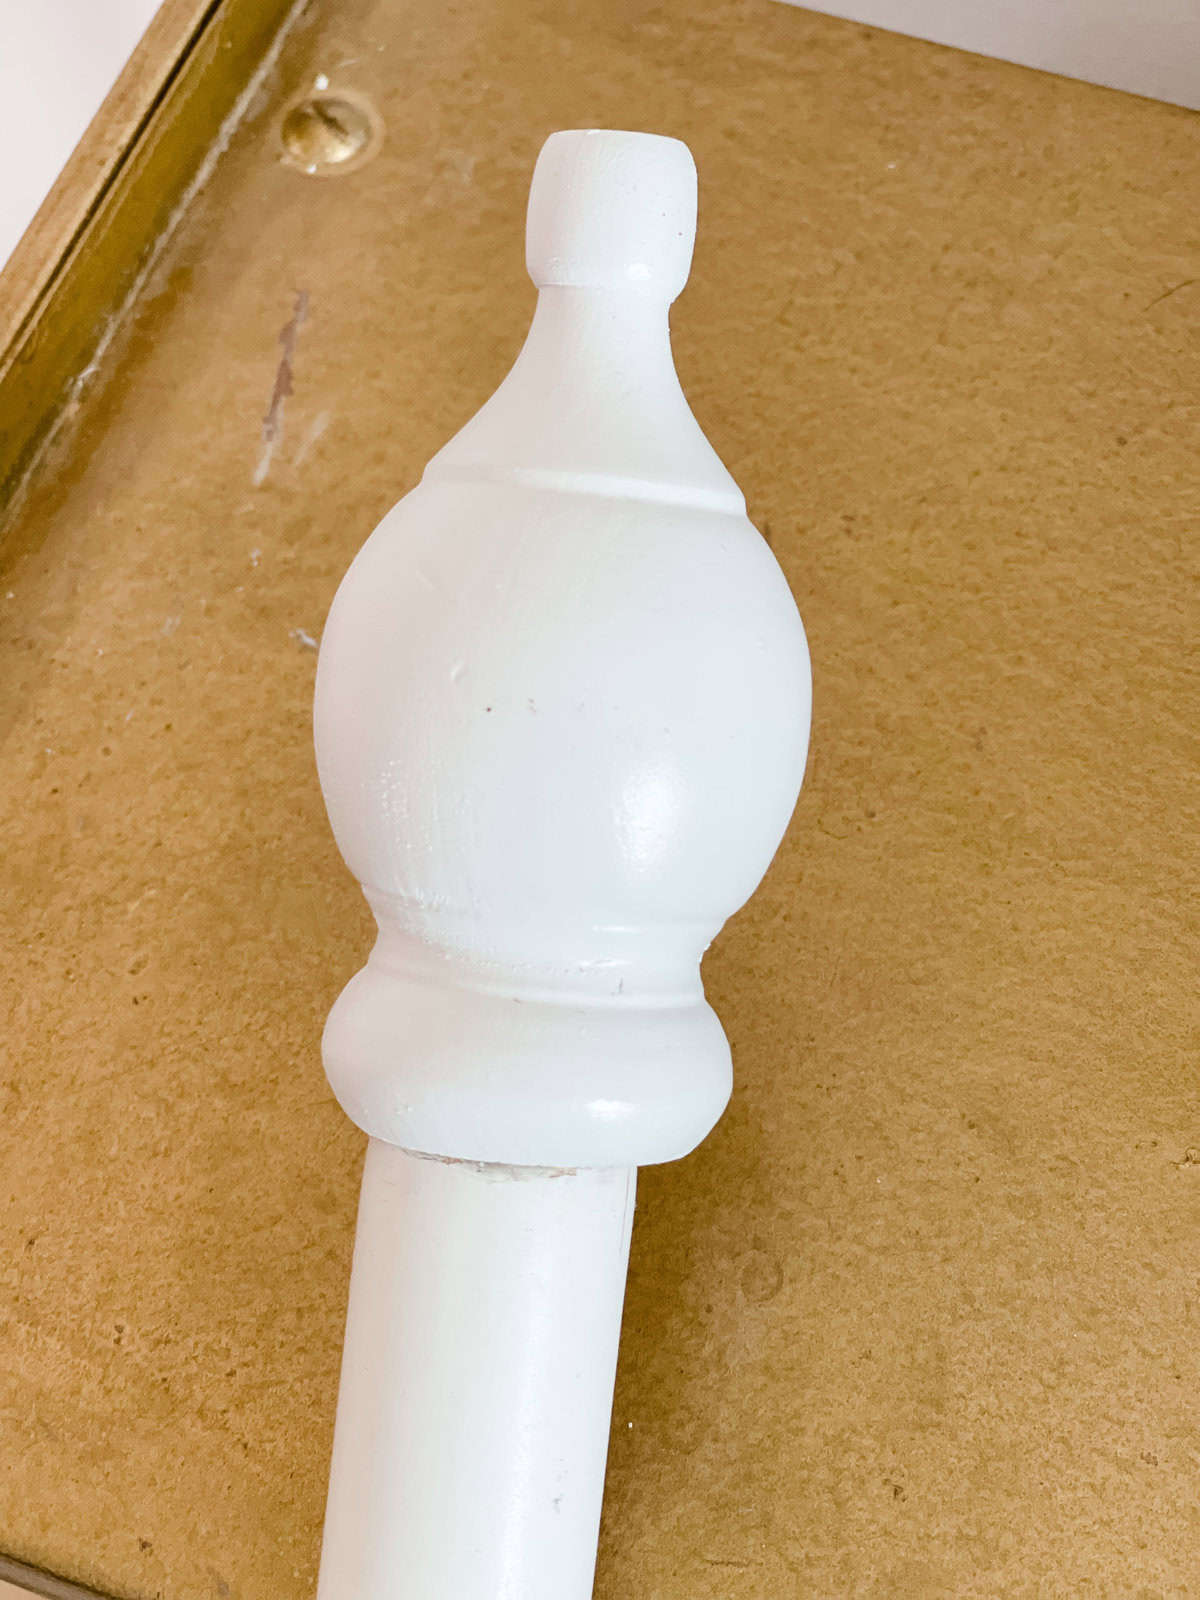
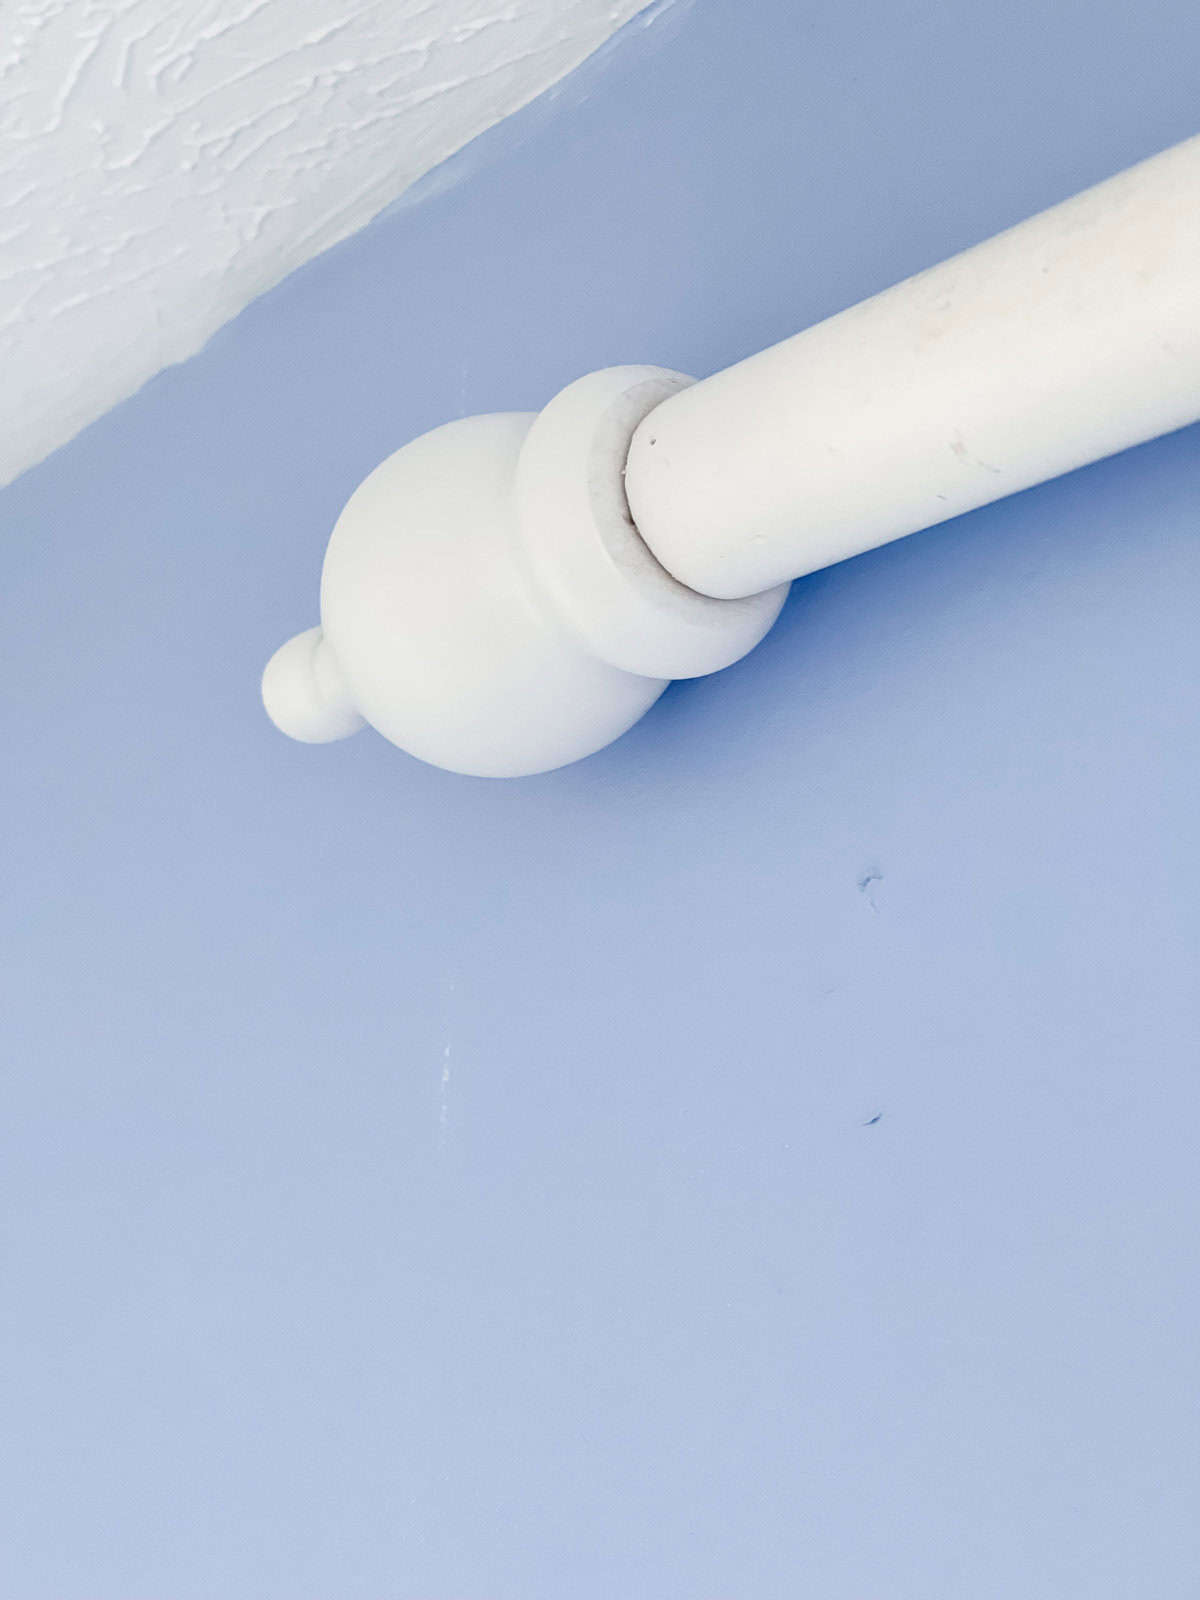
I headed to Lowe’s and bought a dowel the same circumference as the actual curtain rod. I also found four wood finials on clearance at Lowes. You can find them for at a good price and buy them here. They attach to the end of each dowel/rod.
We drilled holes in the dowel and the screws on the finials allowed us to screw them in.
Easy! Which I love.
Repurpose Things When You DIY
In the name of saving money it’s fun for me to try and figure out how to use things differently than they were created to be used.
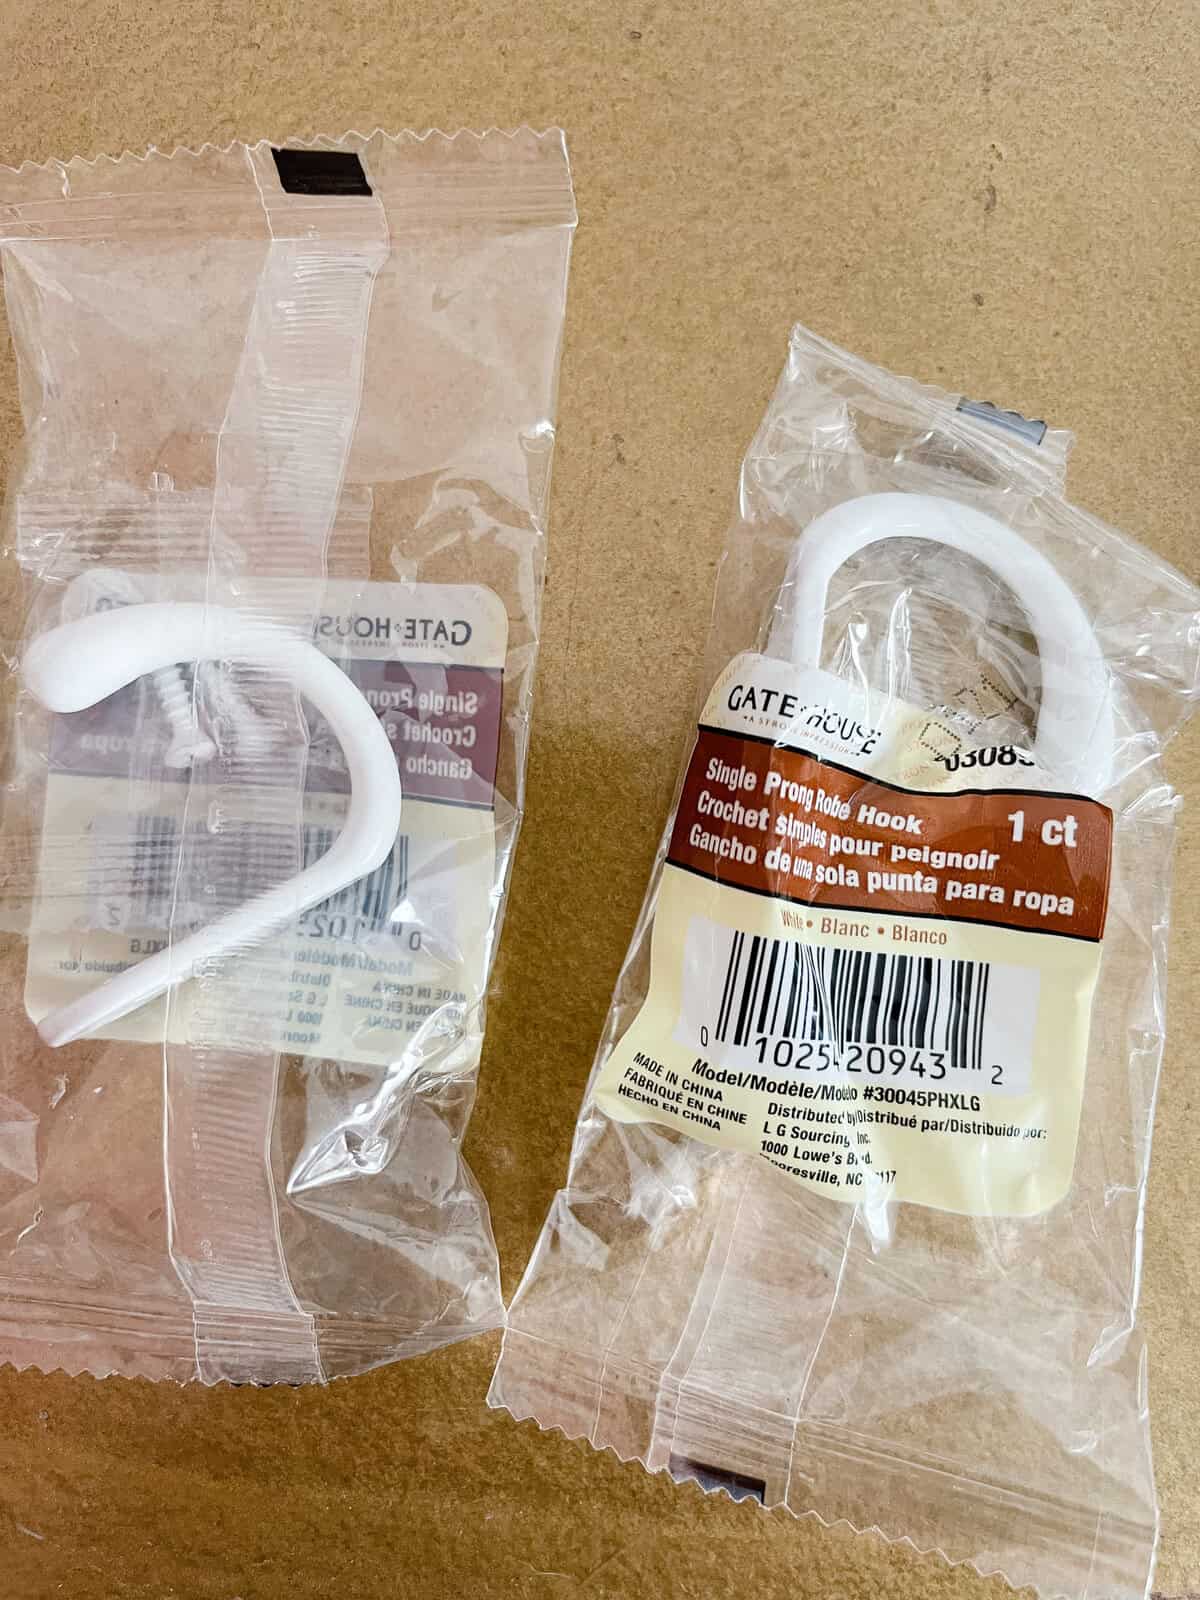
This means hoping online and beginning the search. I looked for a substitute for window hardware and it didn’t take long to find one.
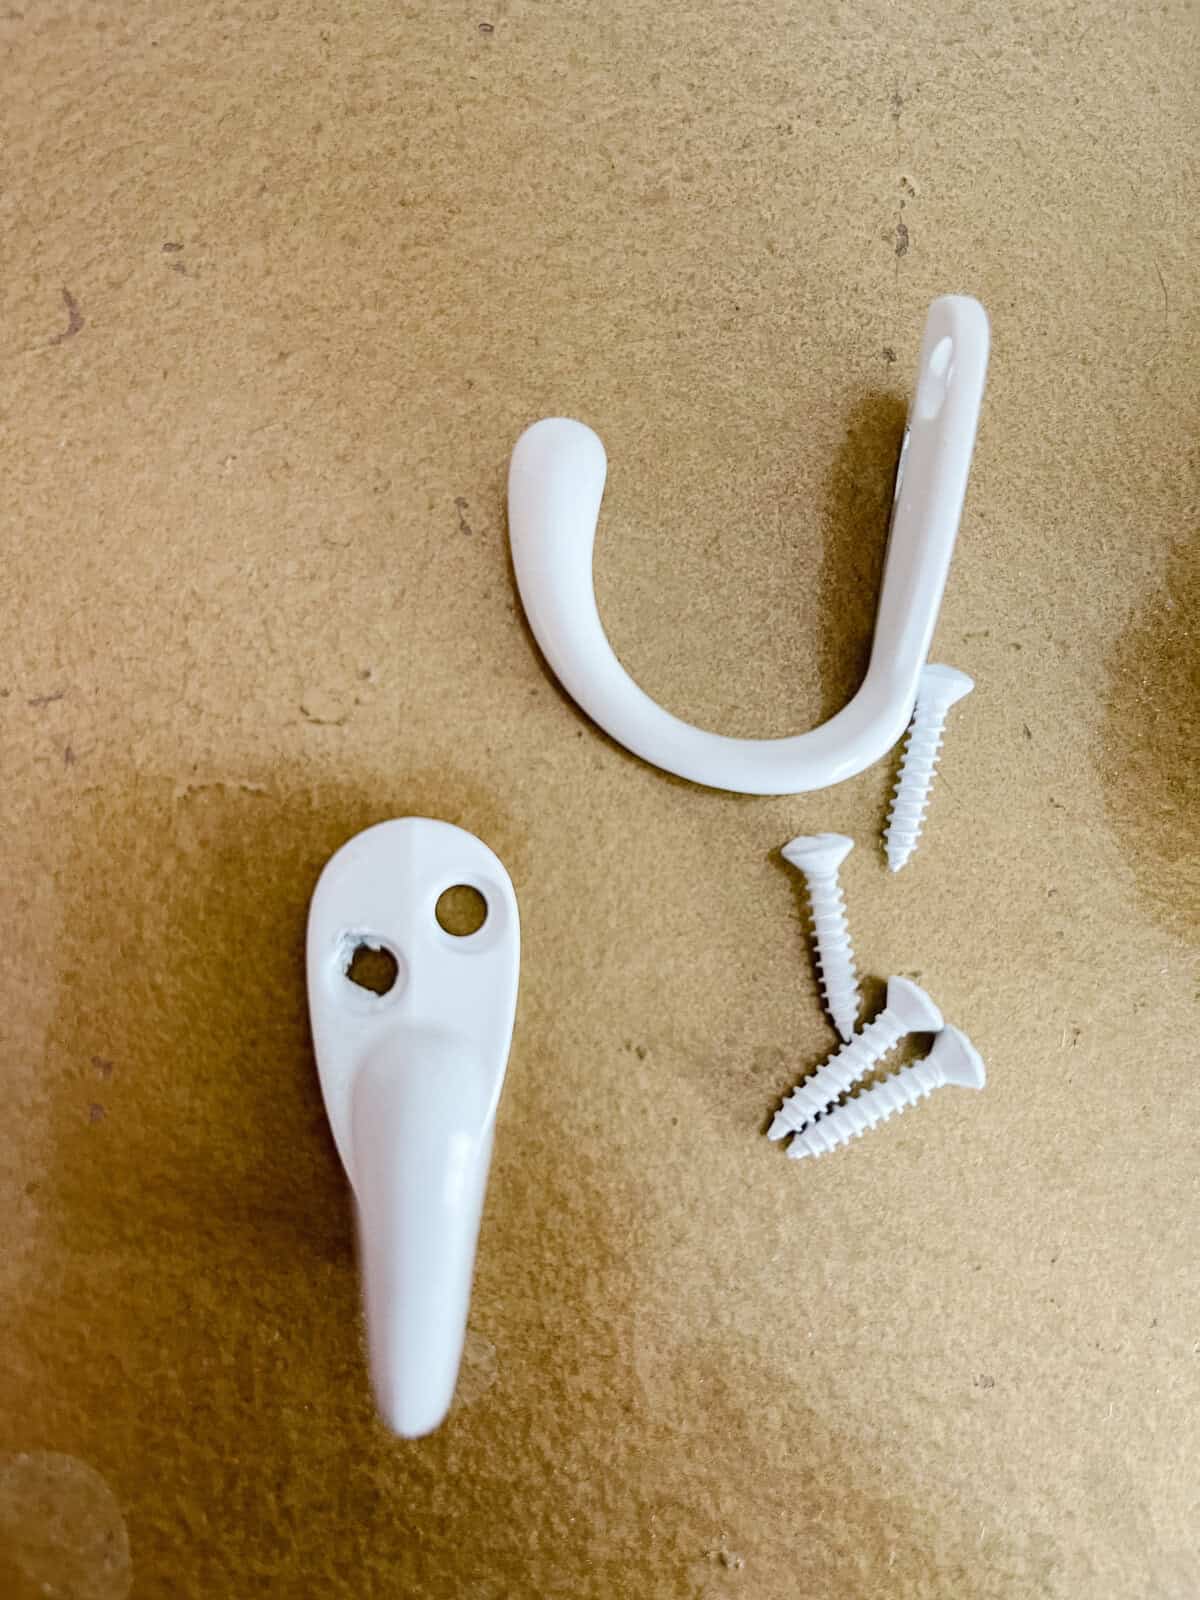
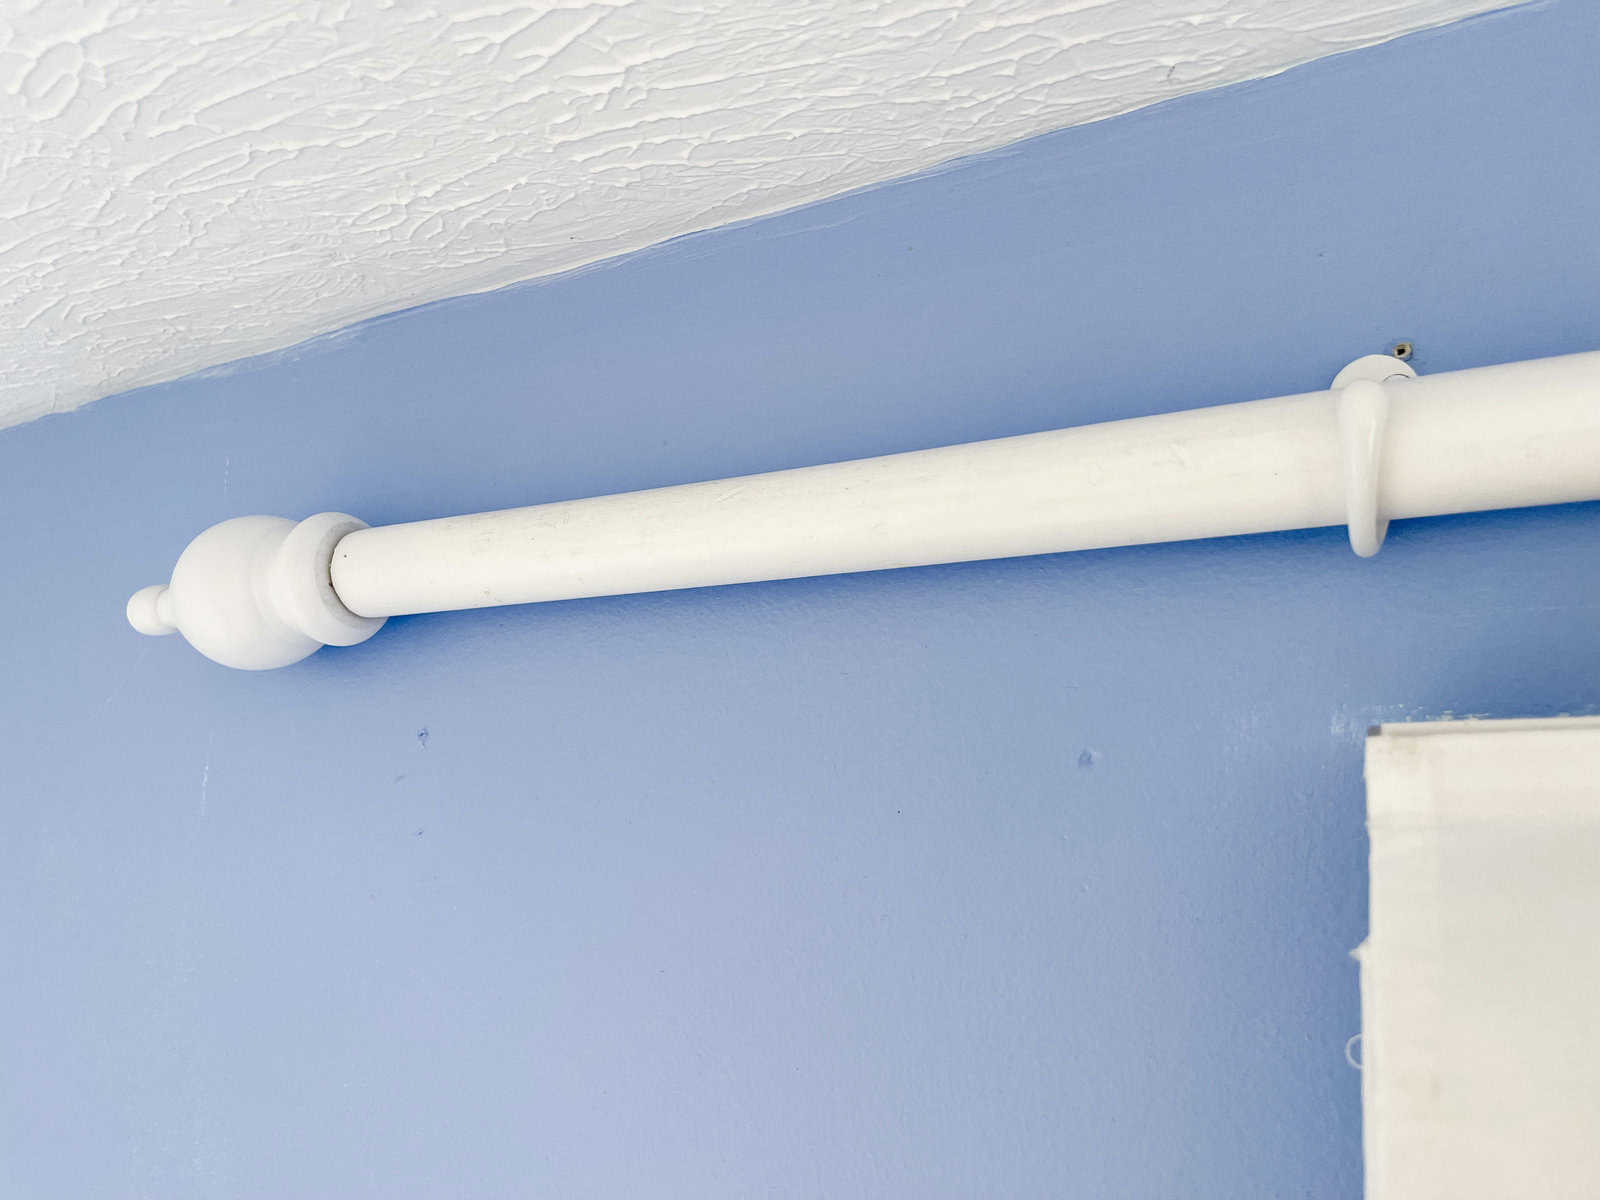
White metal J hooks fit the dowel perfectly and only cost around $5 for two.
Get Creative!
This is much more cost effective as compared to buying window hardware specifically meant for curtain rods. Thinking outside the box will help you save while giving a custom look to your project.
We did found another creative solution on this window treatment project here as well.
My DIY Must Have – Paint
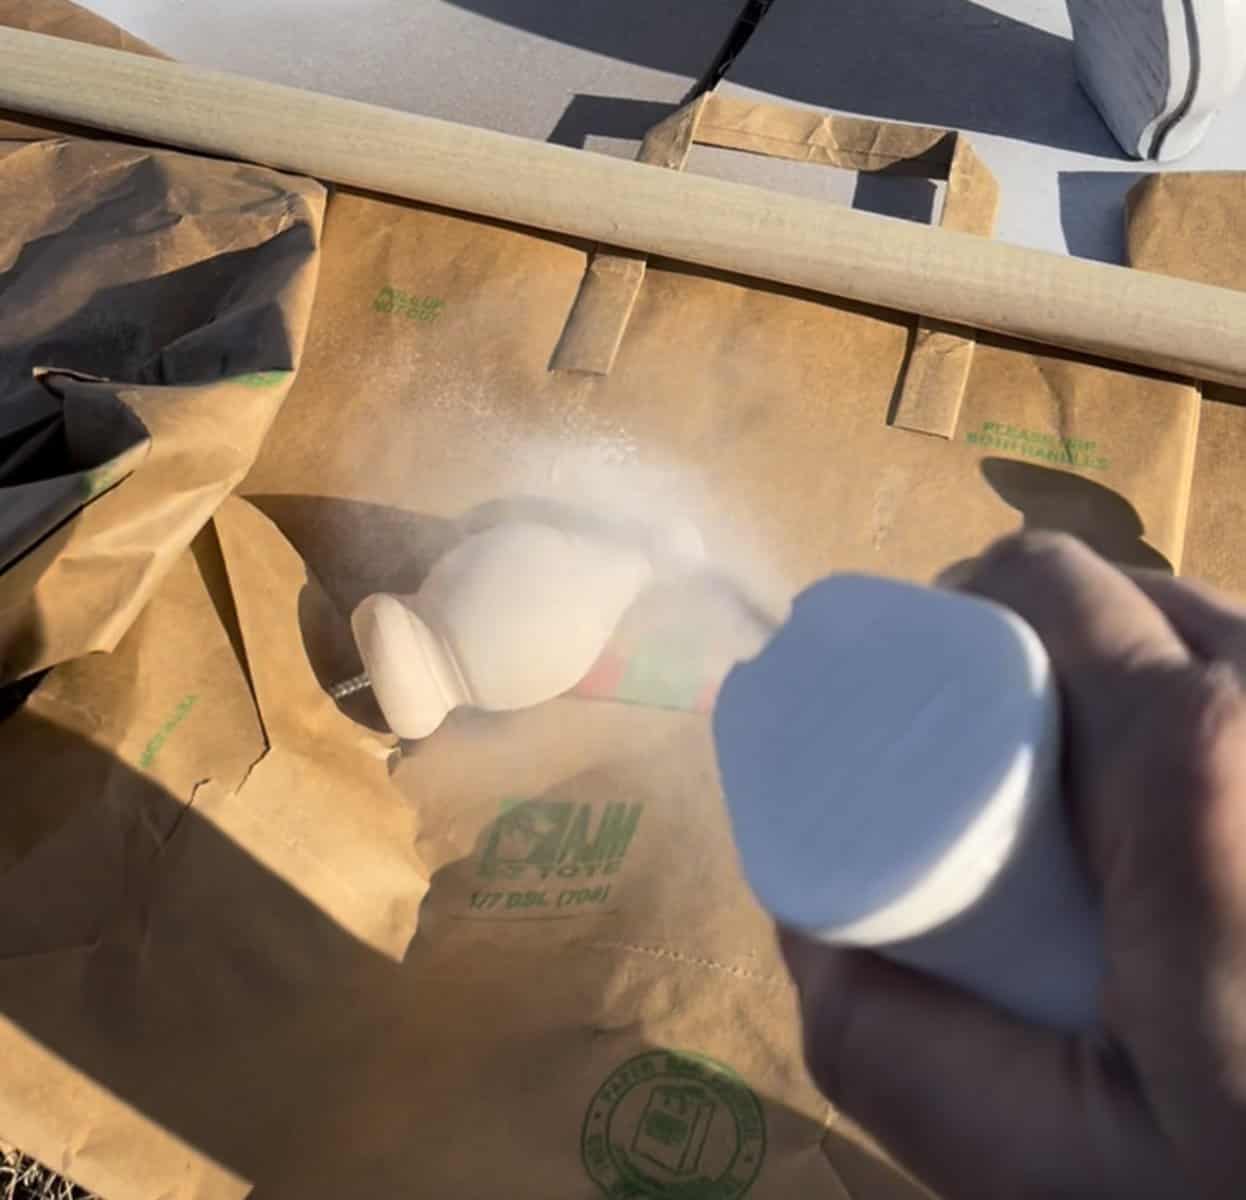
Spray paint was my choice of paint to cover the curtain rods and get them both to match.
In general I’d rather use paint from a can an avoid the spray paint because of environmental issues, but since I don’t have a spray painter yet it worked well. Spraying paint on was much easier than painting with a brush because of the round shape of the finial I was painting.
The dowel and finials were painted a satin white.
In order to get the same sheen between the two different curtain rods, I also painted a light coat of the same spray paint on the old family room curtain rod. Although it was already white doing this made the two match exactly.
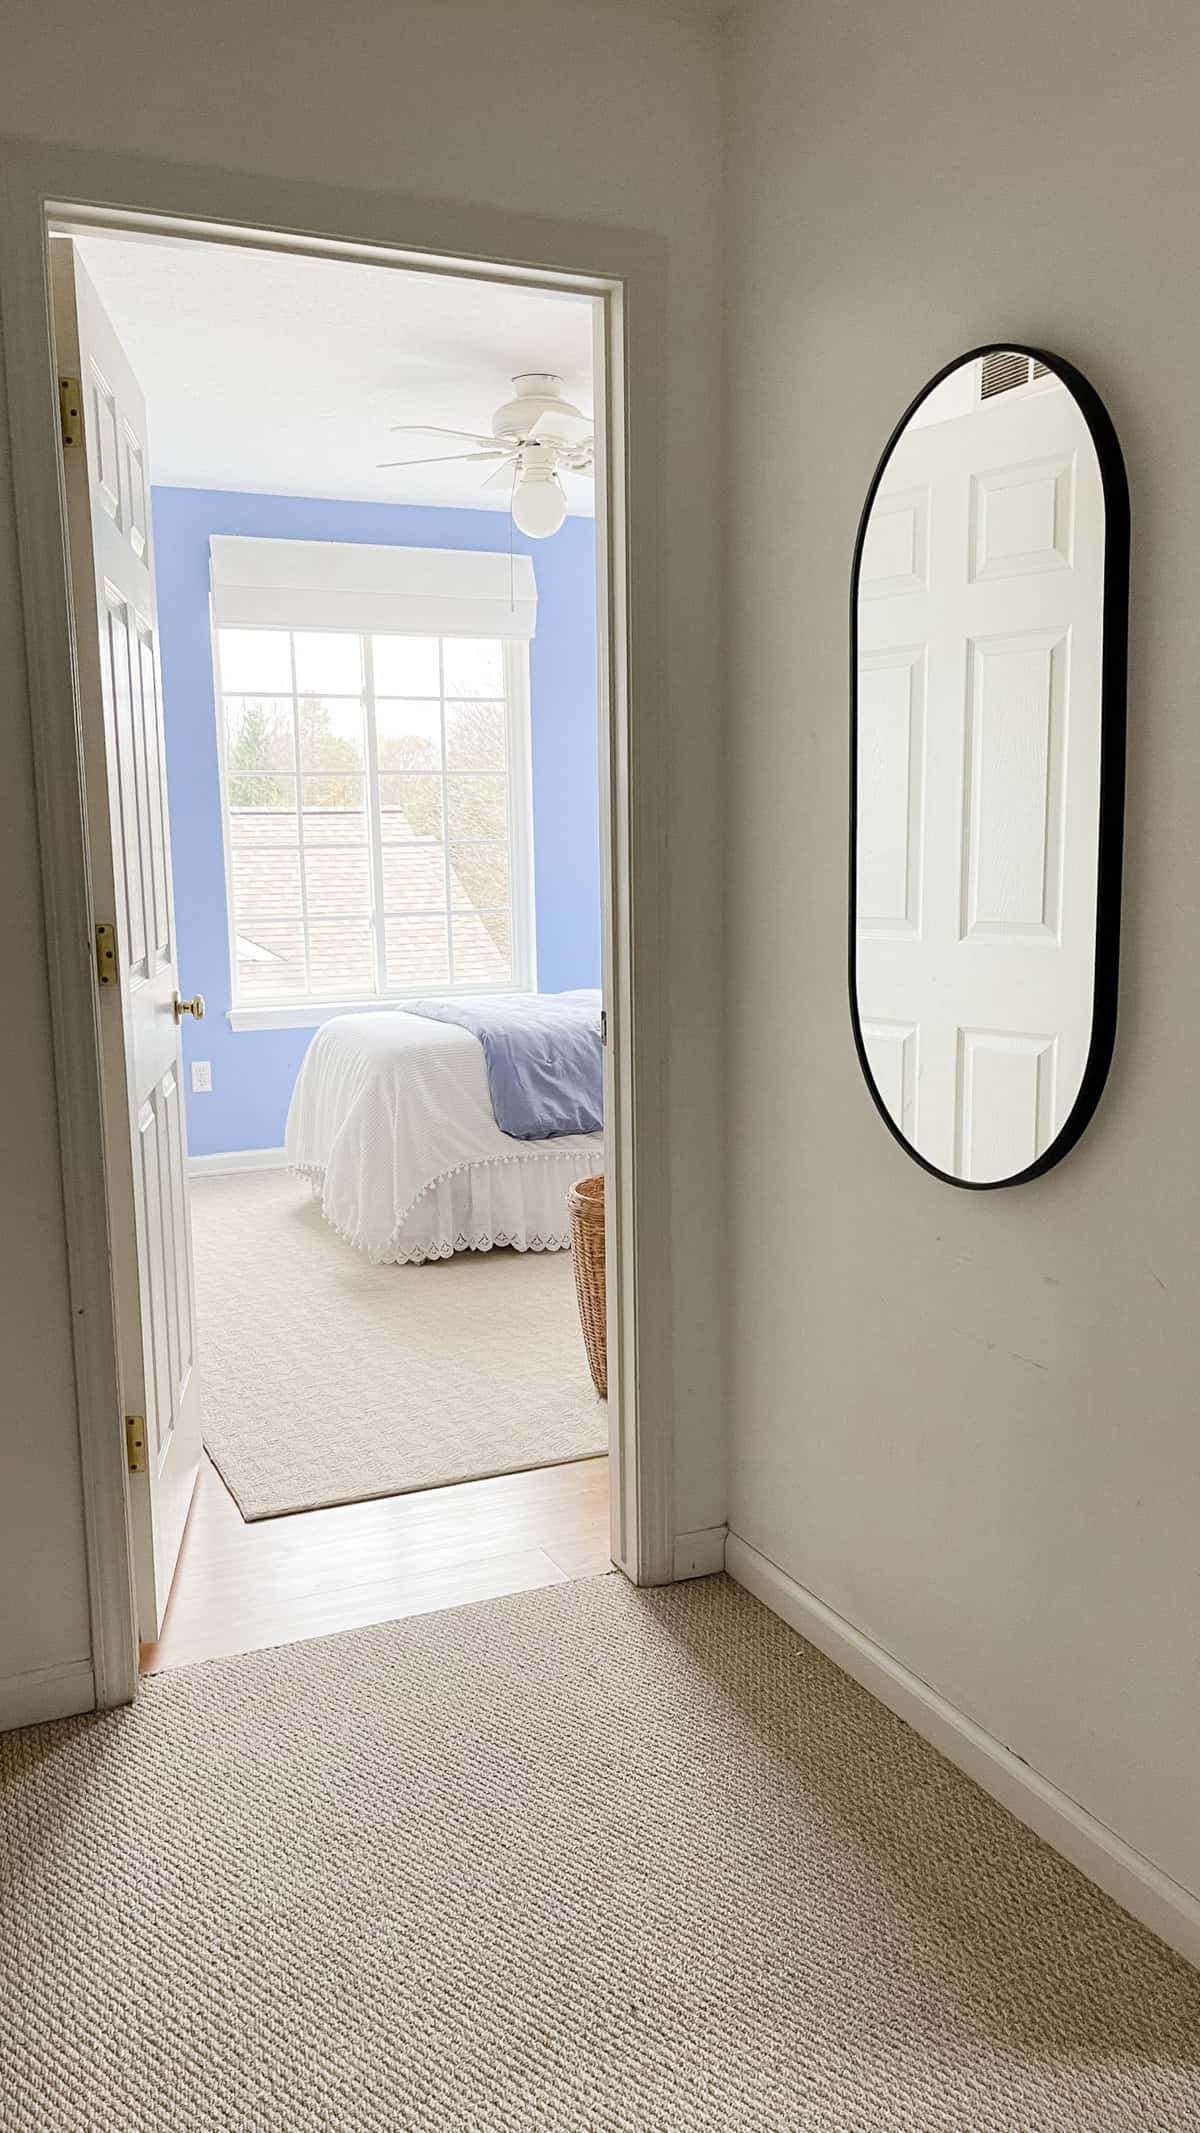
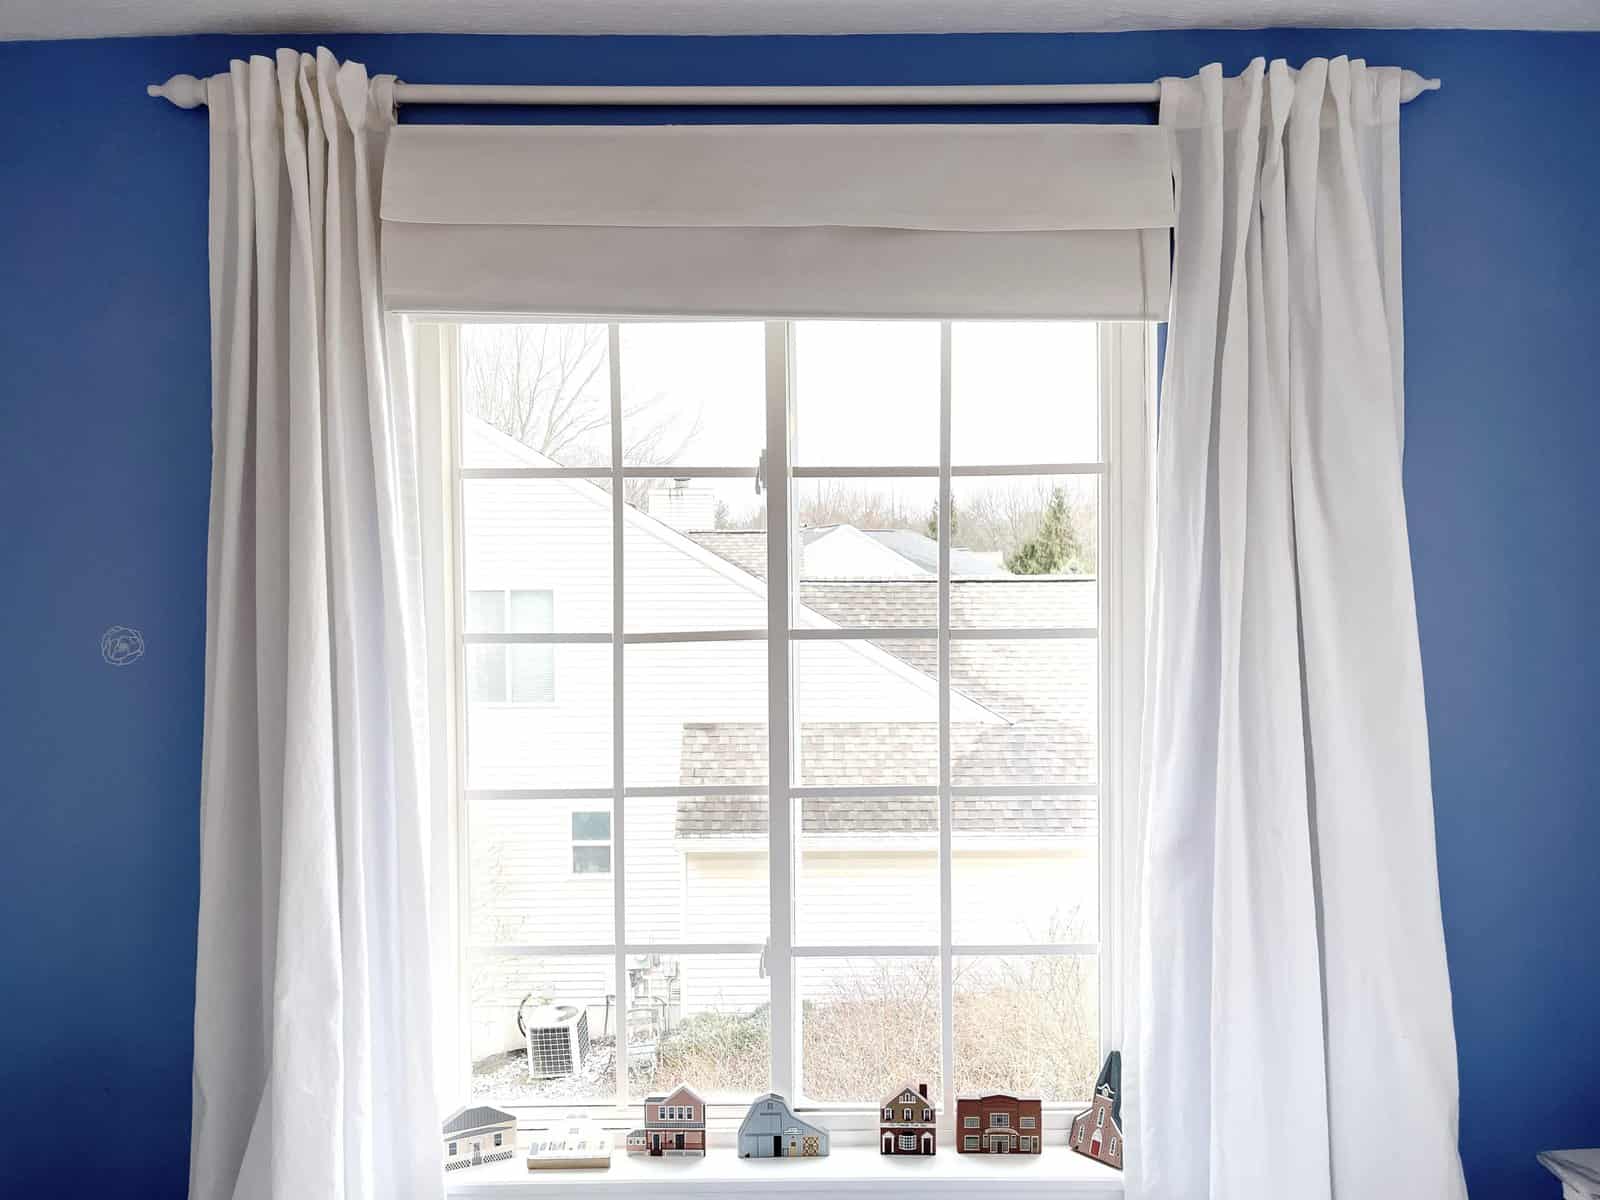
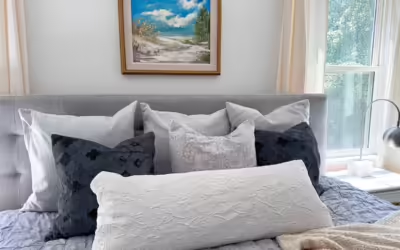
Here’s Elsa’s bedroom prior to the DIY curtain rods and curtains going up.
A pretty room, but I knew adding curtains would give it a much cozier and more refined feeling.
You can find the whole room makeover here.
No cap, as my teen son would say, it’s an amazing makeover.
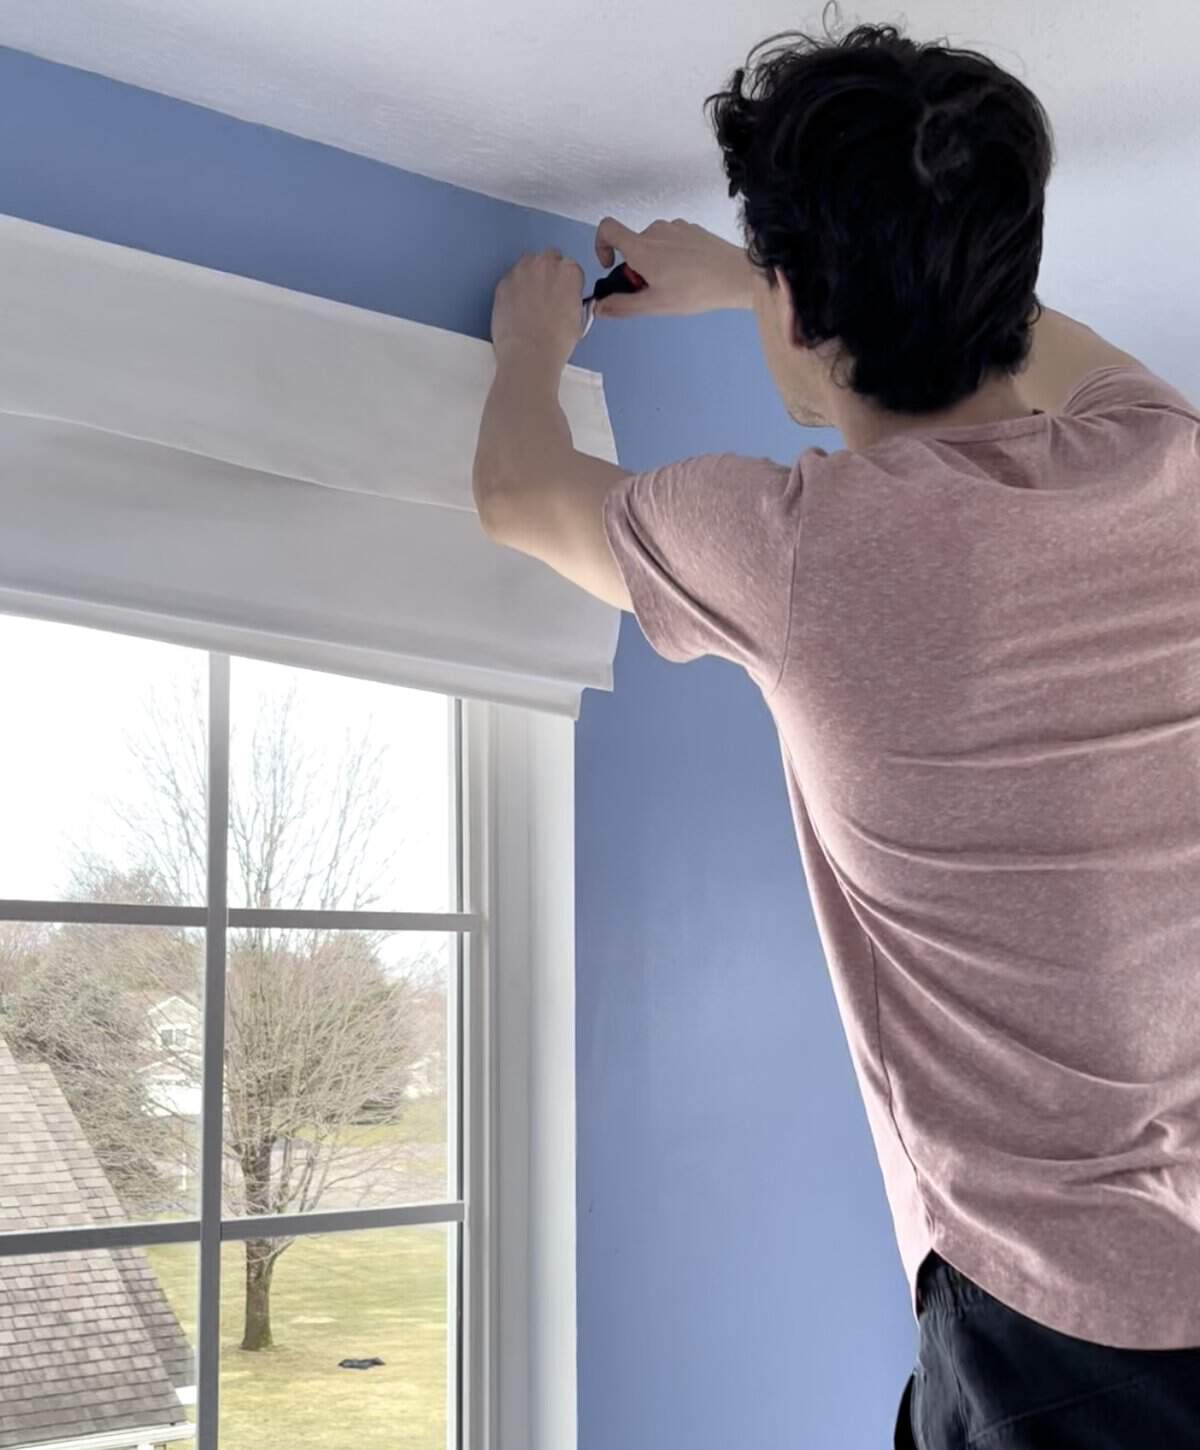
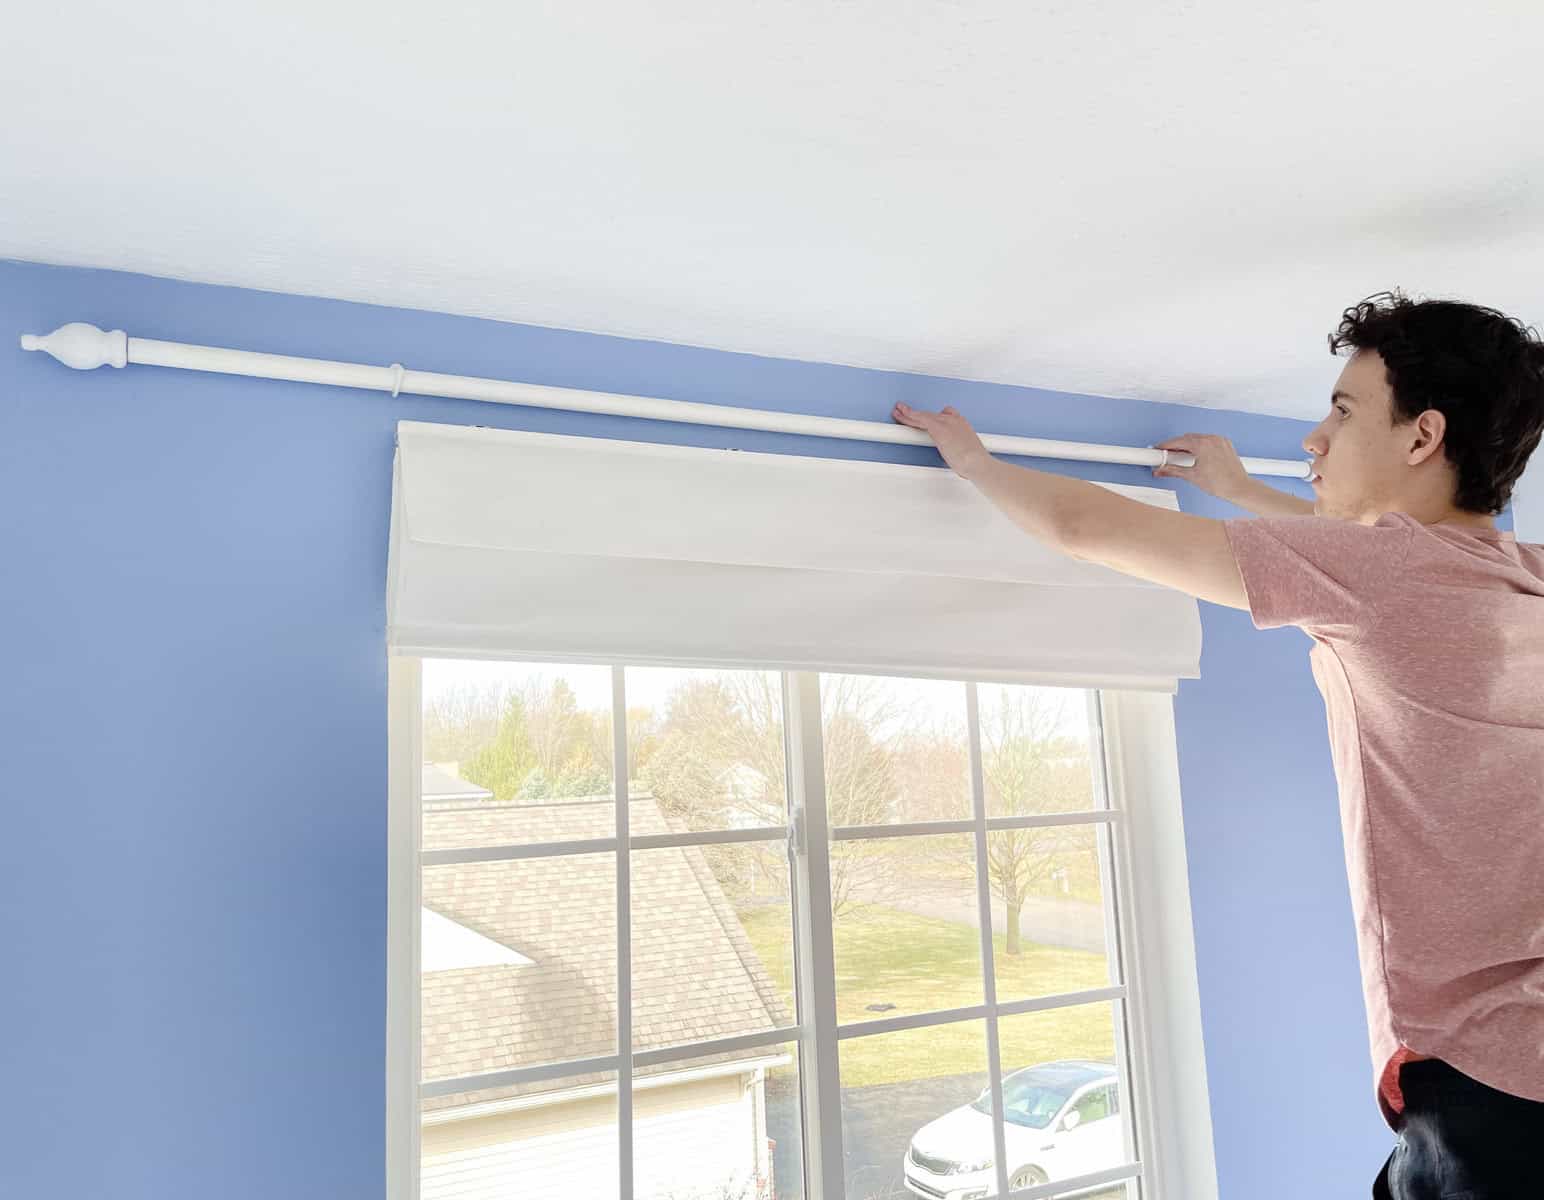
DIY Curtains are Easier with Two People
I enlisted the help of our tallest child to attach the window hardware/J hooks.
A stepping stool would work for me as well, but Duncan is much better company. Also, he’s such a cutie pie.
If you’ve been here awhile you know that we teach our children as we learn about DIY and design. Someday I hope they’ll help each other with their homes. For now a big brother helping with little sister’s room makes her feel special and loved.
You can see and read about our whole family here.
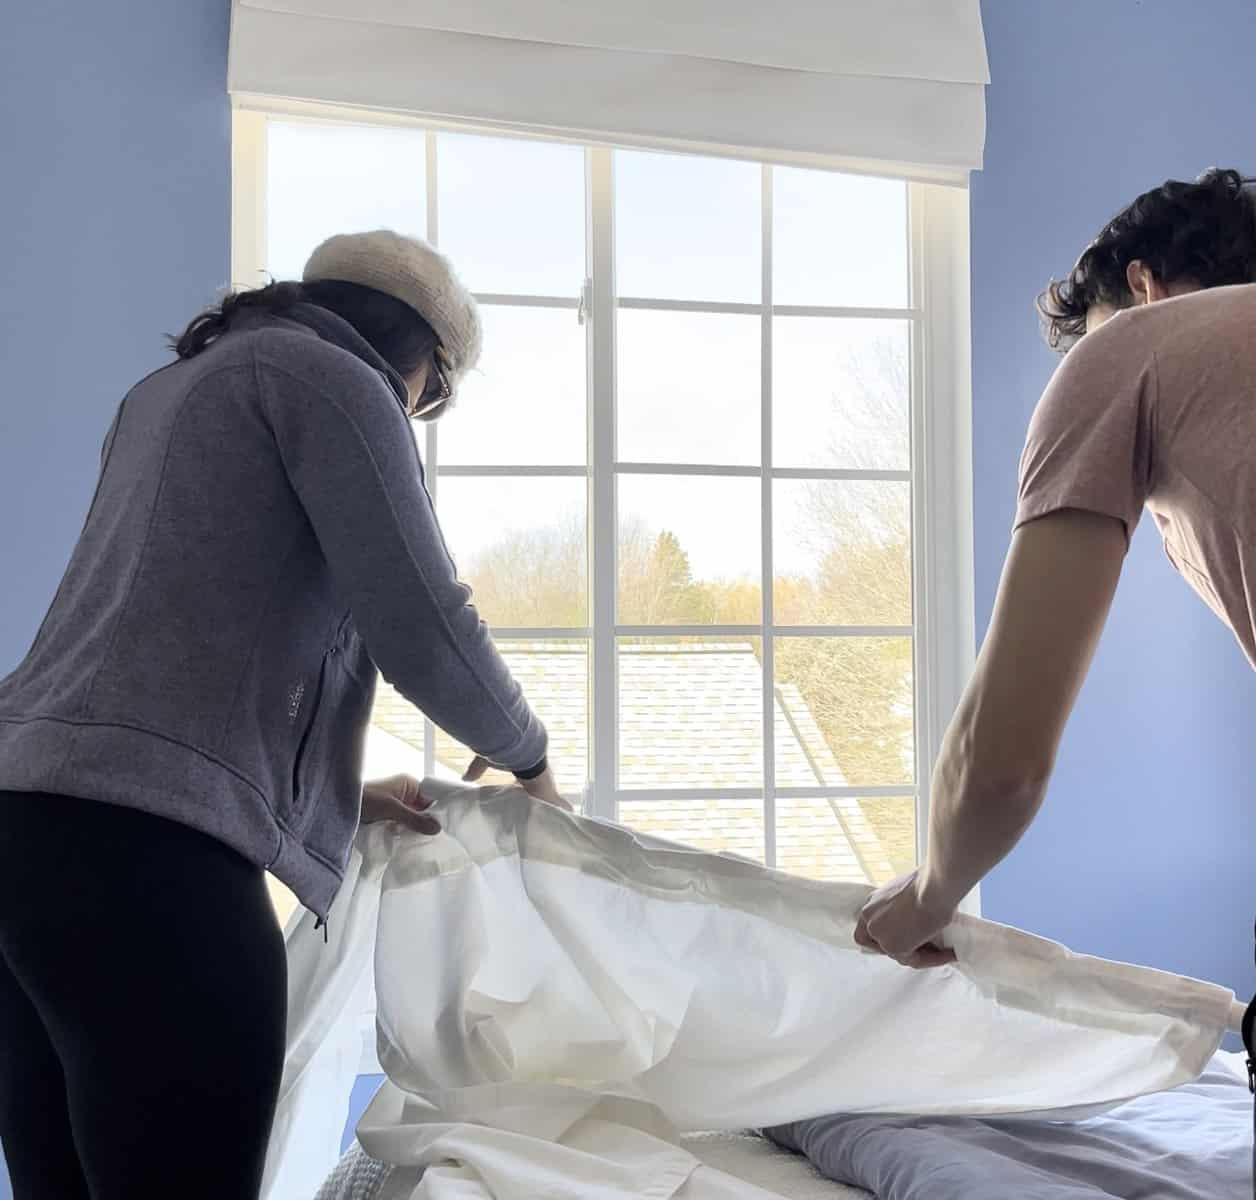
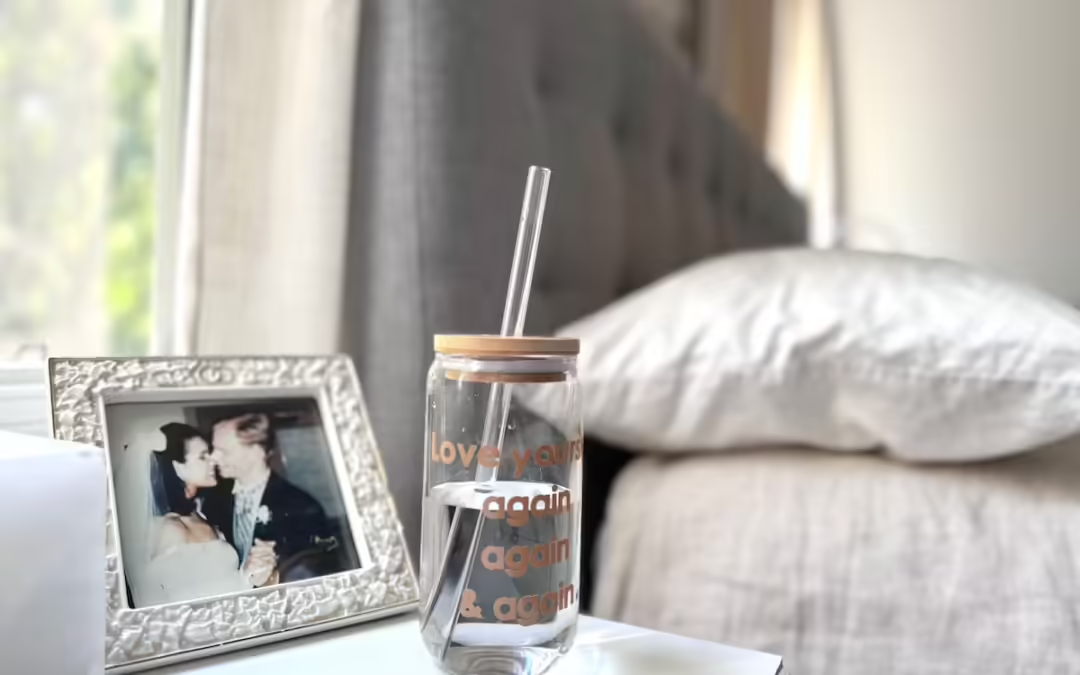
The curtains haven’t been steamed or styled yet in this photo and it’s already an improvement.
These curtains here are used throughout our home. I love them because they’re easy to care for, versatile and never disappoint.
Plus, if they get stained I use this on them without even taking the curtains down, I just rinse well and blot dry. These curtains always comes right out looking as good as new.
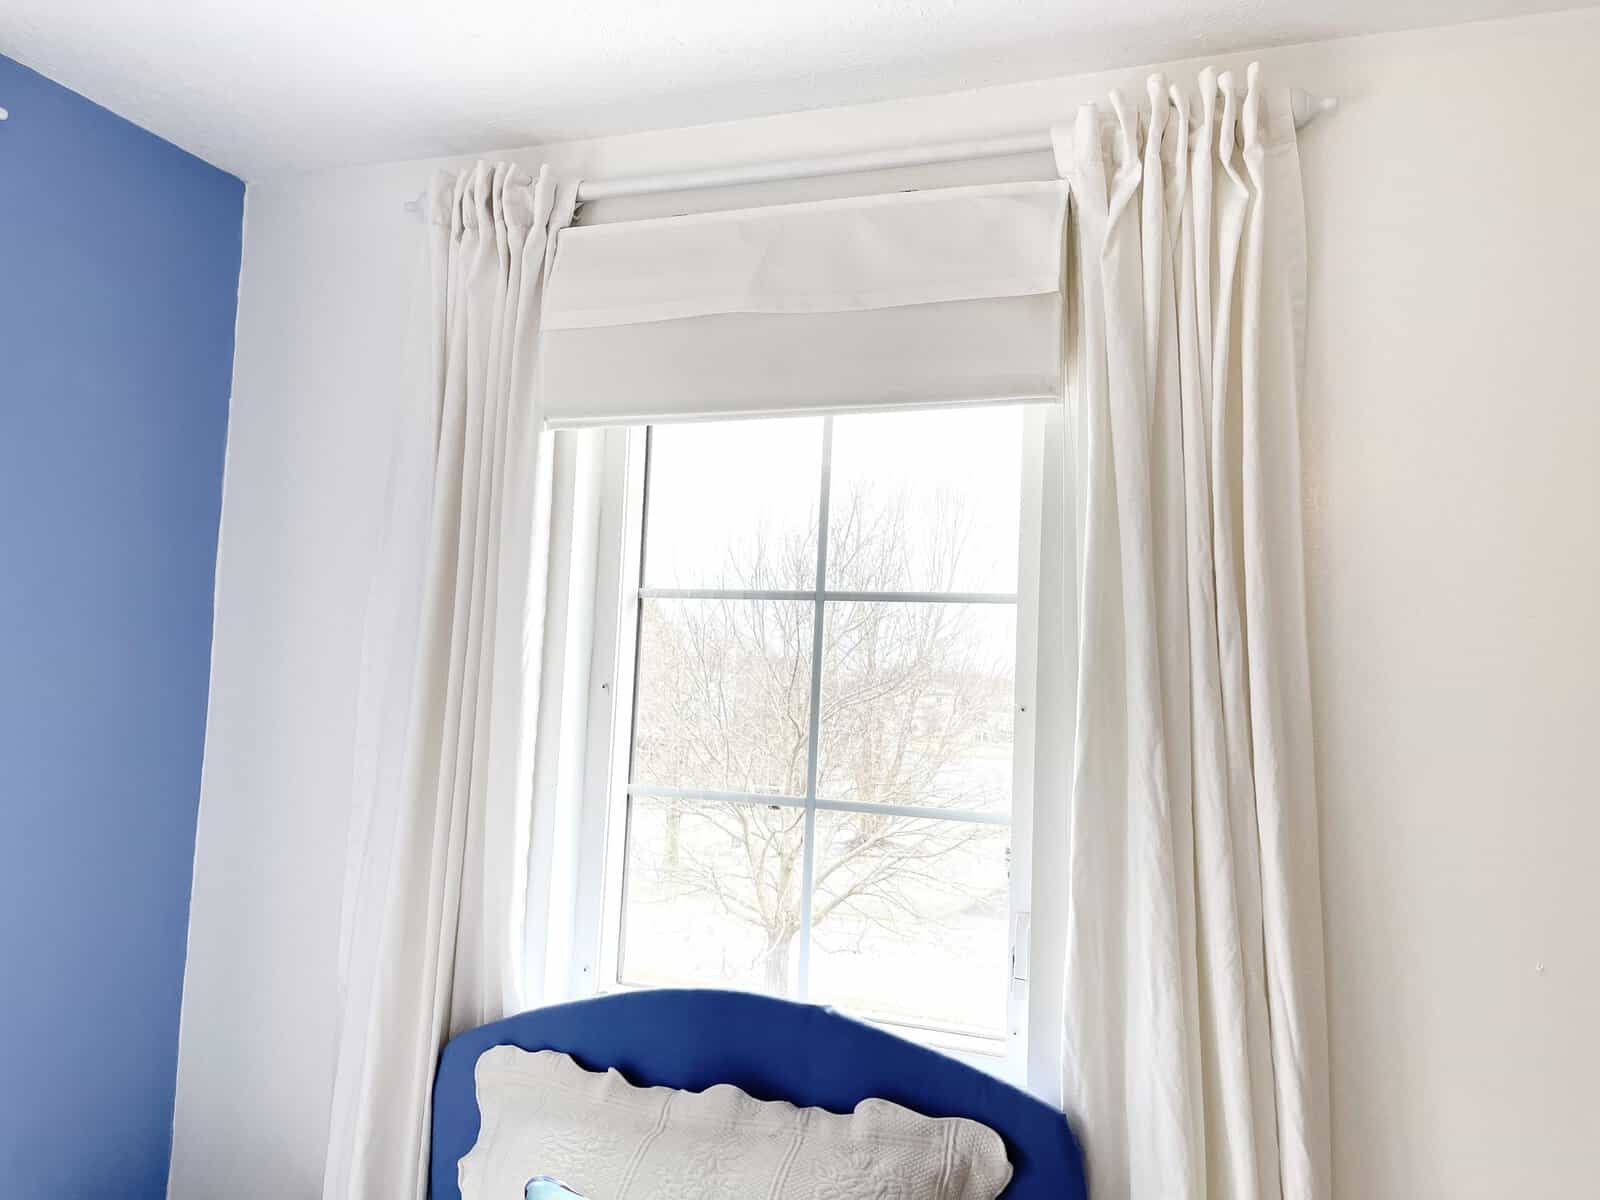
All in all, this was one of those projects that went just as I had imagined, a rarity!
As I mentioned, the curtains still need to be steamed, but I love the look already.
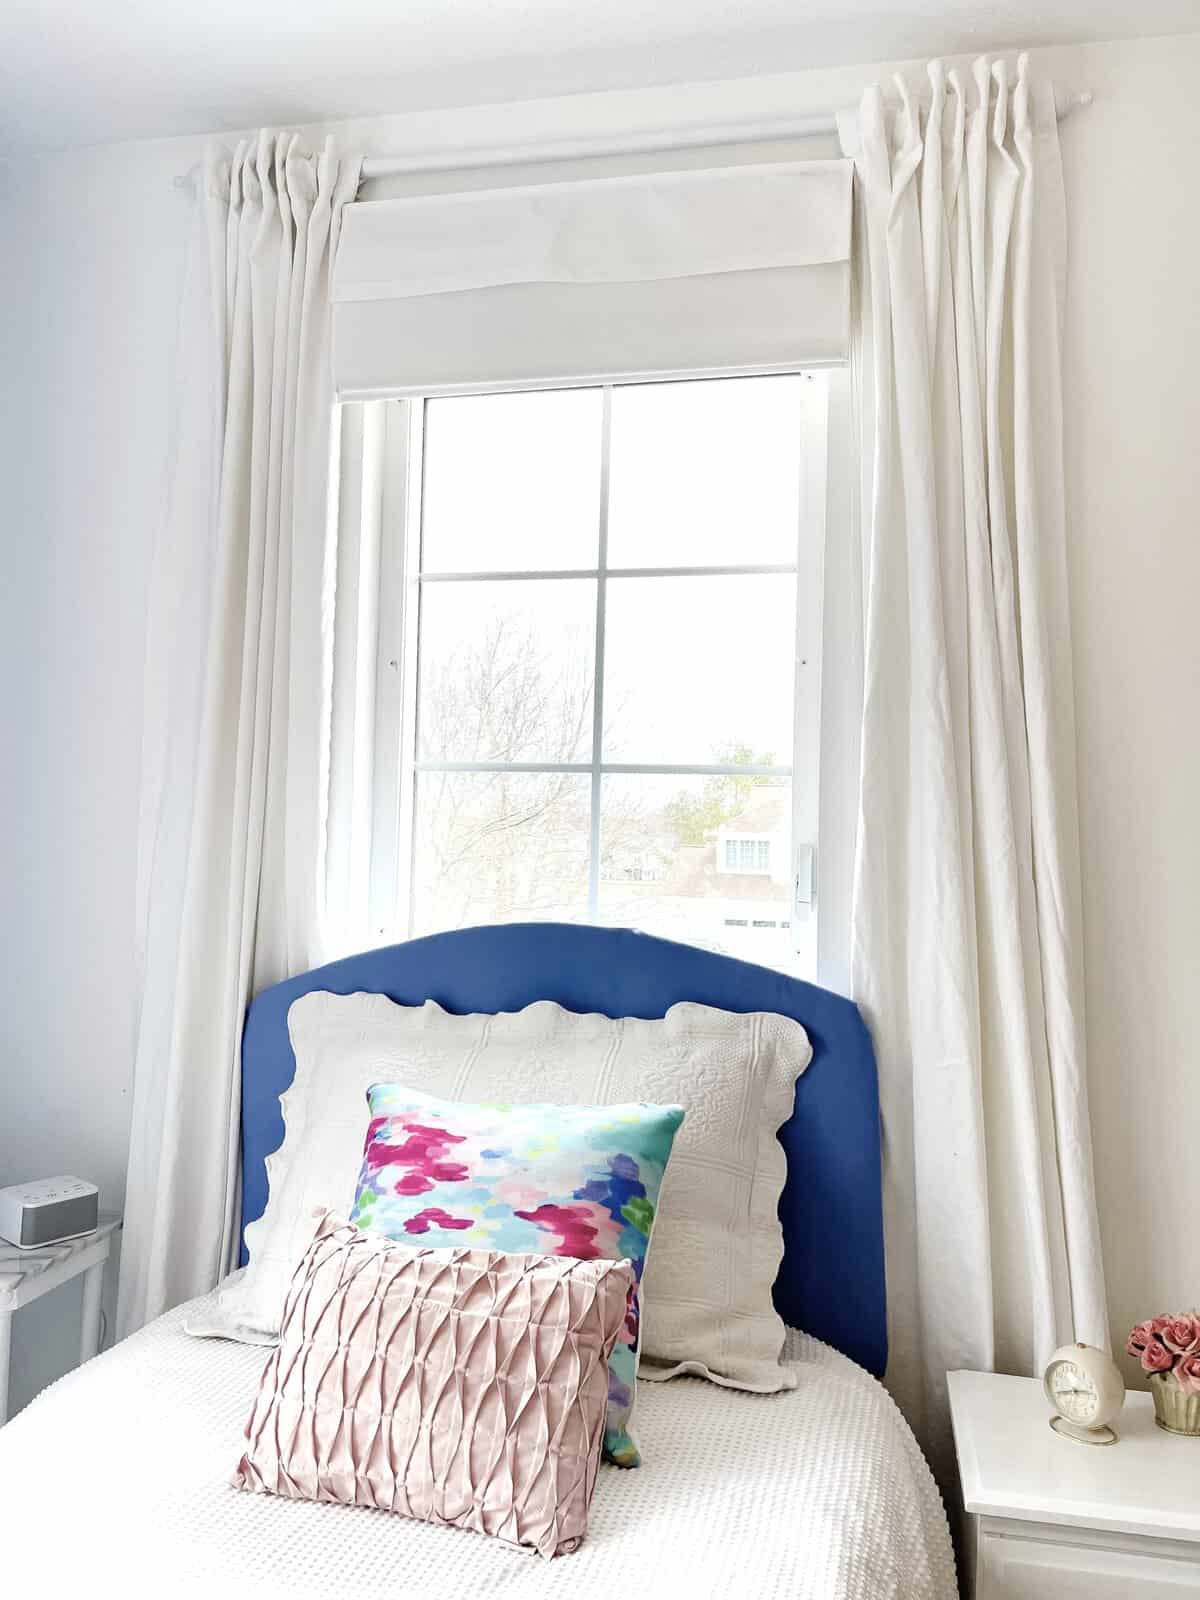
When it comes to design, keeping cost down doesn’t mean you have to skimp on style or the look you want.
This DIY curtain rod saved me $45 which I’ll be using in other parts of Elsa’s room.
Say it with me Tom Cruise, Mission Accomplished!
Try this straight forward DIY curtain rod and the affordable curtains if you want to save your pennies and then splurge somewhere else in your space.

MORE BUDGET FRIENDLY DIY FUN!
- Make a DIY Wood Frame without Power Tools
- DIY Jewelry Tree Stand
- How to Make a DIY Custom Looking Window Treatment


Pin It & Save It


Great job on the rod!! I love the wall color!
Thanks Jamala! It turned out well and now Elsa get’s a special light fixture. 🙂
I love the little houses on her windowsill too!
Yes, it’s so cute. Elsie loves to style her room.
Where do you purchase your curtains? I may be adding curtains or drapes to some of my bare windows.
Hi Kathy! Great question. If you go to the project list and click on Curtains, it’ll take you right to the curtains I used here and throughout my home.