

Last week I showed you a couple of projects we finished in the kid’s bathroom.
Today I’m sharing a quick way to frame a bathroom mirror.
You can find how we replaced the shower doors with curtains HERE and how we built an upcycled shelf HERE.
Check them out! They are great examples of how low-cost changes can serve as big design elements in a bath.
Now, back to this latest project, framing a bathroom mirror.
I’m so excited to show you an inexpensive DIY that has added loads of style to this small space.
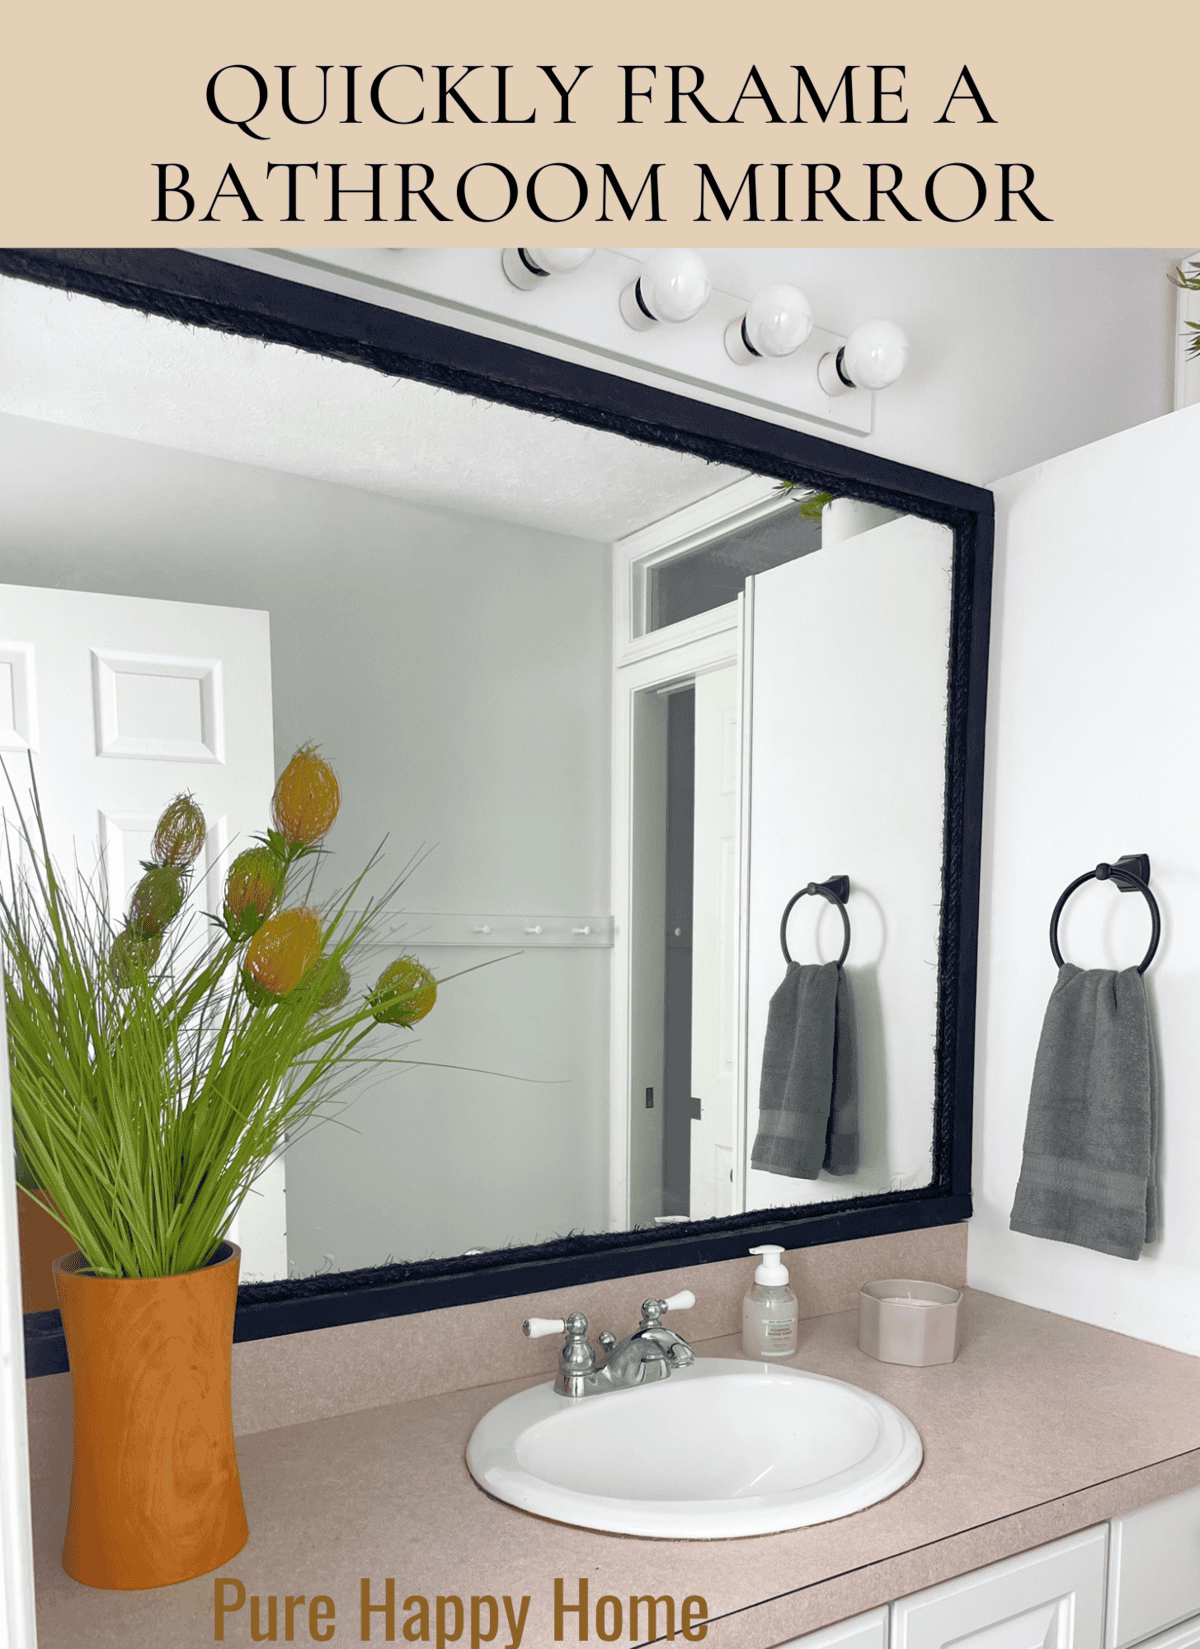
A Quick Way to Frame a Bathroom Mirror
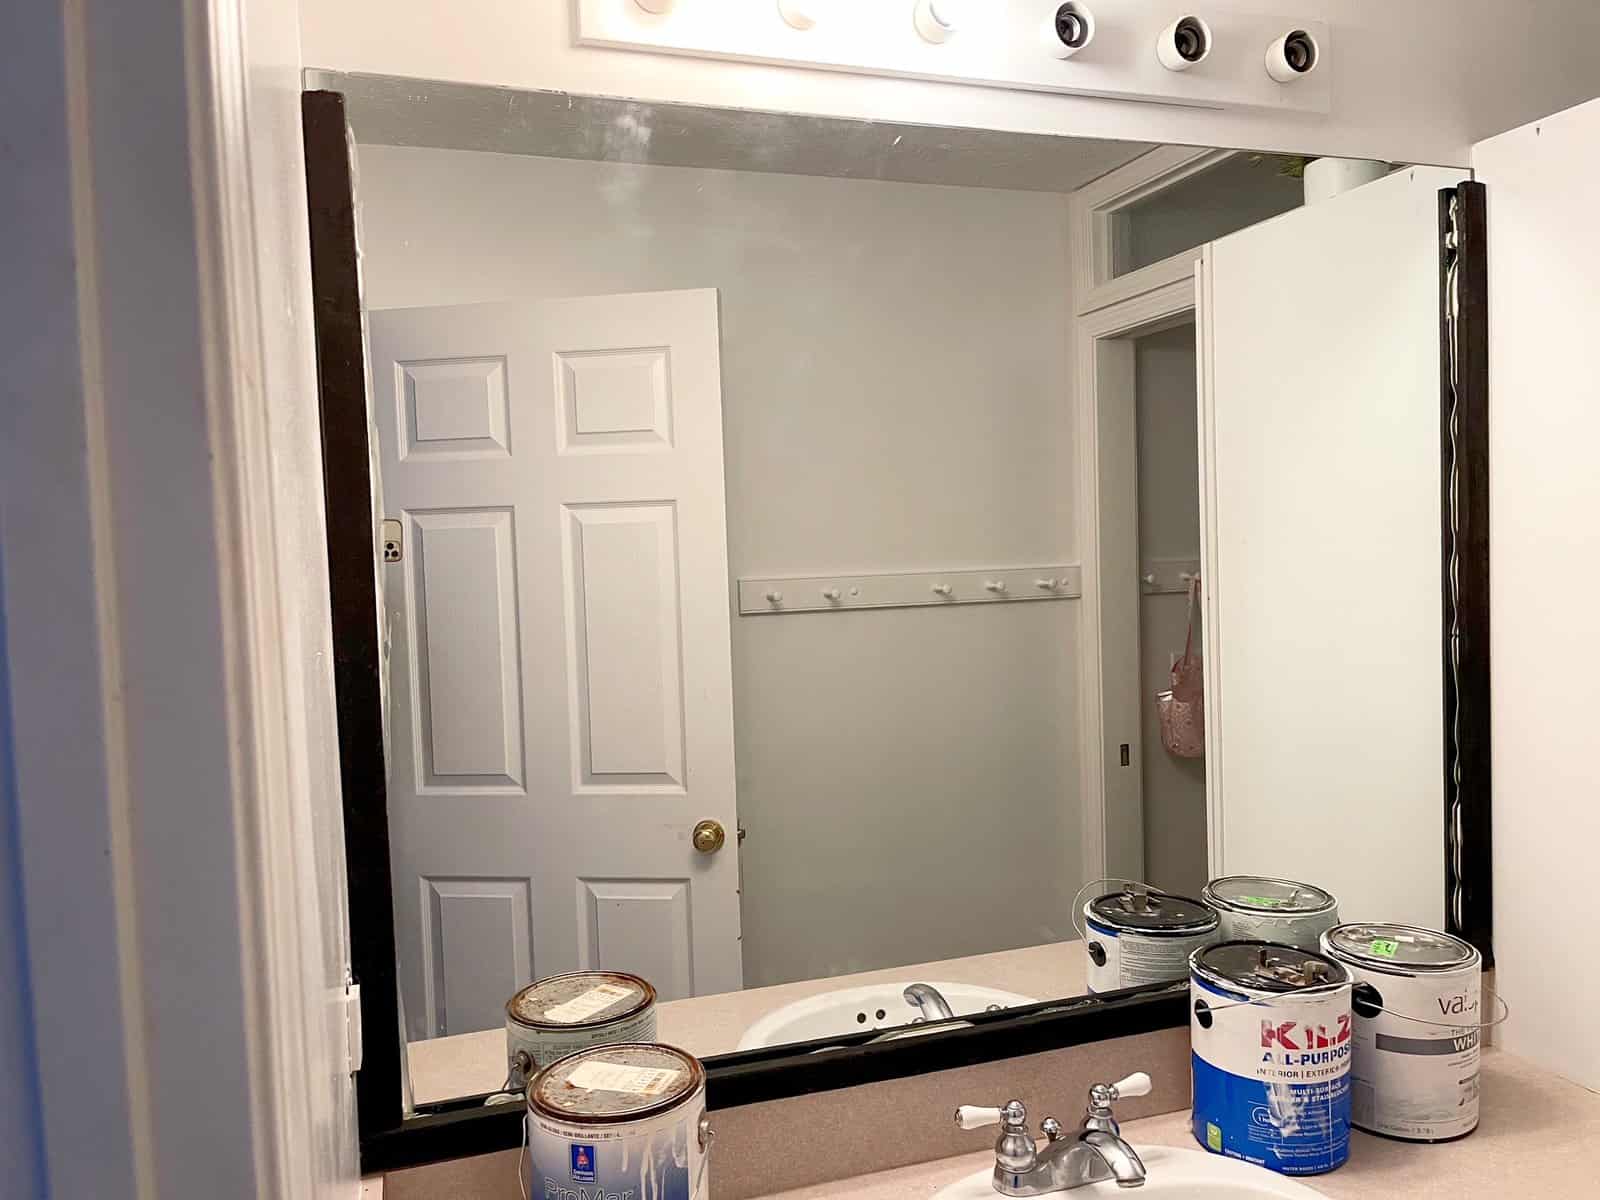
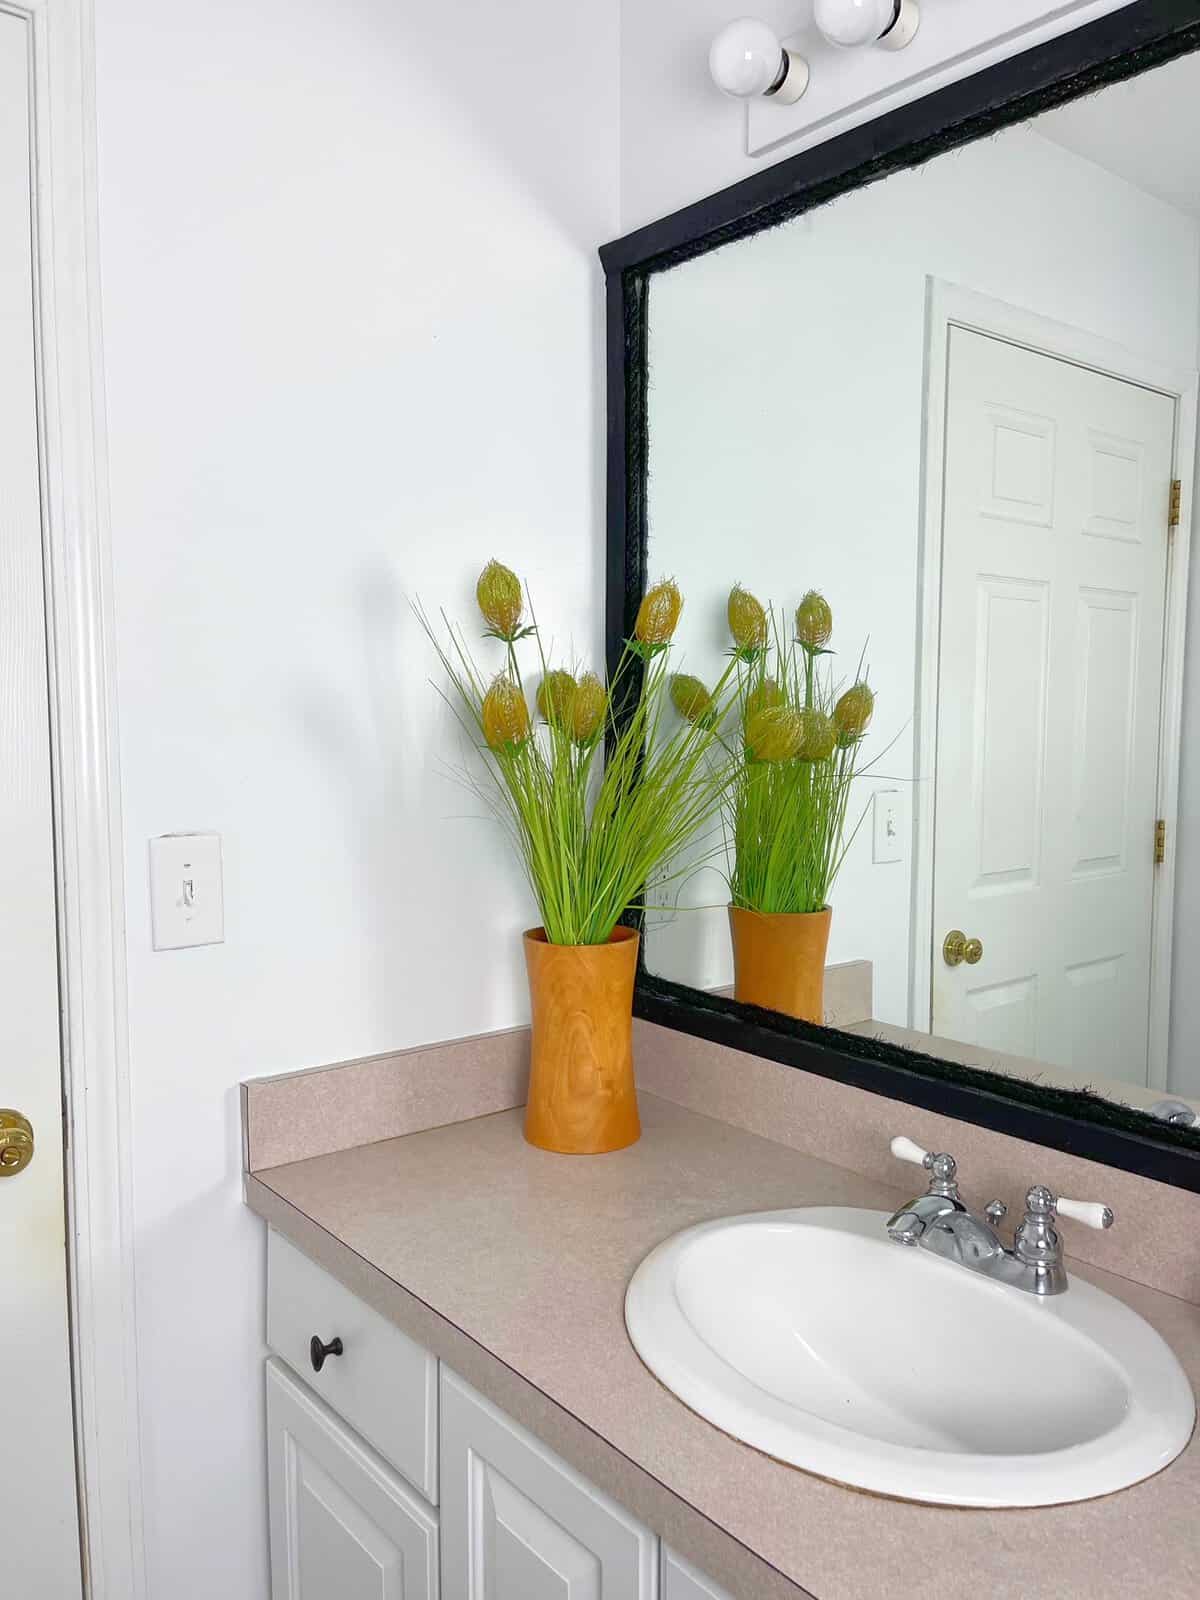
The Kid’s Bathroom Before
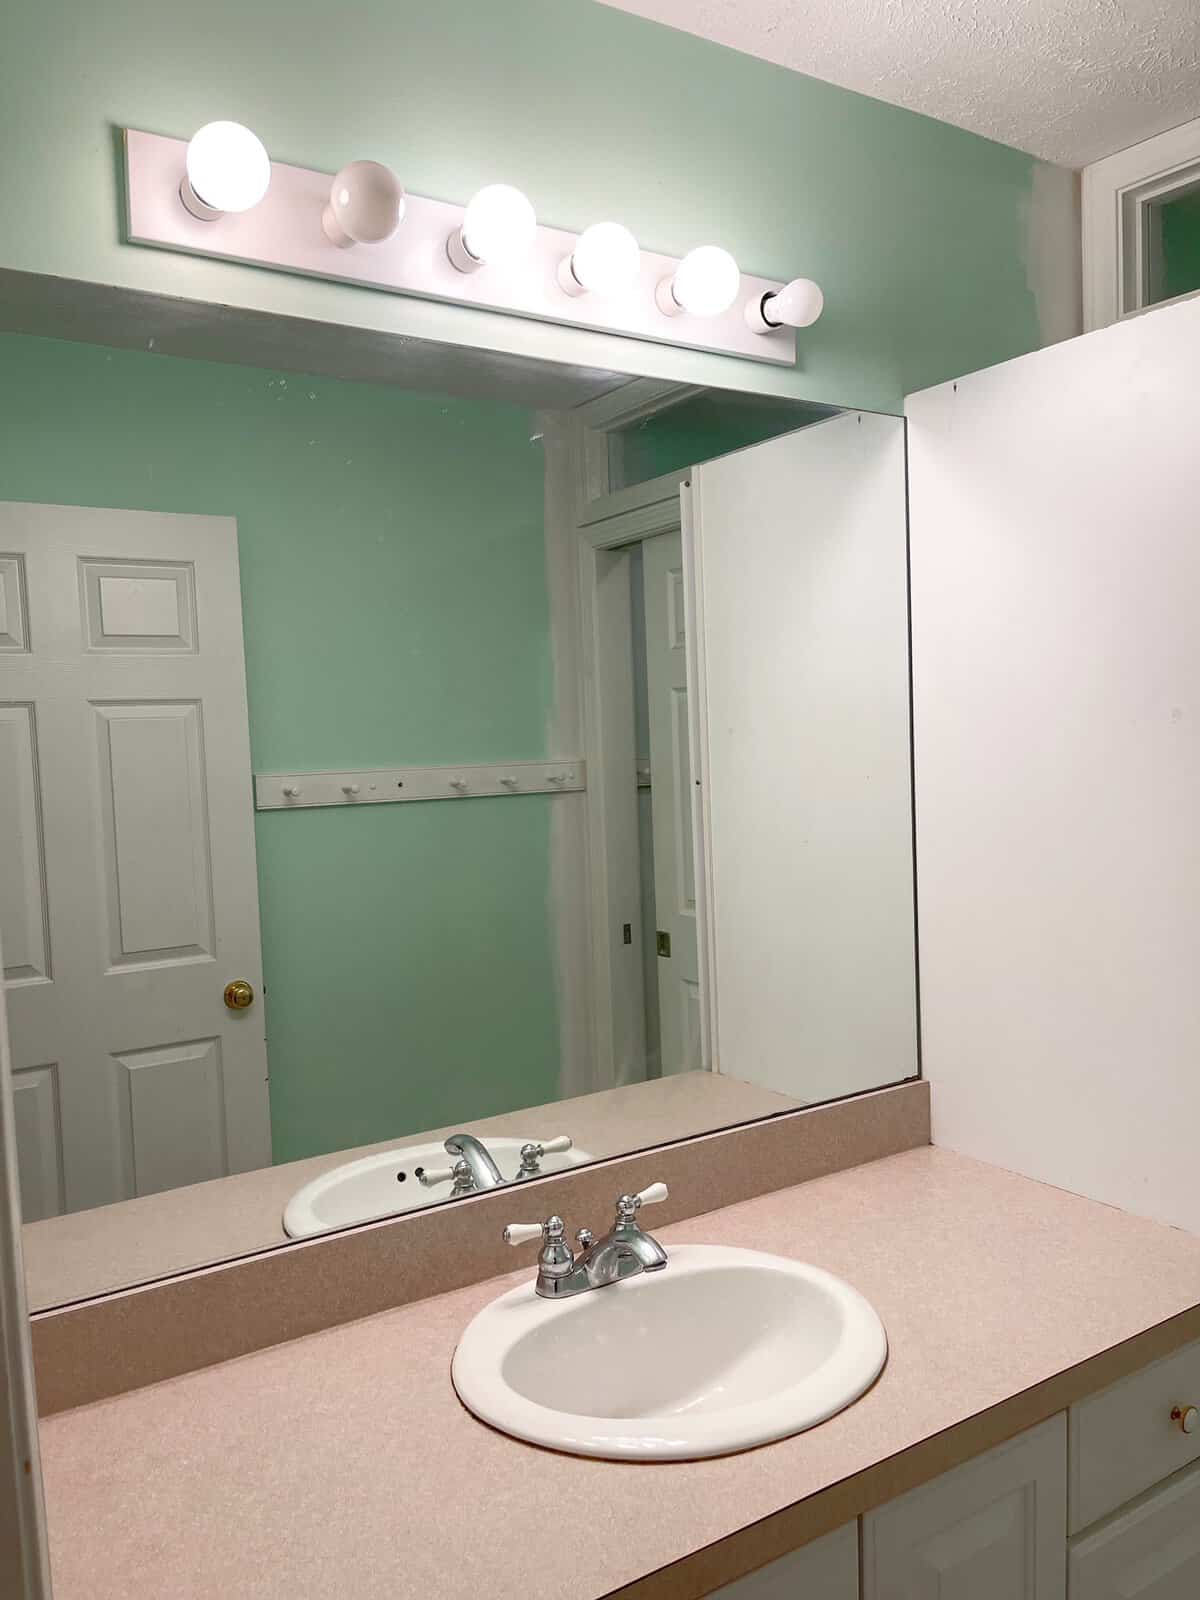
In this small bathroom we painted the walls white to open up the space.
With the cabinets also being white we needed some contrast.
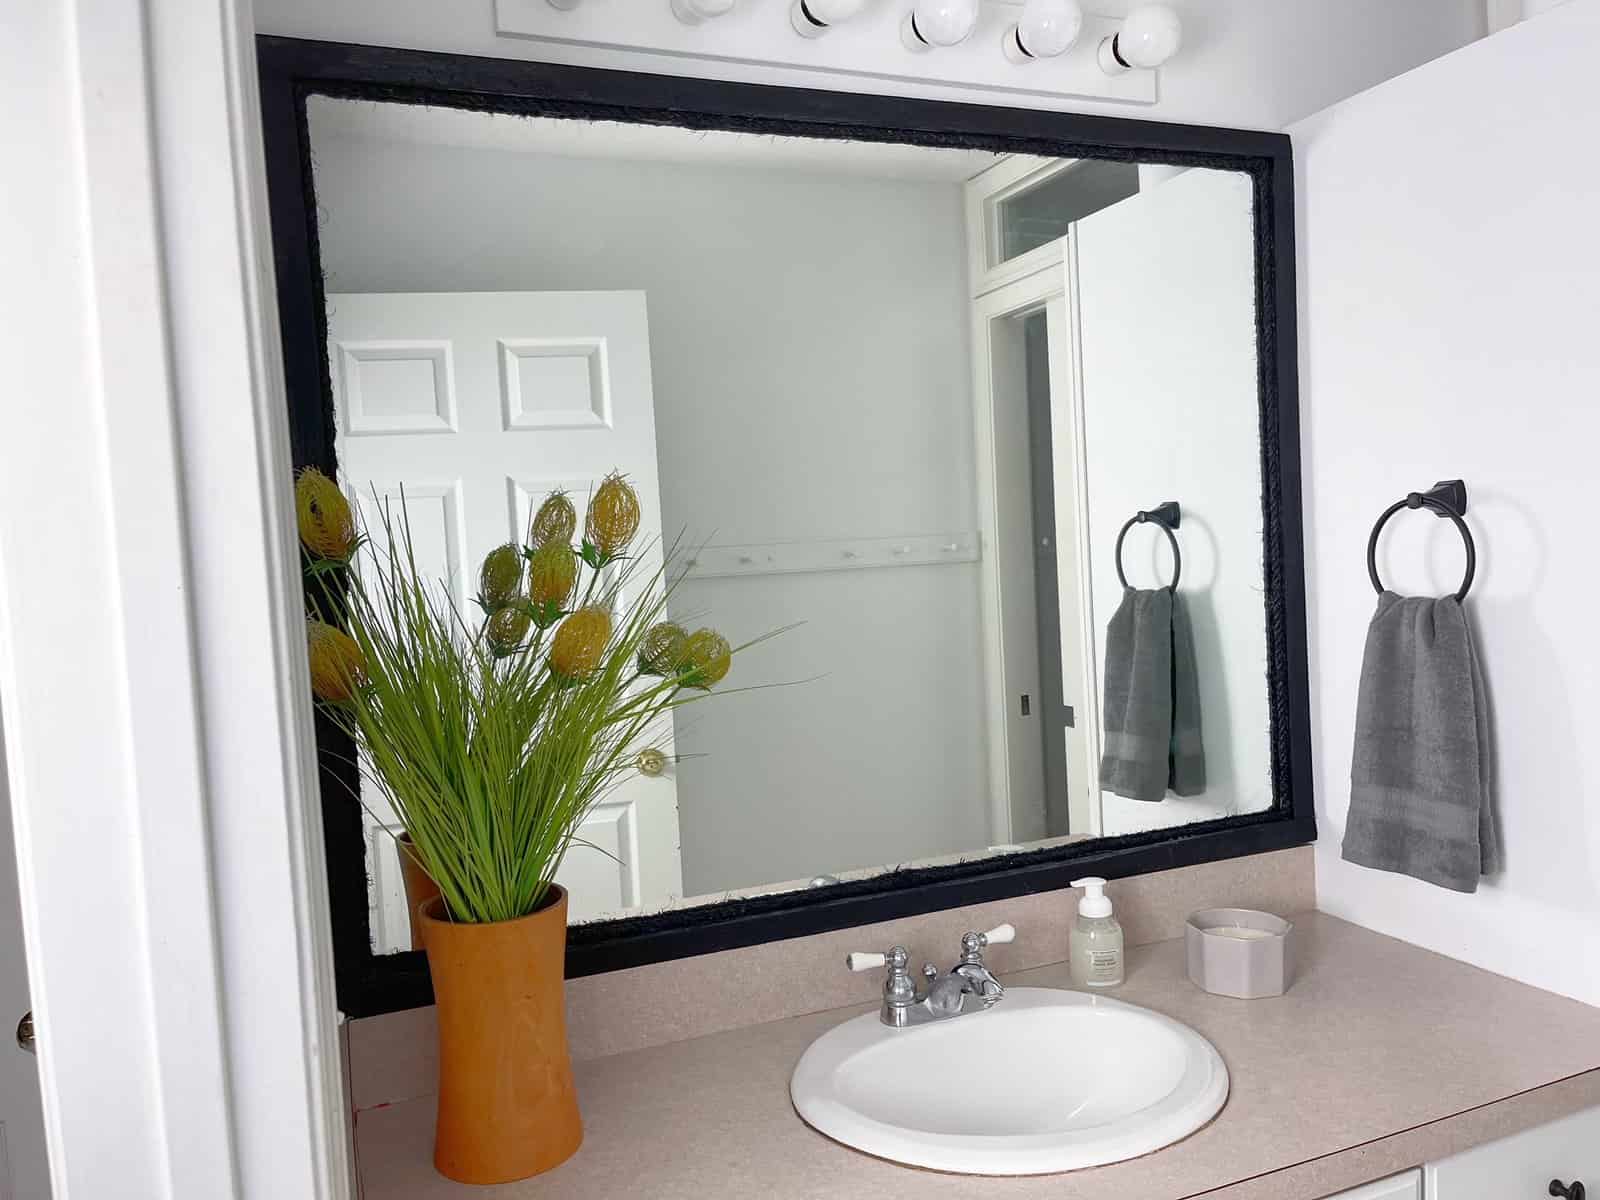
In walked the idea to frame the bathroom mirror in black!
It’s a simple task and I did it in a few hours. Nothing fancy but the look itself.
Supplies for Framing a Bathroom Mirror
- Wood molding
- Paint or Wood Stain
- Liquid Nails
- Measuring tape
- Saw, Miter Saw or Miter Saw Box
- Caulk
- Caulk Gun
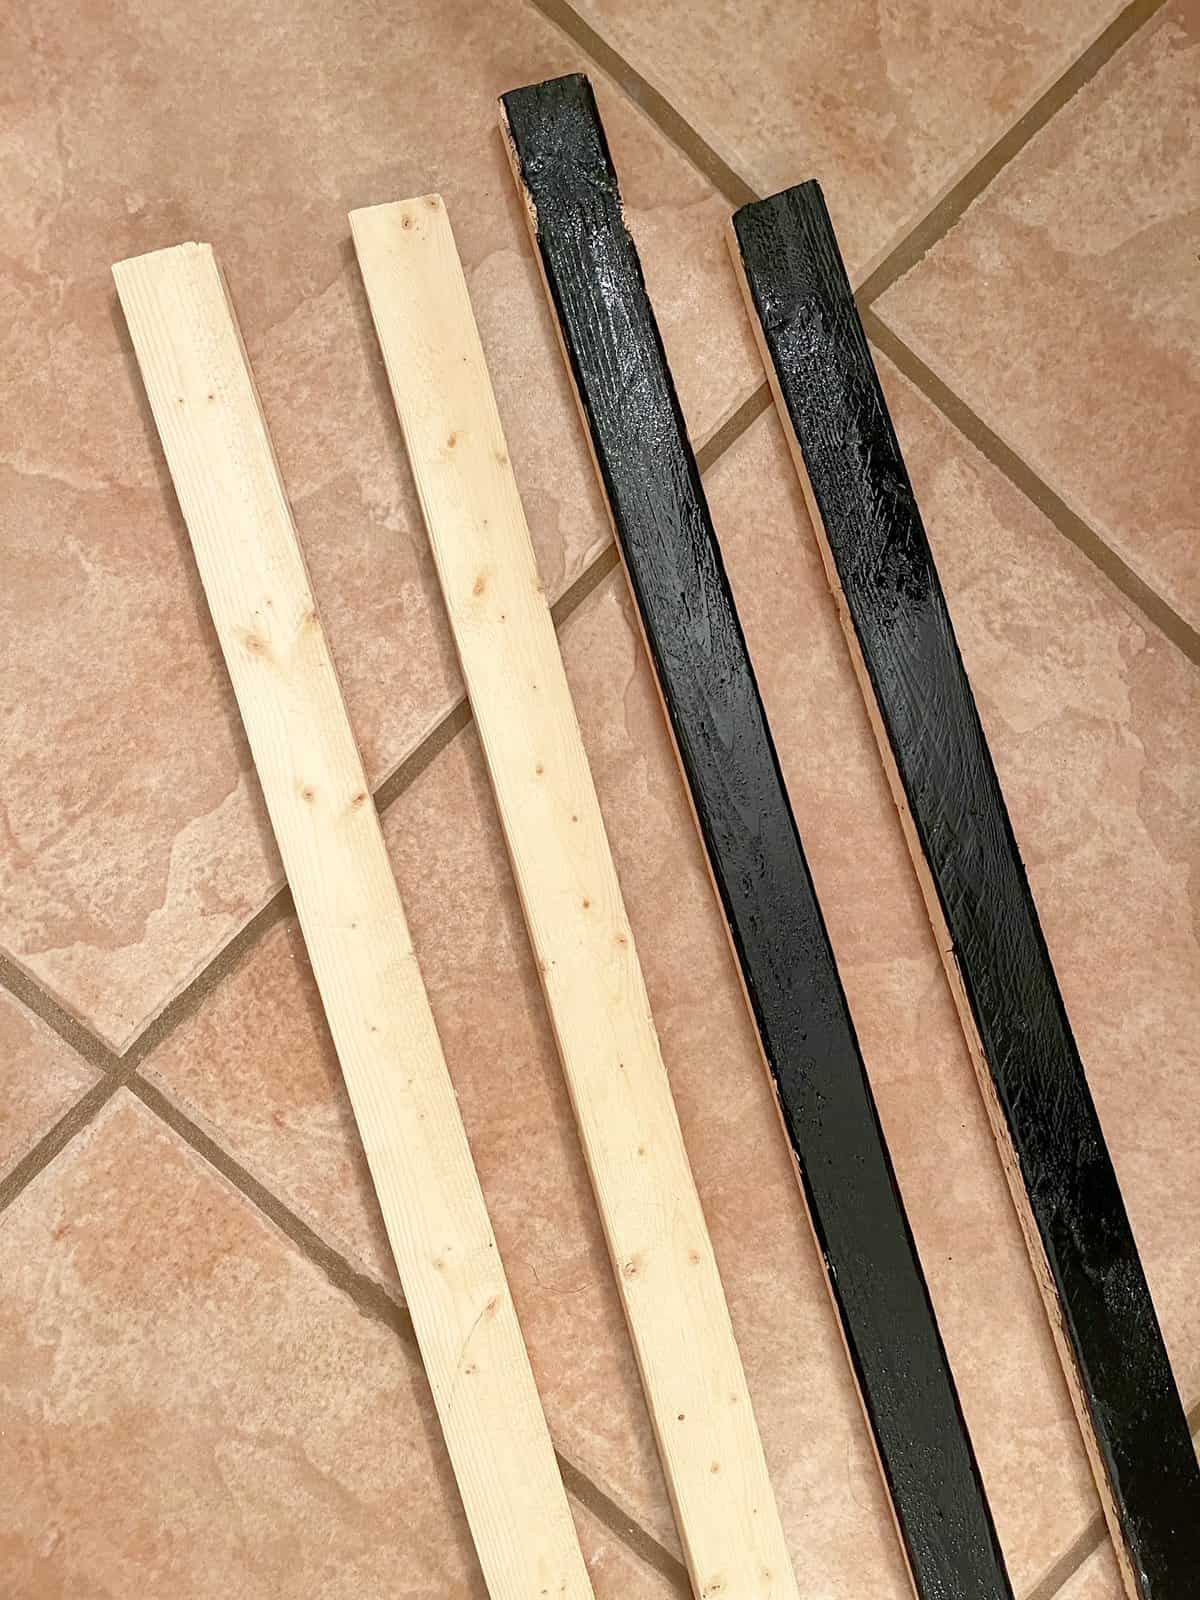
Step 1 Measure and cut your wood.
Measure and cut your wood to the size of the mirror you’re framing.
I used some very inexpensive left over wood, but you can choose any wood molding as long as it has a flat surface on one side.
Step 2 Paint or Stain your wood.
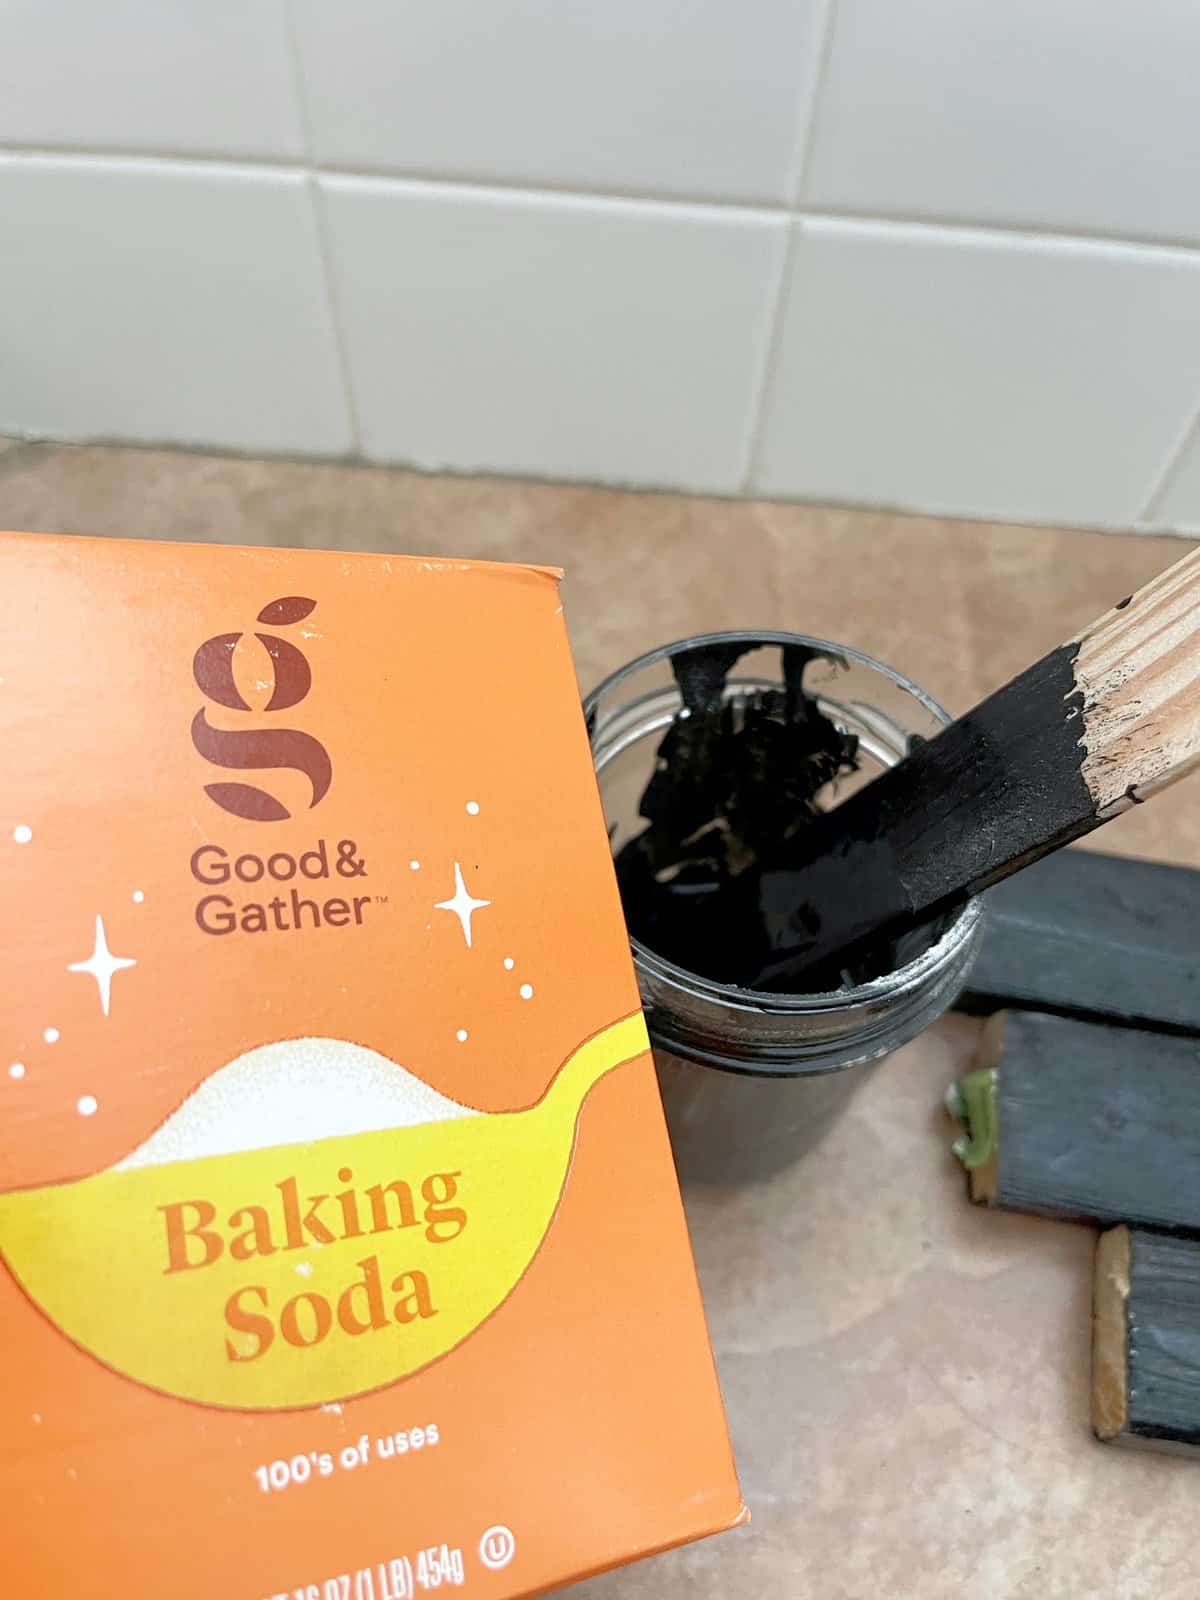
As I mentioned we wanted a black frame. I had black paint from a prior project but it was semi gloss and I wanted matte.
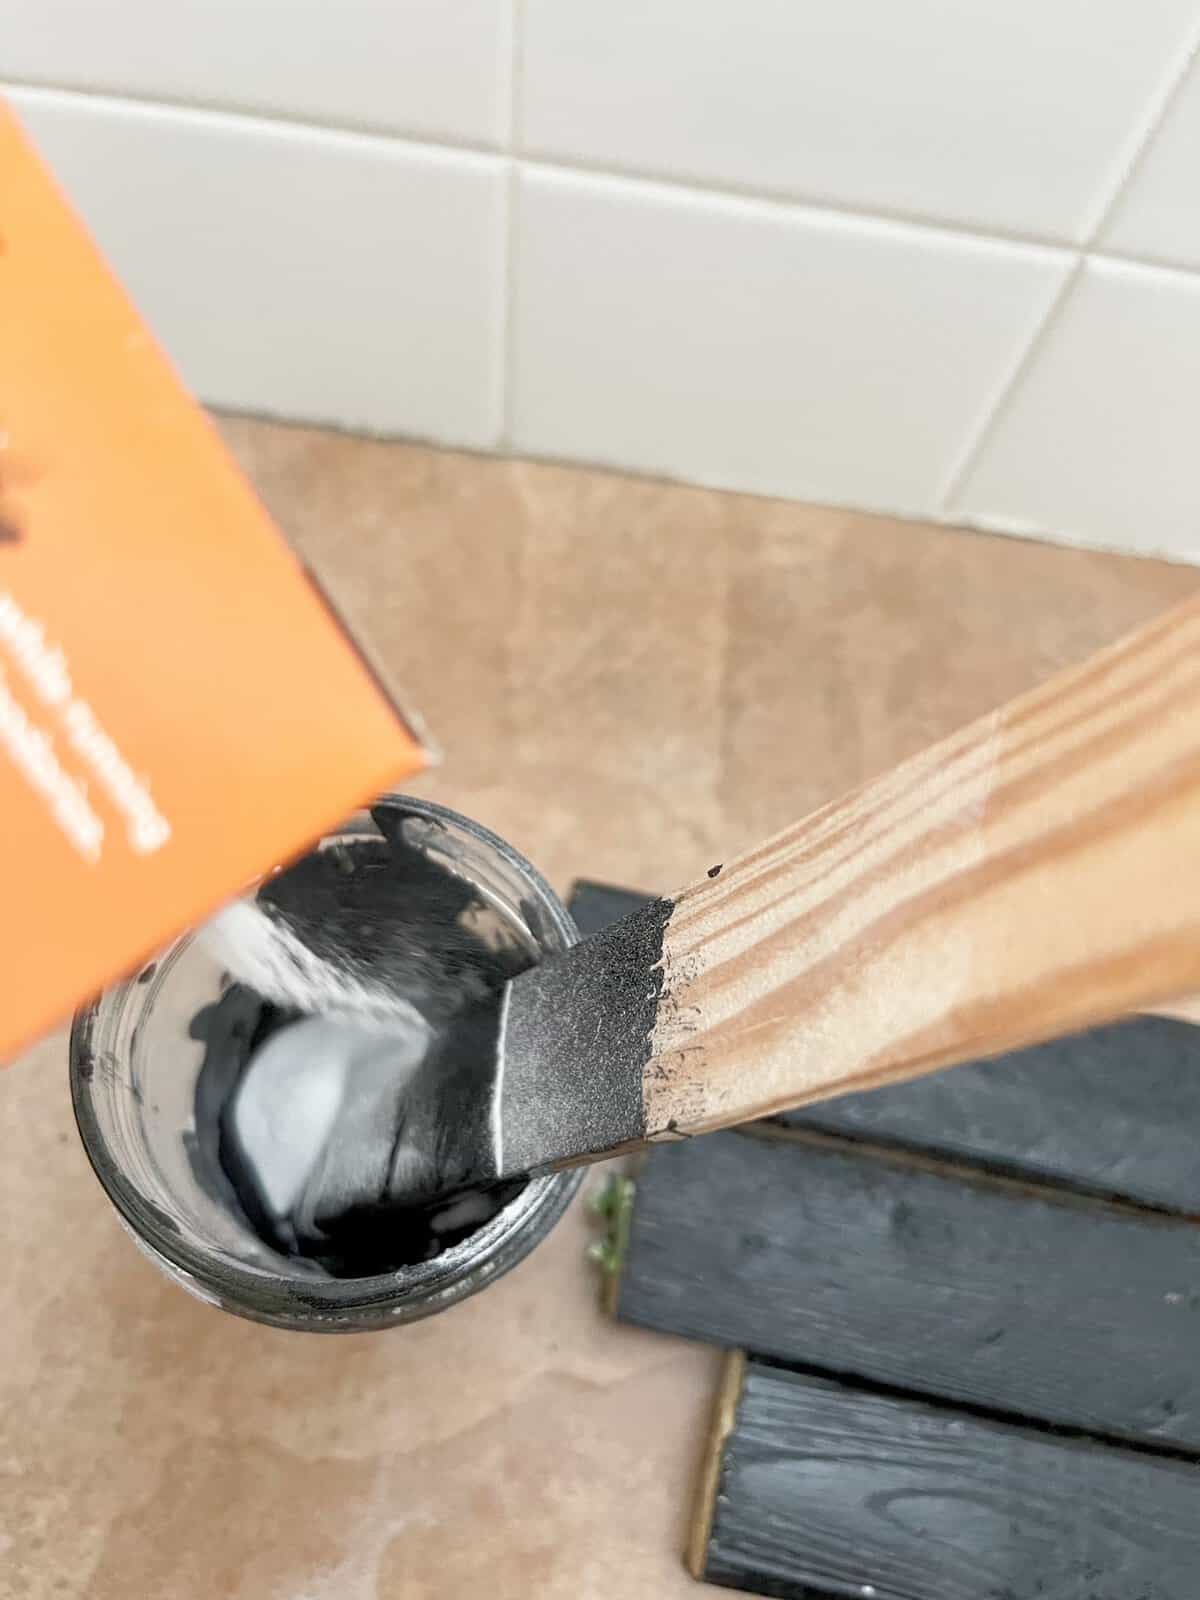
I took baking soda and mixed it in with the paint which gave the paint a flat sheen.
Design Tip:
Before attaching the wood to the mirror you must paint BOTH sides. If not, the unpainted back of the wood will be reflected in the mirror.
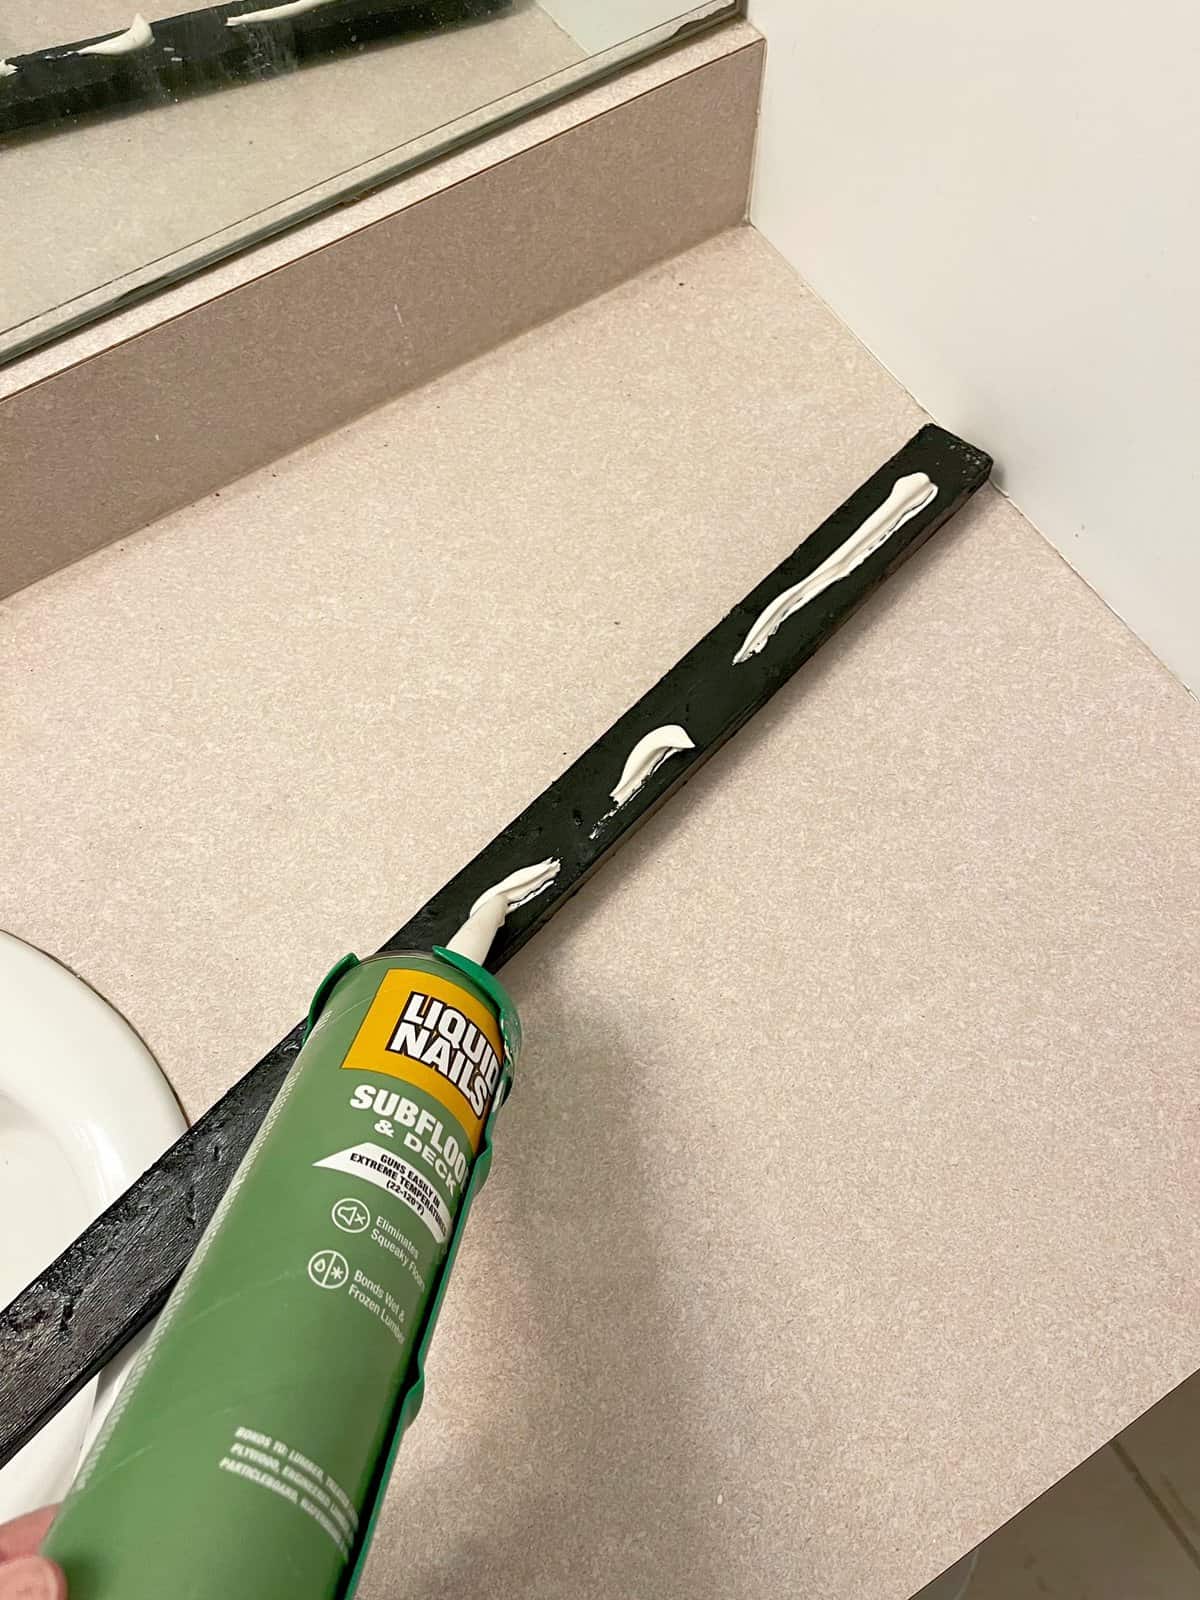
Step 3 Glue wood to wall.
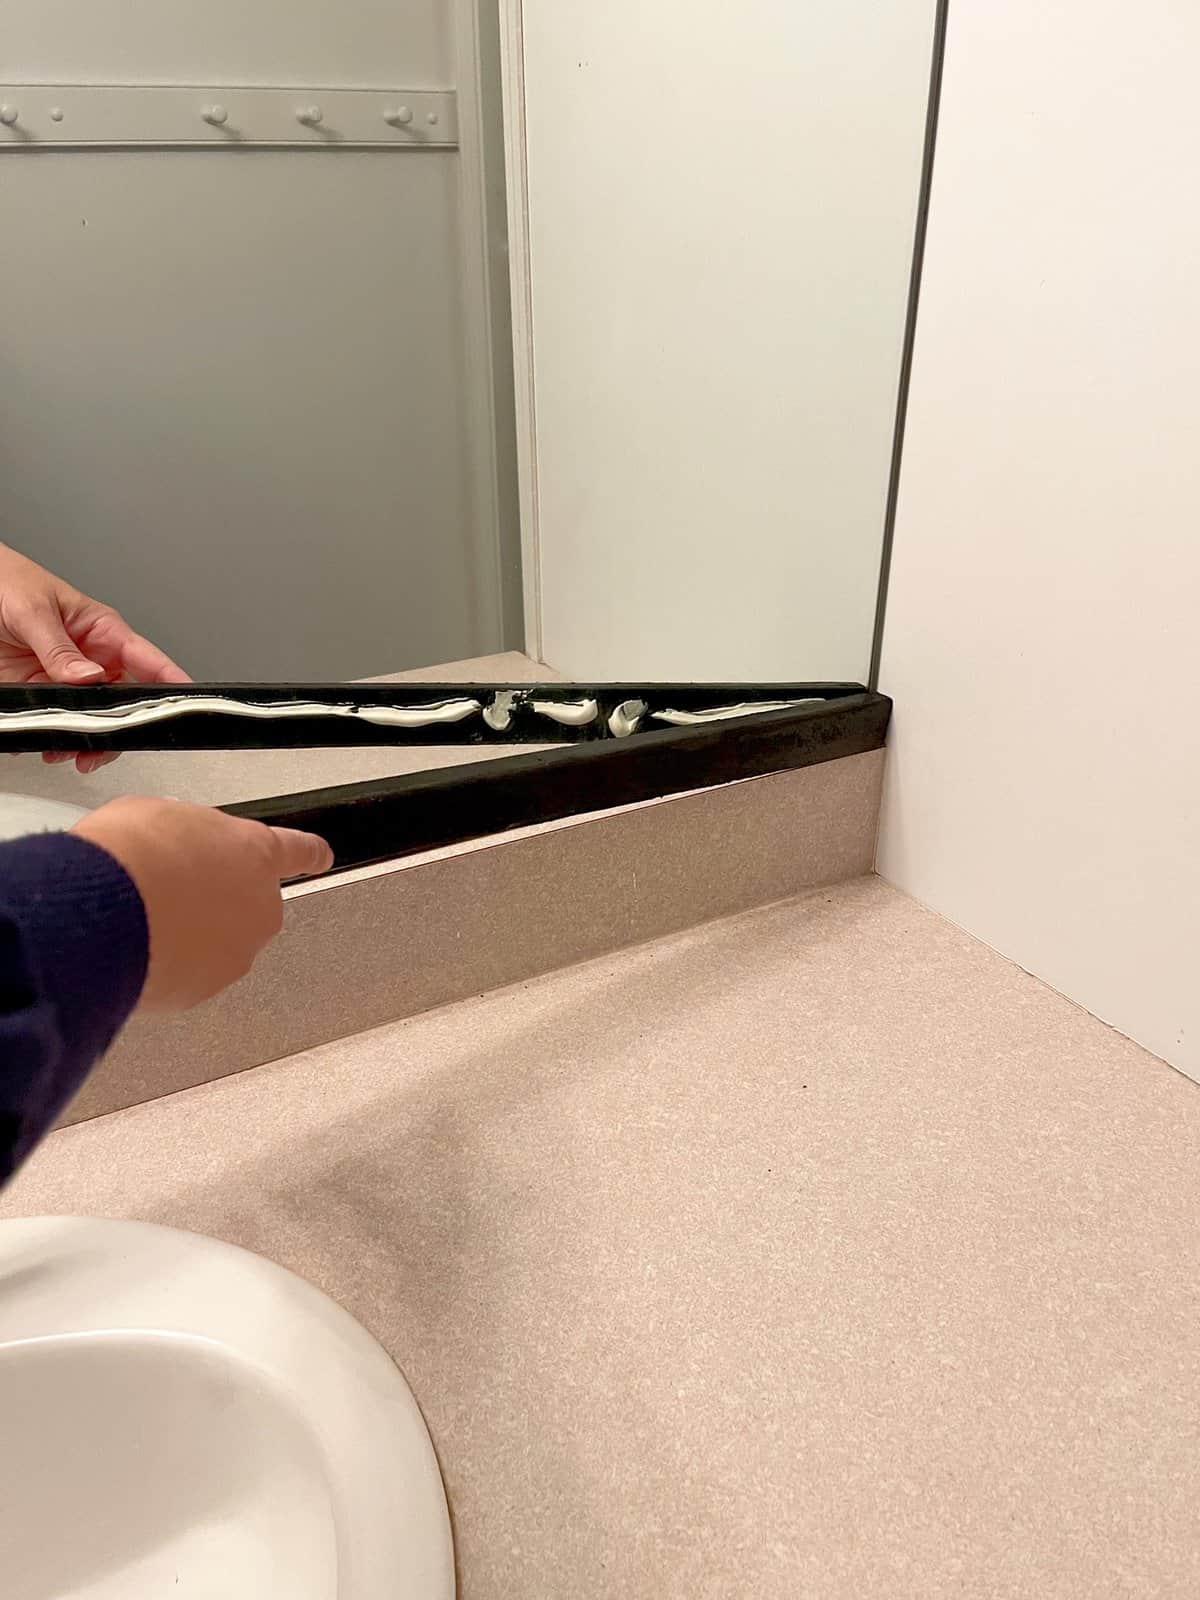
Apply a glue like liquid nails to the backs of your wood and adhere to the mirror. It’s best to have another pair of hands for this job so you can hold it in place while it dries a little.
I pushed paint cans against the bottom piece of wood to keep it in place while the liquid nails dried.
Start with bottom piece of wood first, then the sides, and allow it to dry. After it’s dry it can support the weight of the last top piece of the frame.
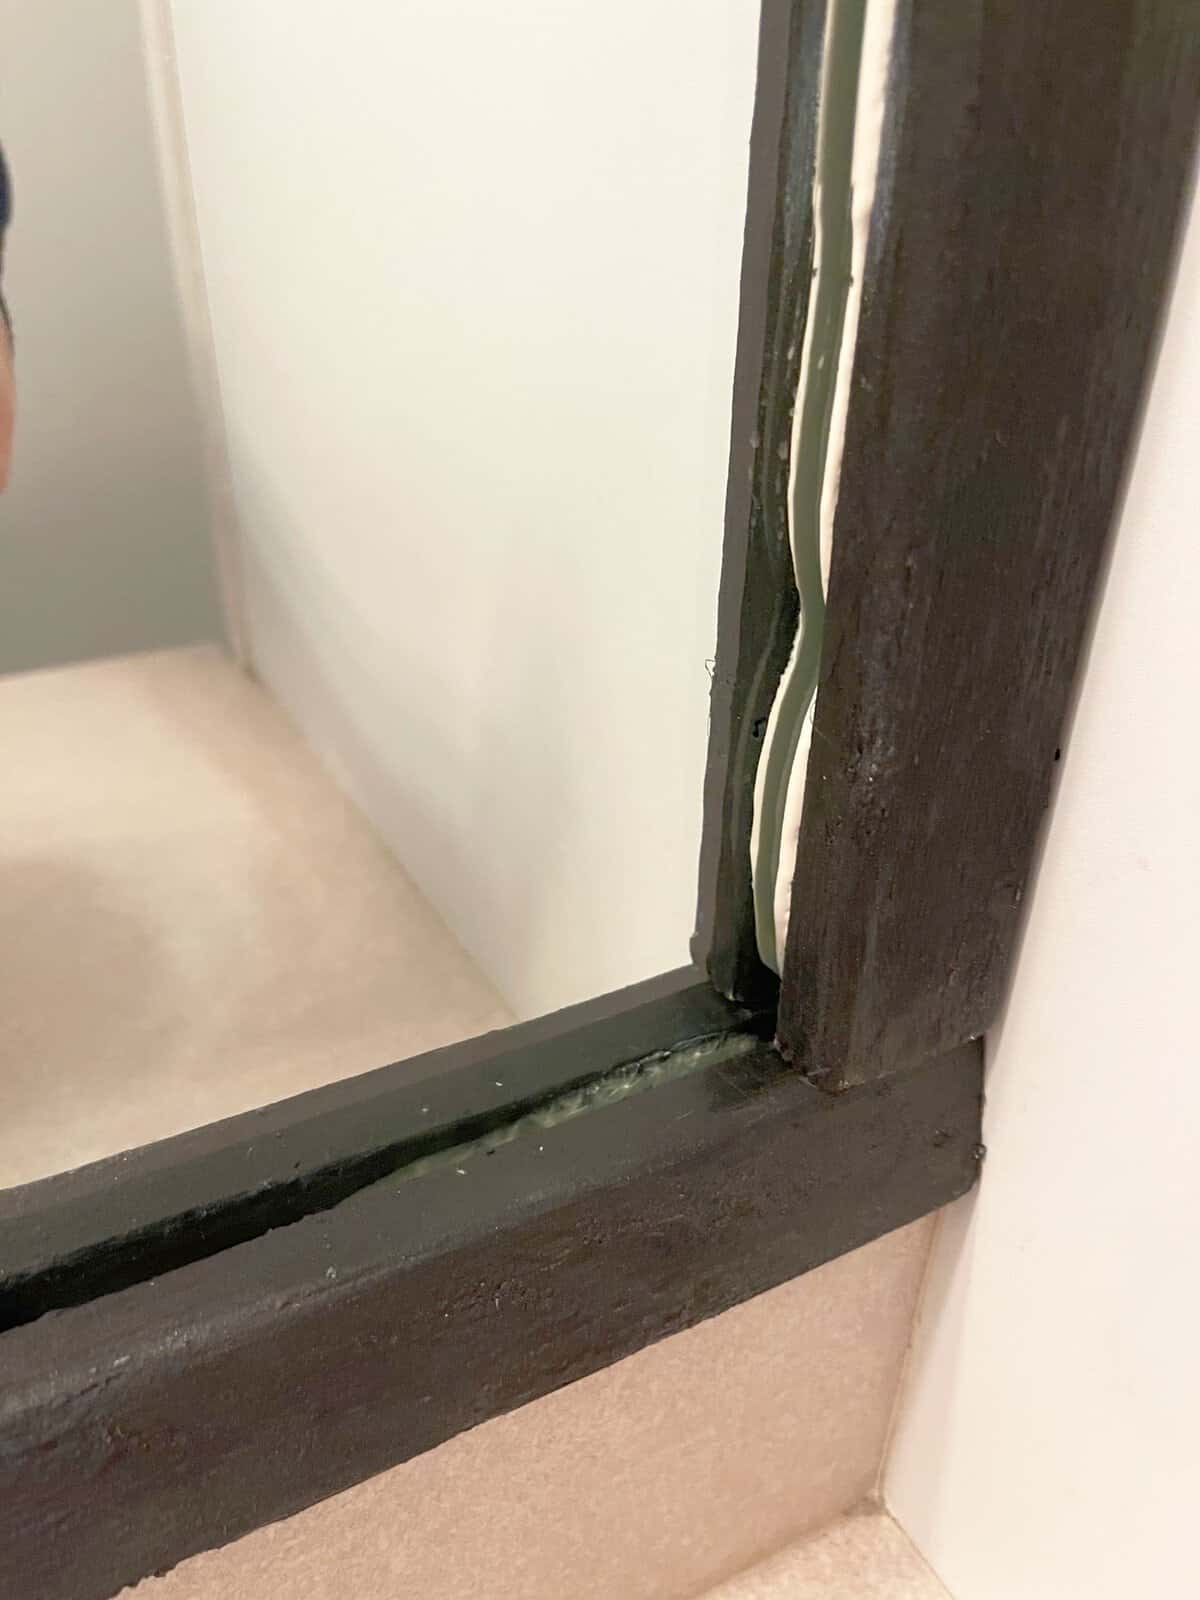
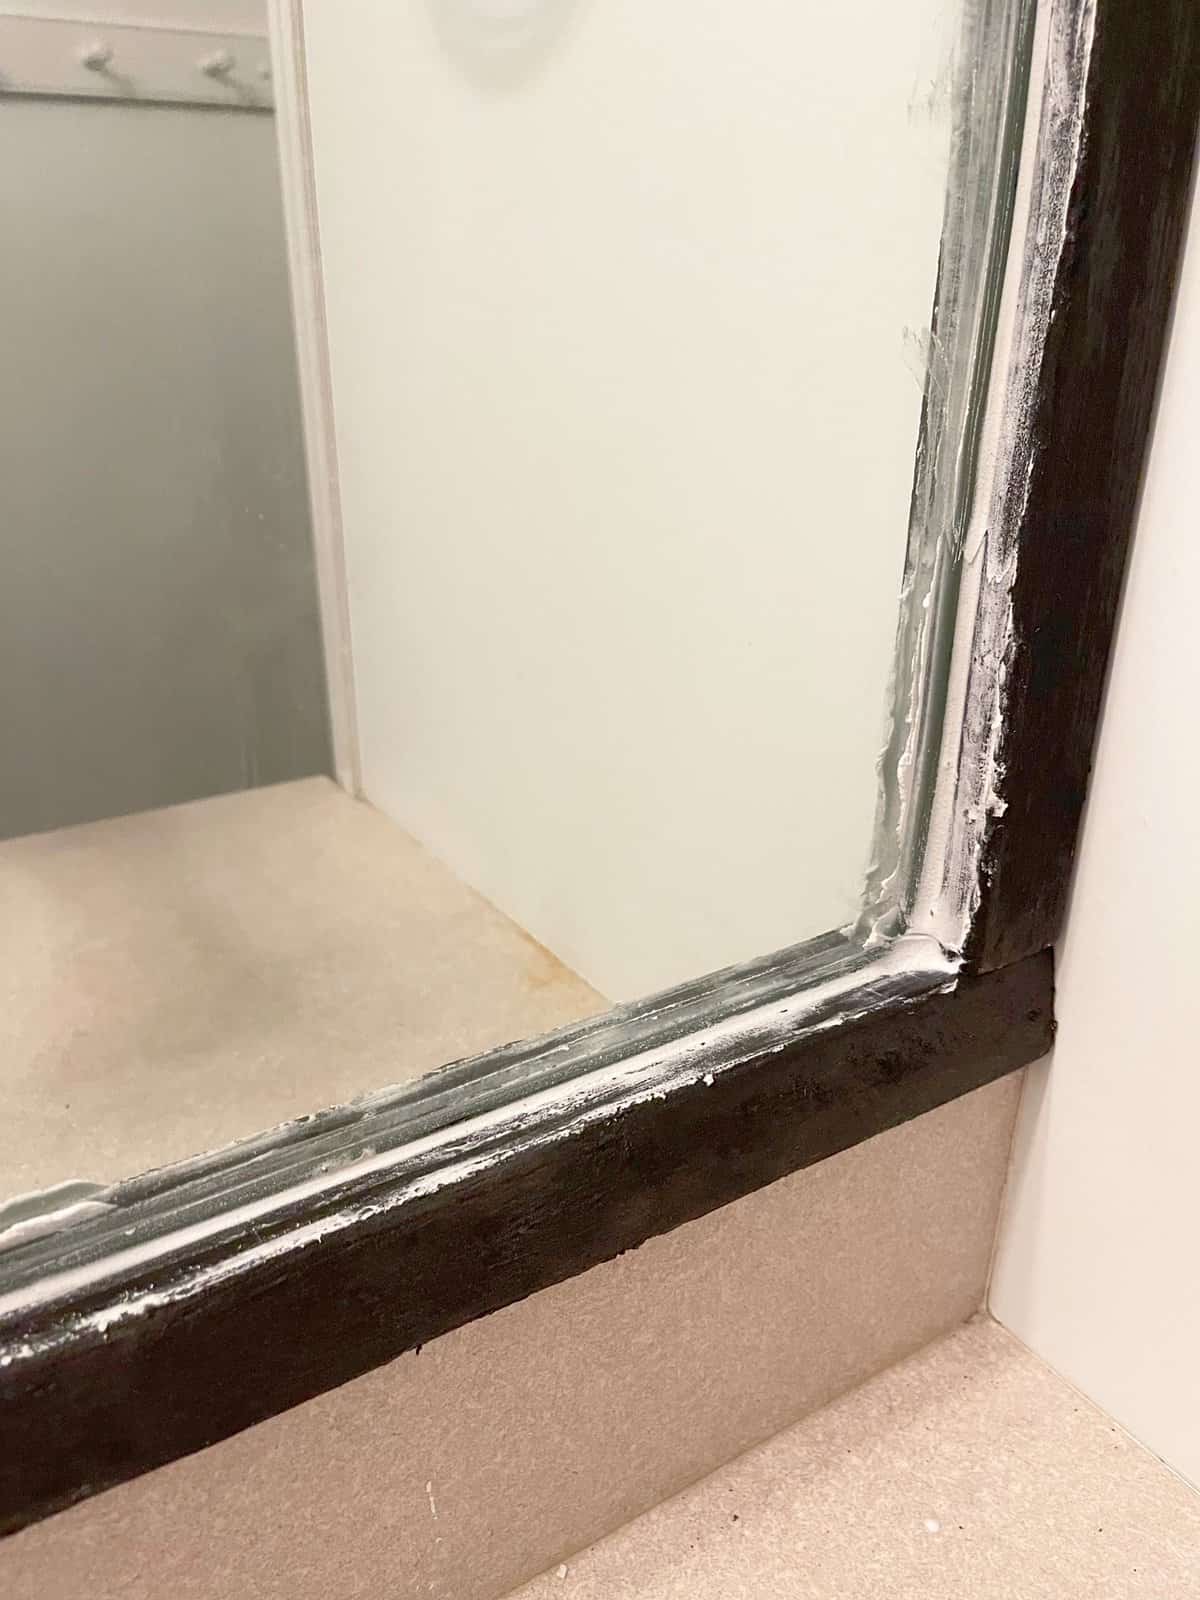
Step 4 Caulk Frame
Caulk the gaps between the mirror and the wood frame.
If your mirror is in a bathroom like ours. I think this is especially important to protect the wood from water.
You could very carefully paint over the caulk and stop at this step.
Step 5 – Add Trim to Frame
I didn’t like the look of the unpainted calk or the idea of painting the caulk black.
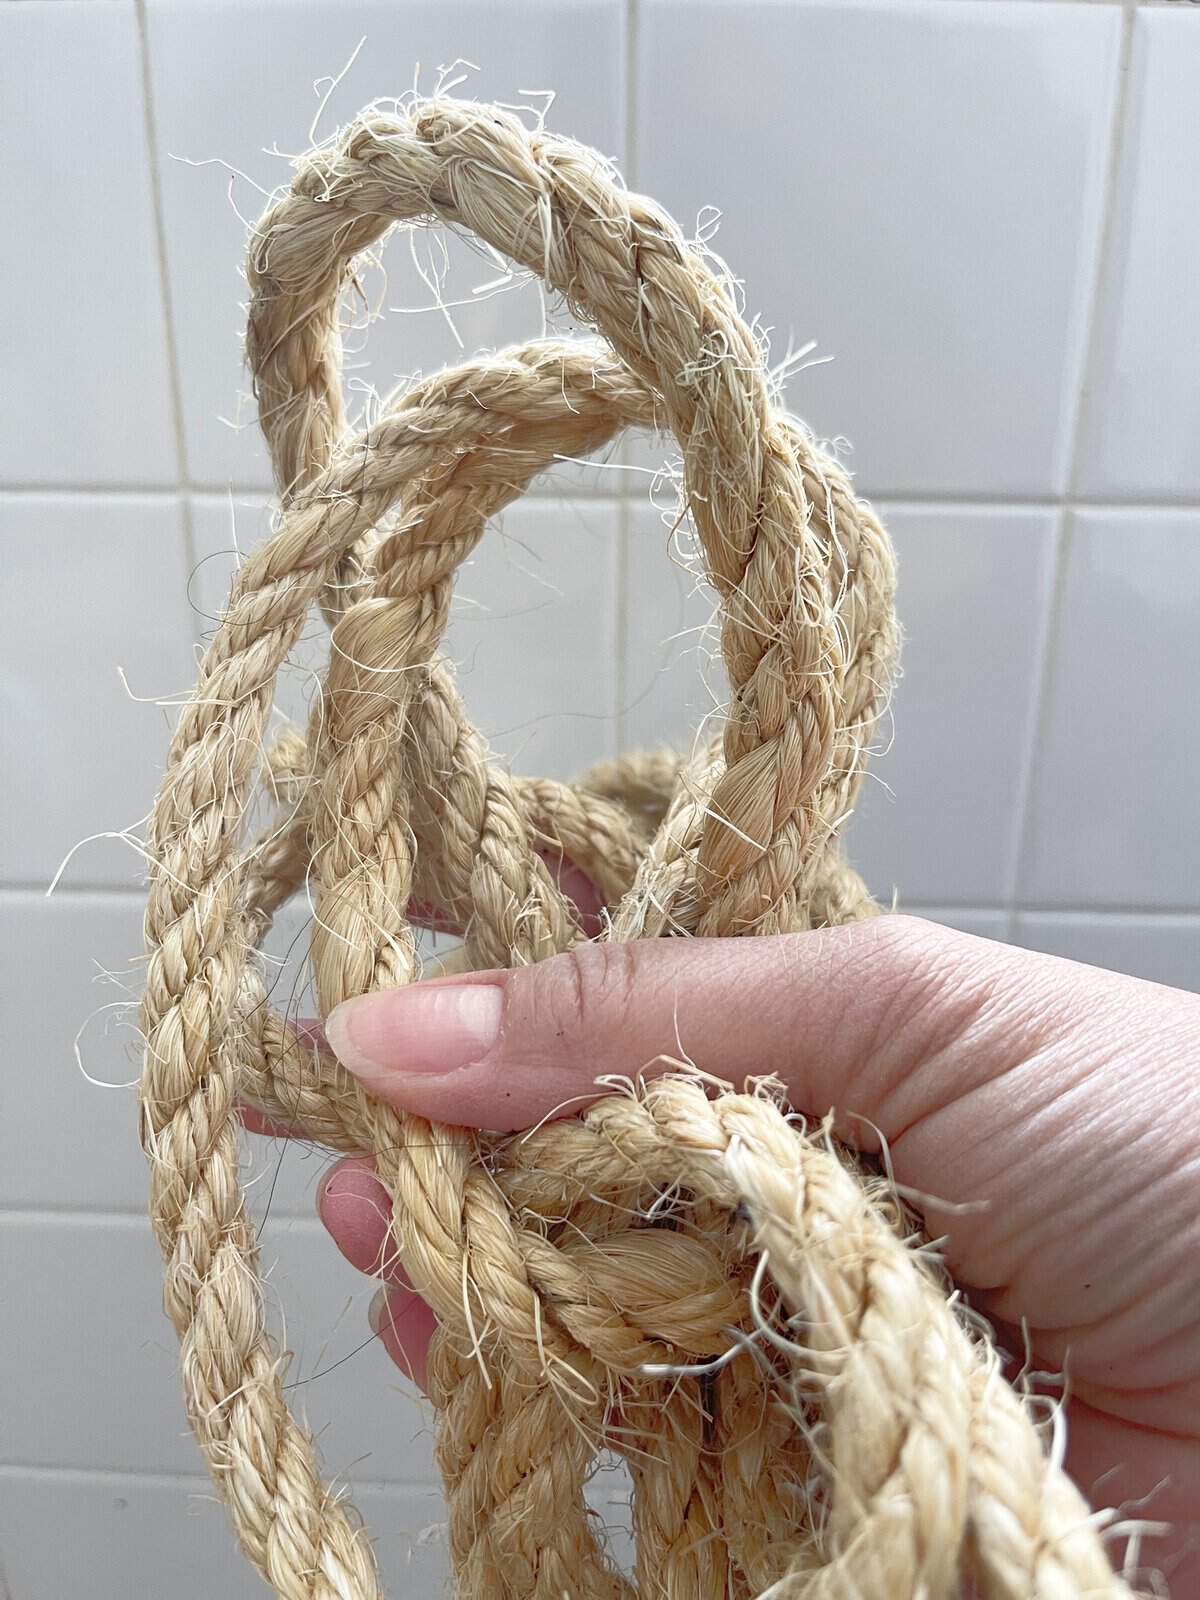
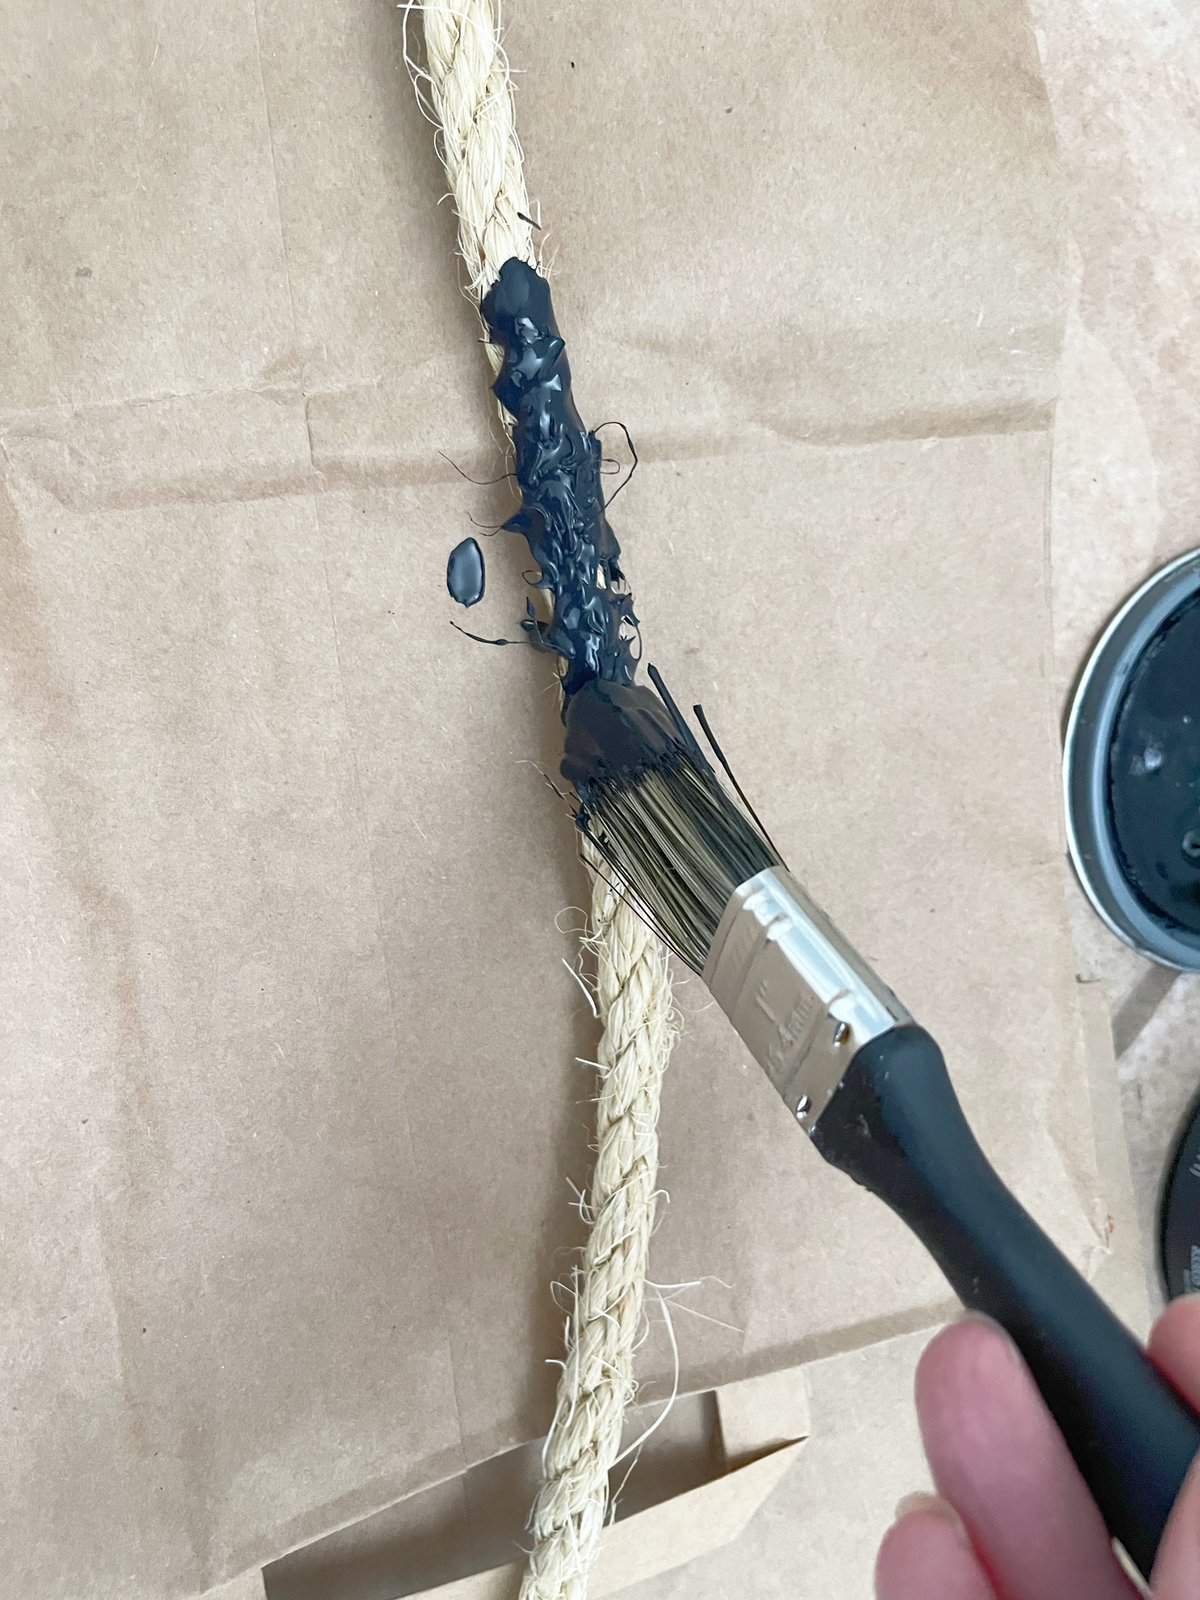
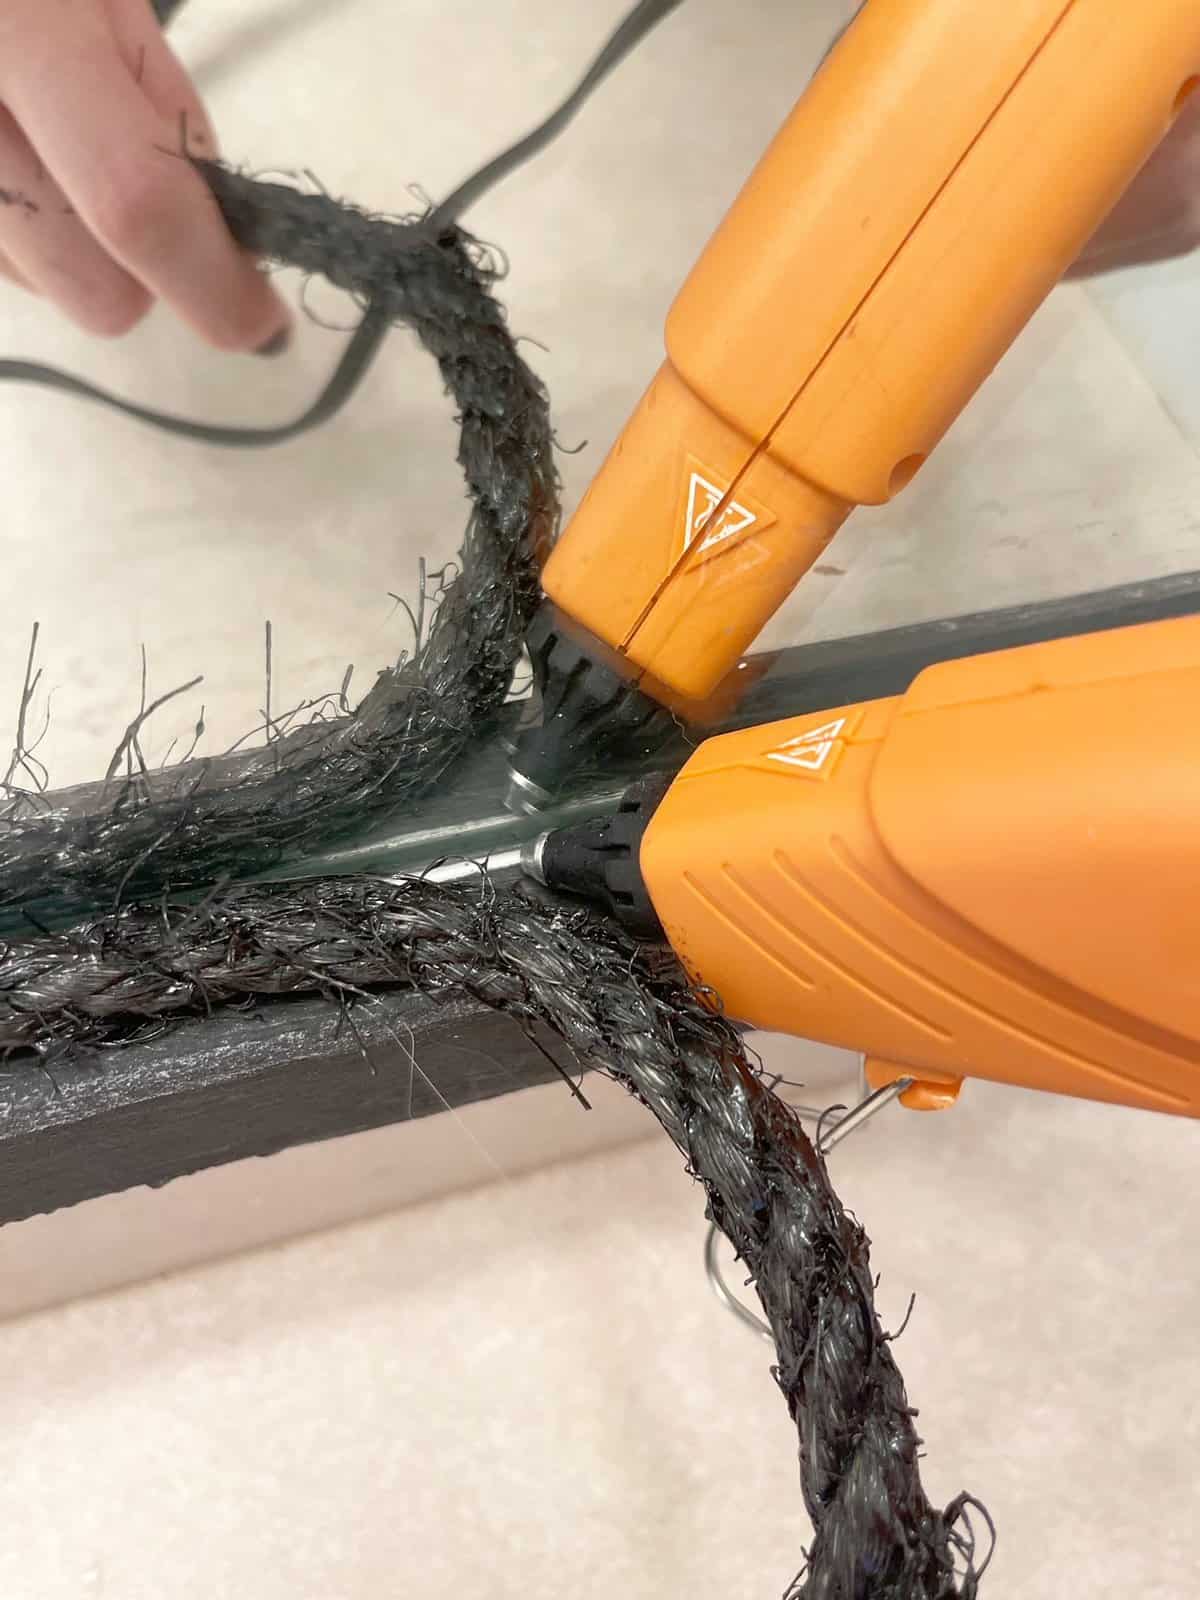
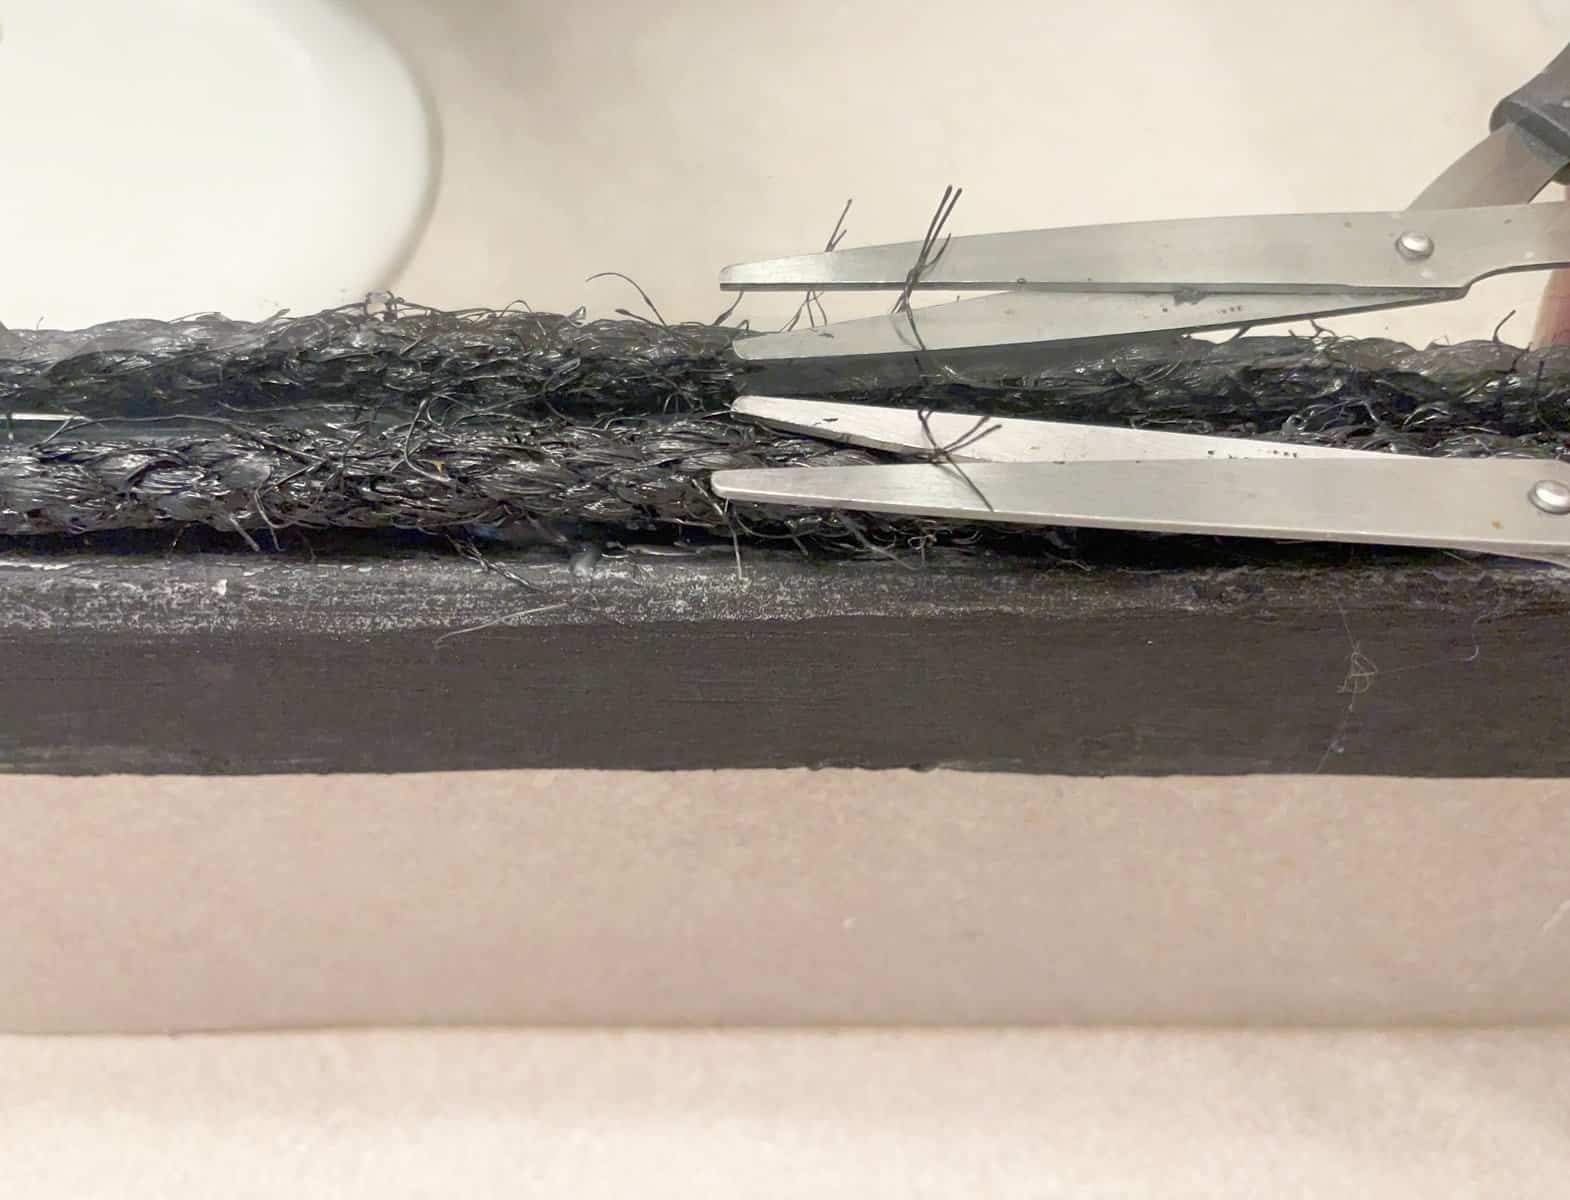
I started brainstorming some ideas and ended up taking this rope HERE, painted it black and then applied the rope over the caulk with hot glue.
This particular rope was left over from this jute rope vase craft HERE. I gave the rope a trim with a pair of scissors and love the look!
Adding More Touches of Black to the Bathroom
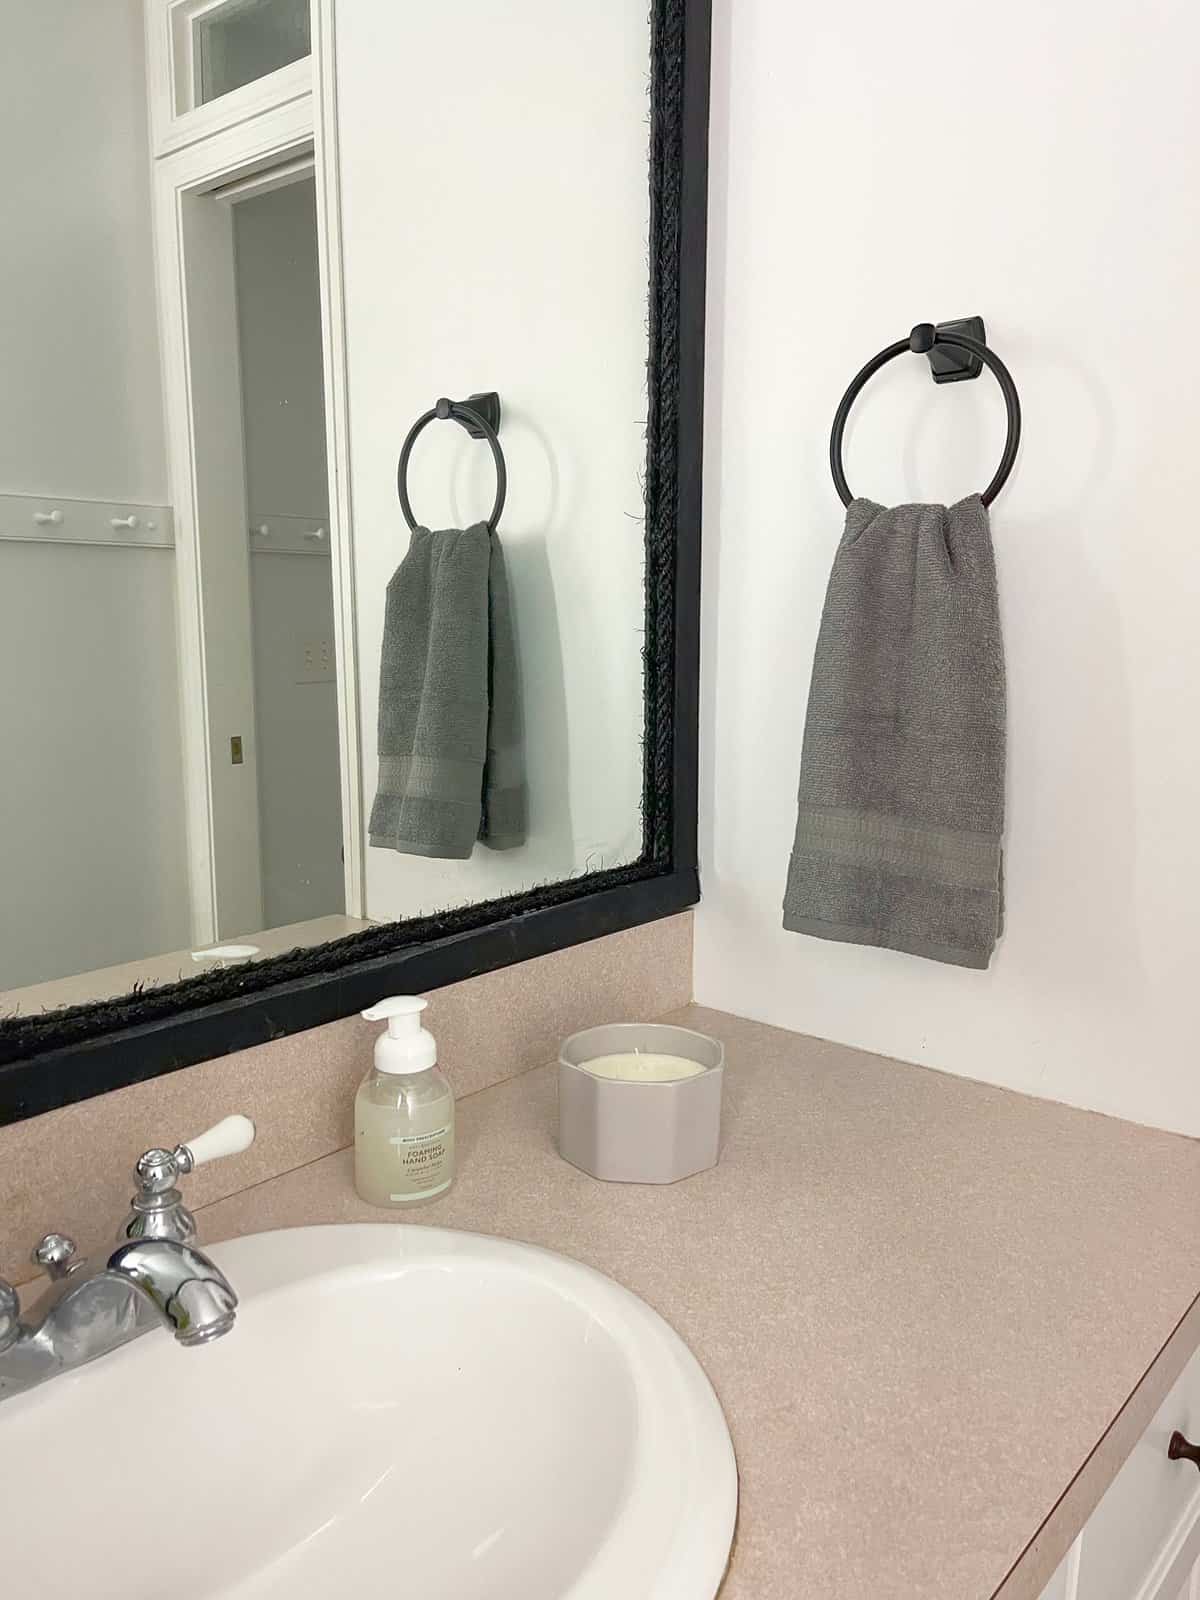
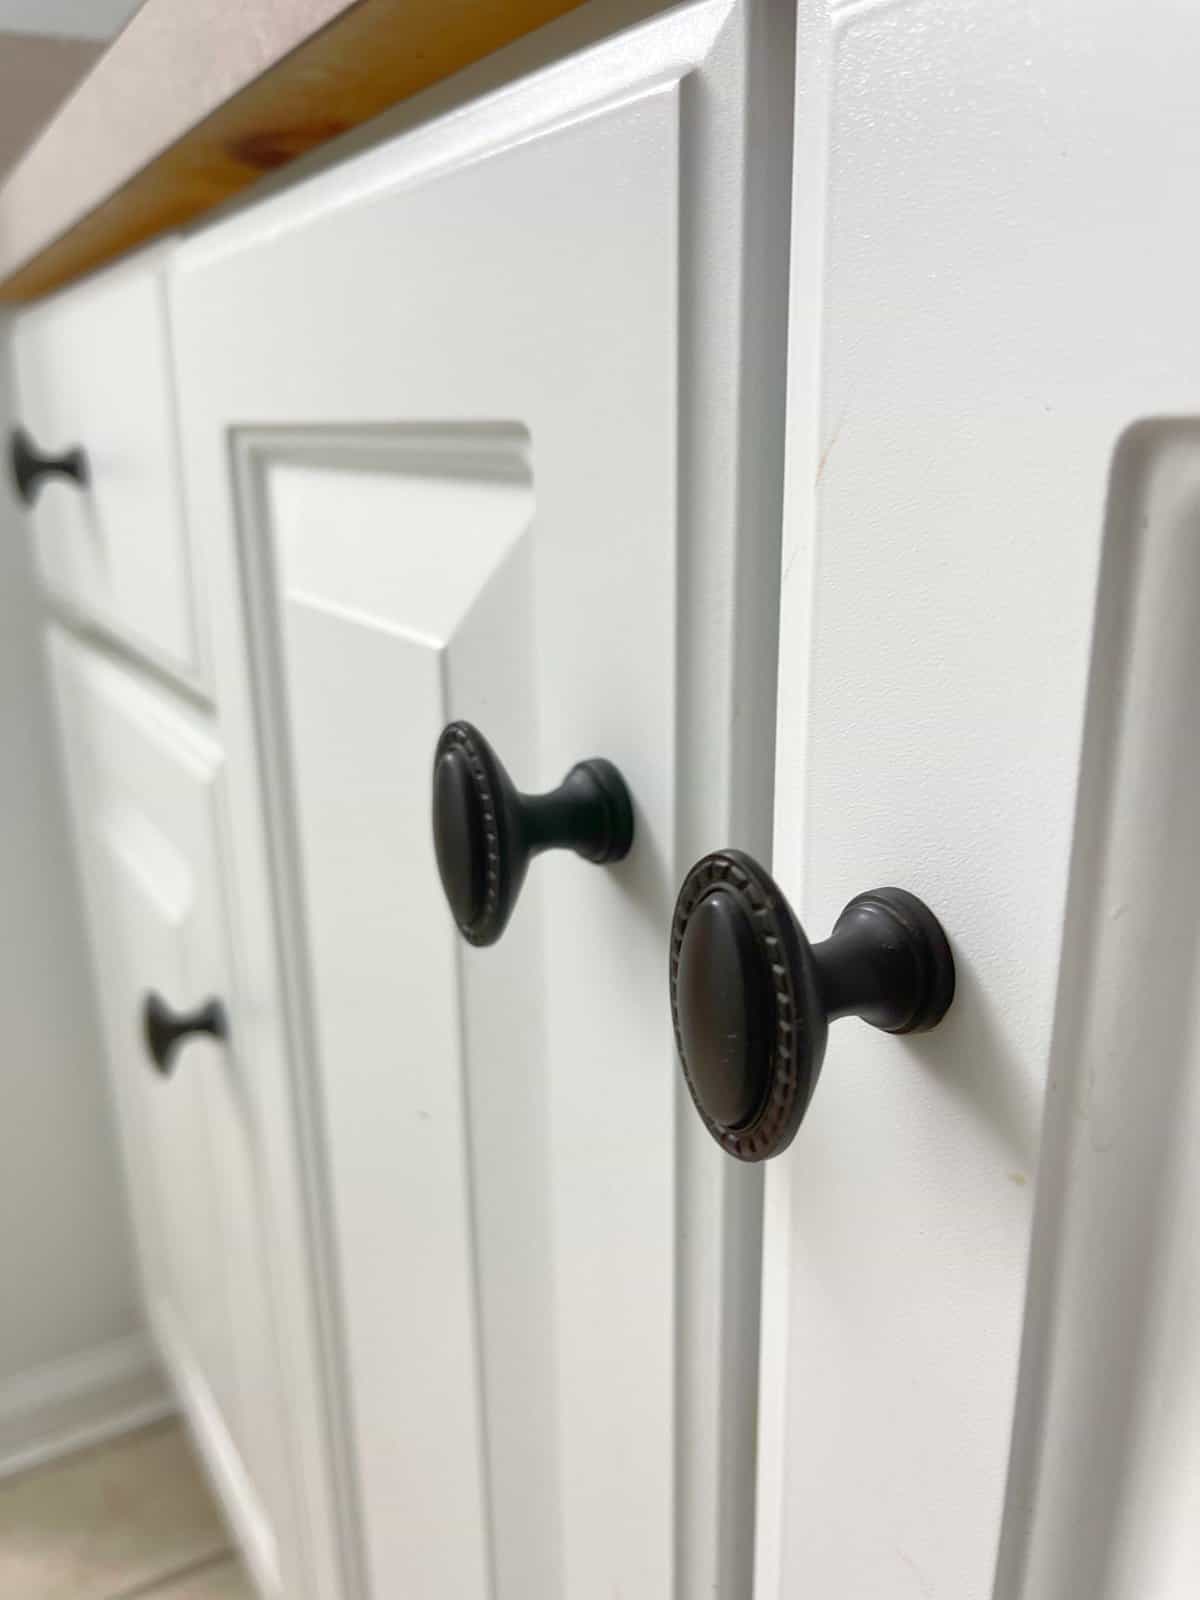
To balance the black mirror and with the cabinets also being white like the walls I decided to go with black for the cabinet hardware and towel holder.
Towel Holder – About once a week I find myself at Lowes. We finally installed a towel holder and ours is from Lowes. Great price, and well made.
The towel as well as the towels on our bathroom shelf I found HERE.
Cabinet Hardware – I found the new cabinet hardware from The Restore for fifty cent a piece. Always stop by and check this place if you have an extra 5 minutes, treasures await, sometimes.

Another inexpensive makeover for the books/blog!
It’s really encouraging to me that our kids are learning they can effect change within their spaces while spending very little money.
Tell me what you think! Are you still liking the black and white bathroom trend?
Thanks for being here friends, I appreciate you!

OUR INEXPENSIVE KIDS BATH REFRESH
- Upcycled Shelving from Wood and Cardboard
- Replacing a Shower Door with Curtains
- How to Paint a Tile Floor to Mimic Stone

Pin It & Save It


Hi Maria! I have this project on my to-do list this year! I think the mirror looks so finished and pretty when you add a frame around it! Great idea to use the rope! Your mirror frame looks fantastic!
Maria, your mirror came out great! What a difference it has made in your bathroom! This is such a great way to give a bathroom a little update. Great job
Thank you Meagan, the kid’s love it and it was very easy so, Win, Win!
Such an improved look! I love how simple it is, yet it completely changes the space. Nicely and so creatively done!
What do you do with the plastic clips?
My mirror did not have plastic clips so I didn’t have that challenge. If yours does I would try to notch the wood of your frame so you could lay it over top the plastic clips. You could whittle it out with a knife or a screw driver and hammer.