

Want to give your bathroom floor a refresh with a quick fix?
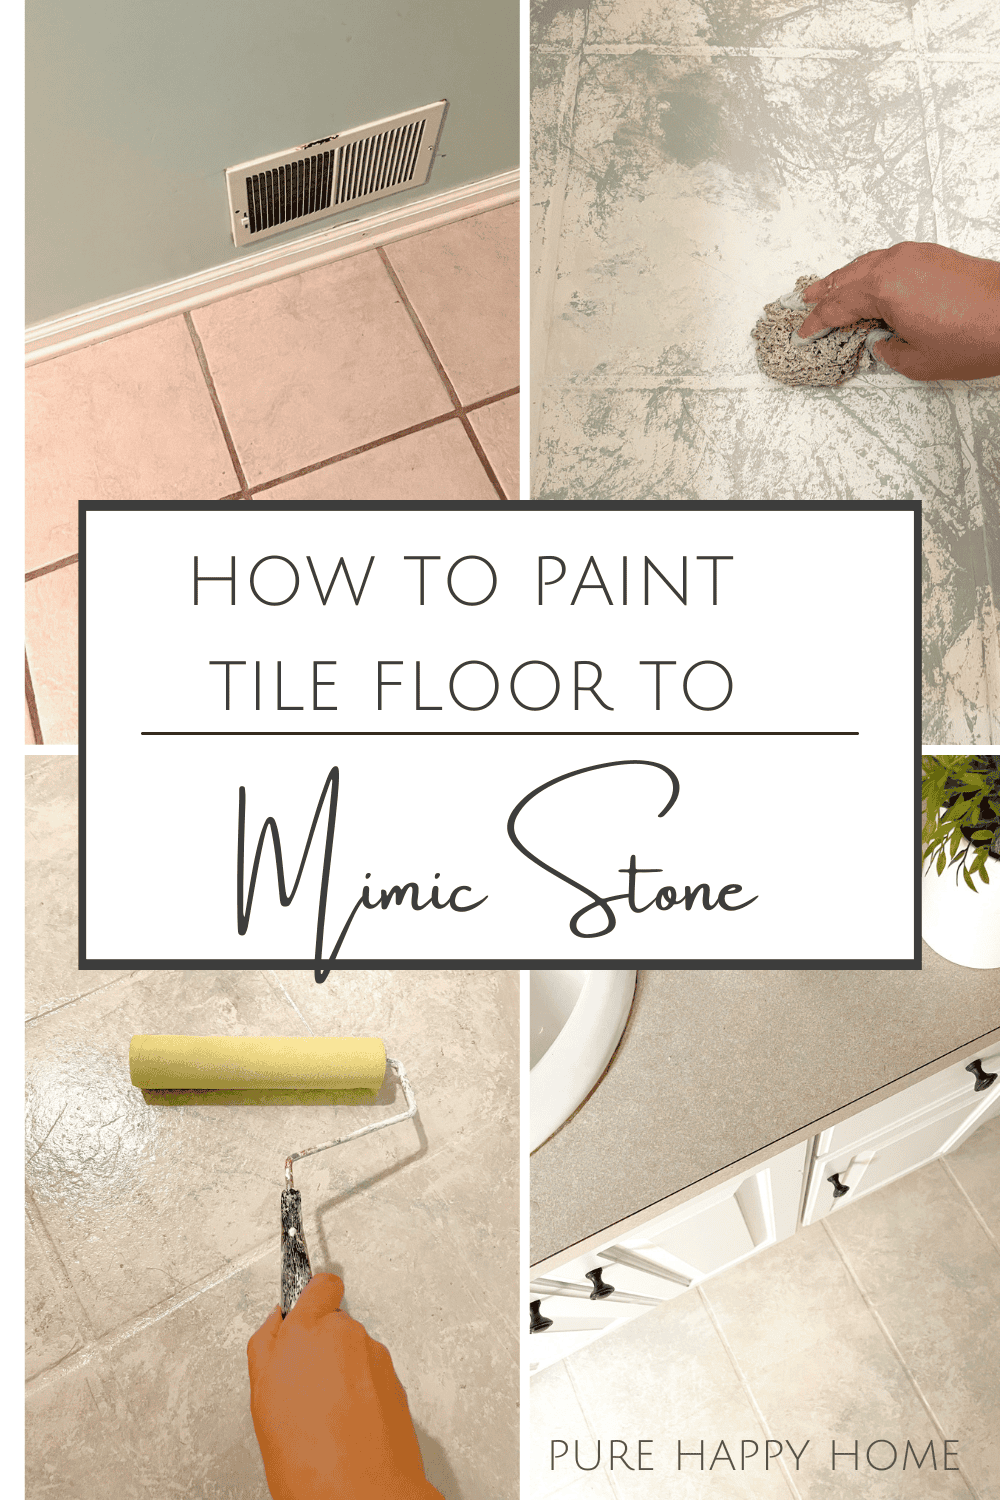
Let me show you how to paint a tile floor to mimic stone.
How to Paint a Tile Floor to Mimic Stone
Inspiration for Painting a Tile Floor
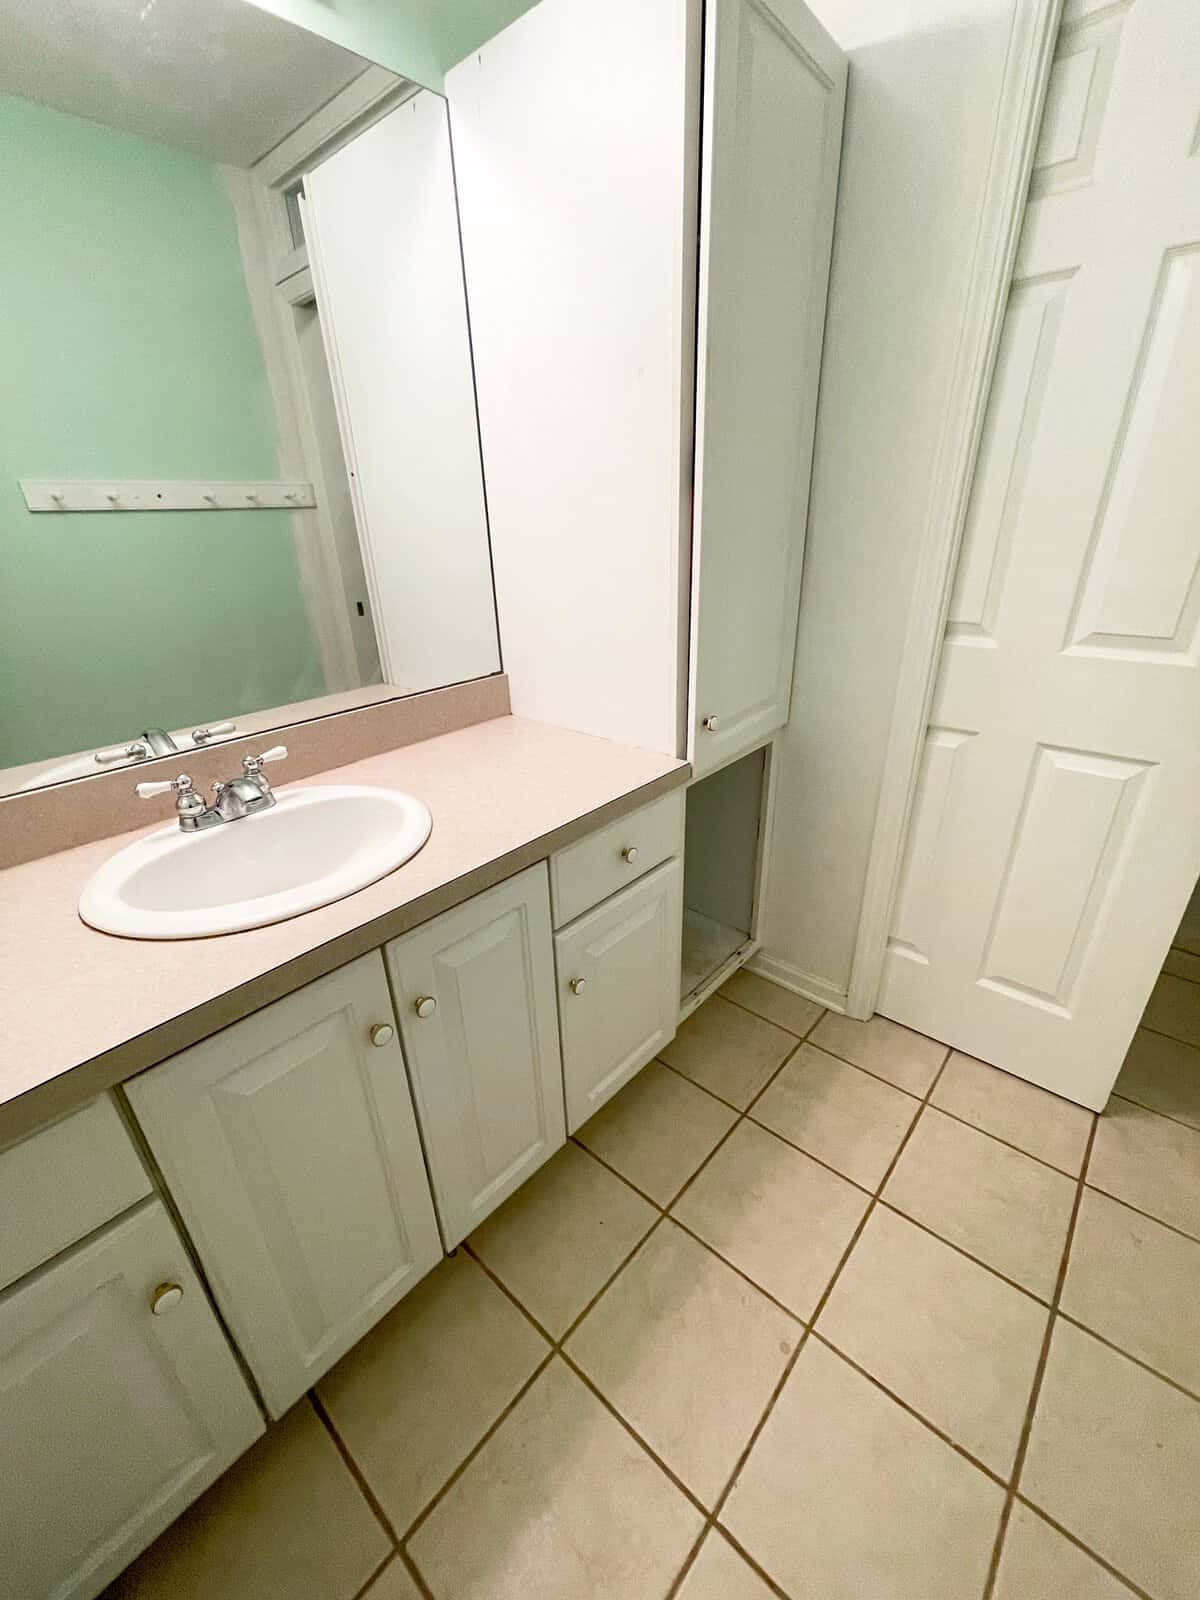
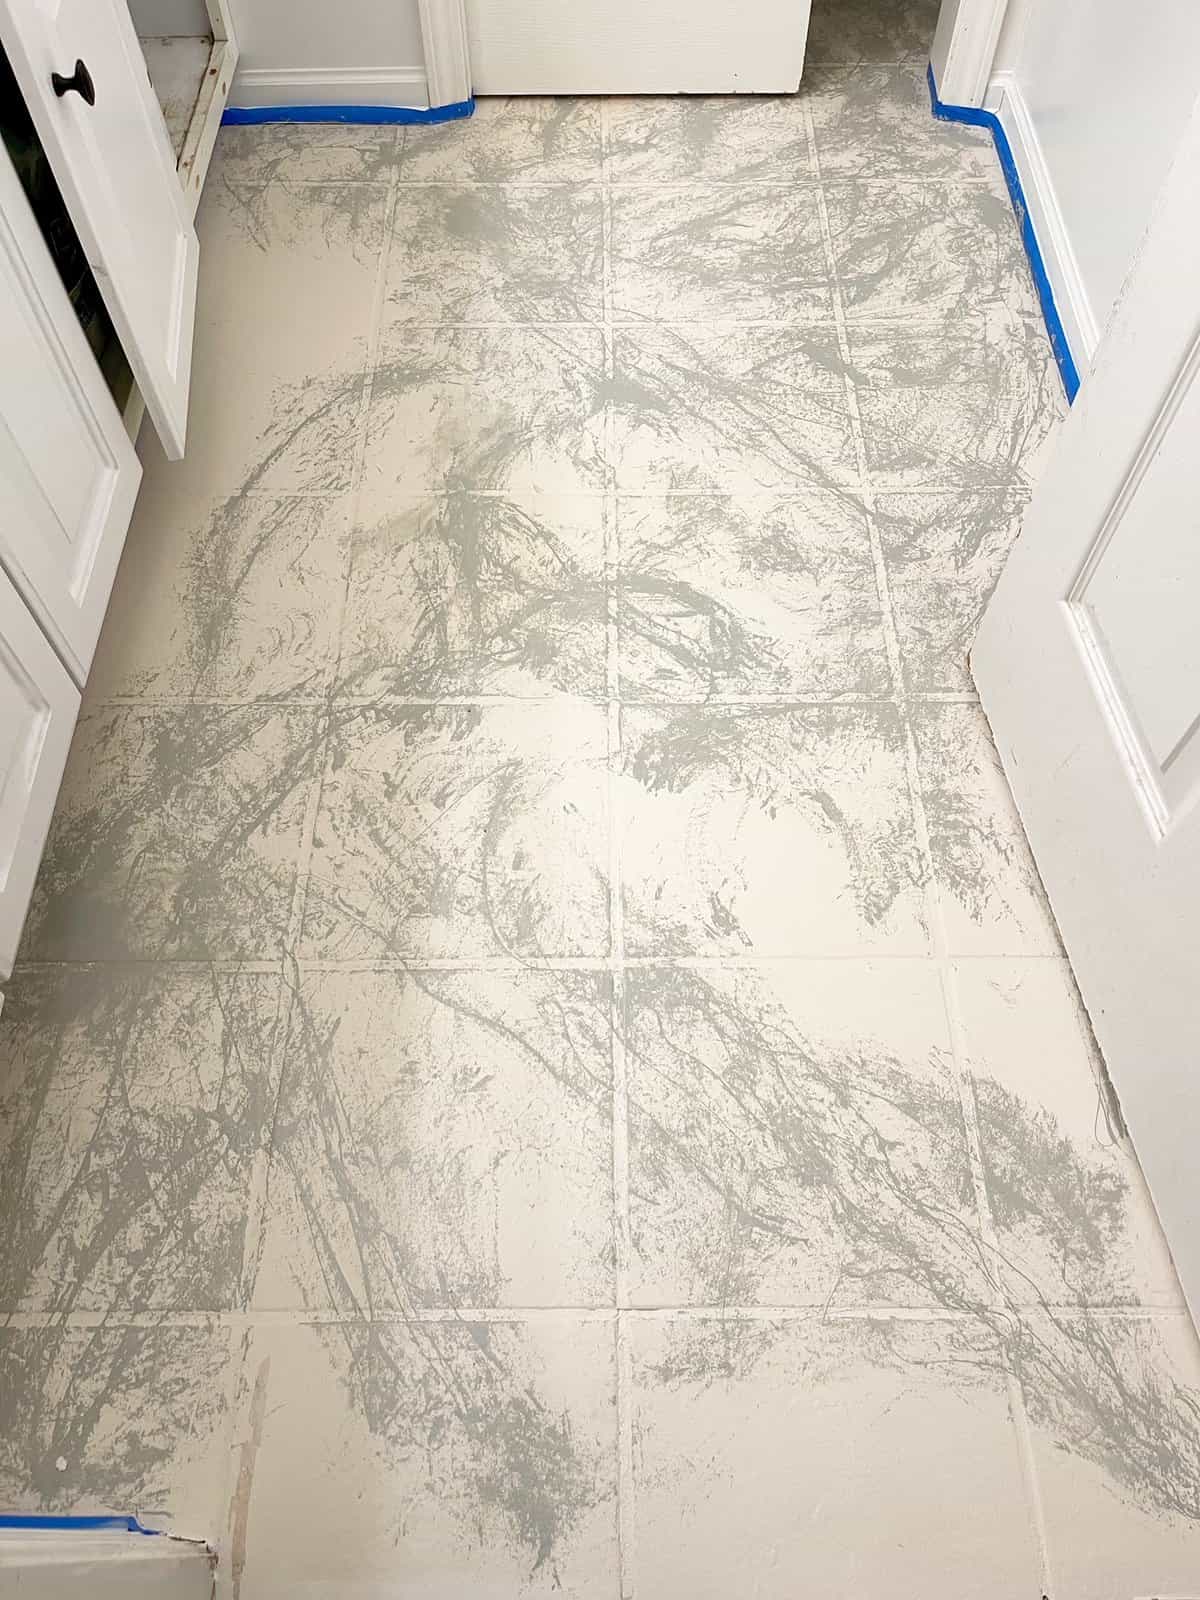
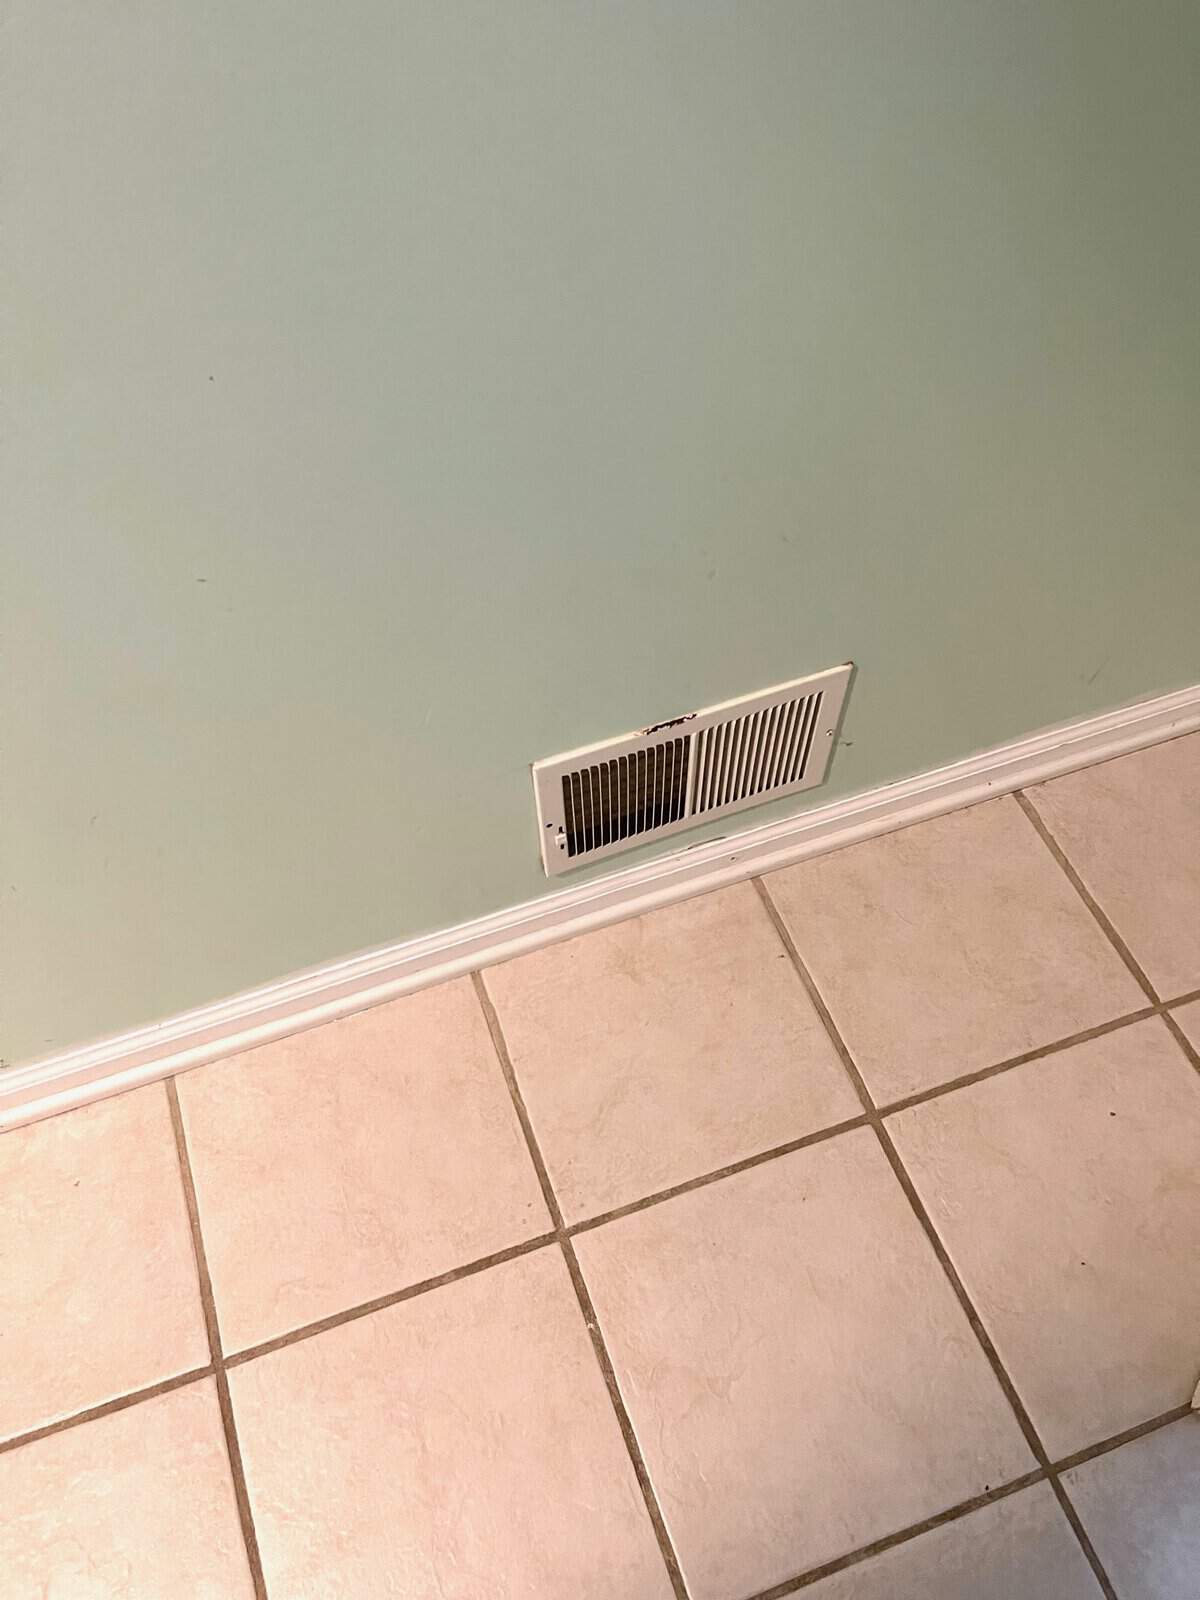
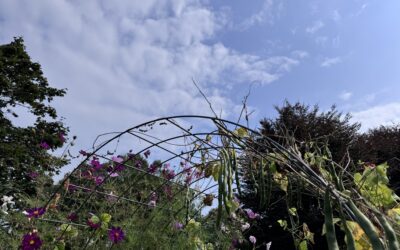
Looking back on the before photo of the kid’s bathroom floor, I can see why I wanted to change it up.
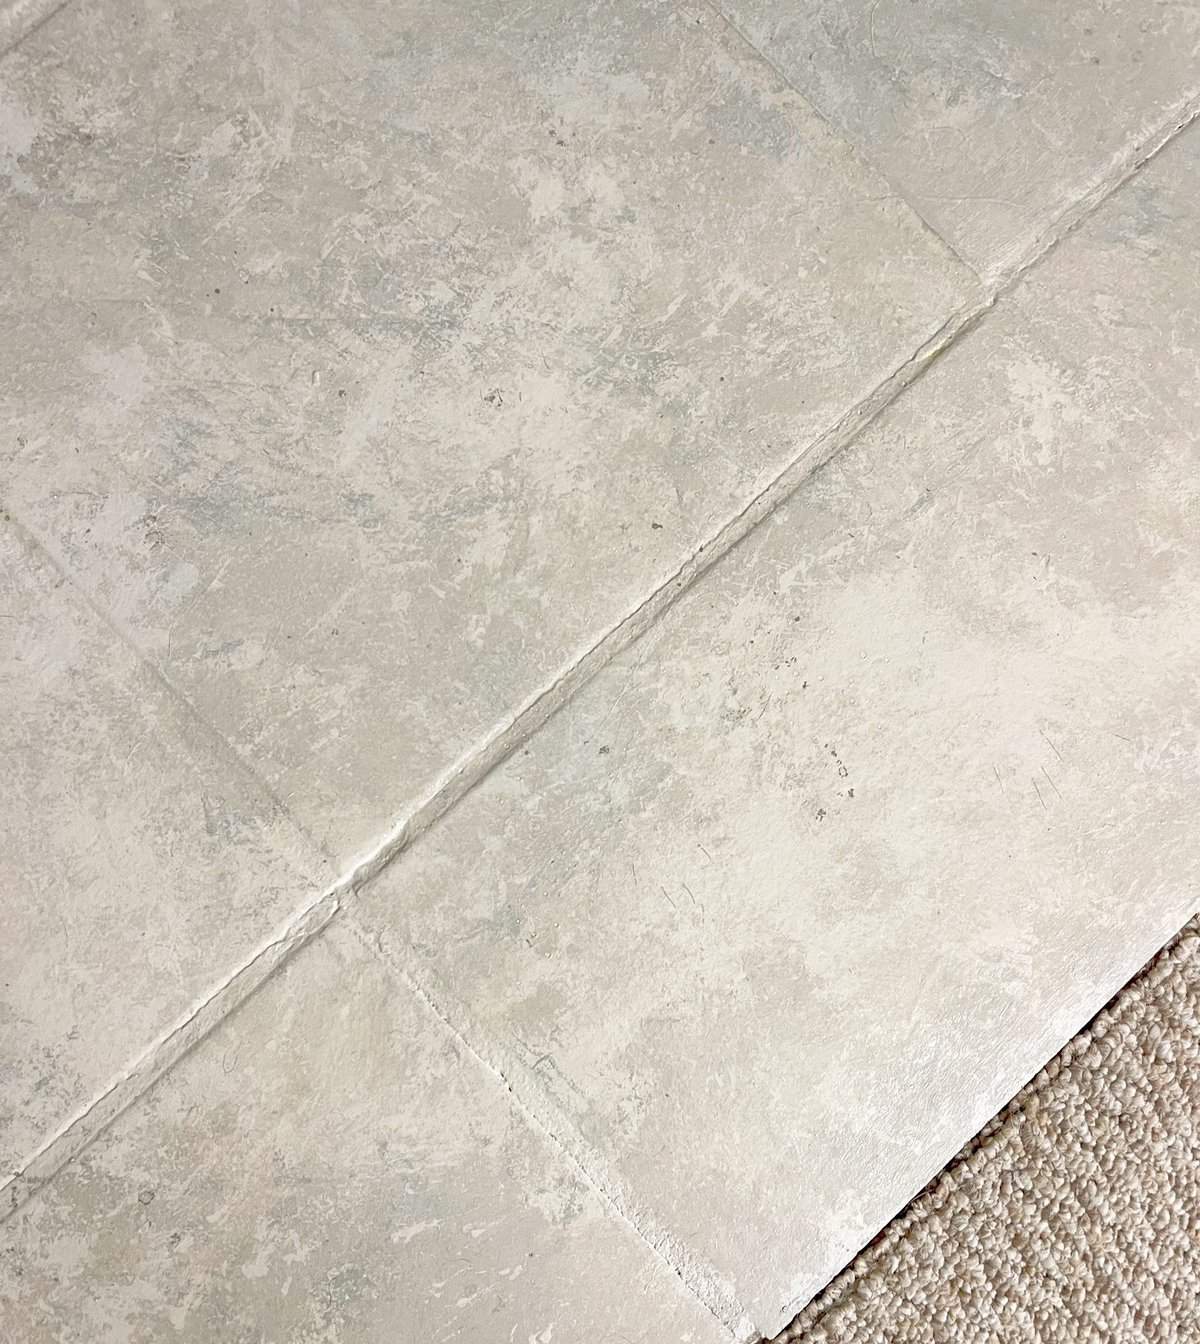
The subtle and beautiful neutral colors of stone were the inspiration for painting this tile floor to mimic stone.
However, I guess the real inspiration are the children who use this bath.
For years I’ve wanted to do something about their bathroom. At one point I even started putting money away for a full remodel, but then life happened and the kid’s wanted to go on vacation with that money instead. They were right.
It became apparent to me I could give their bathroom a makeover without spending too much money, and I became determined to find a way.
The dream of painting a tile floor to mimic stone was born!
Supplies for Painting a Tile Floor
I didn’t think to lay everything I used out to take a photo for you, and as I type this it’s all put away.
The fact that I even got it all put away is a big deal because my least favorite thing to do. No scratch that, my least favorite thing to do is hunting down and getting OUT all the supplies needed.
Anyway! Back to the list.
The tools and supplies I used are what made this DIY so affordable.
Here is what you’ll need.
- Kiltz
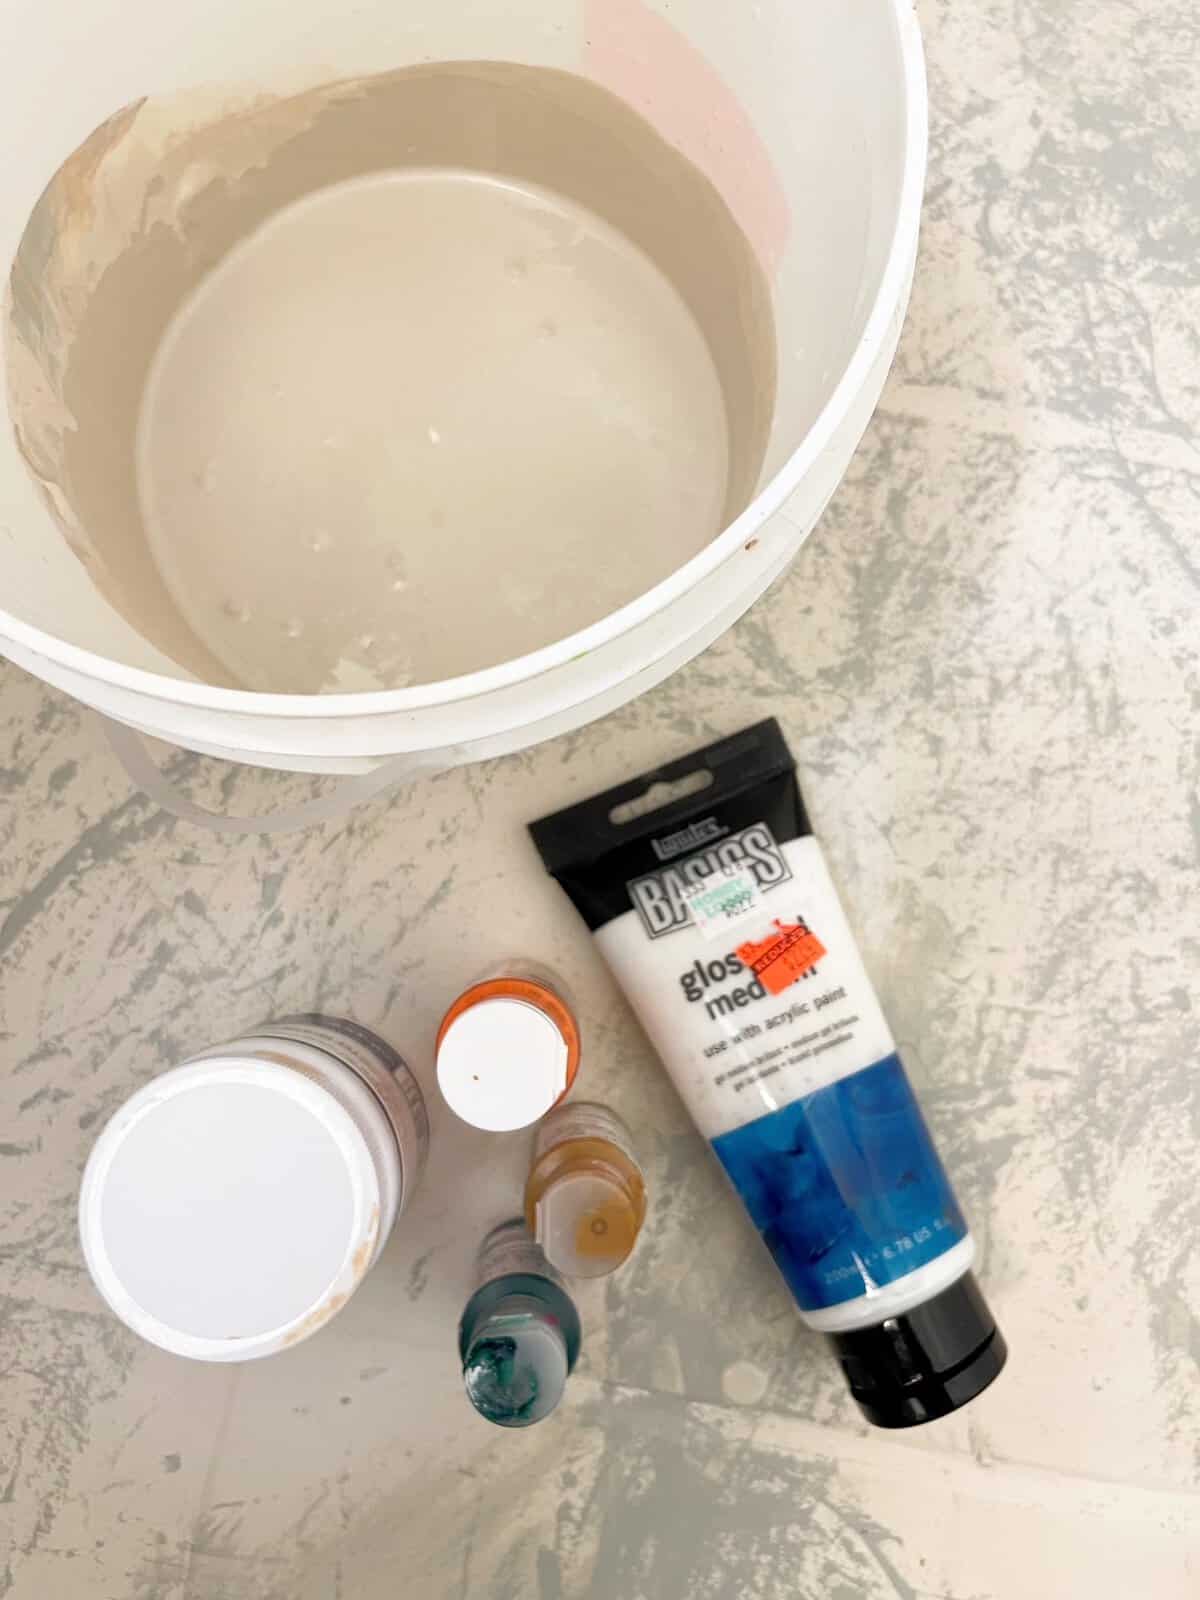
- 2 main colors of paint
- 3 or 4 secondary colors of paint. I used maybe a quarter cup of each of my secondary colors.
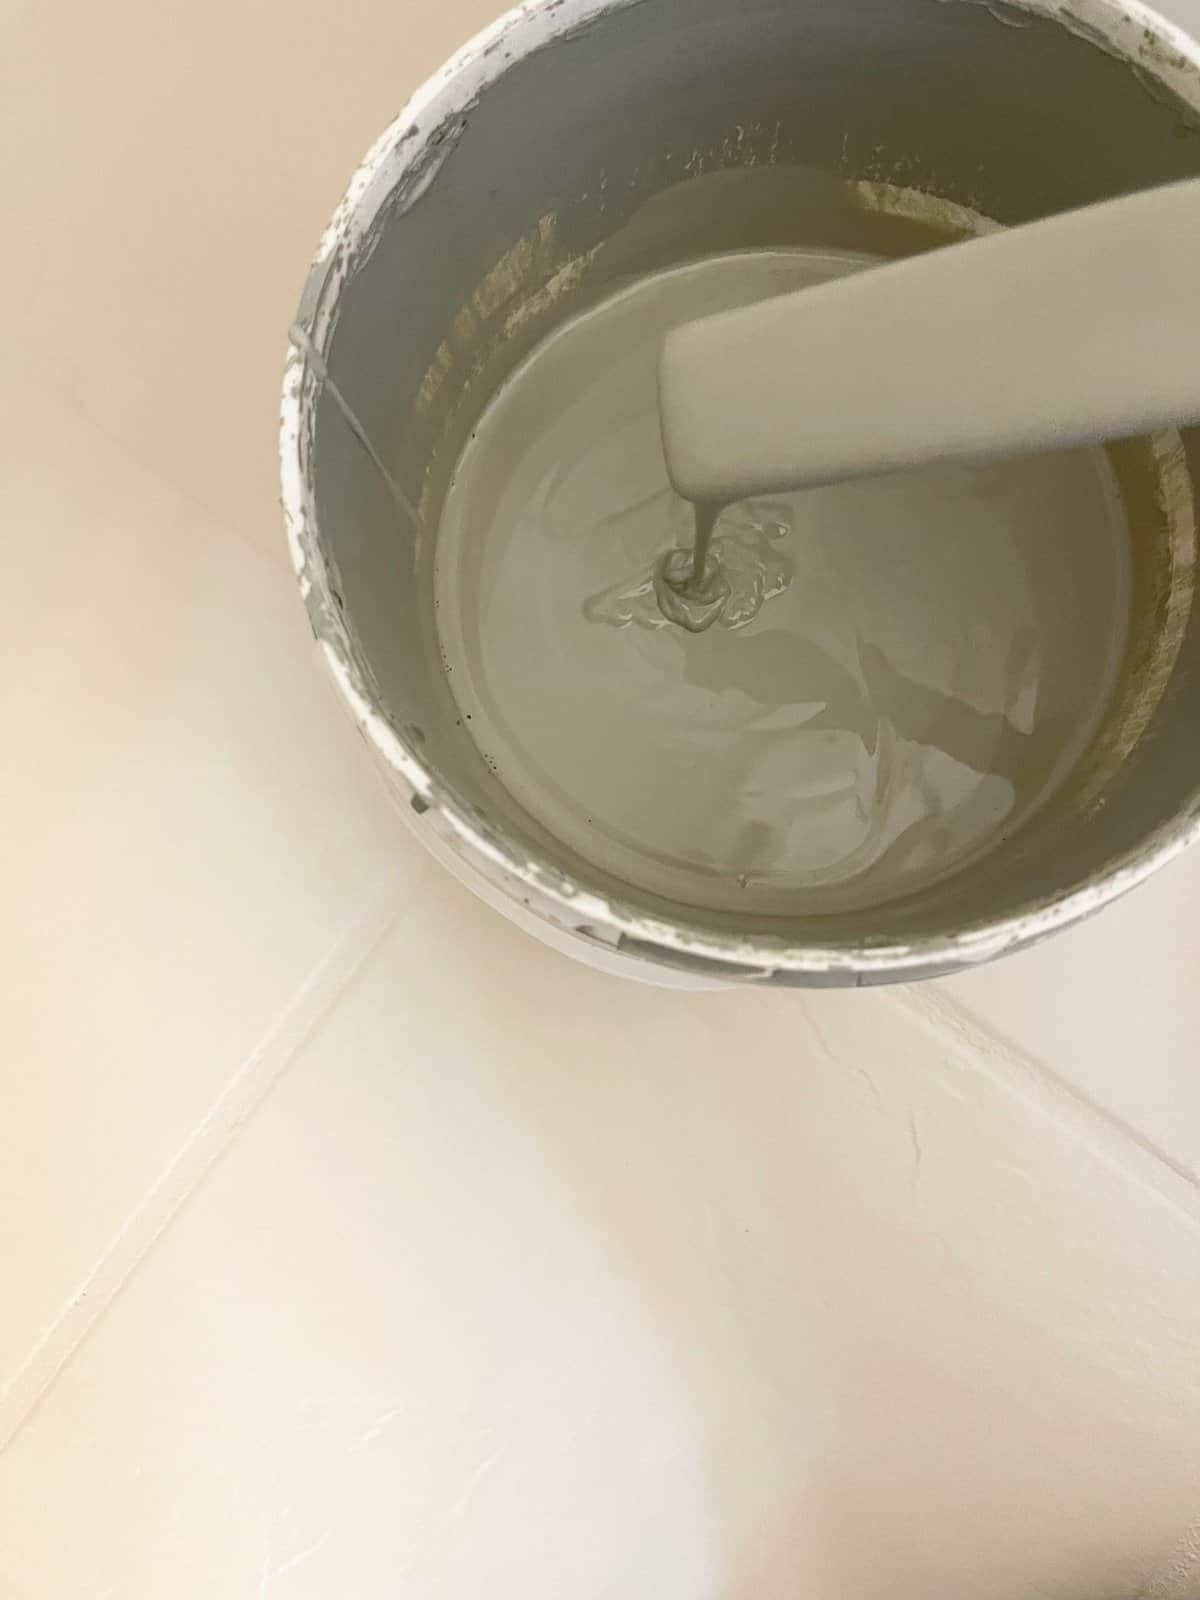
- Paint glaze. This extends and thins out your paint to add to the feeling of depths when the paint is layered.
- Floor Sealant
- Rag
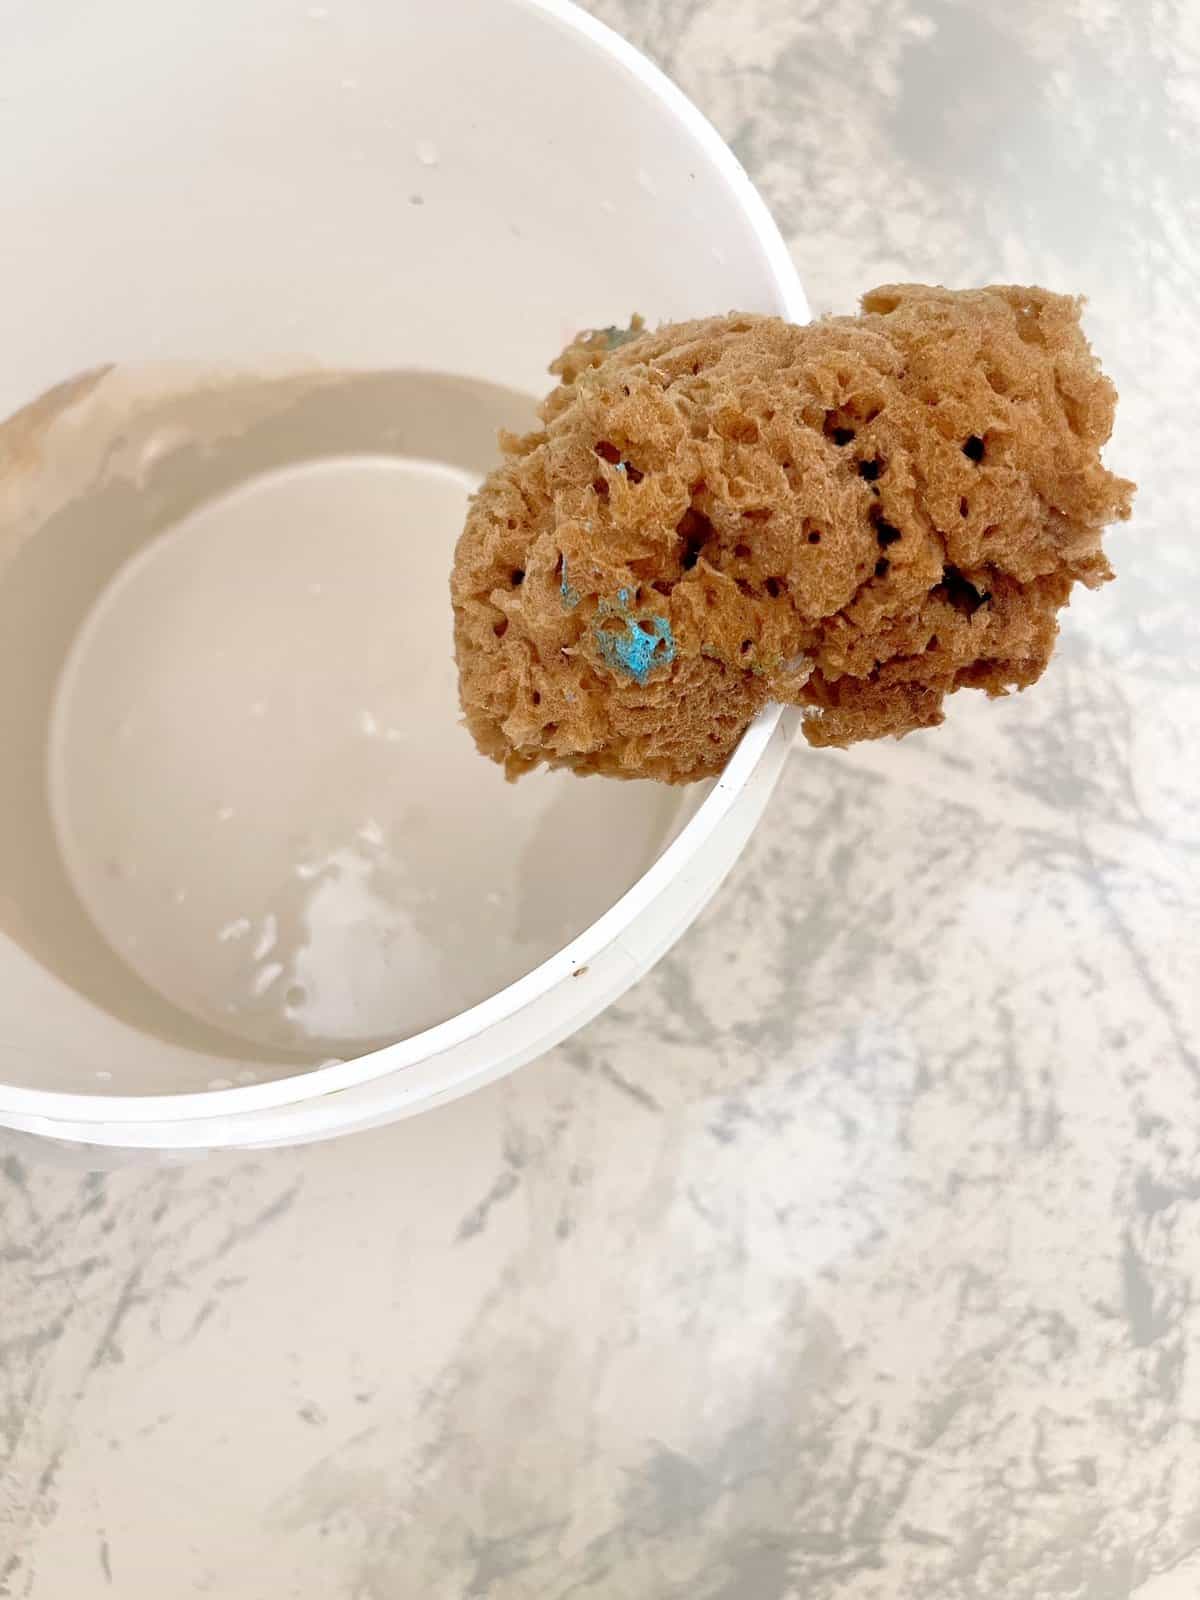
- Sponge
- Paper towels (Have you tried this brand? They’re a great deal)
- Empty mixing container
- Painters tape
- Paint roller and pan
- A brush to cut in the edges with
- Decorative brushes. Here and Here. Any kind will do just make sure you have a stiff brush and a feathery brush.
Steps to Painting a Tile Floor
Clean you tile floor.
Start by cleaning your floor with a detergent. Then after it has dried, vacuum like there’s no tomorrow. You’ll actually be vacuuming before every coat of paint so get ready.
I love to vacuum though. Ambient noise puts me in a good place.
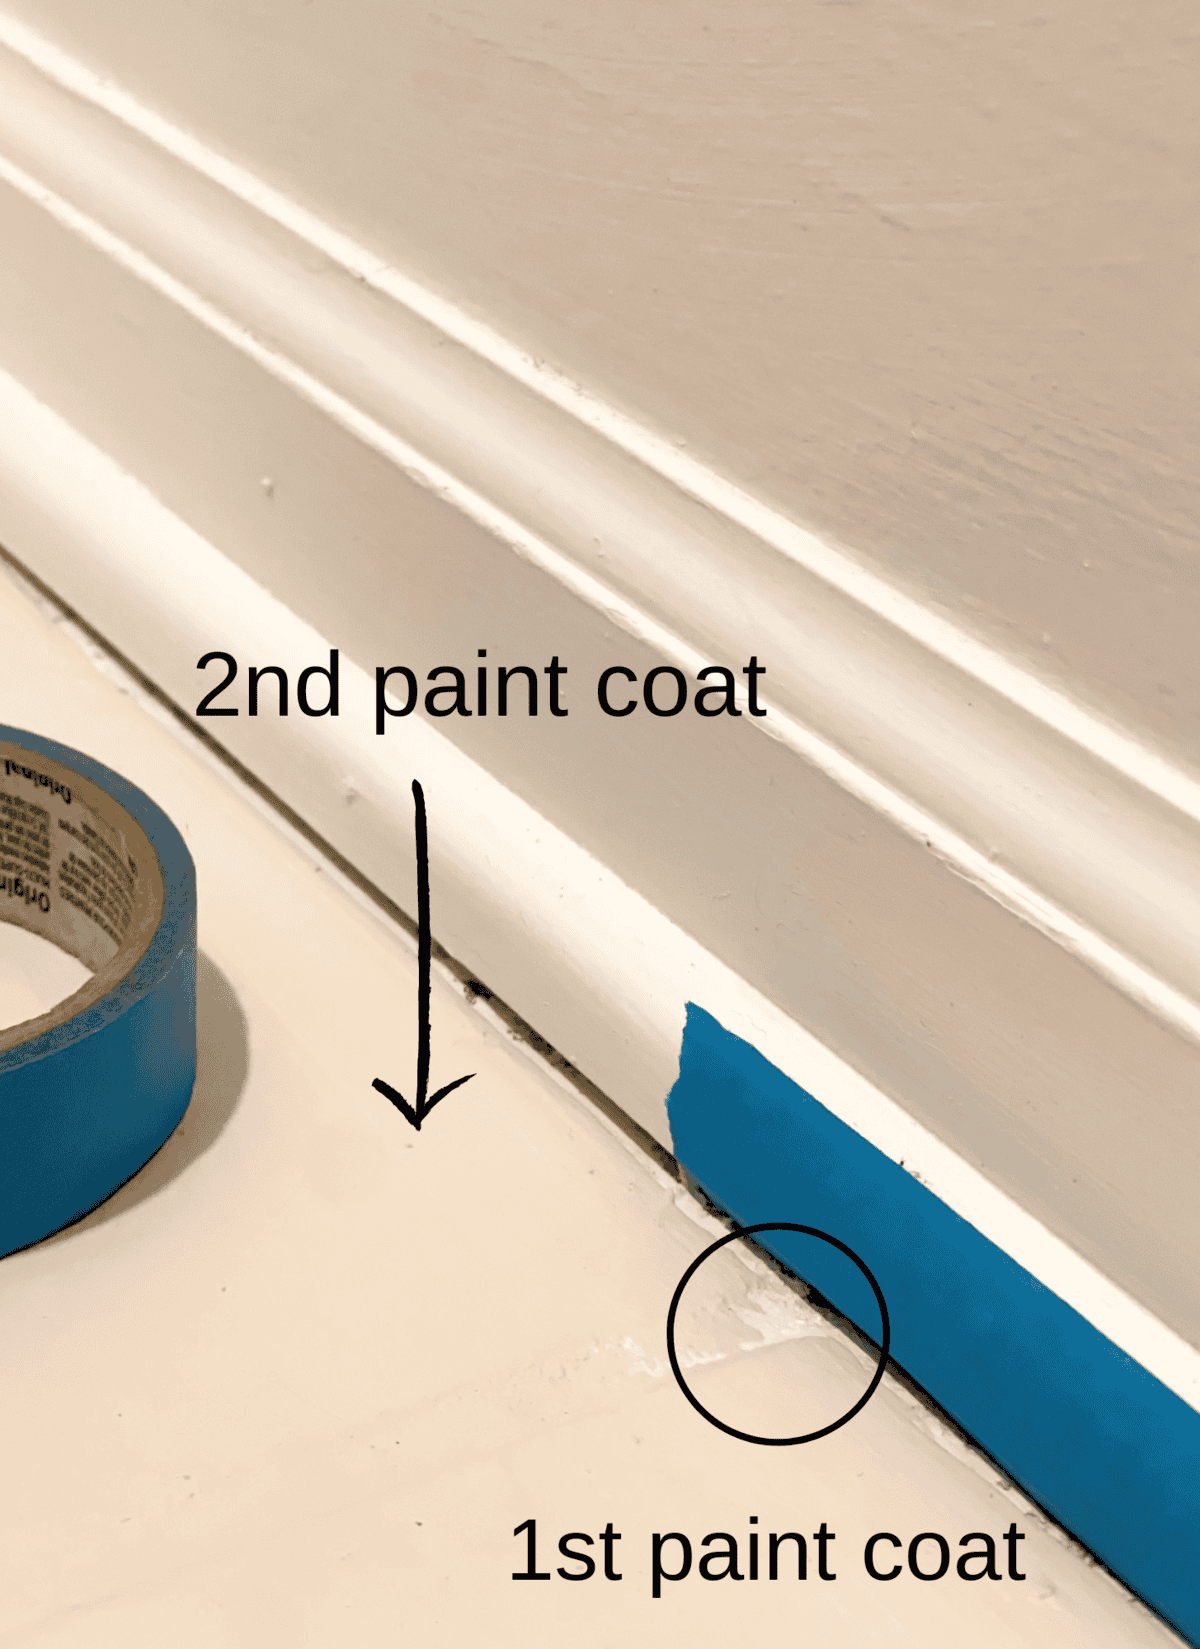
Tape Off Your Molding
I got so excited about the project I forgot to do this with the first layer of paint. It makes life easier though and is worth taking the time.
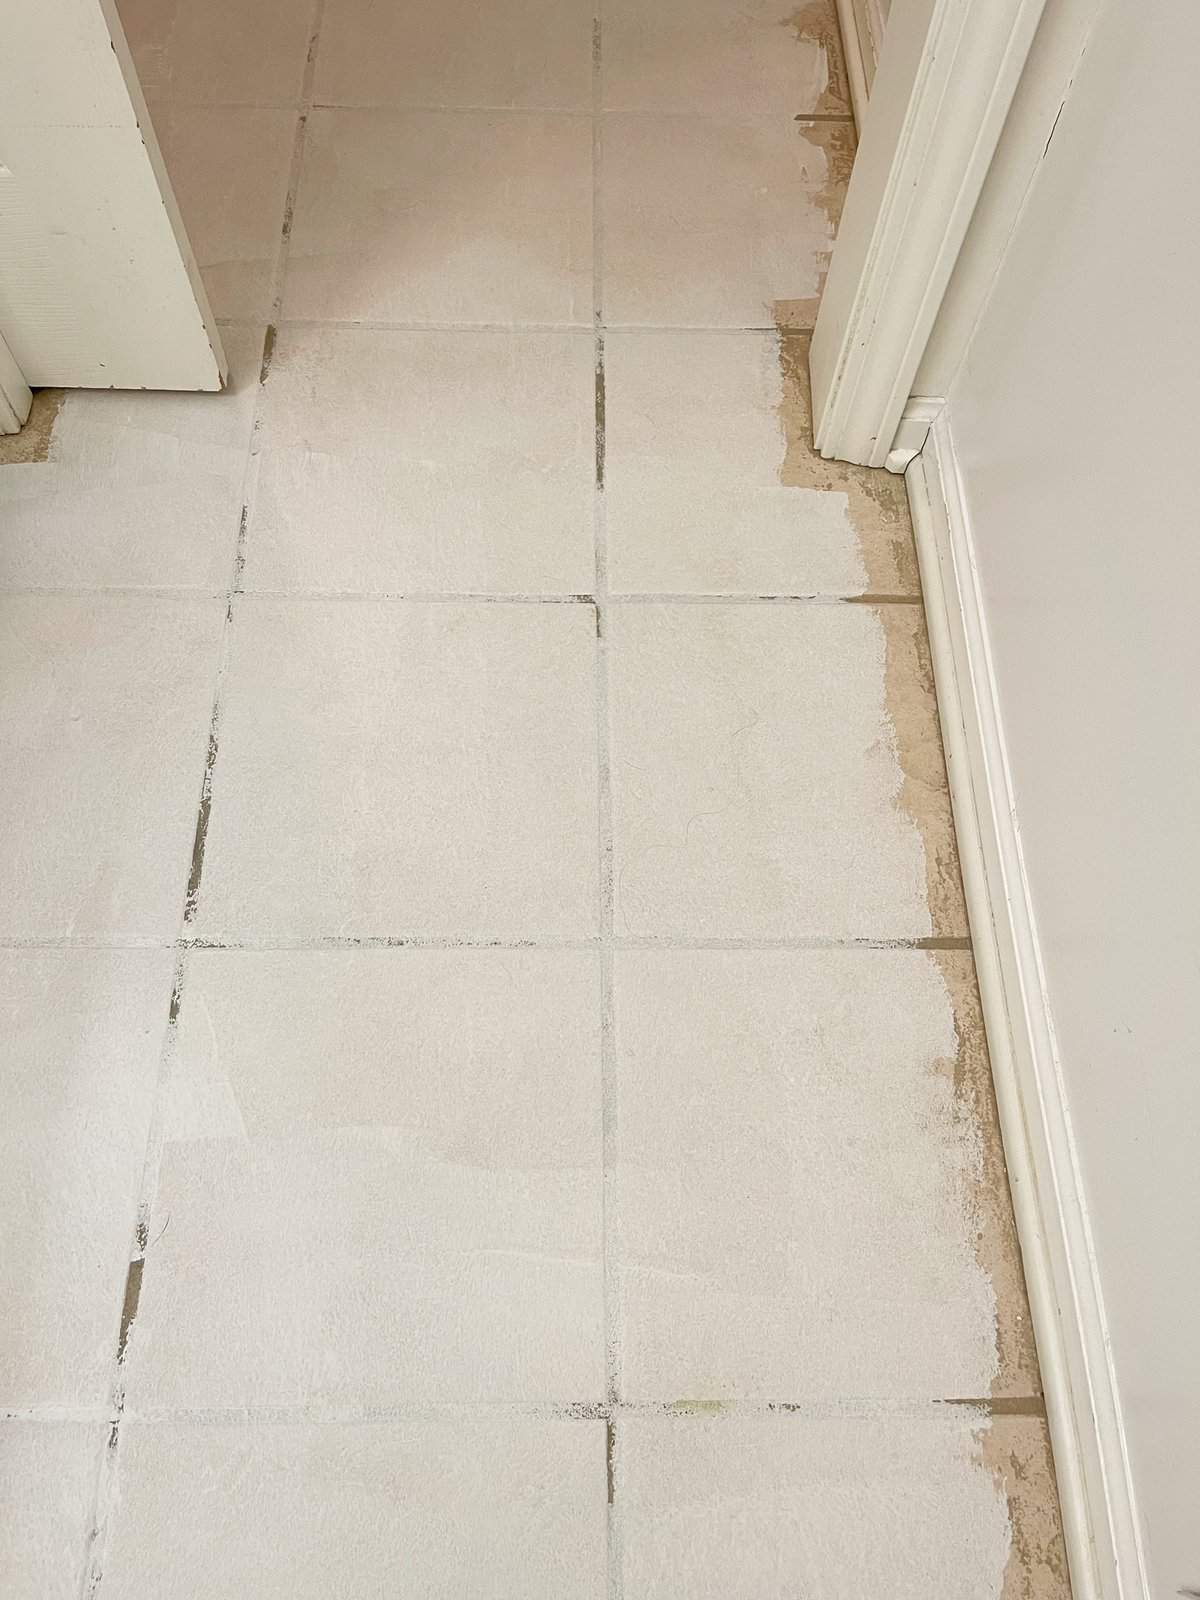
Lay your primer down.
This is an essential step. I used Kilz and it worked very well.
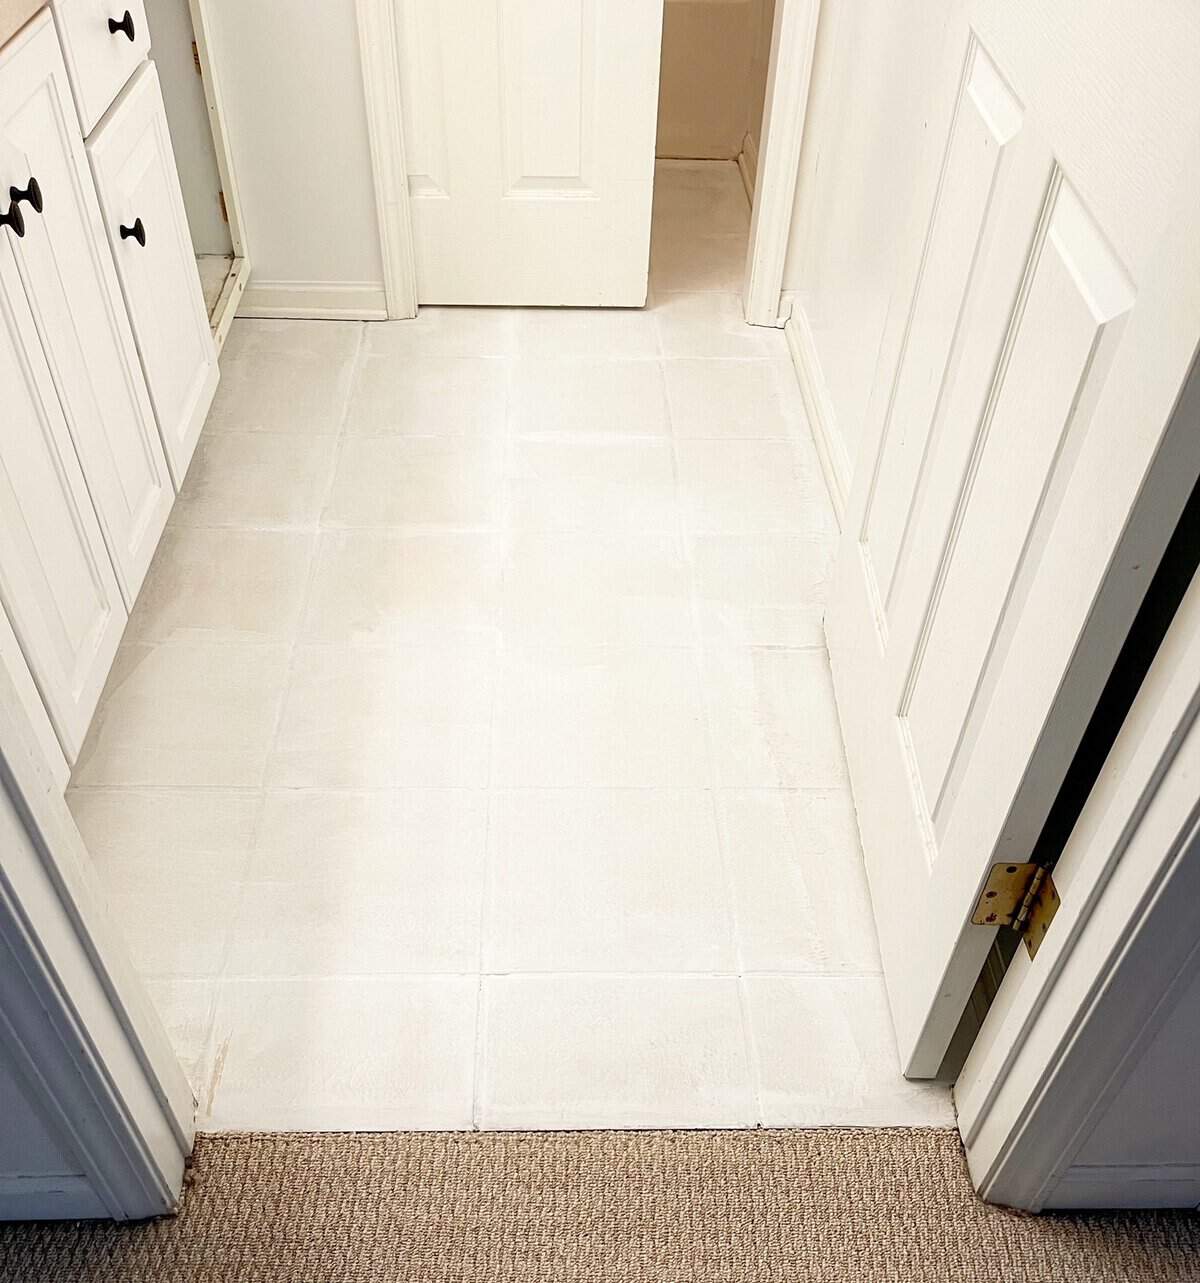
Apply the Base Color
Your base color should cover all of your primer.
This is the color that you will layer the secondary colors over.
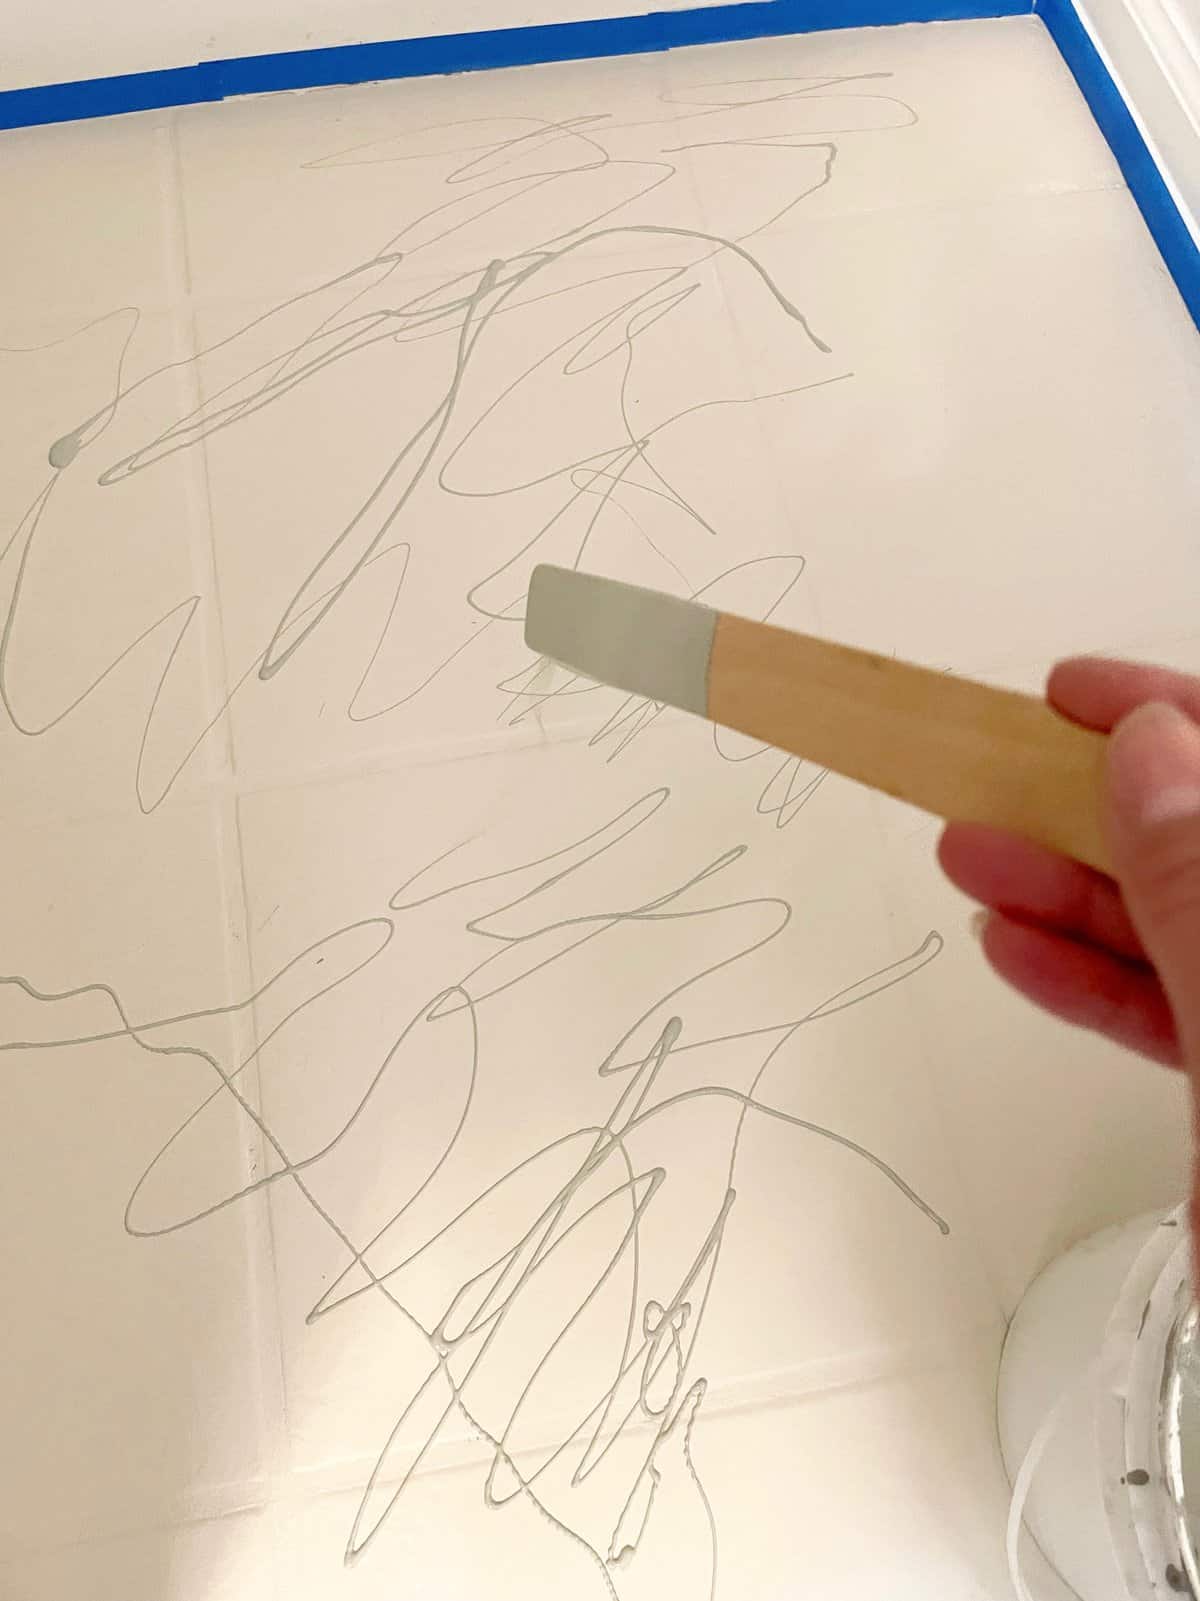
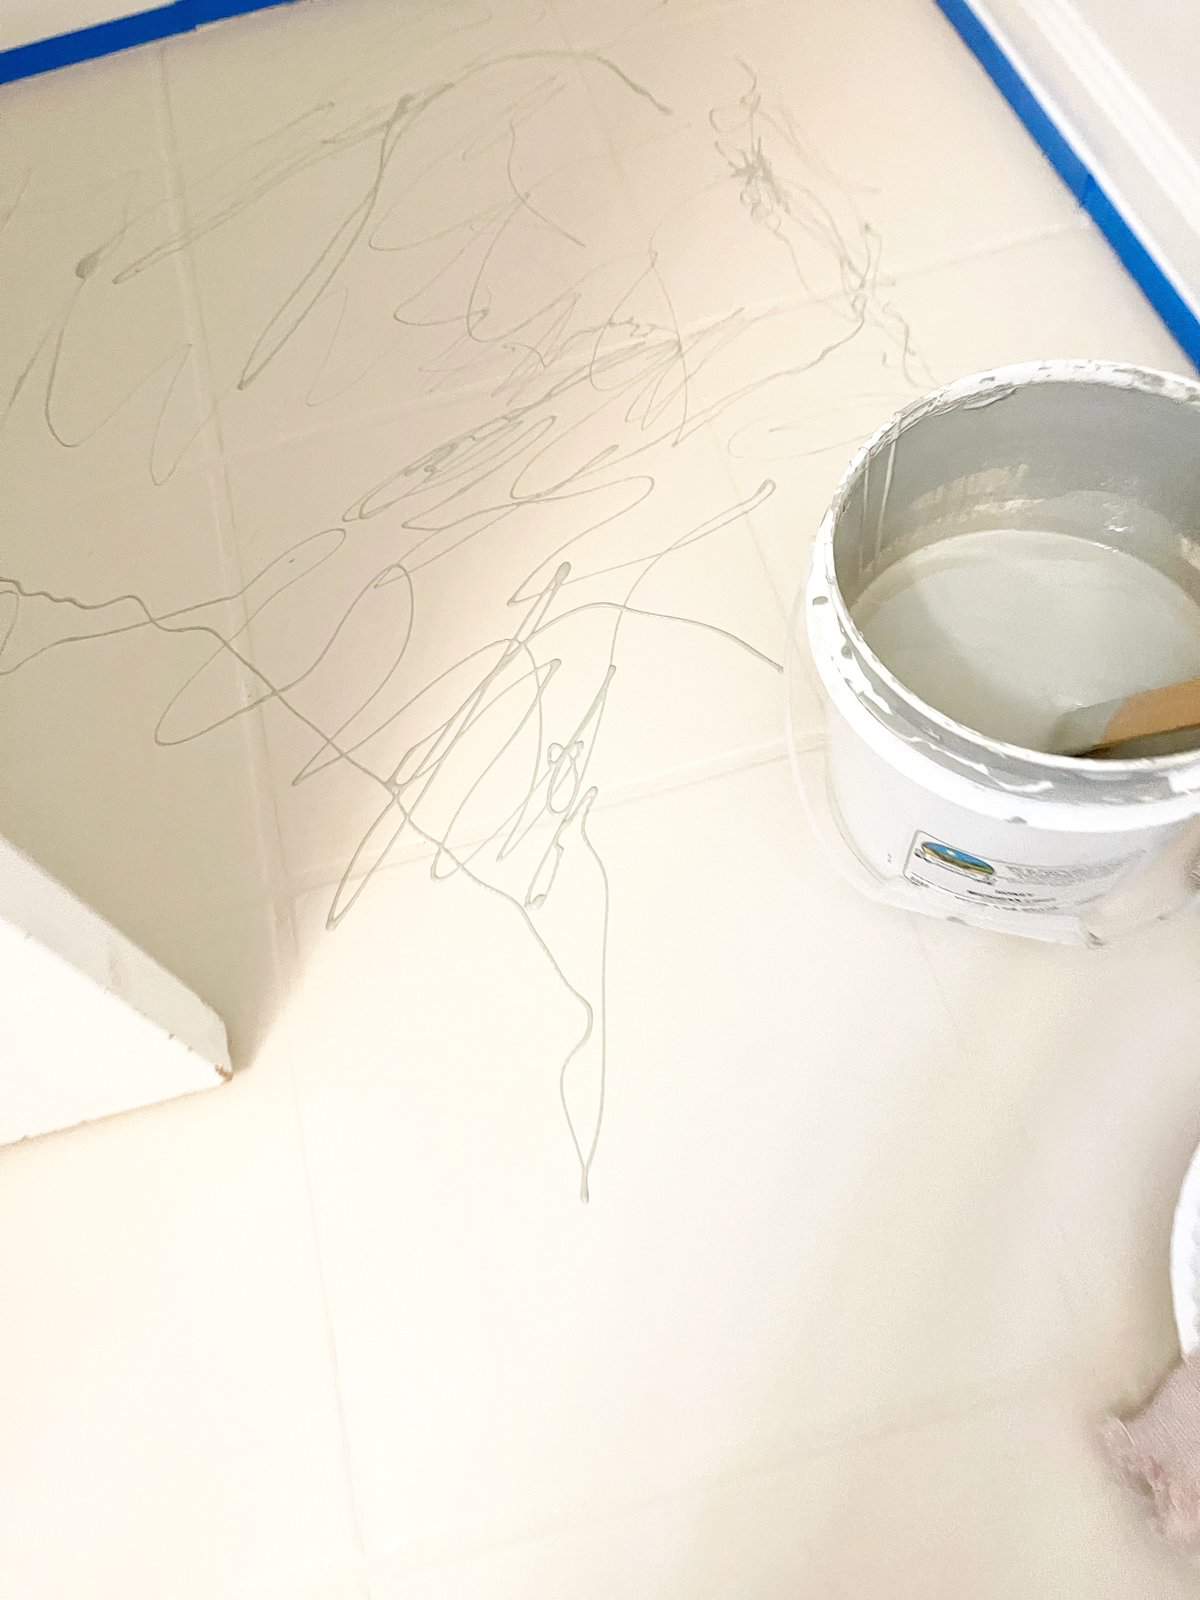
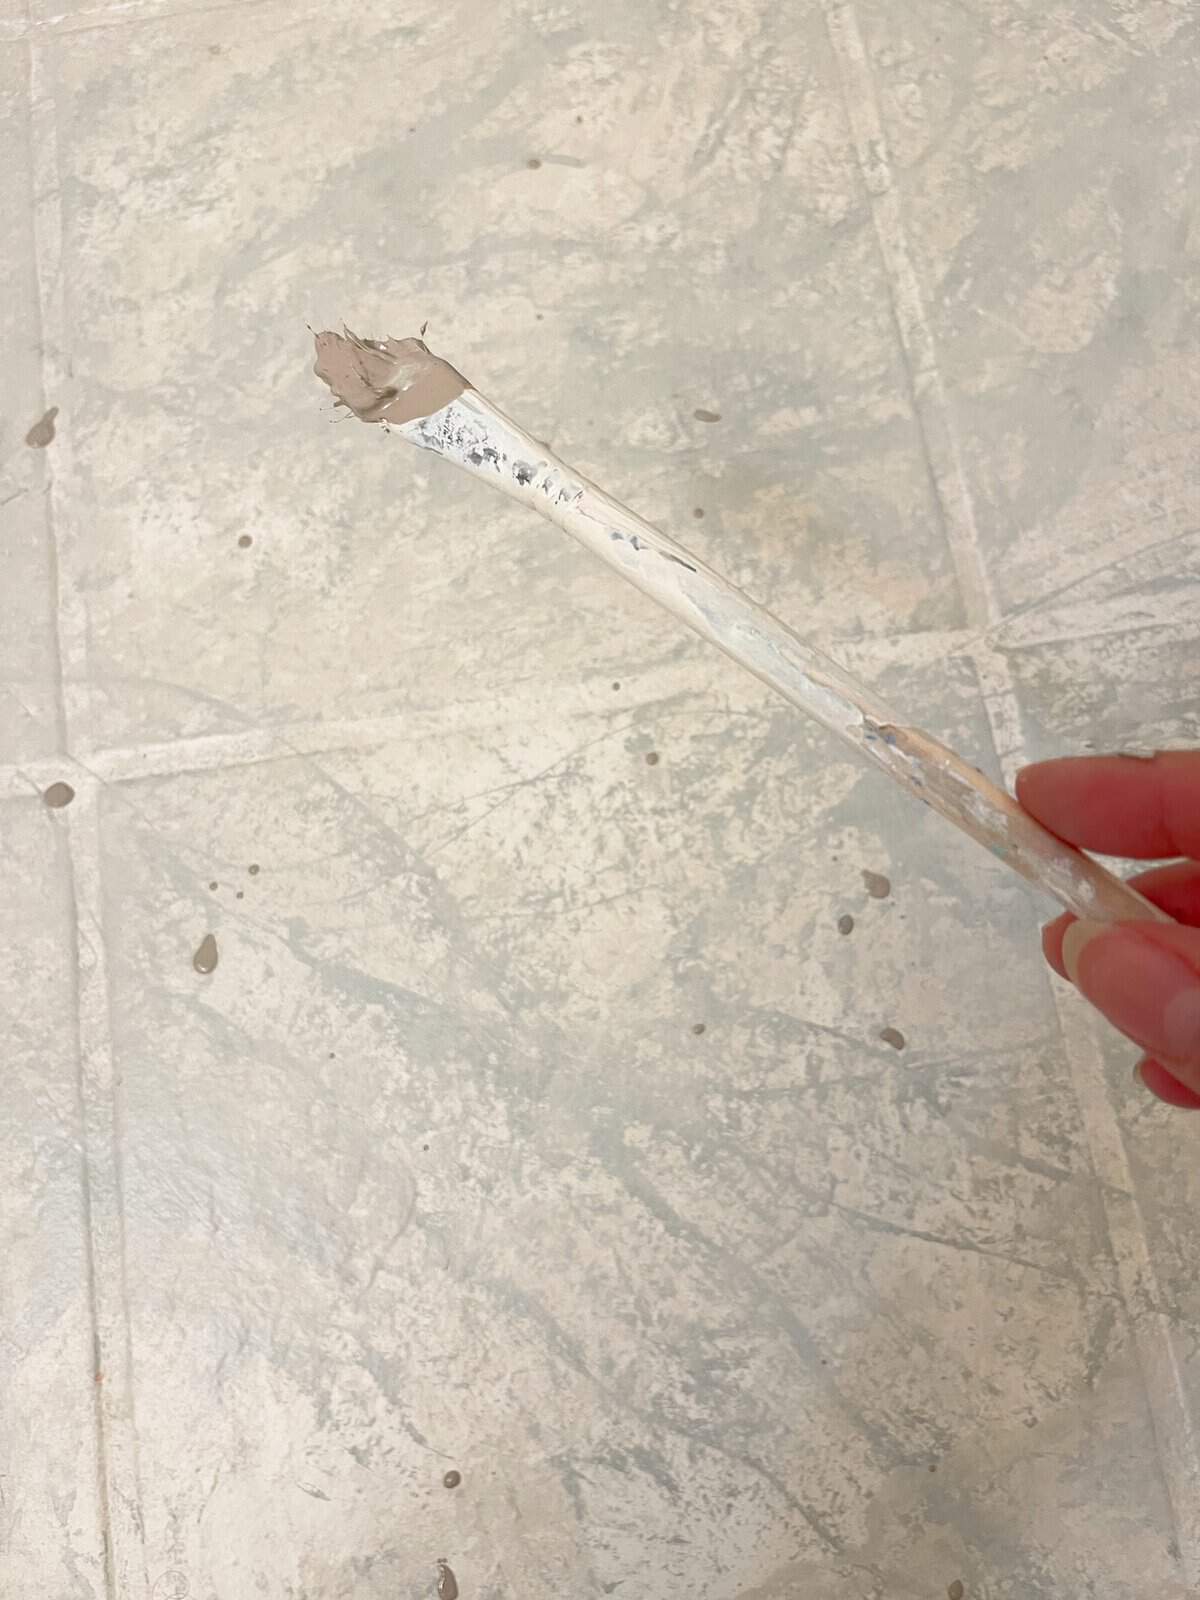
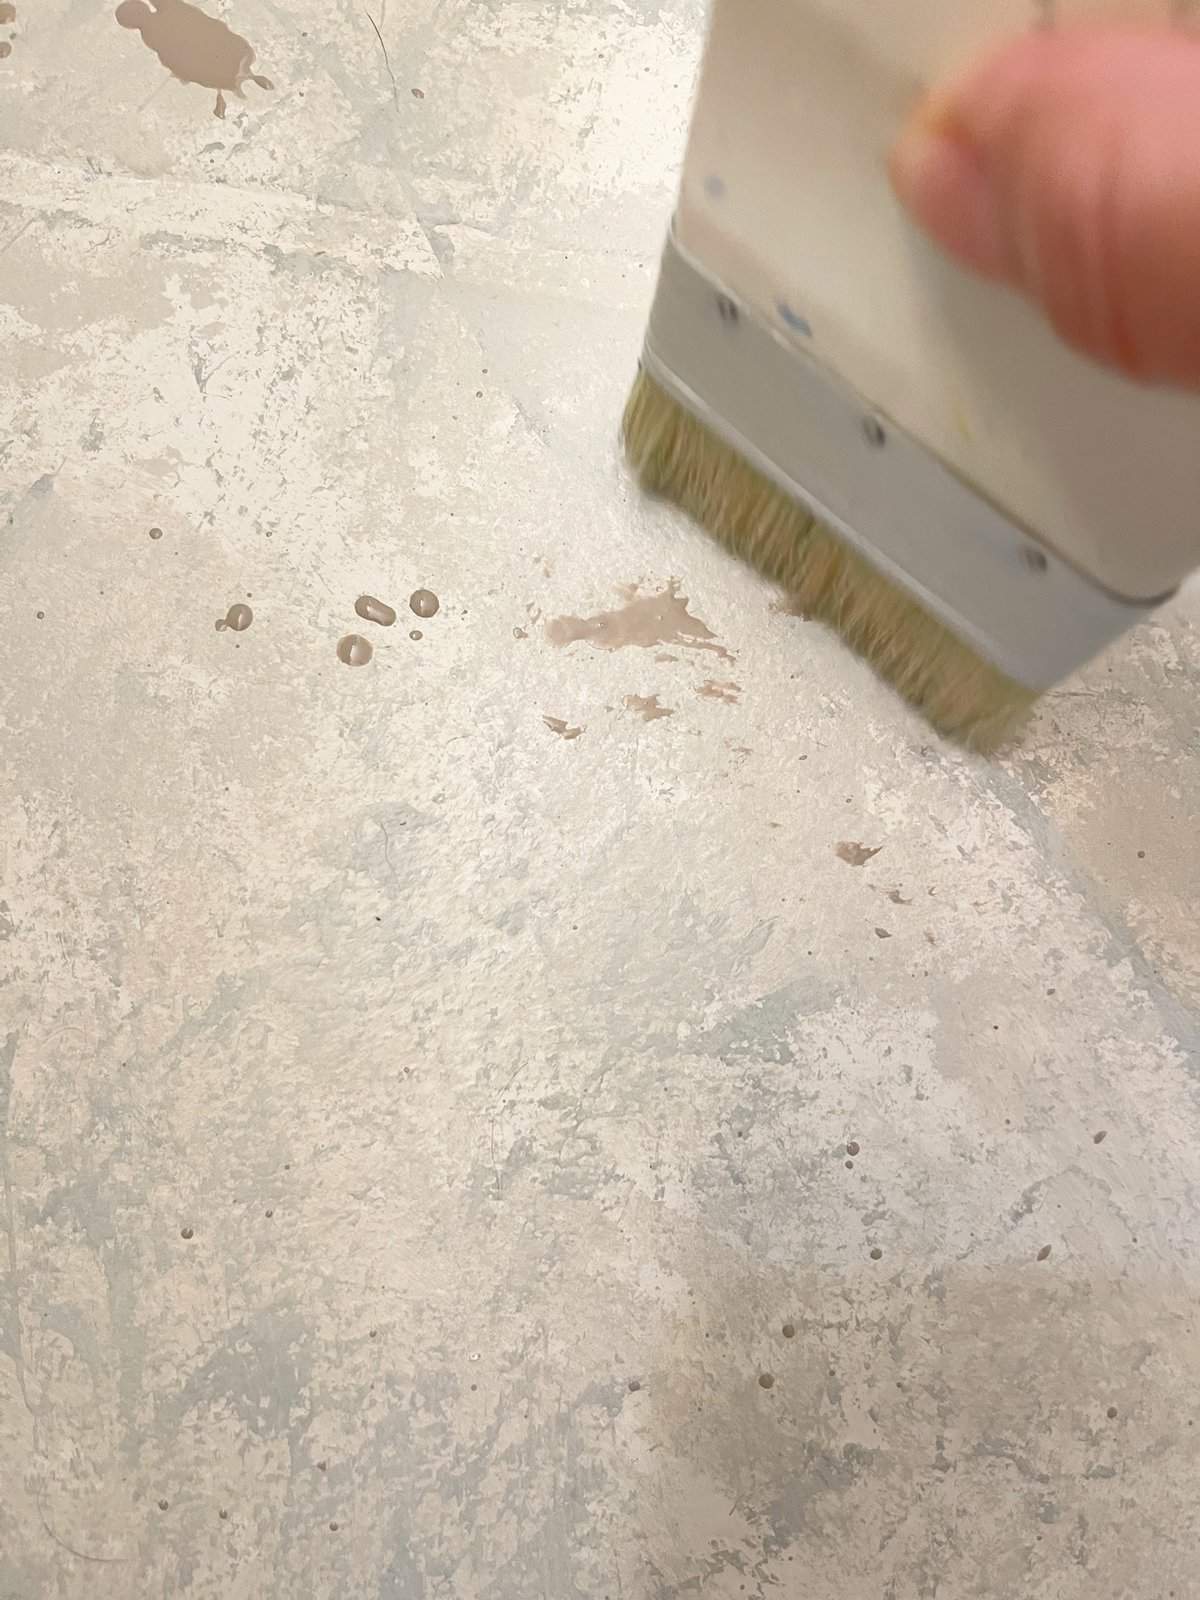
Apply Contrasting Paint Color with Paint Stick
This part is fun! Practice on a brown paper bag first so you have your technique down, but don’t over think it.
You want to make a design and bring movement to your floor.
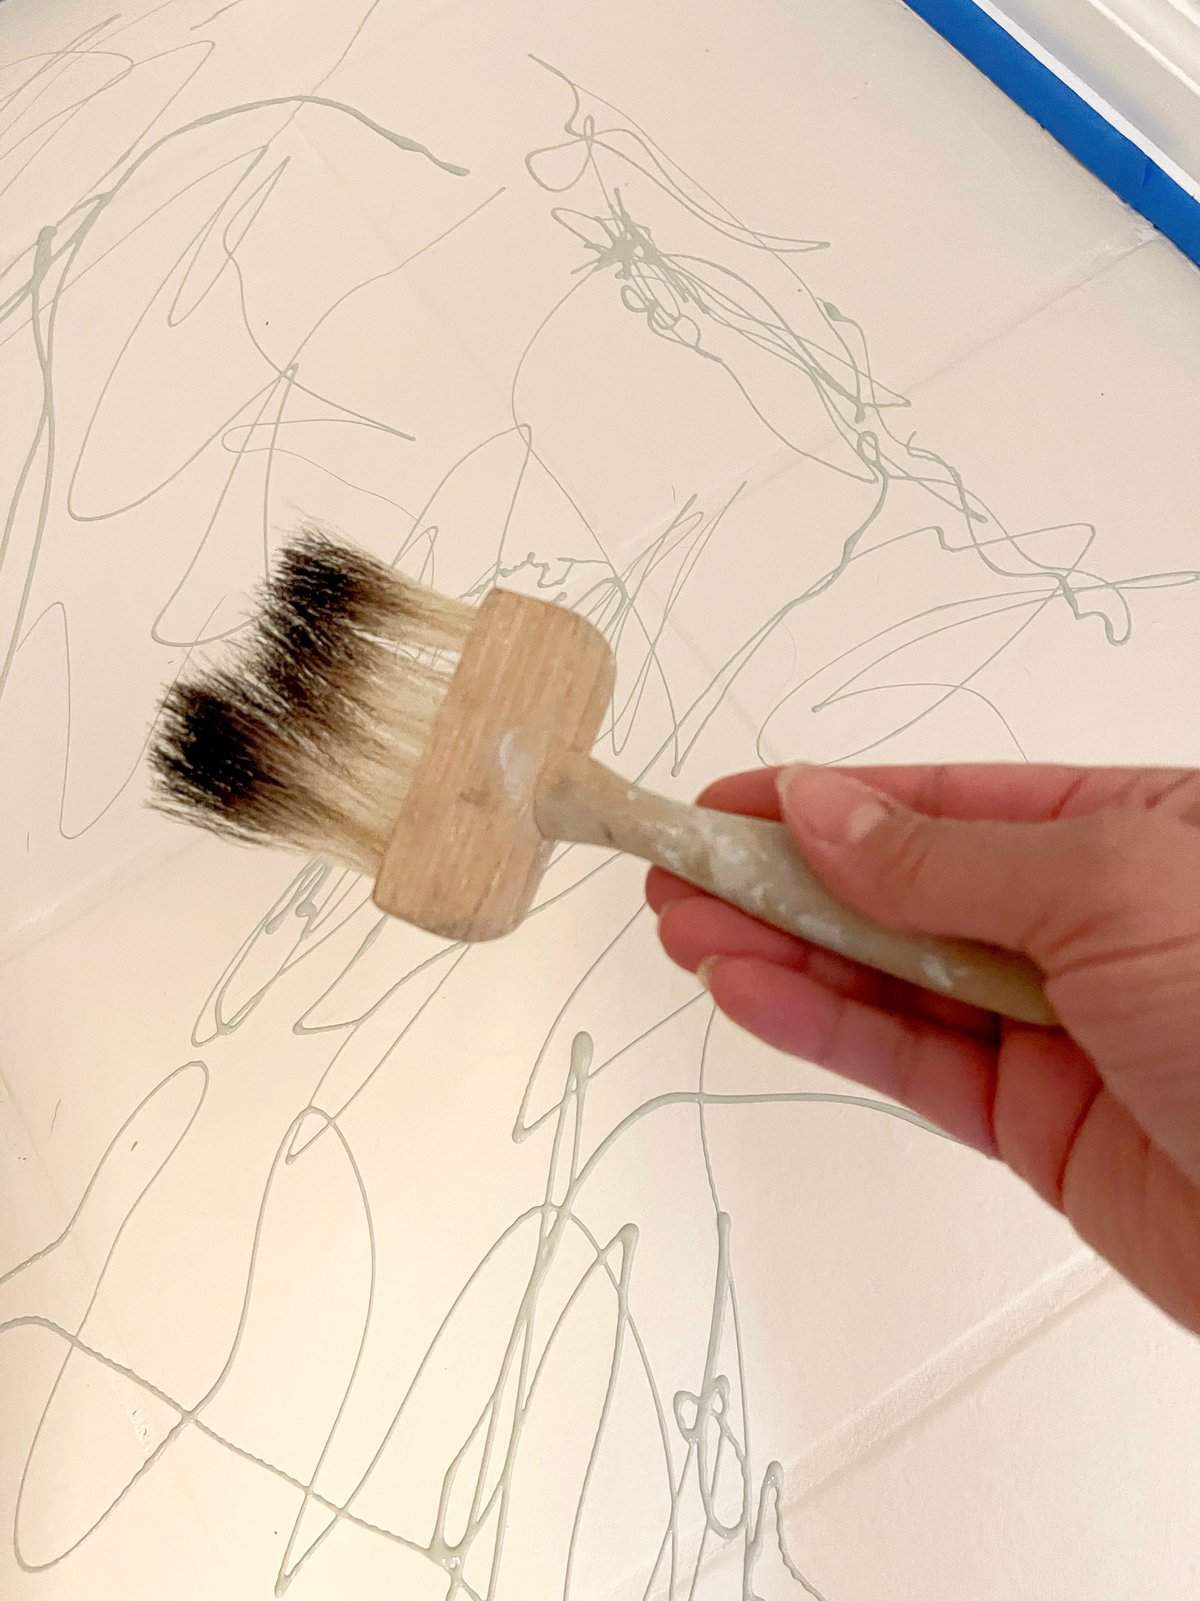
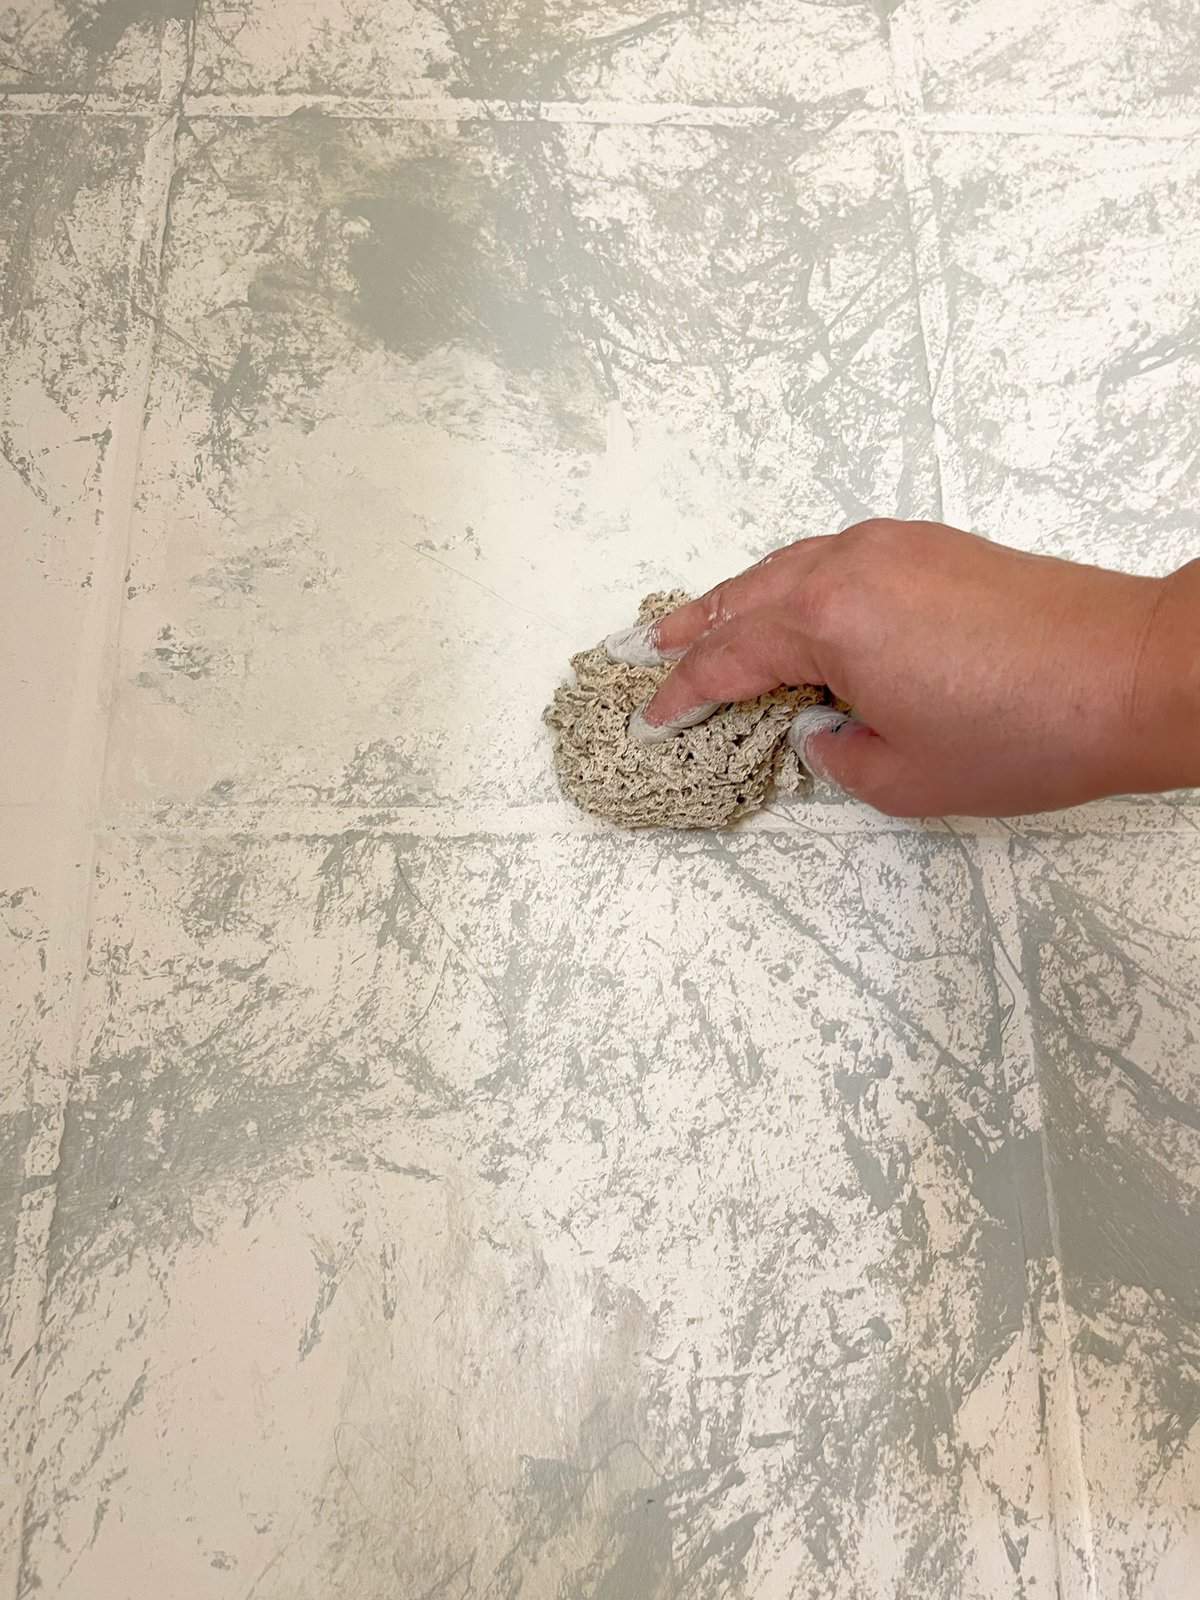
Feather the Contrasting Paint Color into the Floor
The key to this is to clean your light weight brush several times as your feathering it in.
Paper towels helped a lot during this step.
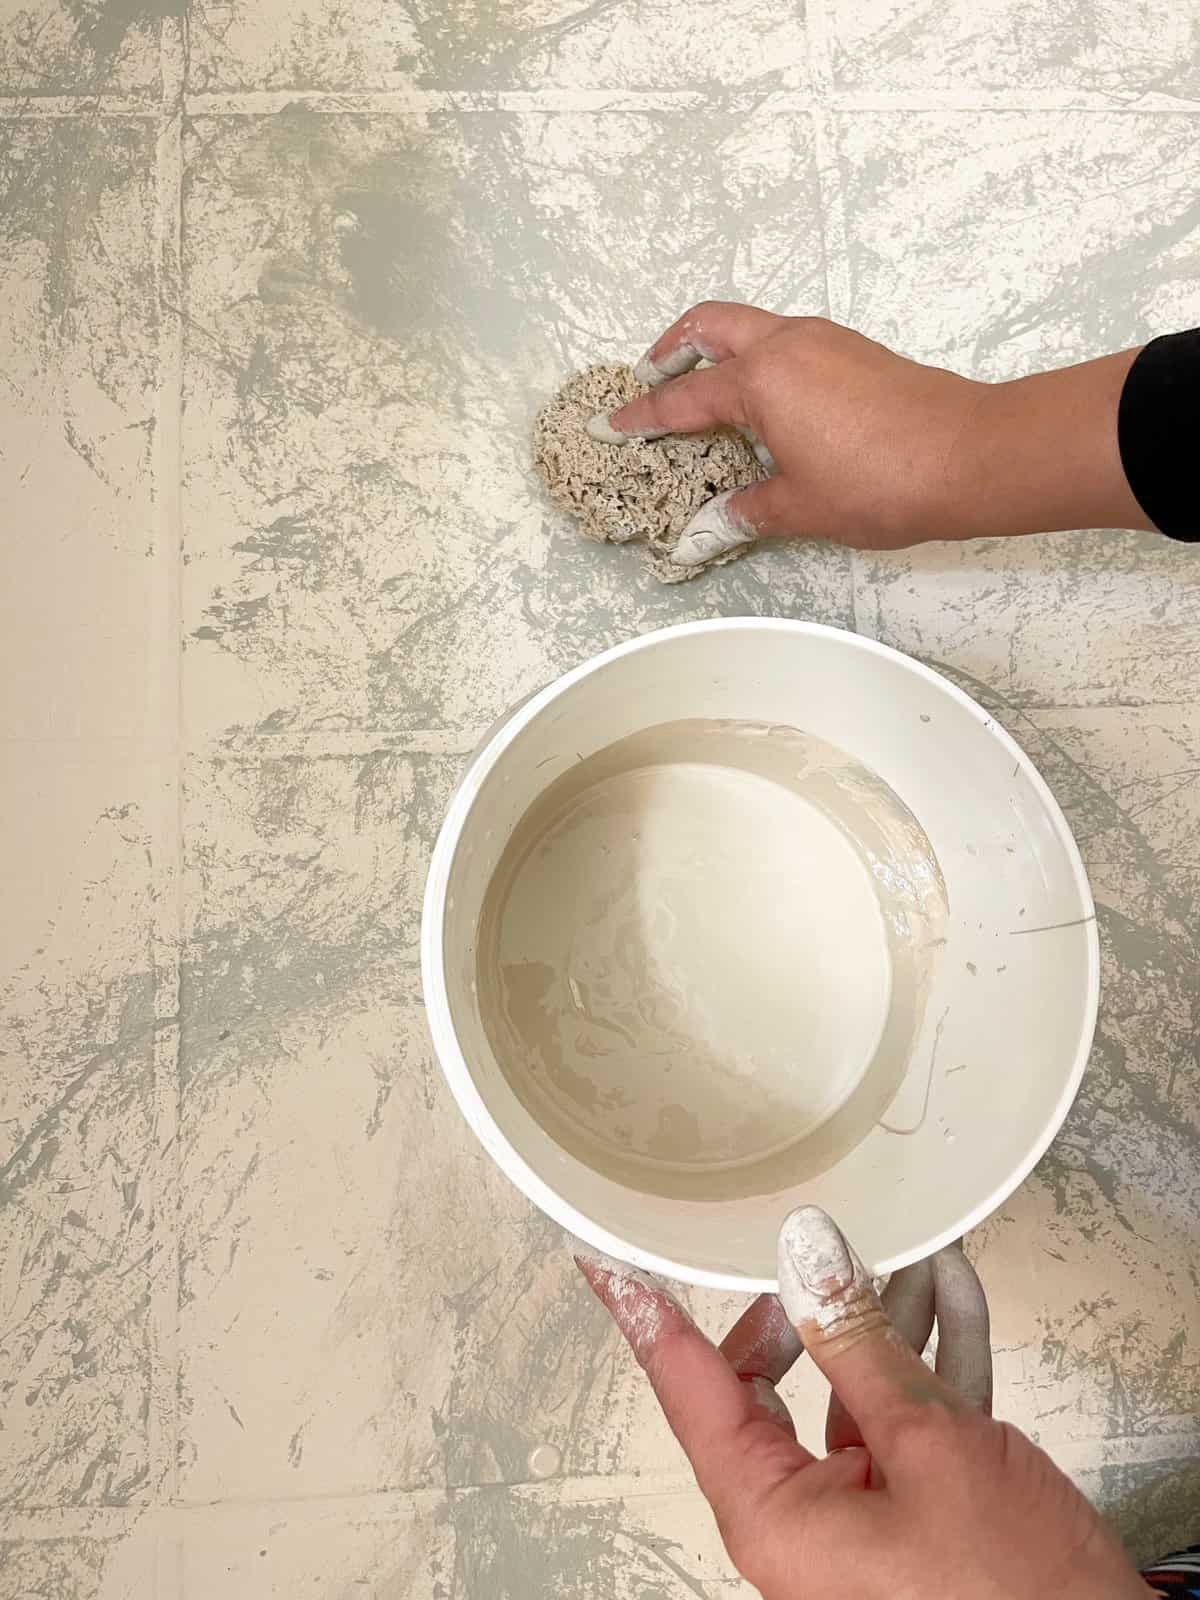
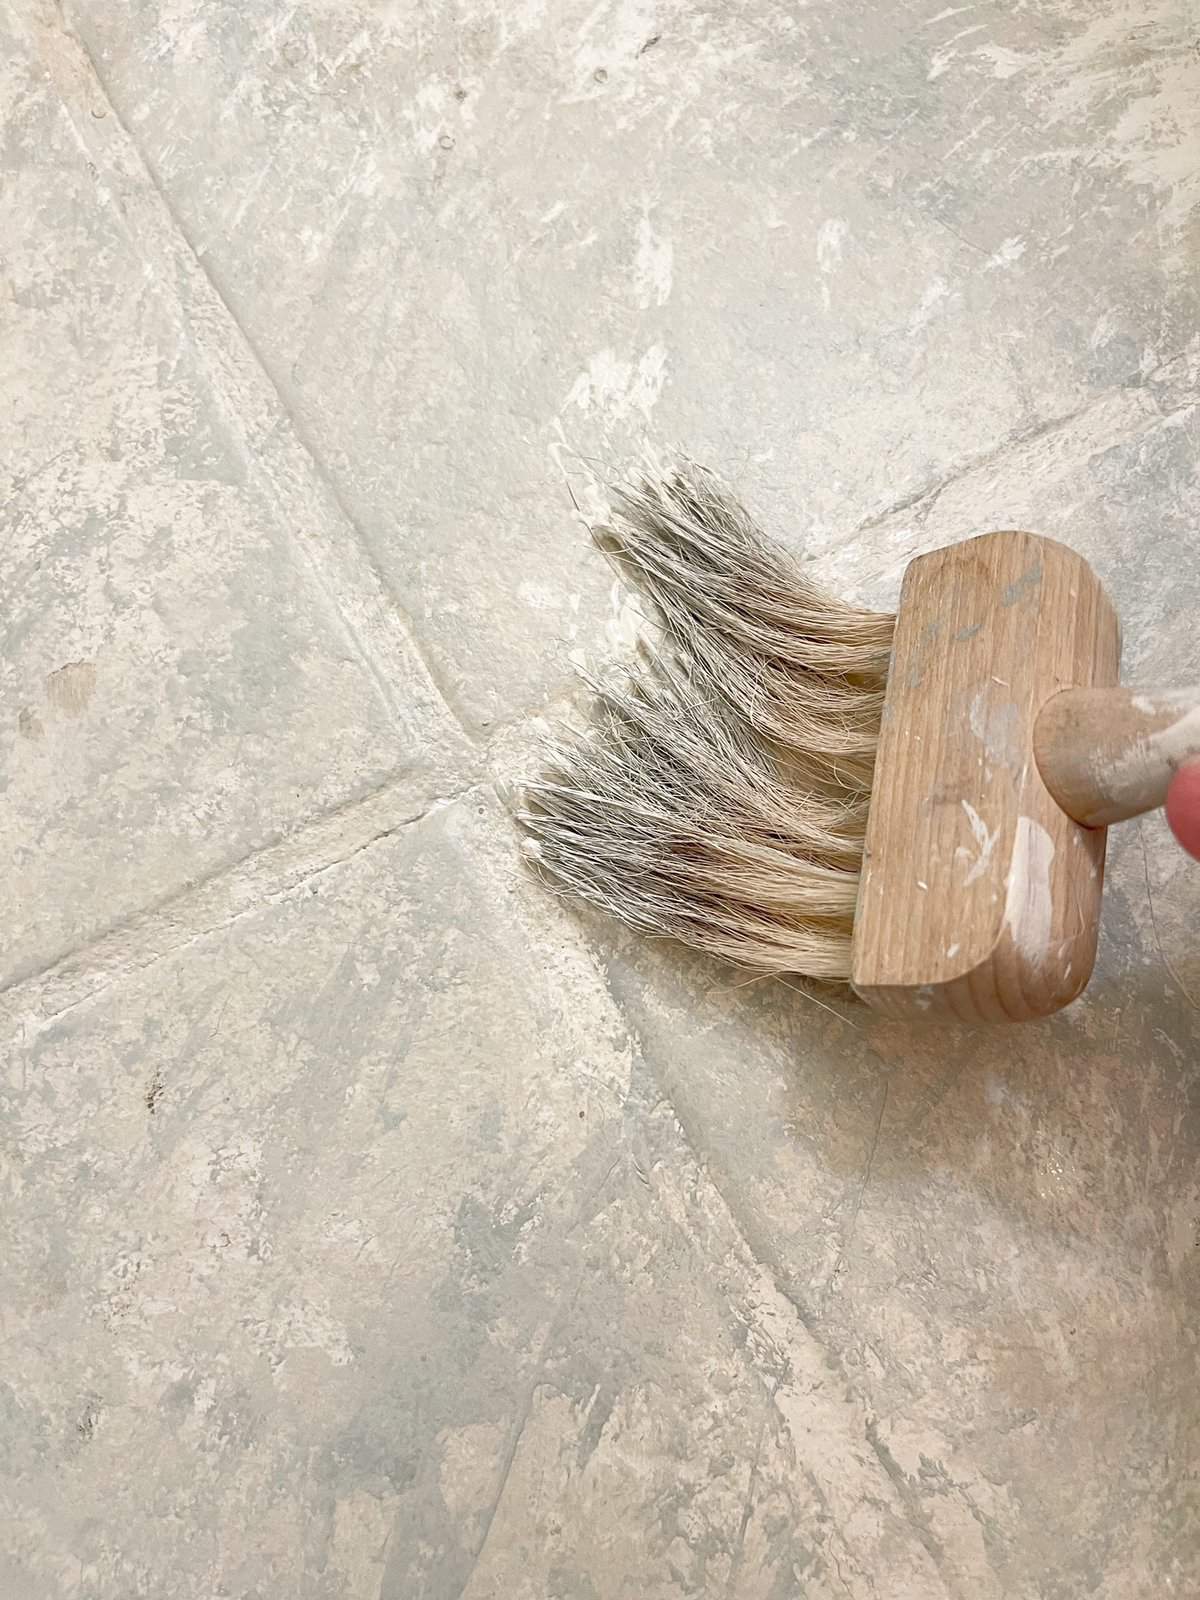
Layer on Paint with All Your Paint Tools
Now it’s time to add your secondary colors.
You don’t need much. I used left over paint for this whole project except for a tube of paint I bought at the Dollar Tree.
With each color of paint use a different paint applicator. I used a rag, a stipple, a sponge. whatever you can find!
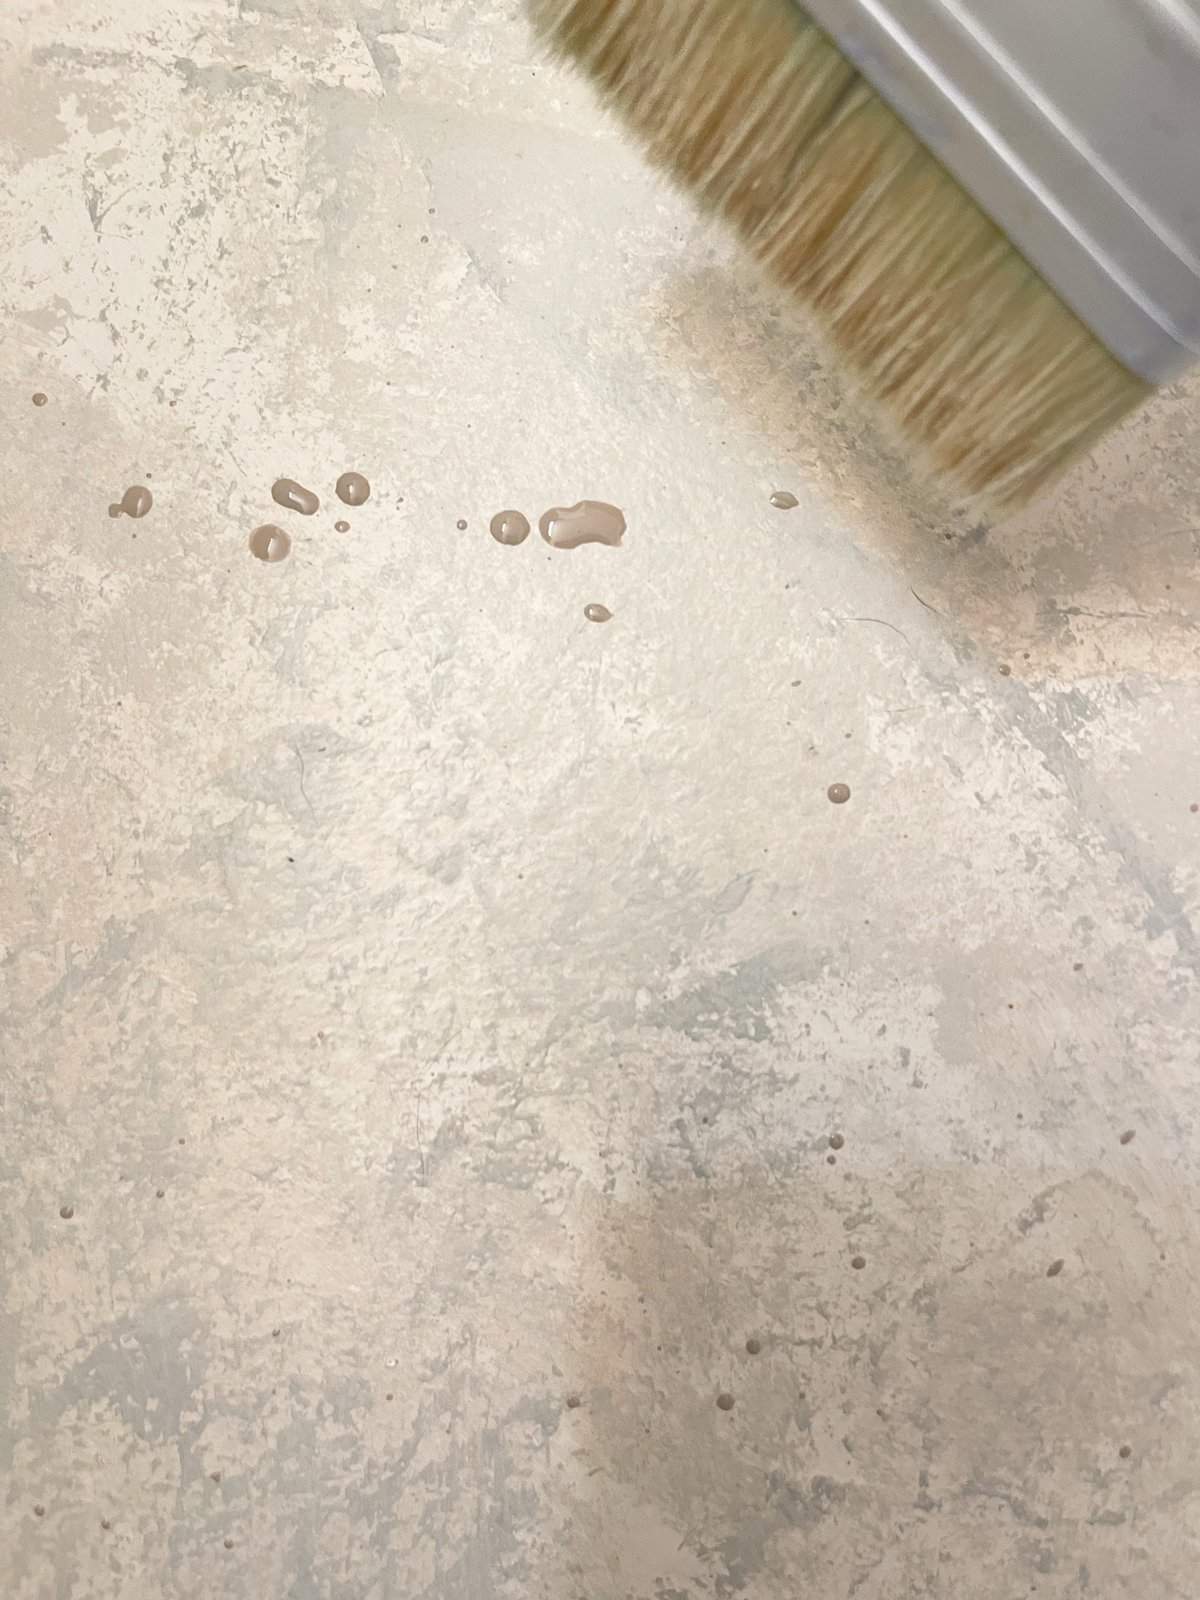
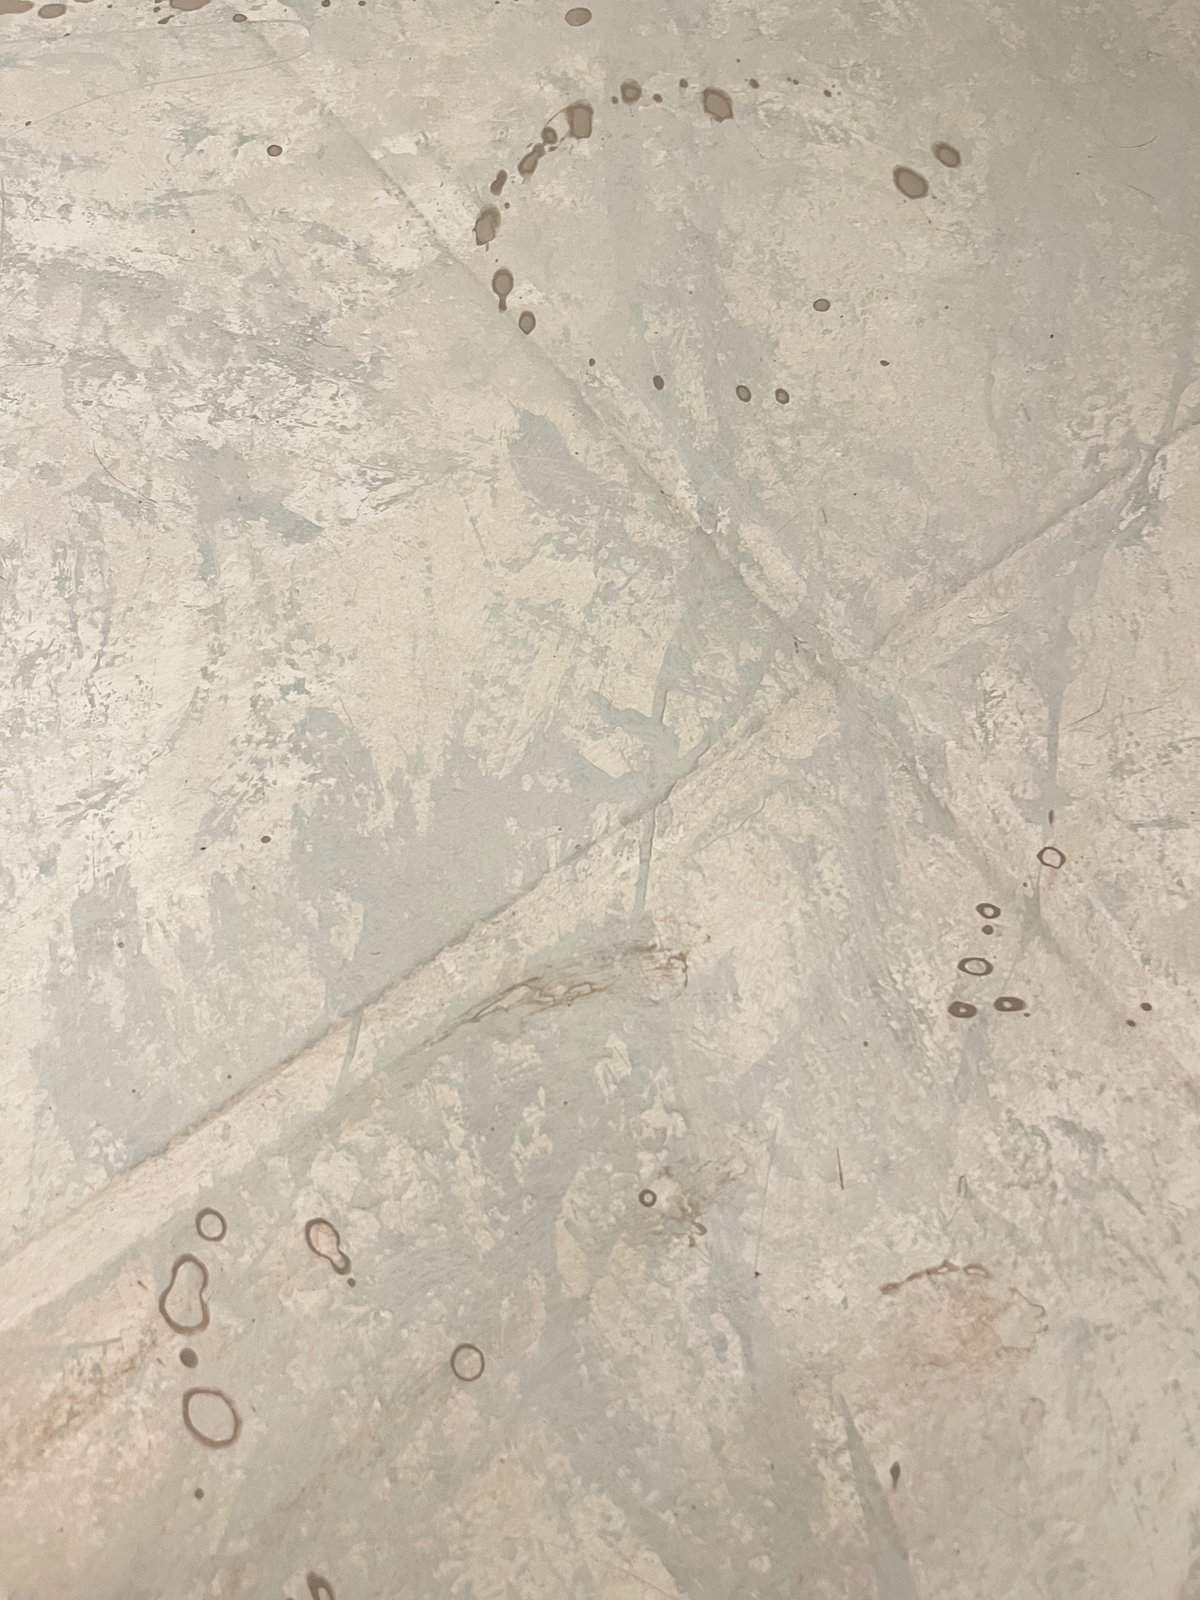
Give the look of stone by flicking paint from a small paint brush onto the floor.
Let the smallest dots dry and dab the others into the floor with a stiff brush.
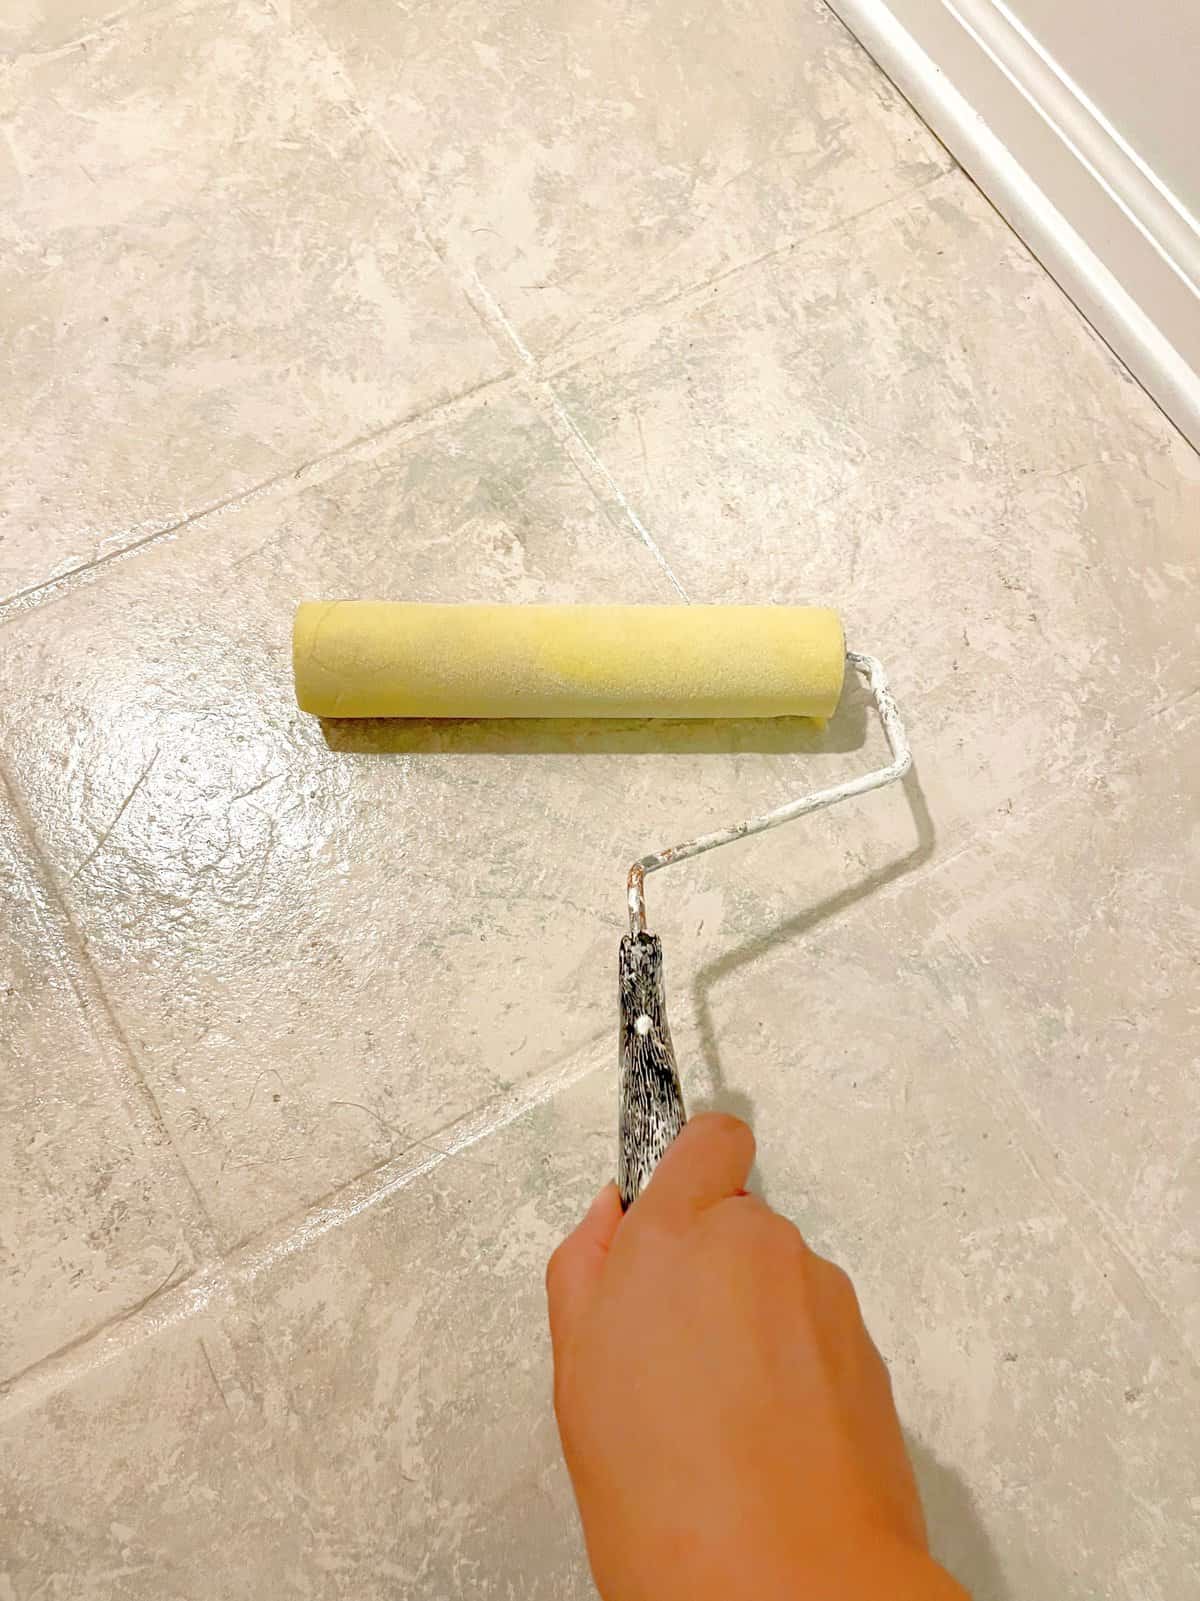
Finish Painting Your Tile Floor with a Sealant
Use a foam roller to finish.
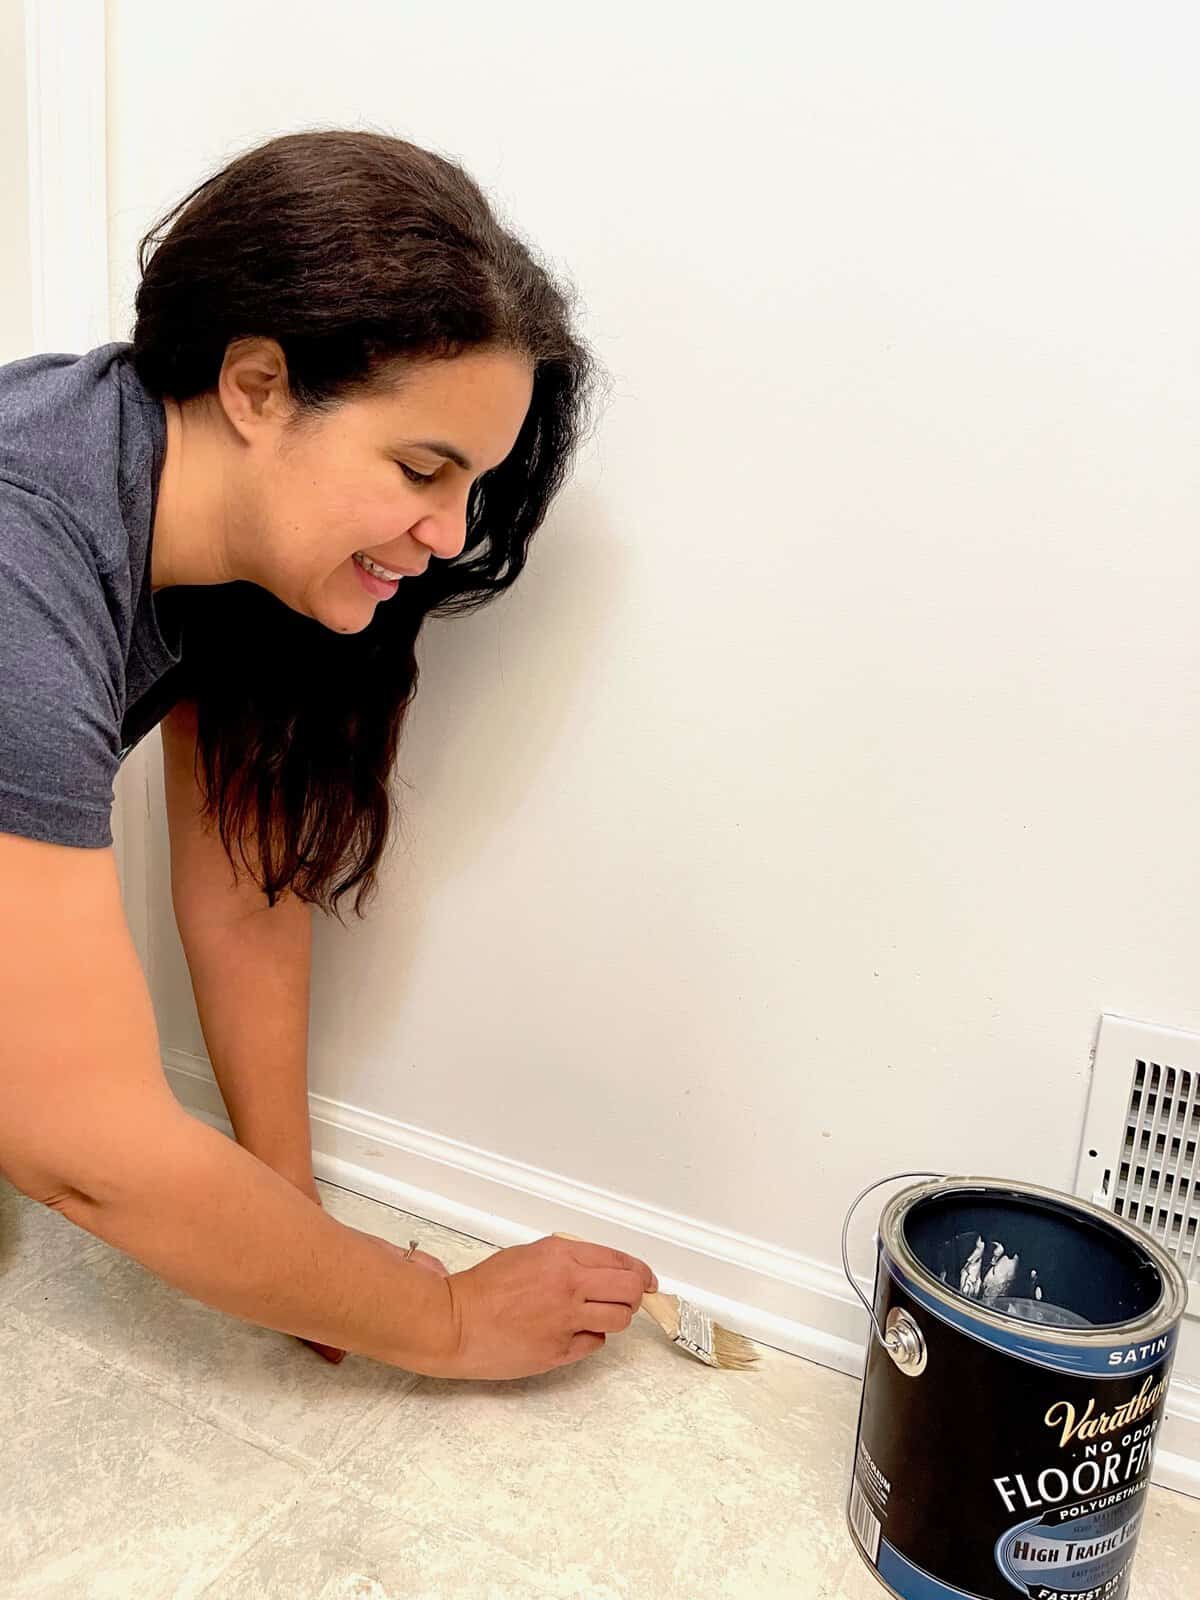
I used a foam roller to roll on the sealant which gives it a nice smooth finish, then I let it dry and went back to cut in the edges.
Ideally let your floor dry for 24 hours so it’s not tacky at all.
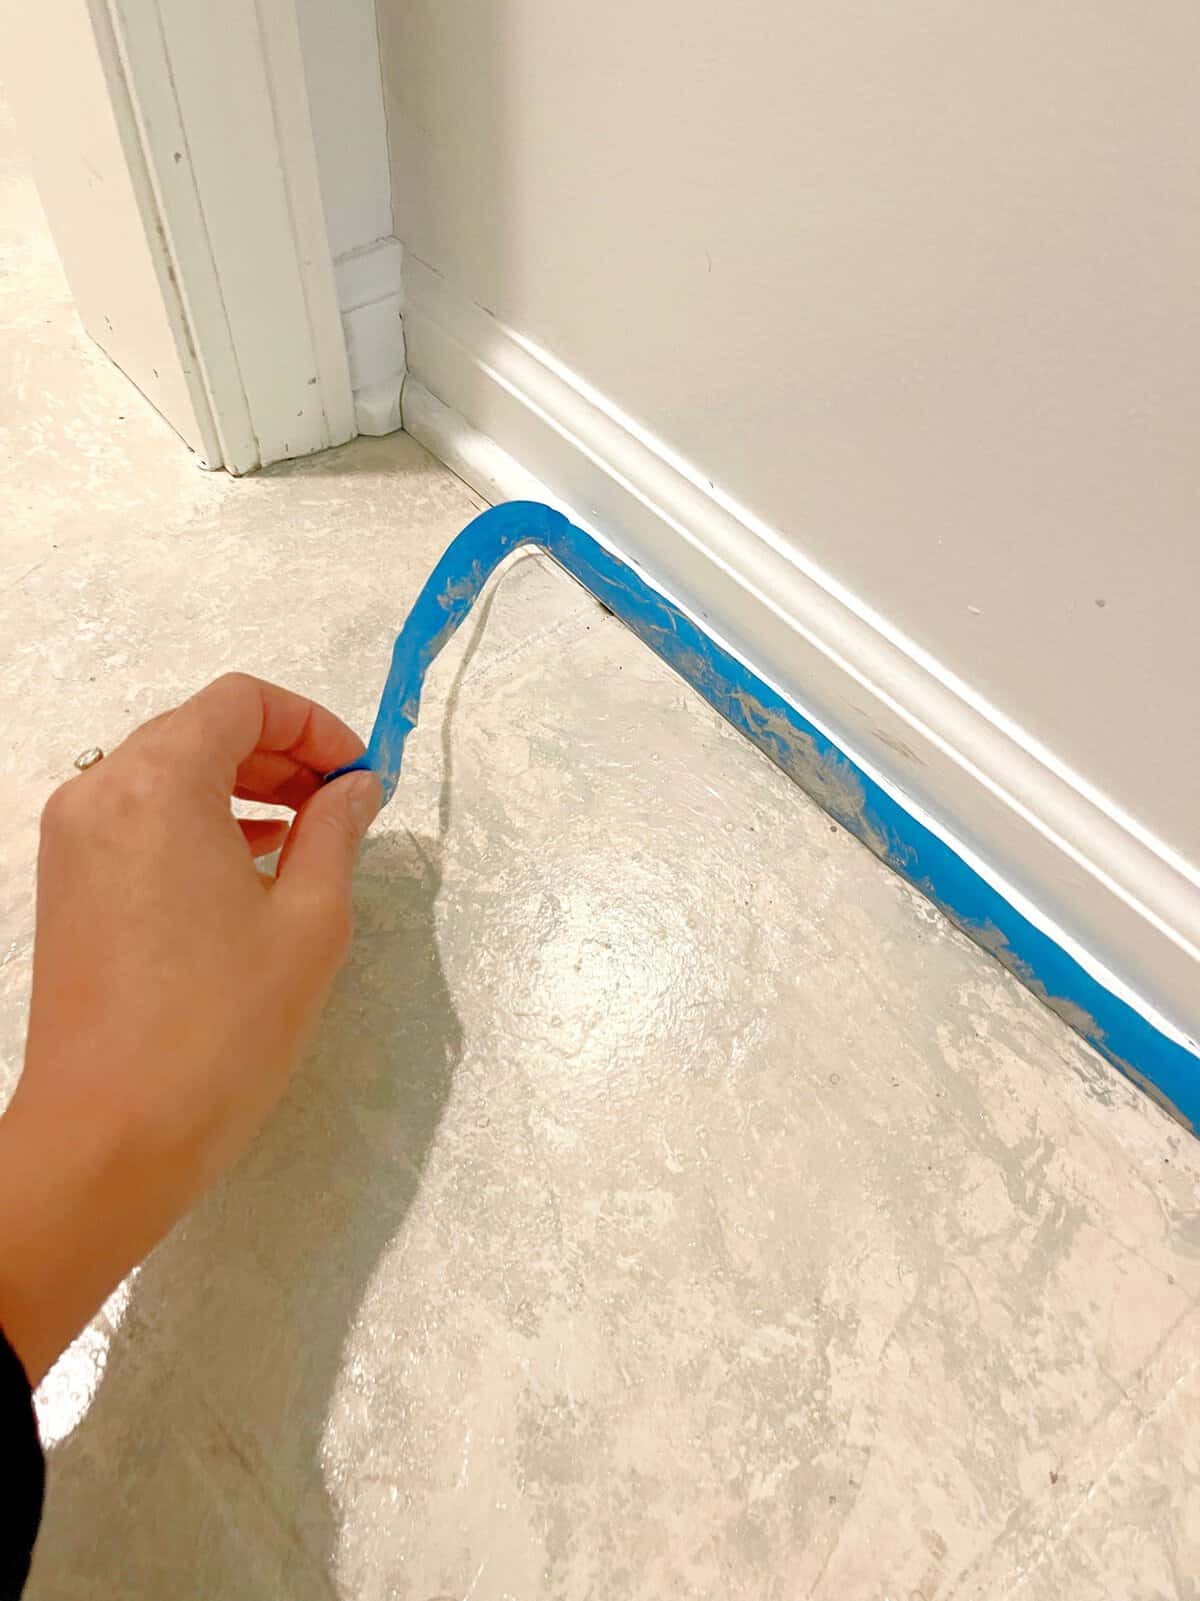
Now we’ve gotten to the most satisfying part of the project for me. Removing the tape.
Drum roll please!
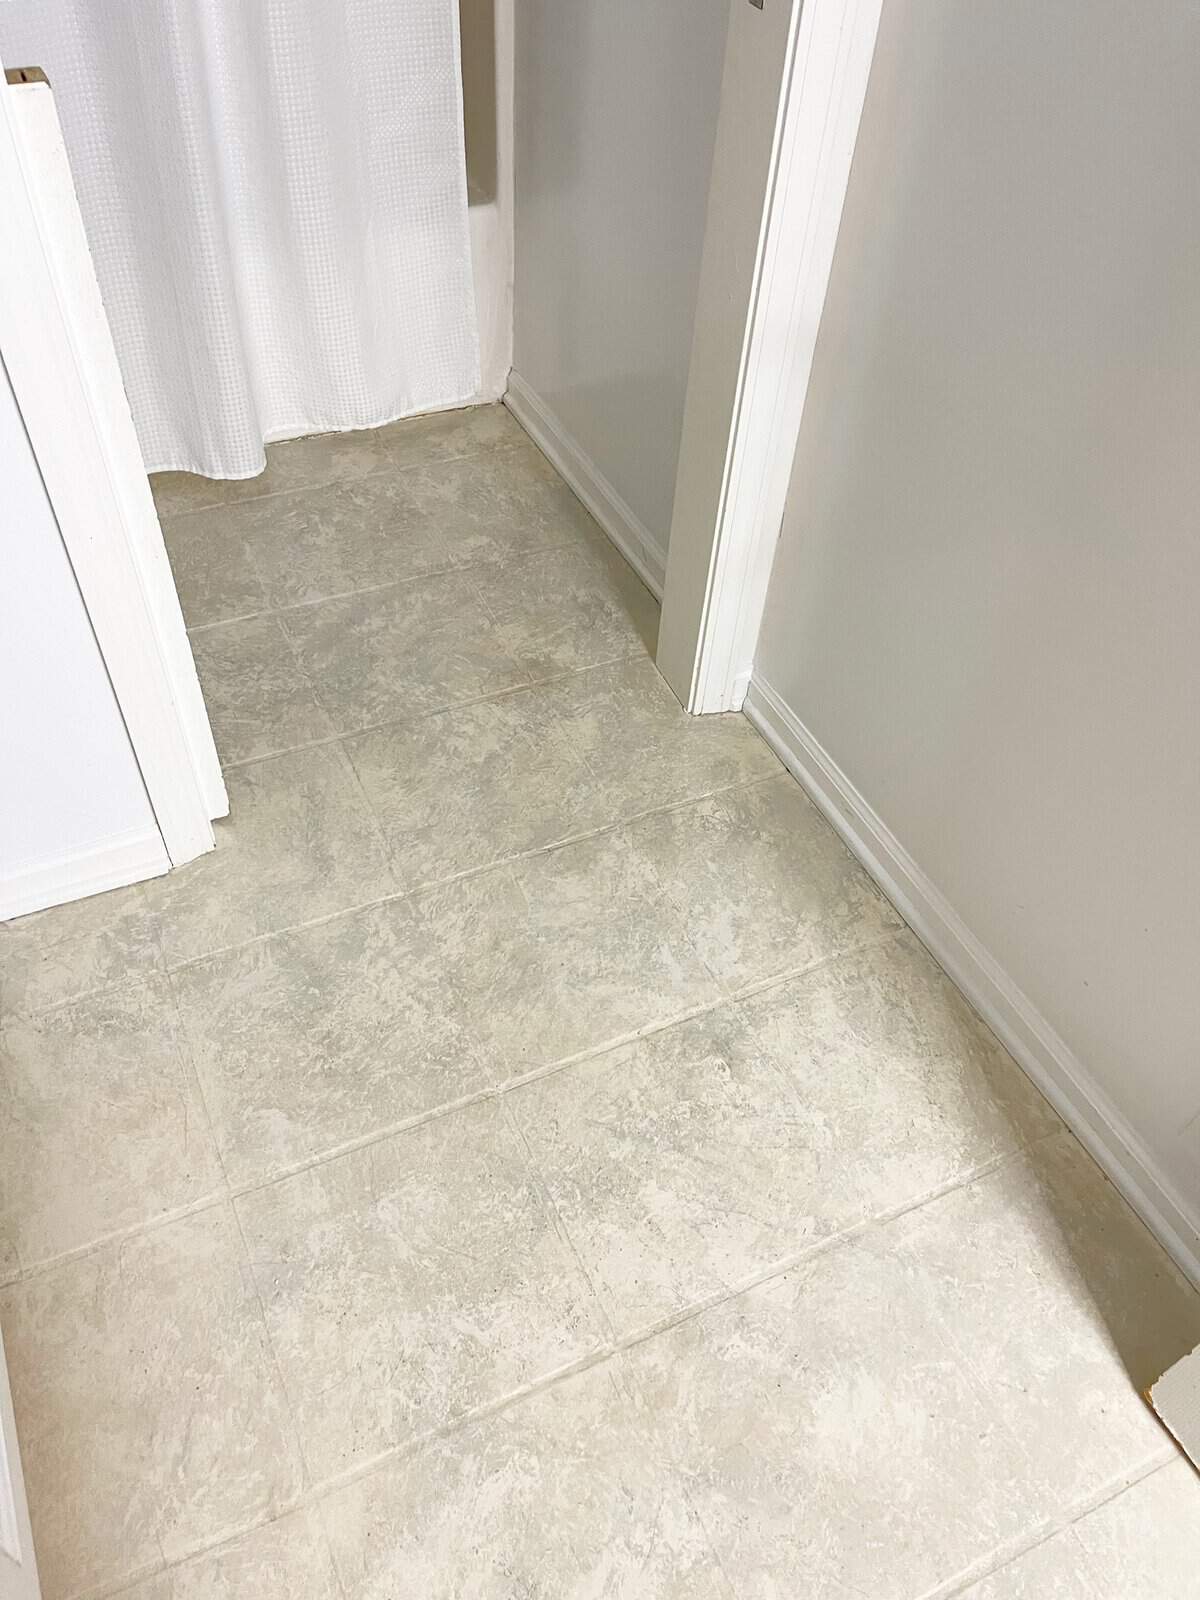
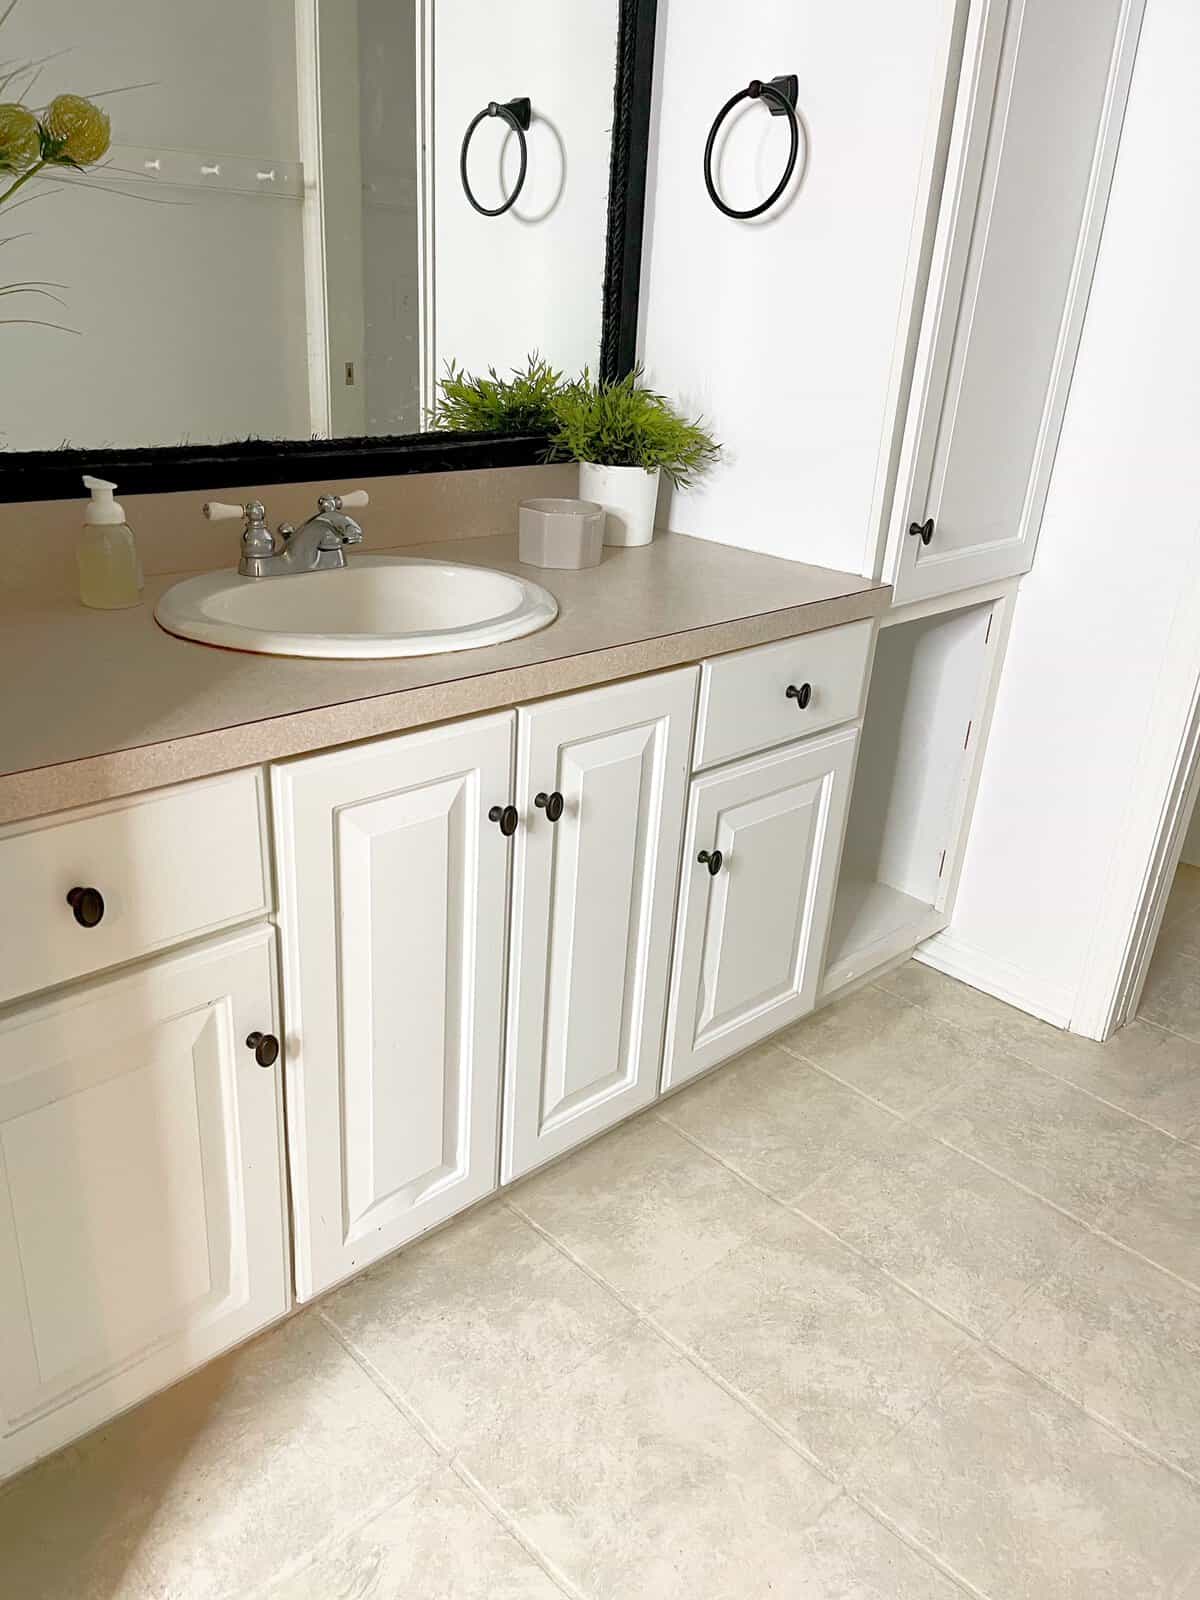
I love it! What do you think?
Such an improvement, and no money was spent on this project.
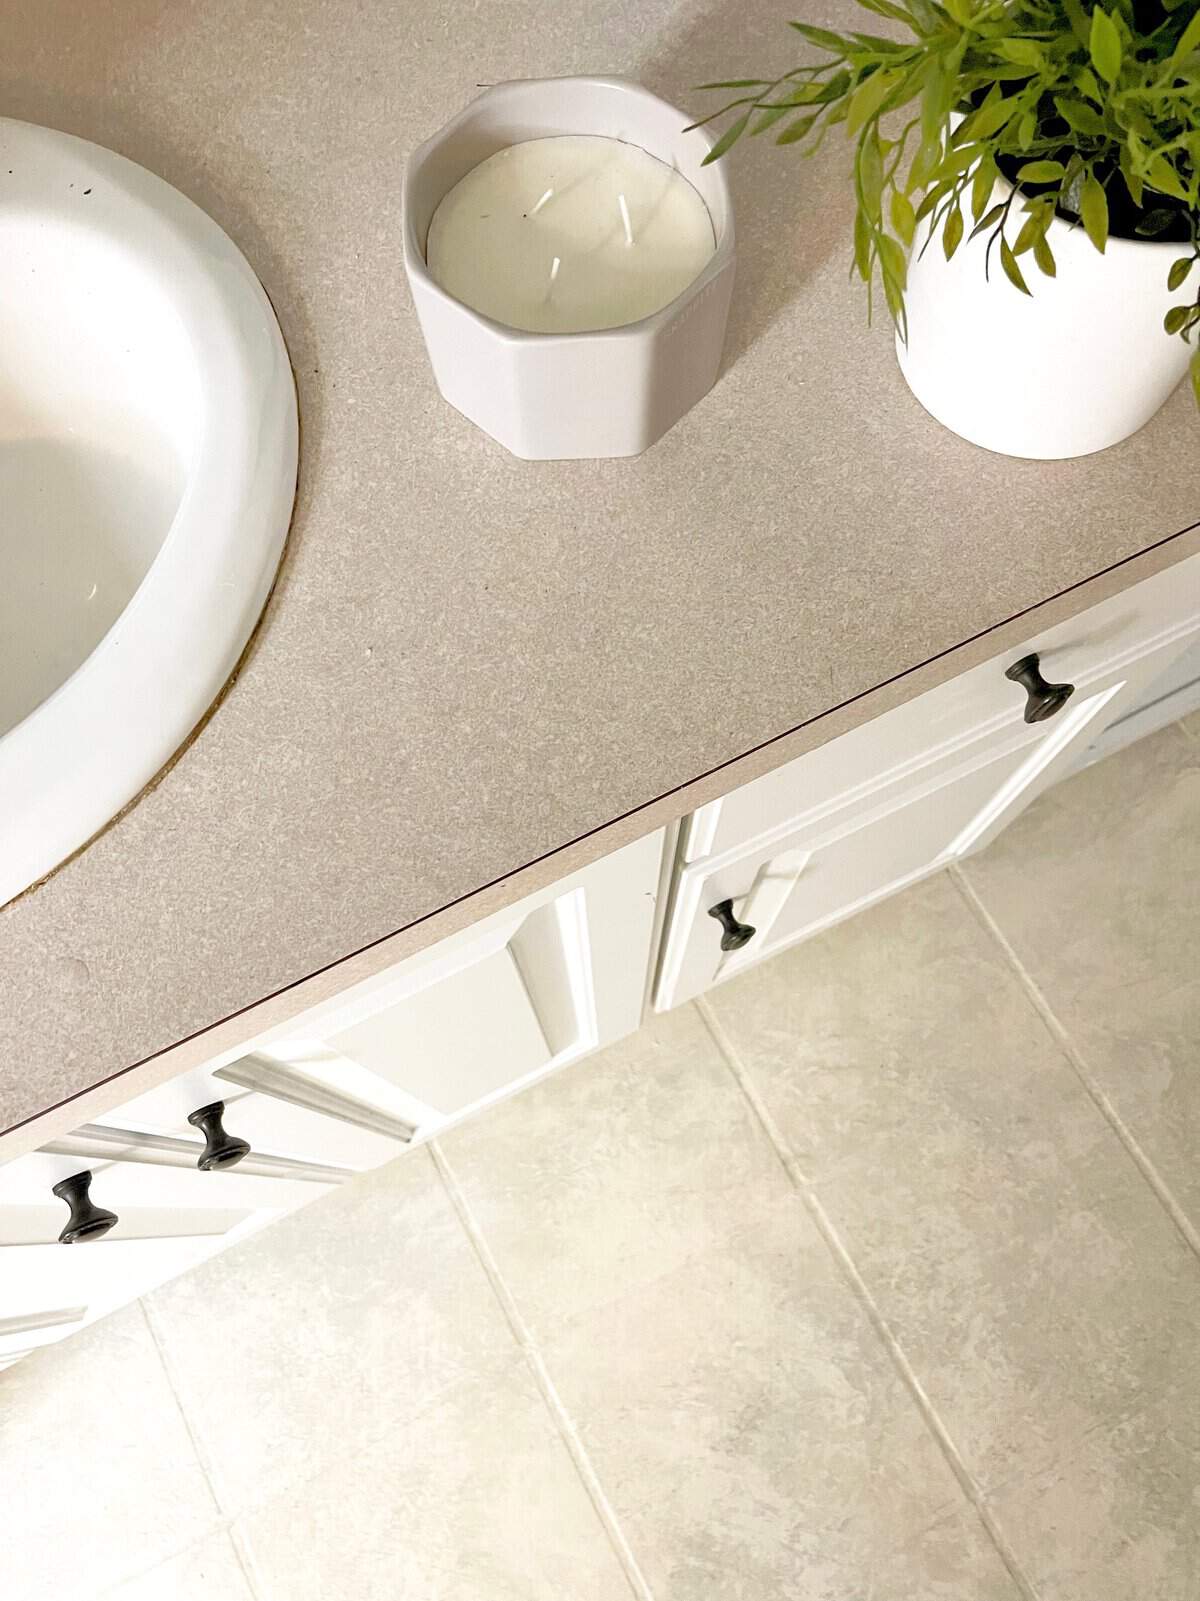
Everything I used was leftover from other projects. This tile floor transformation achieved the look of stone just as I had wanted.
Before
Here’s one last look at the tile before it was painted.
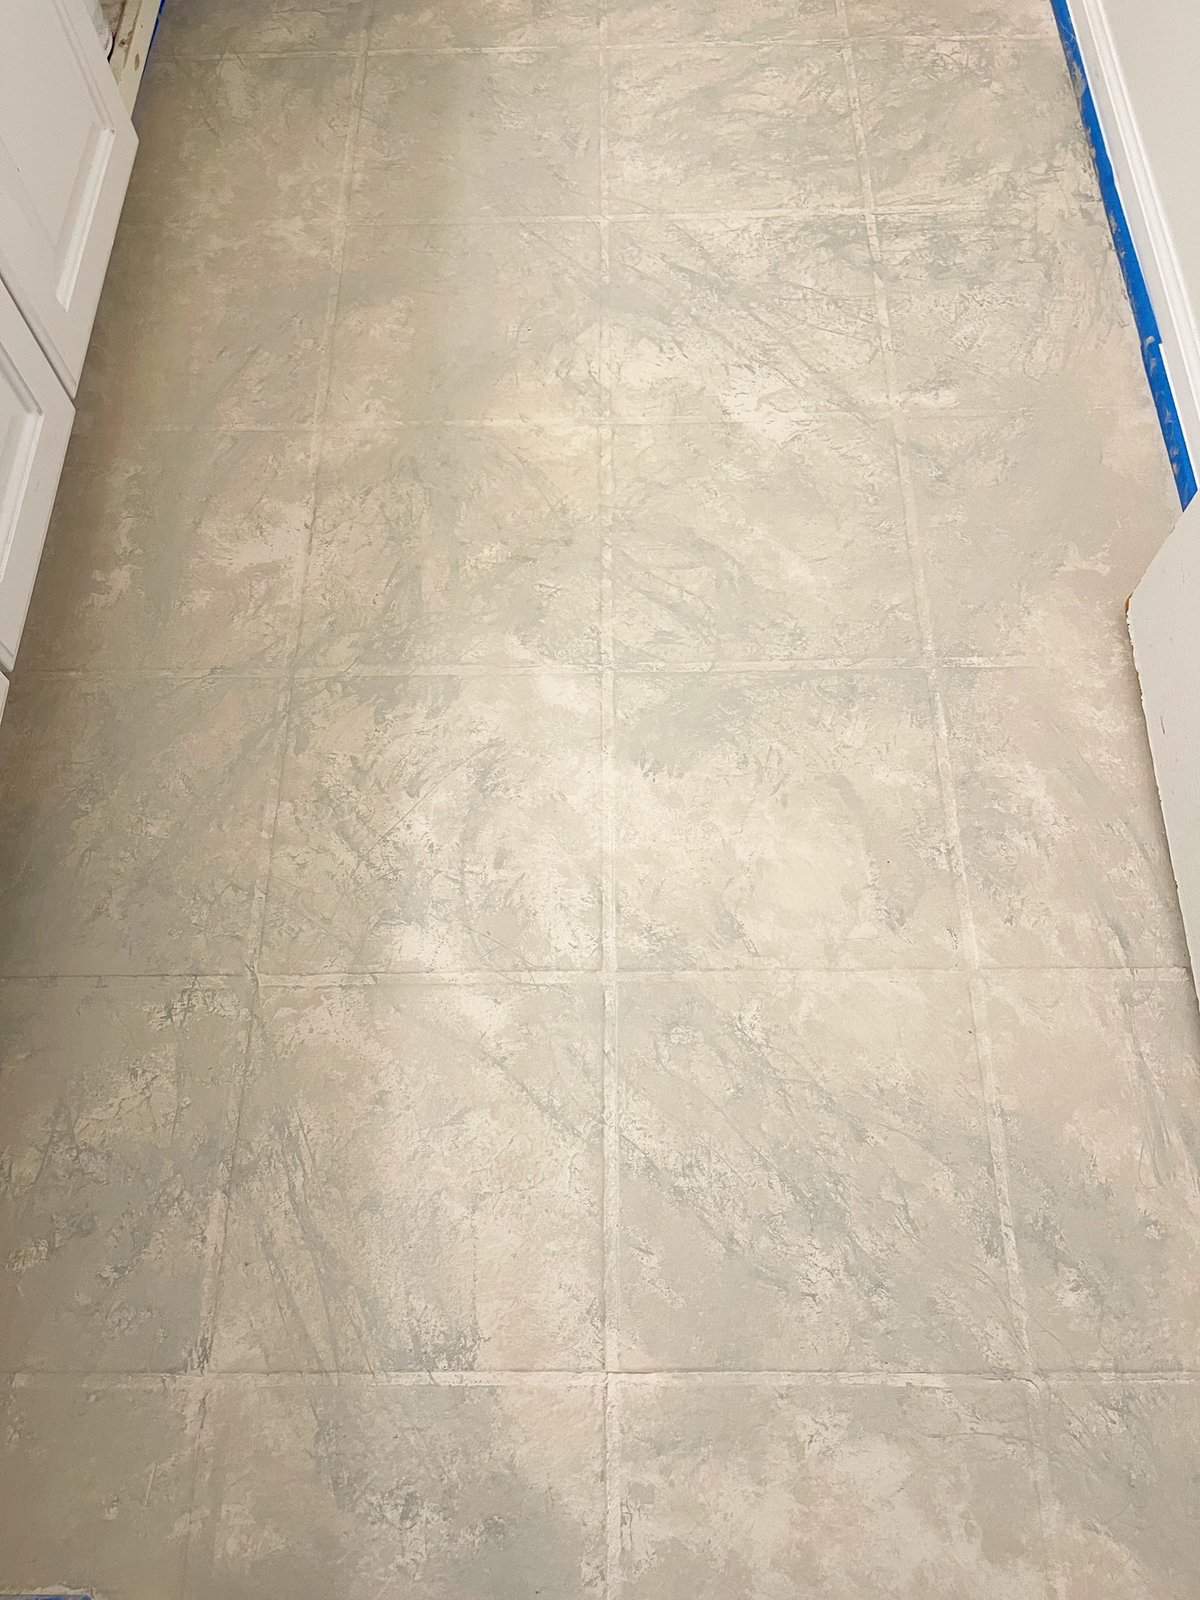
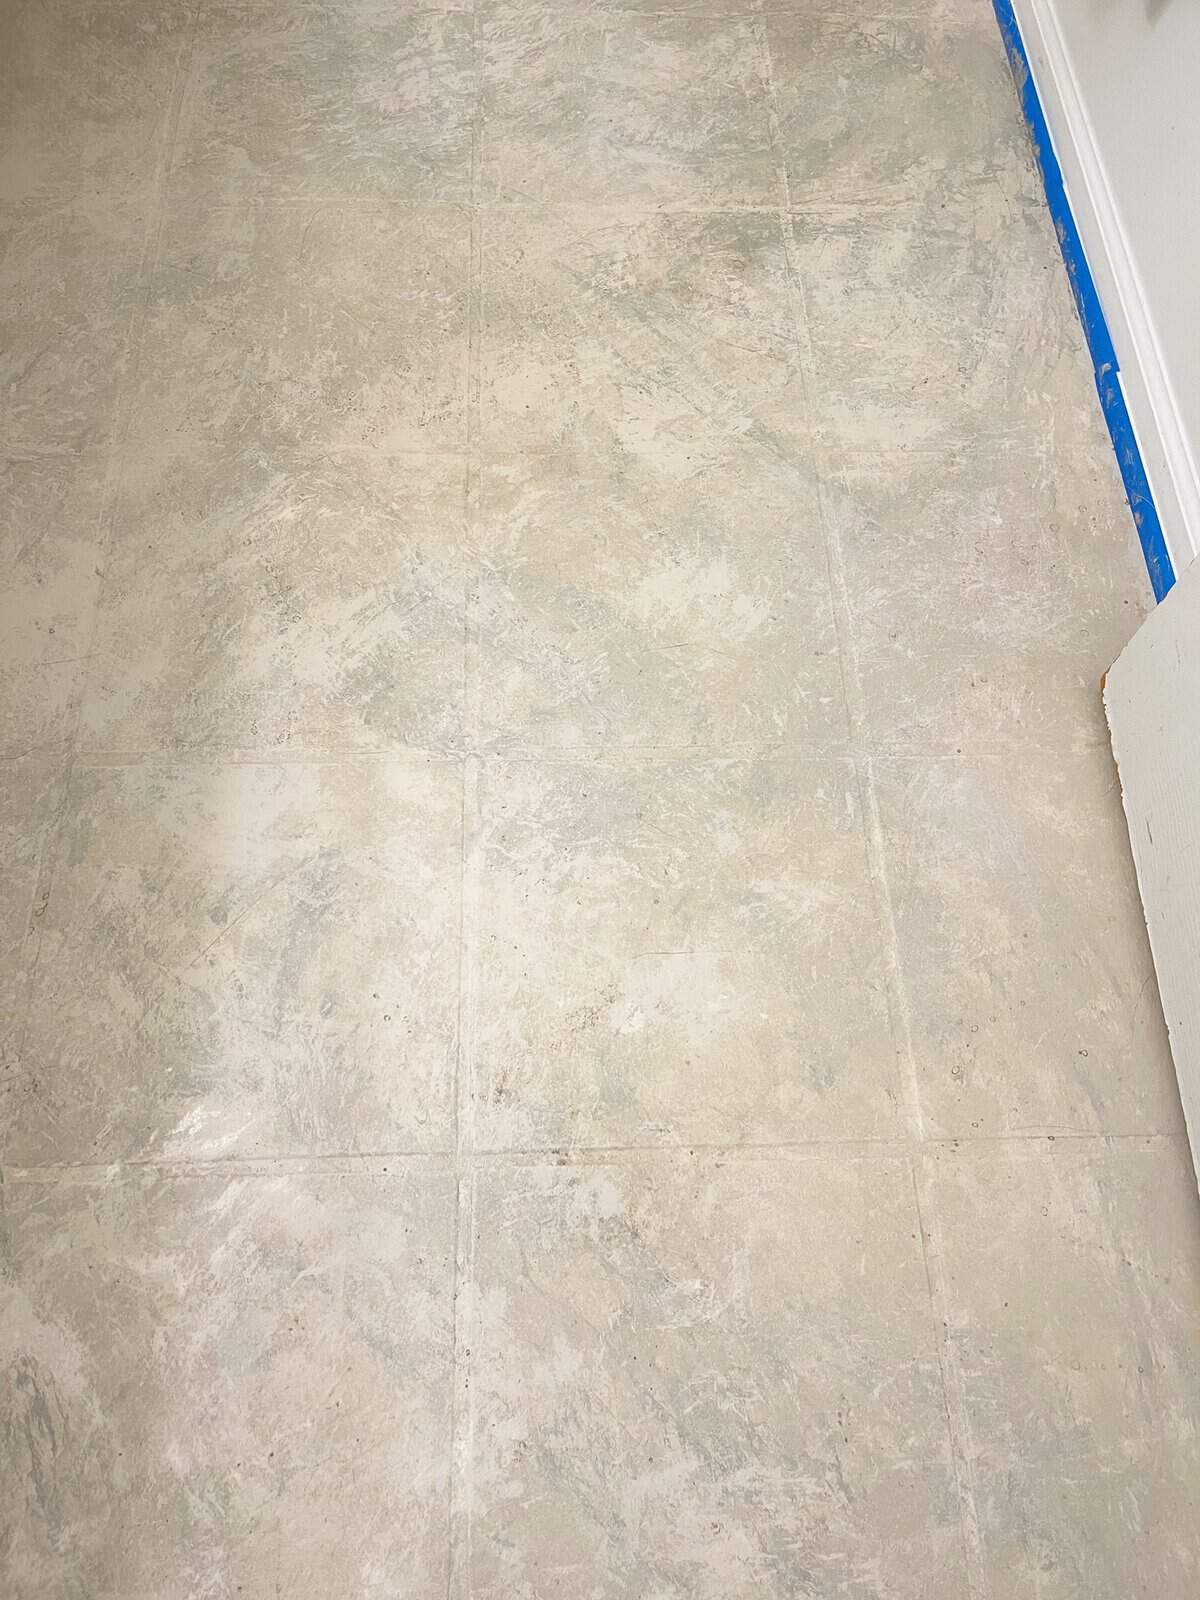
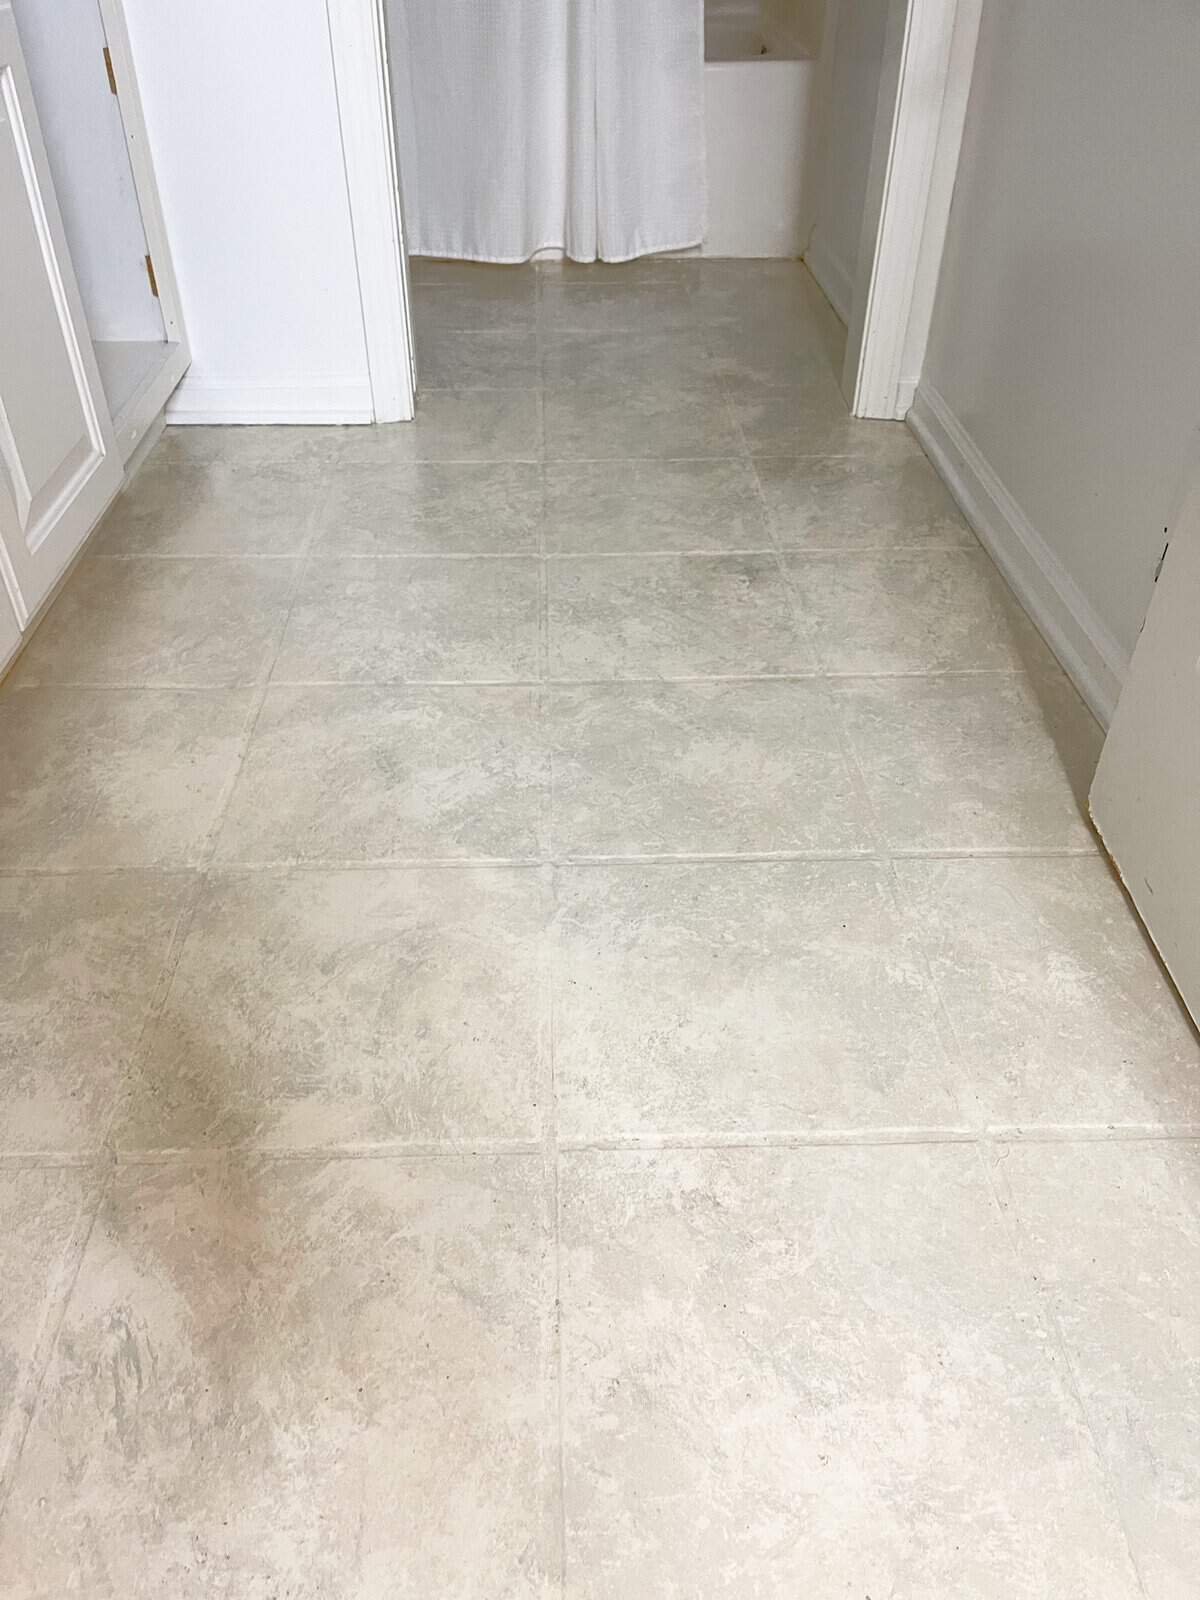
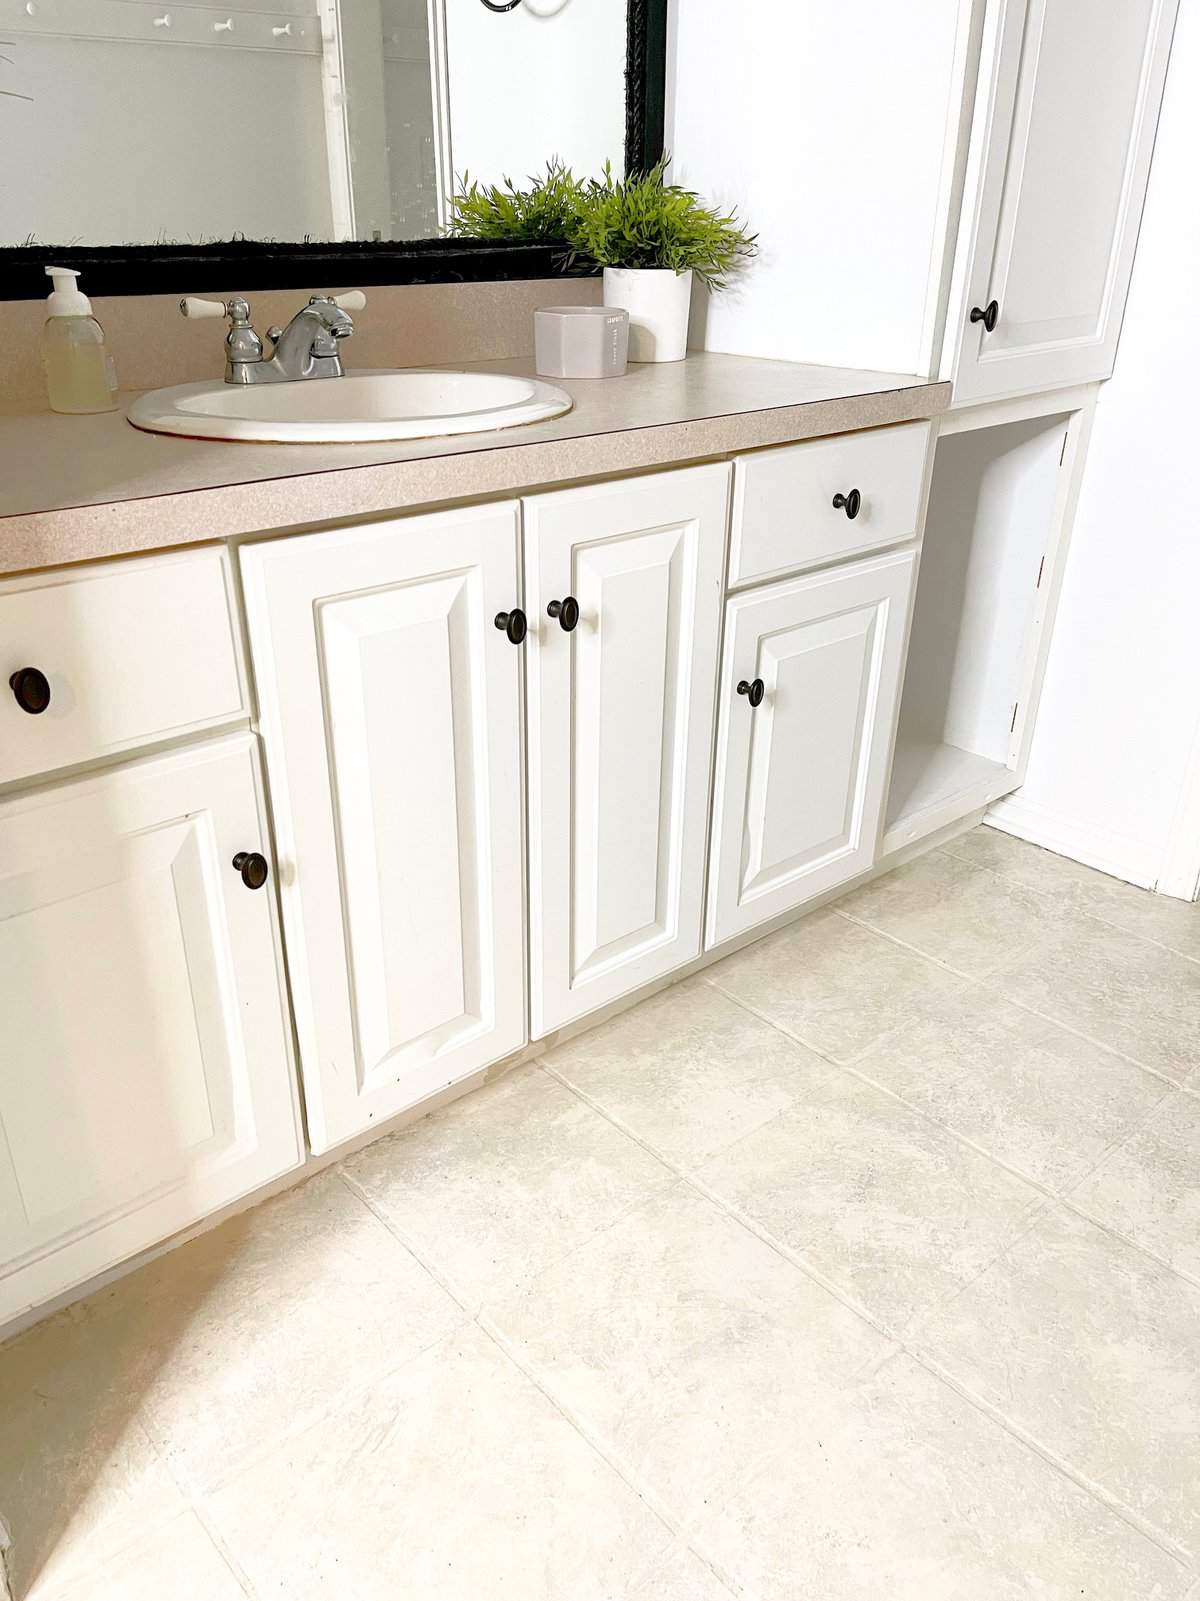
After
Such a beautiful end result!
Painting this tile floor to mimic stone took longer than I had thought, but most DIY projects usually do.
Even though it was a lengthy process it wasn’t hard. I hope this gives you the inspiration to paint your tile floor if you have dreams of improving your space.
Home improvements do not have to be costly. Paint is the perfect medium to make over any room.
Go for it!
In the mean time, I’ve gathered some stone inspiration. As you can see, stone comes in many forms.


MORE KID’S BATHROOM PROJECTS
**Some of the links in this post are affiliate links. If you click on the link and purchase the item, we will receive an affiliate commission at no extra cost to you.

Pin It & Save It


Wow, I saw this on Instagram and dove over.
Fantastic, you should be doing back flips with the job you did!
Pinned!
I appreciate that so much Cindy. You are a dear heart. Blessings!
Hey there could I have your YouTube link? Planning on doing my floors according to this page so thank you ! Also when did you use the paint glaze ? On the base coat or the top coats ?
Thanks !
Hi-also wondered where in process you used paint glaze, never mentioned.
Also I need your tube link please. And lastly, how did you pick your colors of paint? The secondary colors look like craft paints…are they mixed with the main color to change it?
I used a paint glaze for walls, any brand will do. I had all these paints on hand and wanted warm browns and some gray so yes, I used craft paint with the wall paint to get several shades. Thanks so much for your interest, my YouTube channel https://www.youtube.com/channel/UCMIswpt_Vja0Vc3hyZEwHOA.
How is this holding up? Thats my concern about painting floor tiles. Will it scratch easily?
Hi Debbie and thanks for the question. That was my concern as well, but it’s held up beautifully! And it’s the kid’s bath so that says a lot. I’m sure this is because of the clear top coat. Can’t skip that step if you want it to stay pretty.
Beautiful work. I am planning on doing the same to my outdated foyer and all I needed was to see your “after” photos.
Thanks so much! You’ll be so happy with the results. Just take your time and listen to something you love while you work. It’ll be done and looking great before you know it!
Beautiful! I have leftover paints and have been wanting to create a stone-like look with worn ceramic tiling. You just inspired me!
You got this!!!
Hi there ! I was wondering at what point do you use the secondary craft paints? And do you mix them with the main paint color together or separately? Looking forward to this diy- your floor looks beautiful.
I didn’t mix the craft paint with the base color paint, but I LOVE that idea. I added the secondary colors after laying the main color. Just try to have fun and go step by step. If it starts to stress you out stop and take a break. The key is blending. Add water to help with that if needed. You can do this!
Thank you for this tutorial, it’s the only one I can find for how to paint tile where the final product looks more natural and doesn’t look like a lot of paint over tile. I’m going to try this on a kitchen floor that has stone tile but I don’t like the color of the tile. I’m not sure yet how to paint the grout so that it looks like grout and not painted over grout but will figure it out.
Your floor came out great!! So satisfying, right?
So maybe you can offer advice for my possible pink tile project…
Ok so I have a pink-ish, ceramic tile, terra cotta type going on in my old farmhouse and hate the pink! But want to darken it up to look more like actual terra cotta colors. We have the texture going on which is great. And I don’t want to paint the grout. But any suggestions on how to just kinda change the color scheme on these tiles? And individually, so they all vary from one another.
Thanks a lot!!
Tape off your tile if you don’t want to paint your grout, choose three similar colors of paint, gather several sponges (one for each color and a few more to blend) and begin painting your tile. Sounds like a fun project where you can vary each tile to your liking!
I am Fixing to try to do this in my bathroom, and Florida room depending on how it turns out!! Where did you get that wide brush to do the feathering?? I cannot find anything like it on the internet!
Thank you!!
Hi! I found that brush at a Sherwin Williams store loooong ago. Hope you find it somewhere!