

Ever wanted to remove a mirror that is glued to the wall?
That was our situation for a number of years.
We kept putting off this DIY project. Thankfully we came across a mirror removal technique that made the job much easier than we thought possible.
Mirrors are a good thing, they reflect light and make a space seem larger, but too much mirror, well it’s just too much.
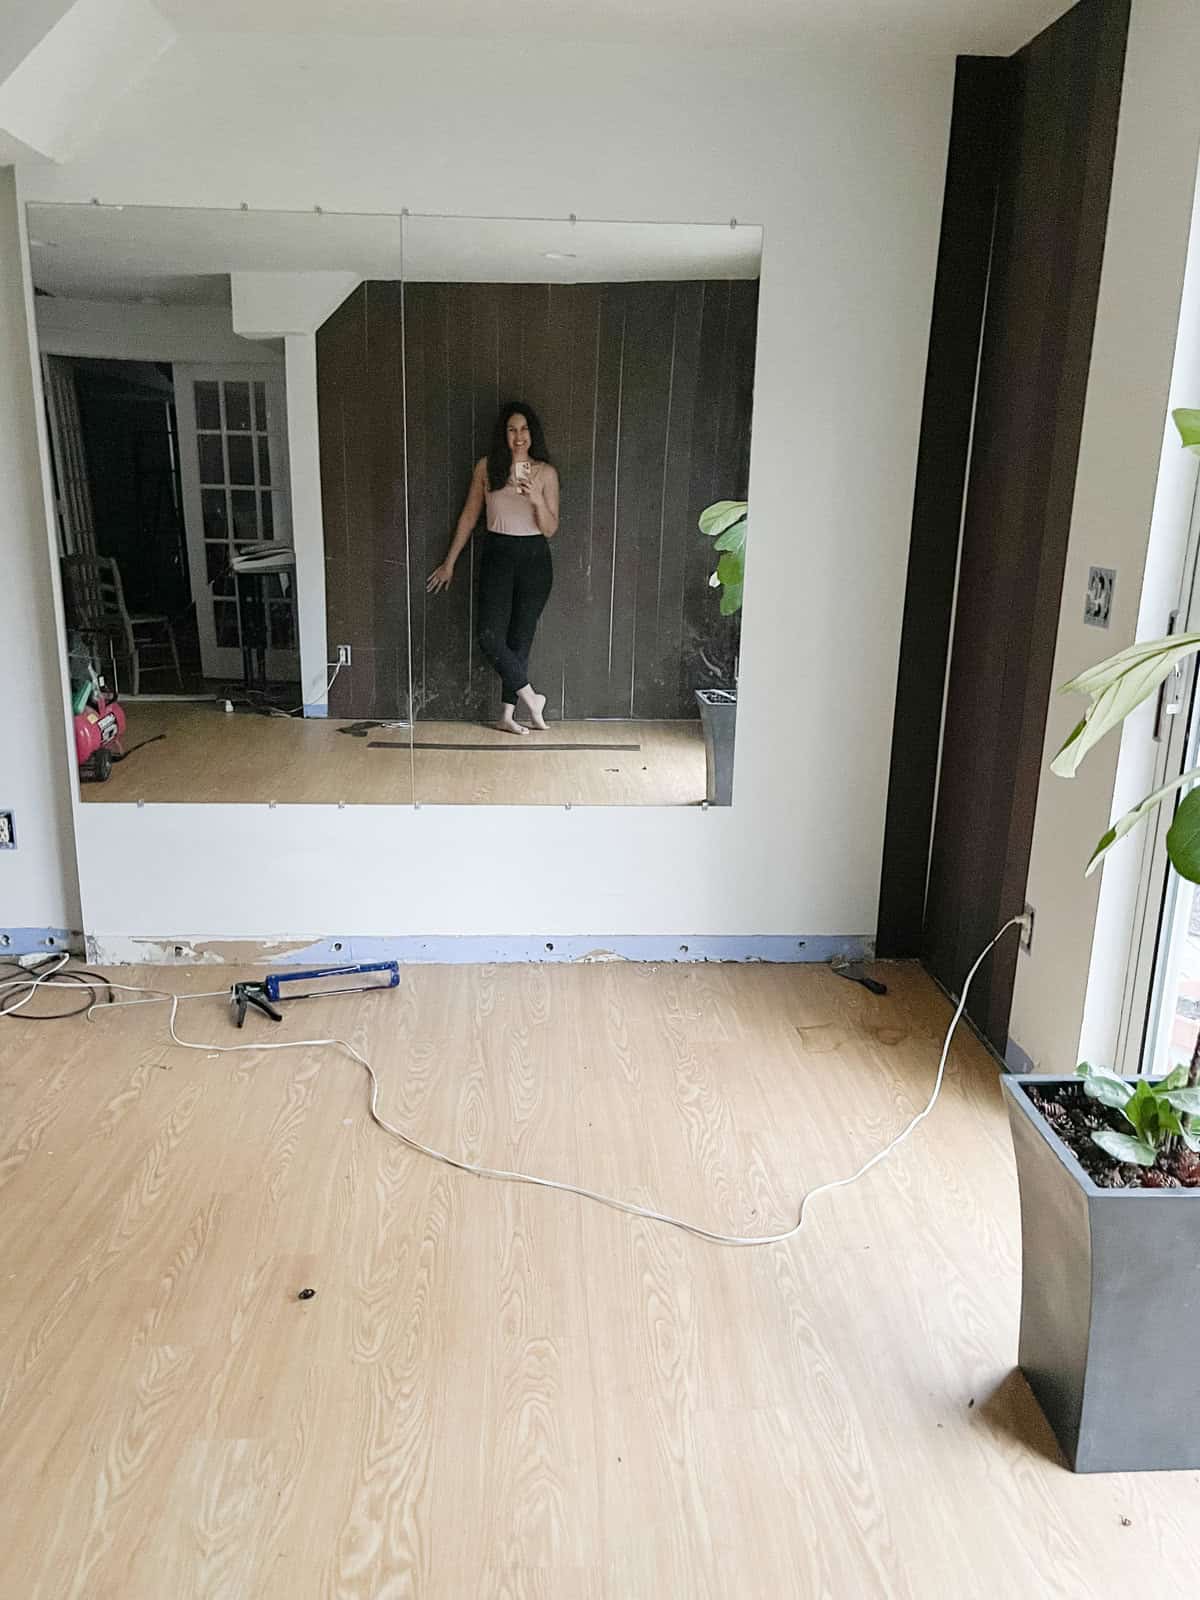
Back when our oldest was taking ballet four times a week and later wanted to teach lessons at home, we turned our basement into a dance studio. It hasn’t been used for that since she went away to college and our other kids are busy with sports so the studio is coming down. That means we have some mirrors to take down as well.
We’re in the process of turning our basement family room into a place we love to hang out in.
The removal of this mirror is going to make a big difference!
How to Remove a Mirror That is Glued to the Wall
Do you have a dated, old mirror in your home that needs to go?
Let me show you how to remove a mirror glued to the wall.
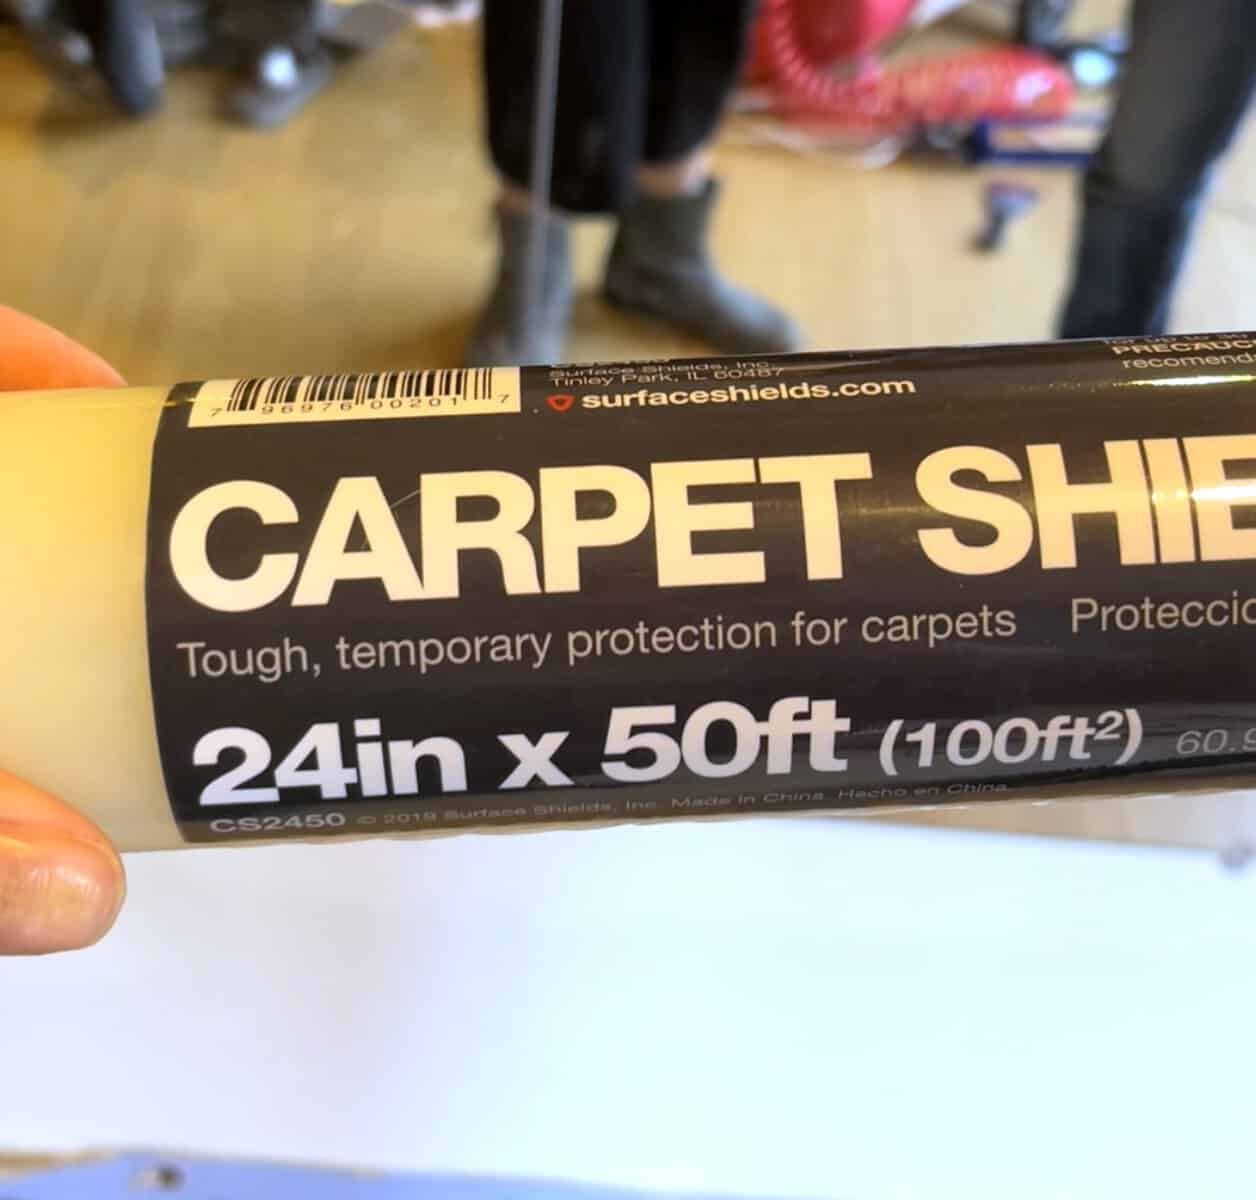
The Carpet Shield Technique
I’ve named this process the carpet shield mirror removal technique because it uses, you guessed it, carpet shield!
It makes the whole process so much less dangerous and easier.
SUPPLIES:
Gloves for handling glass
Paint scrapper
Large cardboard box
Tape
Why Choose the Carpet Shield Technique for Removing a Mirror?
One of the reasons we decided to use the Carpet Shield Technique to remove our mirrors from the wall is because we knew we had put a lot of glue.
Ok, we put on way too much glue on the walls when we installed the mirrors. You could call us novice DIYers at the time. We didn’t want to take any chances that the mirrors would come crashing down.
Not only did we go over board on the glue, we also put in mirror brackets to make sure these mirror stayed put.
With children using the basement as a dance studio we took every precaution.
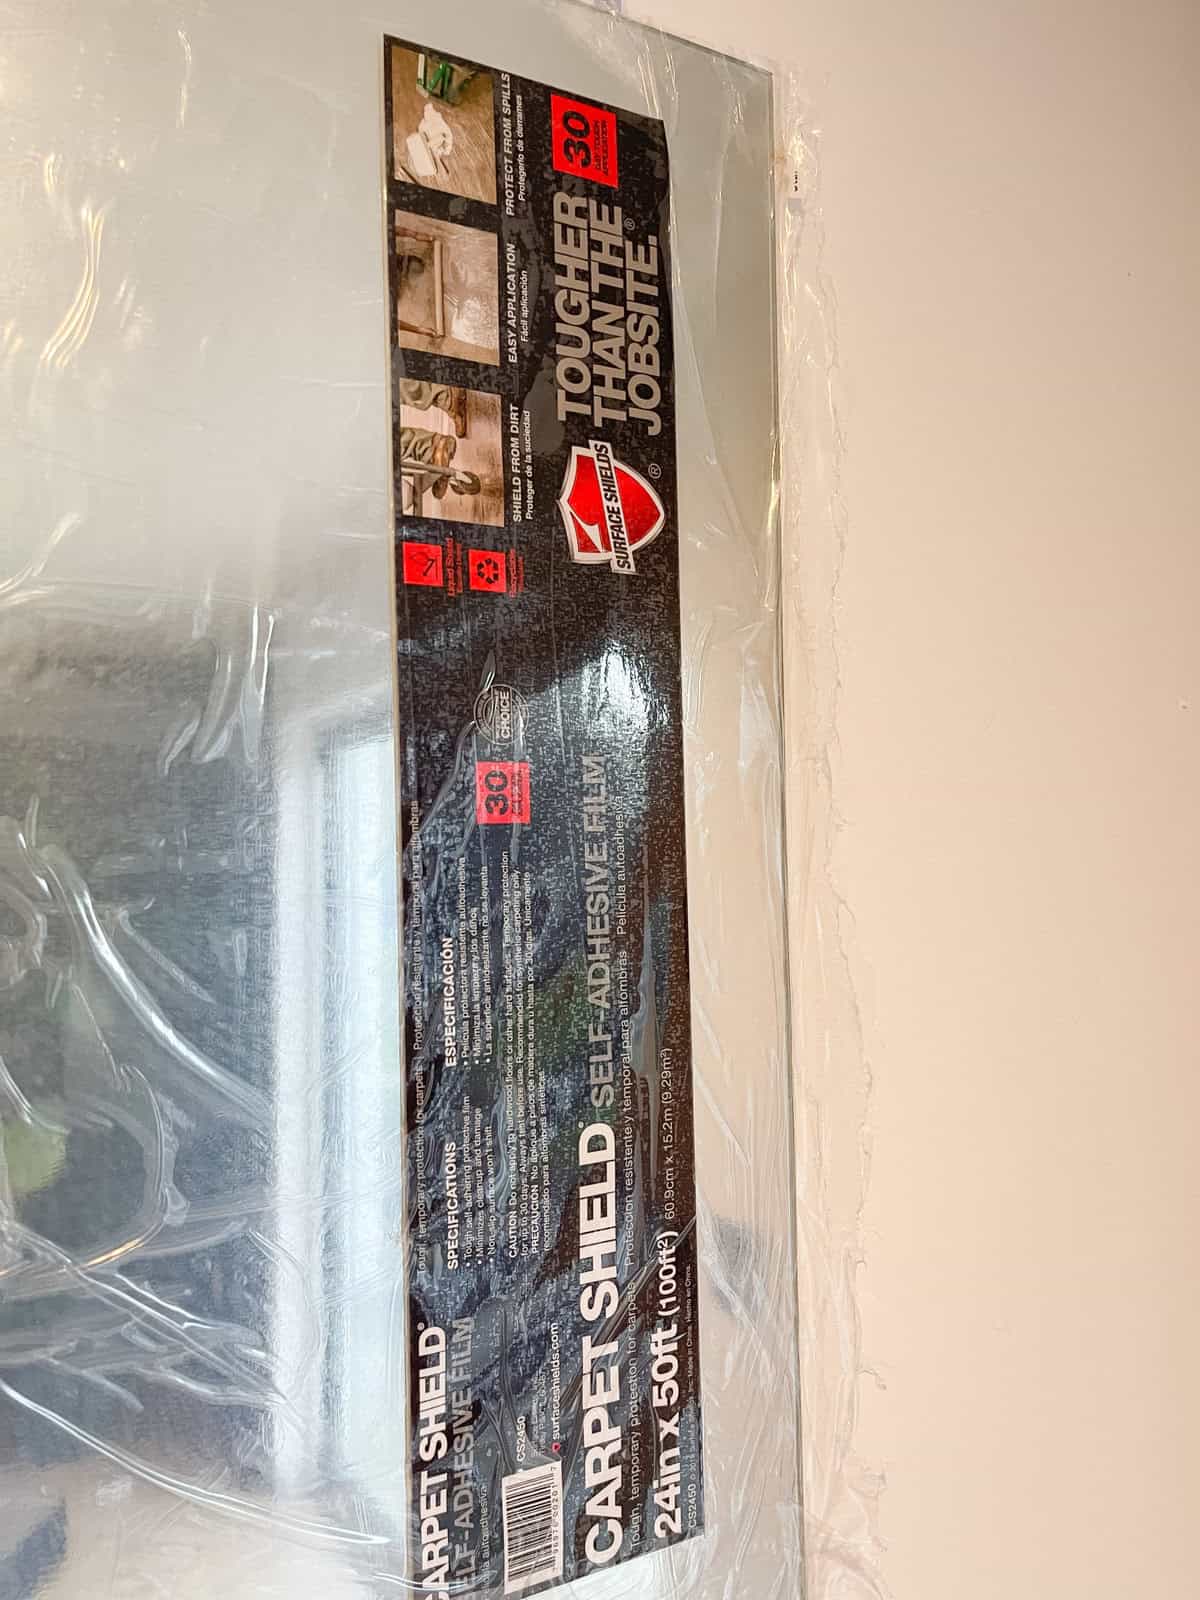
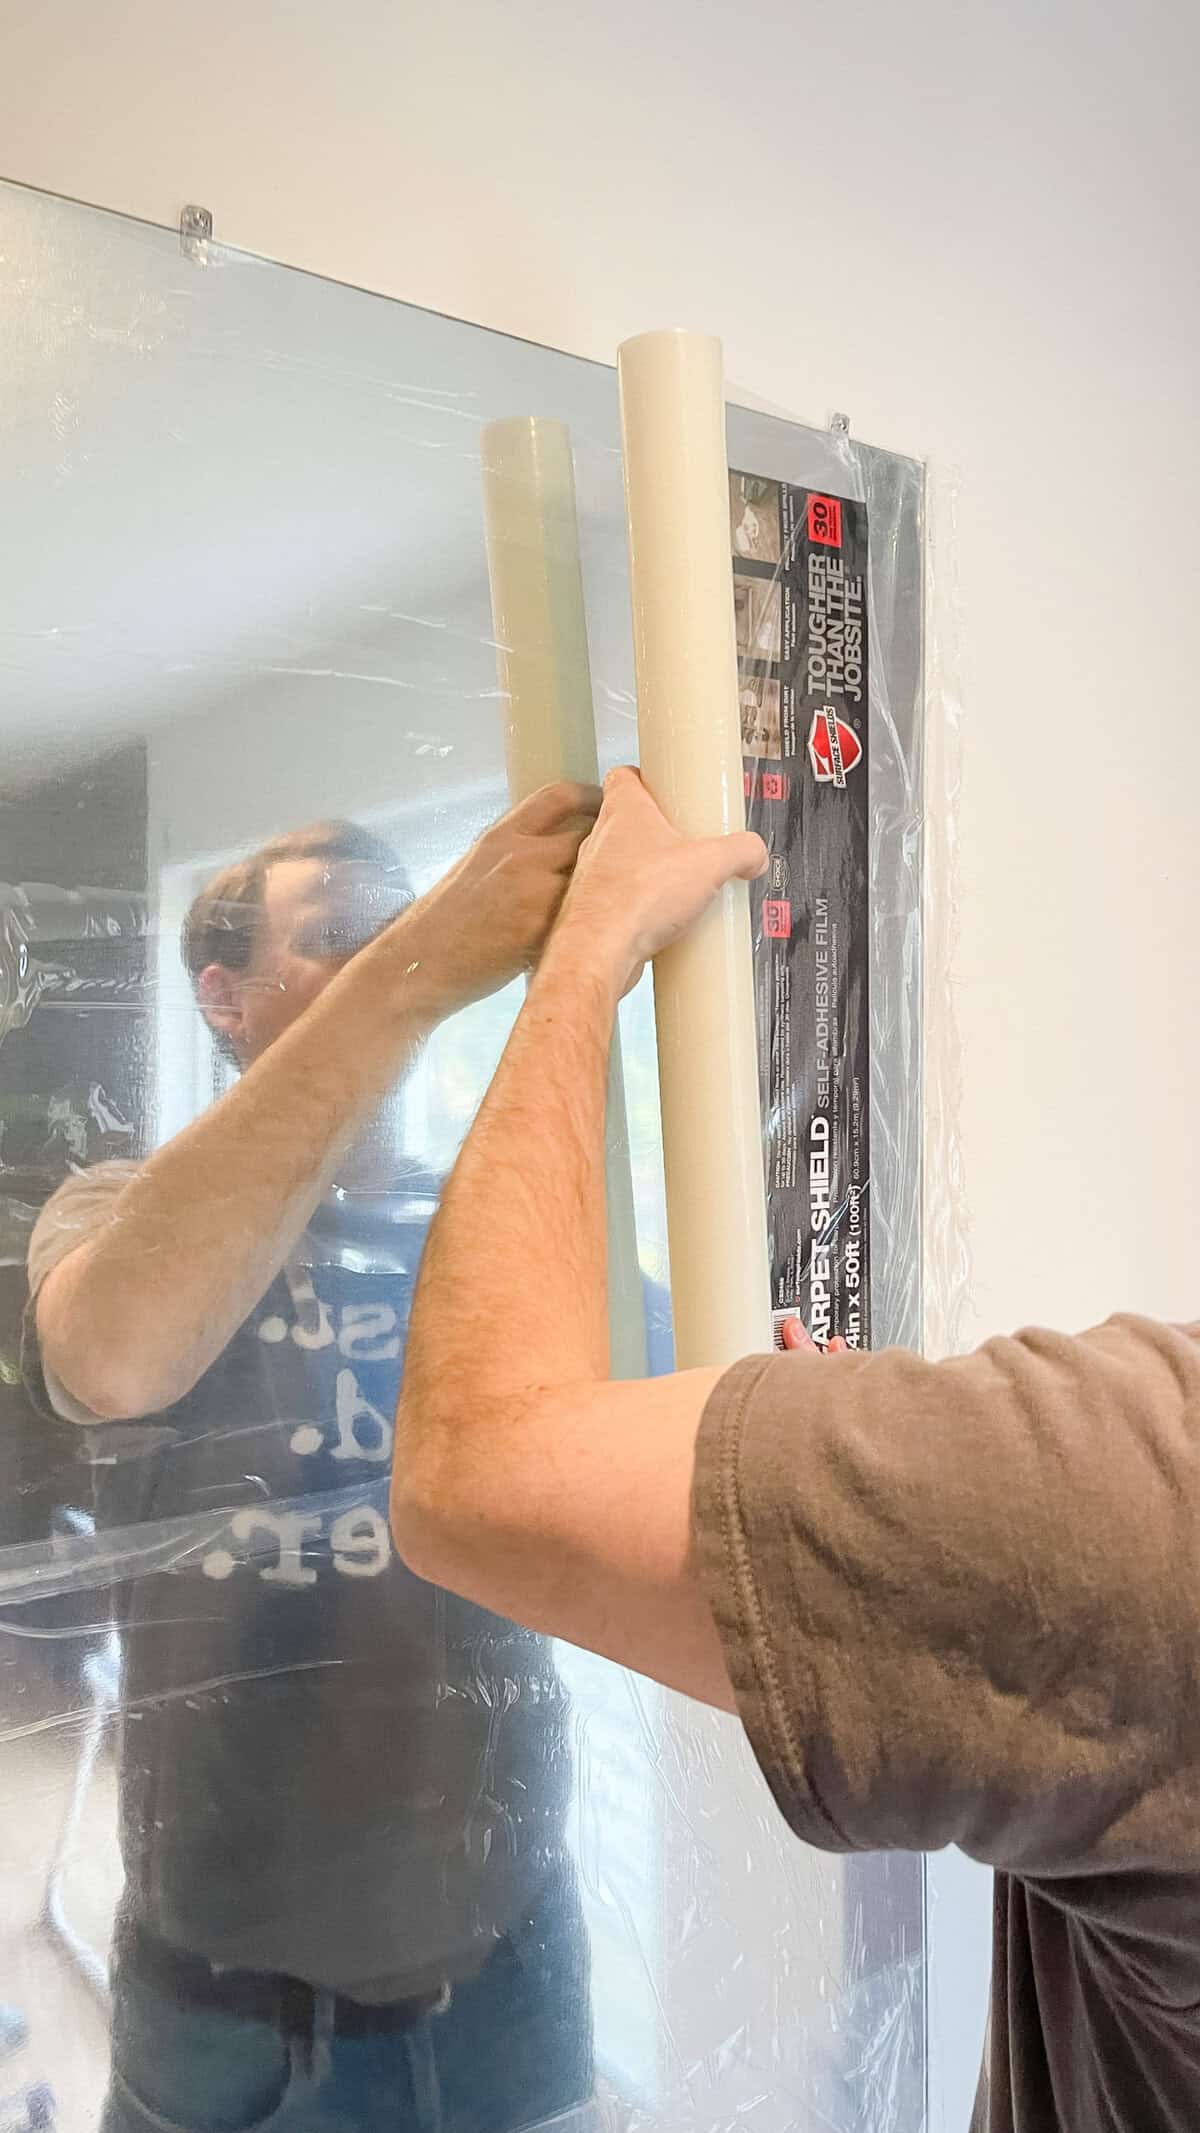
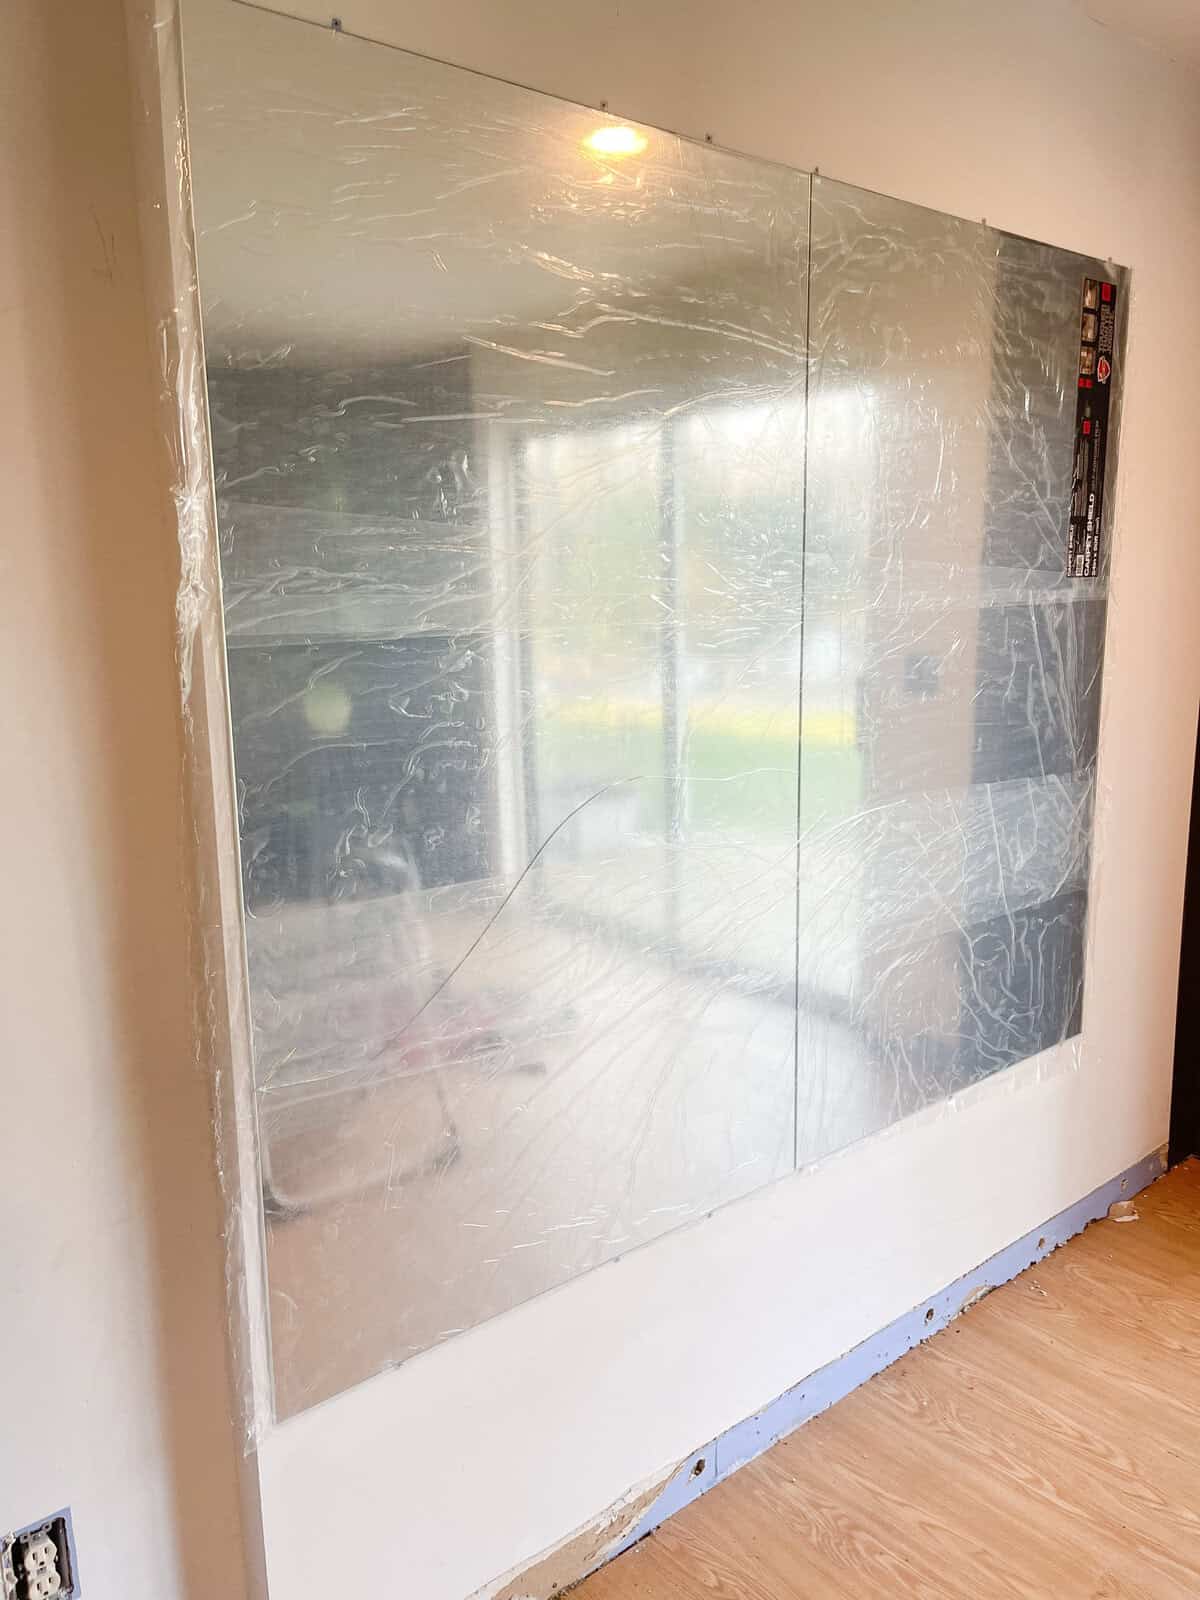
Step 1 – Cover the entire mirror with carpet shield.
Begin at the top of the mirror and cover the mirror with carpet shield.
Press down on the carpet shield in long smoothing actions to make sure every part of the mirror is thoroughly covered.
The carpet shield sticks to the mirror so that when it breaks the mirror will stay attached to the tape like carpet shield, and peel right off.
At least that’s what’s supposed to happen.
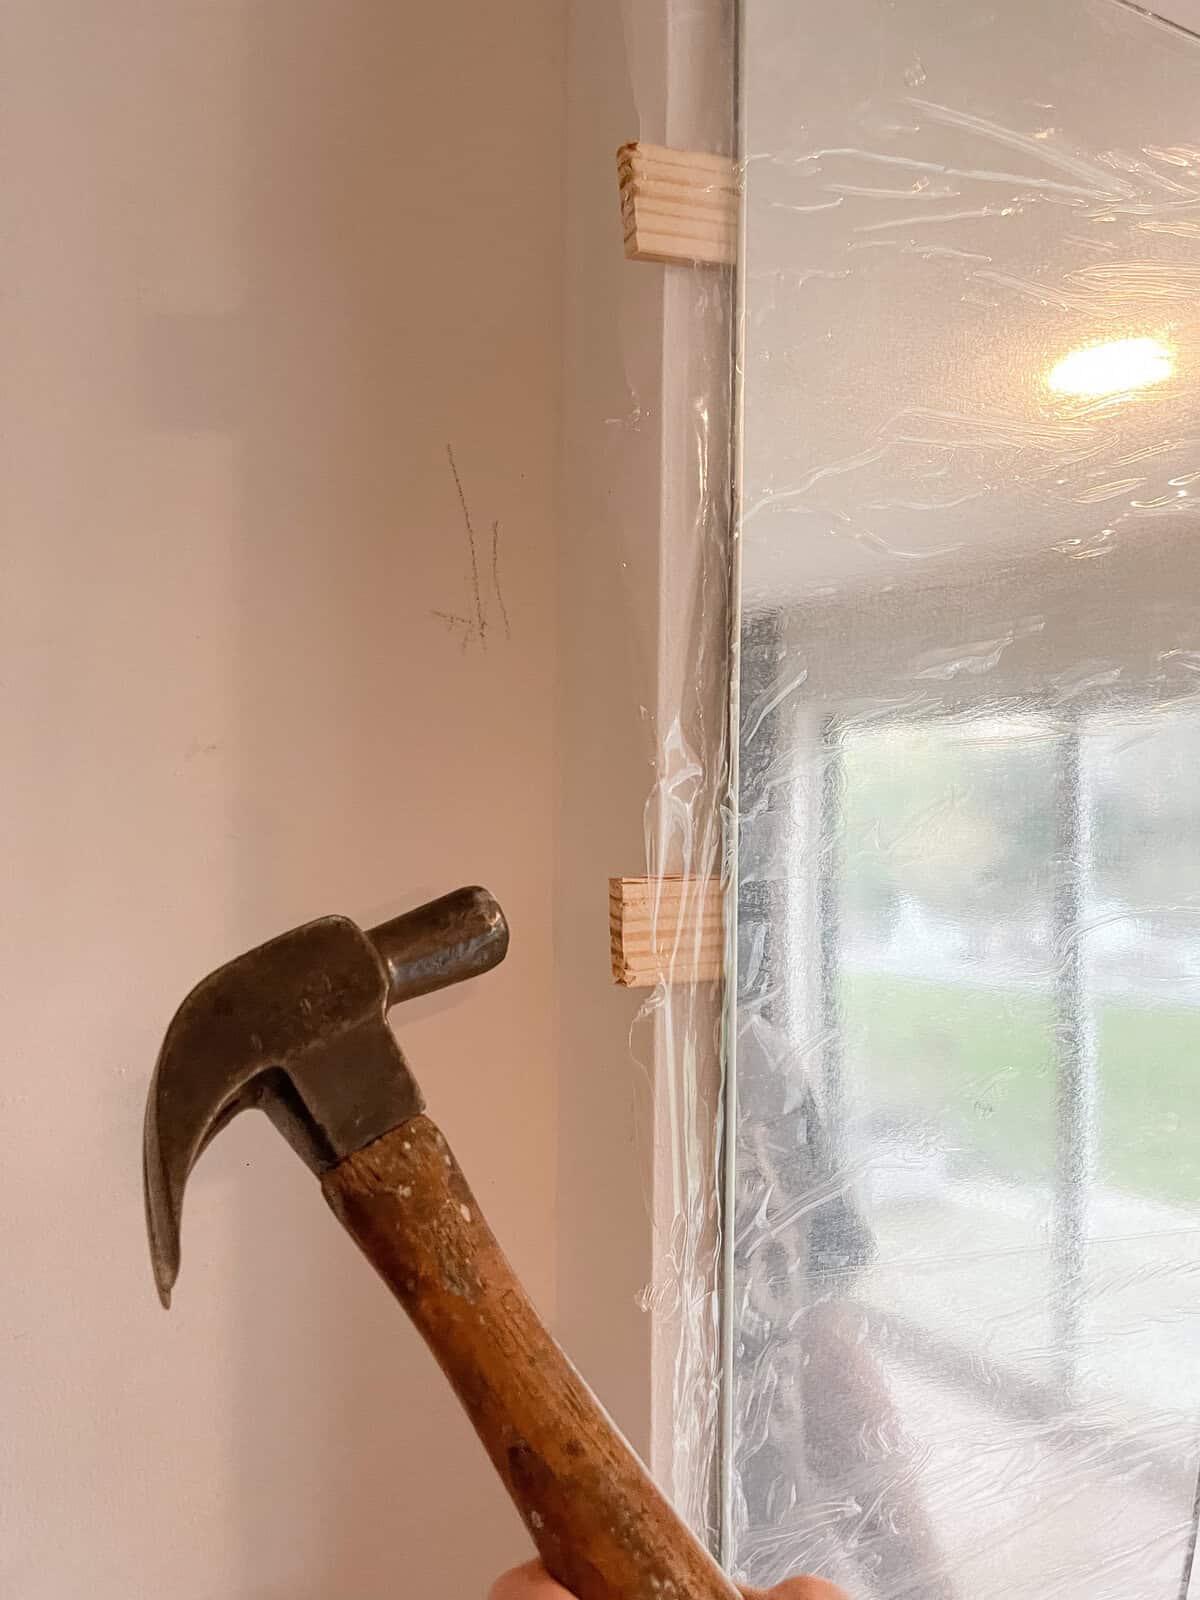
Step 2 – Space out thin wood shimmies behind the mirror.
Gently tap wood spacers behind mirror in even increments.
Once you have them in you can tap harder.
We pounded in wood shimmies between the mirror and wall to give some leverage for removal. It helped with breaking the mirror, making it easier to do.
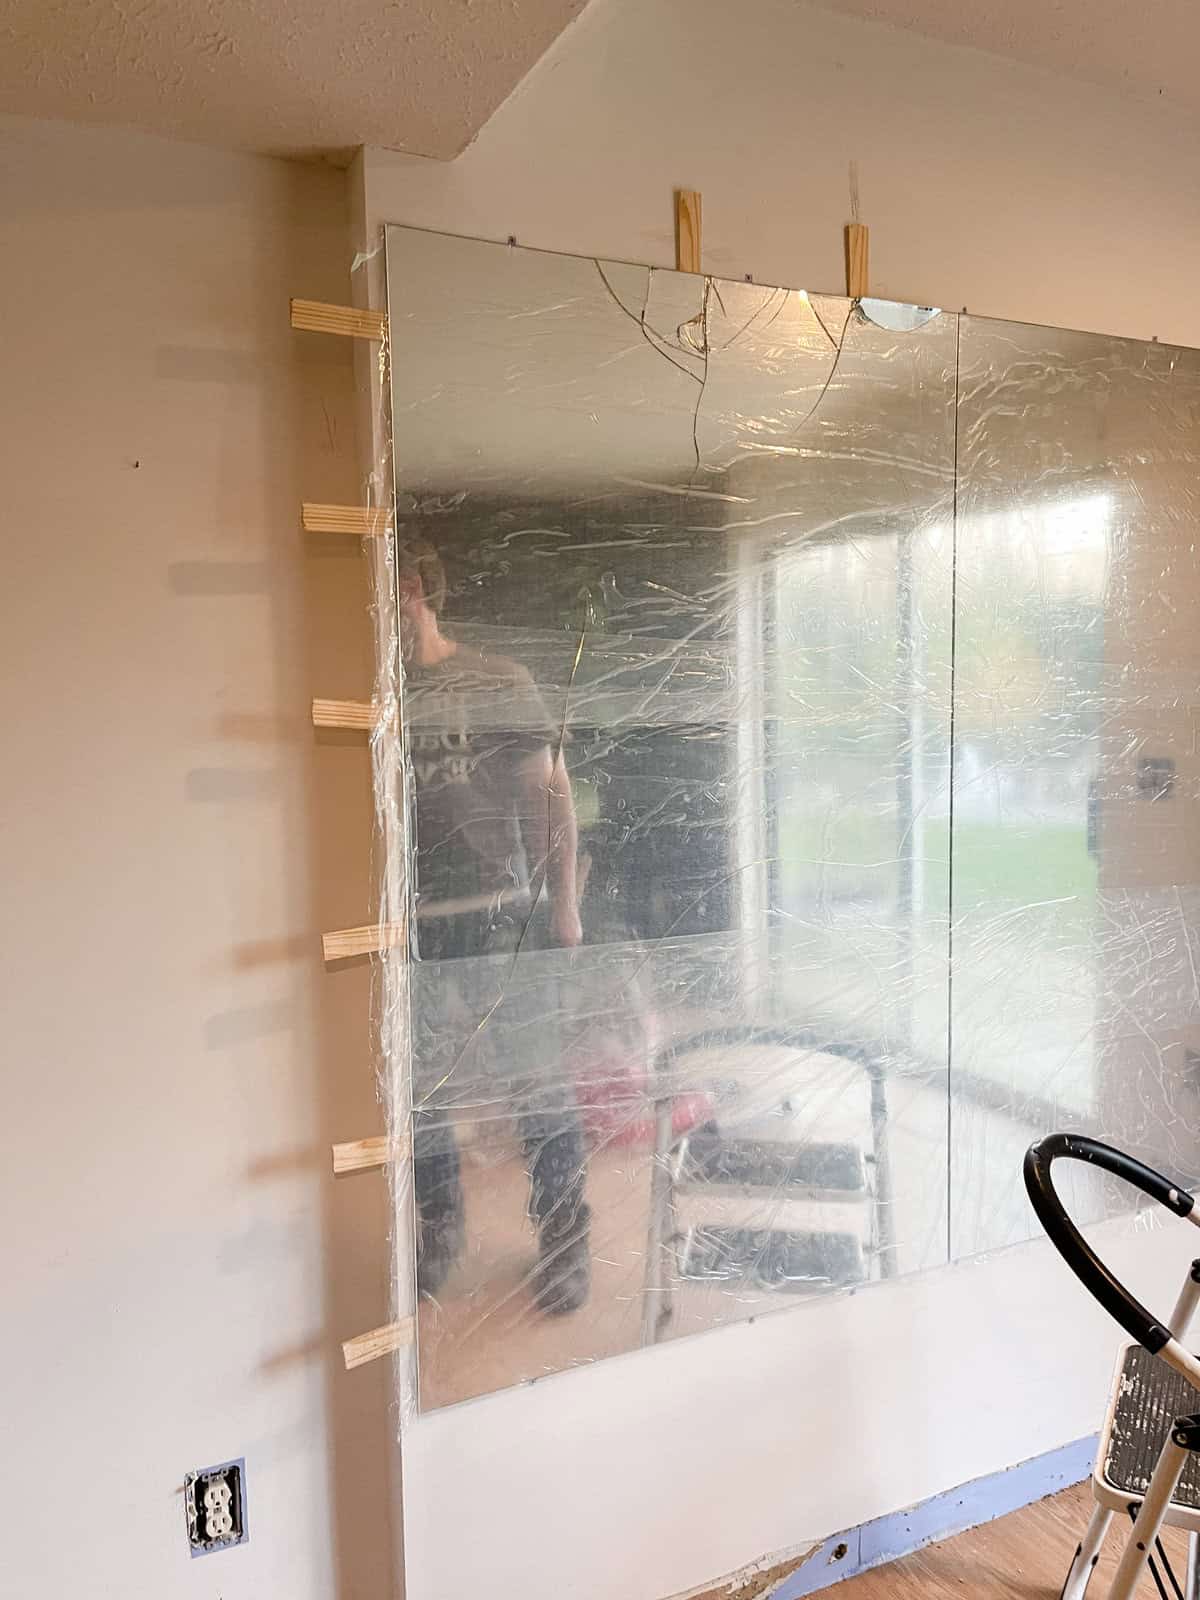
Step 3 – Smash the mirror.
Wear protective eye wear!
This could be called the fun part or the terrifying part.
I think it’s ingrained in me not to break things, especially mirrors, but we had to.
Yes, it was a strange feeling, and yes, it was somewhat fun.
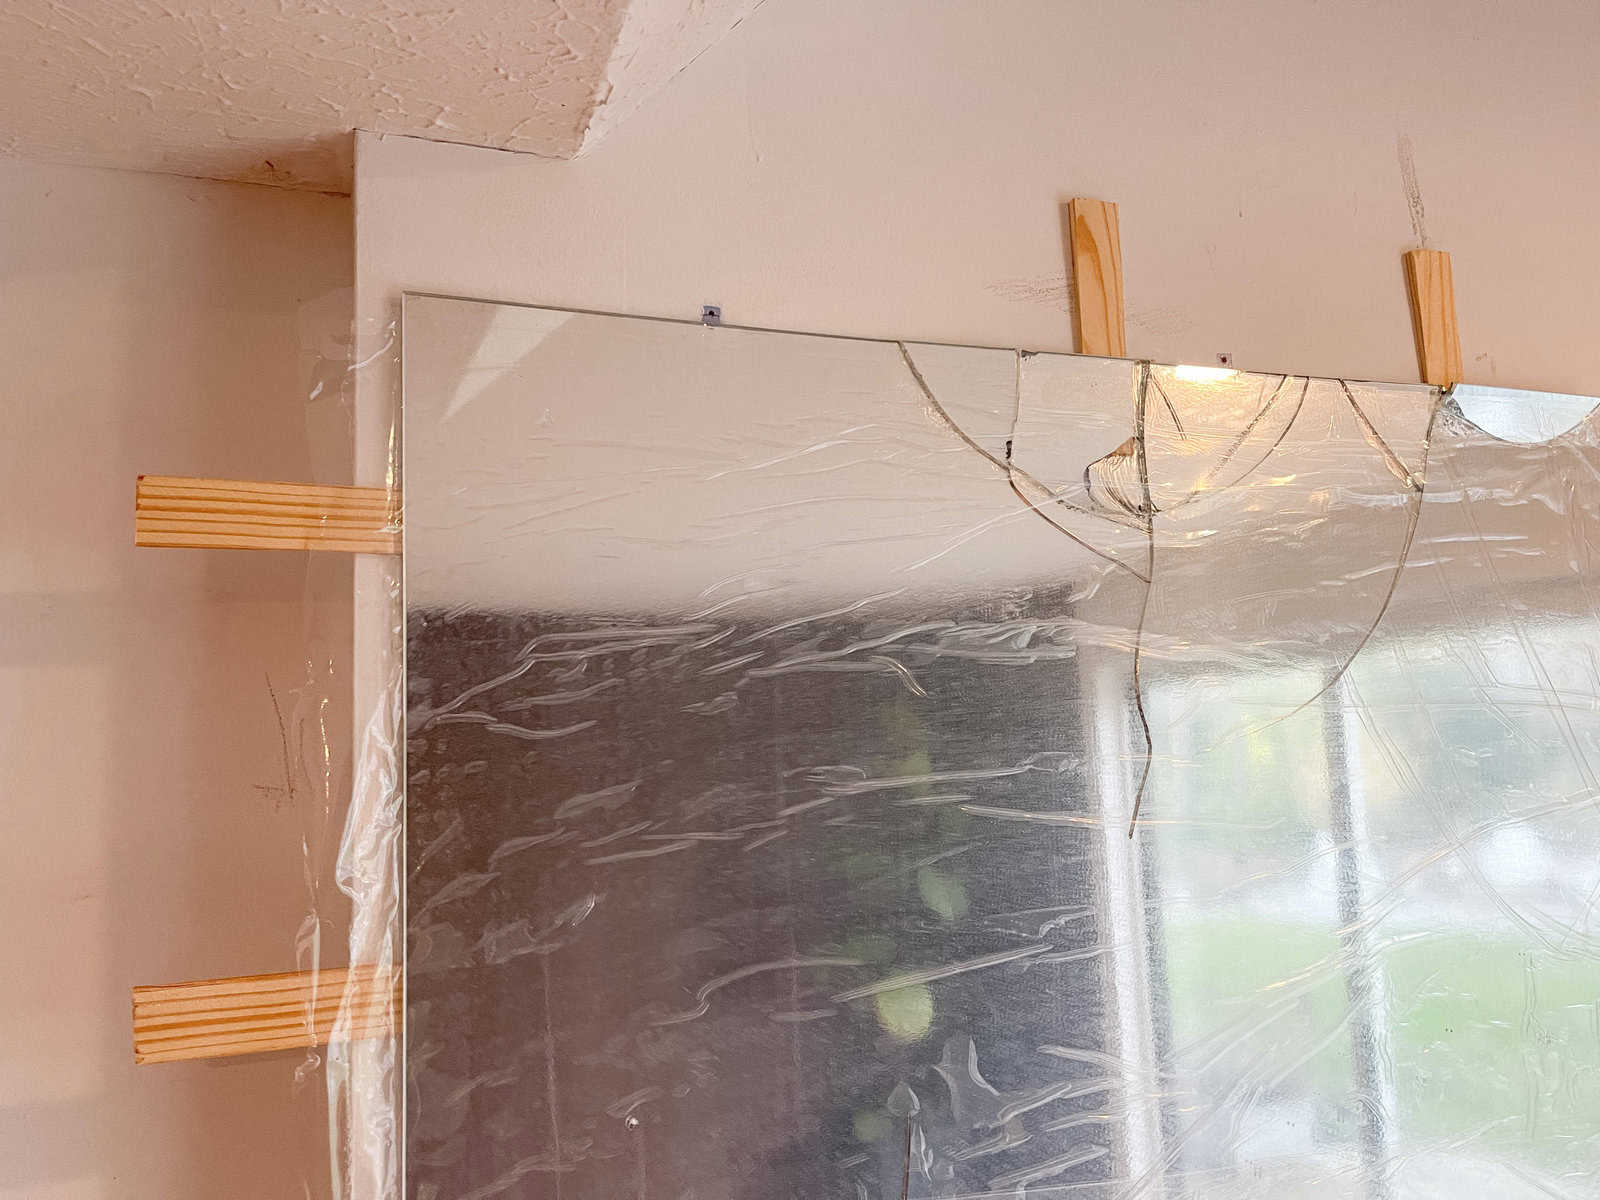
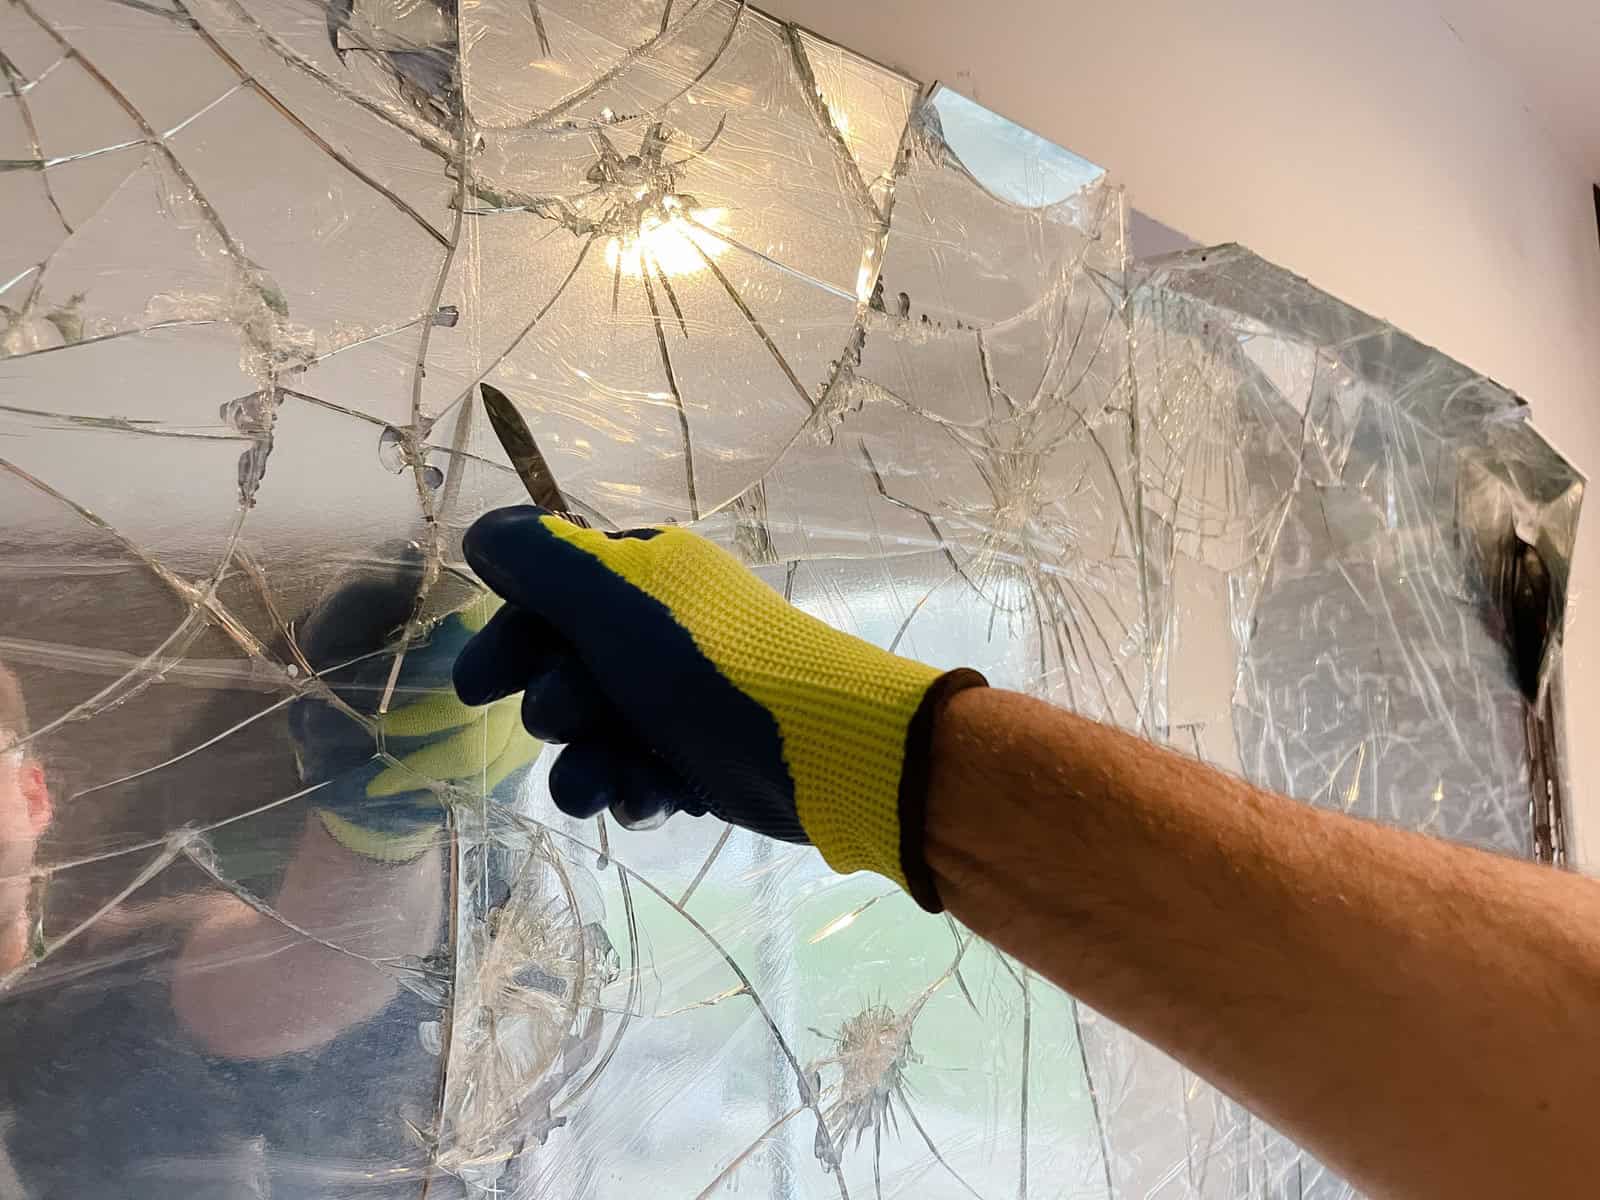
Step 4 – Score the carpet shield with a knife.
With an Exacto knife or sharp pocket knife ( great gift for Dad because they come in so handy) score the carpet shield in sections.
After we took the hammer to the mirror Jeremy cut a few lines down the carpet shield.
He did this so the mirror would come down in a few large chunks instead of one large one.
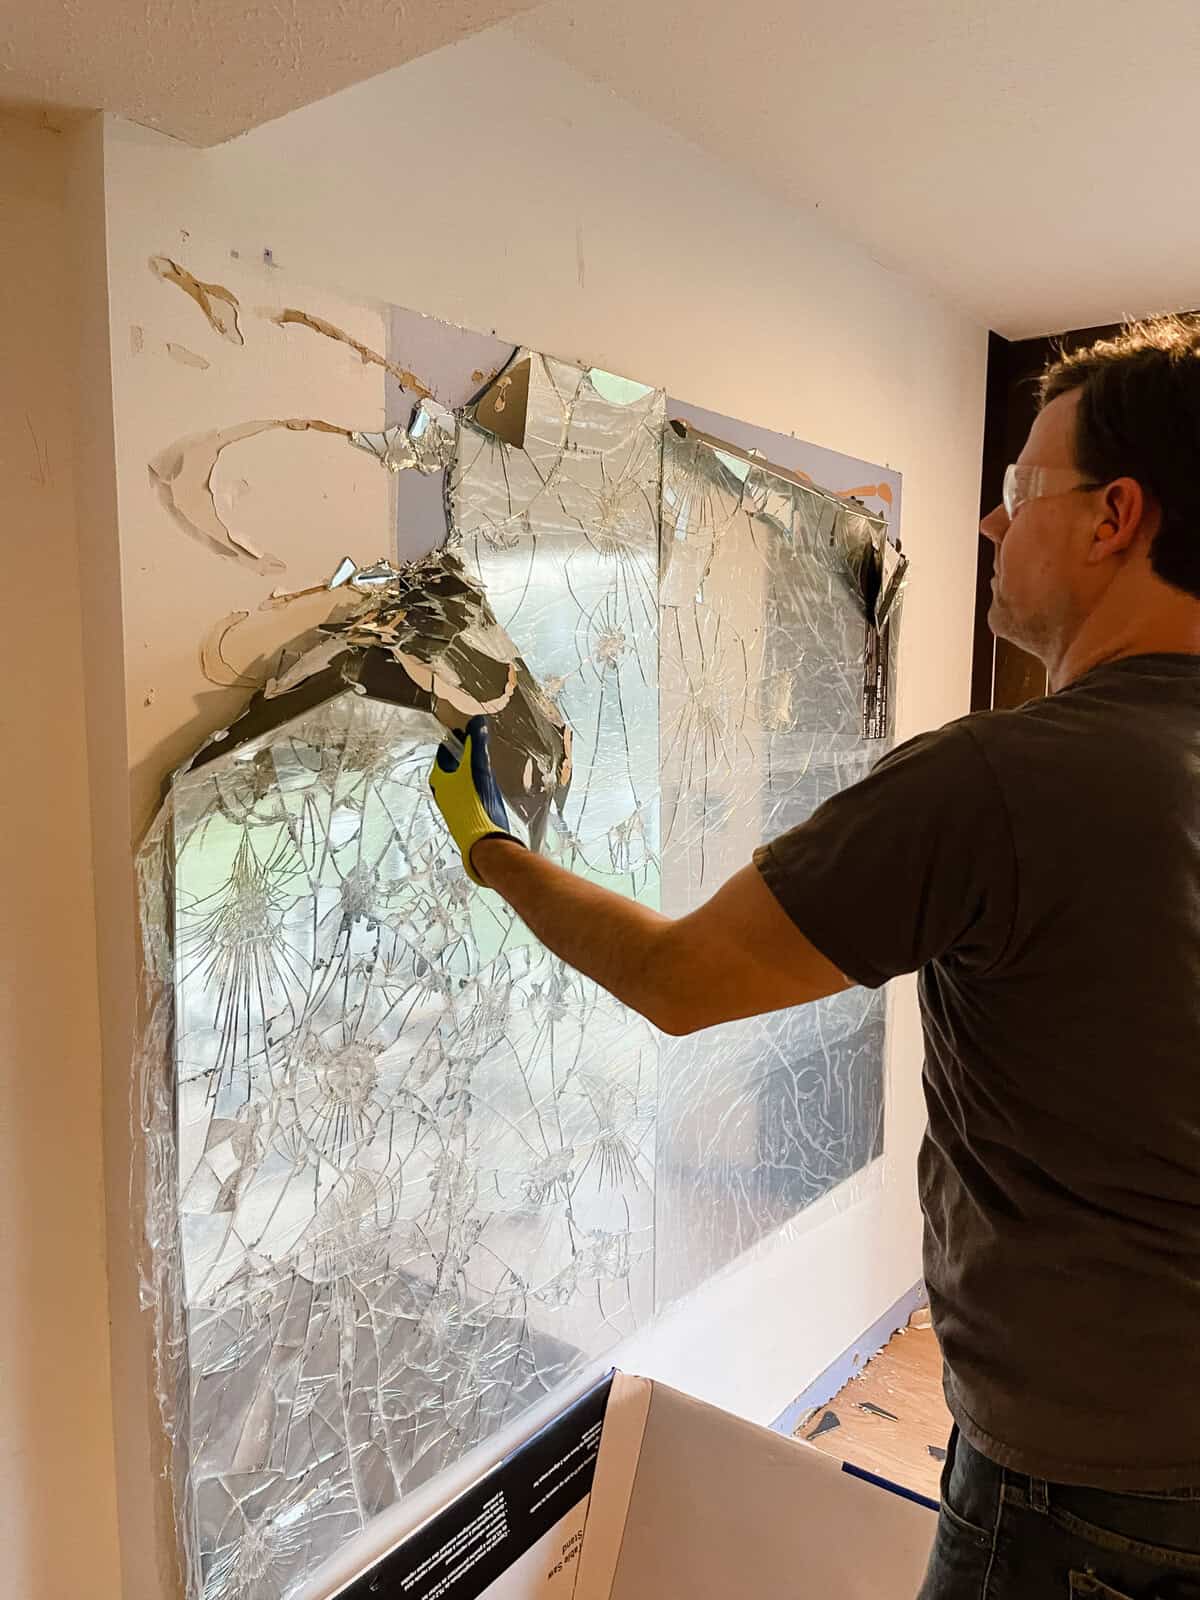
Step 5 – Peel the mirror off the wall.
Here comes what was the most satisfying part of this whole mirror removal job.
Peeling off the mirror is both a surprise and a relief.
I couldn’t believe how well this technique worked.
All the previous steps came together and the mirror came down.
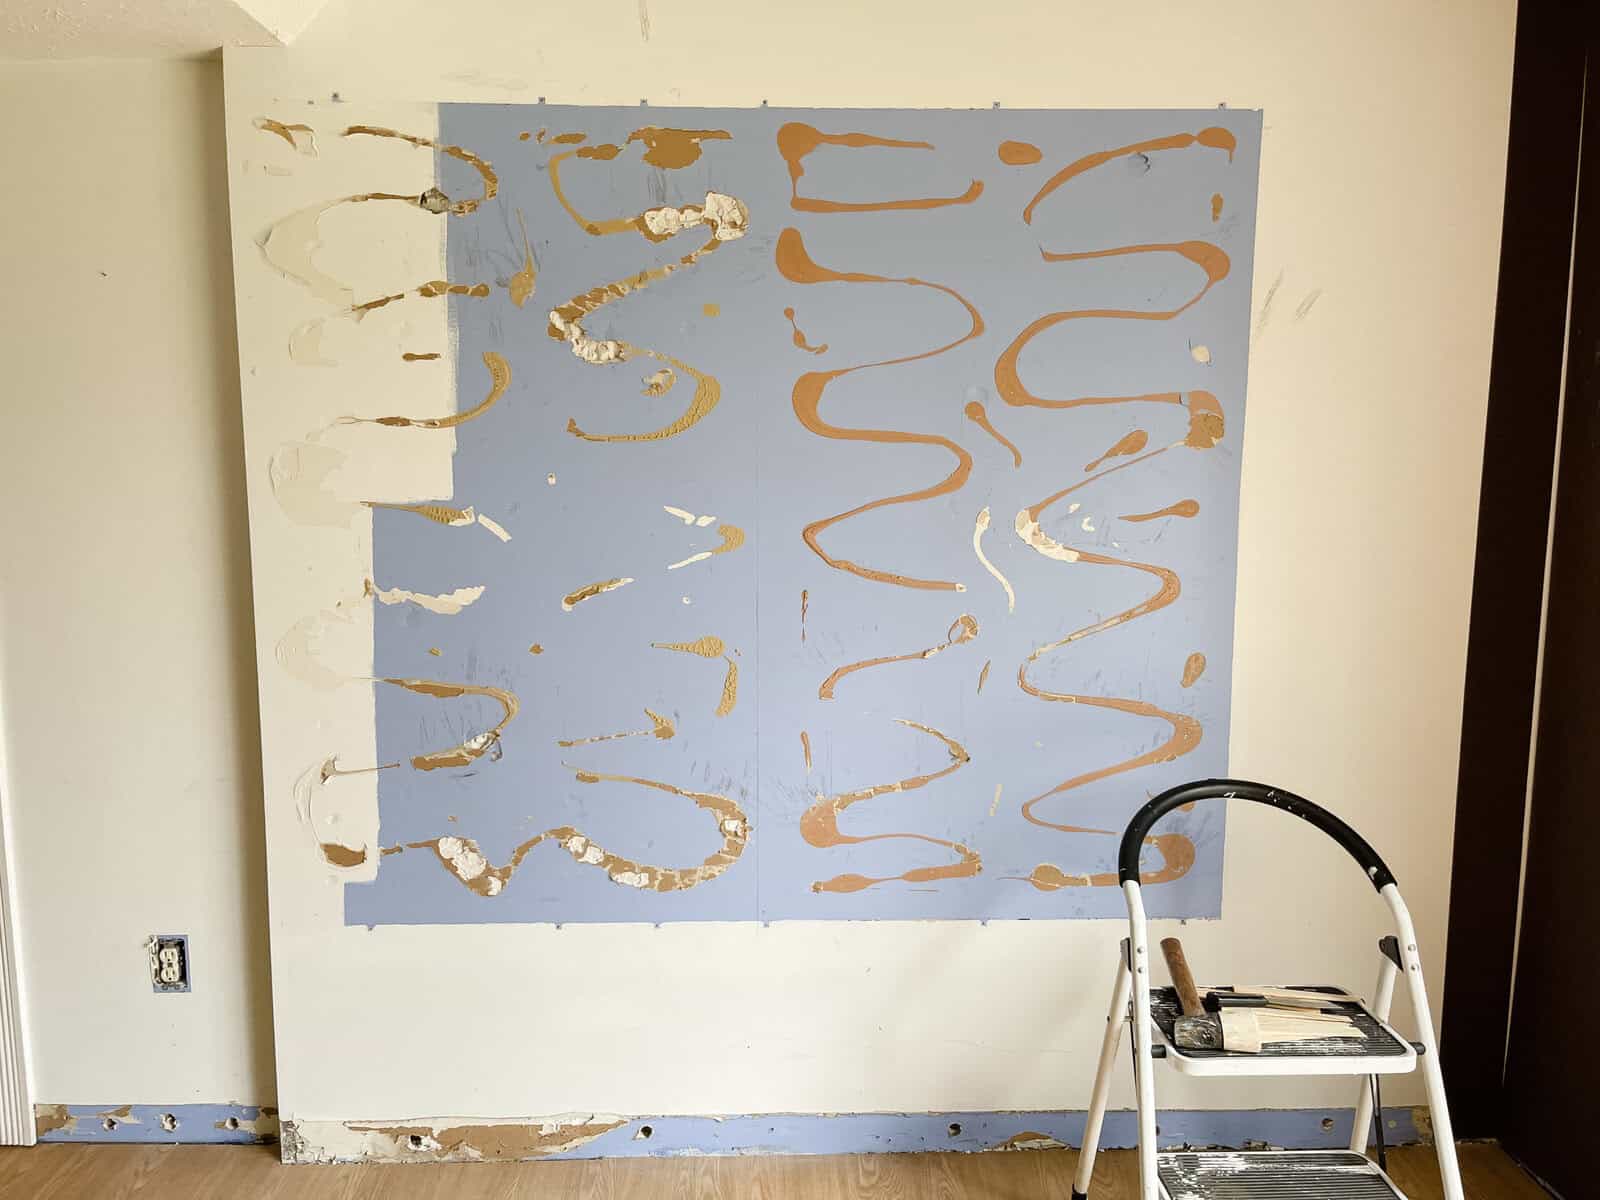
There was quite a bit of damage to the wall, but paneling will cover it.

For extra tough glued on parts, use a paint scrapper to loosen the glue and remove mirror fragments.
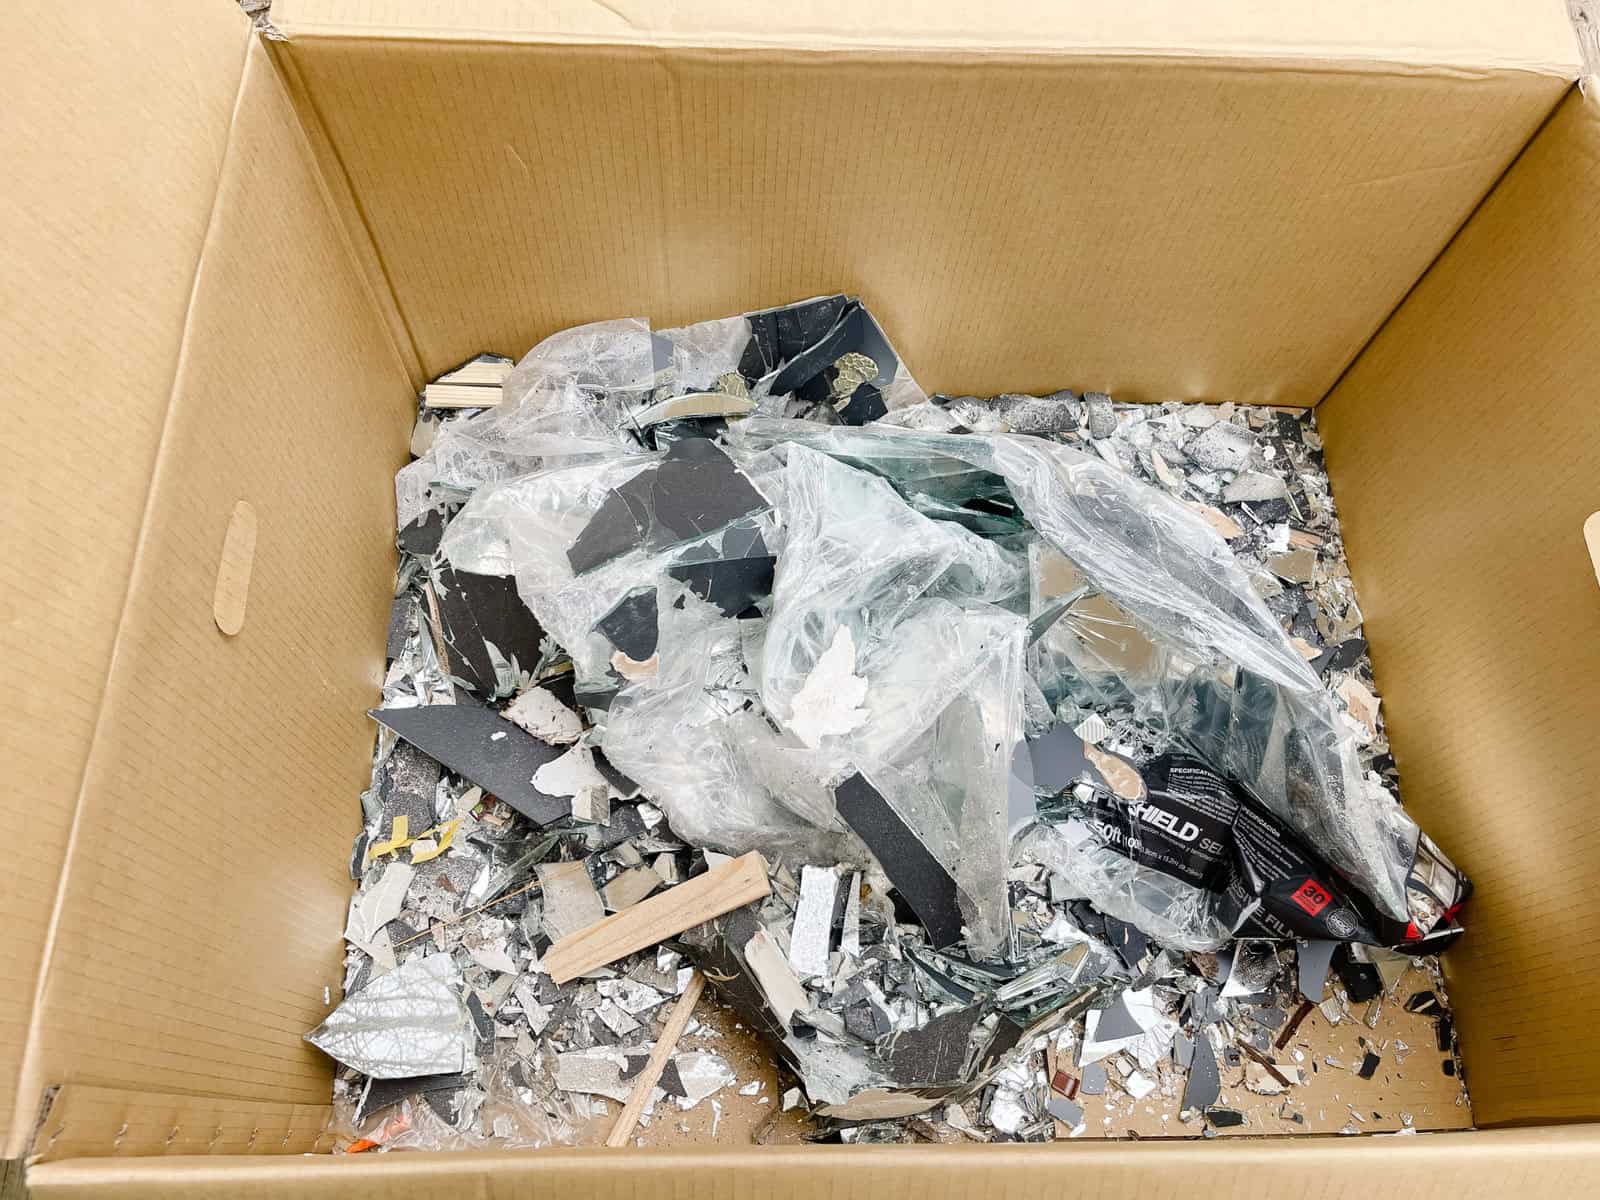
We had a big carboard box below the mirror to catch the glass as it fell.
This made clean up so much easier and I highly recommend doing this if you tackle removing a mirror.
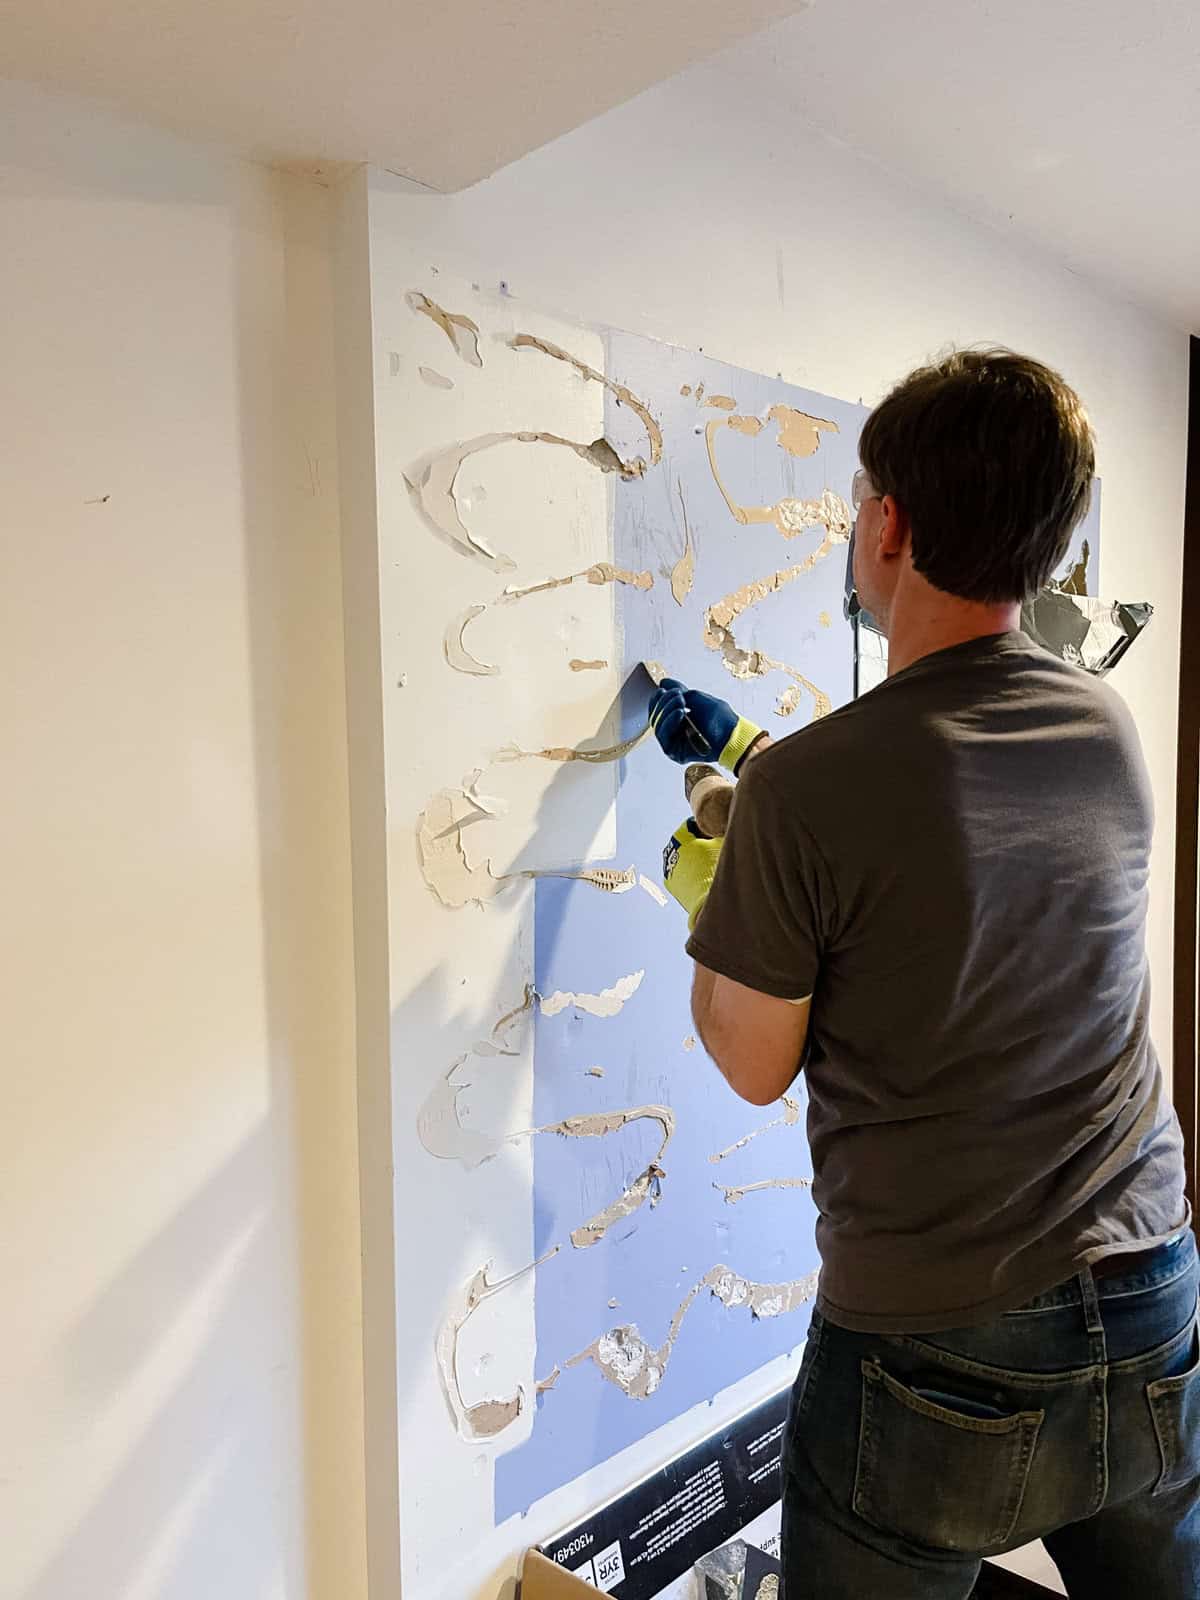
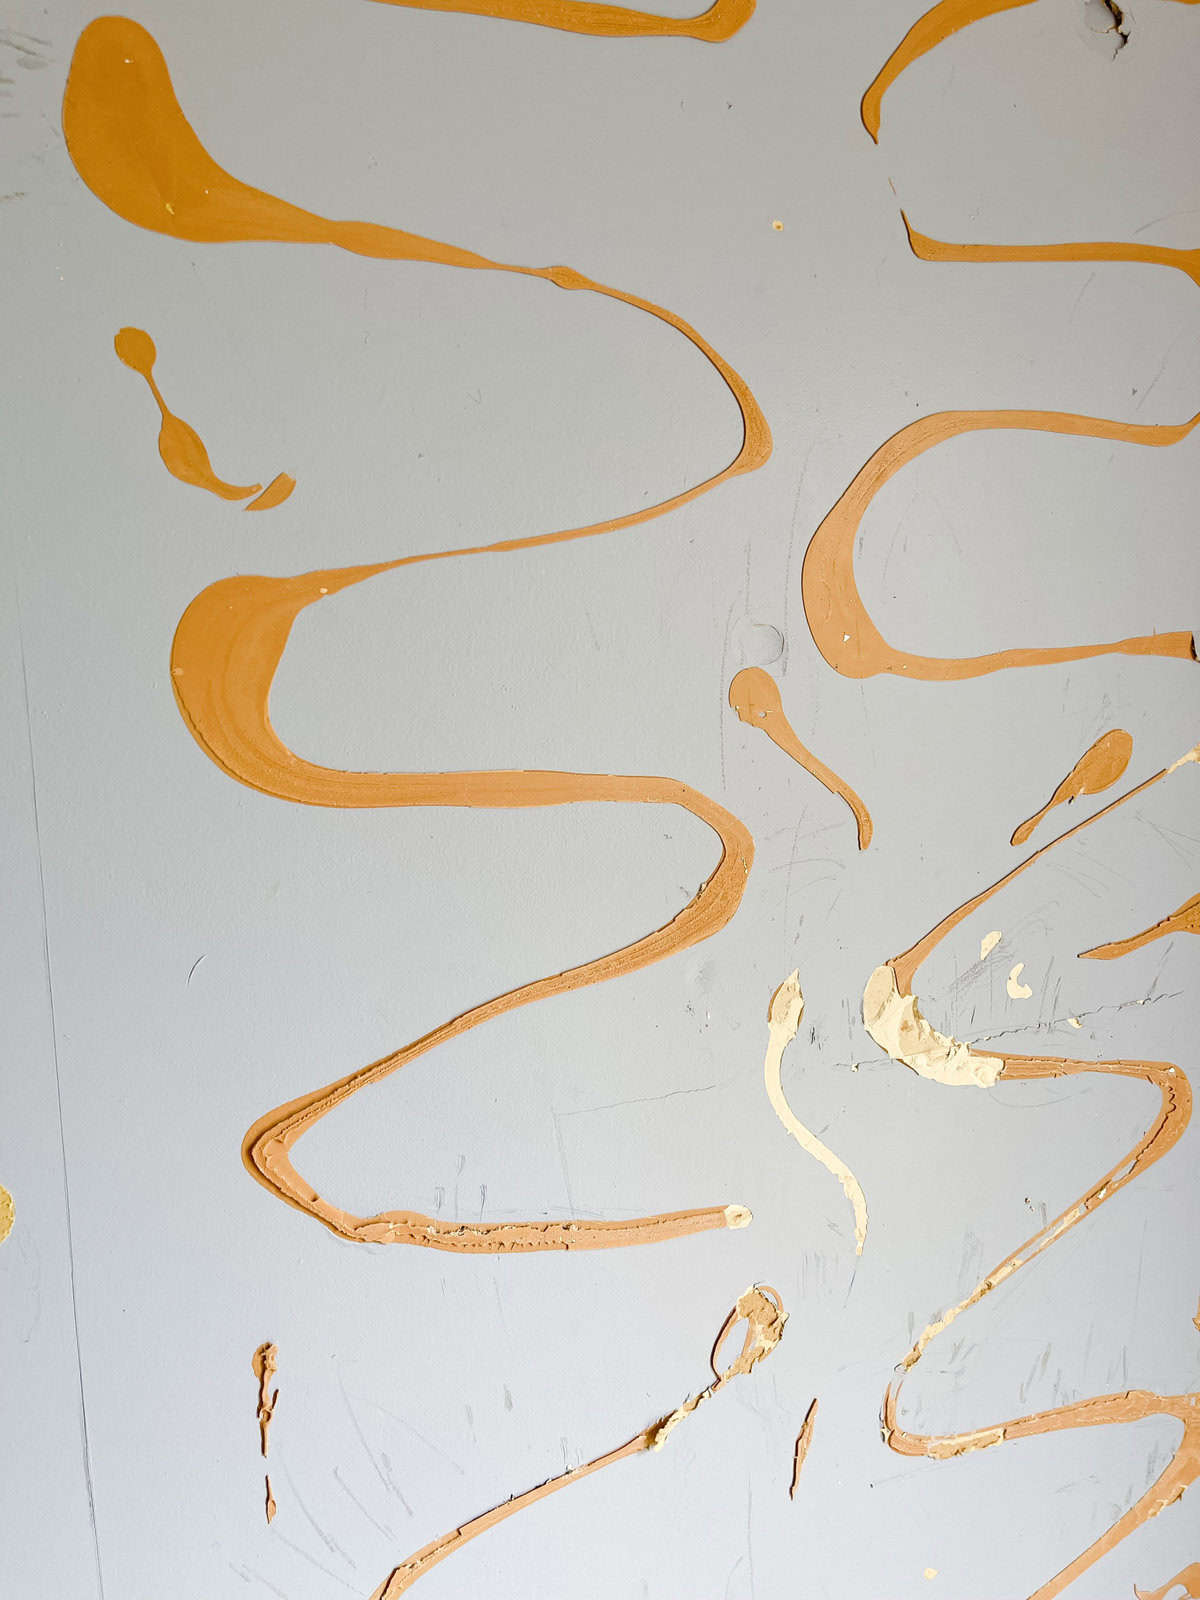
Like I said, we really went crazy with the glue.
So much glue.
Thankfully with a little more added scrapping the mirror came off the wall.
As you can see the wall was damaged, but we’ll be putting up paneling so this will all be covered.
Step 6 – Put mirror fragments in a box and tape shut.
The last step makes clean up simple.
Once the mirror fragments are in the cardboard box it can be tapped up and put in the garbage.
PRO TIP! Protect your hands and use gloves specifically for working with mirrors.
Now the mirrors have been taken down safely, hopefully this space wills start to come together fast.
Getting this room finished will take each member of our family doing their part. It’s a group effort from the little girls entertaining themselves so we can work, to the big kids helping with putting the paneling up.
Jeremy usually does the heavy lifting as well as operating the saws. I paint and paint and paint. It’s a family affair!
Do you think we’ll get it all done in time? I just keep thinking, where there’s a will, there’s a way!
Be sure to follow me on Instagram for updates on our progress.

MORE RENOVATION PROJECTS
- How to Install DIY Plank Flooring
- Laying Vinyl Flooring in a Bedroom
- 7 Paint Projects with Huge Impact

Pin It & Save It!


Whoa! You are brave! I never would have thought to intentionally break the mirrors before removing them. Very helpful tips and step by step instructions. I have an enormous mirror in my bathroom I want to remove . . . hmmm
We couldn’t find anyone to take it and it was cracked so we did our best. Glad it’s over, but totally doable.
I did it , with the help of my husband. We had squares of glass made it easier, no breakage. Carpet Shield was perfect for the job but I doubled up on the carpet shield. My husband use the wide putty knife to lift the squares and I cut with the exacto knife the glass folded it was so easy
Thanks
Hi Brynda, Good for you two! Team work makes the dream work. Thanks for sharing!
My inner child is saying “time to play!”
Ha ha! Yes, after I got over my anxiety of breaking glass it was pretty satisfying.