In this post I’ll be sharing how to install a bedroom ceiling fan.
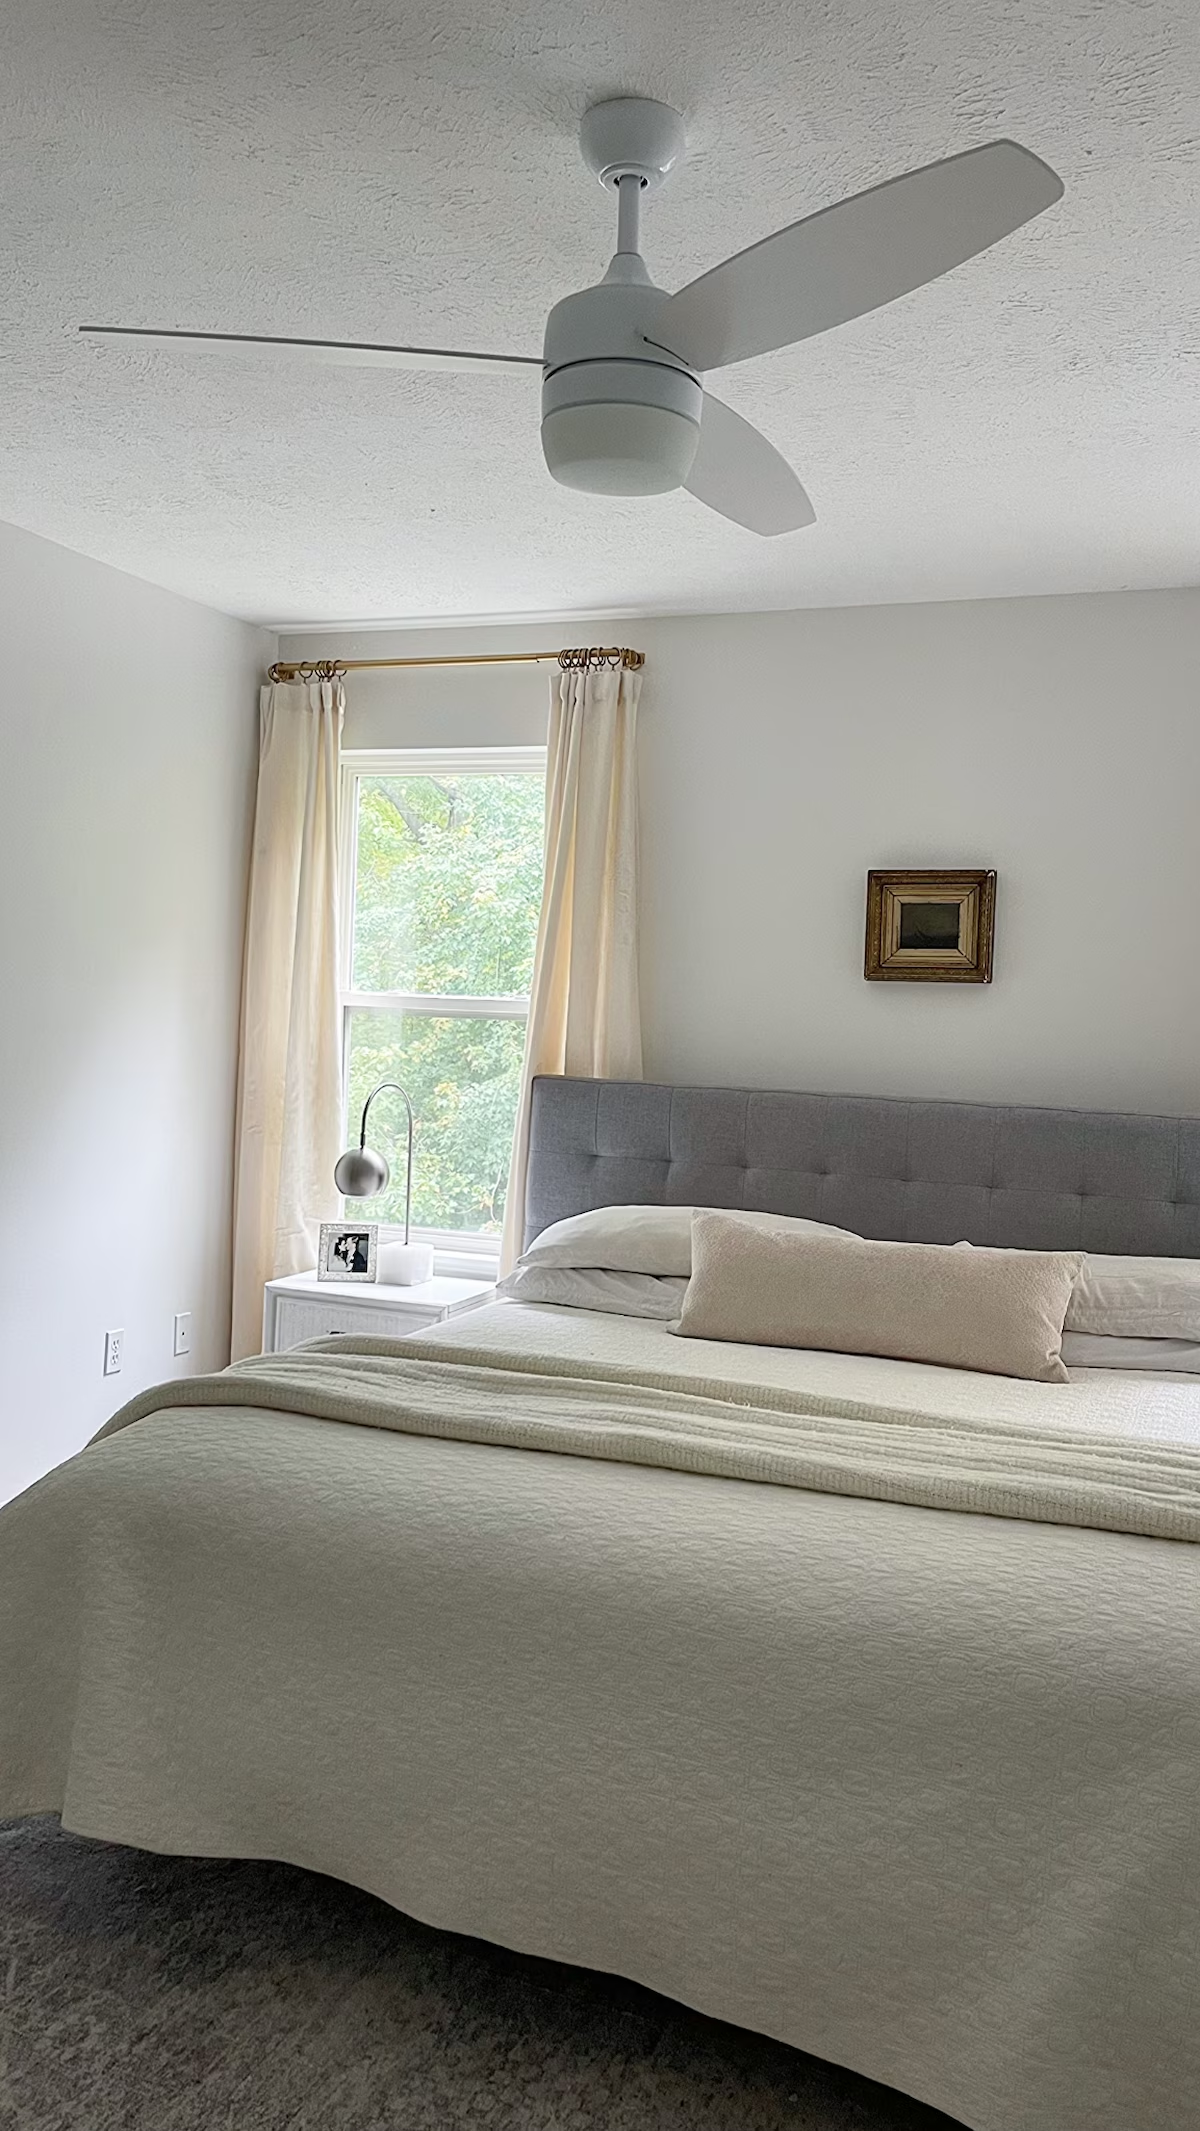
One of the projects Jeremy and I put off for far too long was installing our bedroom ceiling fan.
In our last home we loved our ceiling fan, so why oh why did it take us until now to get this beauty of a fan installed?
After slowly working on our bedroom for almost a year, I realized I needed to write a post and show you what we’ve done!
Is It Hard to Install a Bedroom Ceiling Fan?
If you’ve been here awhile you know that budget friendly is my middle name.
So in the spirit of staying on budget we put in this ceiling fan ourselves.
It was not hard, and you can do it as well.
Is a Good Quality Ceiling Fan Expensive?
No, they are not.
You can find a great looking fan like we did, for a great deal.
This whole bedroom makeover has been done on a shoe string.
A very beautiful shoe string.
An fancy, expensive ceiling fan was out of the question.
Thankfully, I found a brand that makes the most stylish ceiling fans at an incredibly affordable price.
The brand ended up gifted me the fan of my choice, but even if it hadn’t, we would have purchased this fan.
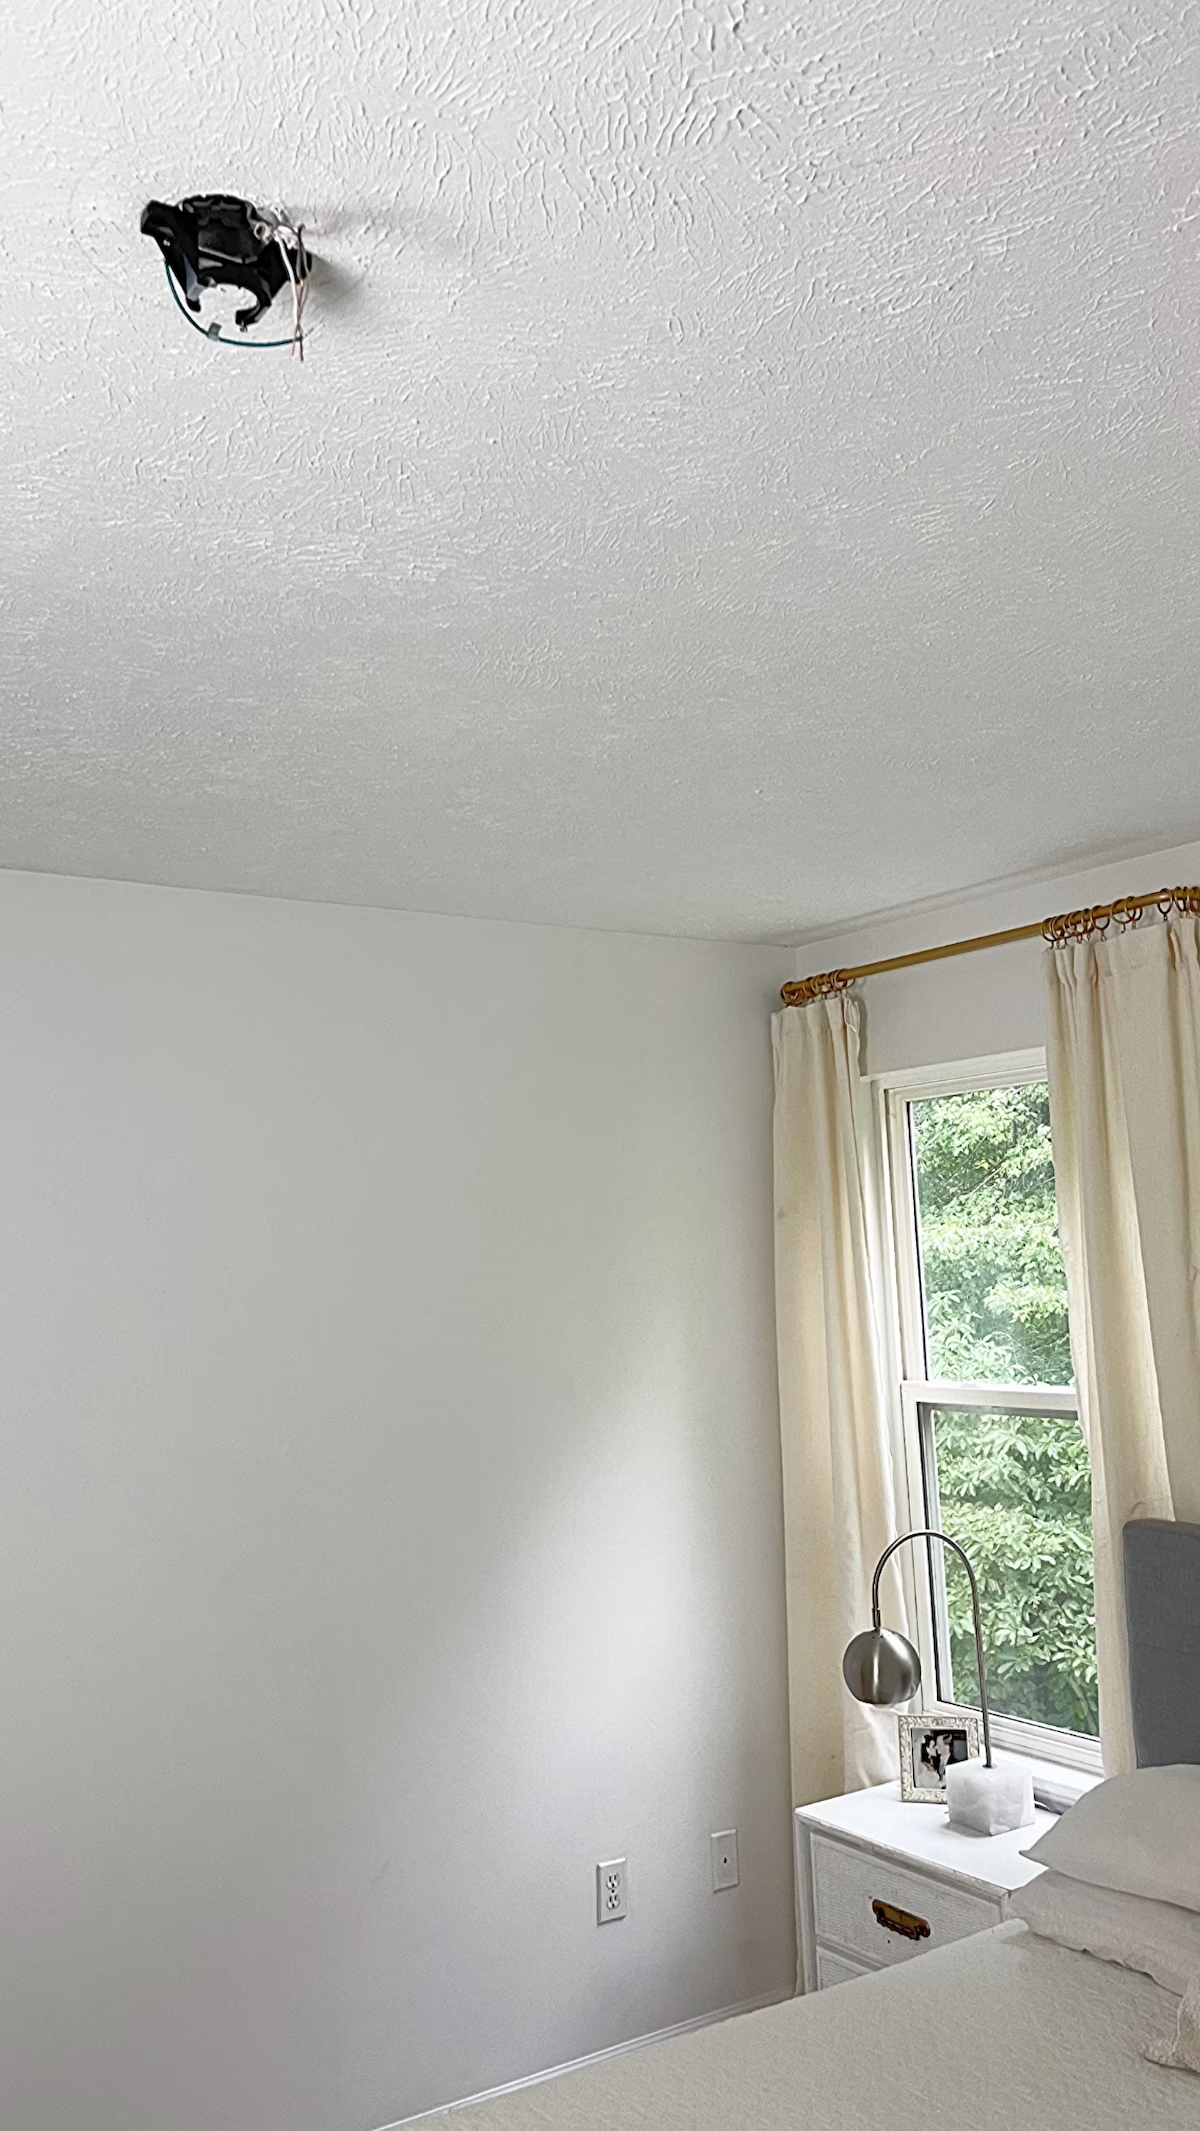
How to Install a Bedroom Ceiling Fan
Materials
- electric tape
- ceiling fan (love ours here)
- ceiling plate
- junction box
Tools
- screwdriver
- cordless power drill
- drill bits
- wrench
- ladder
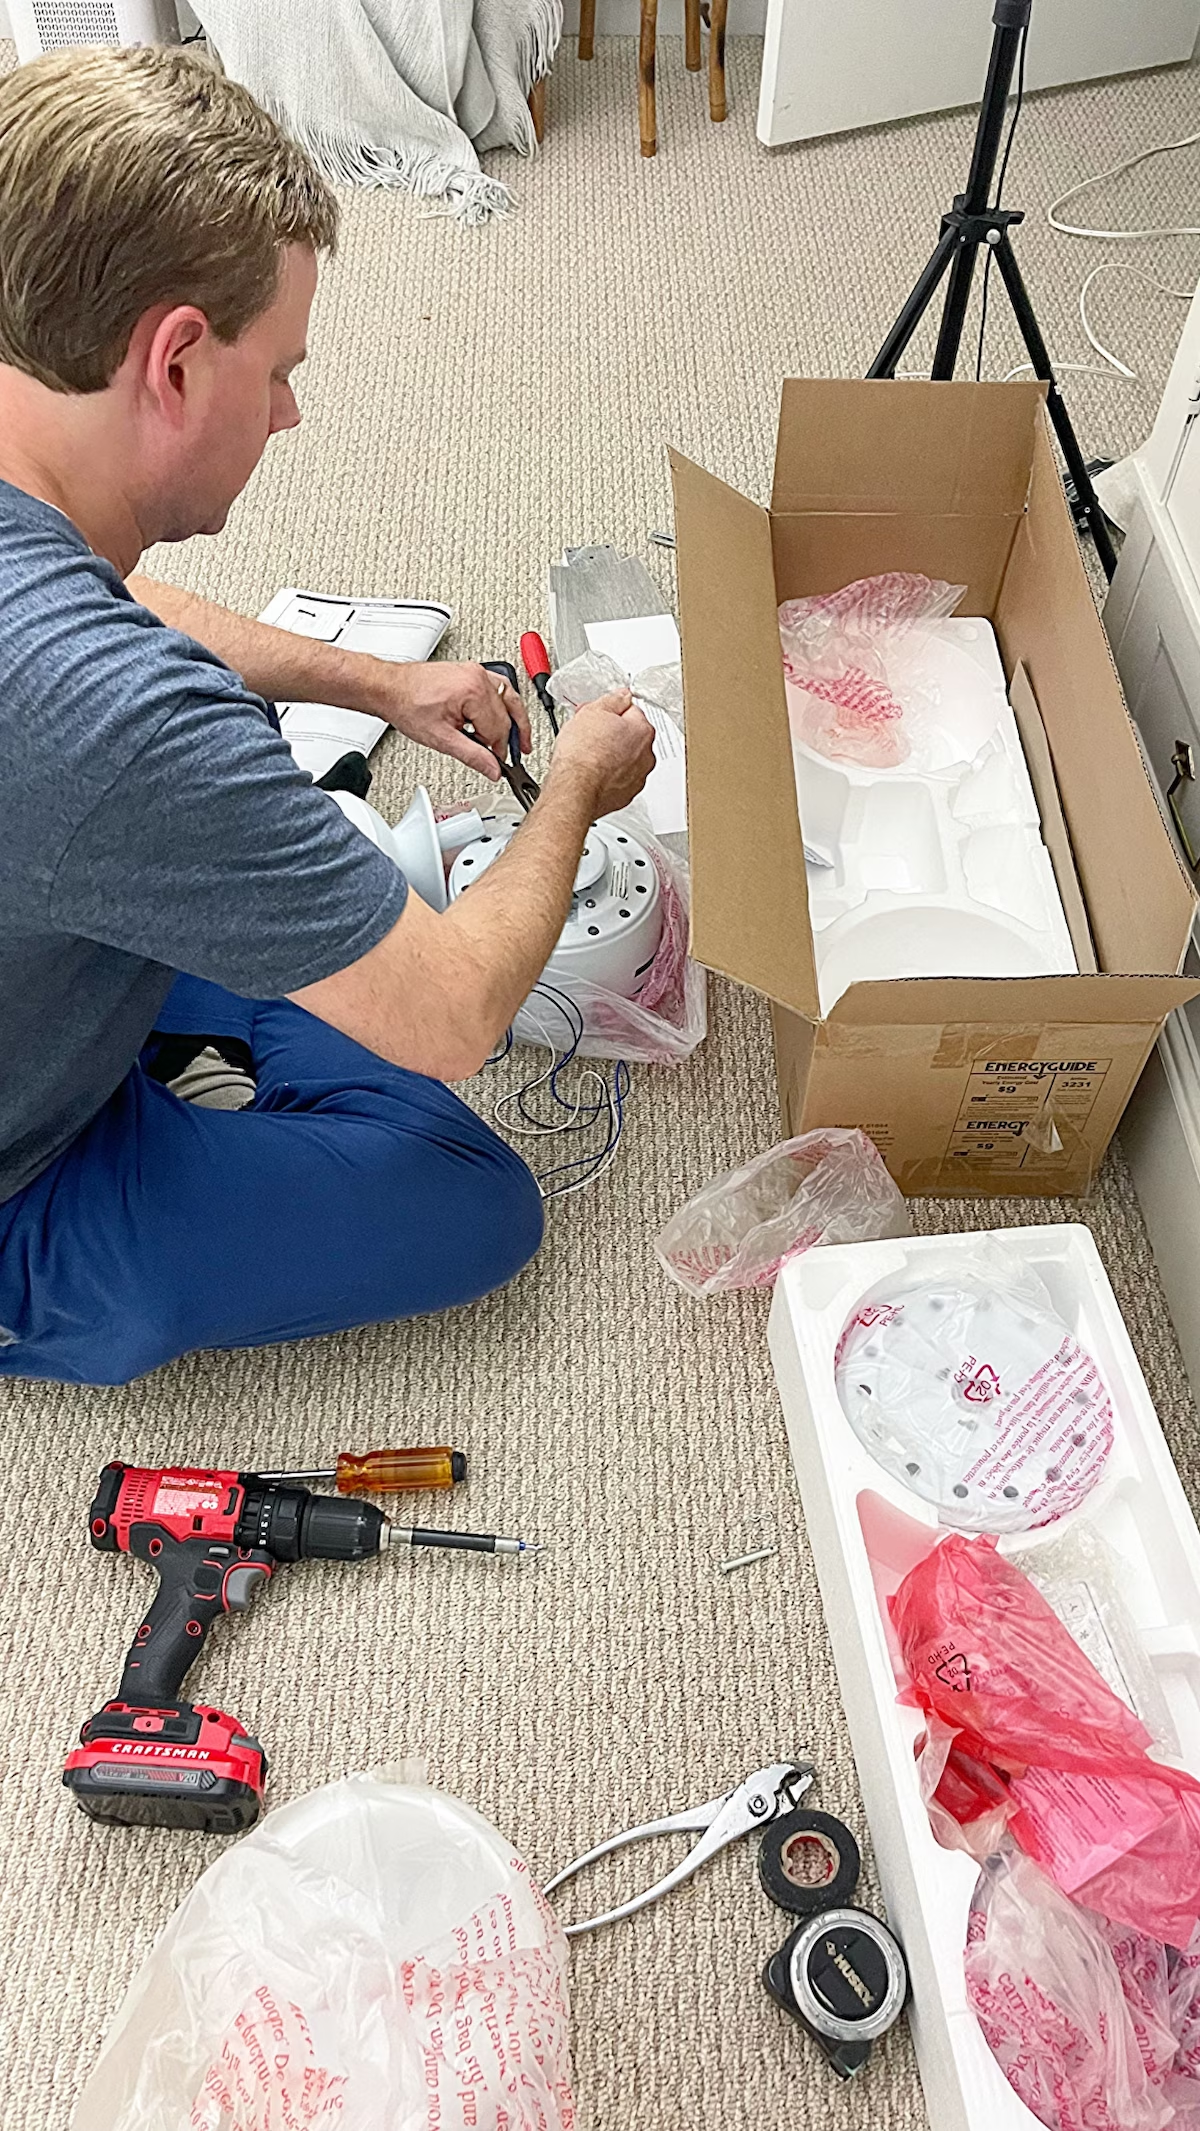
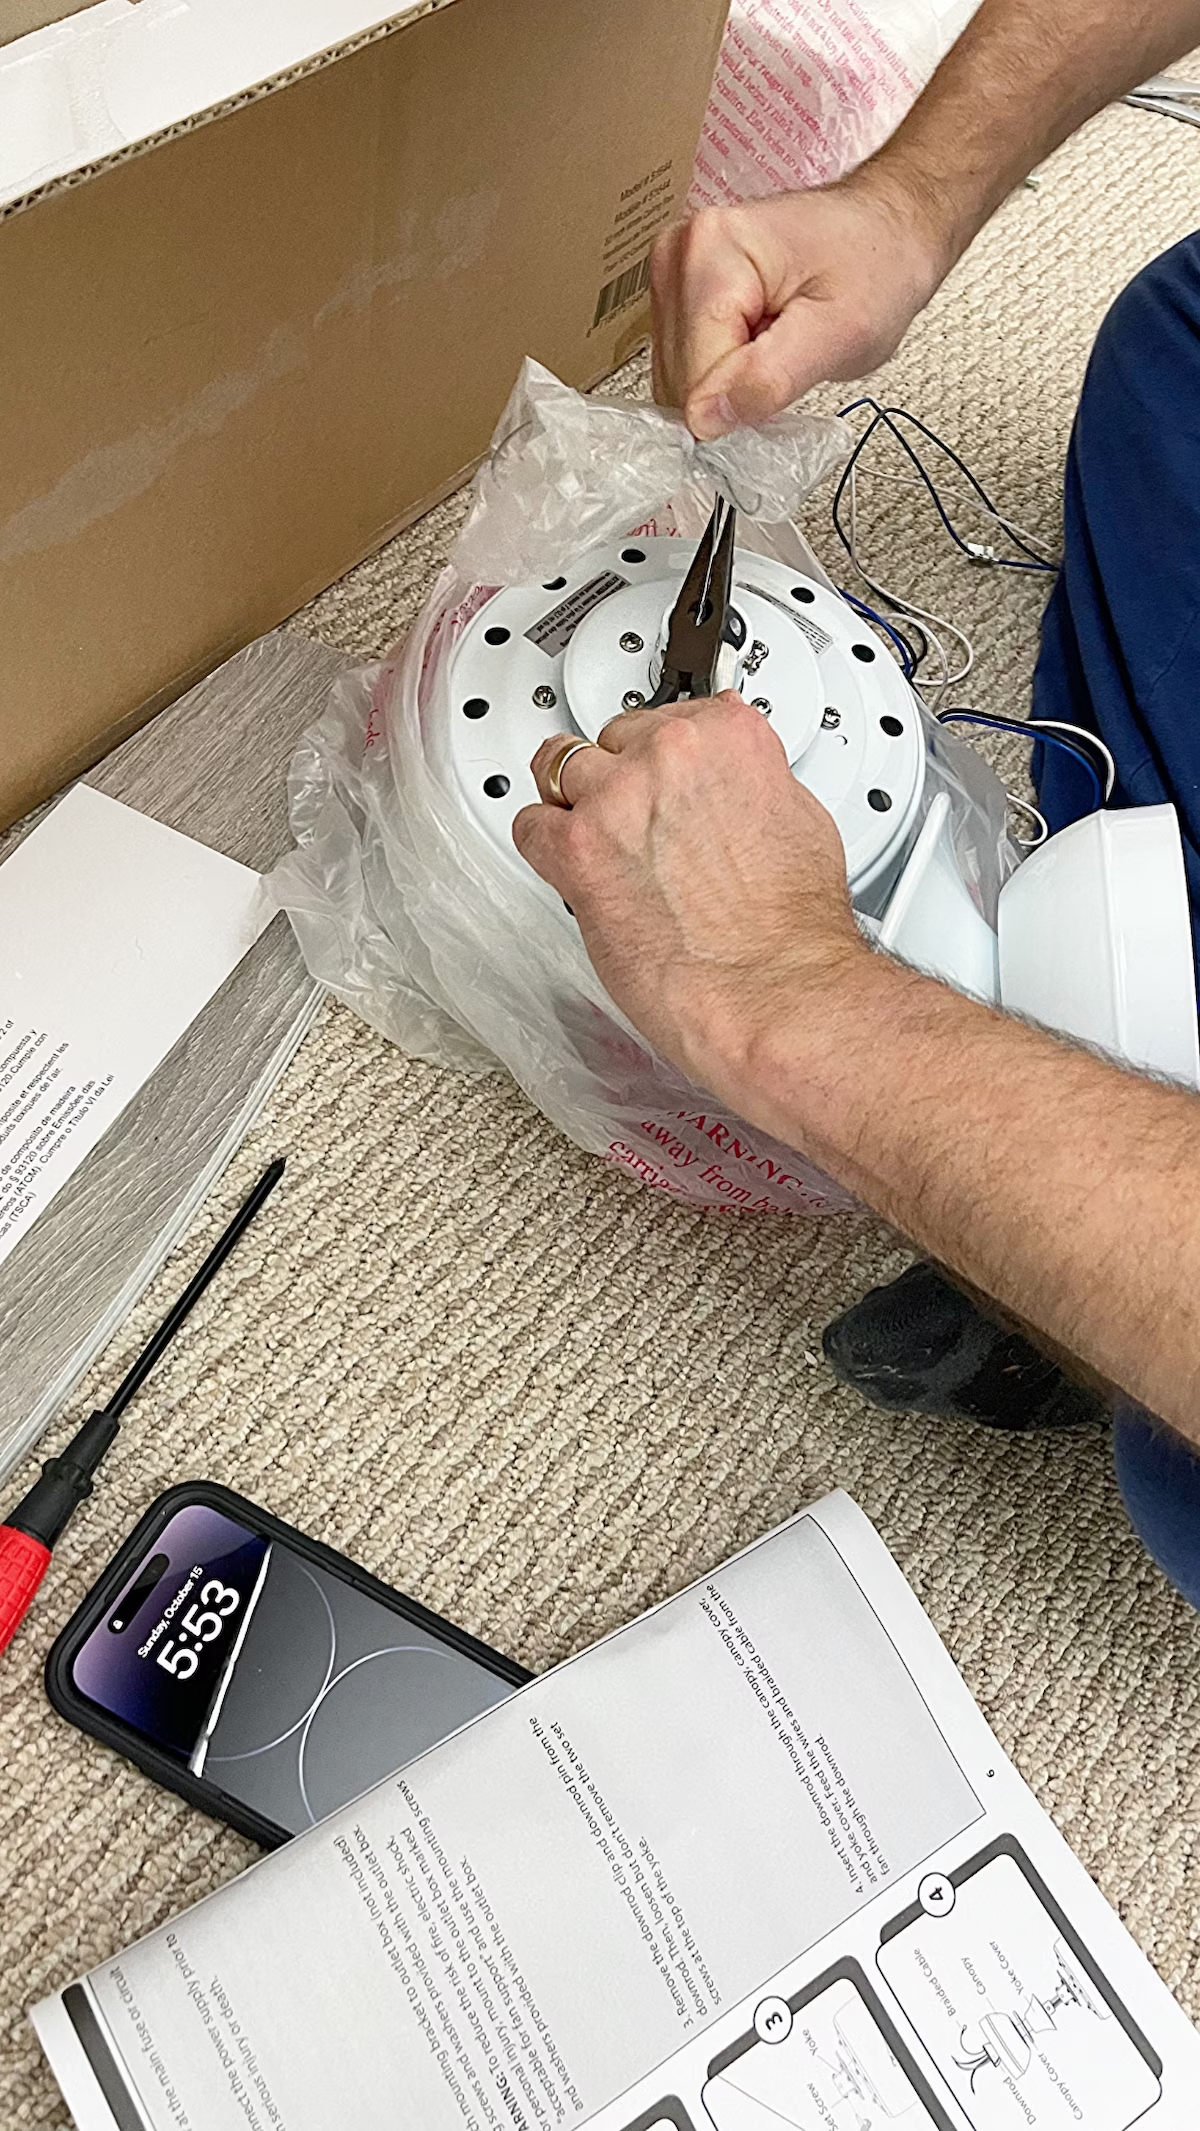
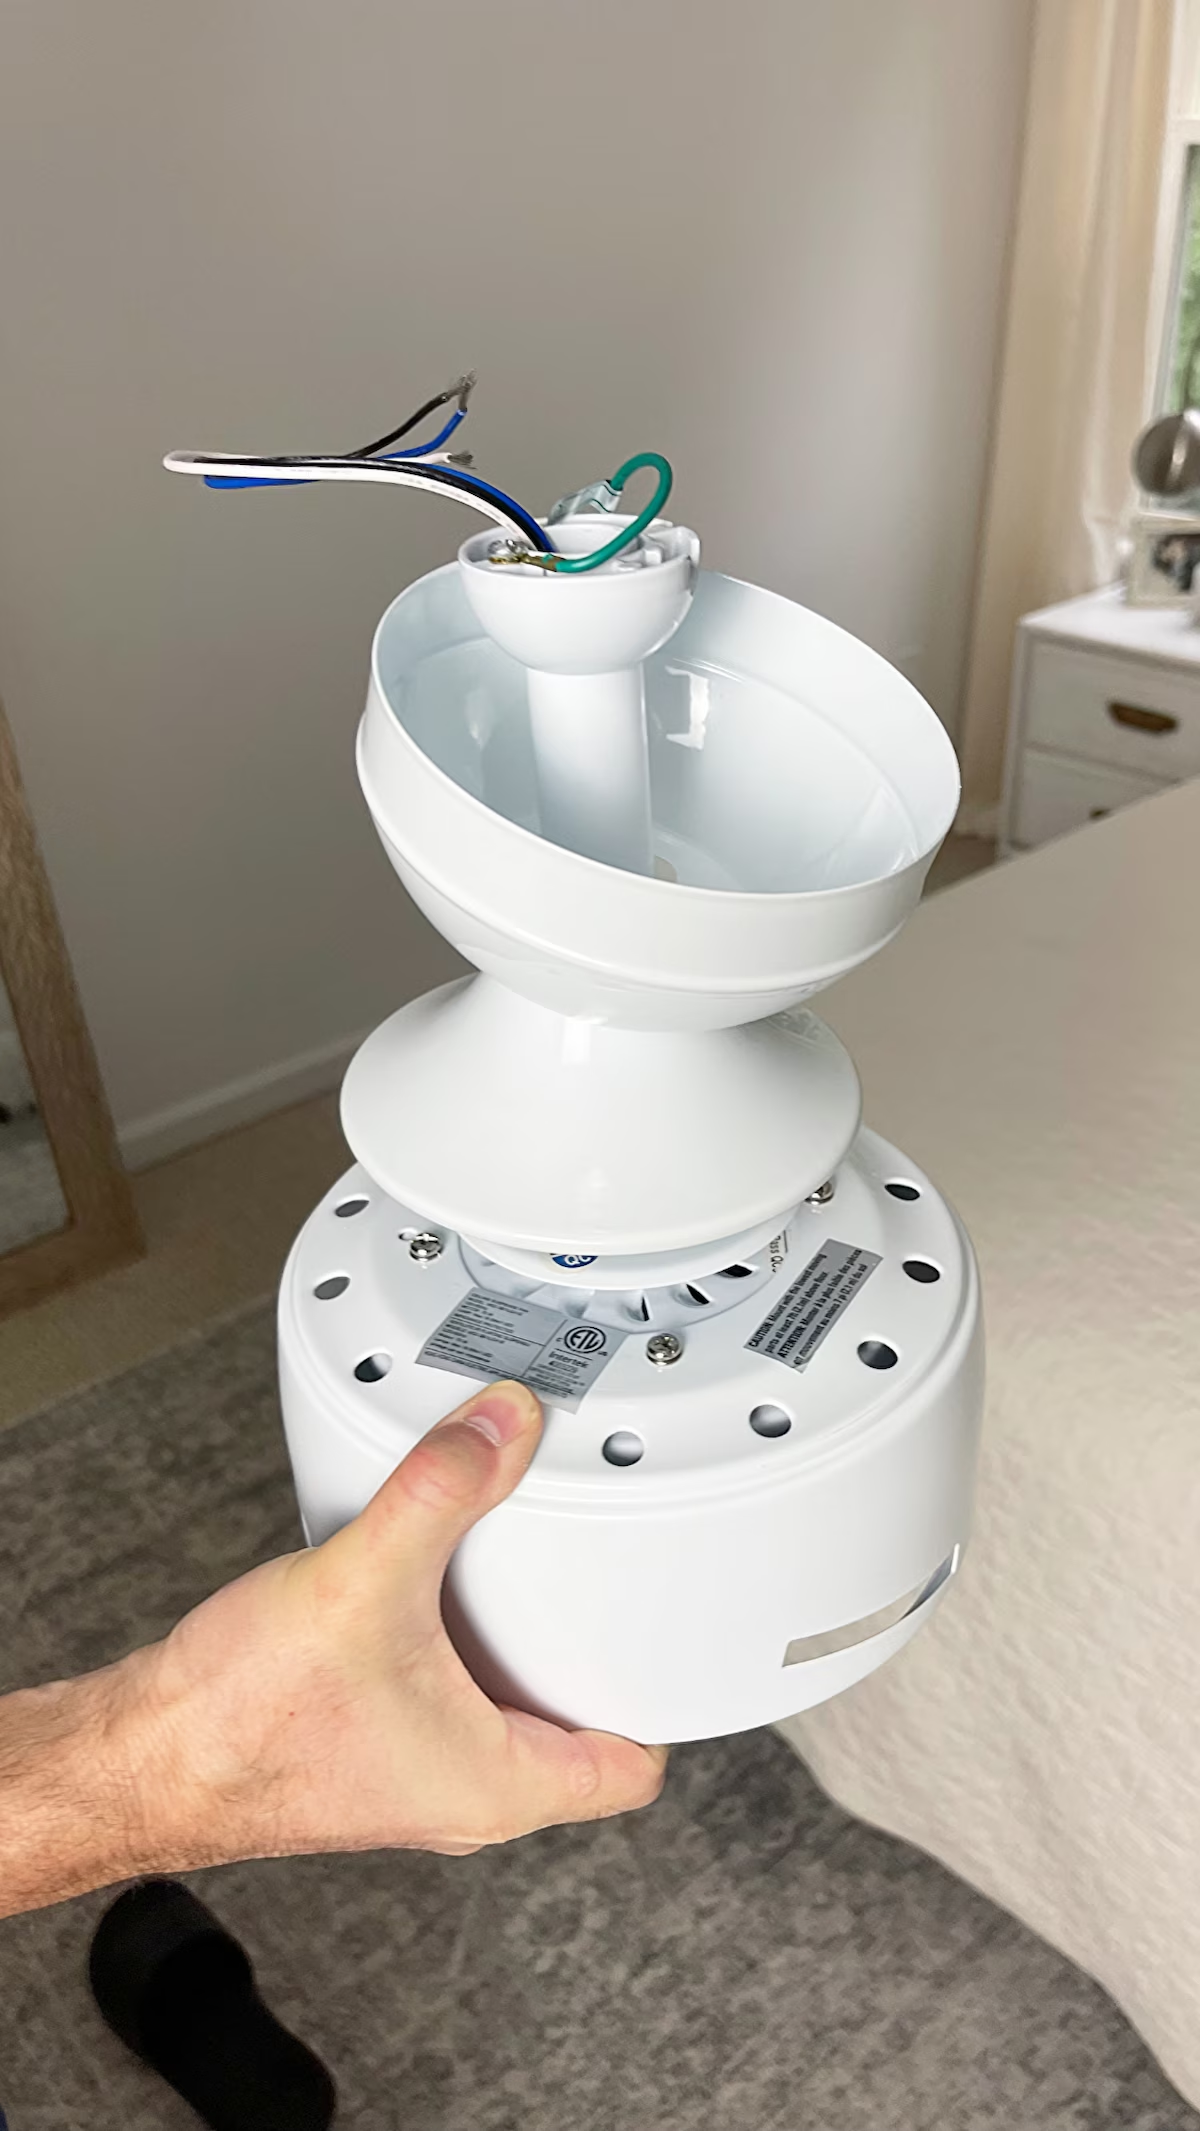
1. Prepare Ceiling for Installation
To prepare your space make sure that the ceiling is large enough for the desired fan.
Before getting started check the ceiling section for adequate wiring and support.
2. Turn Off the Power
Shut off the power to the section of the house you’re working on.
This is a must so you do not accidentally electrocute yourself.
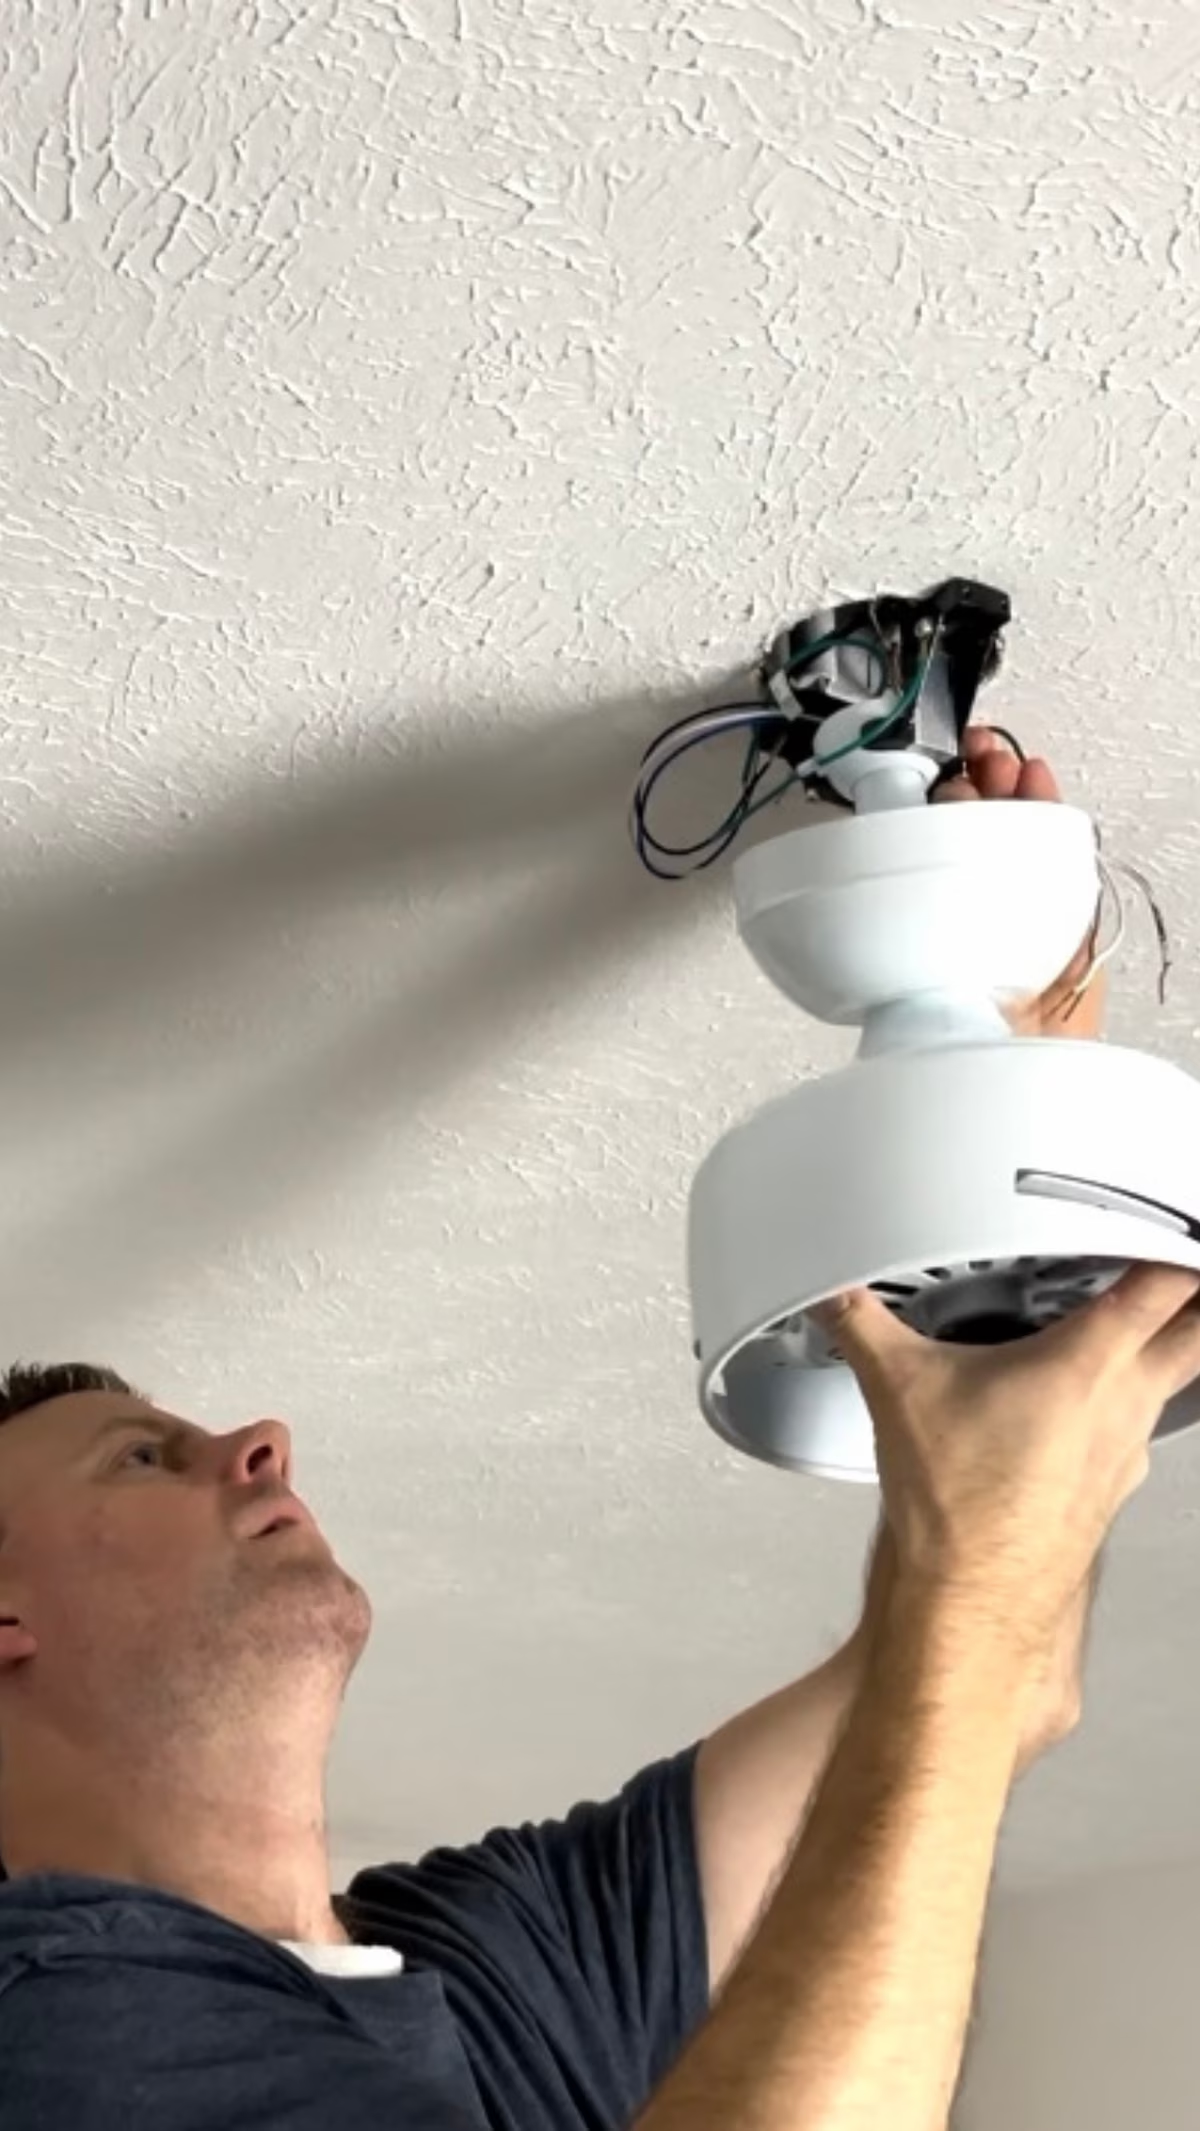
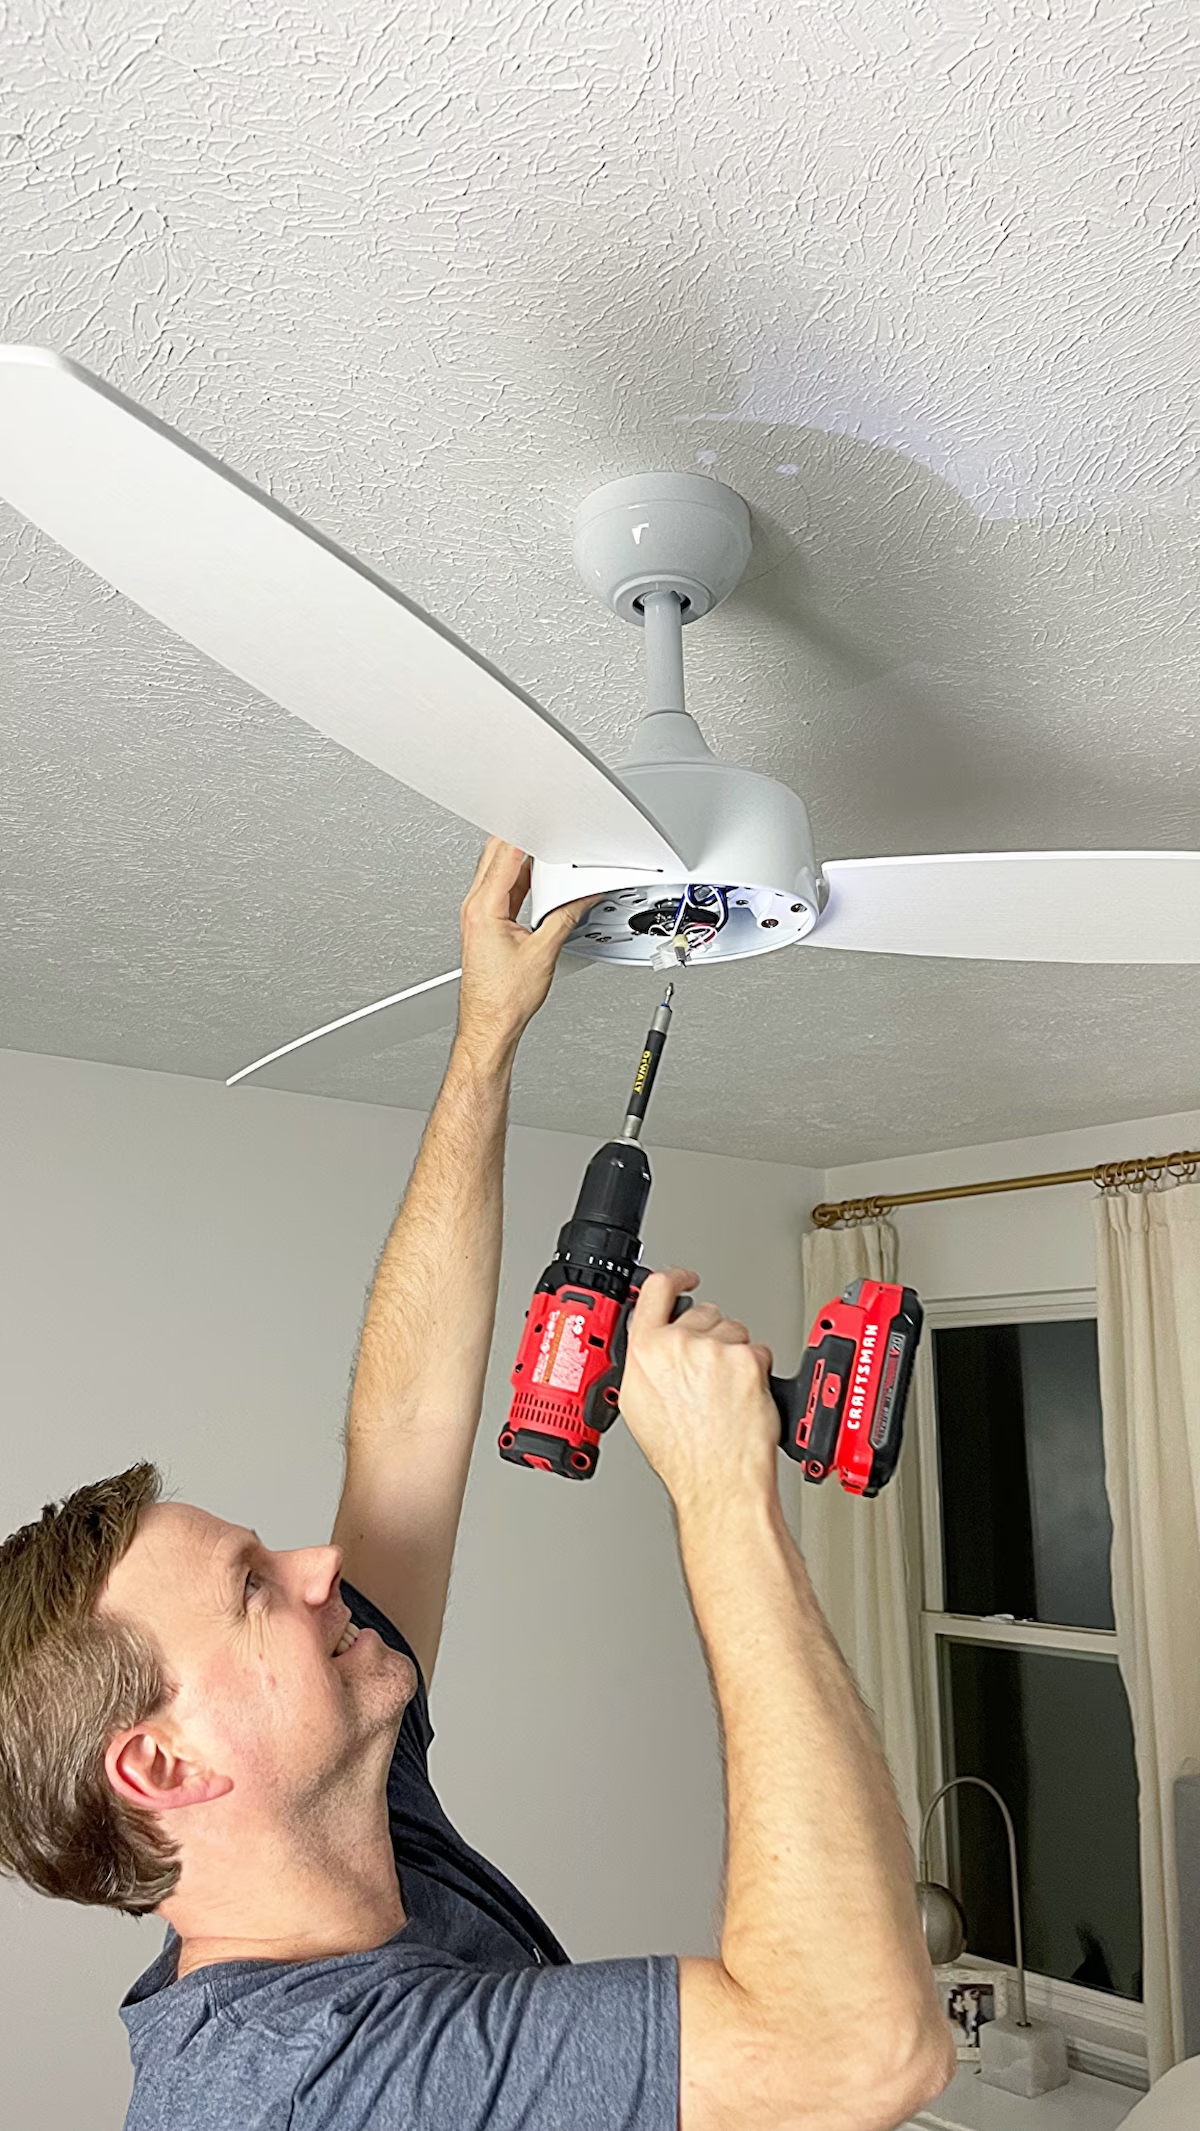
3. Mount the Junction Box and Mounting Brackets
To install the junction box for your ceiling fan you’ll insert the brace into the hole in the ceiling.
Once in twist until it locks into place with the ceiling joist.
Once you’ve done that attach the bolt bracket in the center bolts facing outward. Then you can attach the cable wire and secure the bolts on the side.
After this slip the wires through the center and tighten the bolts with a wrench. If the bolts are loose, you can risk the ceiling fan coming down so tighten them well
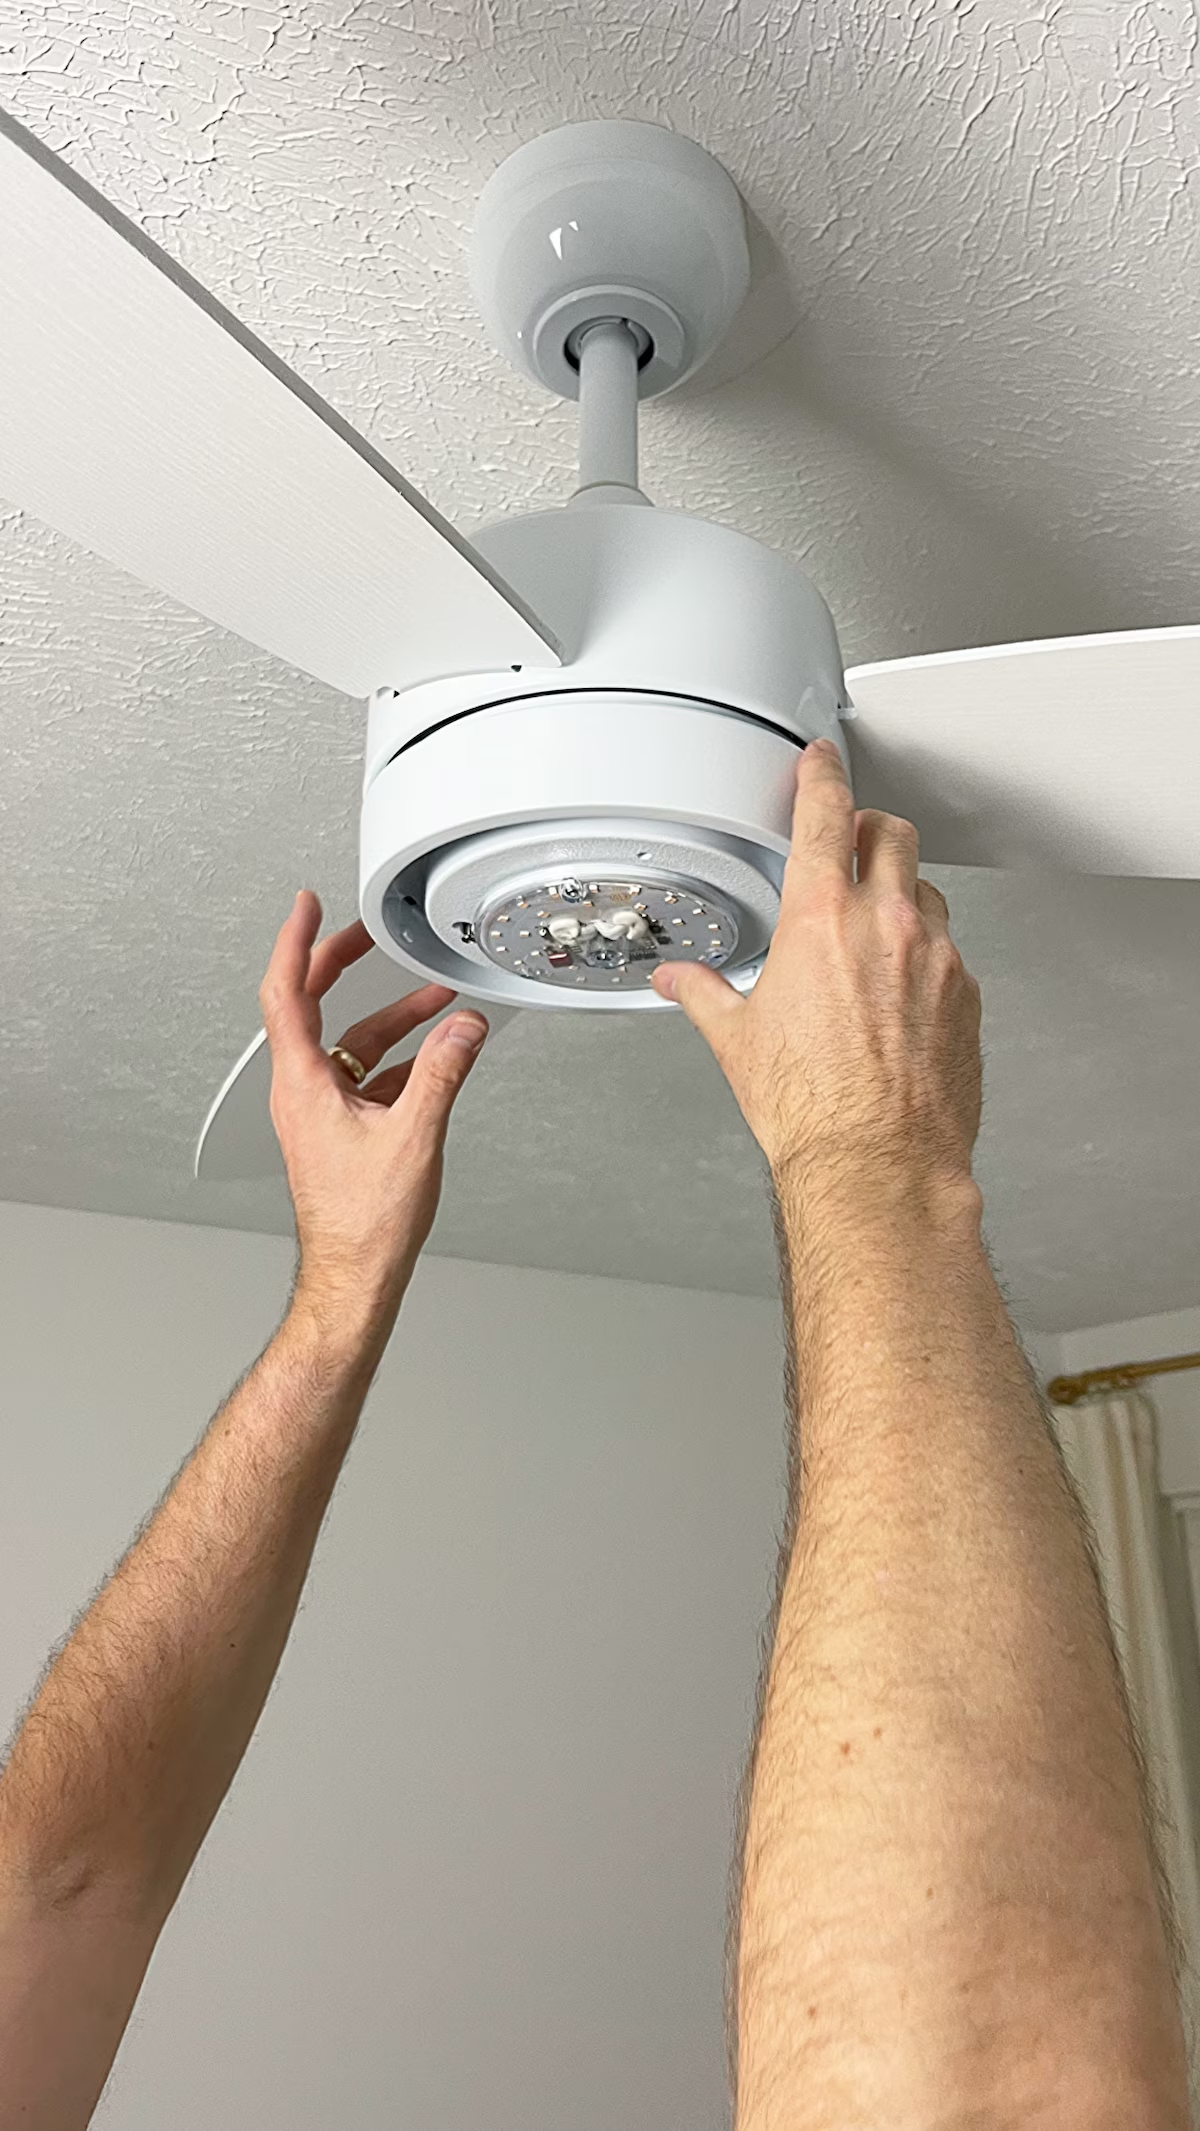
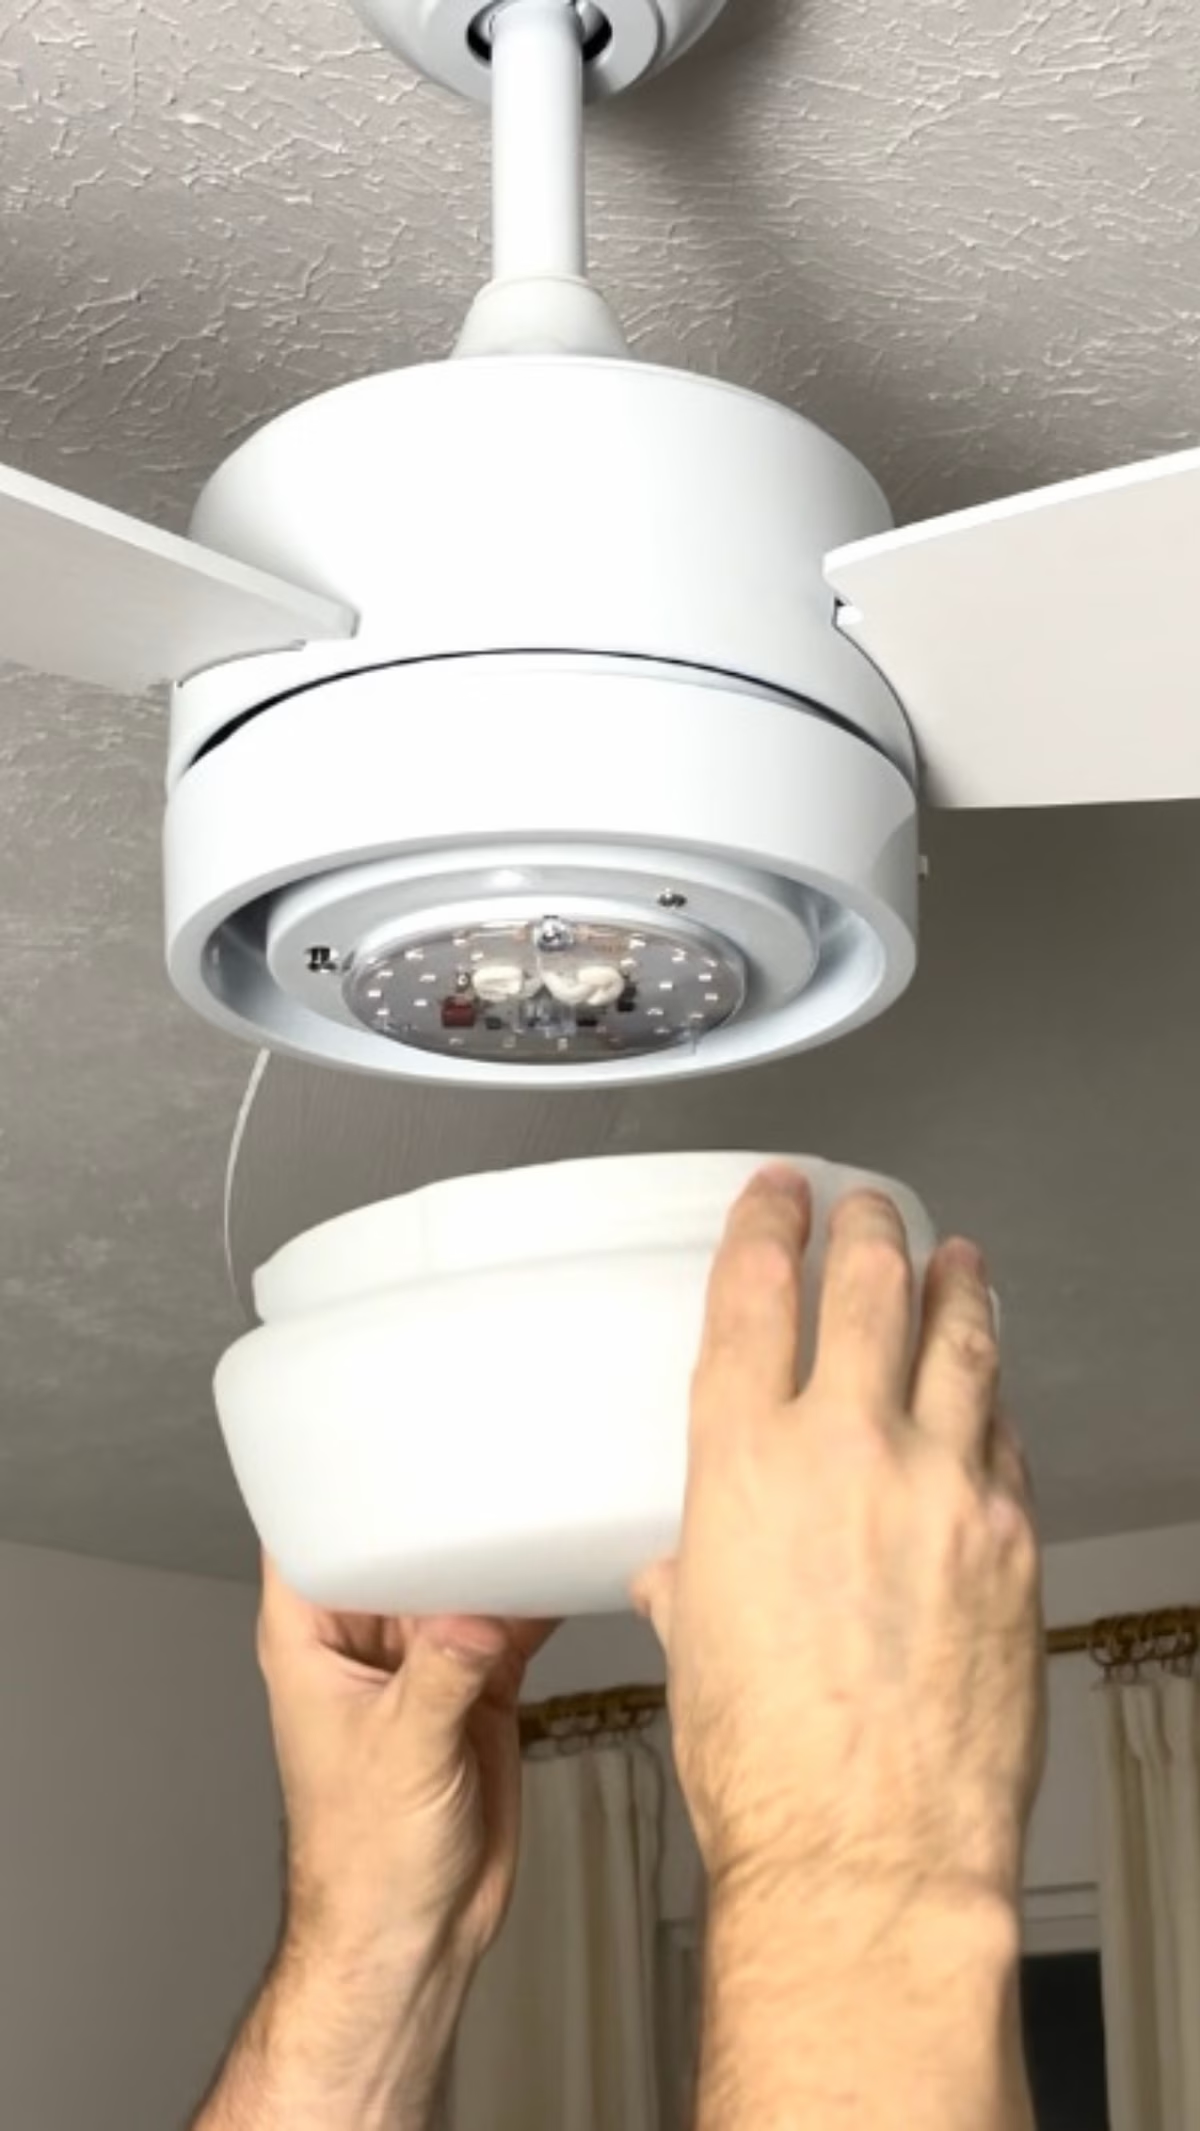
.4. Install the Ceiling Fan
It’s best to have someone with you when you install the ceiling fan in case something should happen when you’re on the ladder.
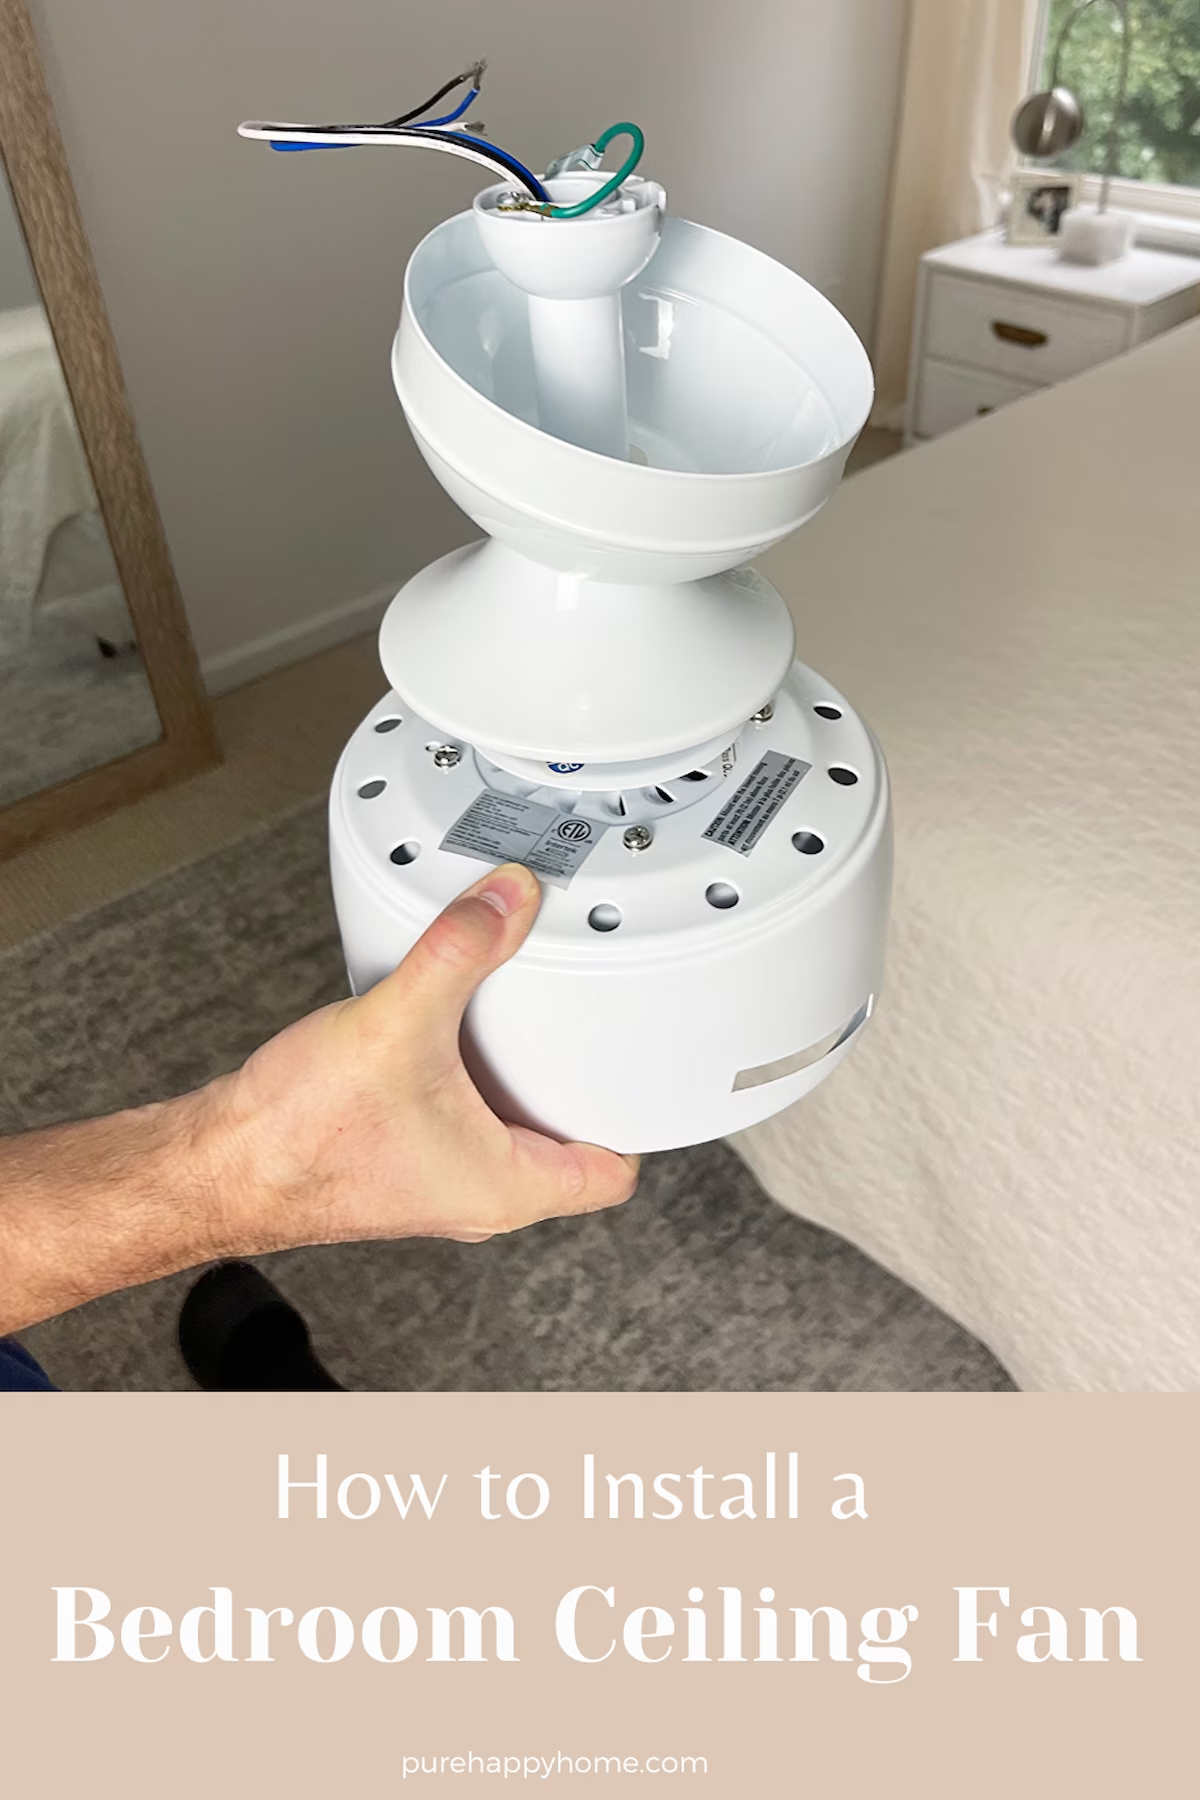
Attach the fan motor wires to the ceiling wires according to the same color pairings.
Once they’re connected you can nudge them into place in the junction box.
5. Install the Fan Blades
Now all that’s left is to add the fan blades.
Each ceiling fan is different, but most blades either slide or pop into place.
Again, it’s nice to have someone helping you so they can hand you the ceiling fan blades as you install them.
Jeremy did this all by himself however and said it was no problem.
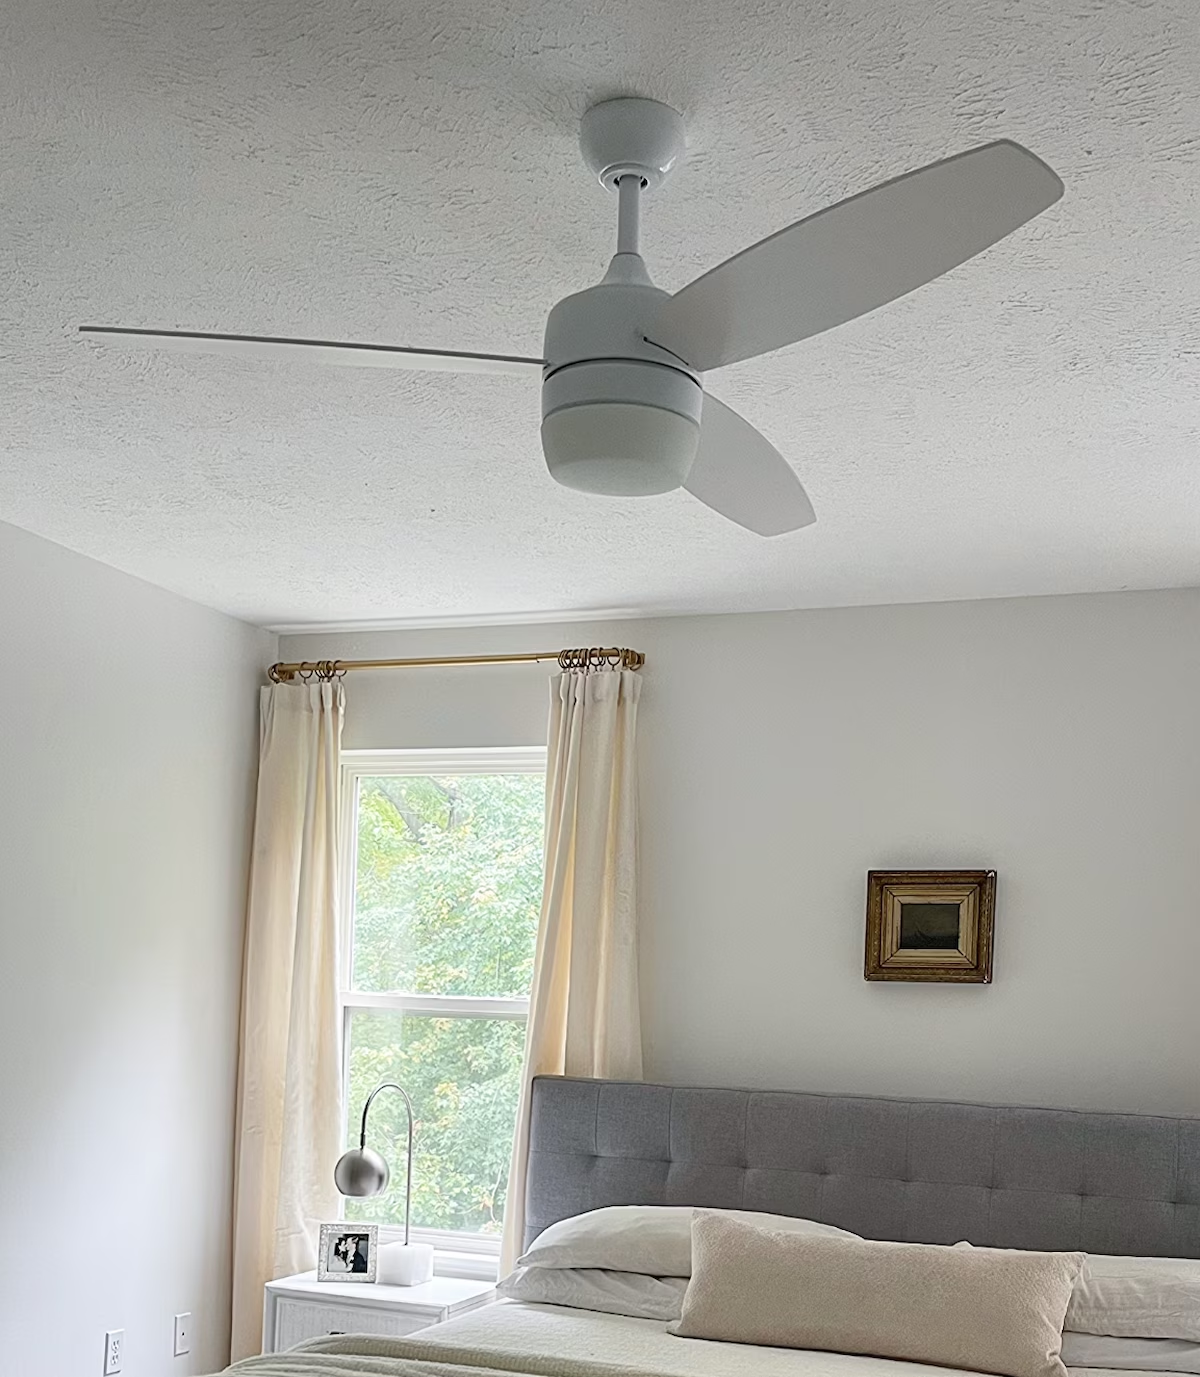
We love having a fan in our bedroom again. Whether circulating warm air down in the Winter or cooling us off in the Summer this is a project worth doing.

MORE “HOW TO” HOME PROJECTS
- How to Paint a Tile Floor to Mimic Stone
- How to Remove a Mirror Glued to the Wall
- How to Turn a Cabinet Into a Partition Part 1
- How to Turn a Cabinet Into a Partition Part 2
Pin It & Save It for Later

Ceiling Fan Round Up
Here are some of the best looking, most affordable and budget-friendly ceiling fans I’ve found.




0 Comments