

Guess what kind of DIY projects are my favorite?
The ones I don’t spend any money on!
For example, this inexpensive DIY Roman shade.
When it comes to home projects, especially those involving design, I like to challenge myself to use what I have. If you’ve read my blog for a bit, you understand I really love a good deal, a frugal idea, and a budget friendly home project.
It’s just my thing! I know when to splurge, and I know when to save.
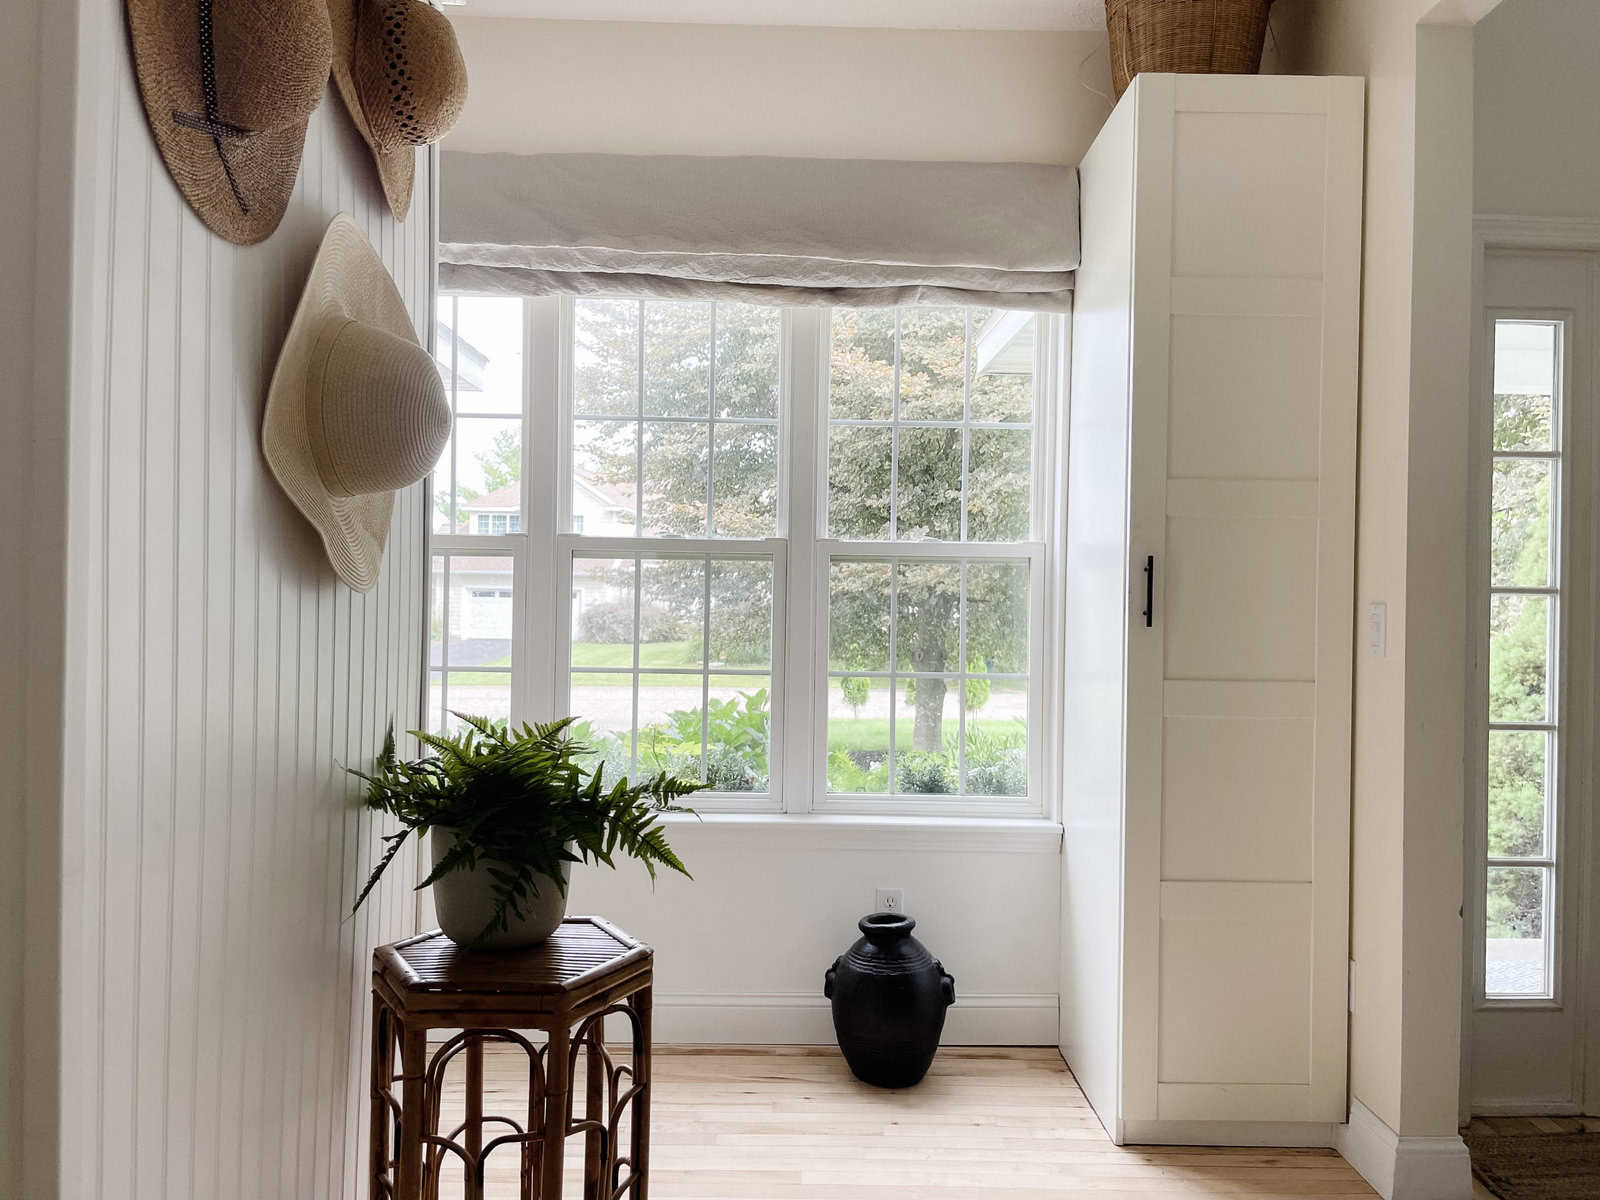
A couple weeks ago I shared how I got this area of our foyer/mudroom in shape. Check out the post 4 Simples DIY Improvements In a Small Space.
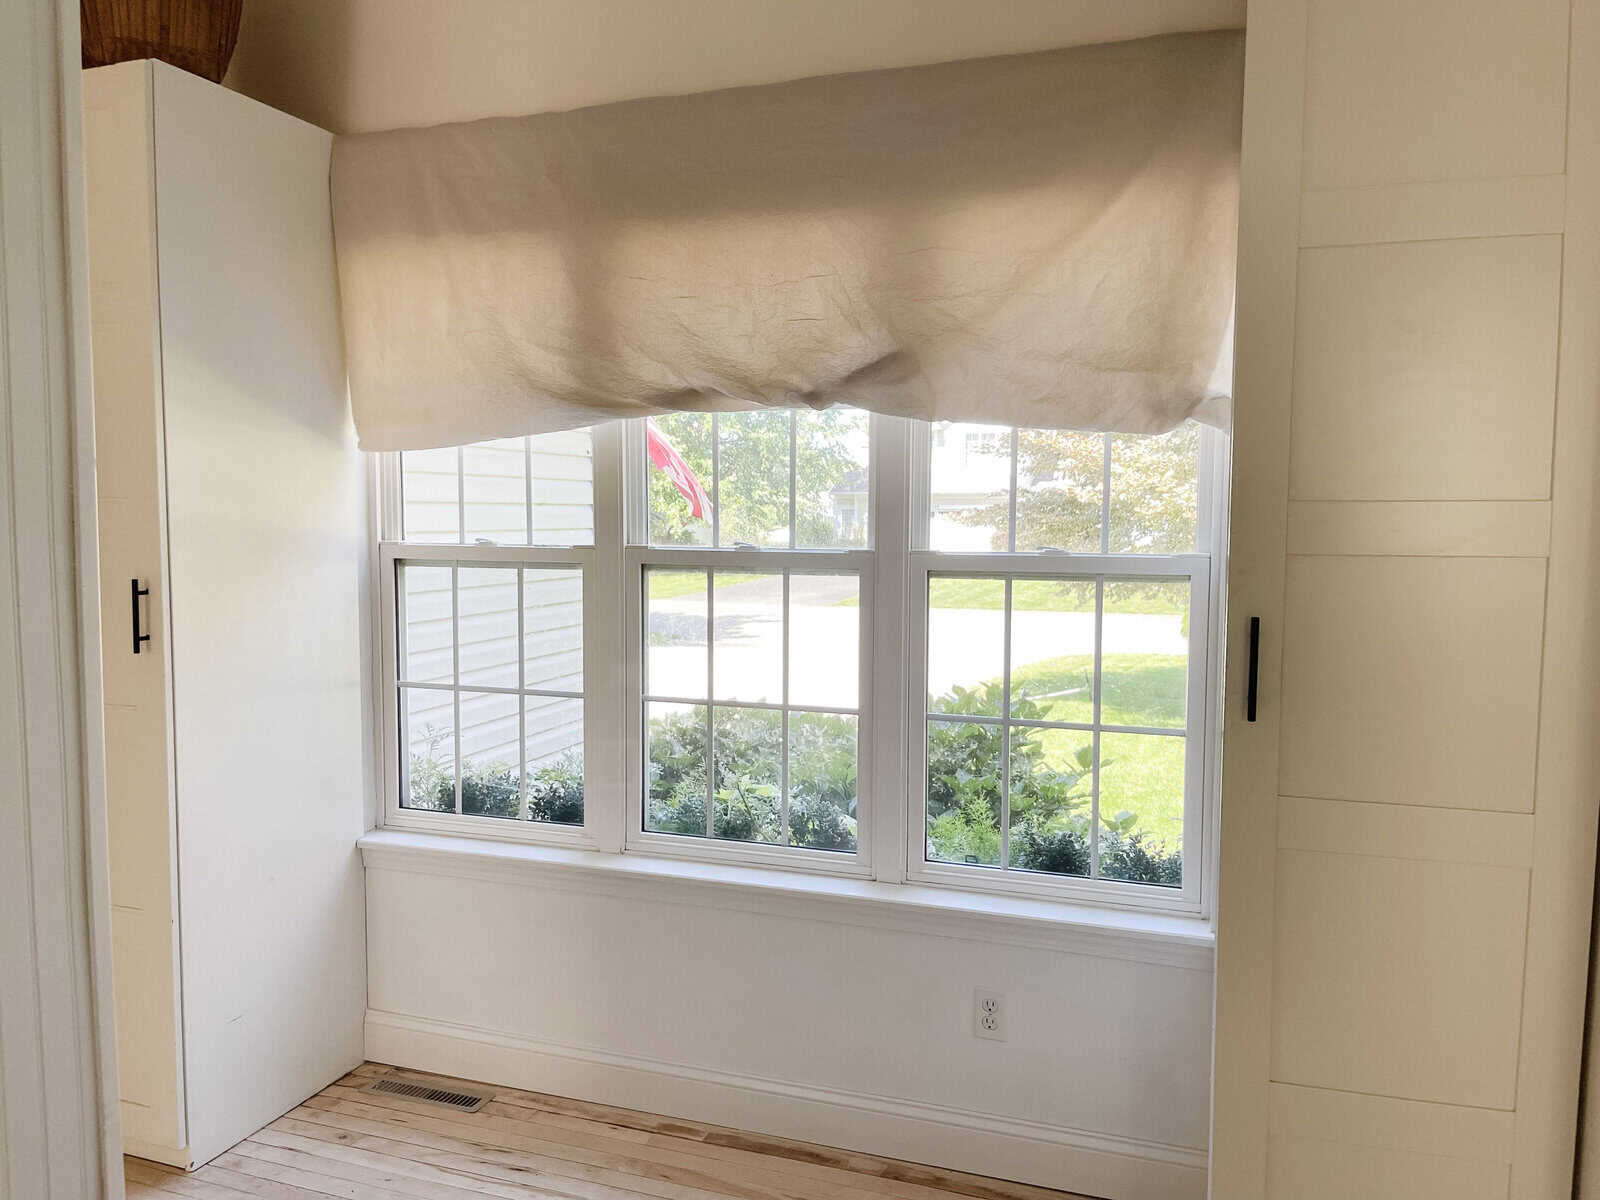
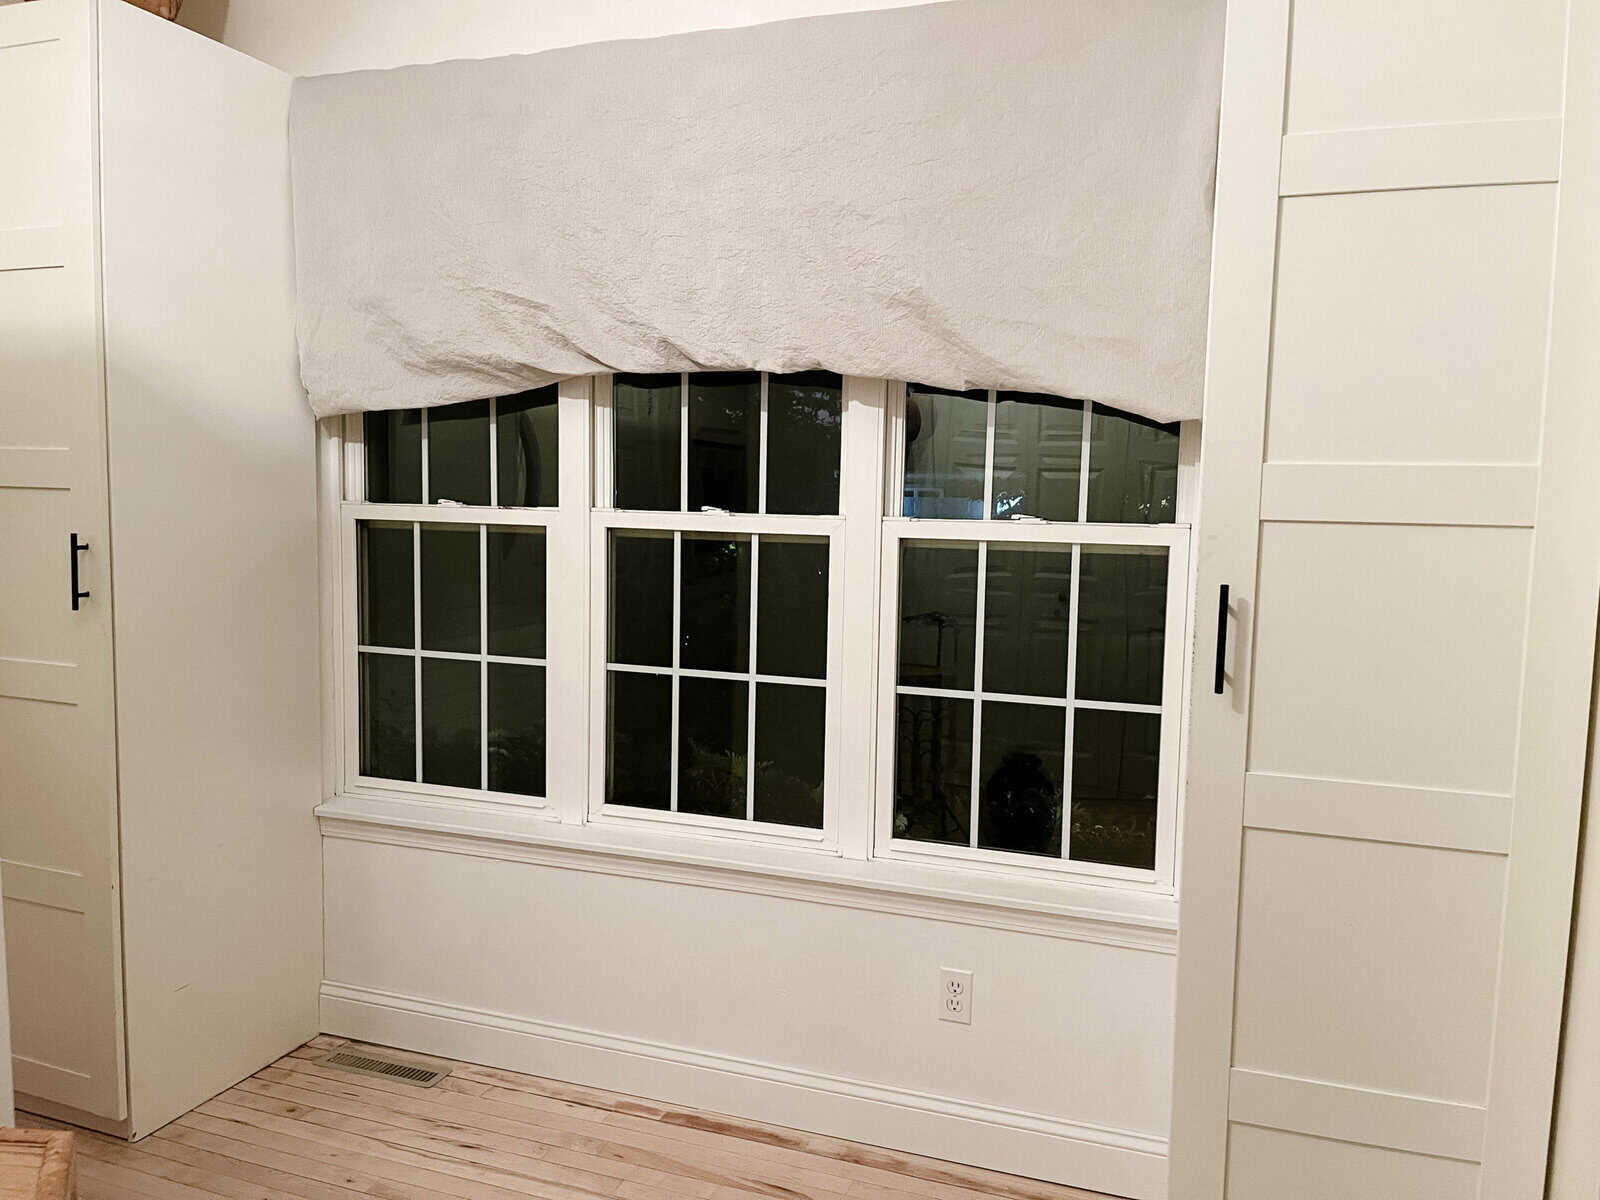
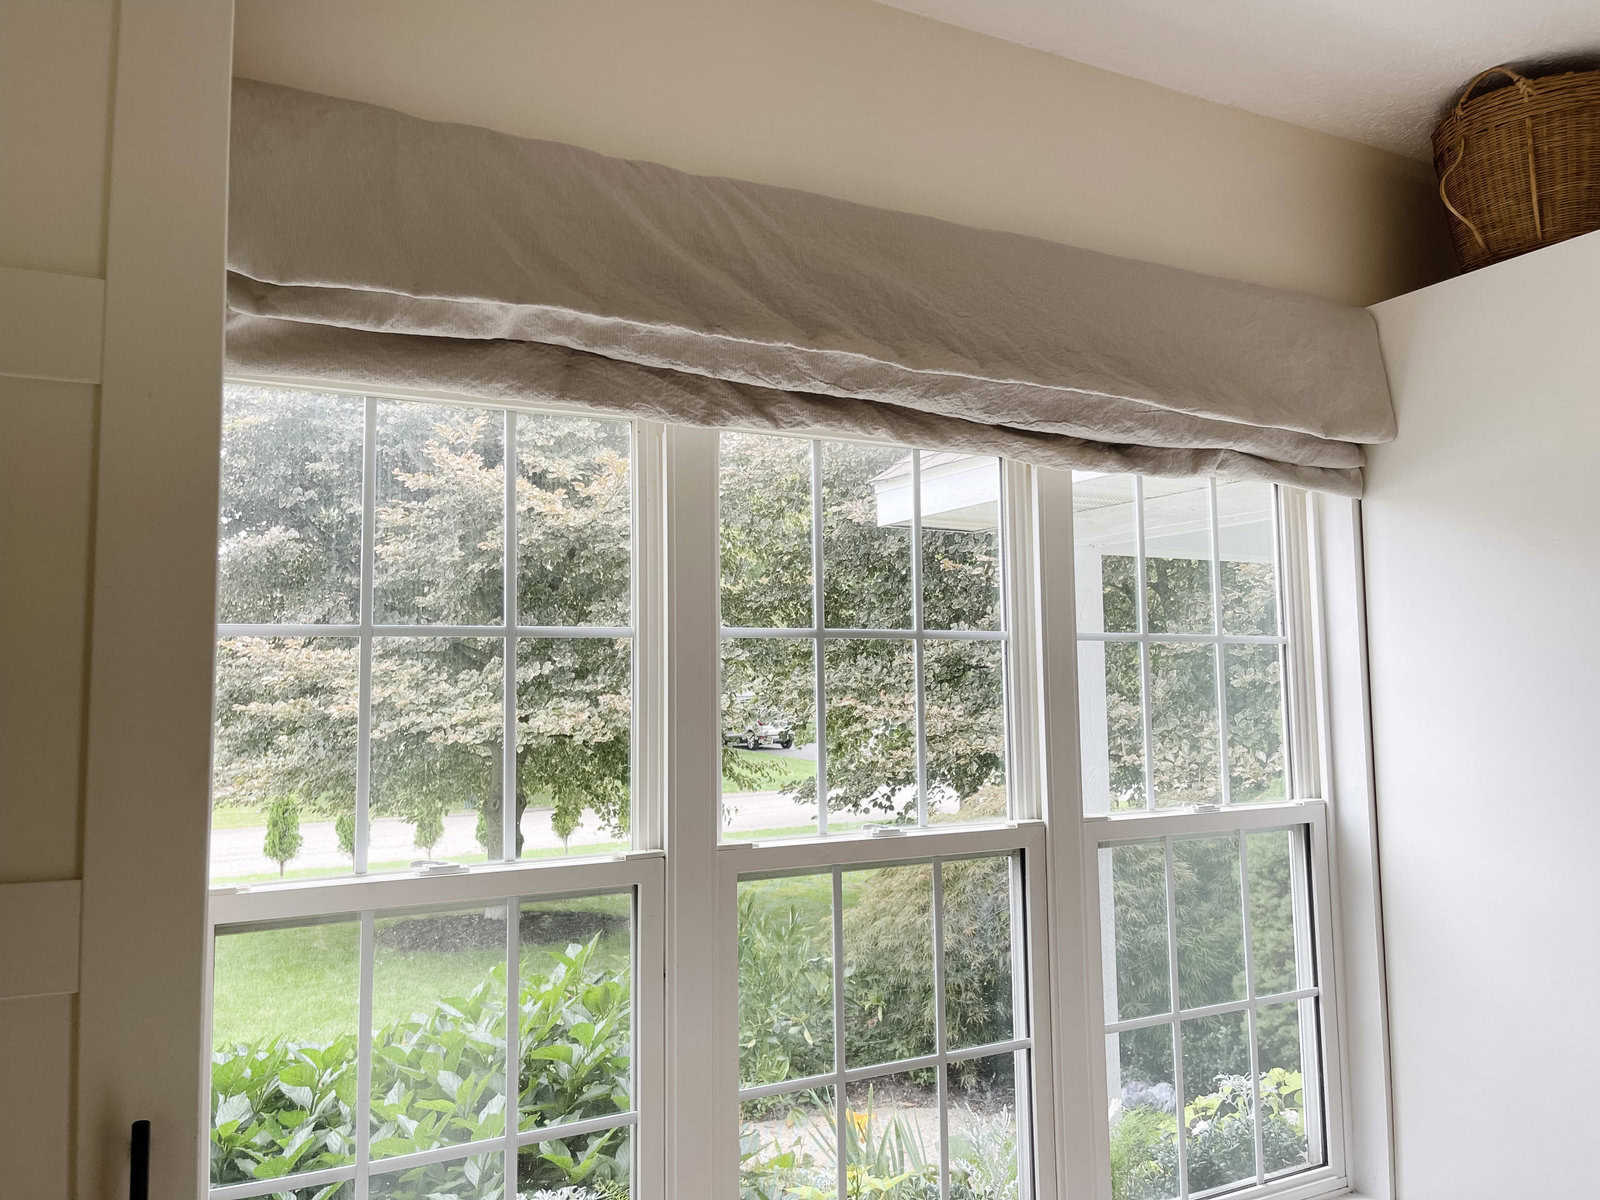
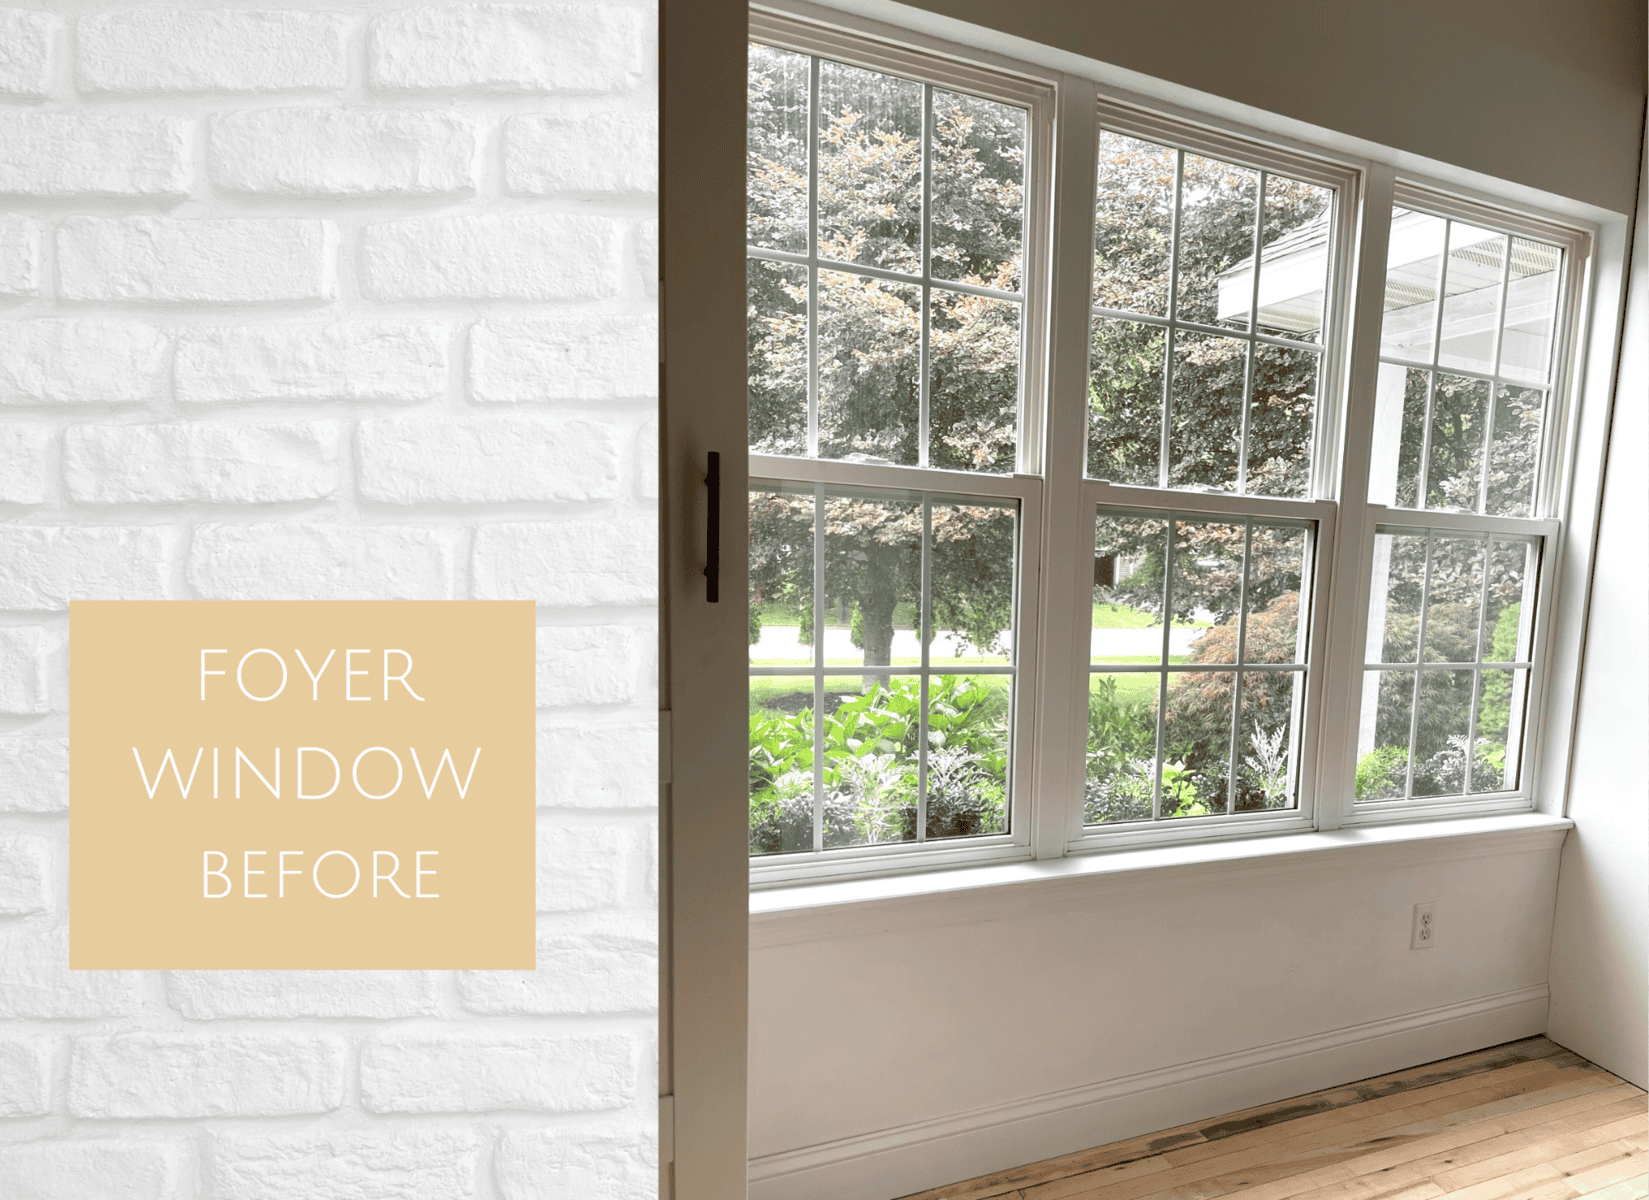
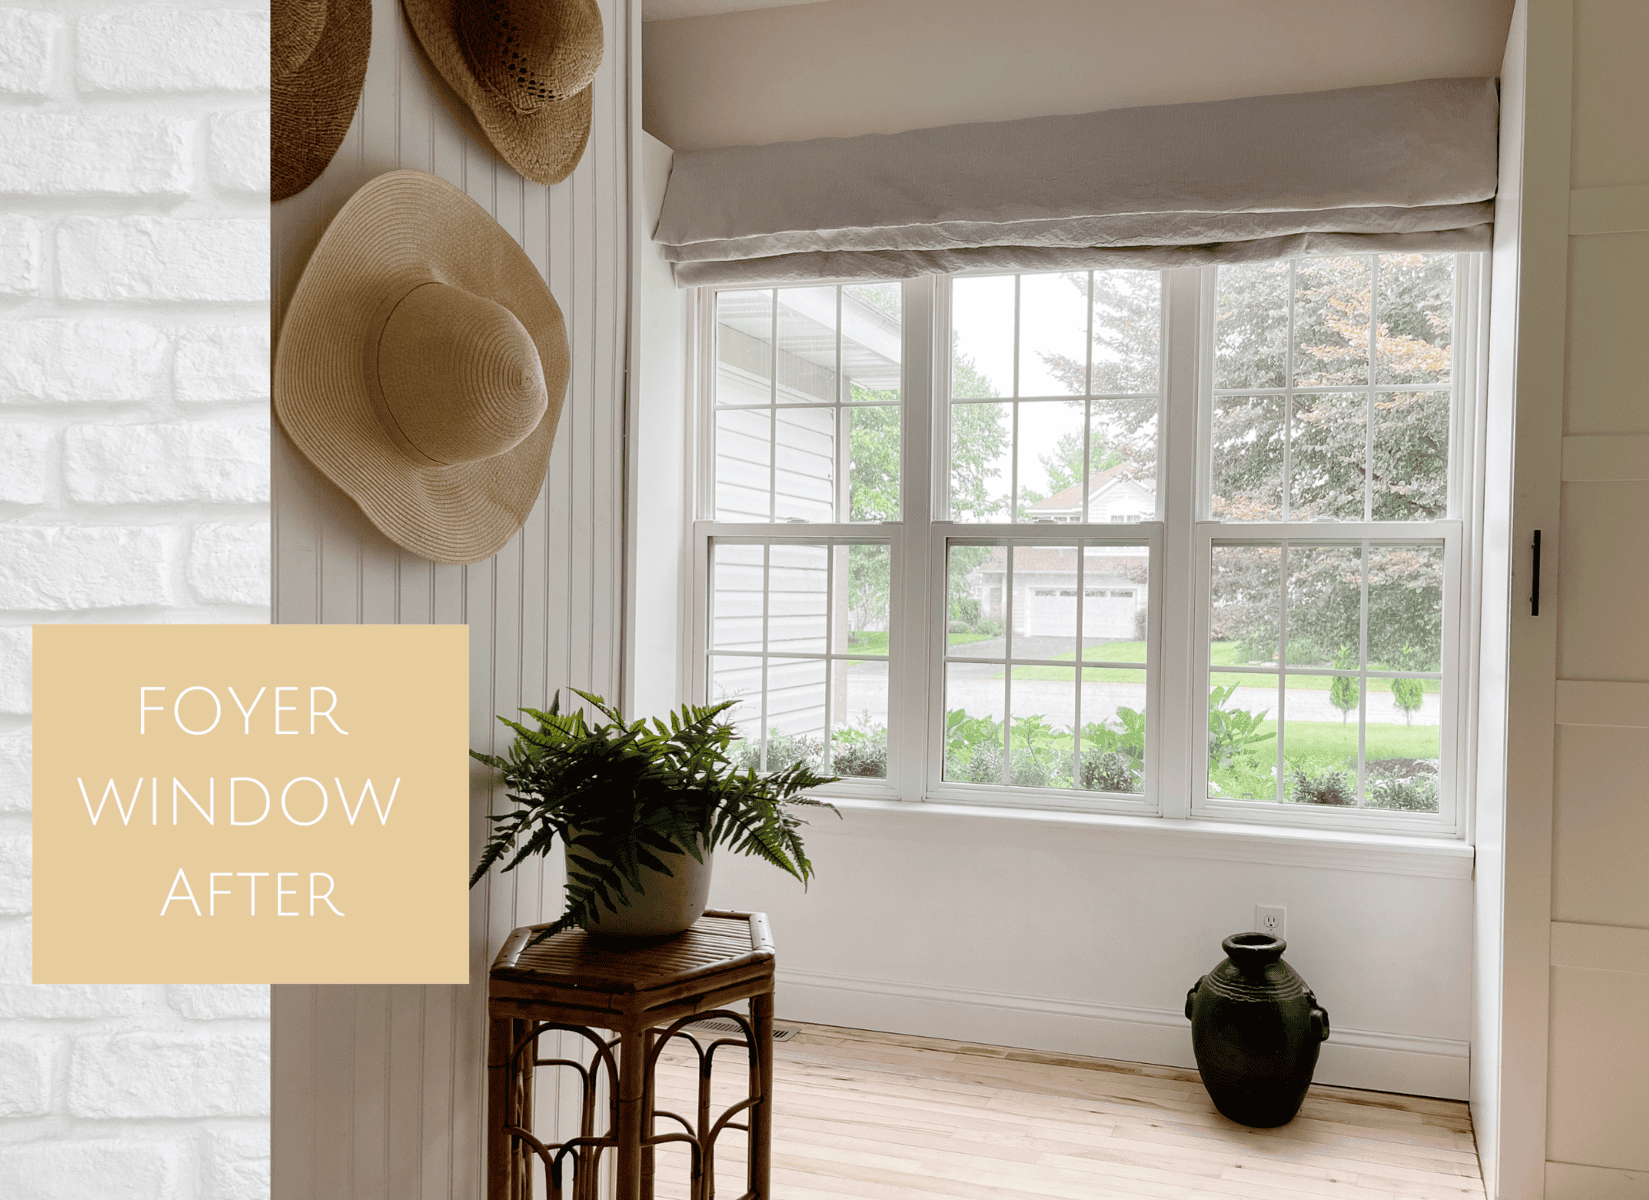
In our foyer we have a large window across from a wide closet that faces the road. I’ve never felt the need to have privacy from neighbors because we don’t spend time in the foyer outside of our coming and going.
But then as It happens, I got an idea! What if I softened the window with a faux fabric shade. That might look nice. Even though I thought the idea was a good one, I didn’t want to invest in it, like at all. I decided right then and there to try to create a window treatment with zero dollars invested. that got me excited. Like I said, it’s my thing!
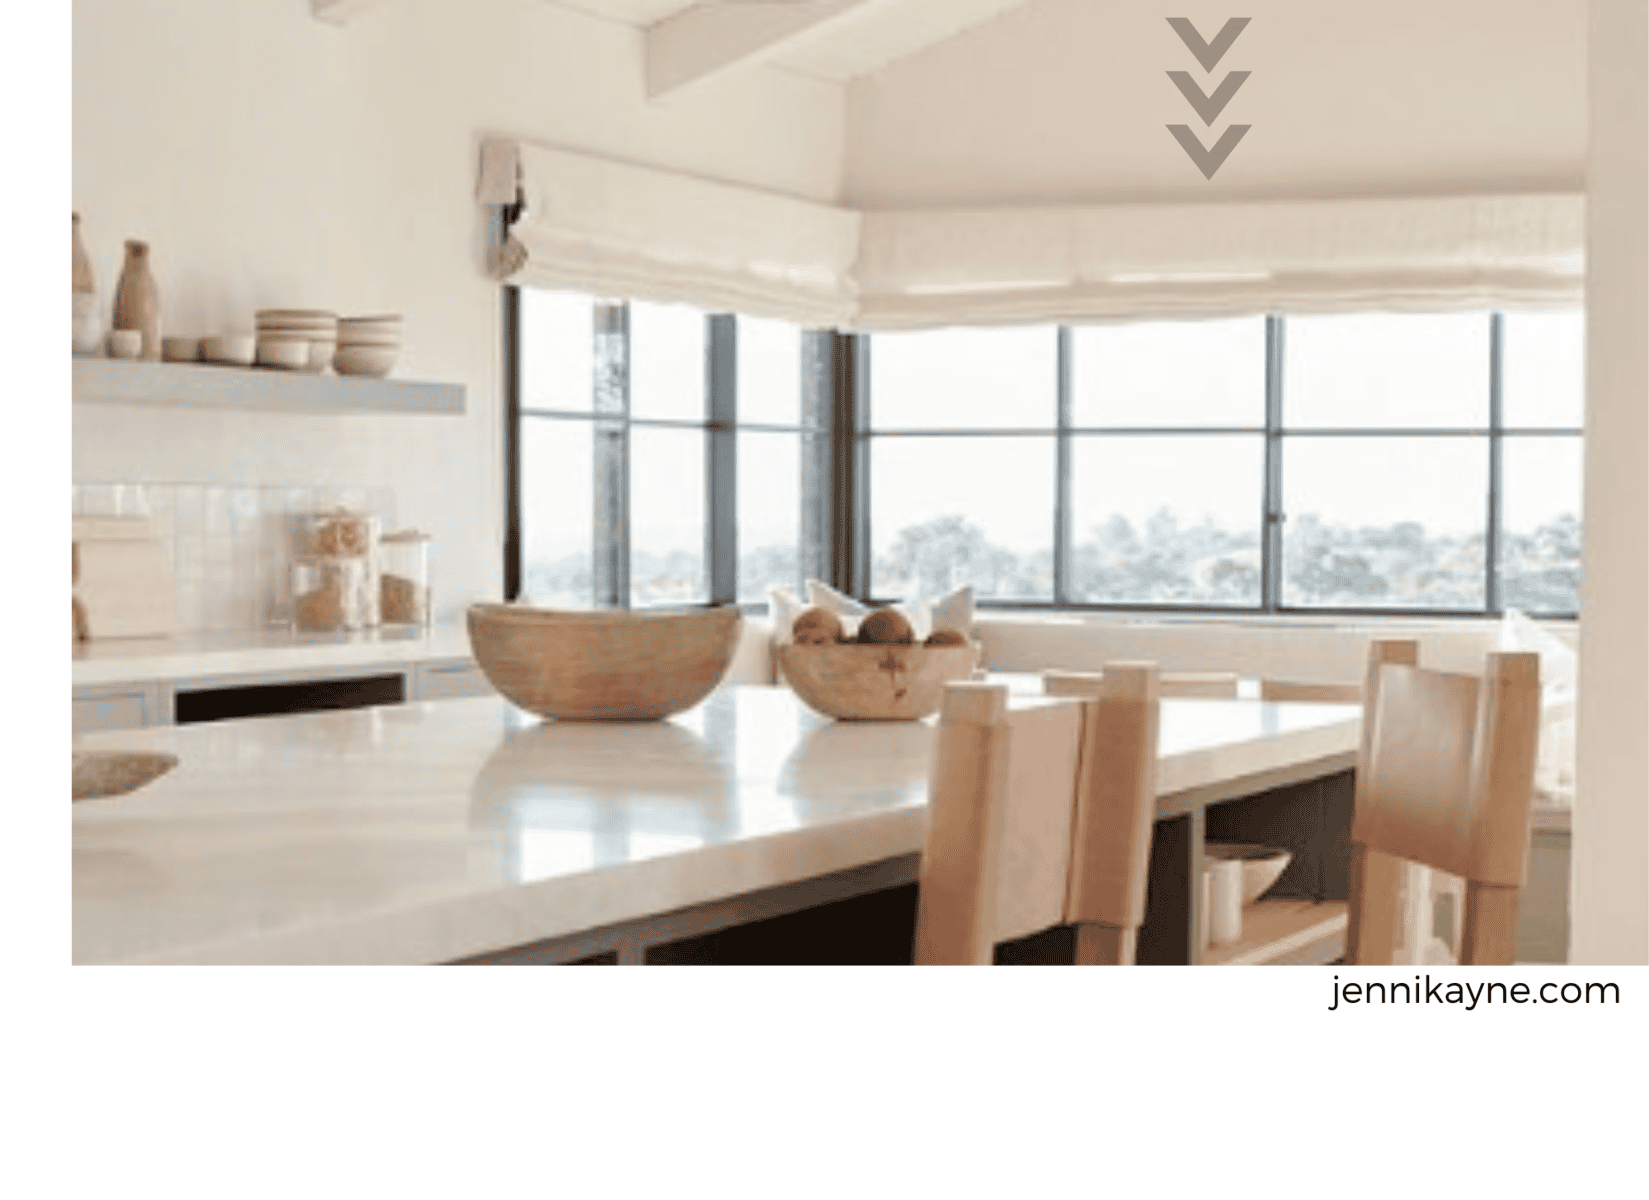
Here was my inspiration photo.
In the end I came up with an “almost free” diy window treatment.
You’ll never guess what I ended up spending money on!
Scroll or Read on to find out.
Here are the steps I took to make an Almost Free DIY Window Treatment
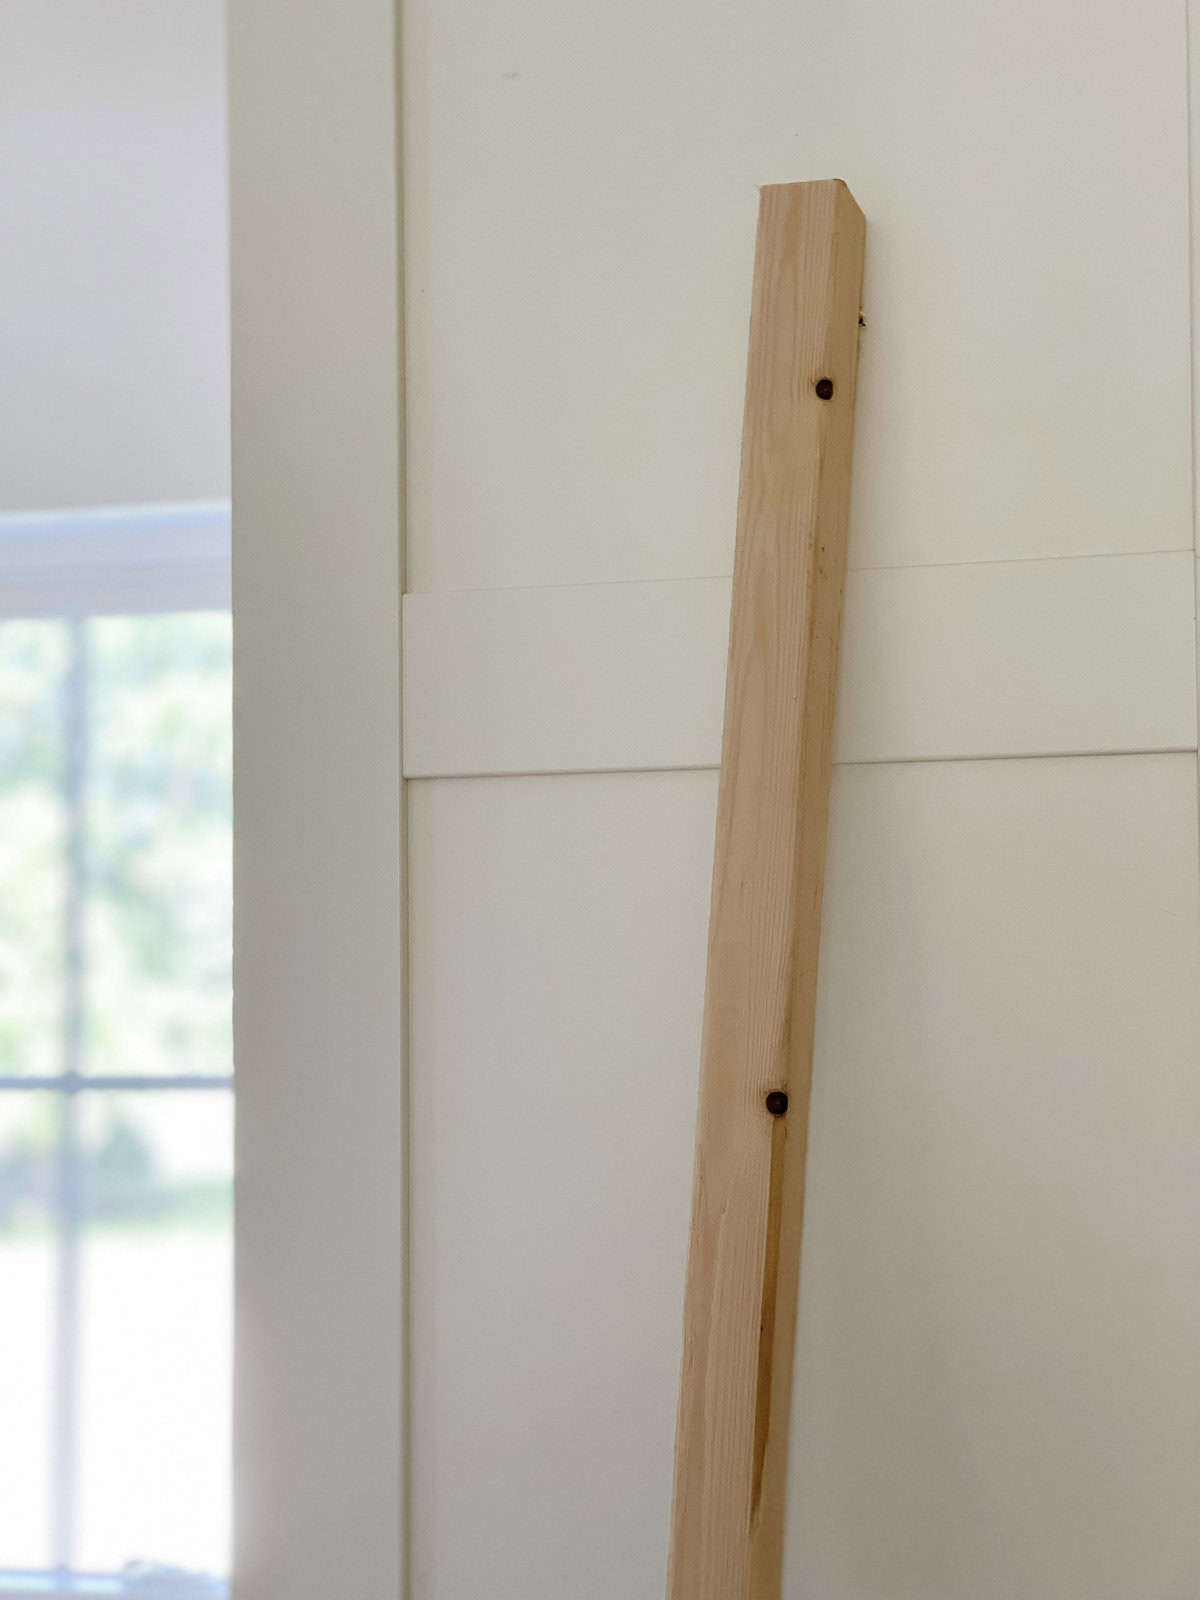
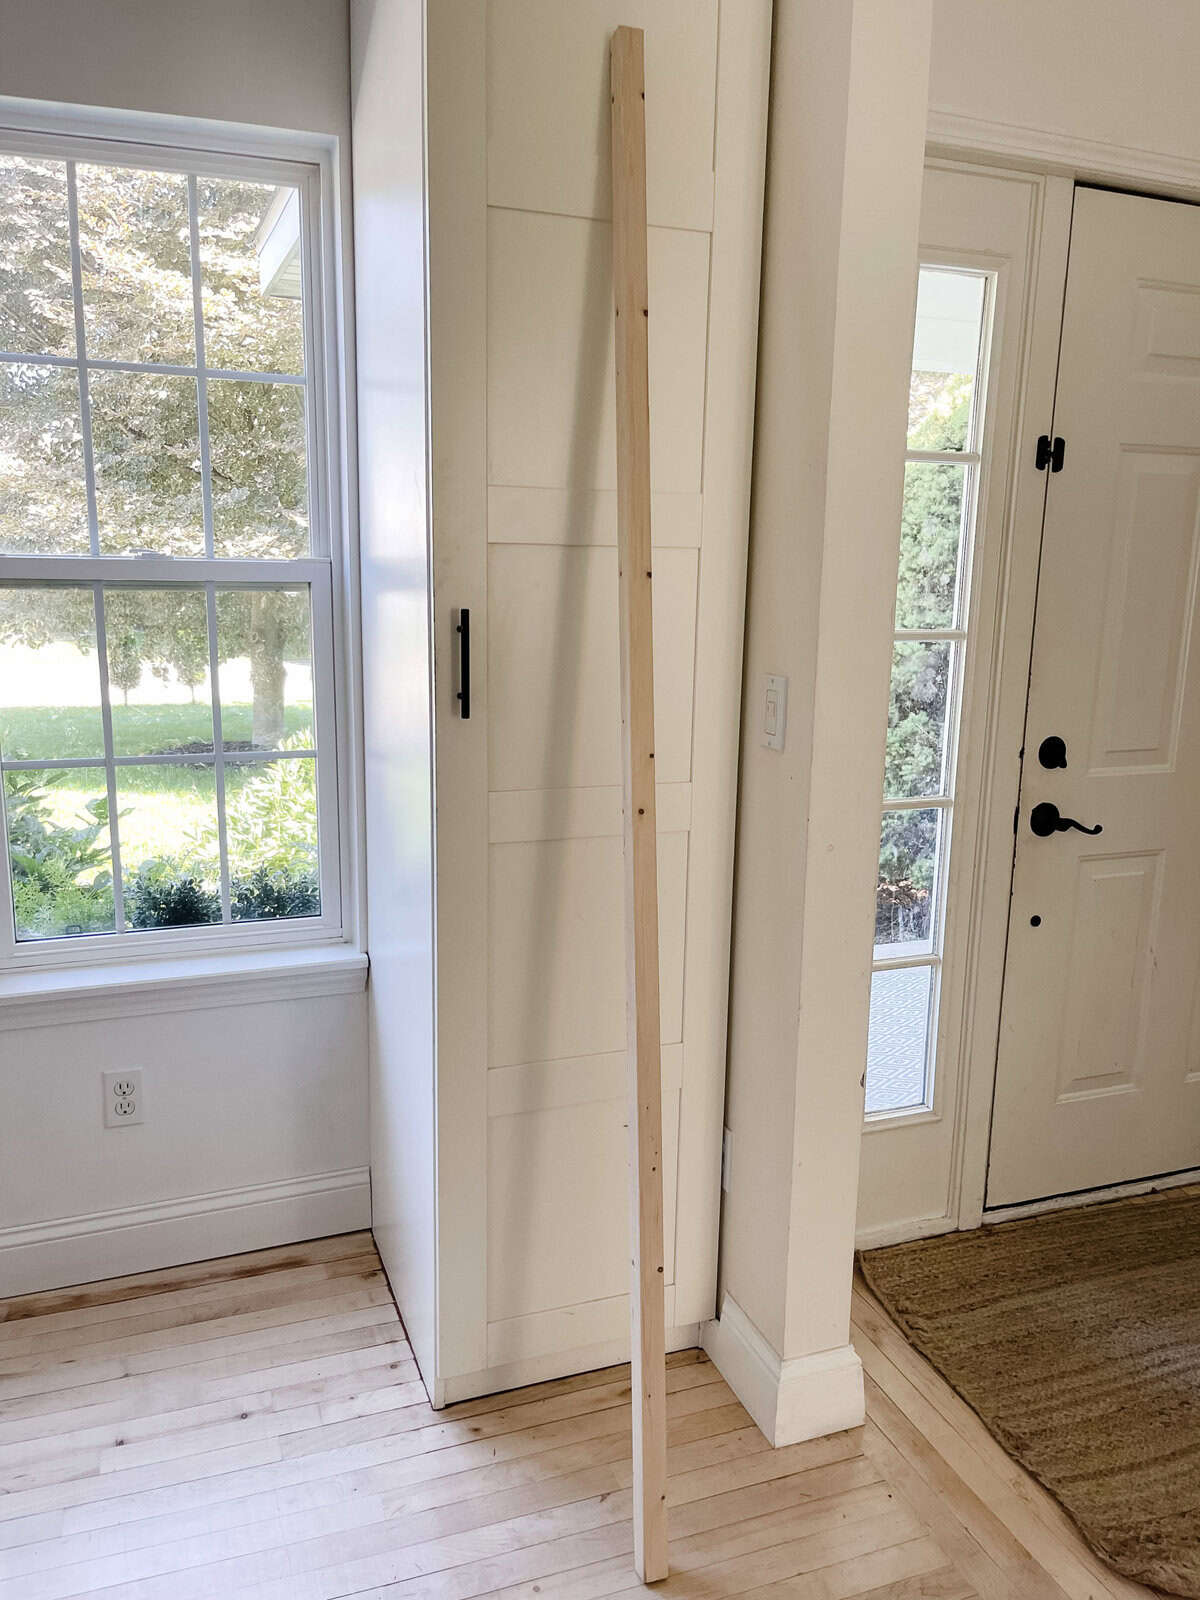
1. Find a Wood Base
First I went to our wood scrape pile and found a long piece of wood and cut it to fit the length of the window. I decided it would serve as the base of my window treatment holding the attached fabric in place.
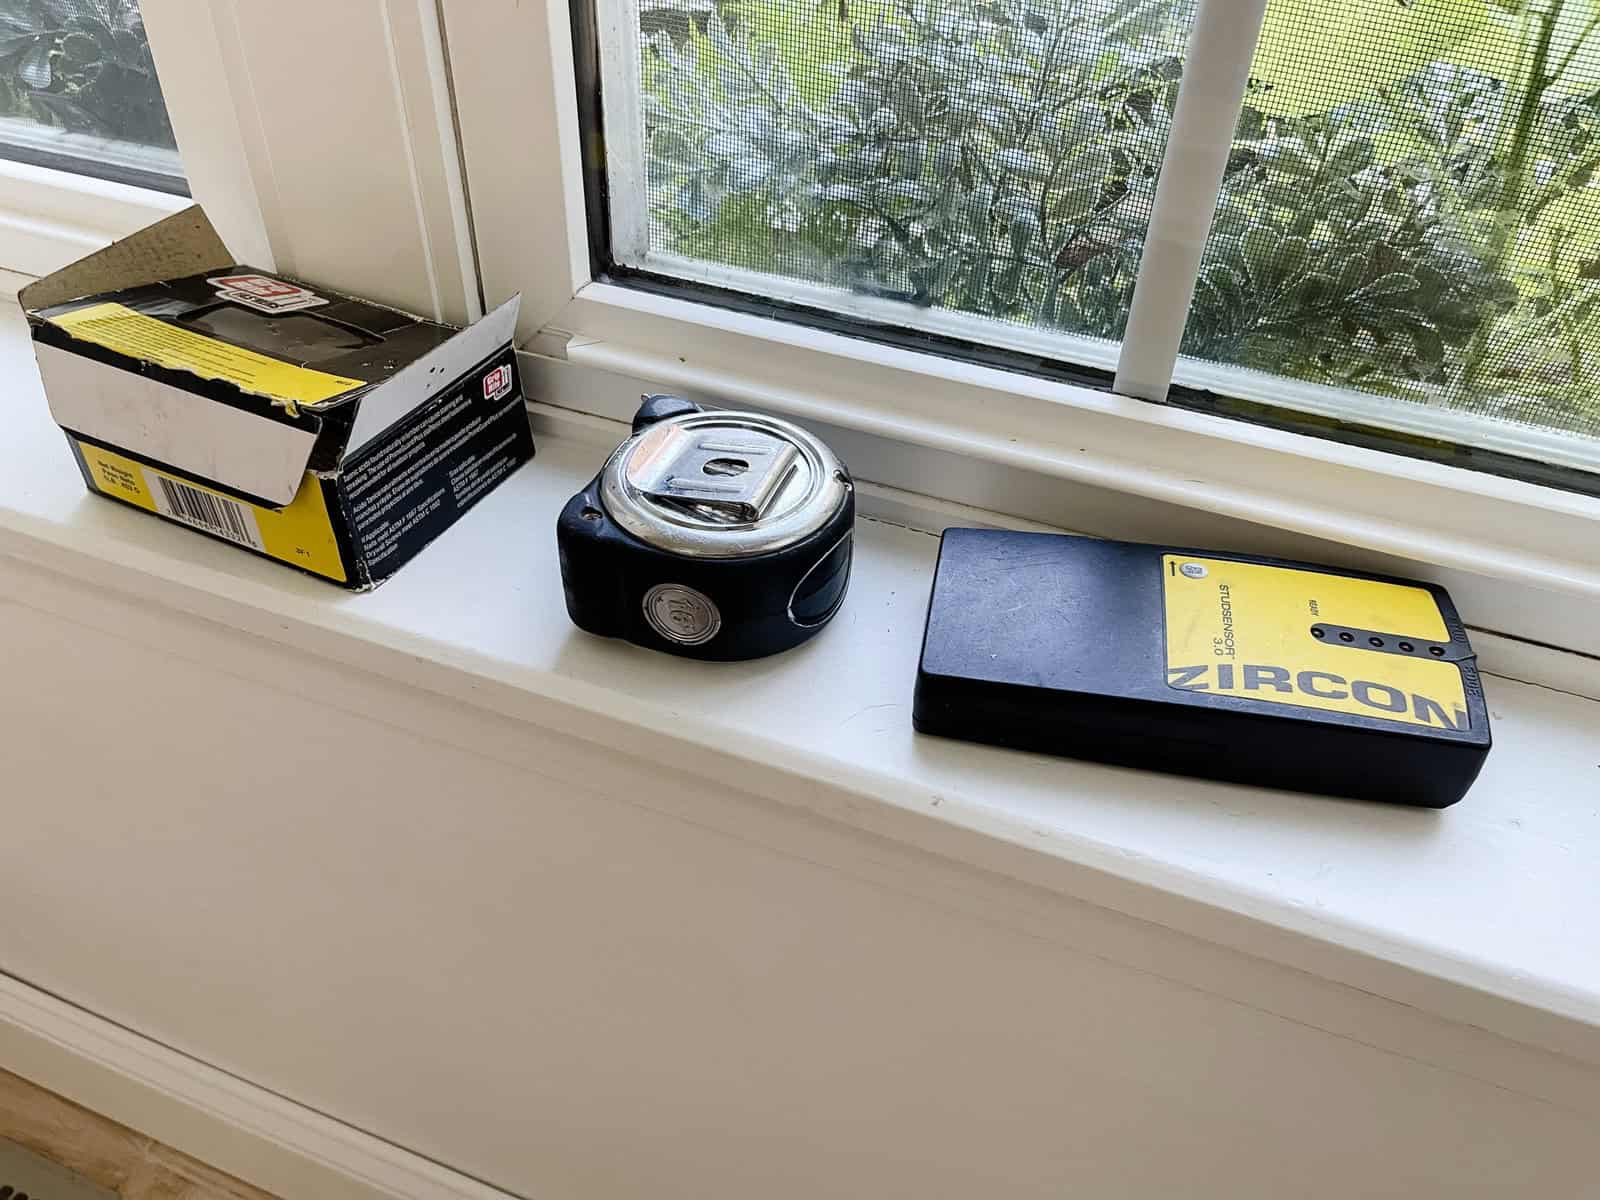
We used screws, measuring tape and a stud finder to attach the wood to the wall, as well as a drill for the screws.
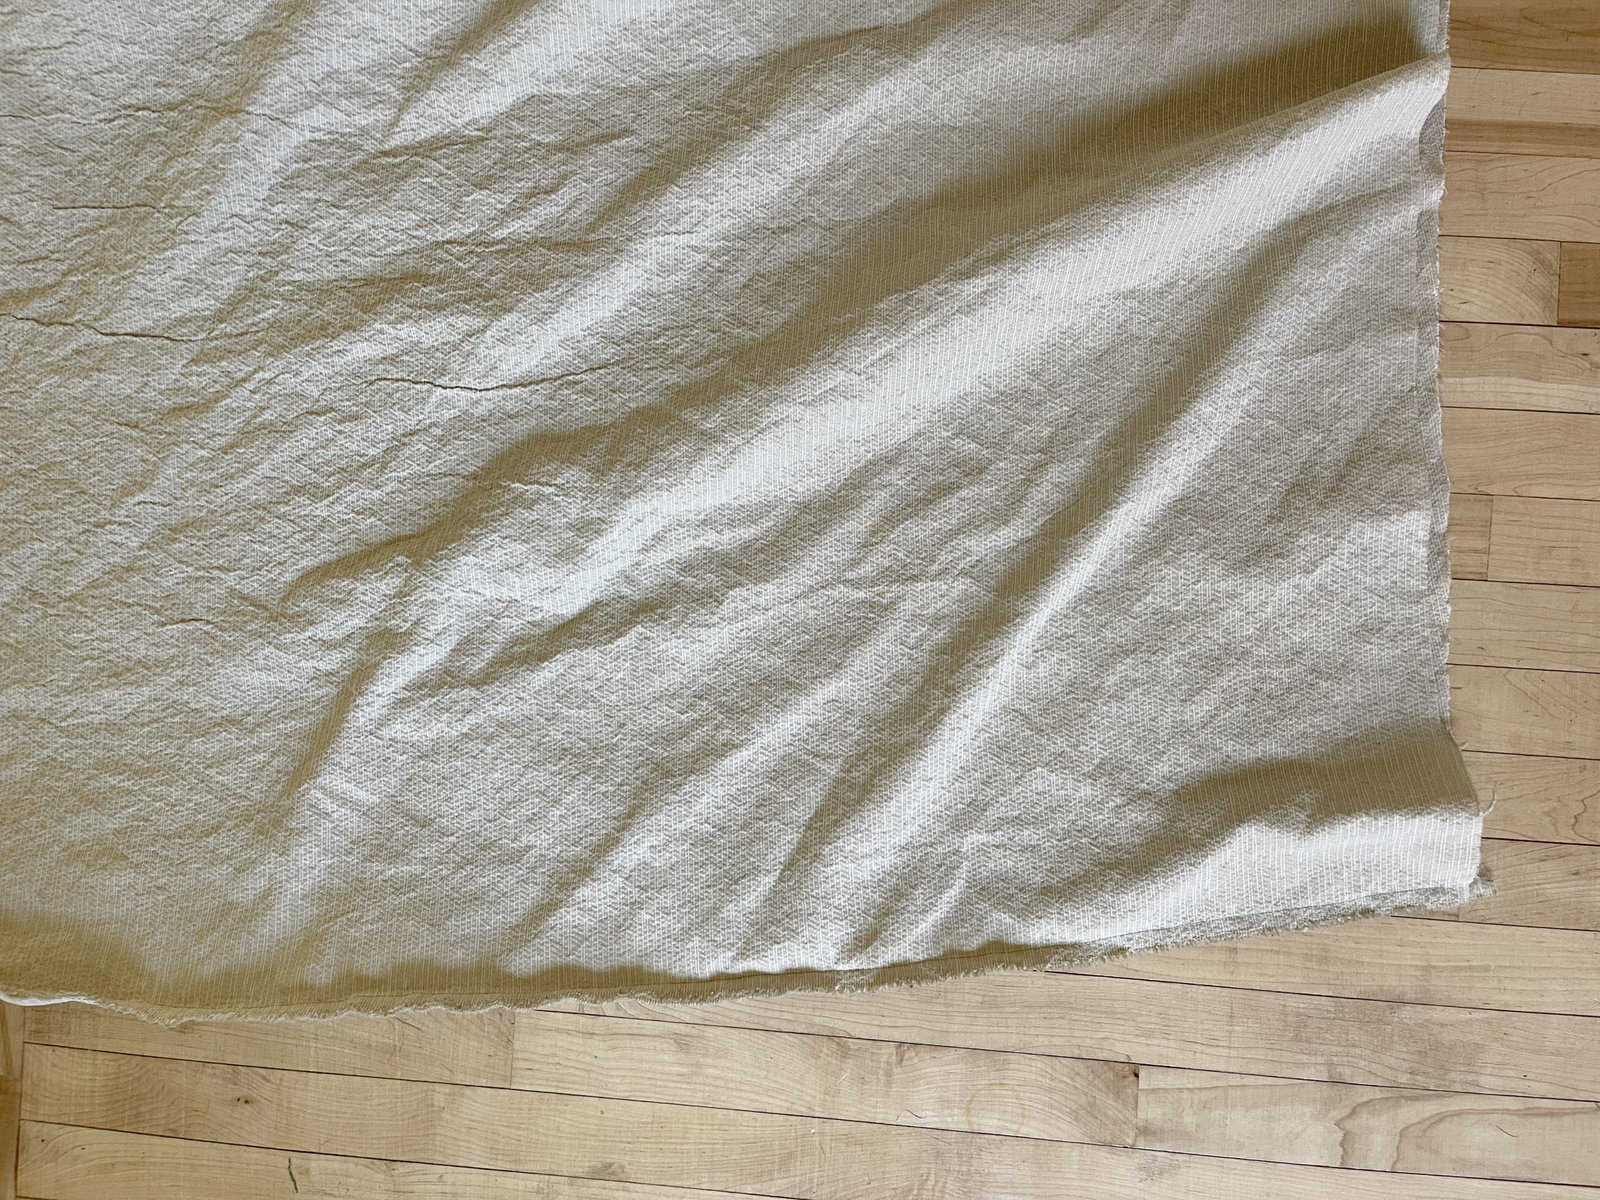
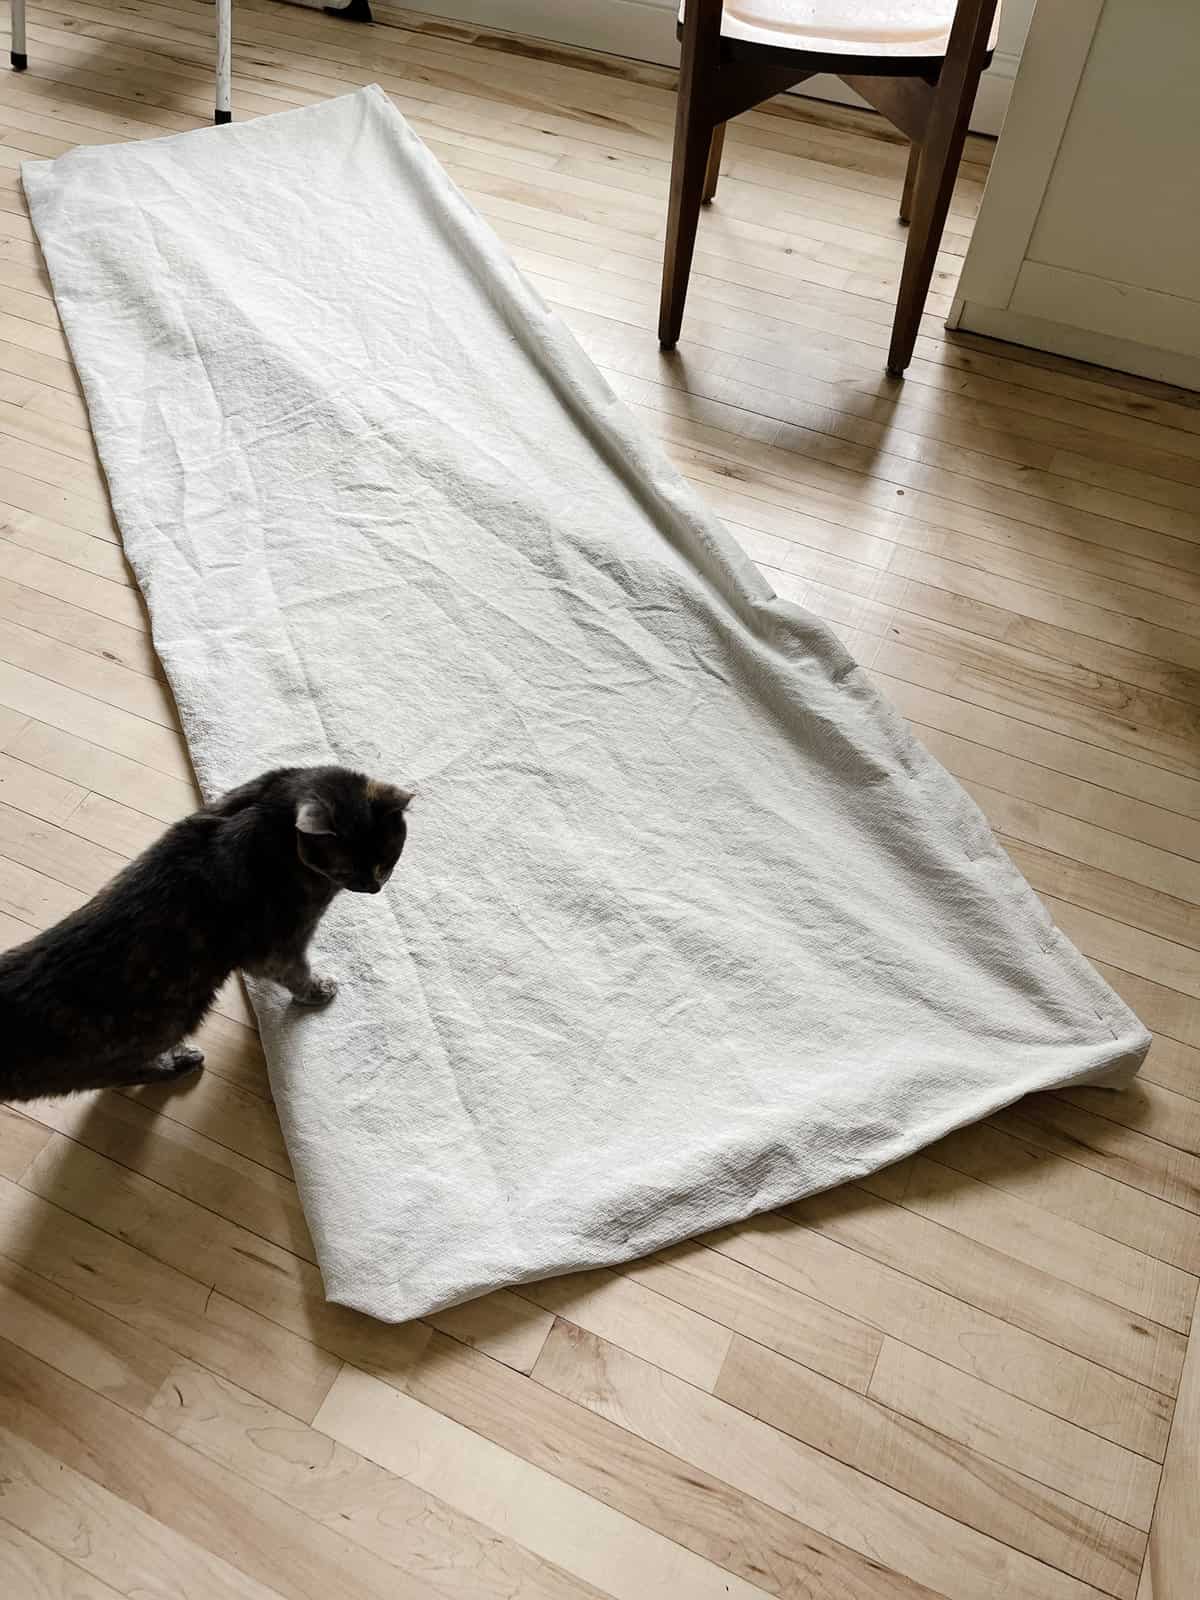
2. Choose your Fabric
Next I headed to my fabric stash. Please tell me I’m not the only one who could start their own fabric store fro9m their basement. I think it’s genetic. Of course I found the perfect material among the piles of fabric waiting to be used. It had been sewed into a tube for another project and I decided to keep it that way and just make do in order to save time.
Years ago I had bought it at The Restore. If you don’t know what The Restore is you must find one and go there. Fabulous organization with incredible deals on used housing materials, furniture, paint, etc. They are part of Habitat for Humanity, the charity founded by President Jimmie Carter and Rosalind Carter.
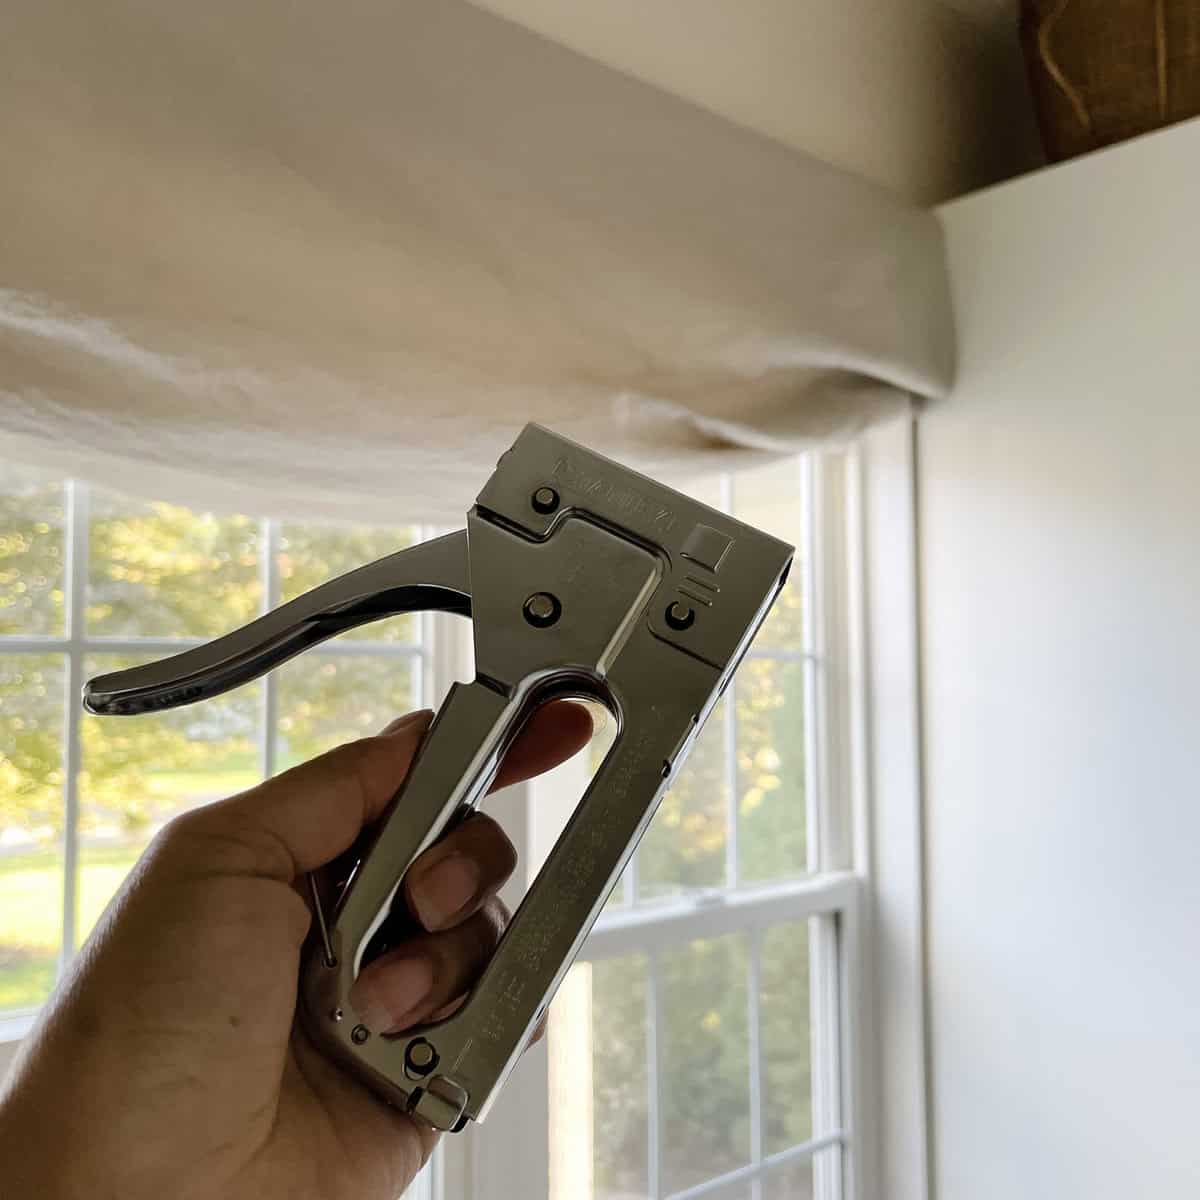
3. Attach fabric to wood
I doubled the fabric then took my handy staple gun and attached the fabric evenly to the length of the wood.

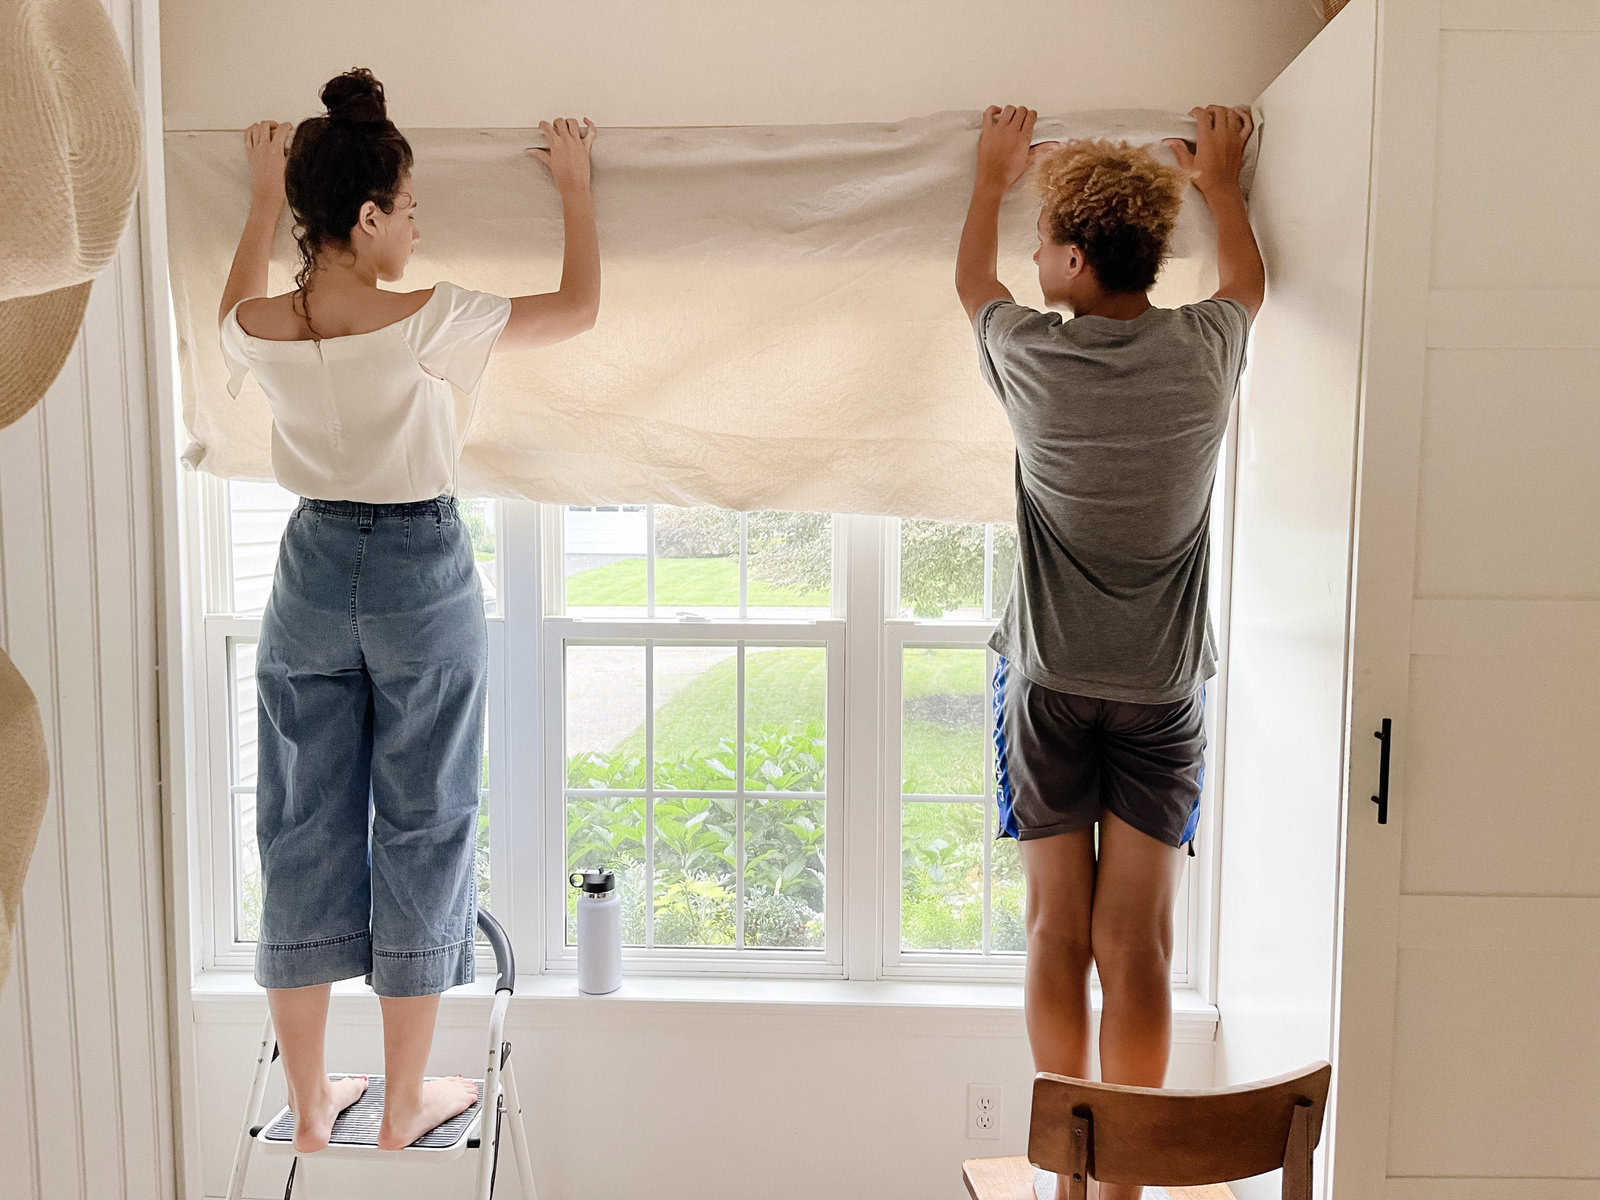
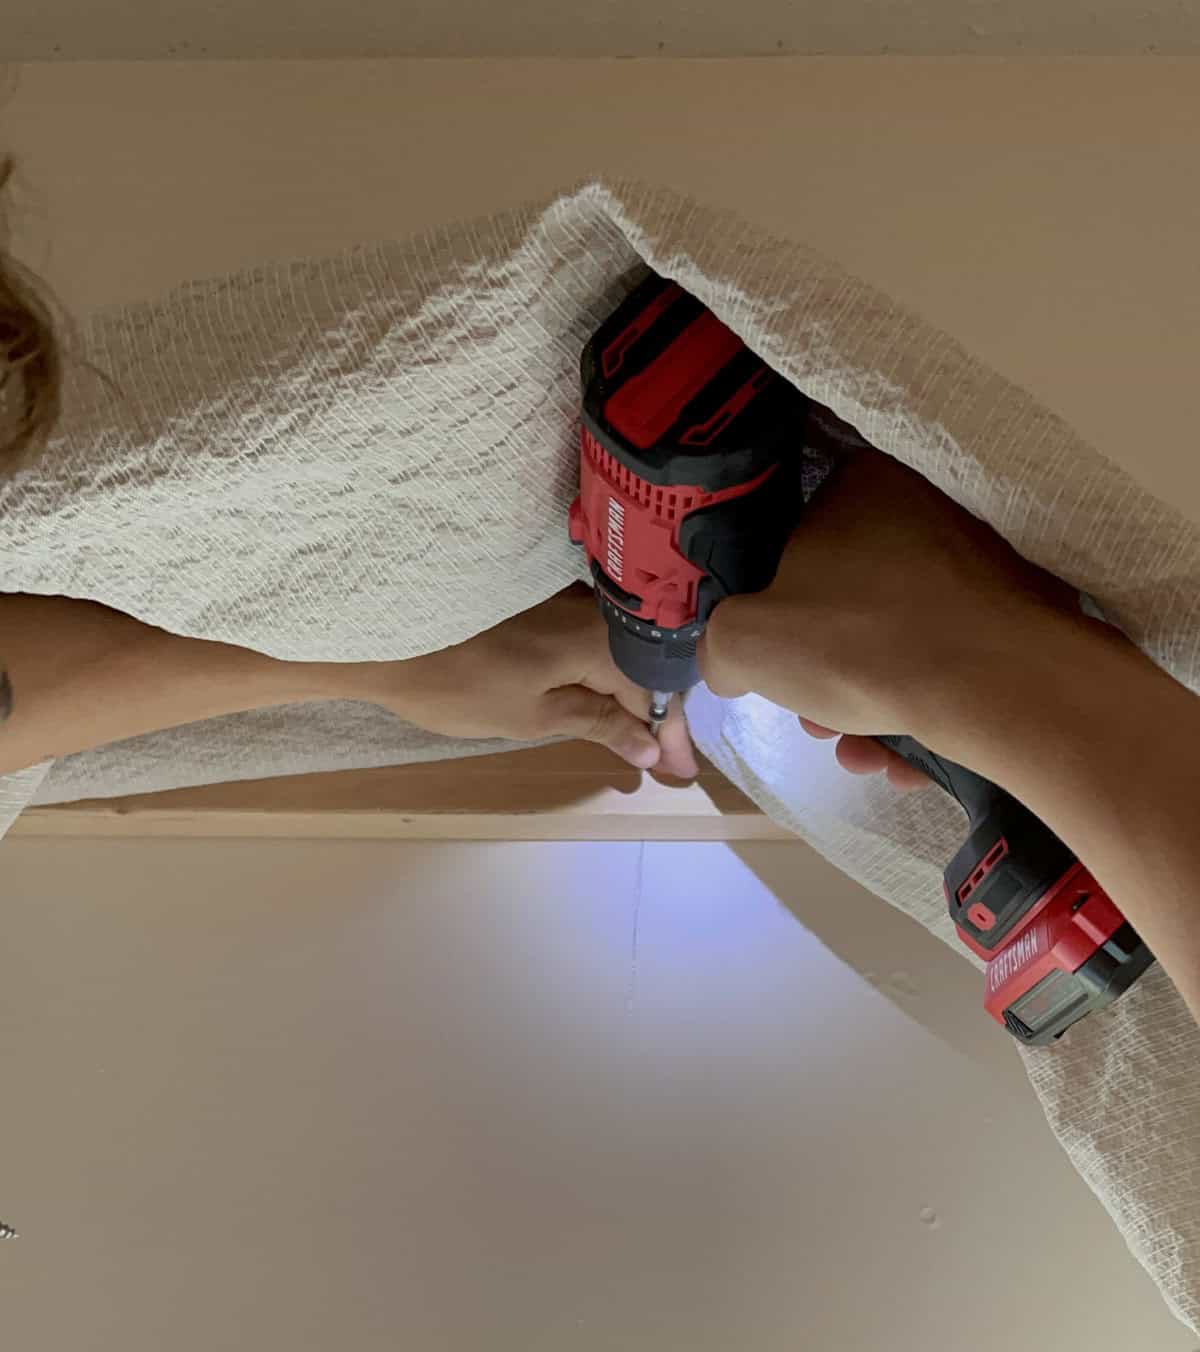
4. Attach wood to the wall with fabric
Jeremy mapped out the studs in the wall and later that day while he was at work Duncan attached the wood bar to the wall while his siblings held it in place. I took pictures, made sure the long piece of wood was even and told them not to complain. Instead they sighe3d heavily. Sometimes kids have to be strongly encouraged to DIY.

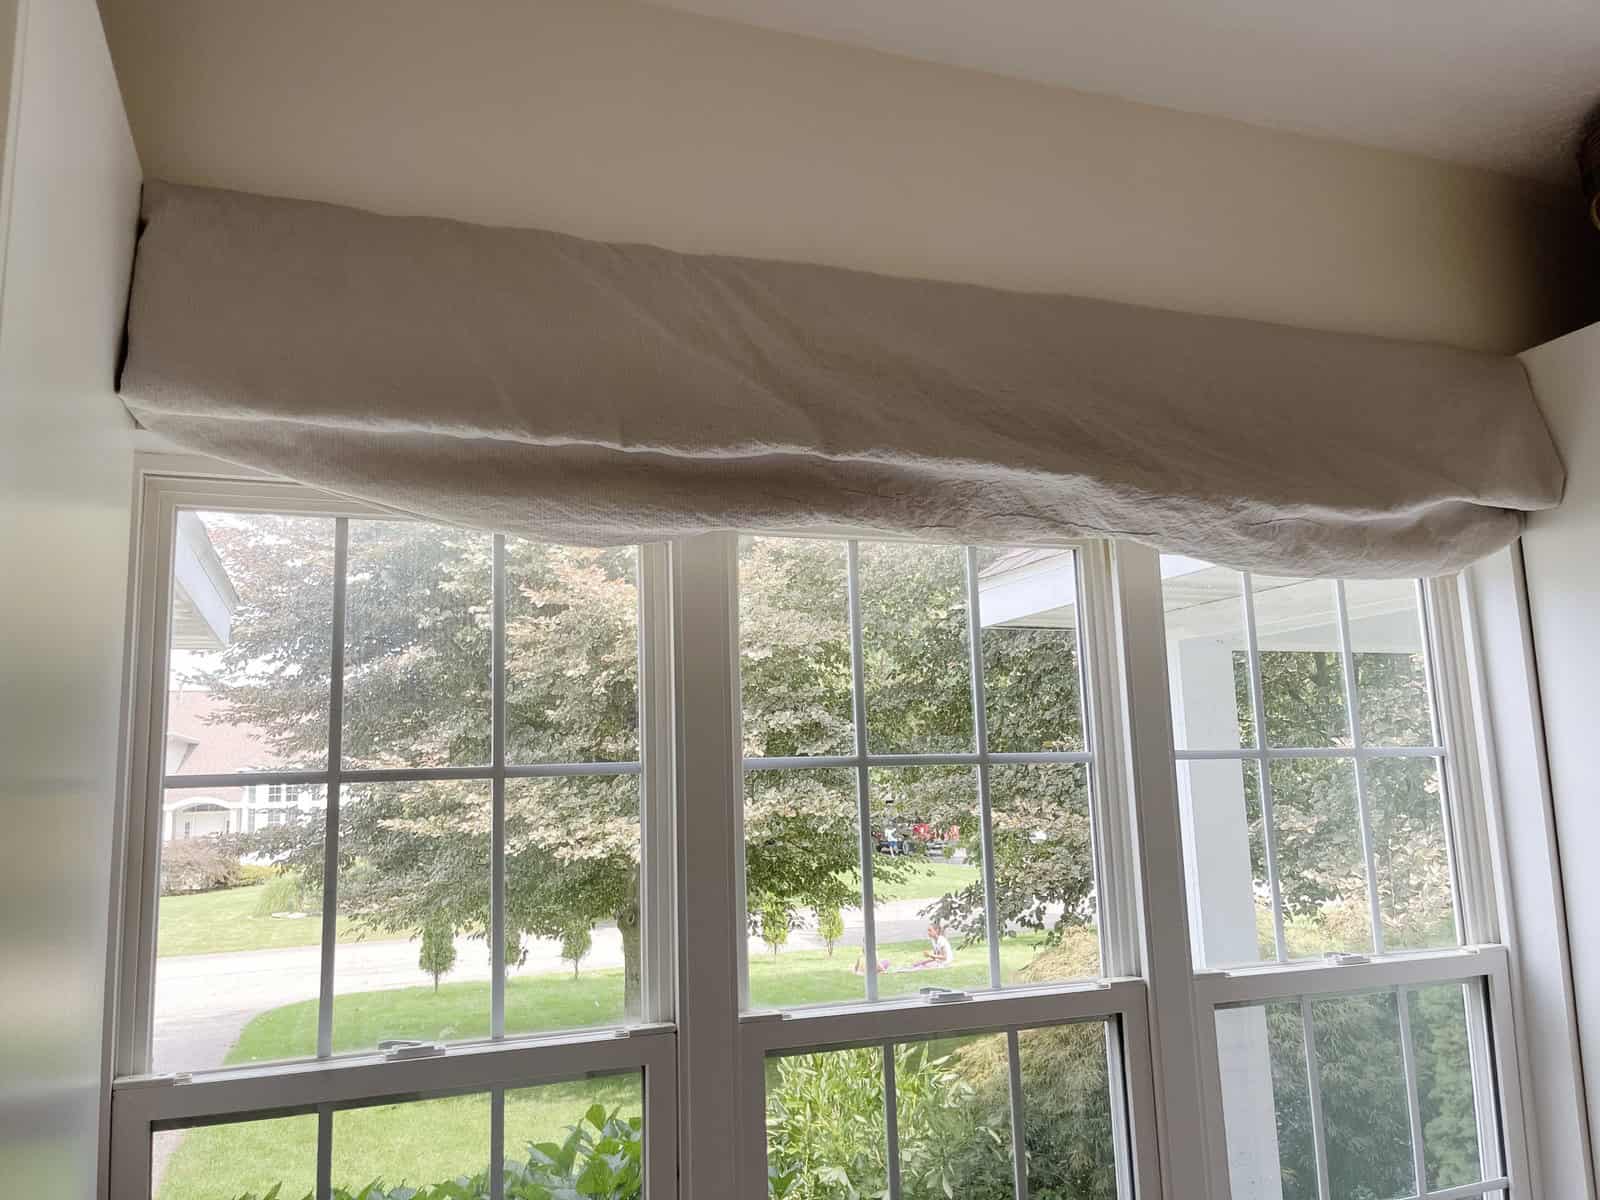
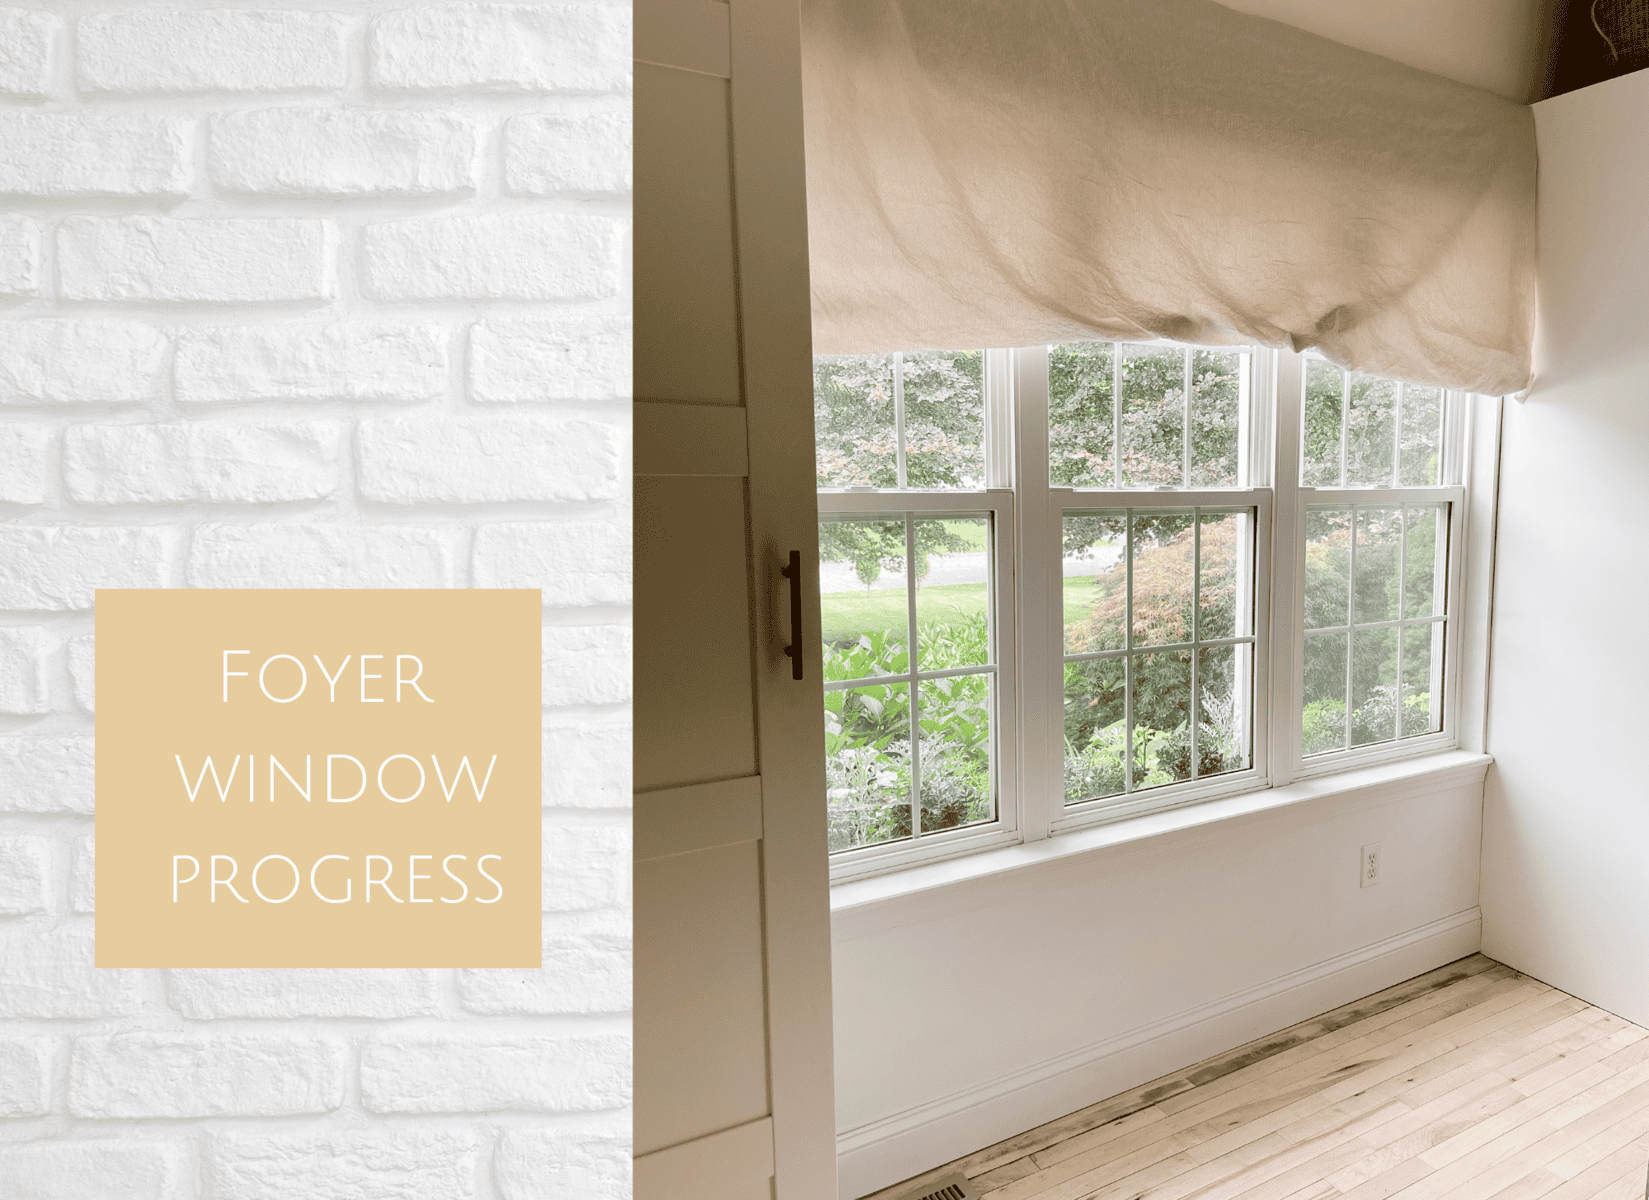
5. Style and Secure Fabric in Place
Believe it or not this was of the hardest part of the project. To get the fabric to lay like my inspiration photo was no small feet. I used the staple gun, safety pins, needle and thread, and although it was forming nicely, it still wasn’t the giving me the folds I wanted.
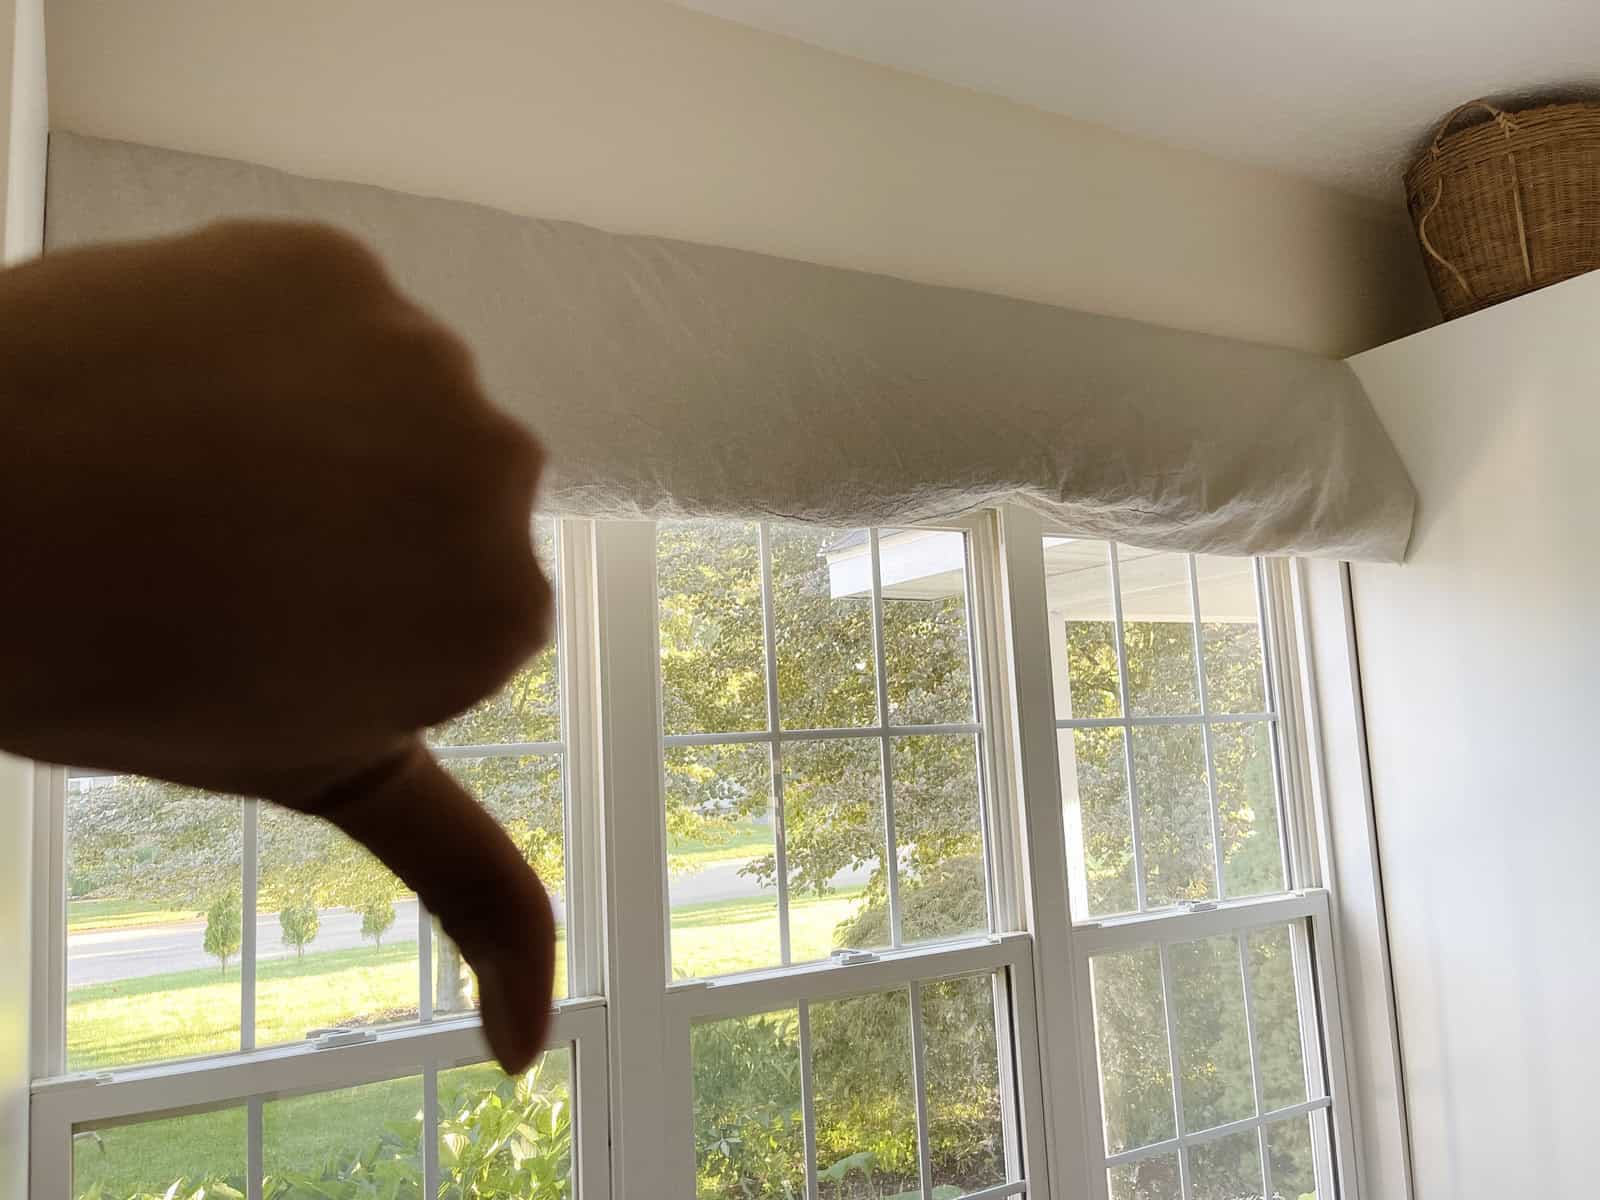
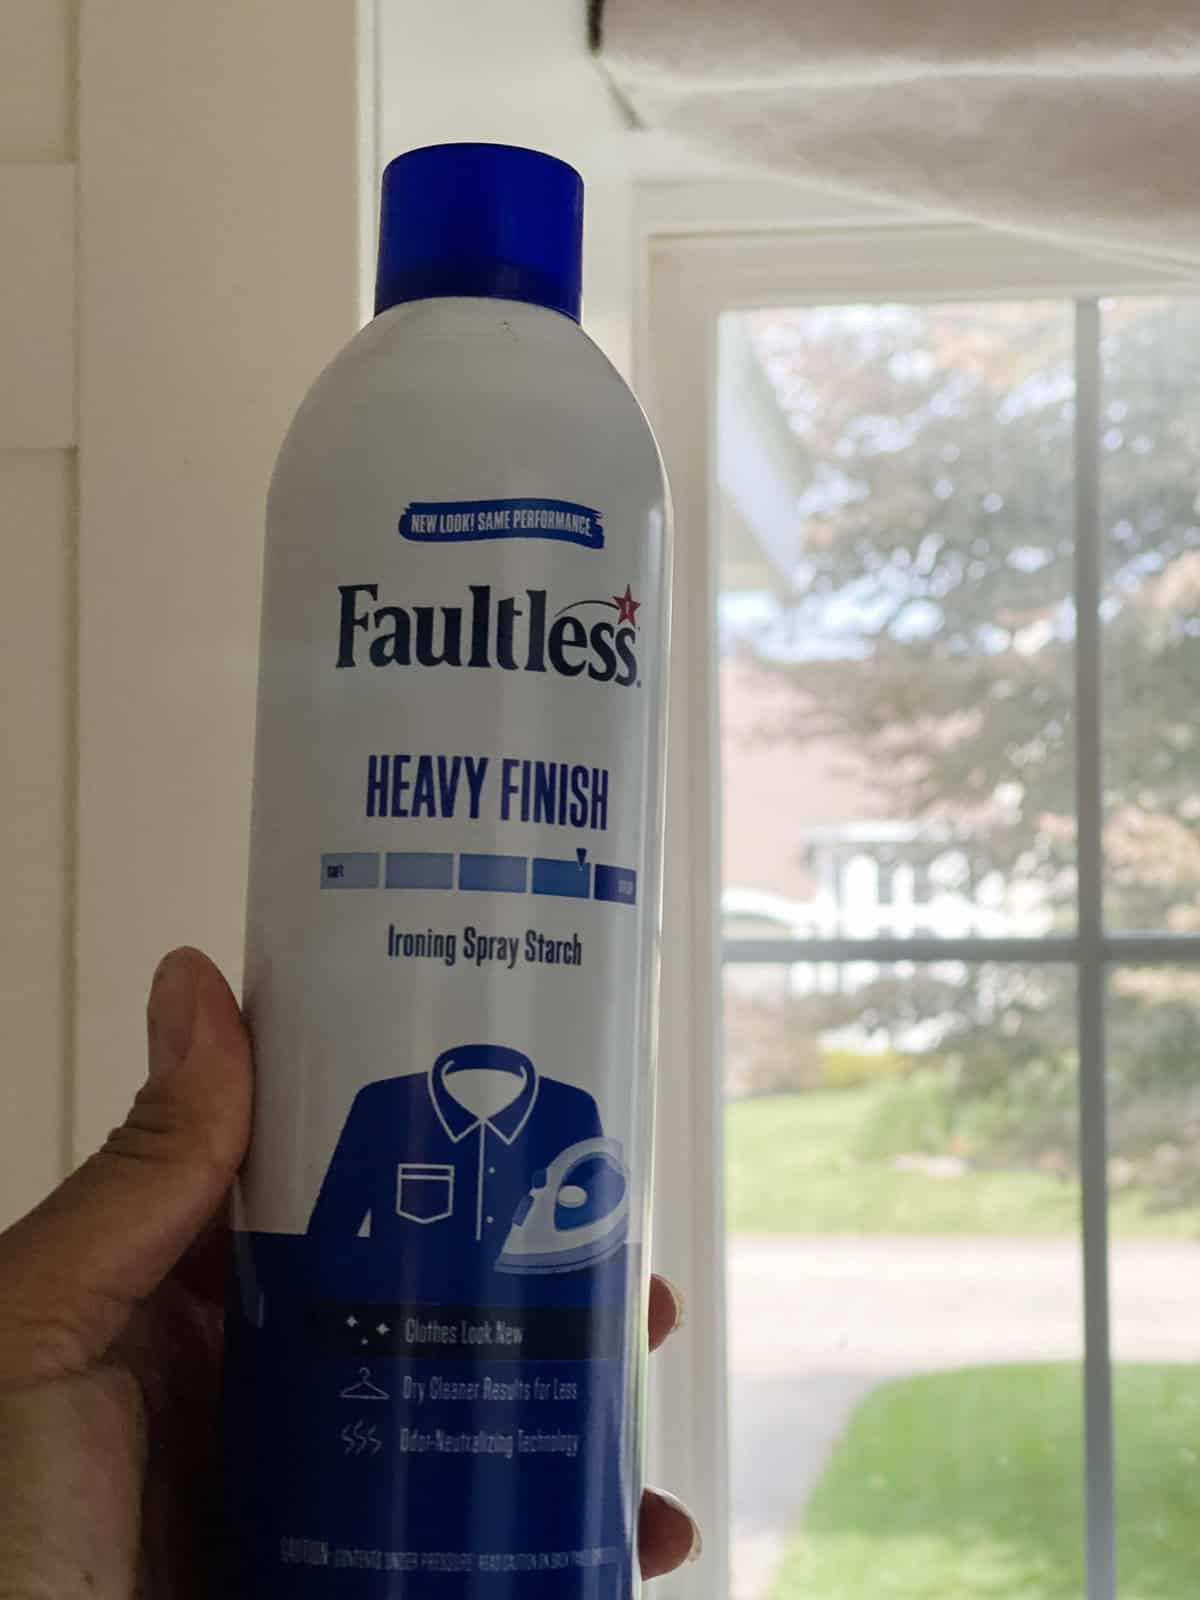
That’s when I decided to try spray starch! It was the only purchase I made to create this DIY faux roman shade!
I would fuss with it, mold it, bend it and fold it several times before I was happy with how the fabric looked as well as the end product. As I did all this I would apply the spray starch and eventually it became something I was satisfied with, and I called it done.
Items Needed for this Project:
- stud finder
- measuring tape
- scissors
- screws
- drill
- staple gun
- safety pins
- spray starch
- wood plank
- fabric
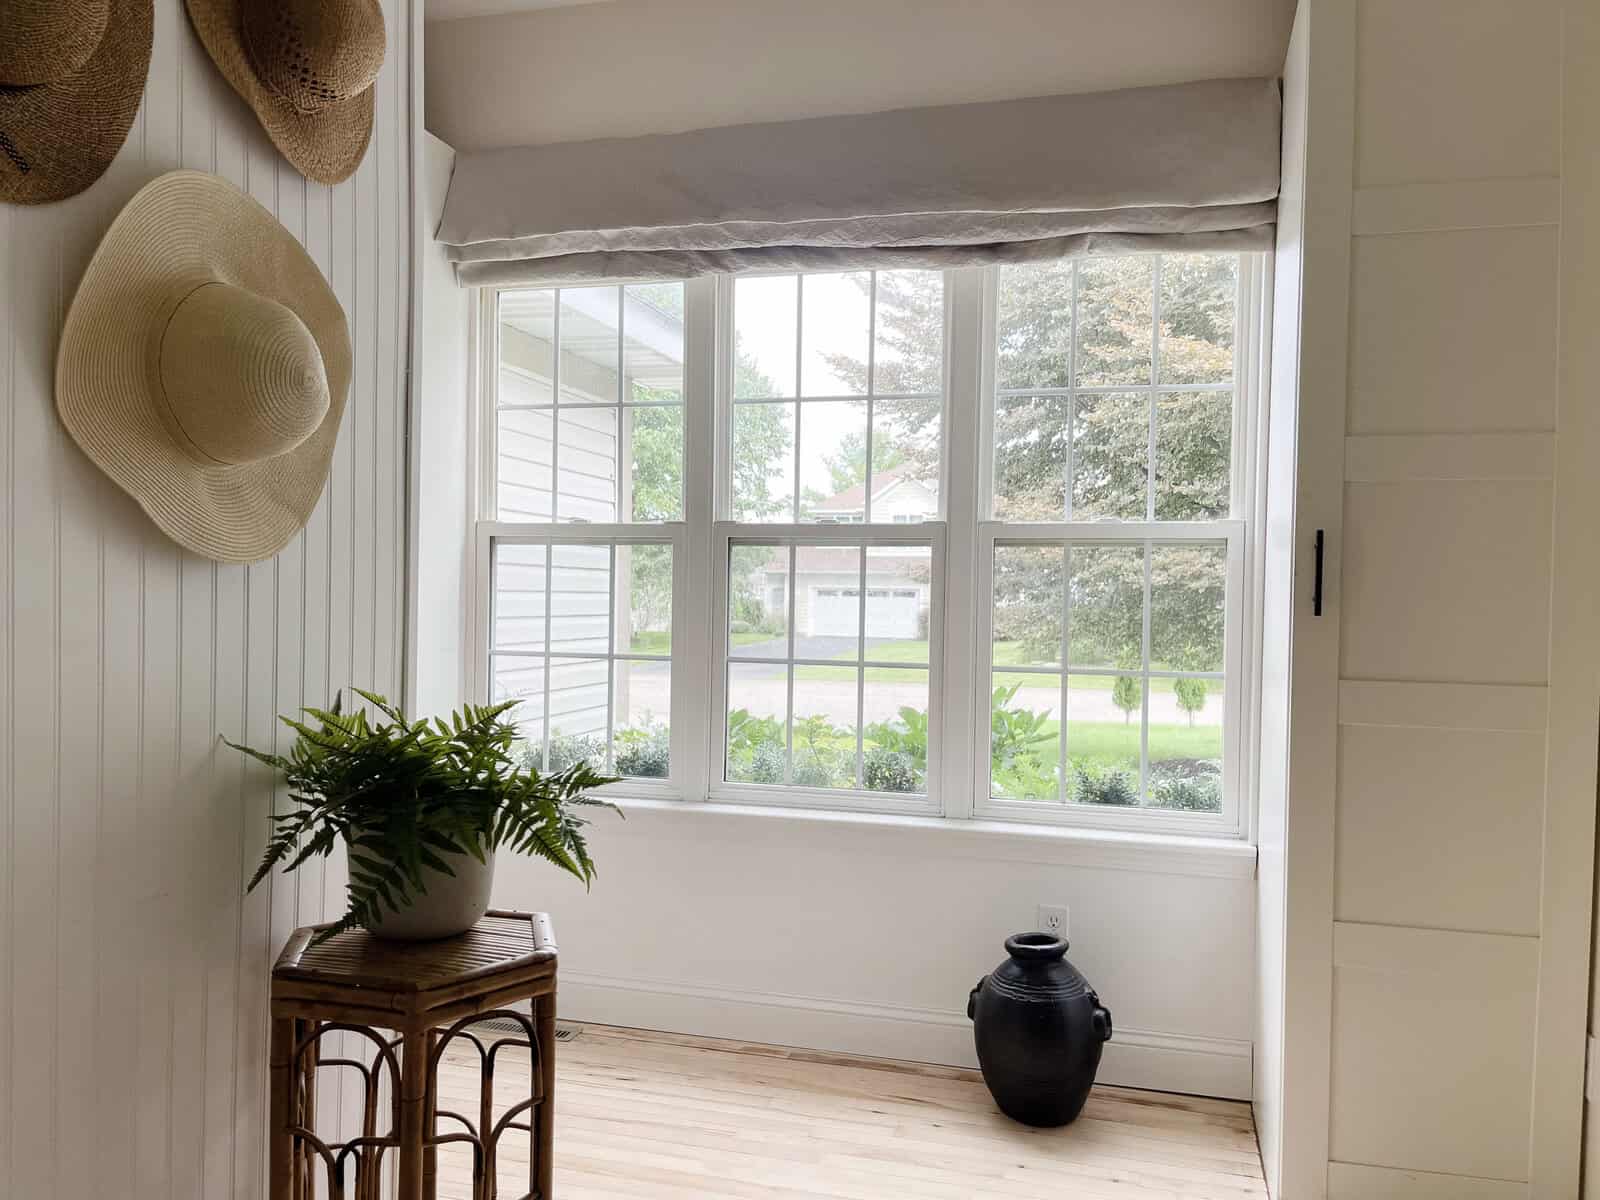
The only investment made in this DIY faux roman shade was the cost of a can of spray paint. Not sure that I’ll ever use that spray starch again, but it was well worth it. This was almost a zero dollar window treatment and I love how it turned out.
Was it super easy? No. Was it super inexpensive? Yes!
Do you like the challenge of a “use what you have” project?

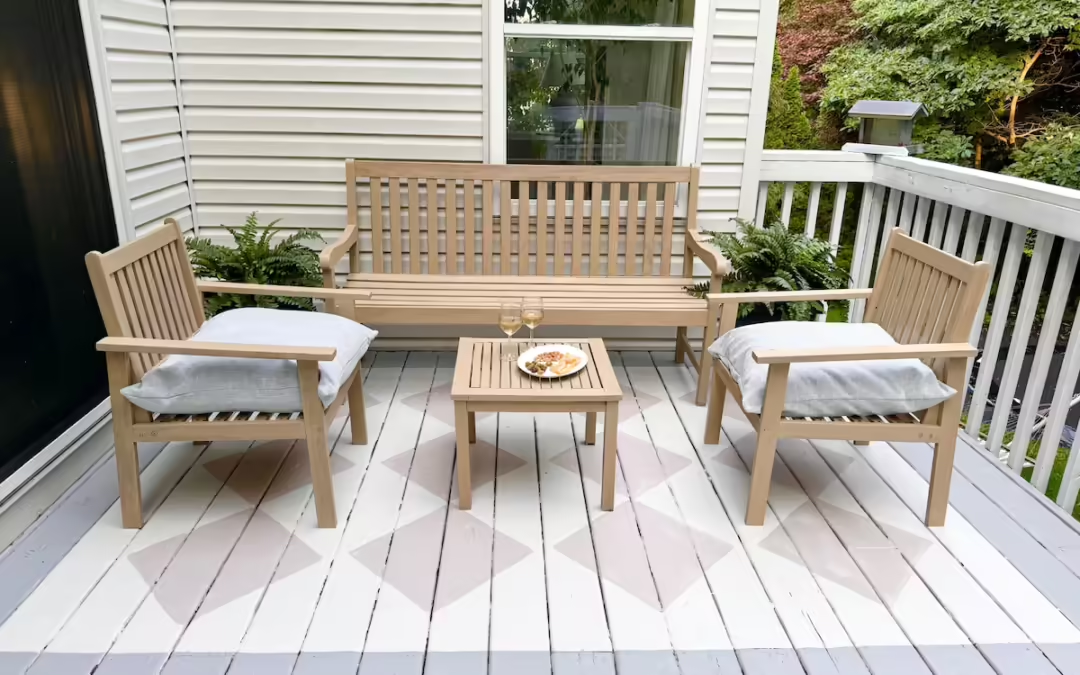
MORE BUDGET FRIENDLY HOME INSPIRATION
*Here’s where you can find me on Instagram*

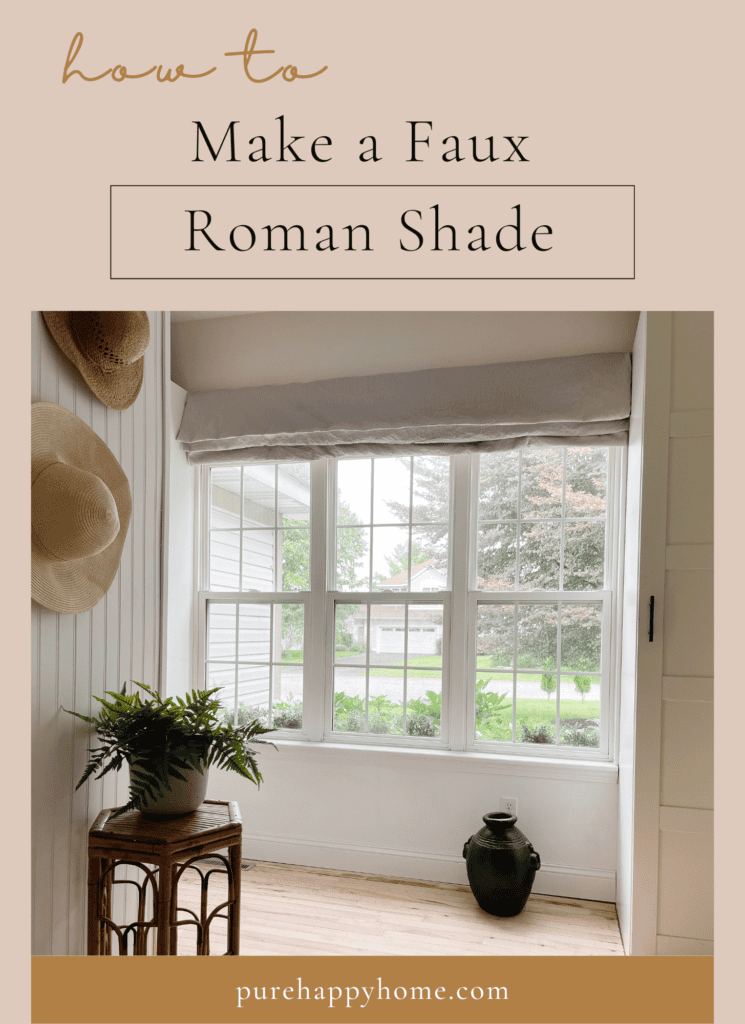
SAVE IT FOR LATER
Pin this image to your Pinterest account for later!


Maria,
Such a great idea and it looks pretty. Gotta love free projects!
Pinned
Yes, so satisfying to create using what you have!
I love the colour you chose, very warm but allowing lots of light too.
You’re right it does allow light in well! I was really happy to find it in my fabric stash.
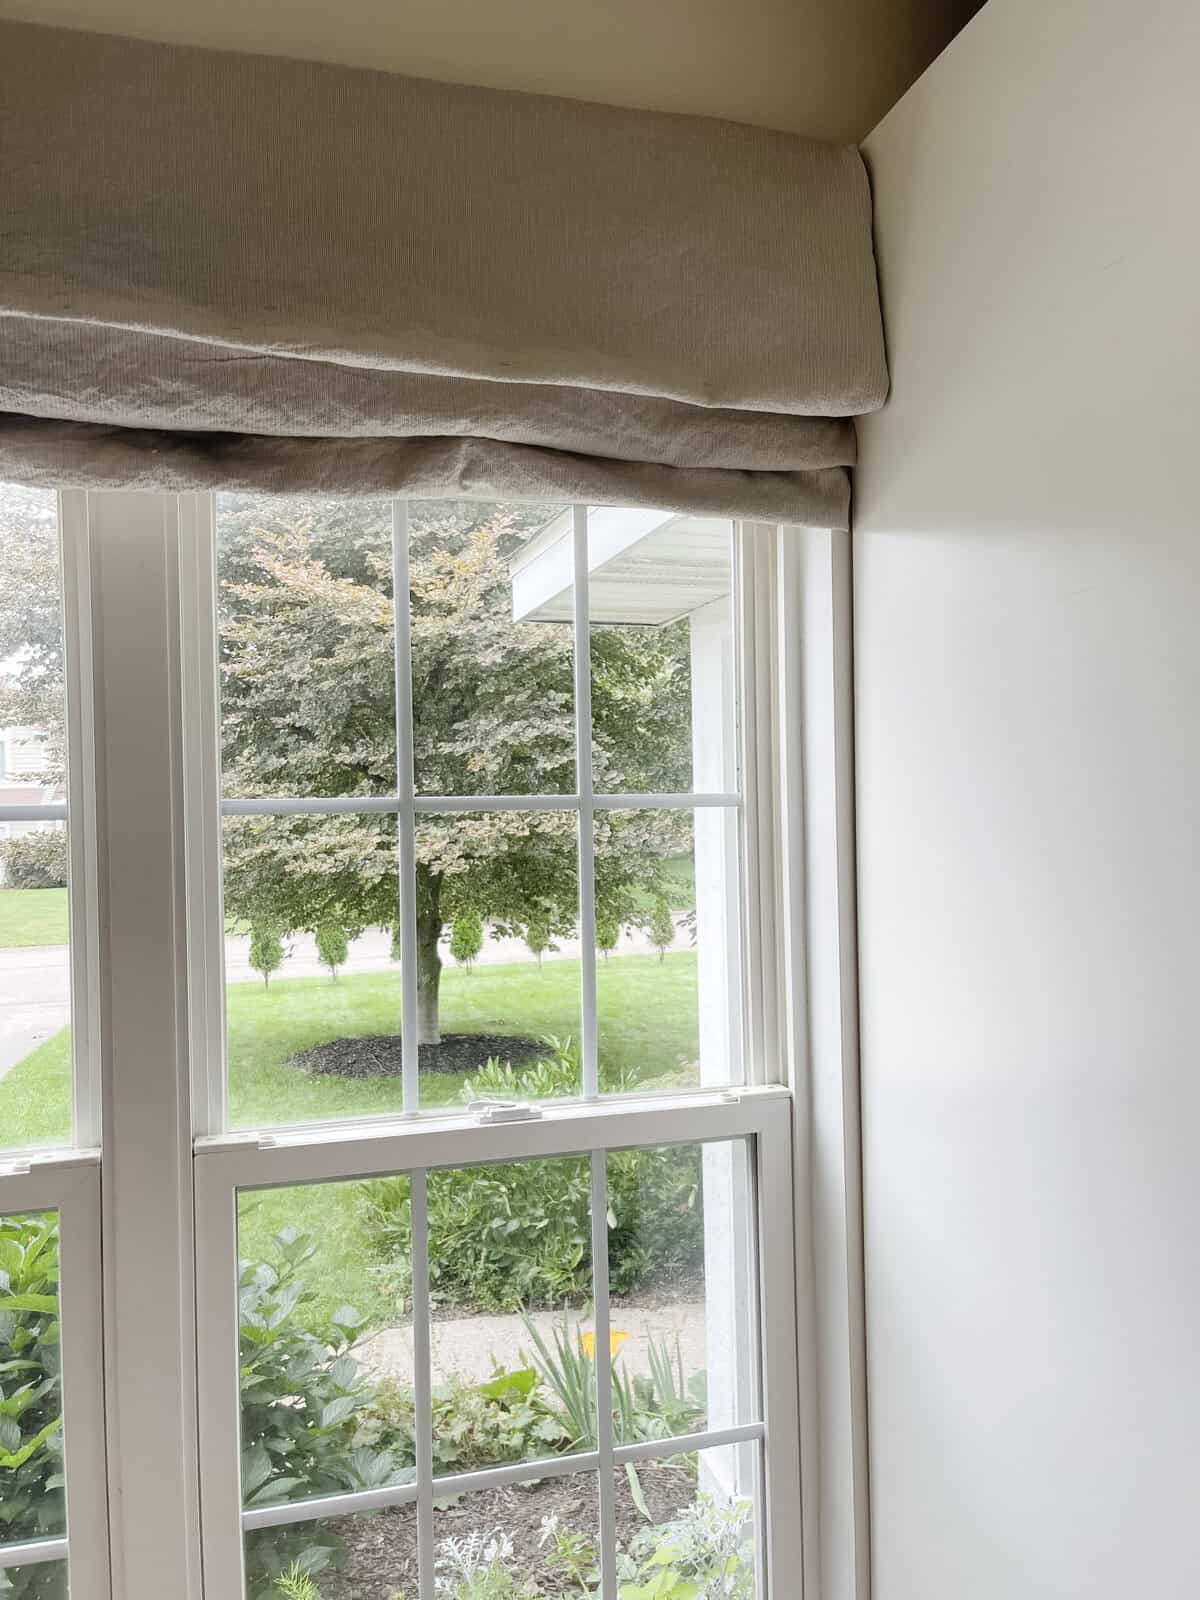
These look amazing, Maria! I love the texture they add and how subtle they are on the window so you can still enjoy the beautiful view too. It’s so much fun to see your kids helping you with this project. We moved around a lot and some of my favorite memories were spent with my parents and sisters helping to make our house a home. Hugs, CoCo
Thank you Coco, the kids aren’t always thrilled to help, but they help. lol I so hope ours will have good memories like you do!