

Looking to lighten up your home for Spring, but want to keep the cost down? Here’s how to quickly whitewash wood furniture.
If you follow my blog or have taken a look around here you know I am all about furnishing a home frugally. I shop thrift stores, Facebook marketplace and the side of the road for well built but worn down pieces.
These pieces are just waiting to be transformed and brought back into the home saving you thousands!
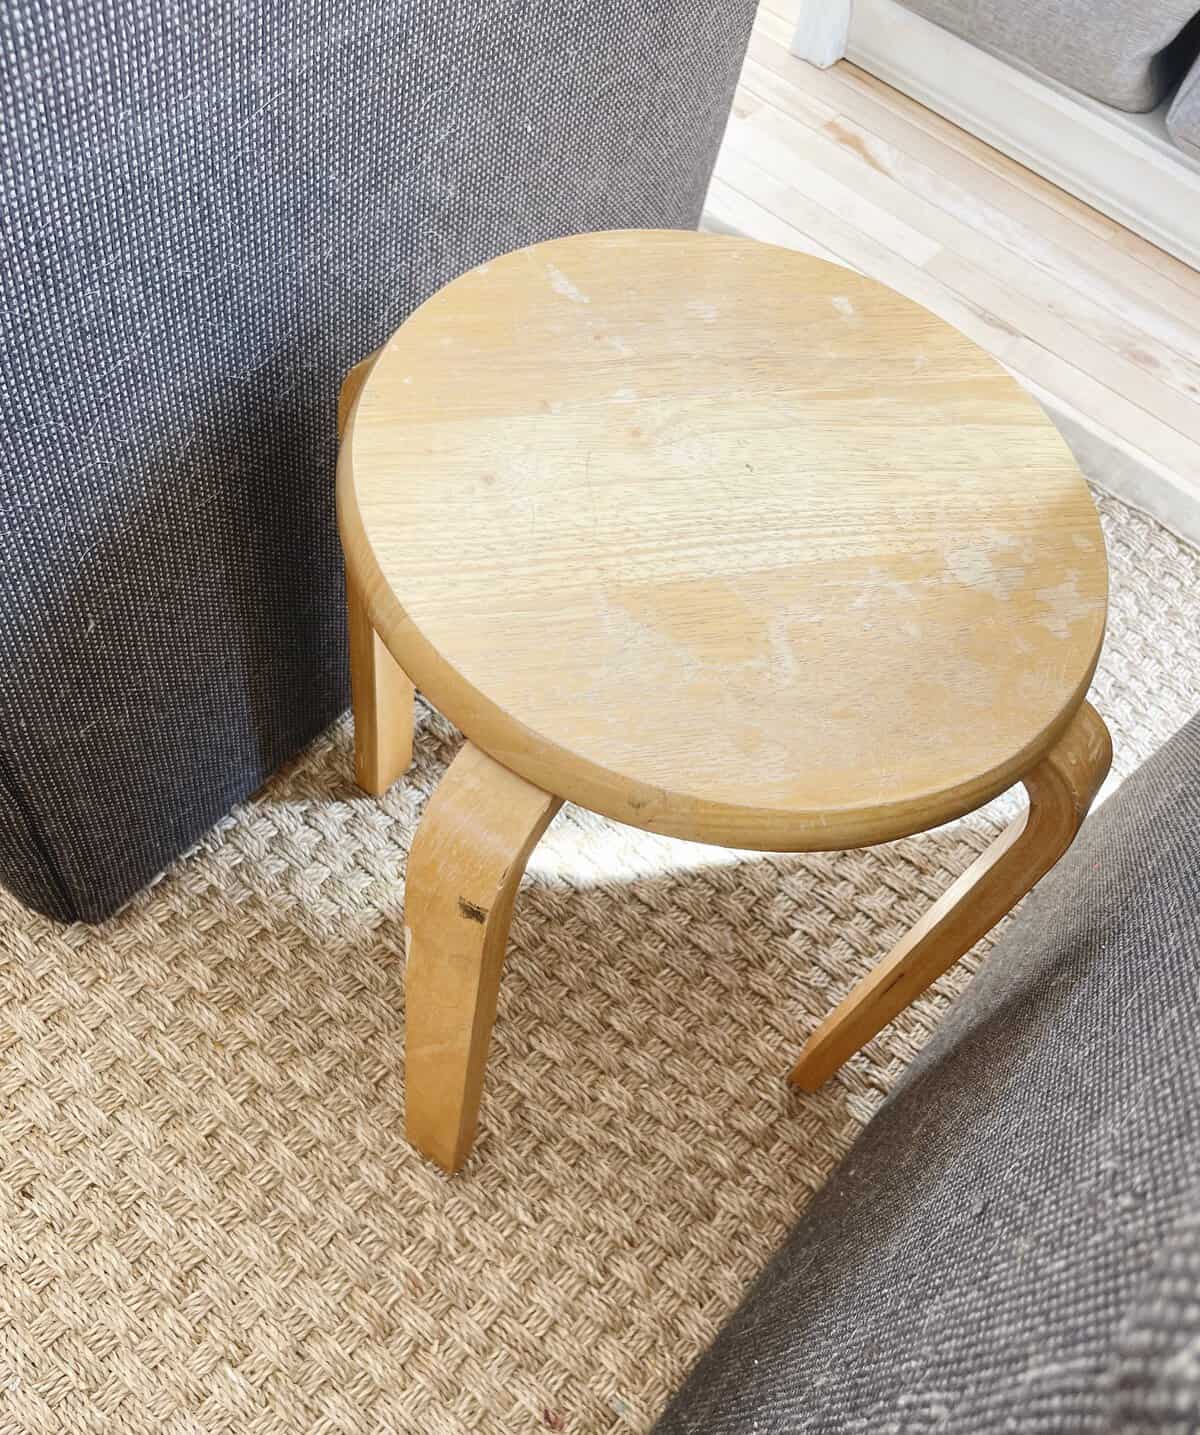
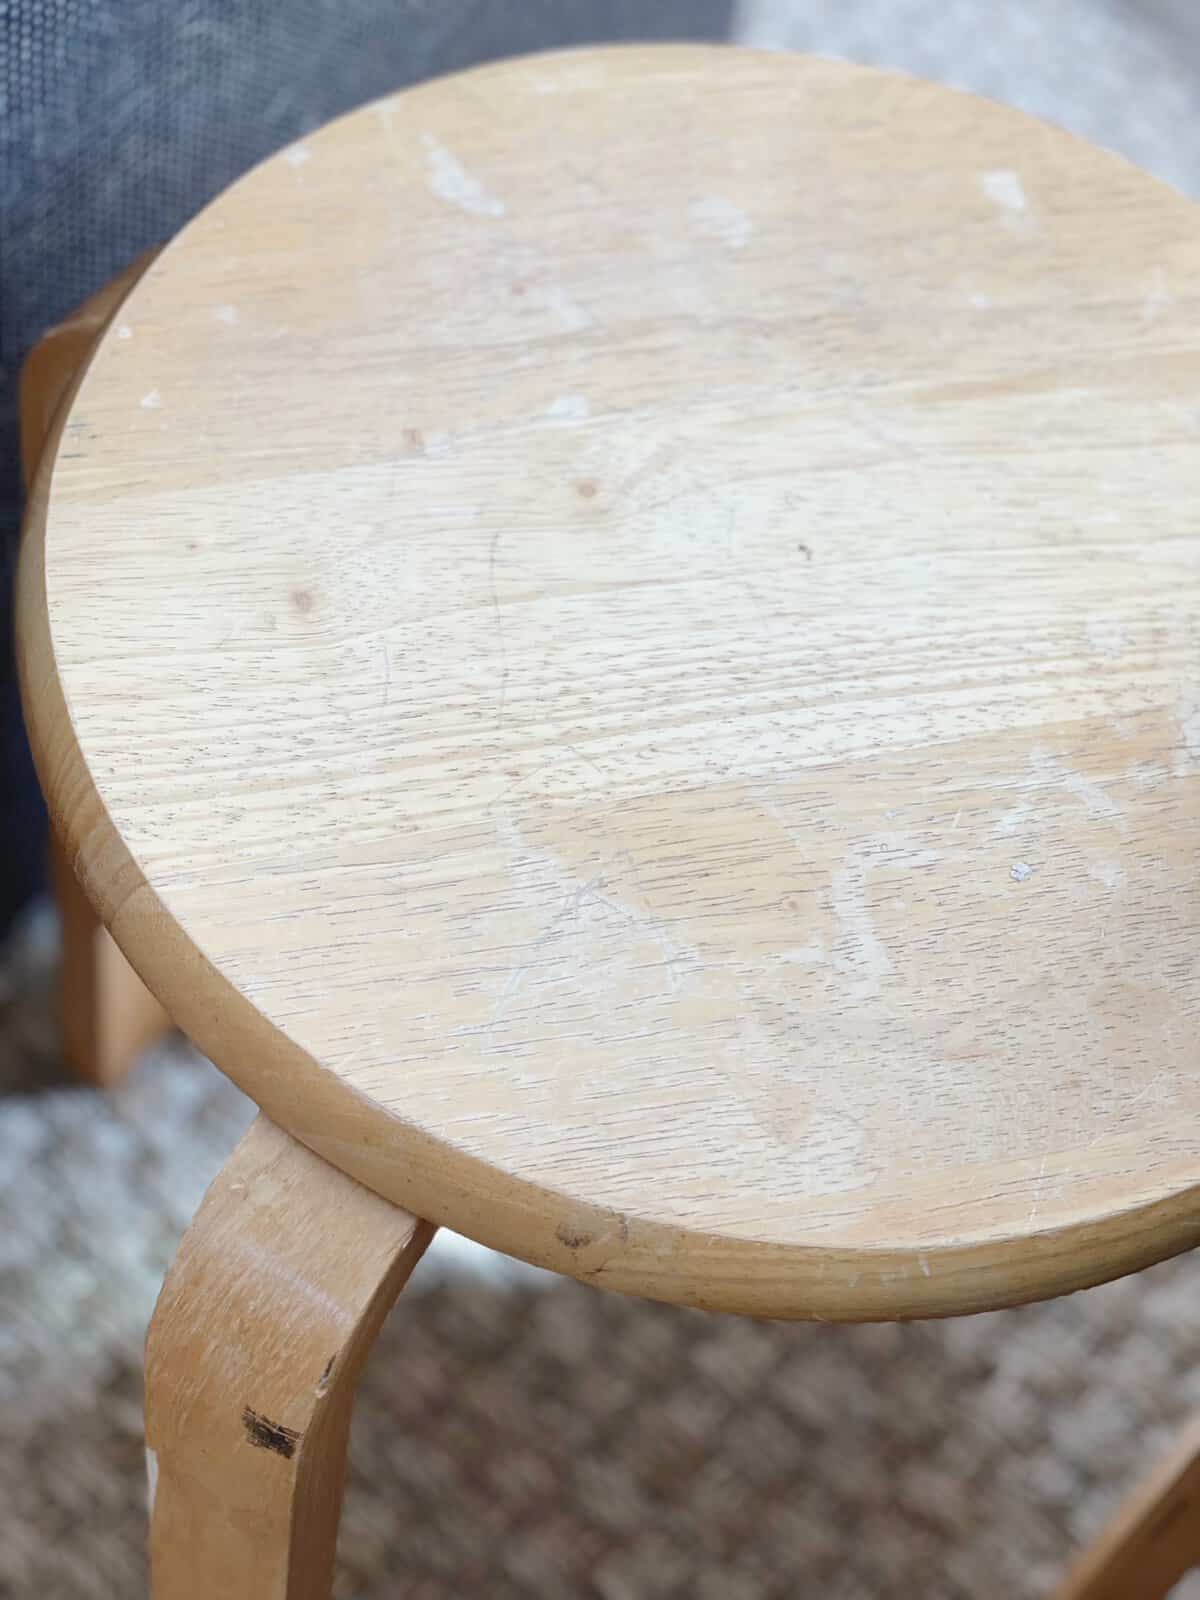
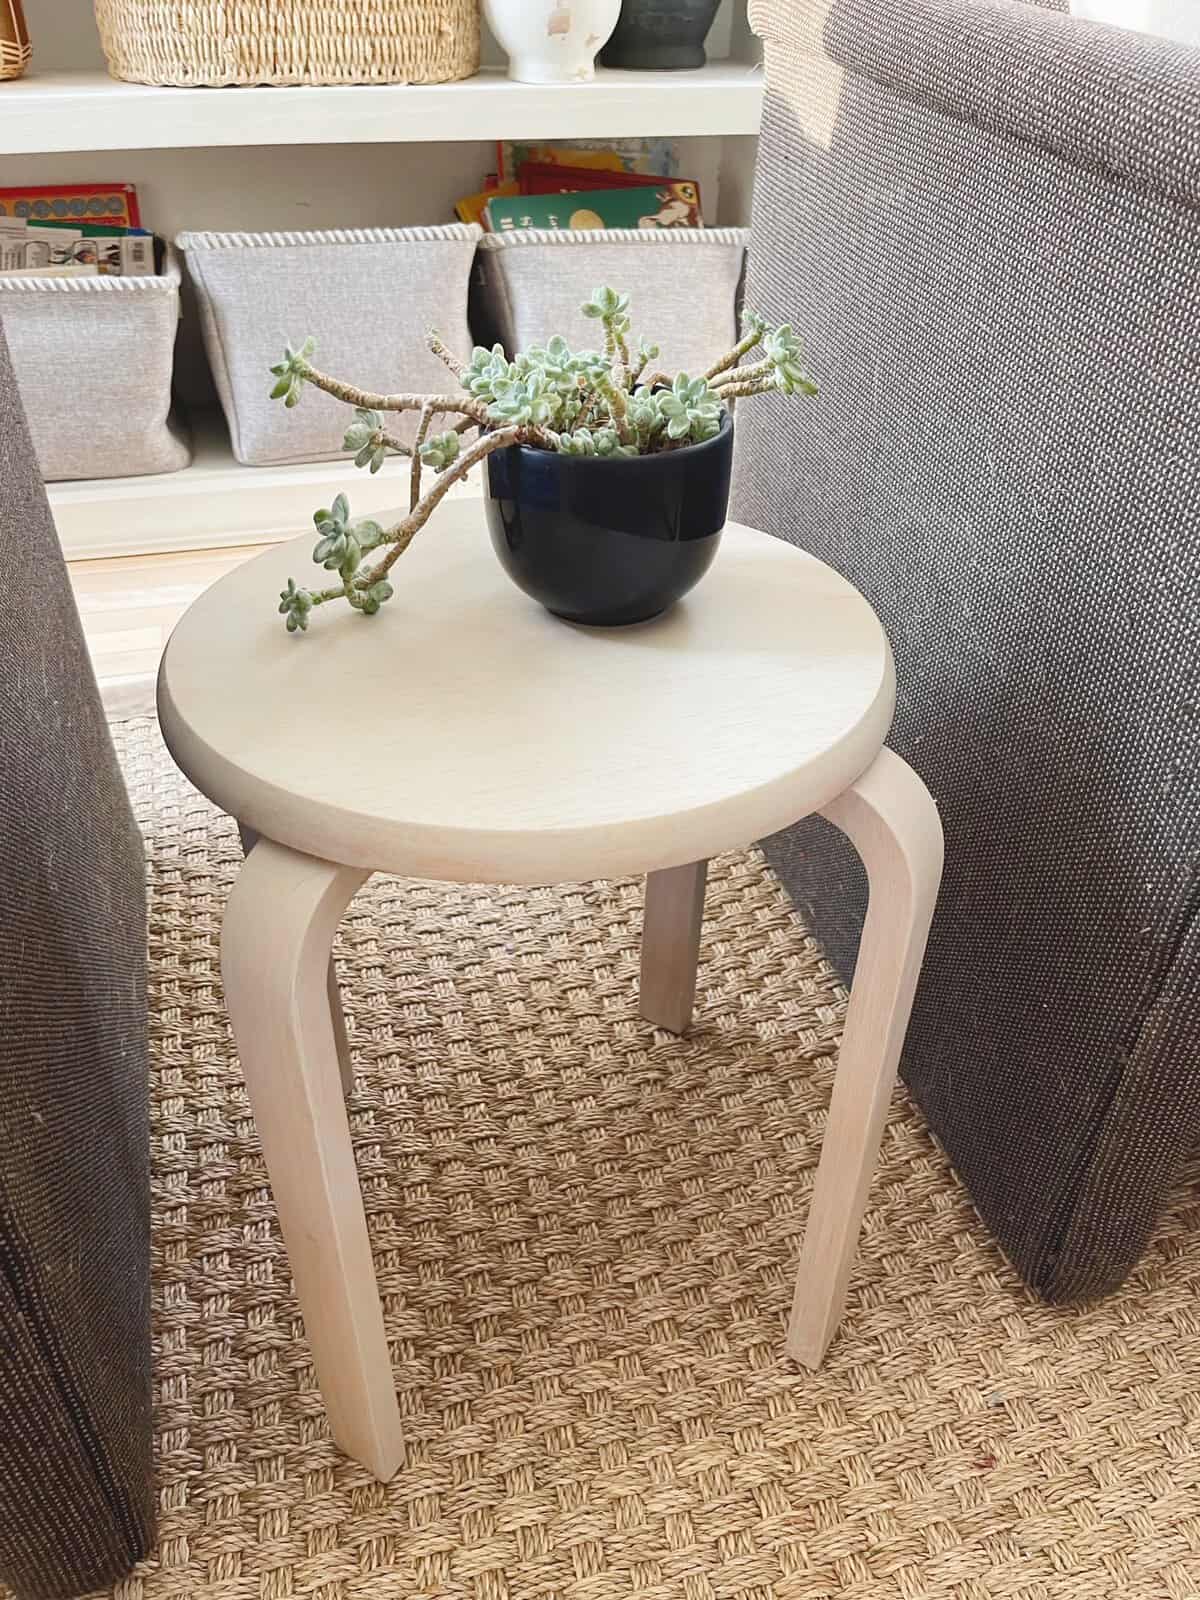
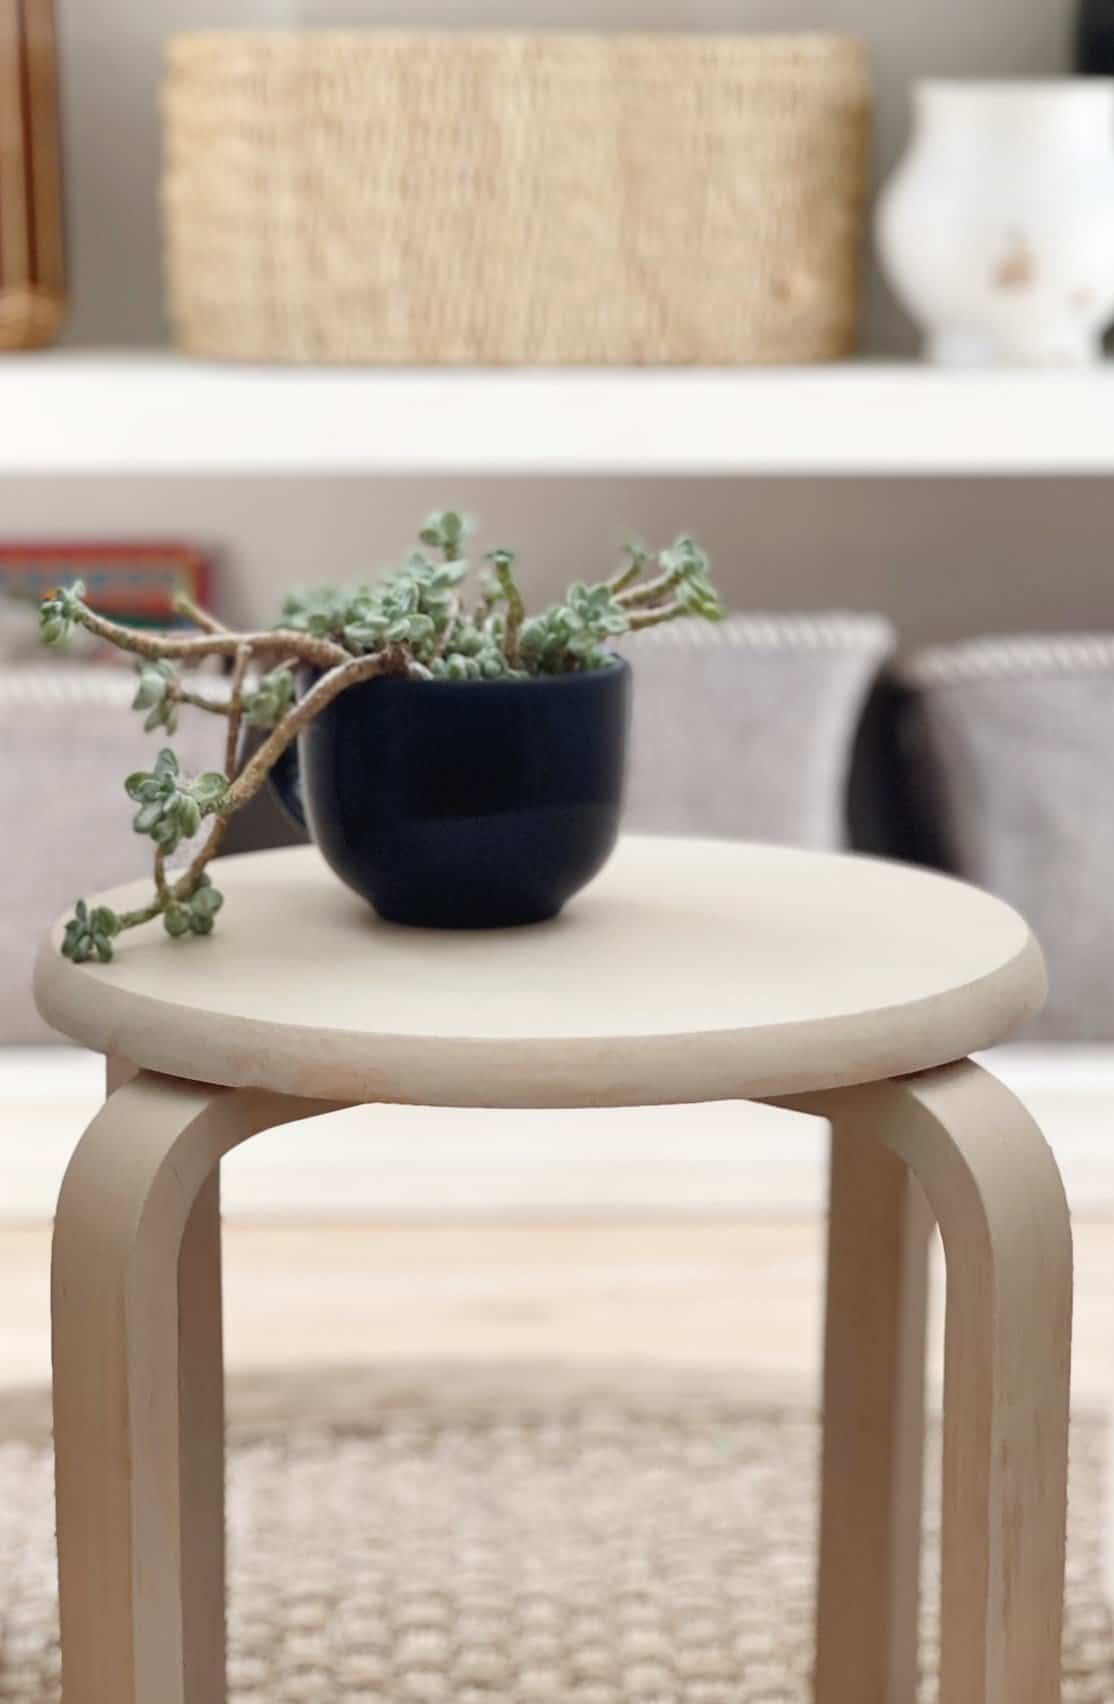
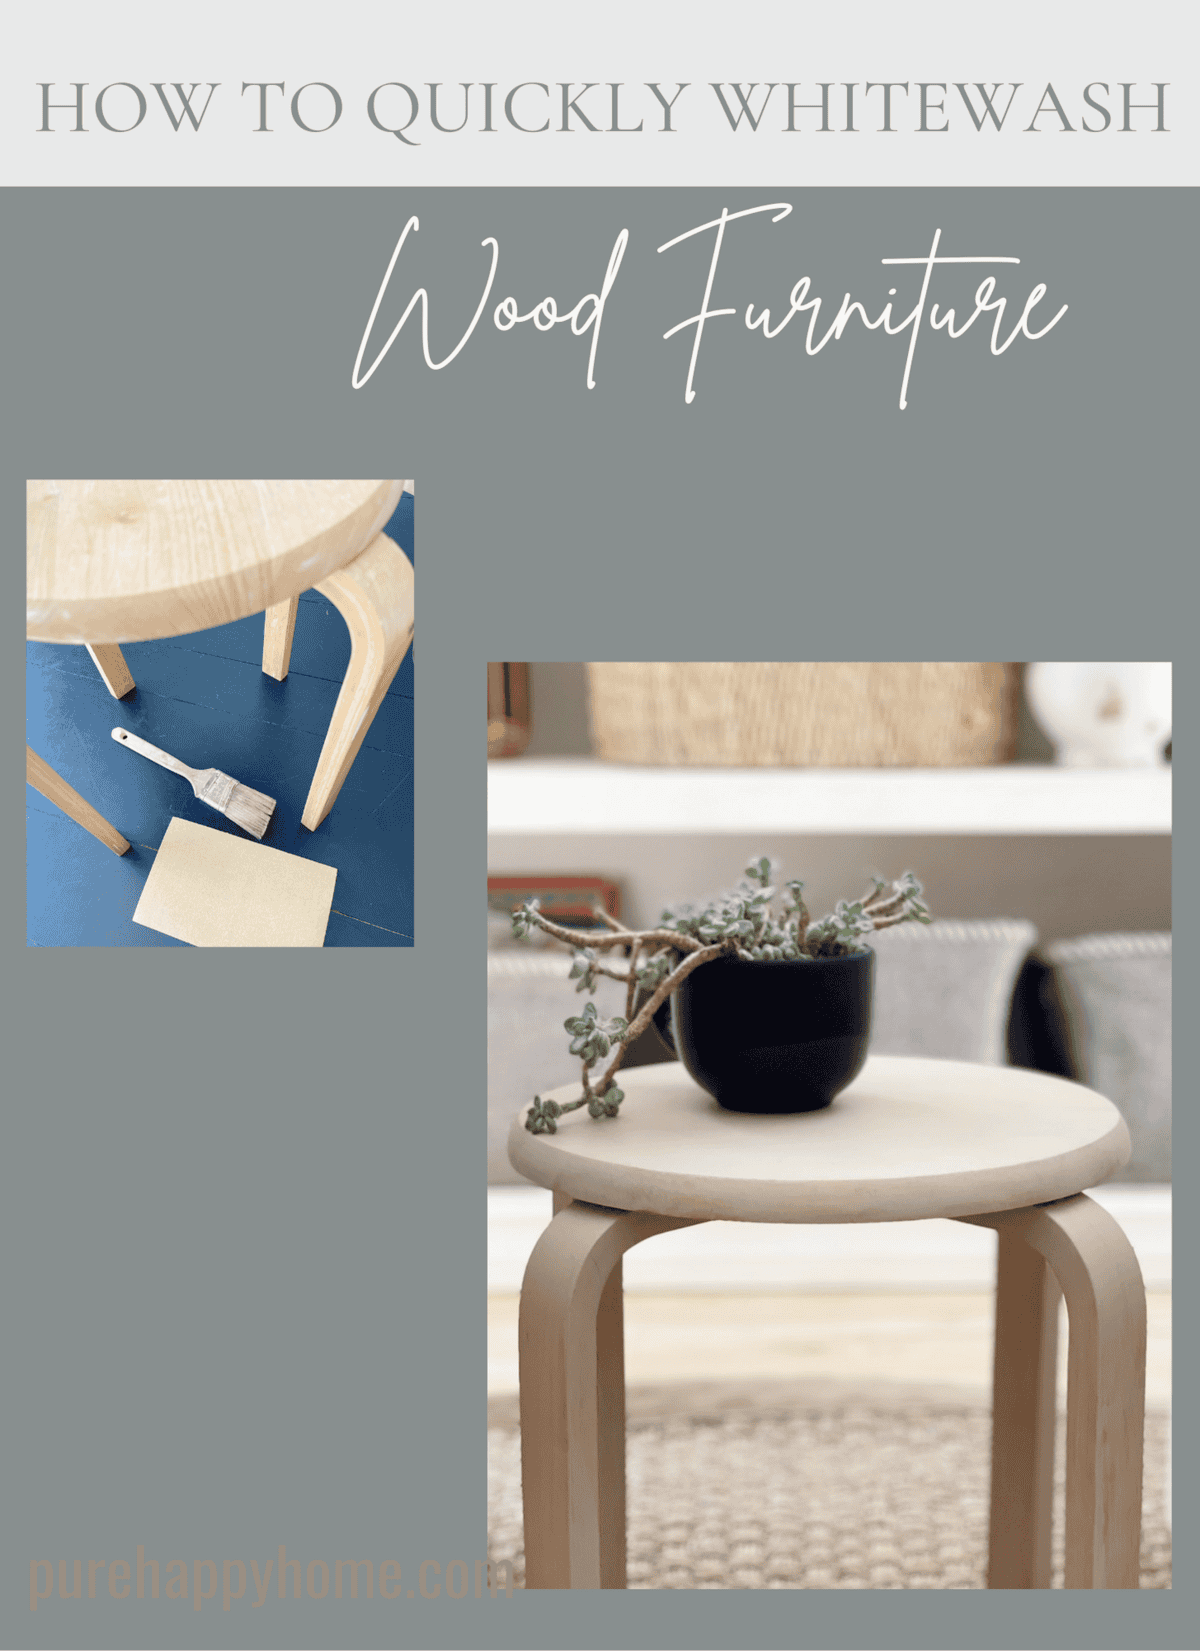
This little stool/end table has been with us for a long time, in fact I have no idea where I even found it. It was in good shape when I bought it, but over the years it became scratched up and the finish started to look very drab. Life kept me busy and I never got around to refinishing it.
It was time for a refresh, and I had to make is fast. I quickly whitewashed this wood piece and love the result. Here is how I did it.
How to Quickly Whitewash Wood Furniture
Supplies
Choose a furniture piece with a medium to light wood stain.
Start by shopping your house, heading to your local thrift store or getting on Facebook marketplace. You want to look for wood furniture with a medium to light stain. I have whitewashed darker furniture in the past and they’ve turned out great, (see this beauty I completed here) but it took me a long time to complete. By choosing a lighter stained piece of furniture you lessen the amount of time you’ll need to sand.
Remember, this is about making a quick change!
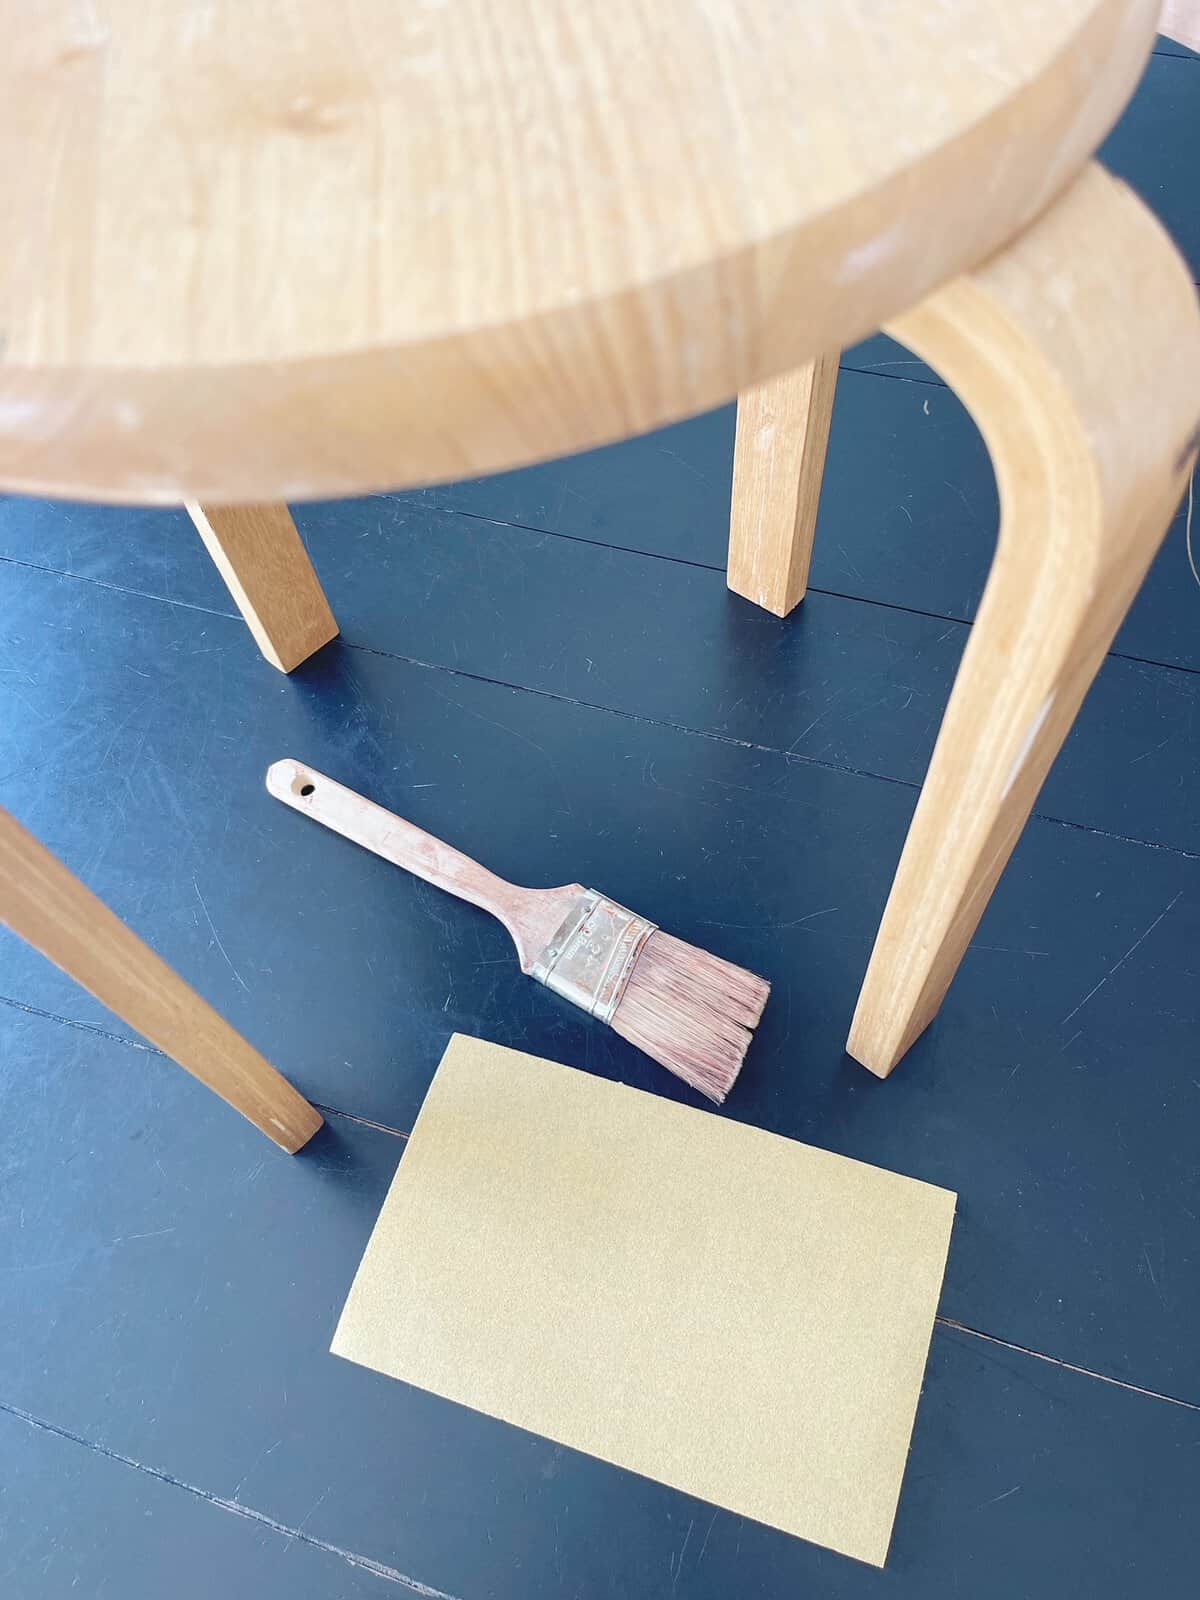
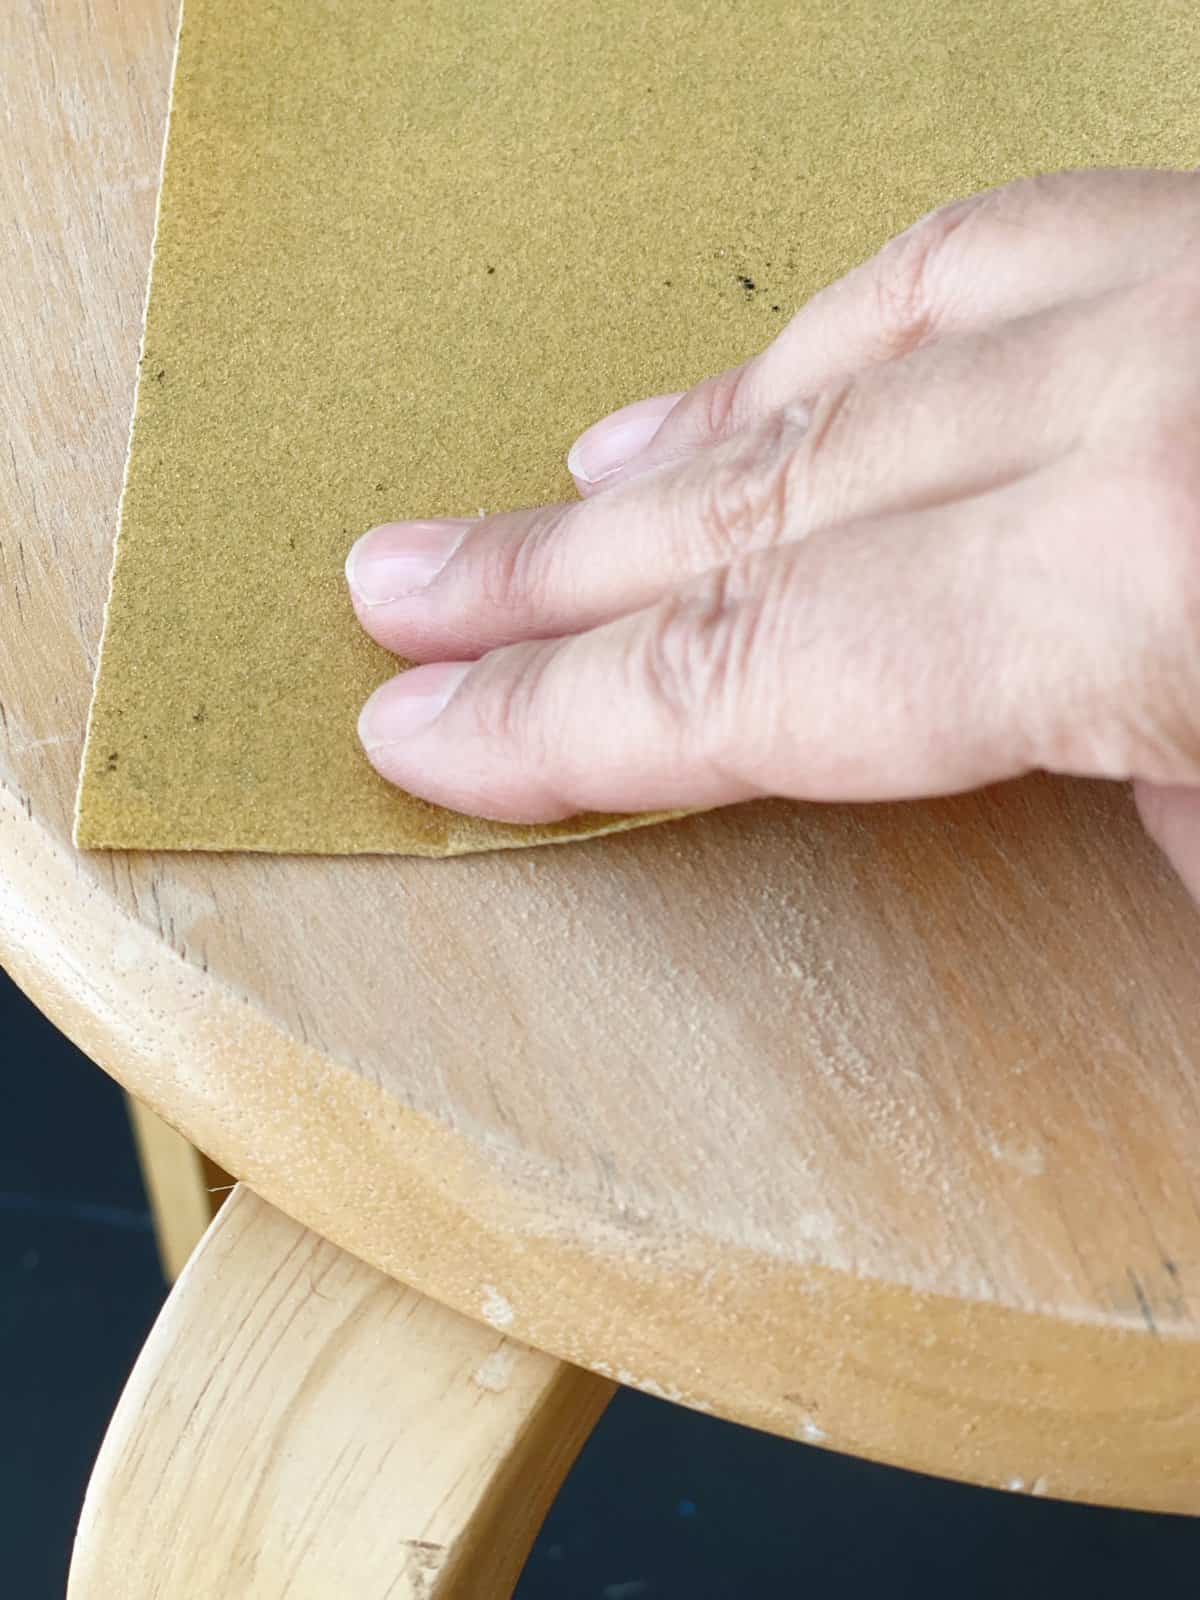
Sand the Wood Finish
Using 100 or 120 grit sand paper lightly sand the whole finish of your wood piece. I find that 100 -120 grit sand paper is a great utility sandpaper to rough up a finish and prepare for paint.
This small stool that I’m using as an end table took only about 5 minutes to cover.
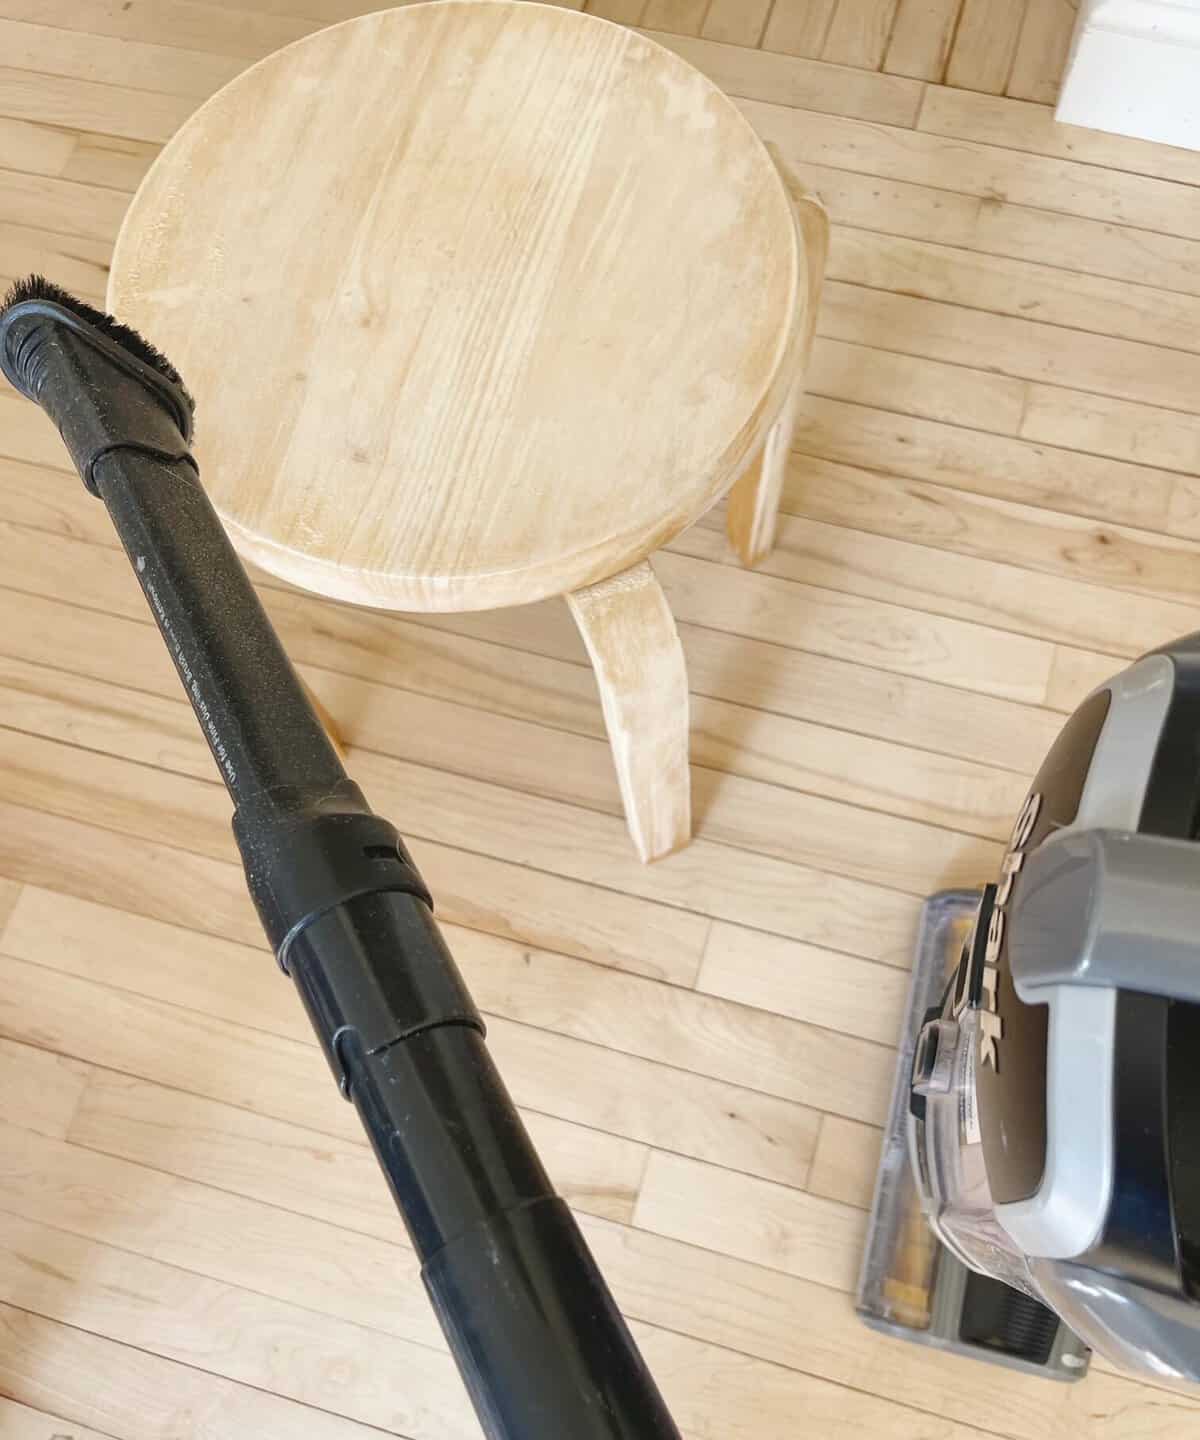
Vacuum Off Furniture and Work Area
Keeping with the get it done fast theme of this project, vacuuming works perfectly. With this quicky way to whitewash wood furniture you don’t make a big deal about setting up to work.
I did this project right in our family room so after I was finished sanding I grabbed the vacuum from the closet to clean up the sawdust from the floor and the stool.
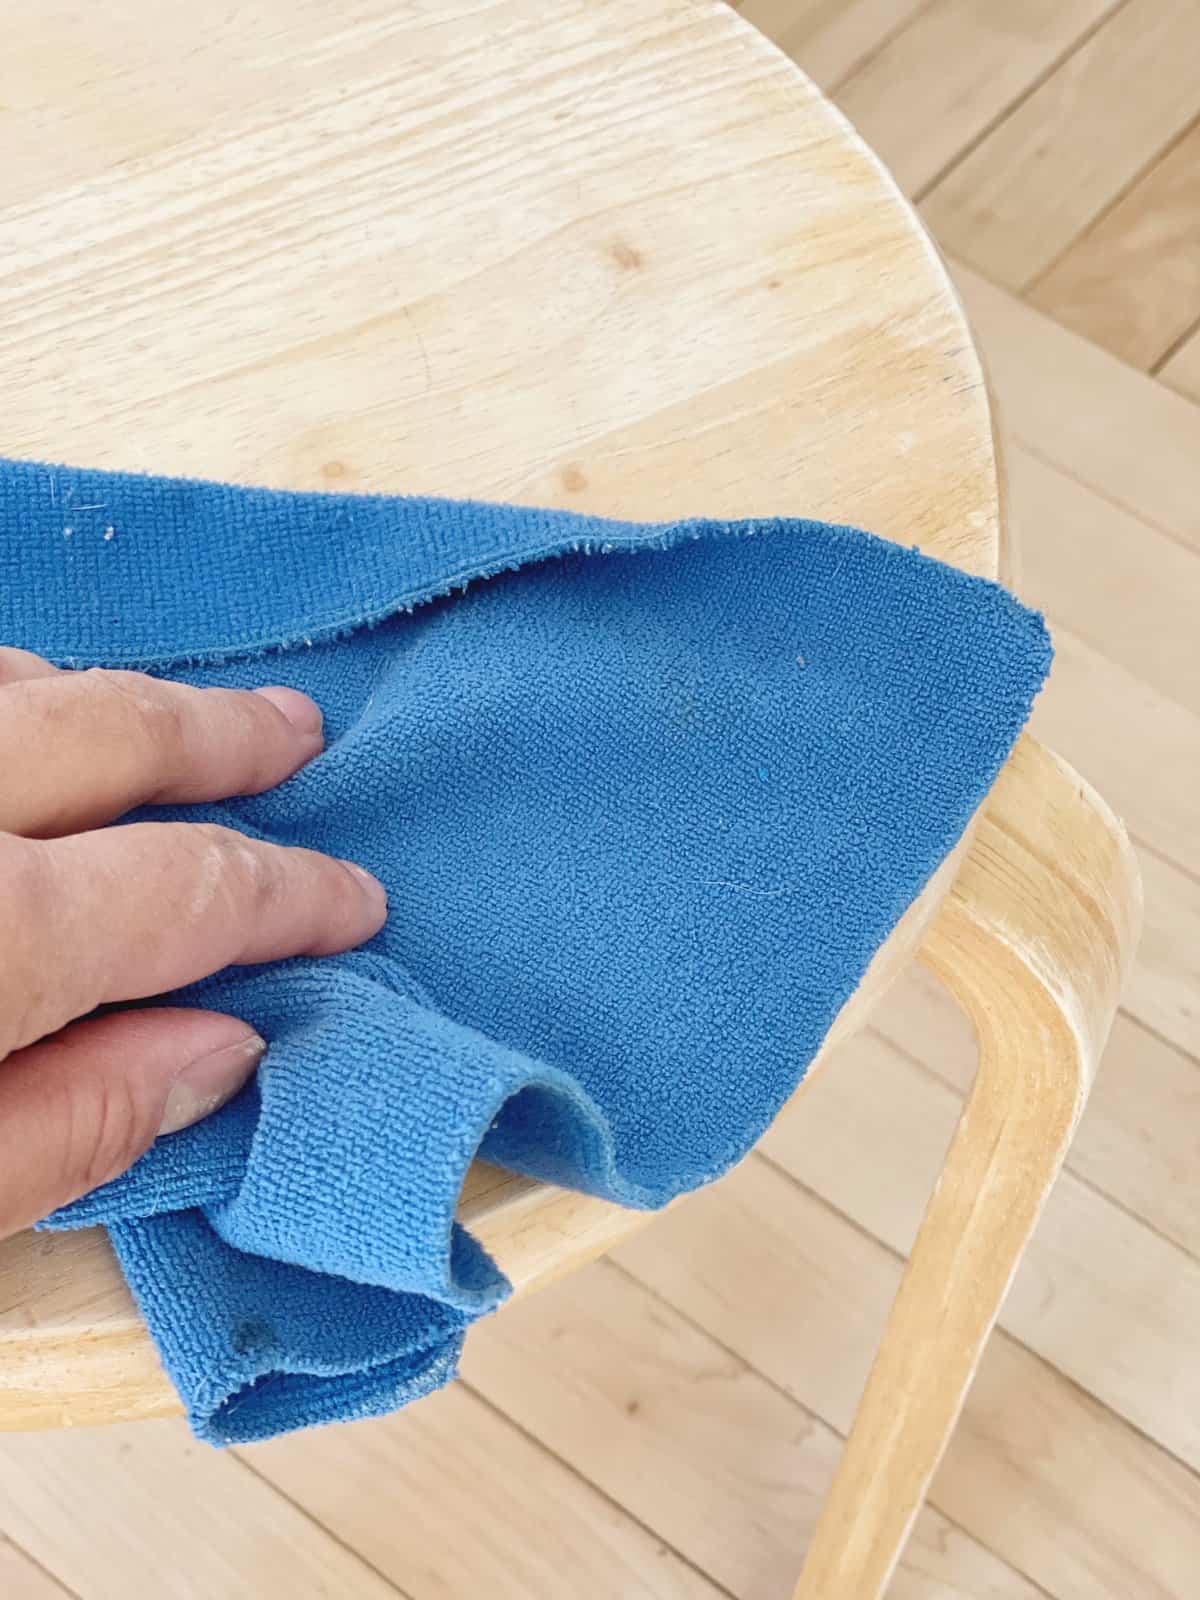
Wipe Down Furniture with a Tack Clothe
Follow up the vacuuming by wiping down your furniture with a tack clothe. Tack clothes pick up the tinniest bit of debris and sawdust that the vacuum misses.
You need a smooth clean finish for the paint to adhere to.
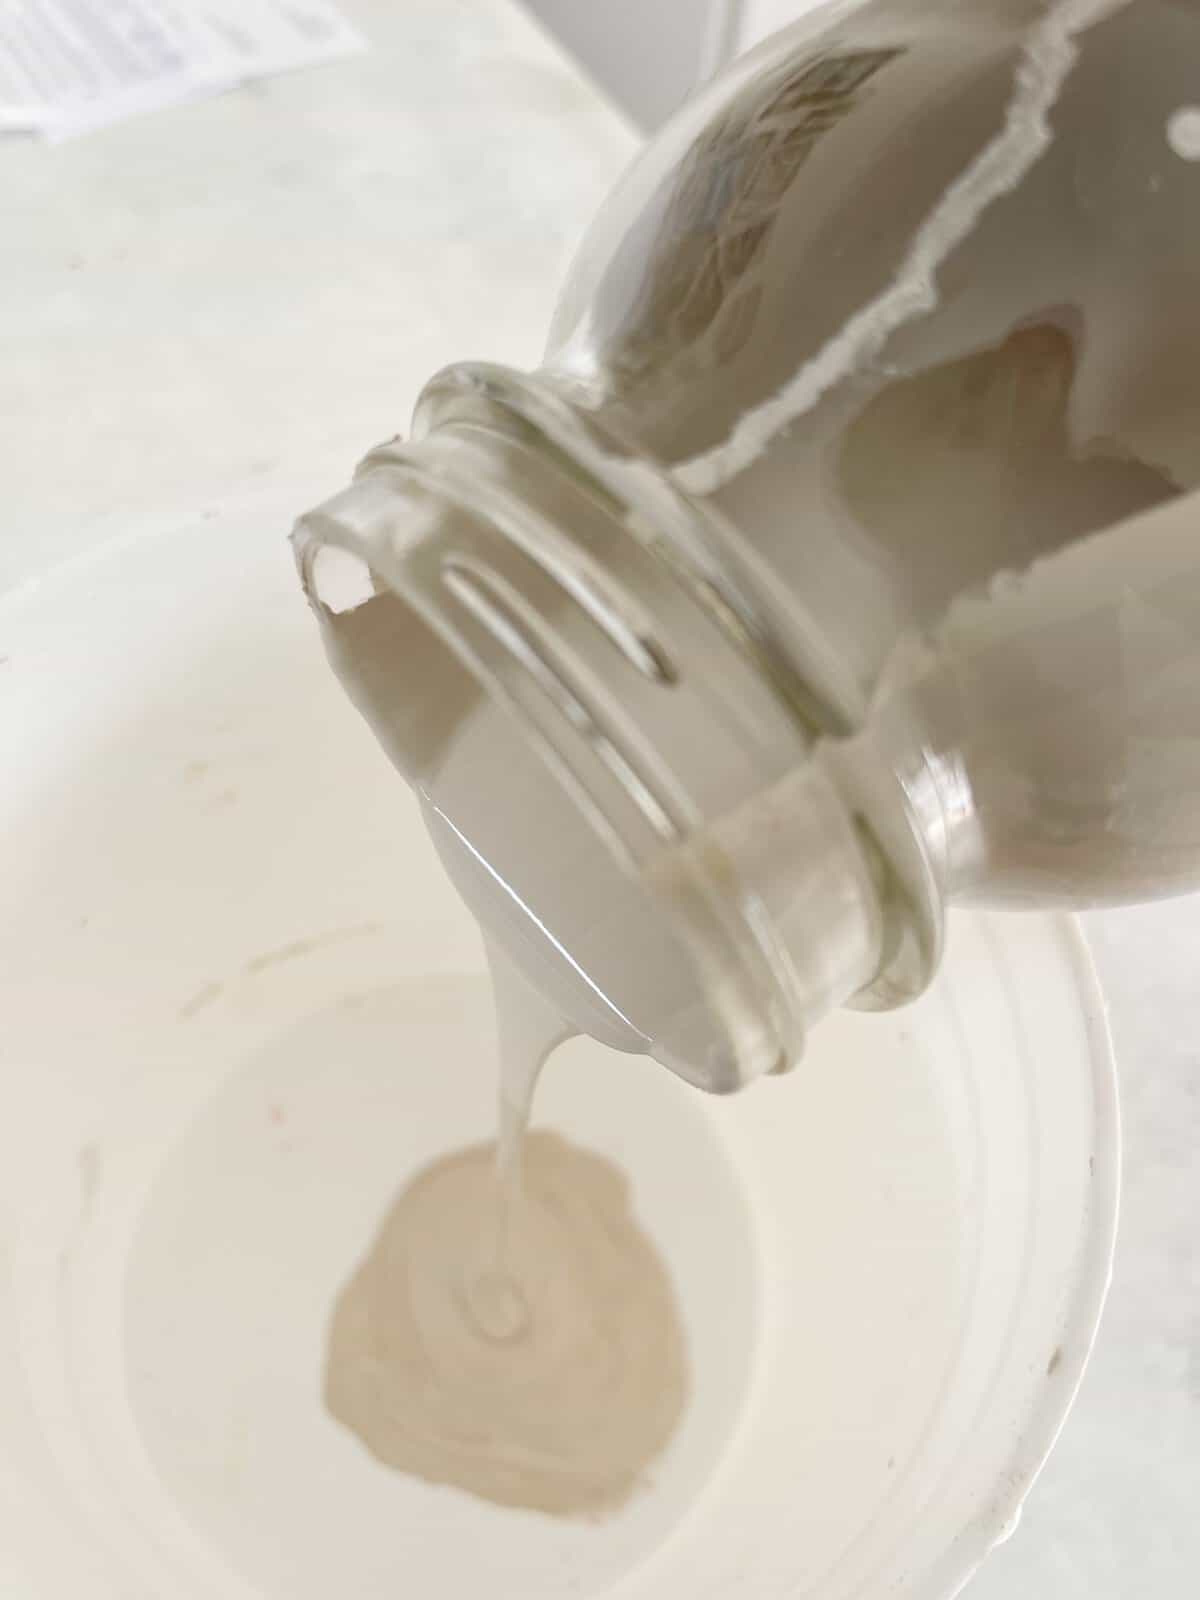
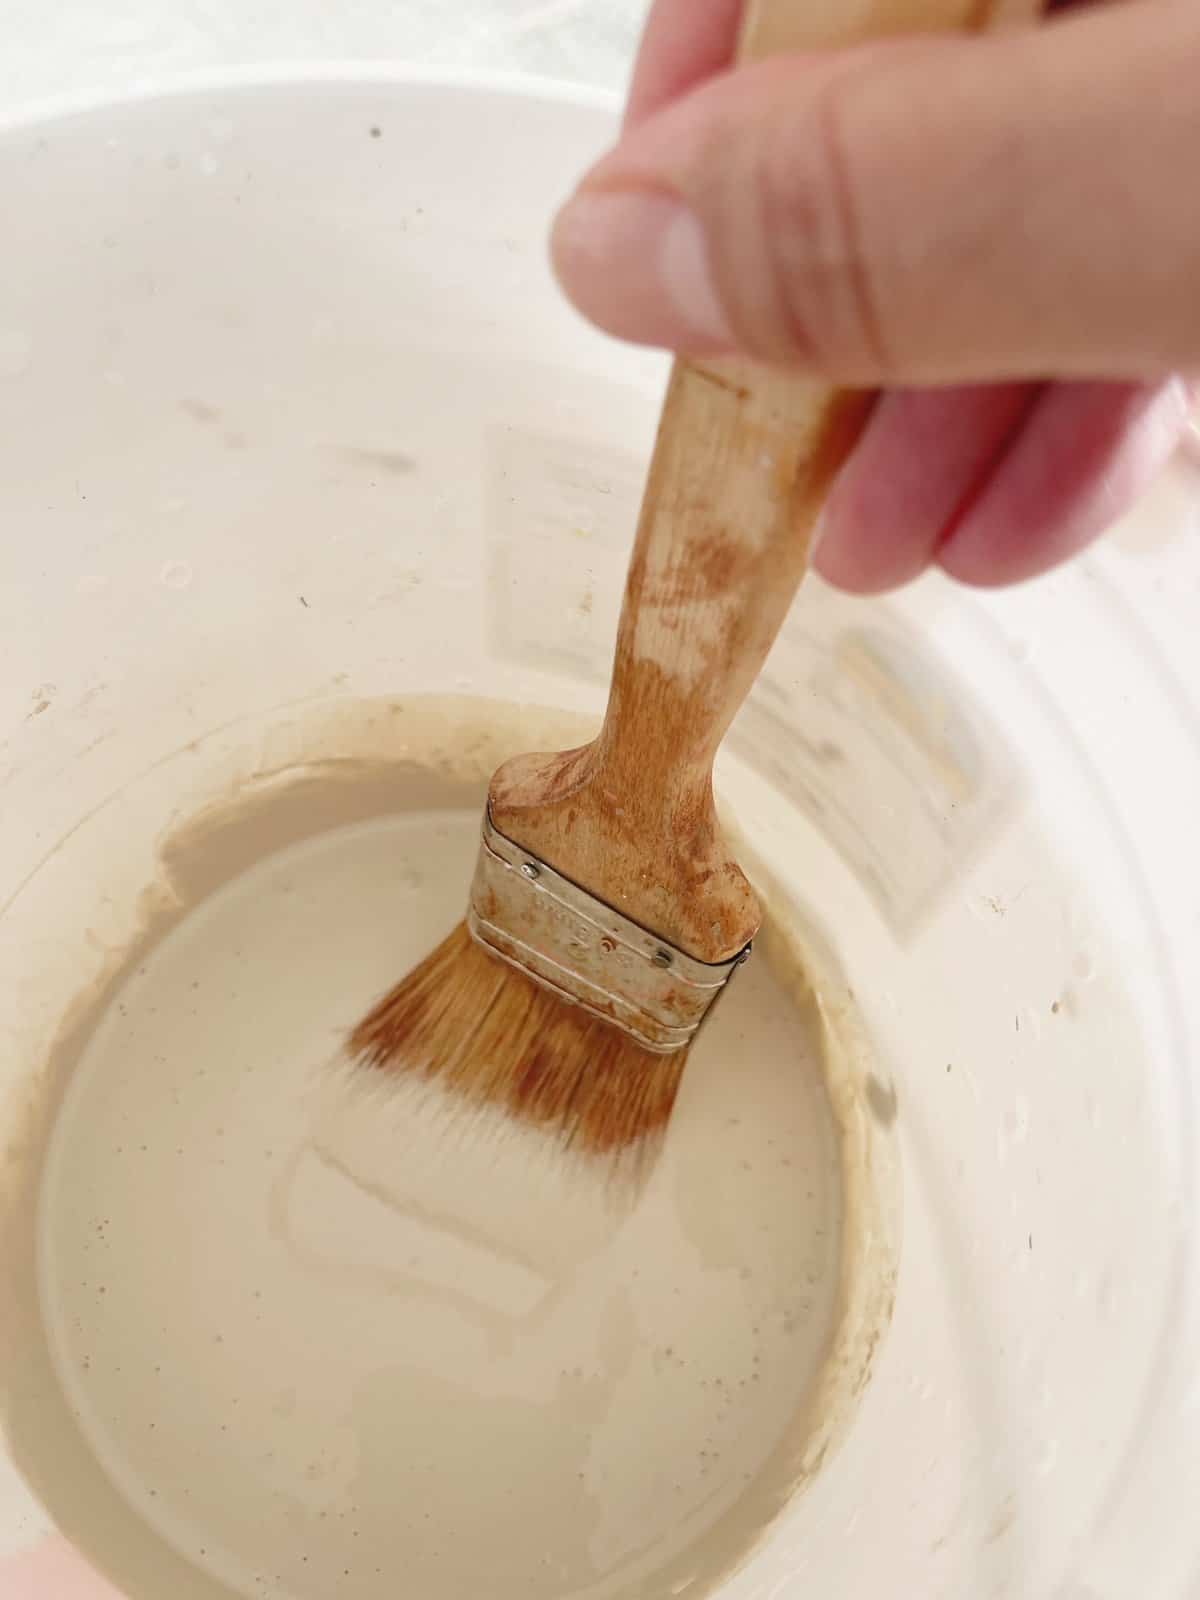
Water Down Light Colored Paint
Contrary to it’s title, you don’t need white paint to whitewash a piece of furniture. I used a left over taupe wall paint for this project and love how it turned out. Any light neutral color will work to whitewash furniture.
Poor a small amount of paint into a container. The amount of water can vary, but try to add 1 part water to four parts paint. Mix together well.
I estimated and added my water straight from the facet because again, this is the easy way to whitewash and and saving time was important to me.
PAINT TIP: You don’t have to use expensive paint. Craft paint works surprisingly well for whitewashing wood furniture.
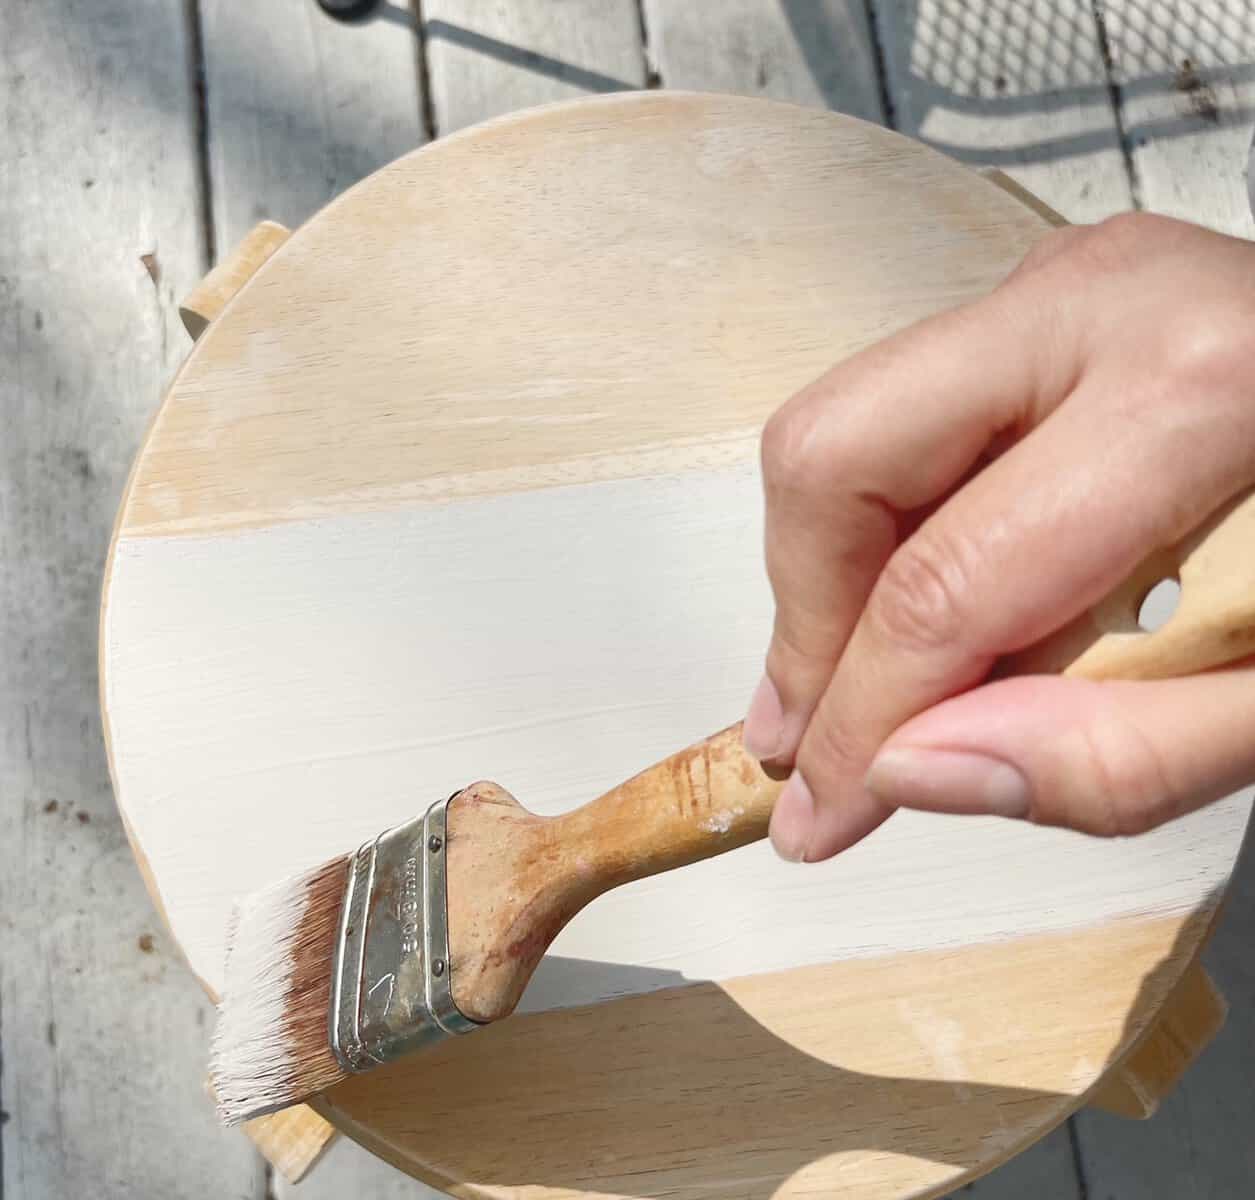
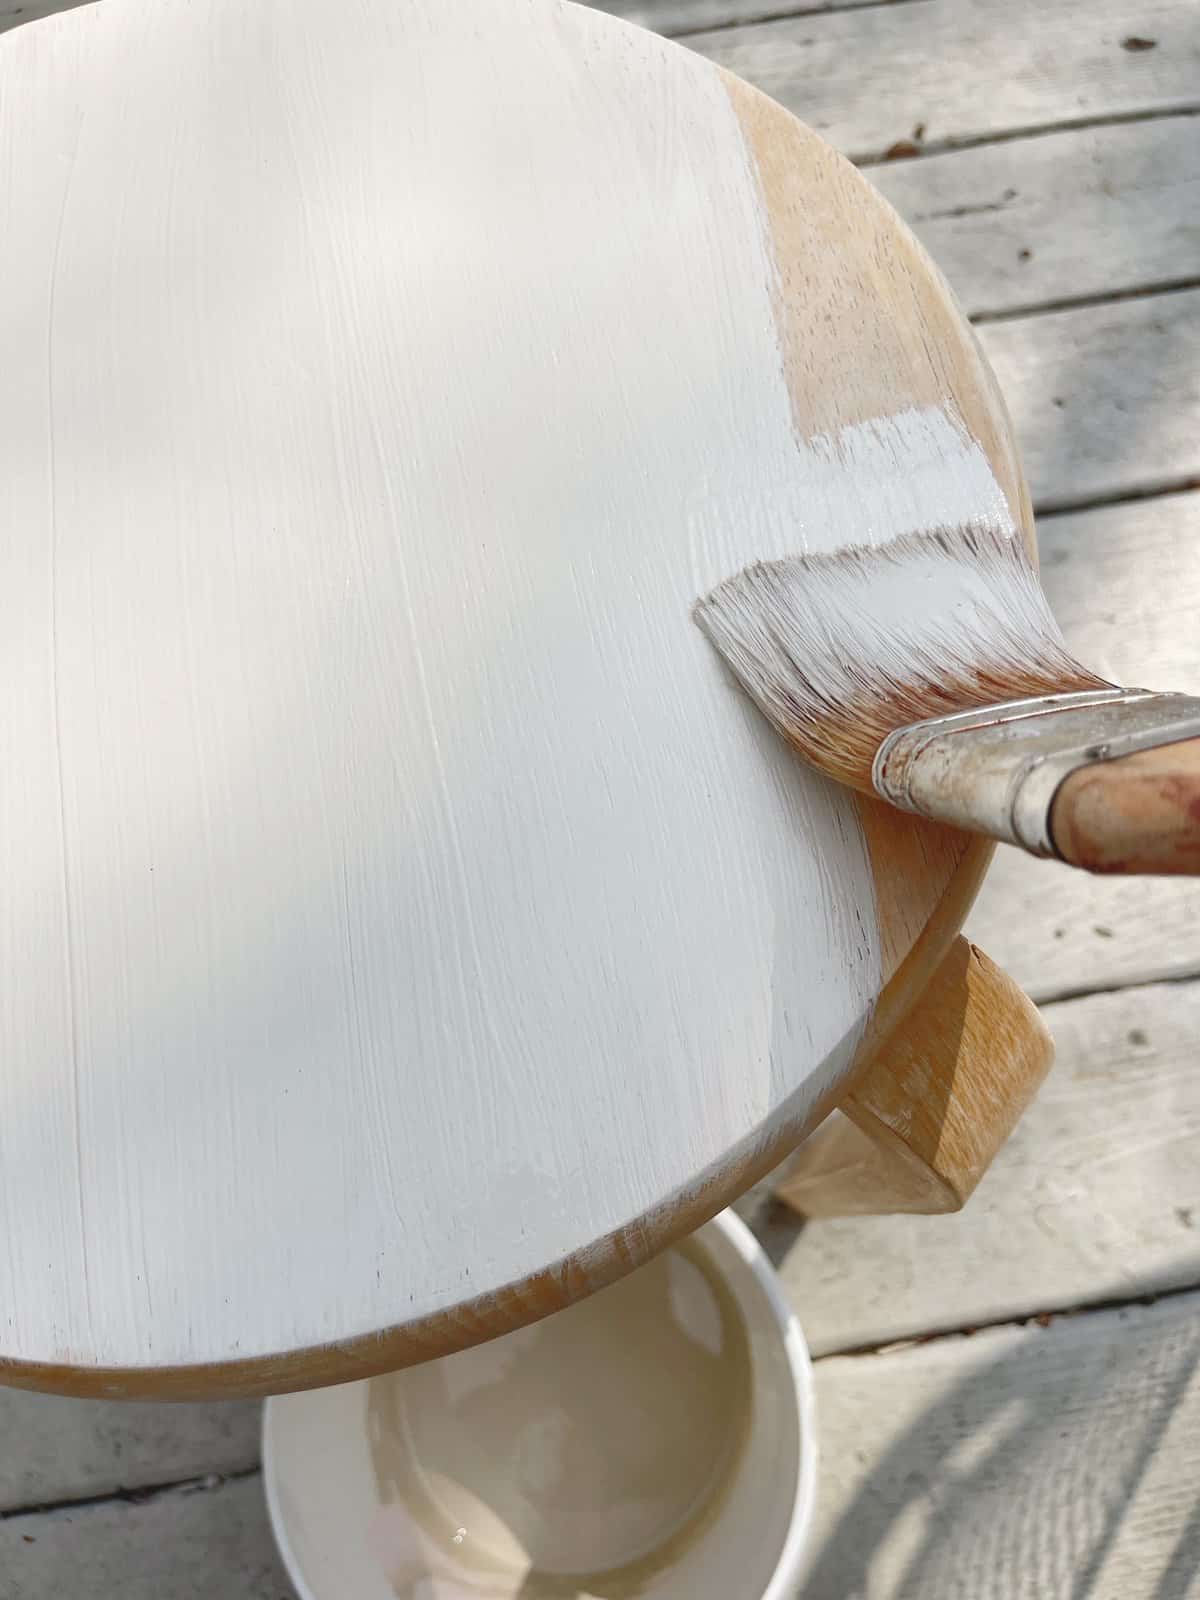
Paint a Small Portion of the Furniture
Lay your paint onto your furniture with a good paint brush.
Tackle small portions of your furniture so you can see how the paint is looking on the wood.
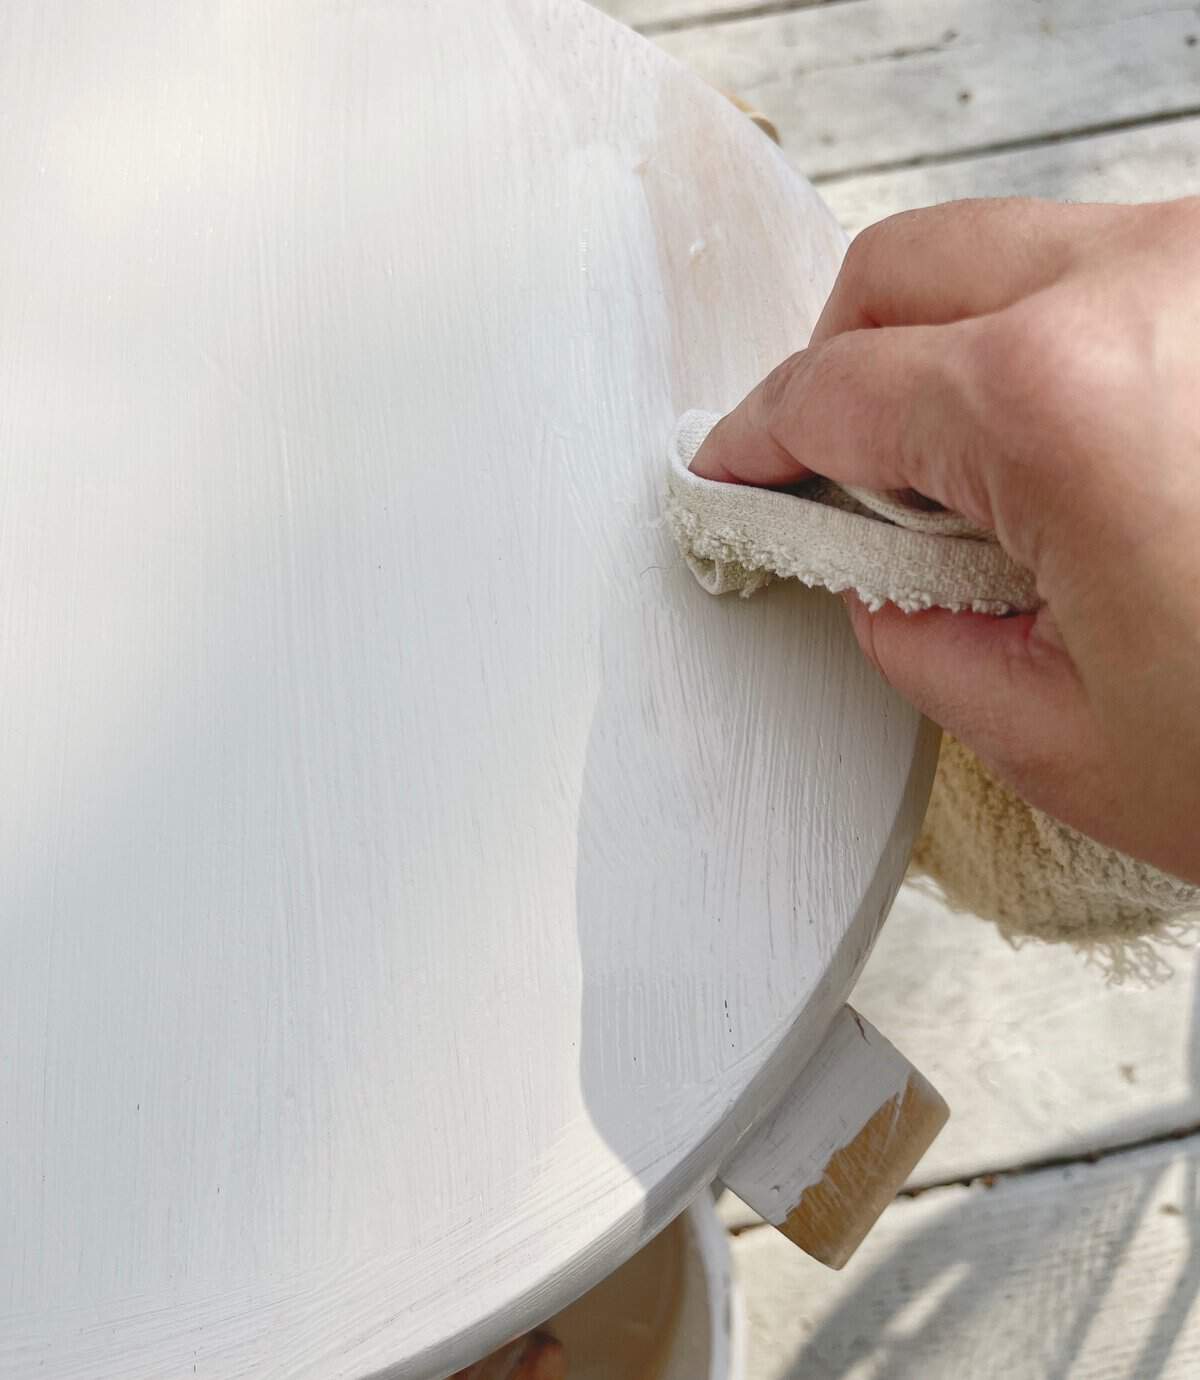
Wipe Off Paint with a Dry Rag
After each small section of paint has been applied and before it has dried wipe off the paint with a dry rag.
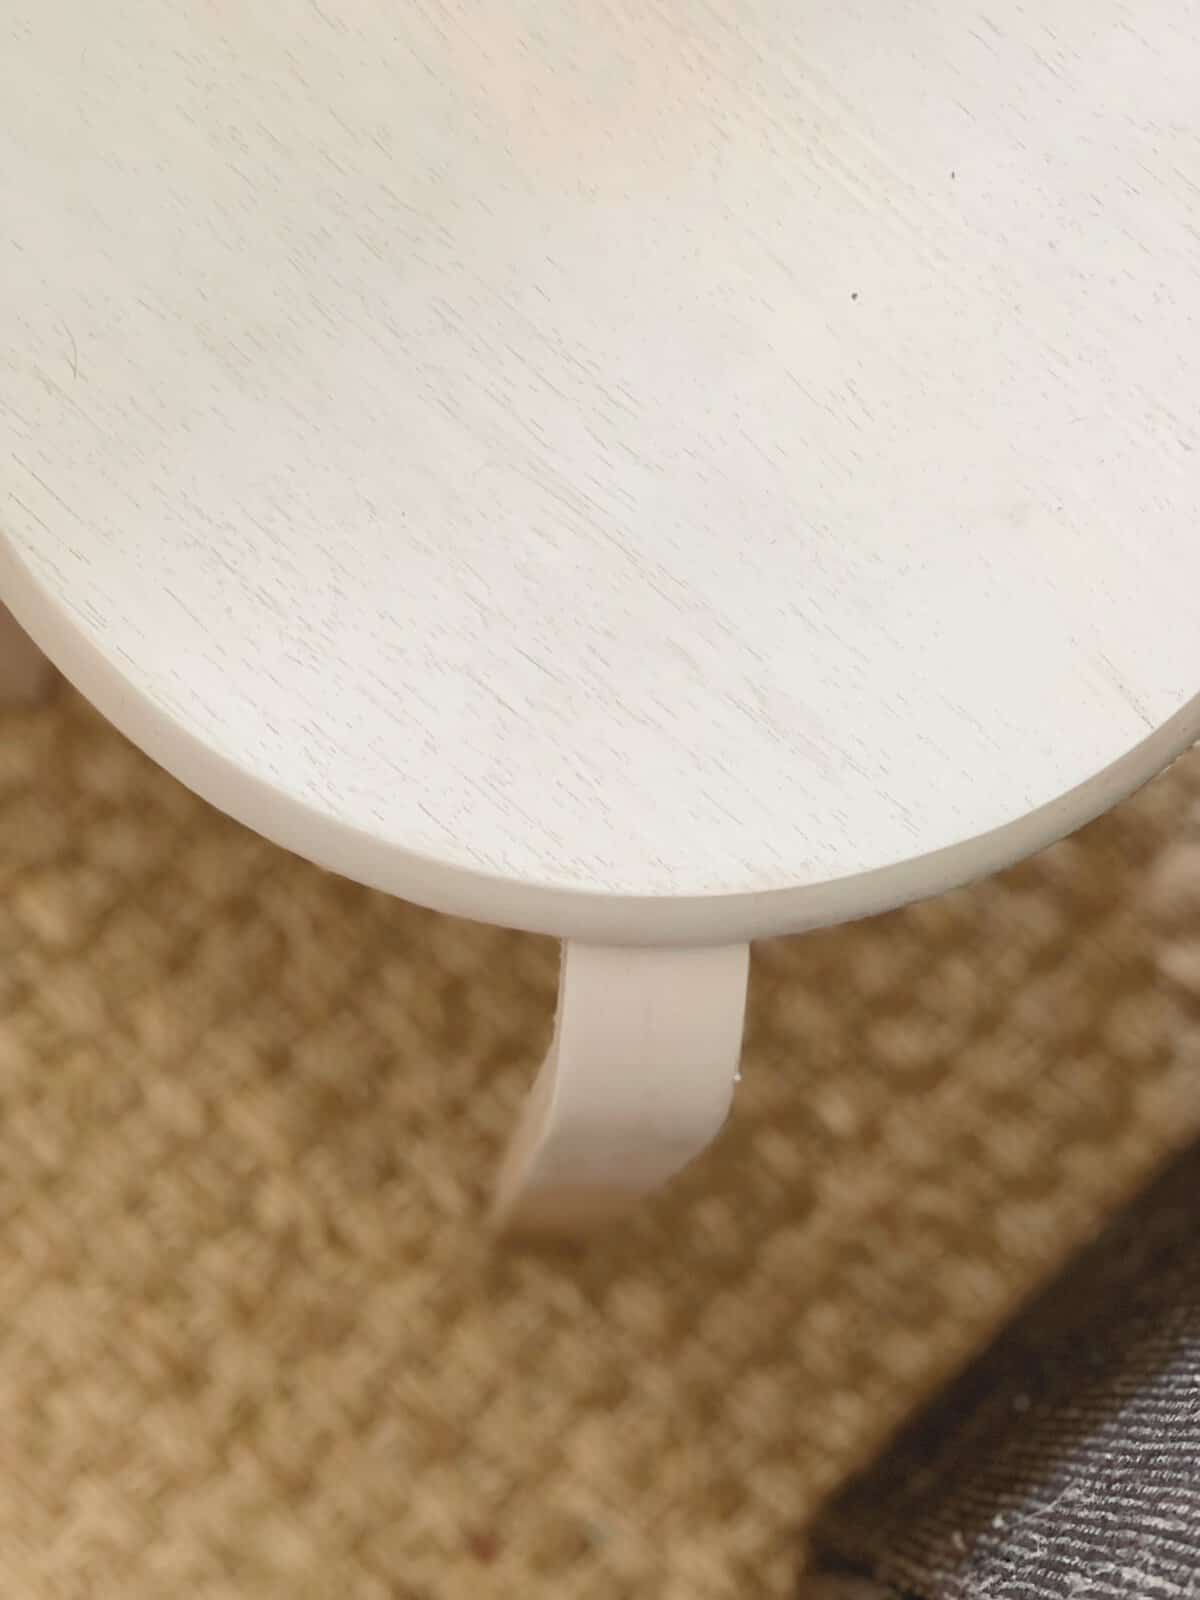
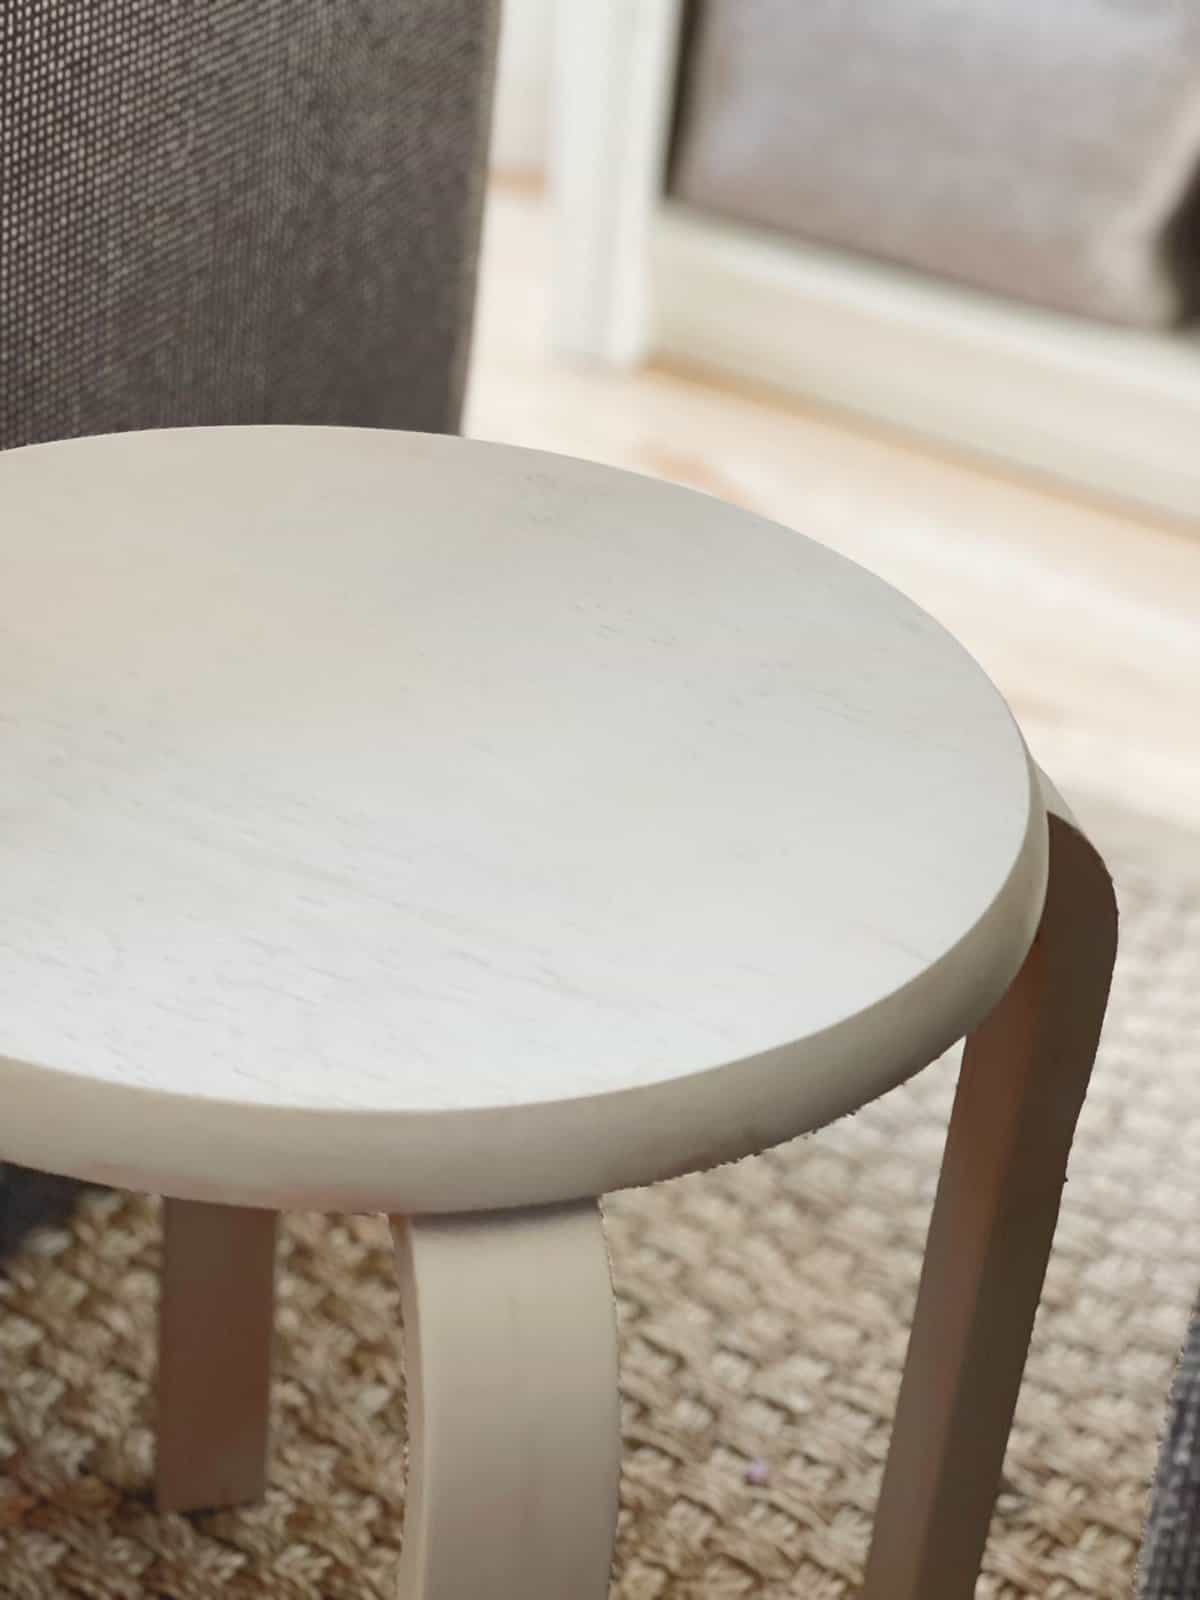
Test the look of the whitewashed effect. If you want more coverage reapply your paint and wipe off again.
If you want more wood to show through simply wipe again and remove more paint from your piece.
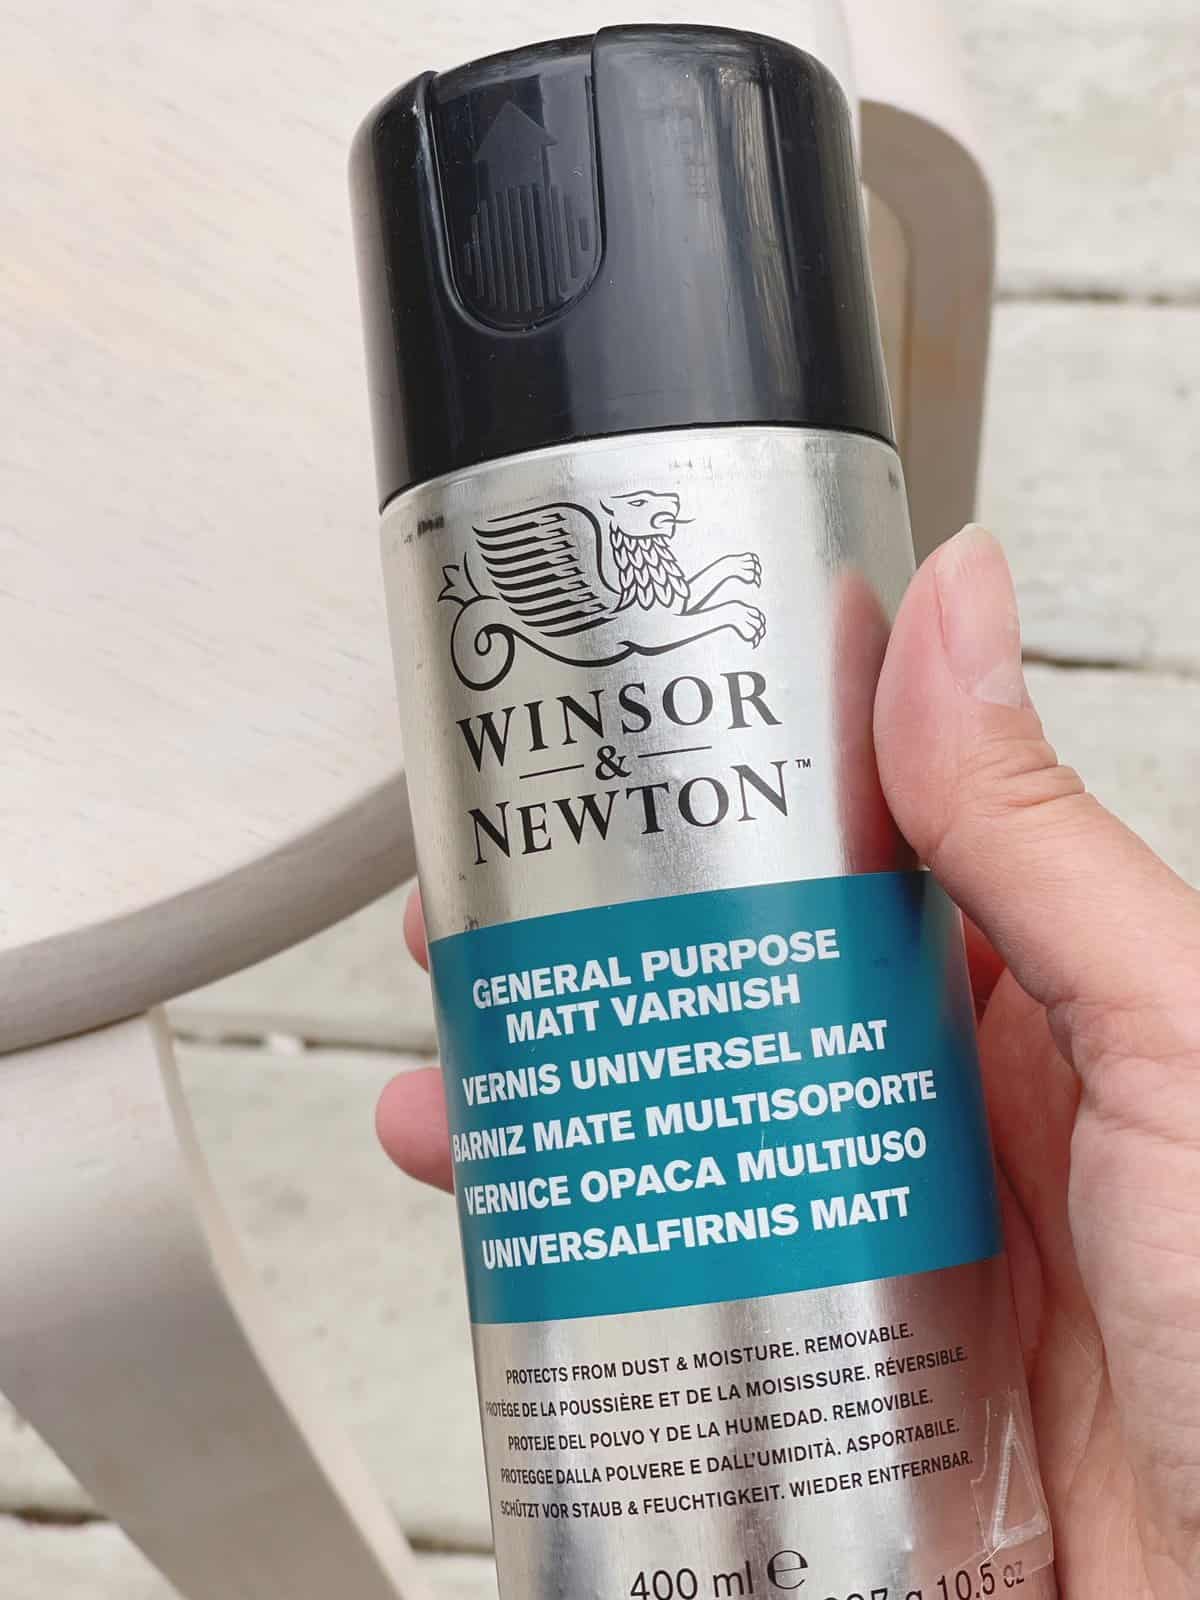
Seal Furniture with a Spray Sealer
Once you’re happy with your whitewash coverage it’s time to seal your project. Take your furniture outside or in a well ventilated area. I took a brown paper bag and ripped it up so I could lay it down flat to protect our deck from paint.
Shake your sealer well then spray it on your furniture from a two foot distance.
DIY TIP;: Be generous with the sealer and you only need one coat of coverage.
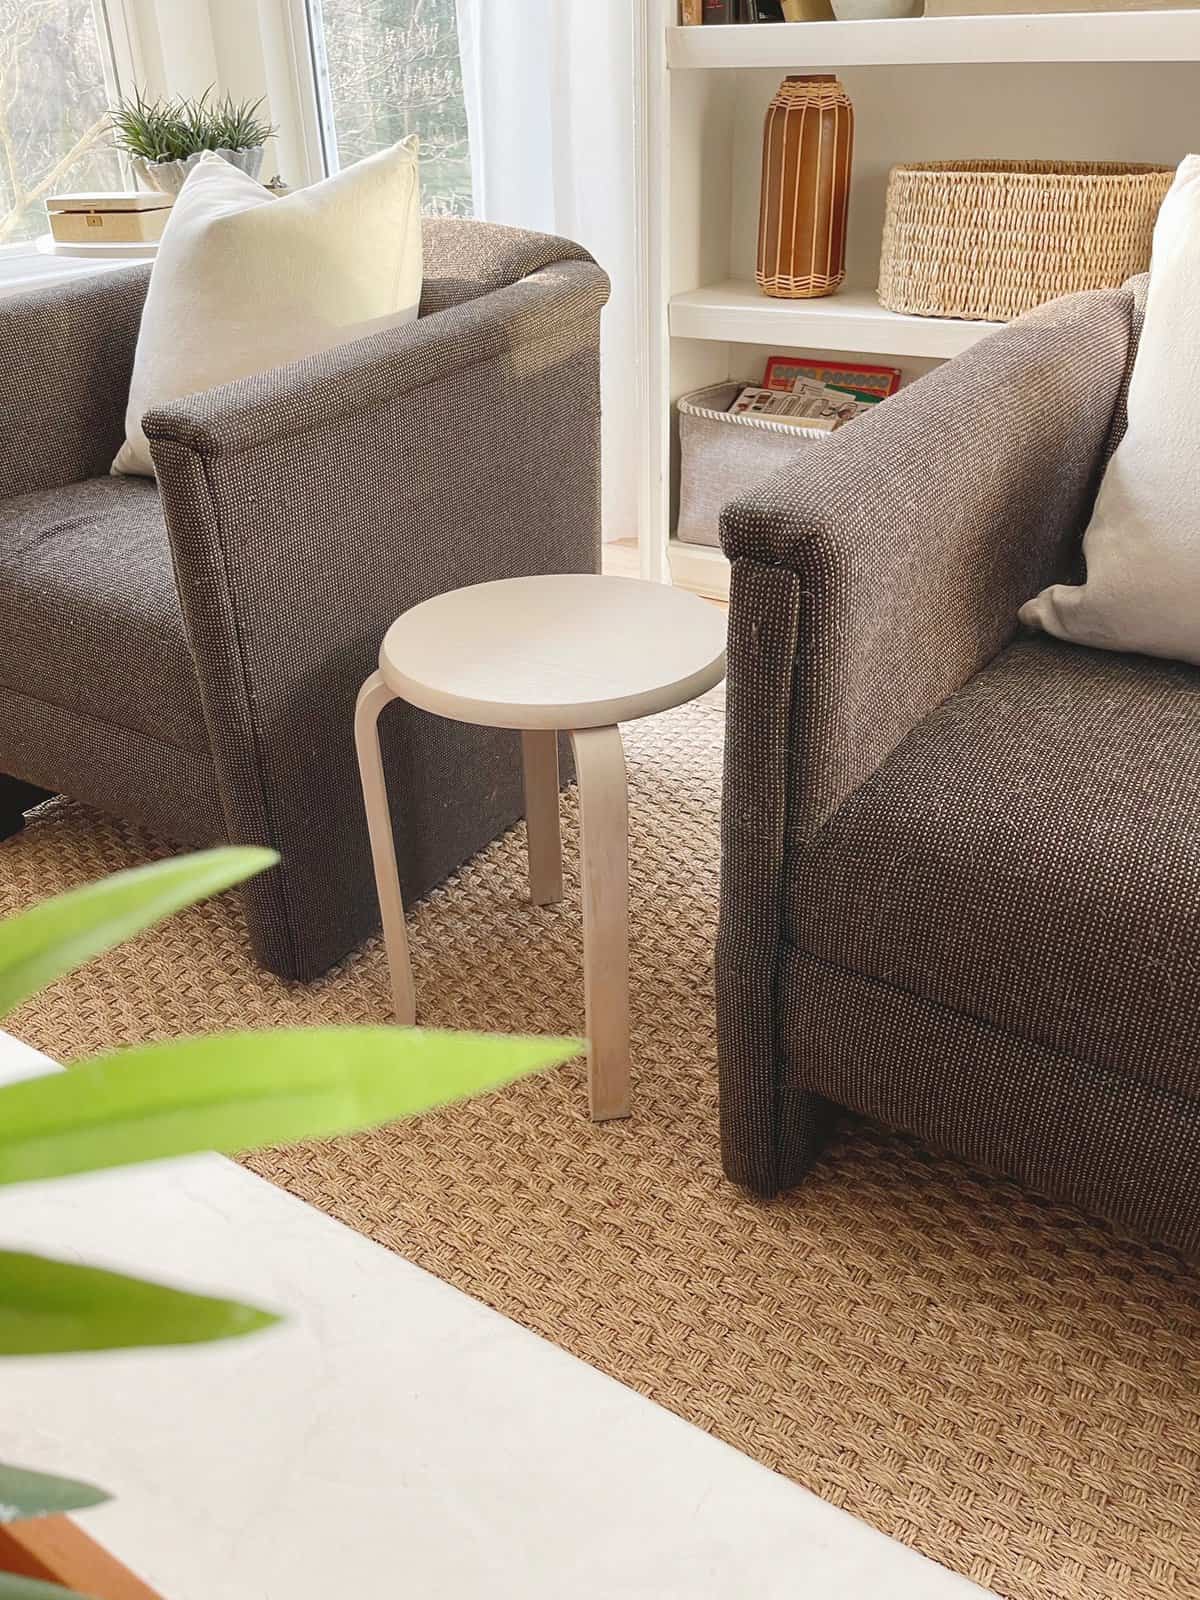
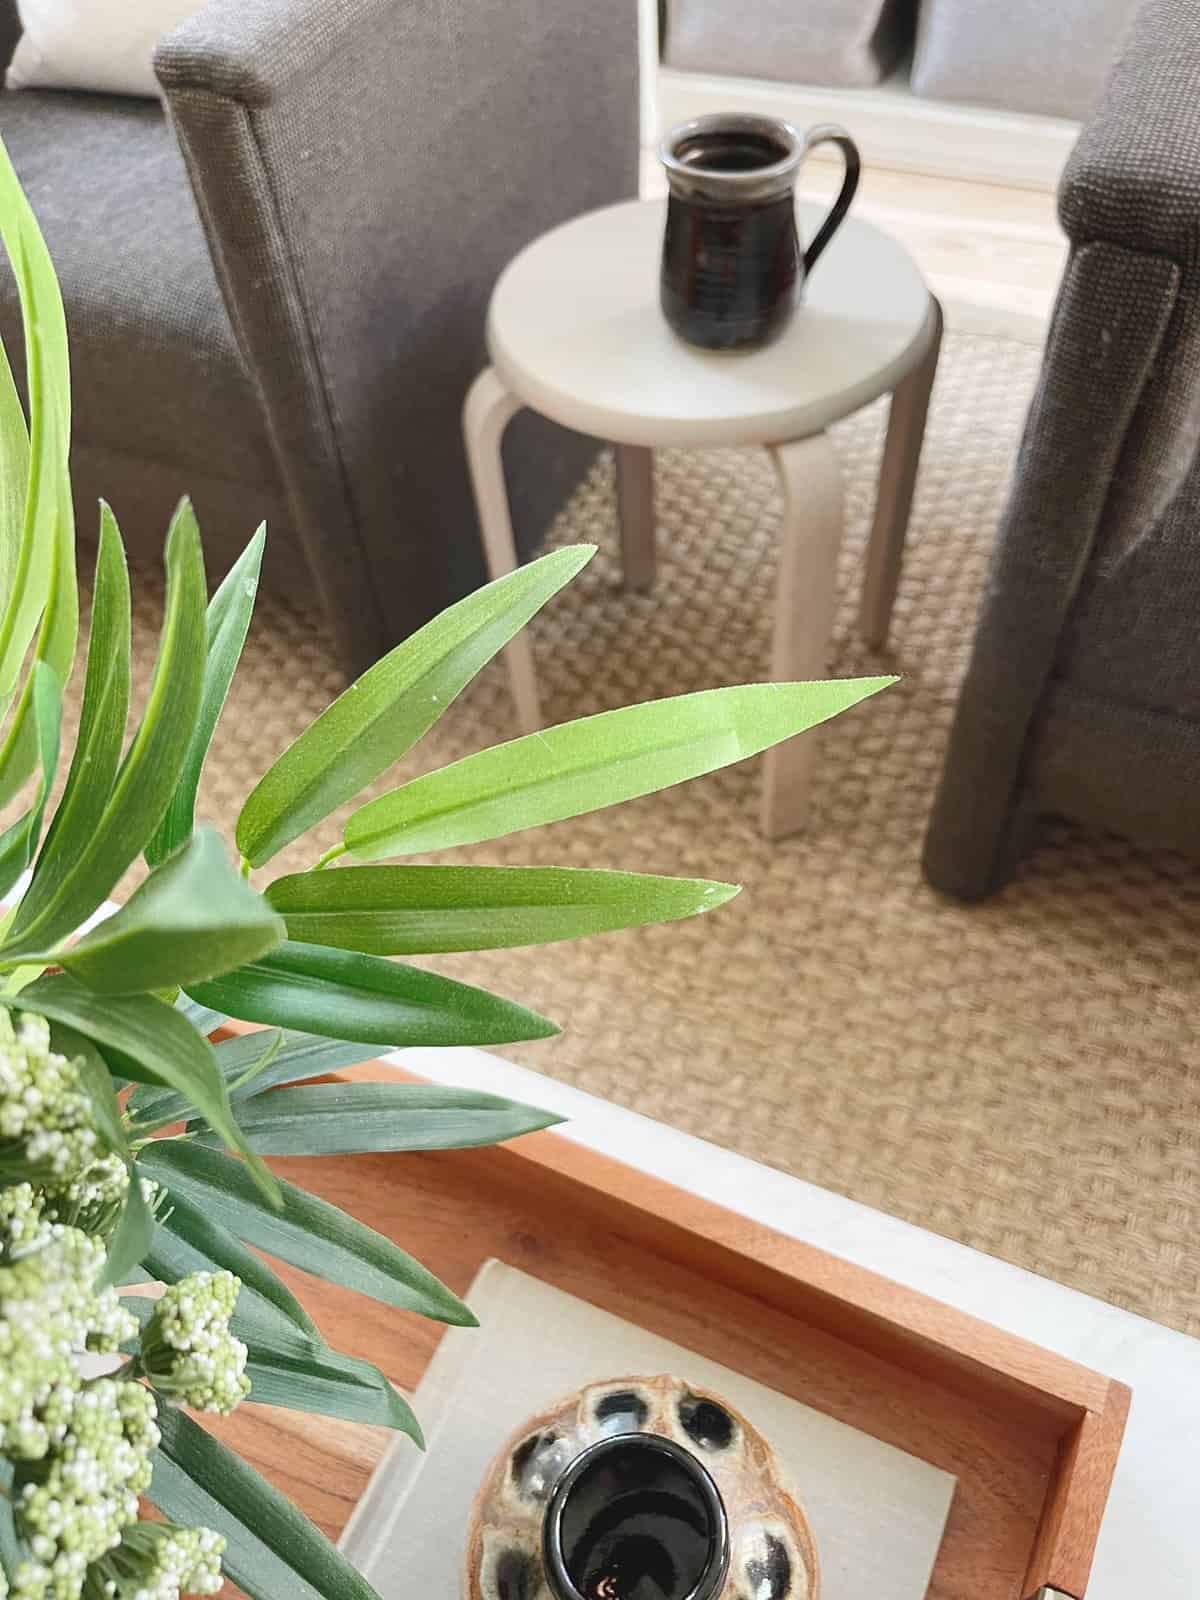
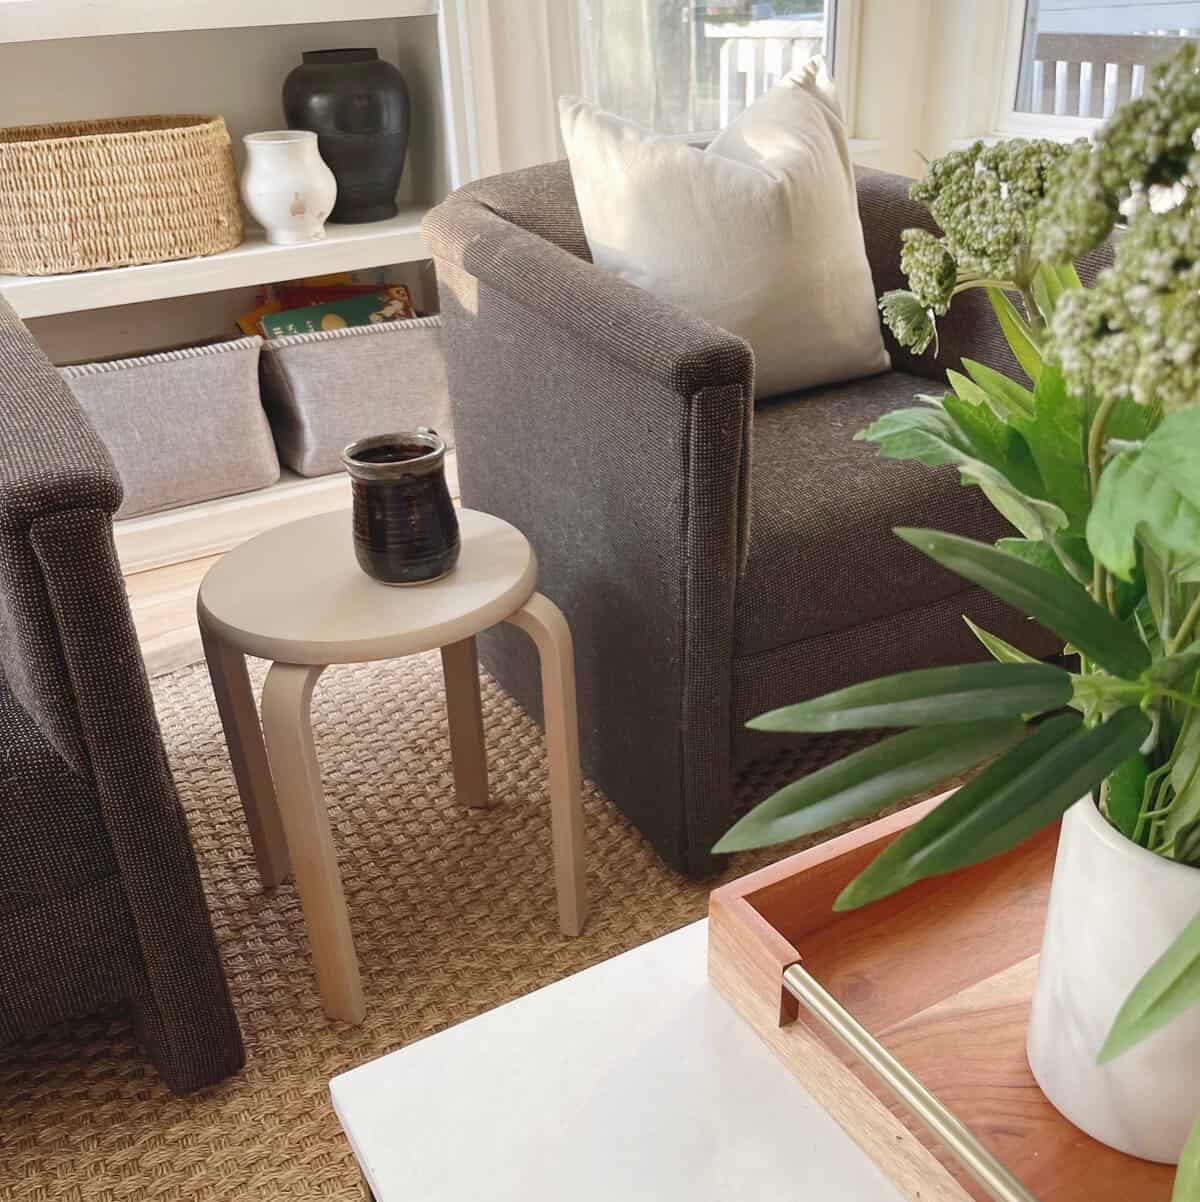
My quick way of whitewashing works perfectly for my busy life. It’s so satisfying for me to change up a space by whitewashing wood furniture and such a short amount of time.
The look of this little stool has completely changed and it works so well with the light, bright atmosphere I want to see this Spring and Summer in our home.
This is how to quickly whitewash wood furniture when time is hard to find. I’m loving the easy of it during this busy season of my life.
Would you try this on any of your older or thrifted furniture. I’d love to hear your thoughts!

MORE FURNITURE FLIPS

Hover over down below to Pin It & Save It


I love how you gave this sweet table new life! The whitewash looks so bright and cheery! It’s perfect for that space! Hope you’re having a wonderful Spring!
Thanks Donna! It was in need of a good refresh. Blessings to you!
Love a whitewashed look and you gave this table a great look.
I love whitewashing wood or accessories. It’s an easy and fast process. It gives great results too.
I have used this technique on many pieces in our home.
Hi Cindy, It works so well doesn’t it?! Good to hear you use this in your beautiful home a lot also.
Have you had issues with tannin bleed through on unprimed wood?
On some pieces you will get a bleed through, but this can be avoided if you sand down more. I did have bleed through with a buffet cabinet and it still looked gorgeous with the added taupe color.