Jeremy and I have been DIYing our home into a place we love for a long time. It’s just so satisfying to us. Some years we do less, like baby’s first year, some years we do more, but were always dreaming up a project.
One of the goals we stick to is to spend our money in the best way possible. It’s a bit of a game to see just how little money we can put into a project while still making it look fabulous.
If you want a low-cost, low-commitment DIY project for your walls, this one fits the bill.
Try this easy, customizable stencil hack that will personalize your space in an afternoon.
Easy Customizable Stencil Hack
Wall stencils are a great way to add character to your home, but sometimes it’s hard to find a stencil that speaks to you and space. Although there are thousand of stencils out there to choose from making an original stencil design is always something I prefer.
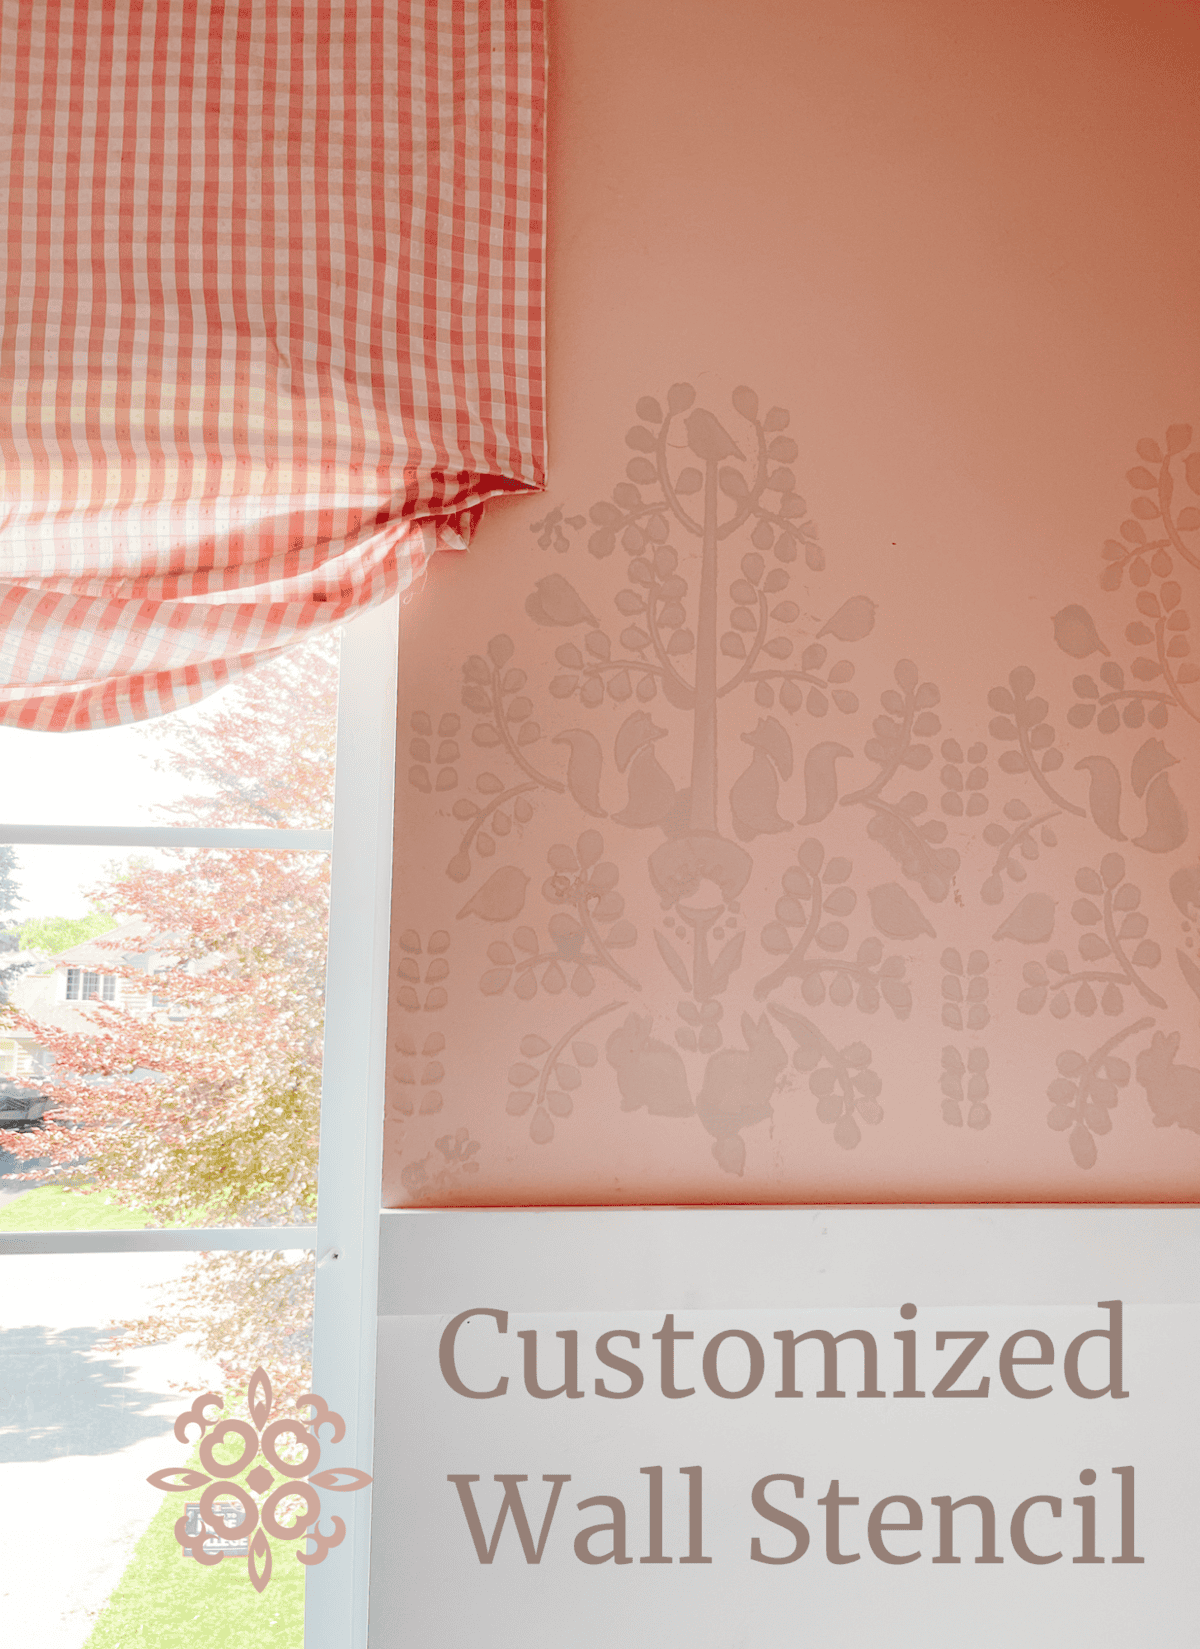
If you’ve been here for awhile the you know that I gave Elsa’s bedroom a makeover a few months ago. You can find more on that incredible makeover here, here and here. Her little sister Grace Lynn was quite impressed with the end product. Although I gave Grace Lynn’s room a refresh a couple years ago, she wanted me do something special with her walls as well.
Lace Inspired Woodland Themed Stencil
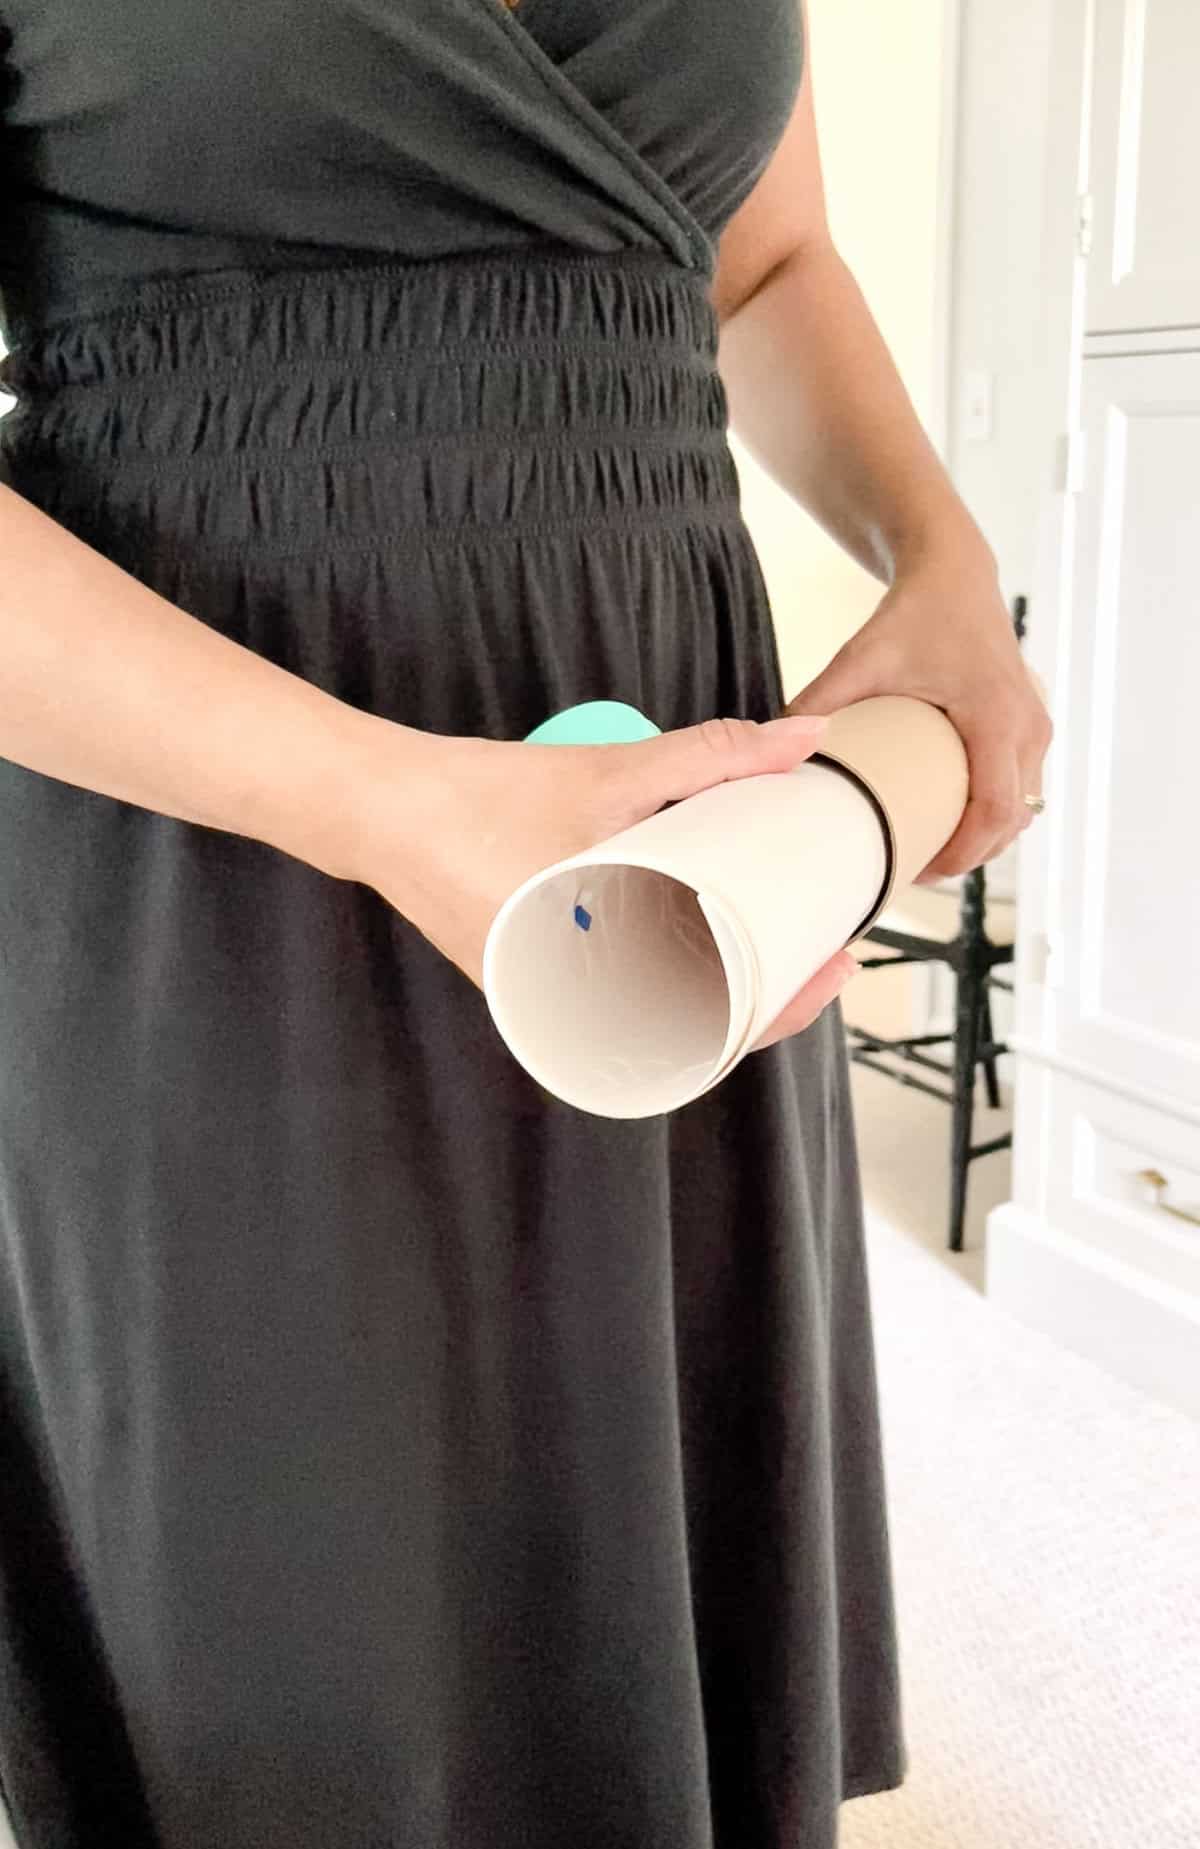
I decided to go with an elegant country woodland stencil. Grace Lynn is only six so I wanted to keep it childlike and incorporate nature and animals. After looking for hours at stencils I realized I wasn’t going to find exactly what i wanted, but I could hack a stencil that came close to my vision.
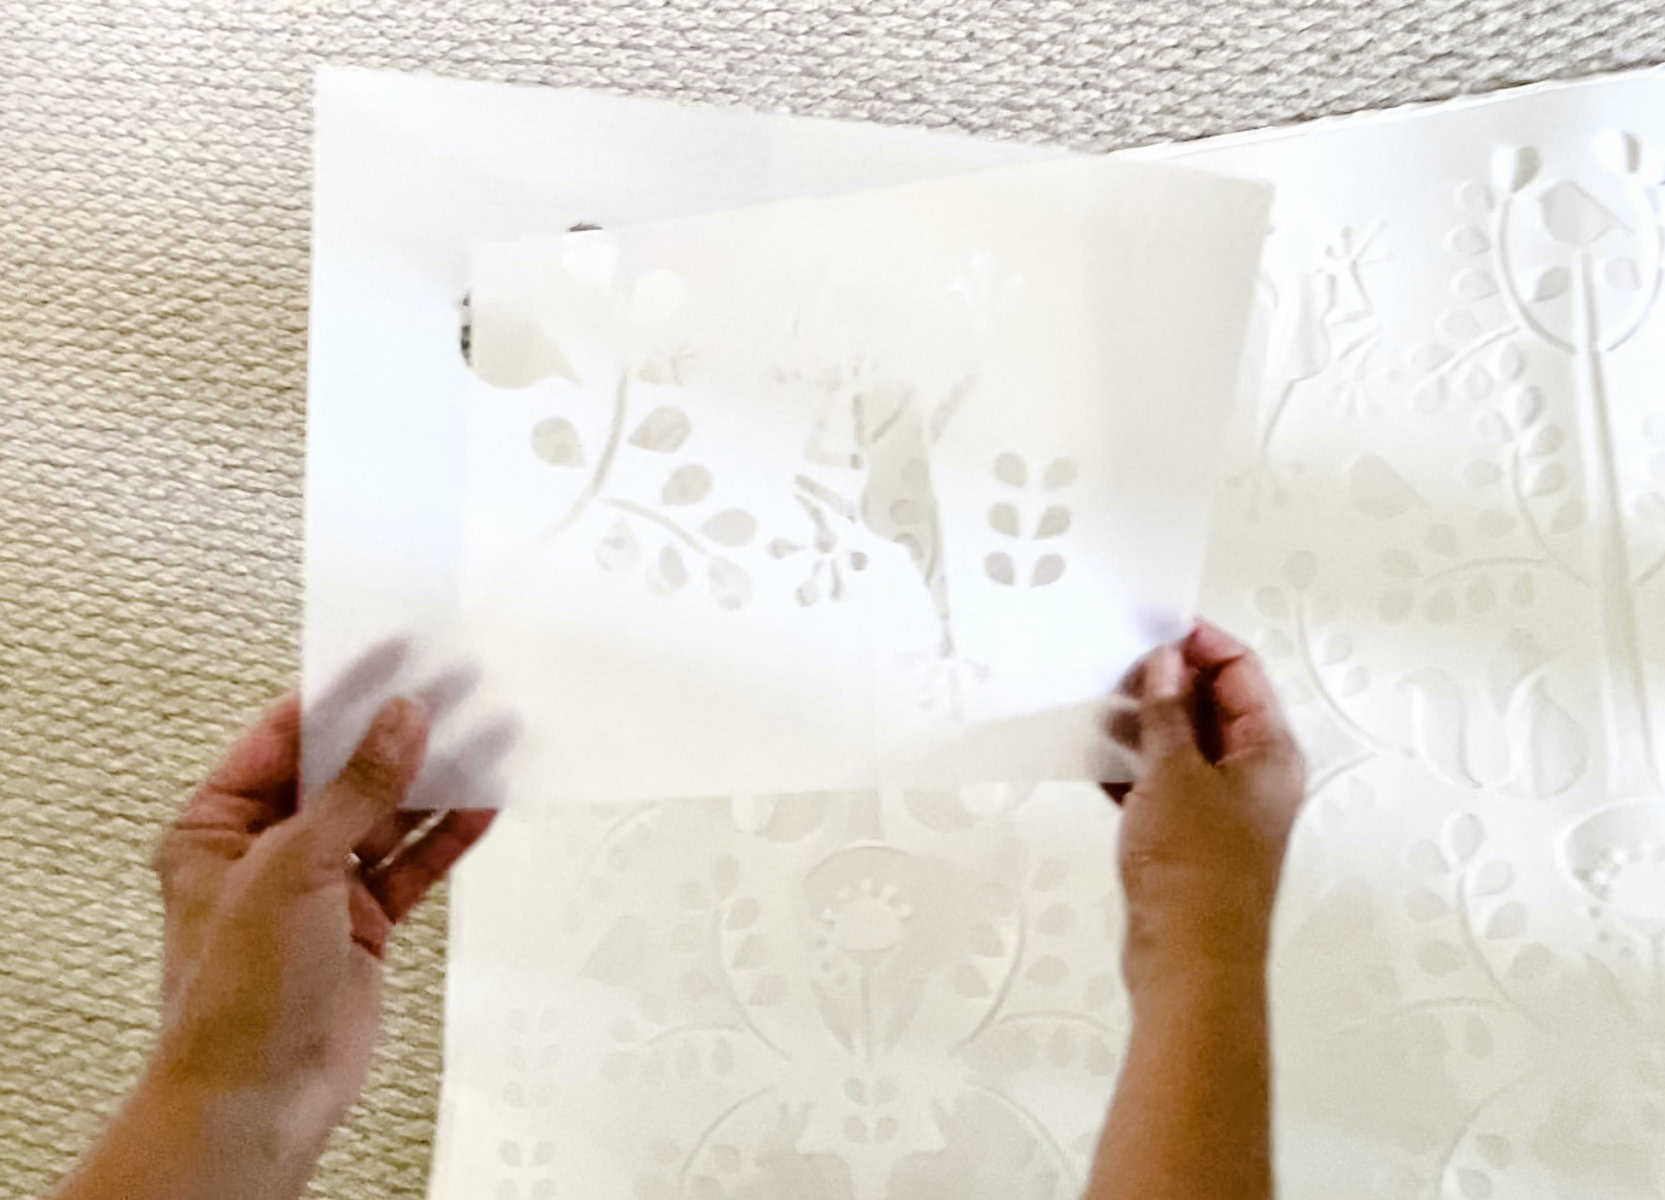
DIY TIP: When looking at stencils keep in mind that you can omit any part of the stencil as well as move it to various areas on the wall. Doing this produces a totally original stencil that you’ve created.
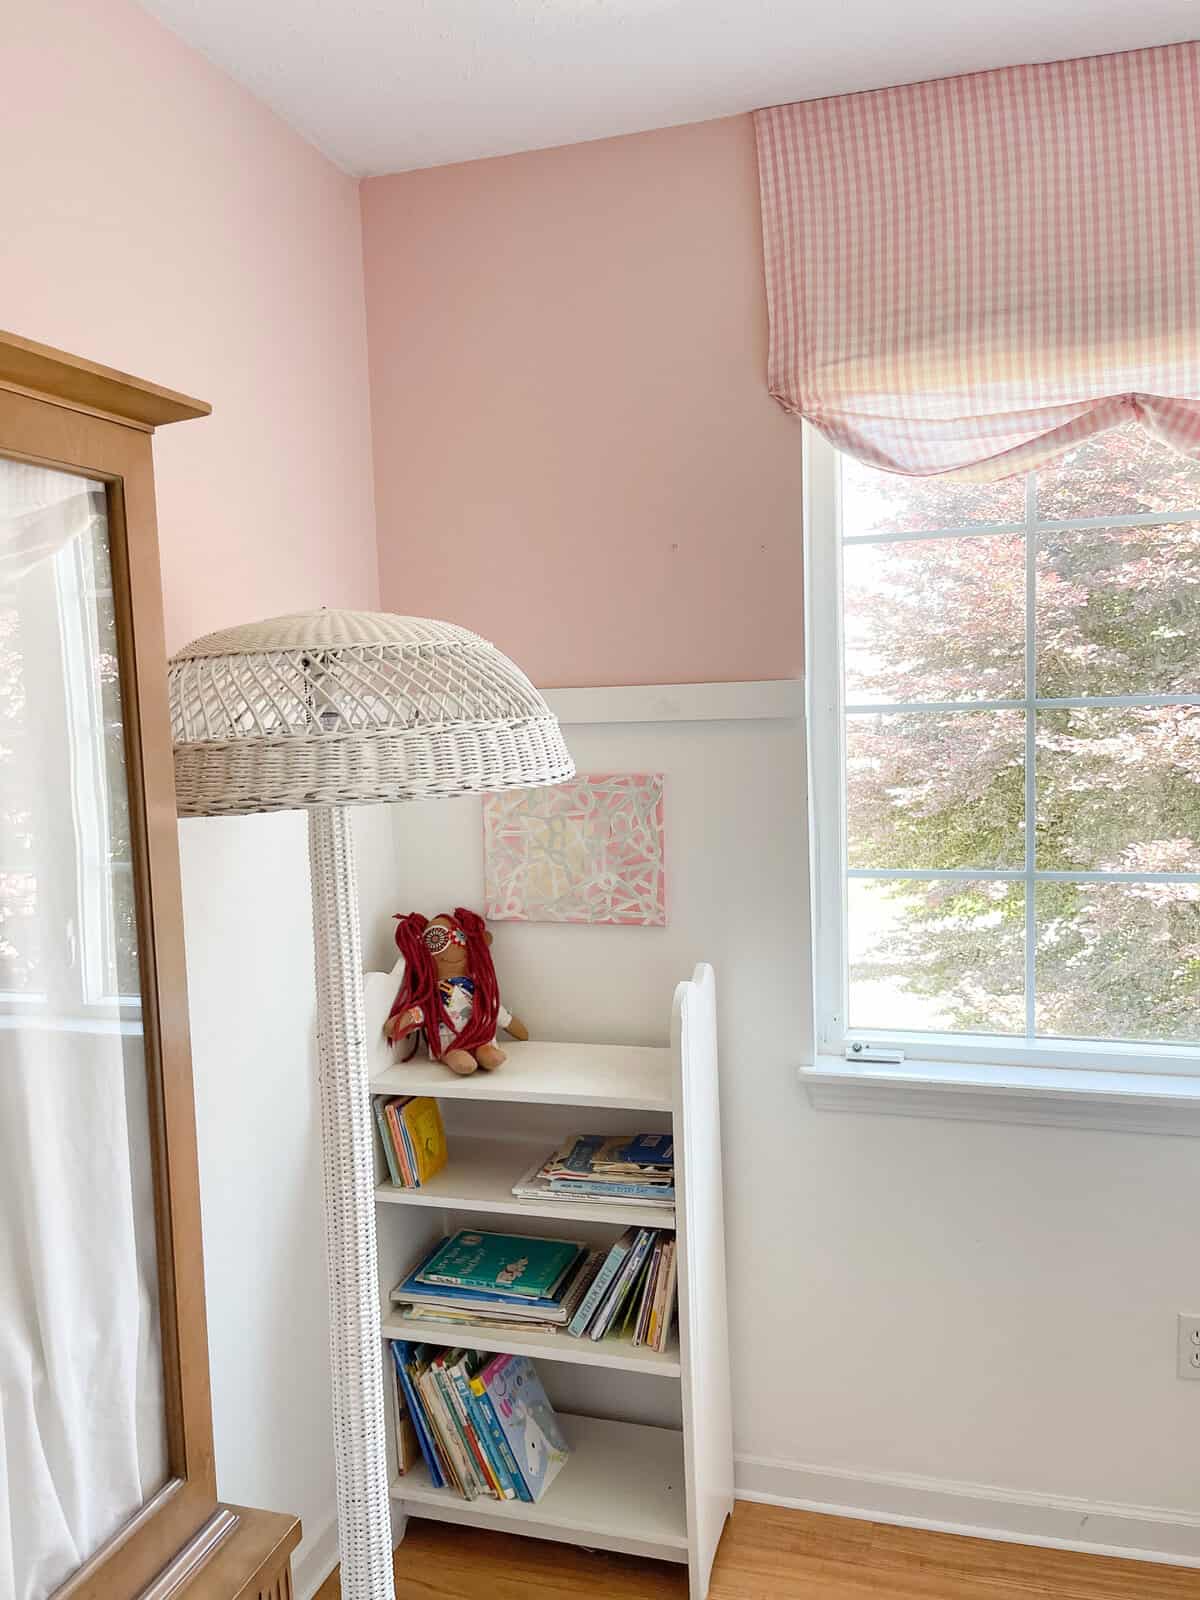
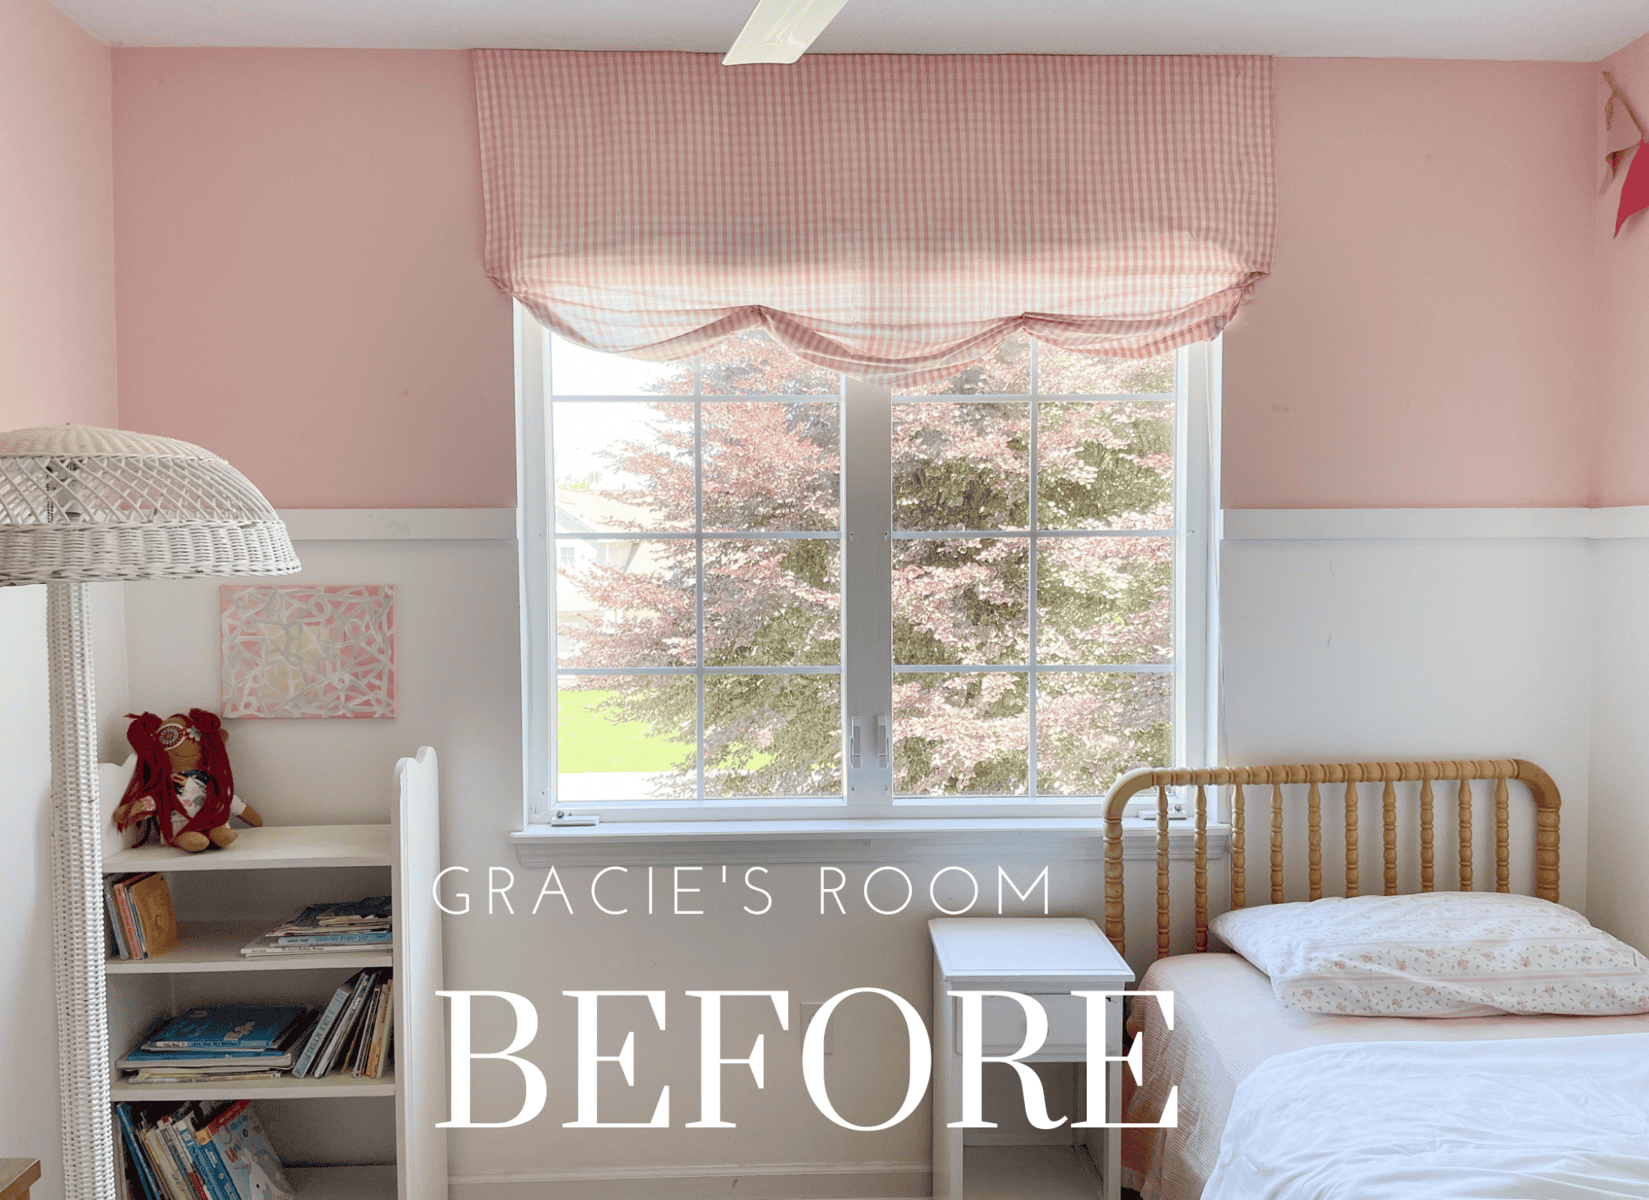
Gracie’s Bedroom BEFORE
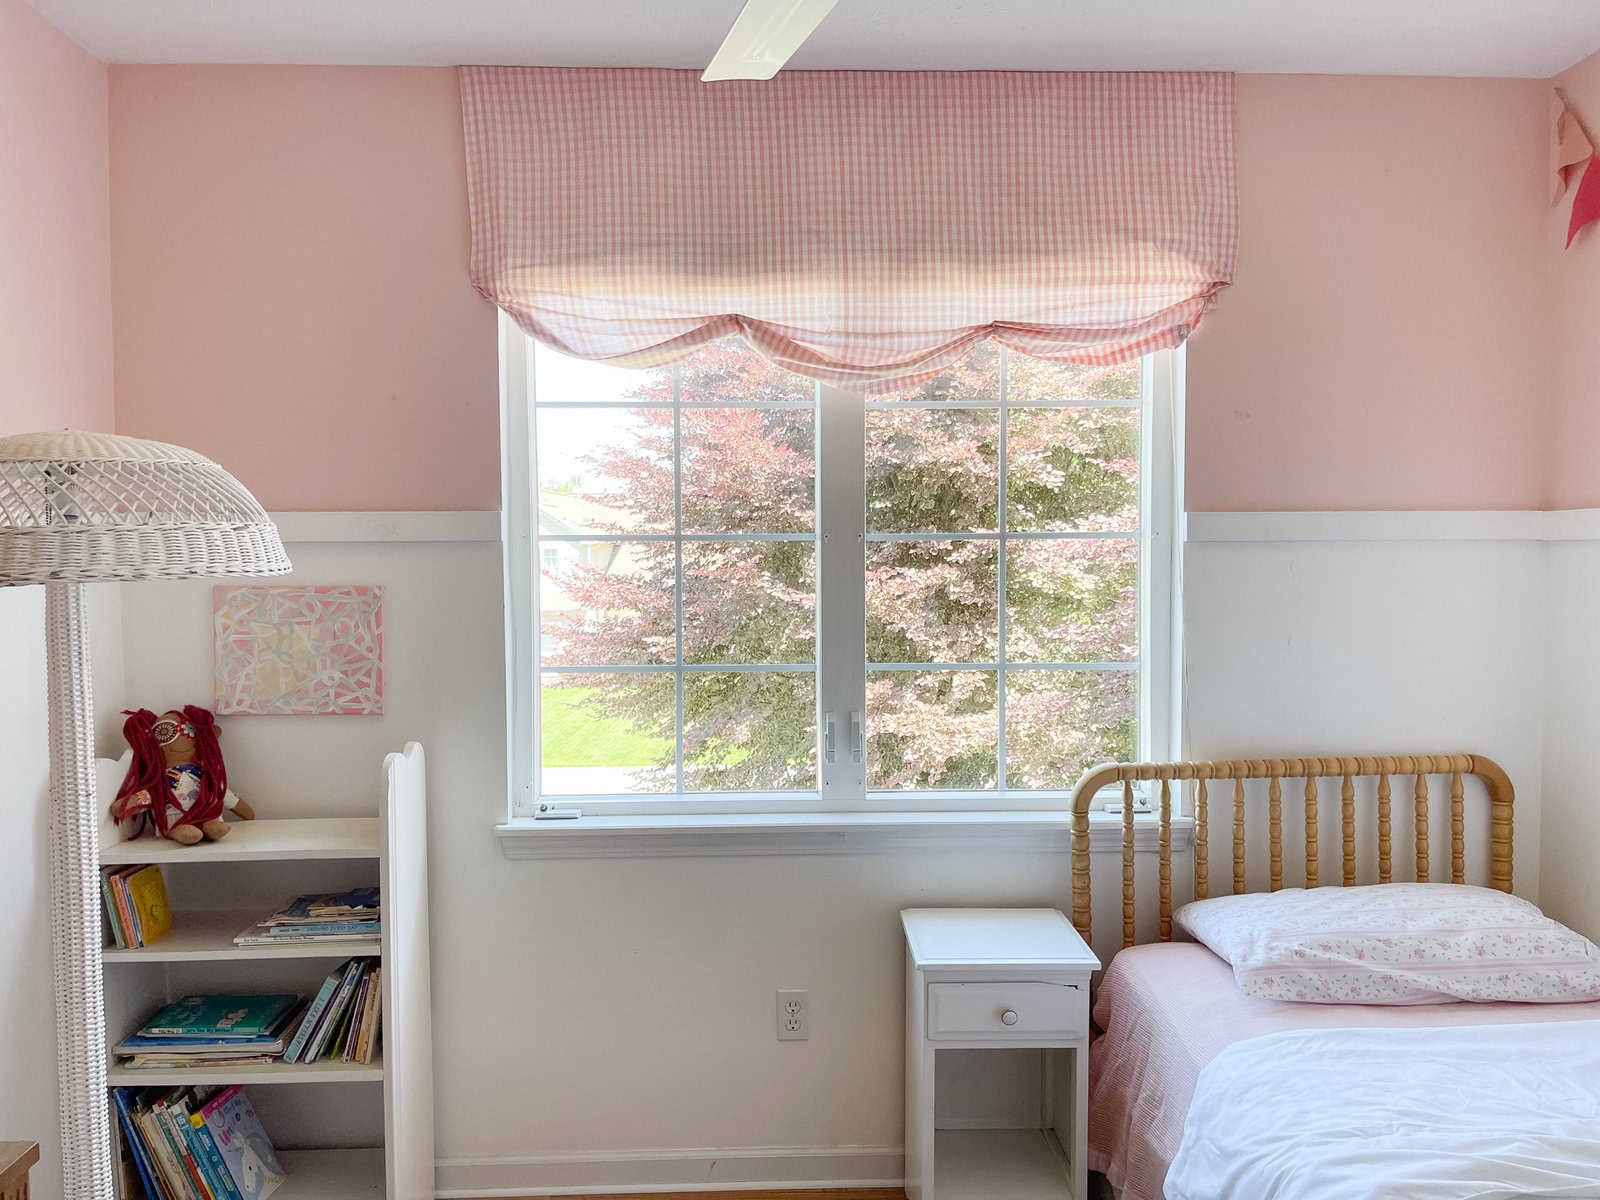
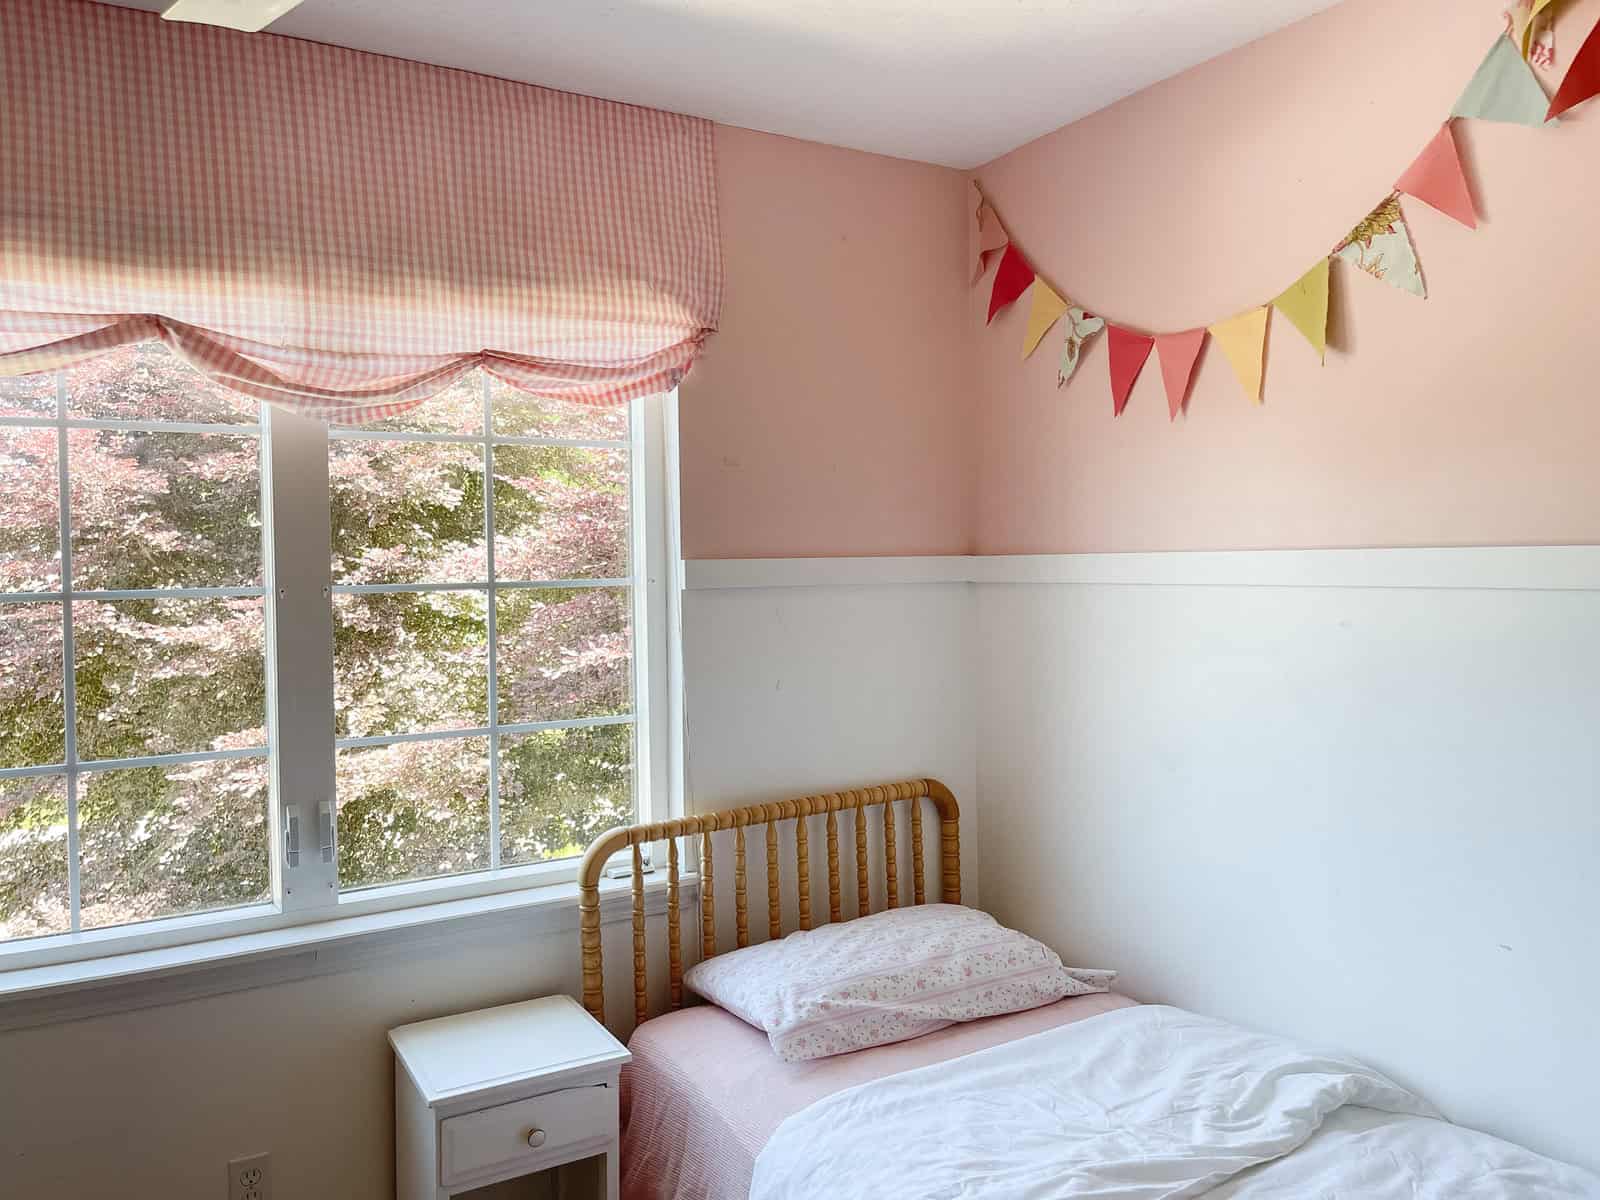
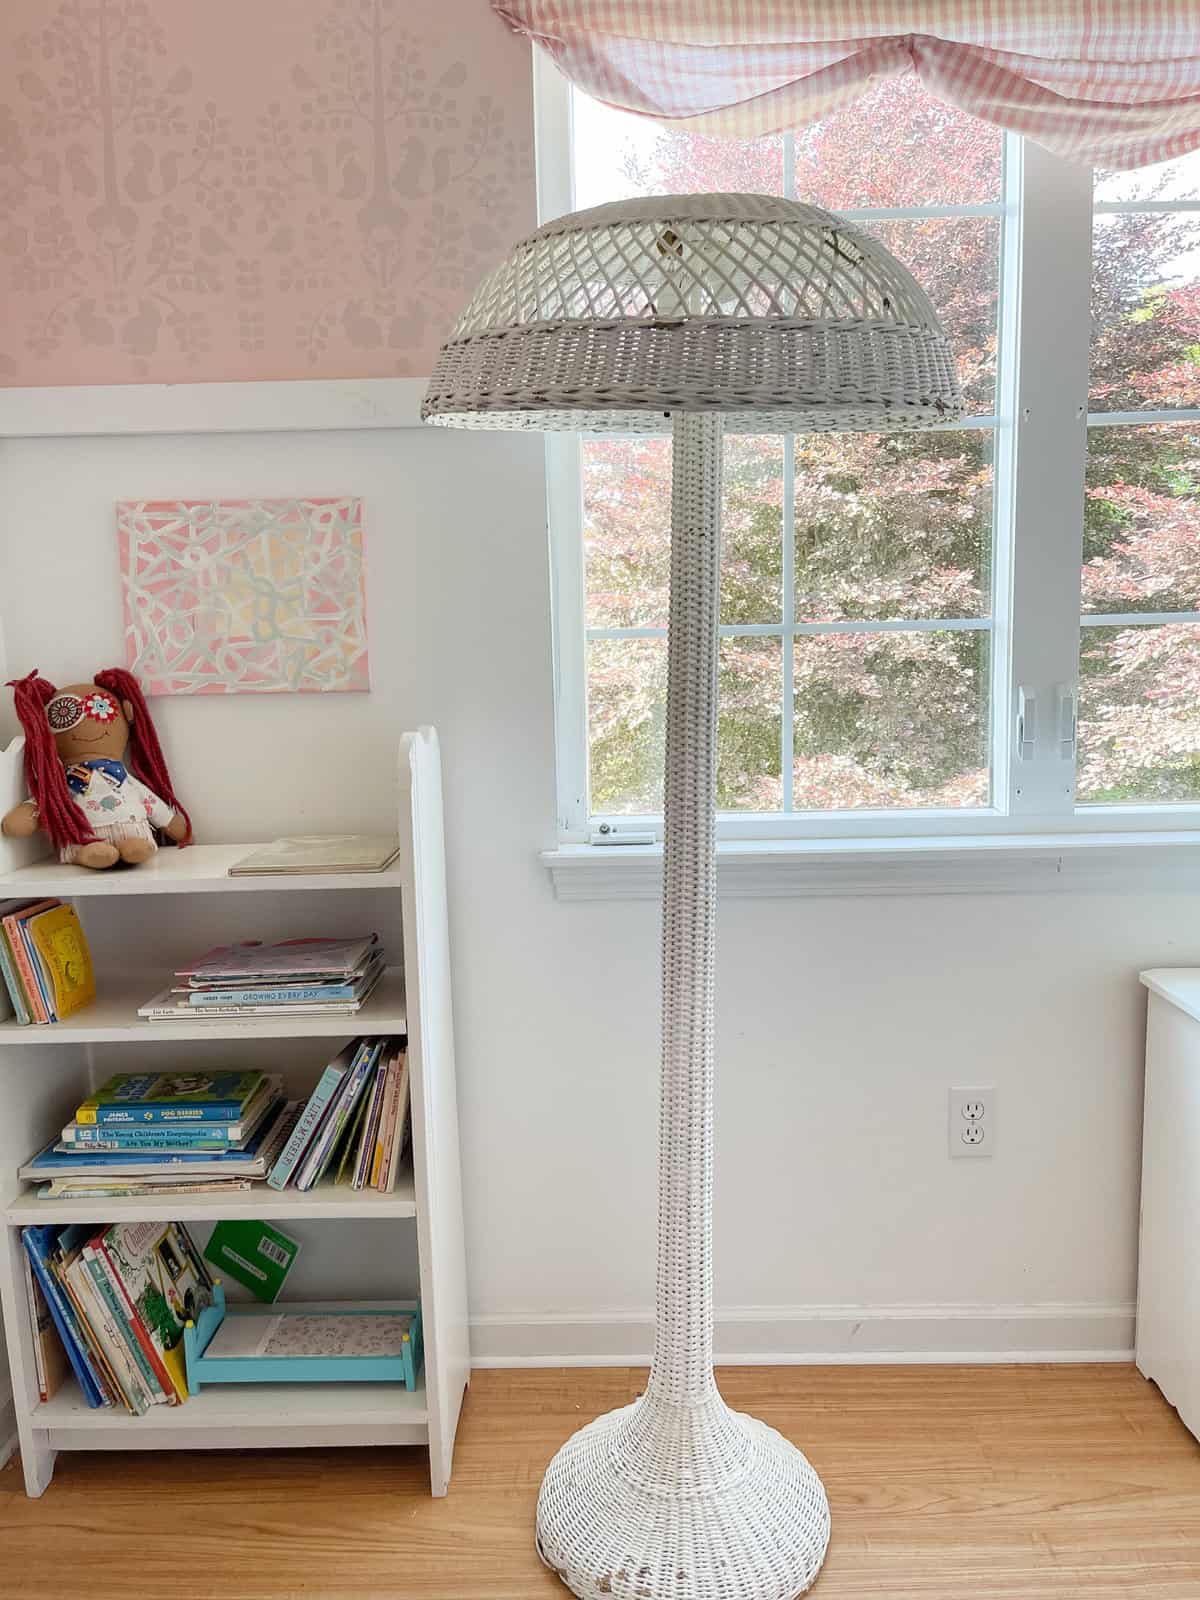
My oldest daughter made this pendant years ago. Although we still love it it’s being retired and we’ll use it as a birthday pendant for the two little girls for the next few years. It was time for a new look and feel in Grace Lynn’s bedroom.
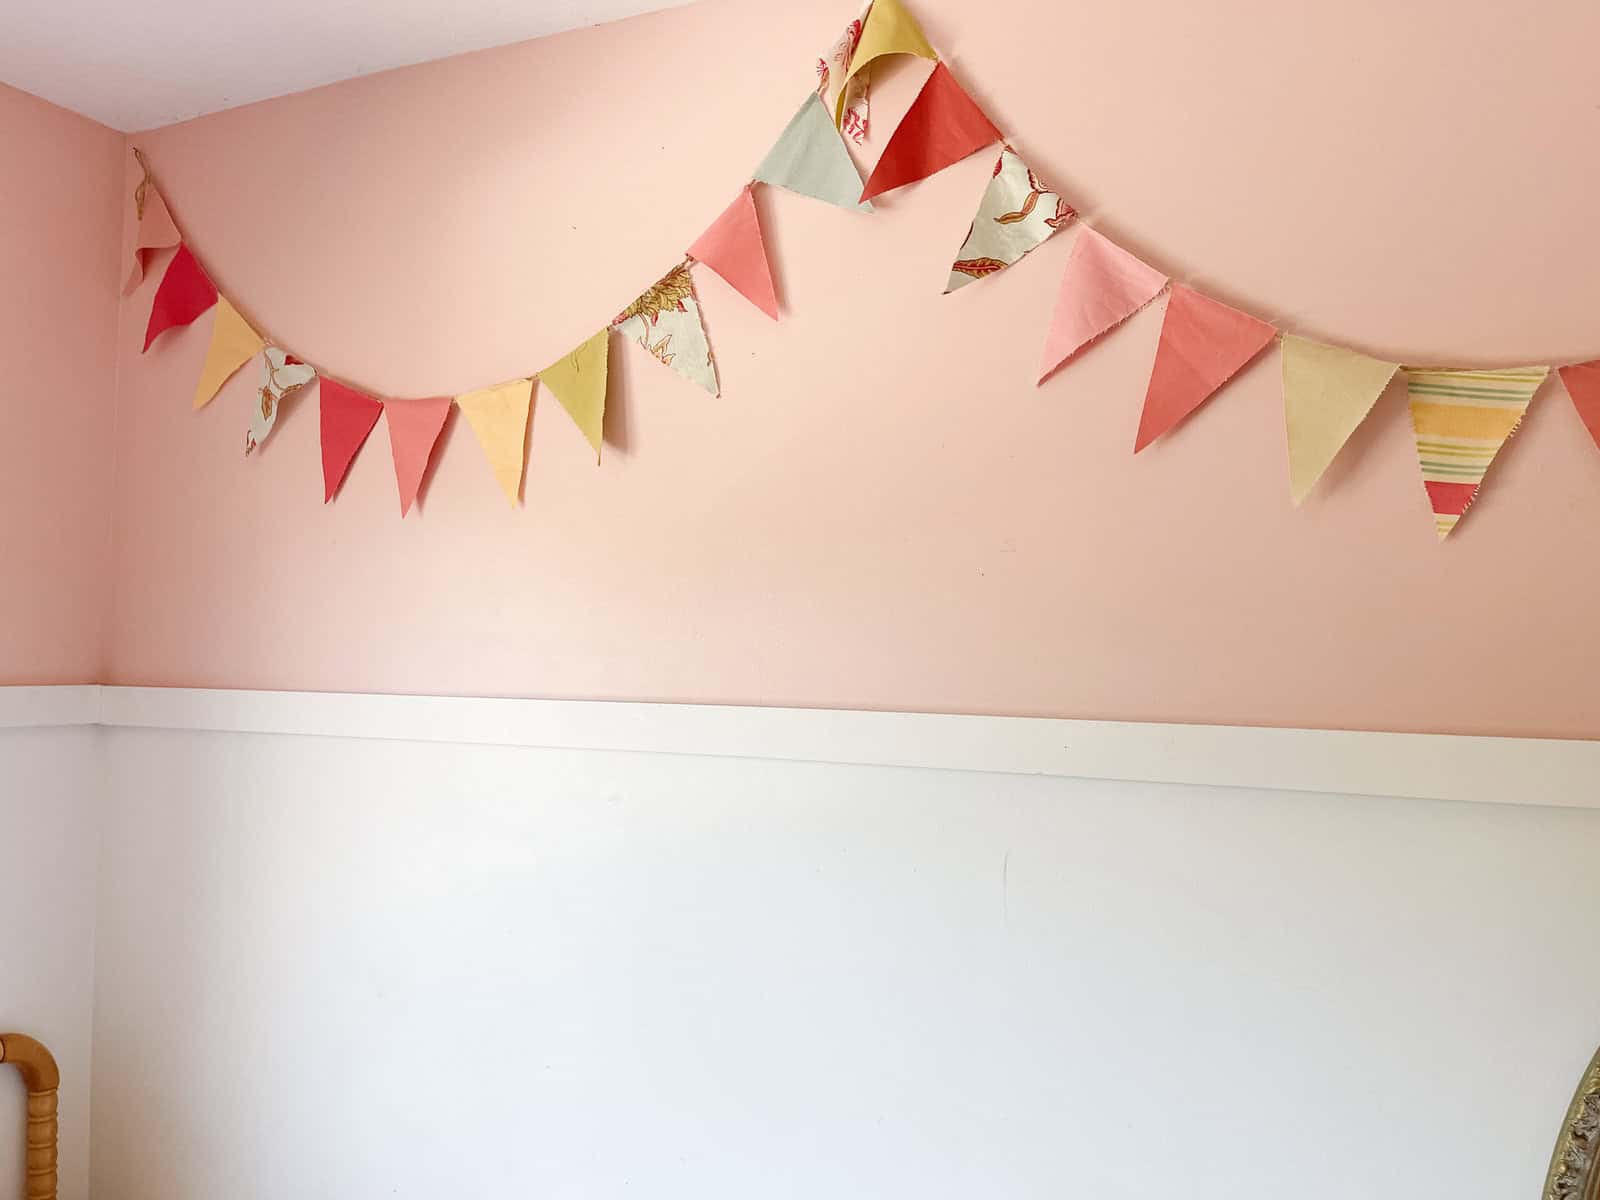

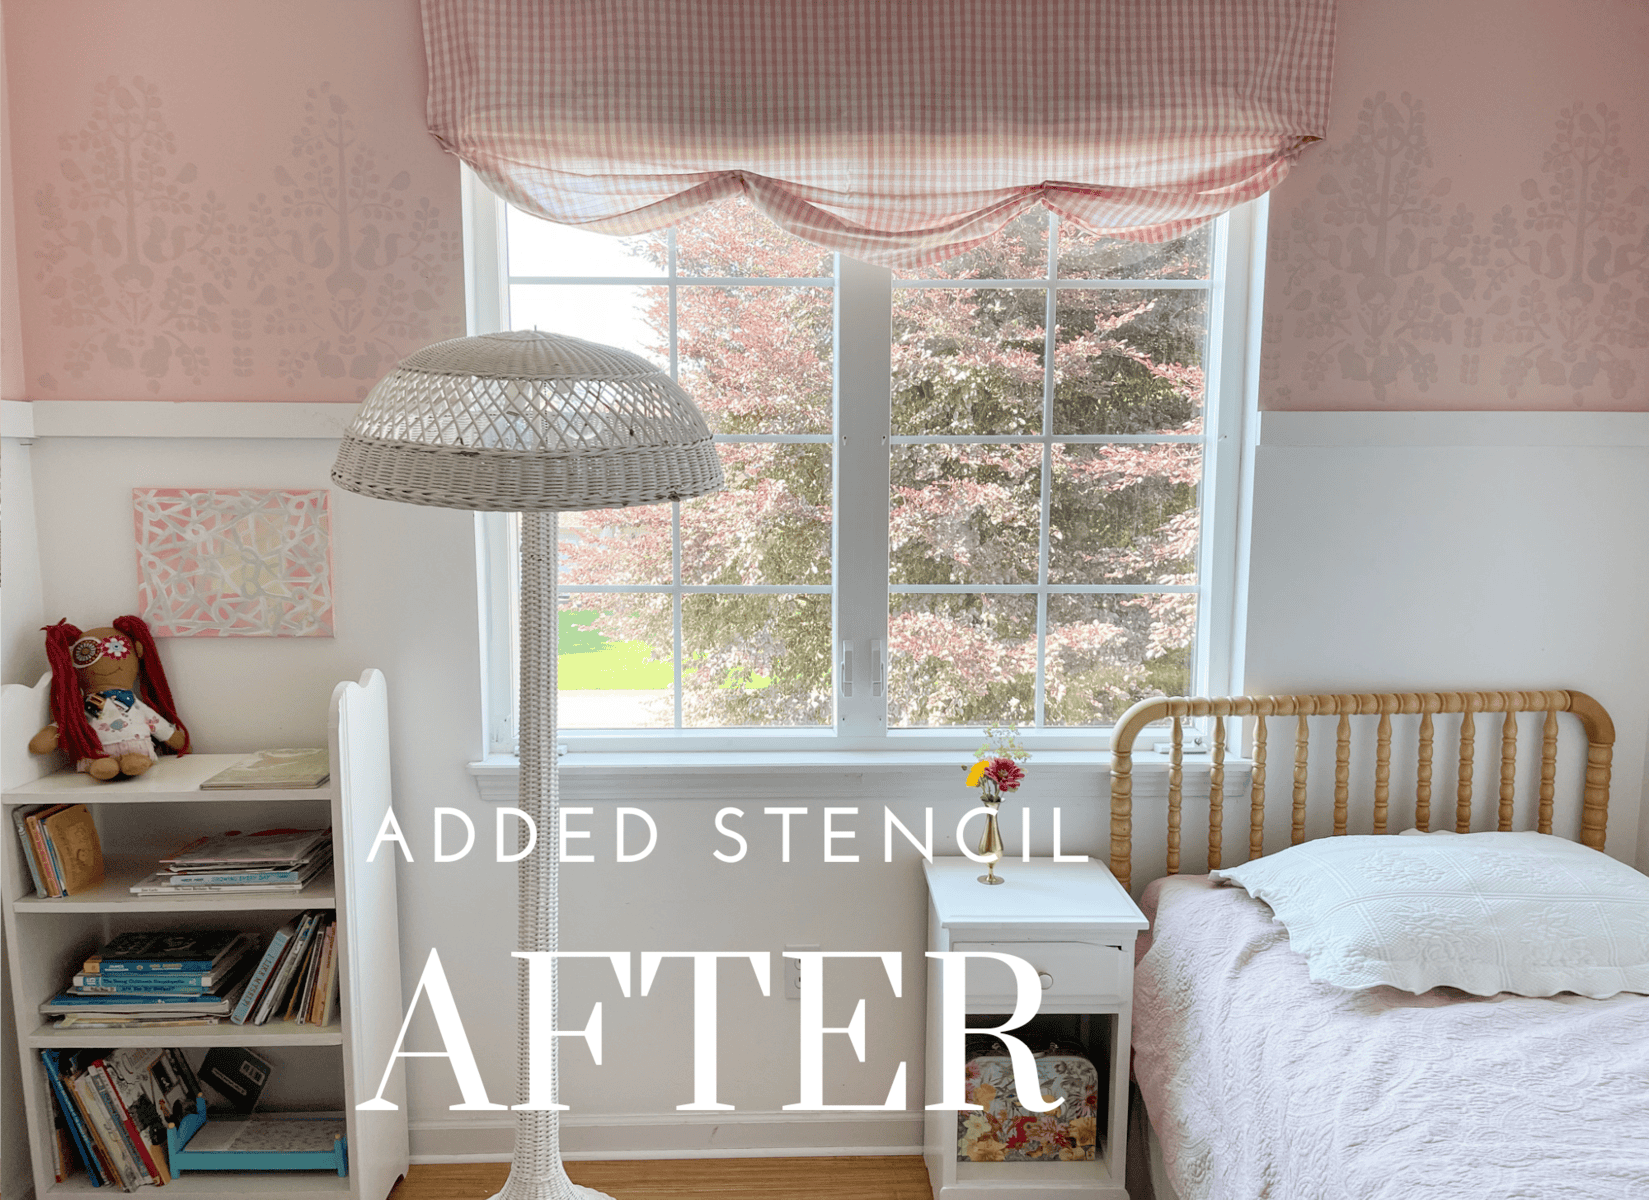
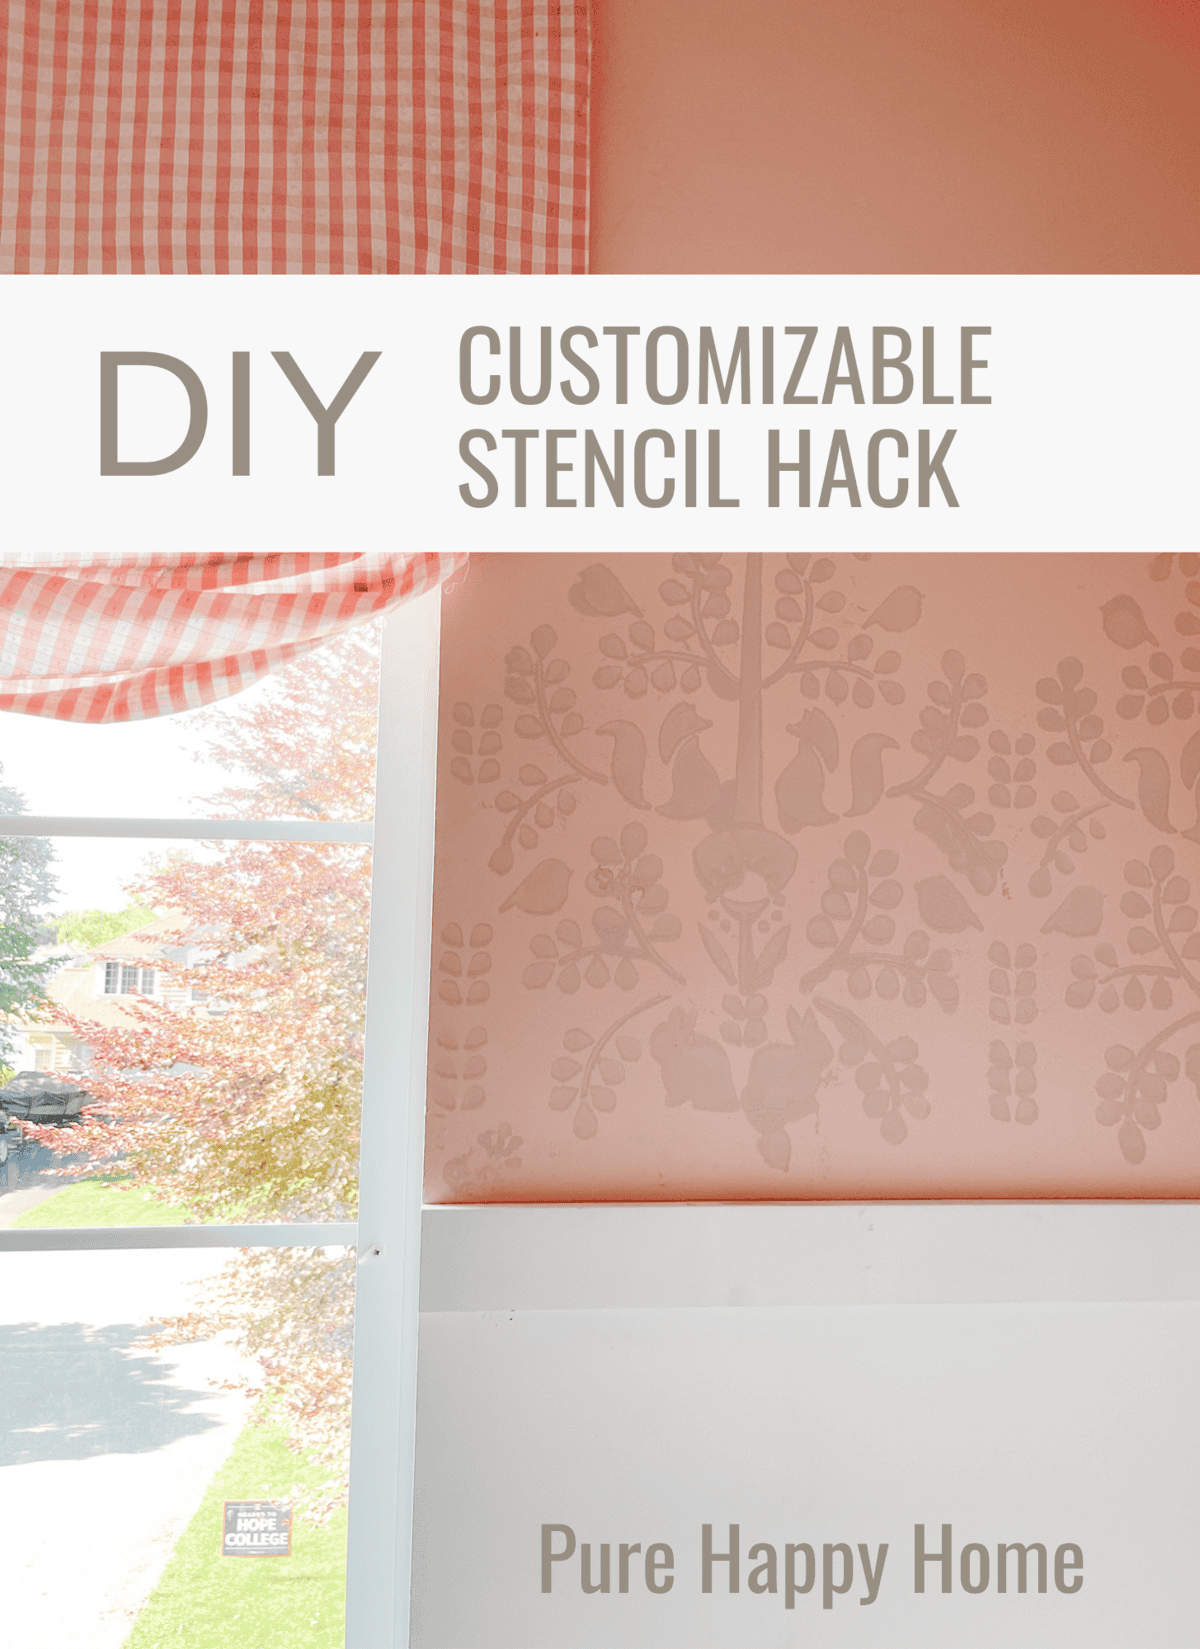
In this woodland themes stencil there was a frog I didn’t like so I just skipped it when it while stenciling the rest. I also make my own pattern by only lining the molding with the pattern and not covering the whole wall. This turned out really well and gave the stencil the look of lace on the edge of a garment.
When you look at a stencil always remember you get to decide what you should keep and what should go. The frogs had to go.
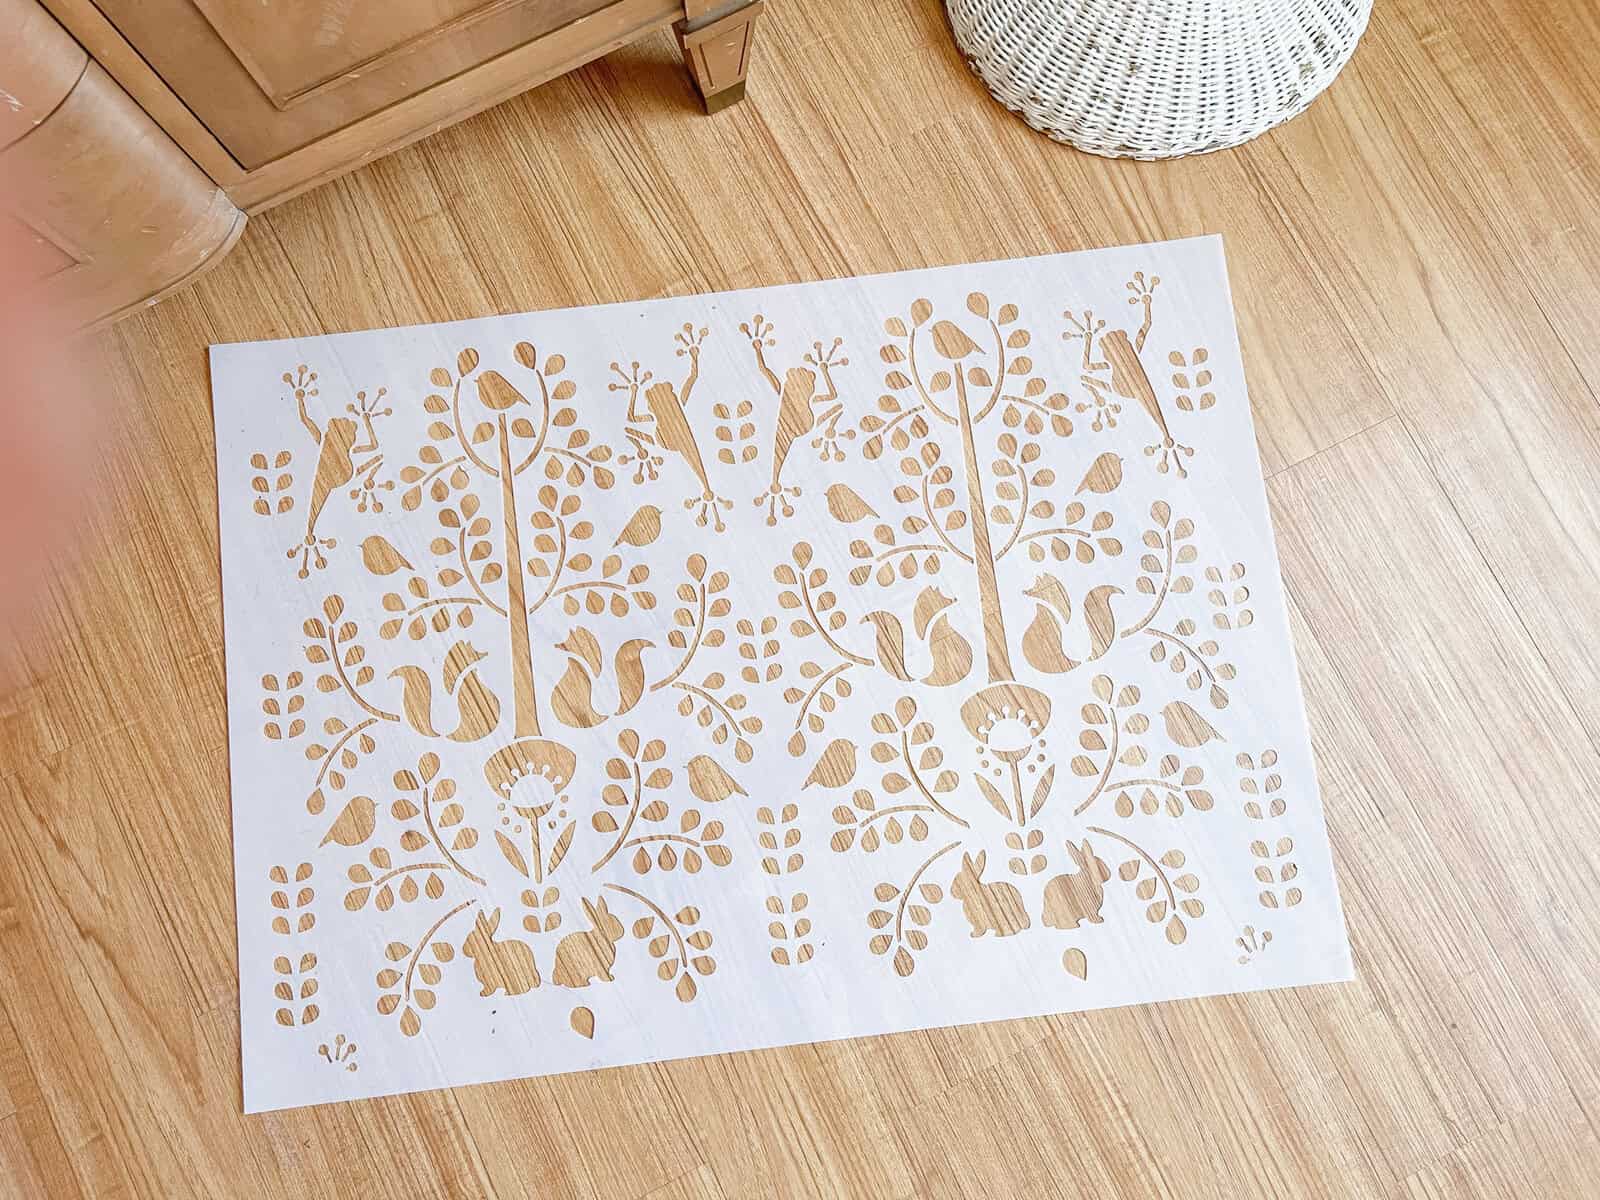
I chose to use a tone on tone design with the stencil pattern. It really adds a delicate touch that is both feminine and understated. The process is not hard, only tedious.
Tools You’ll Need
Sponge
Paint tray or paper plate
Paint
Stencil
Painters tape
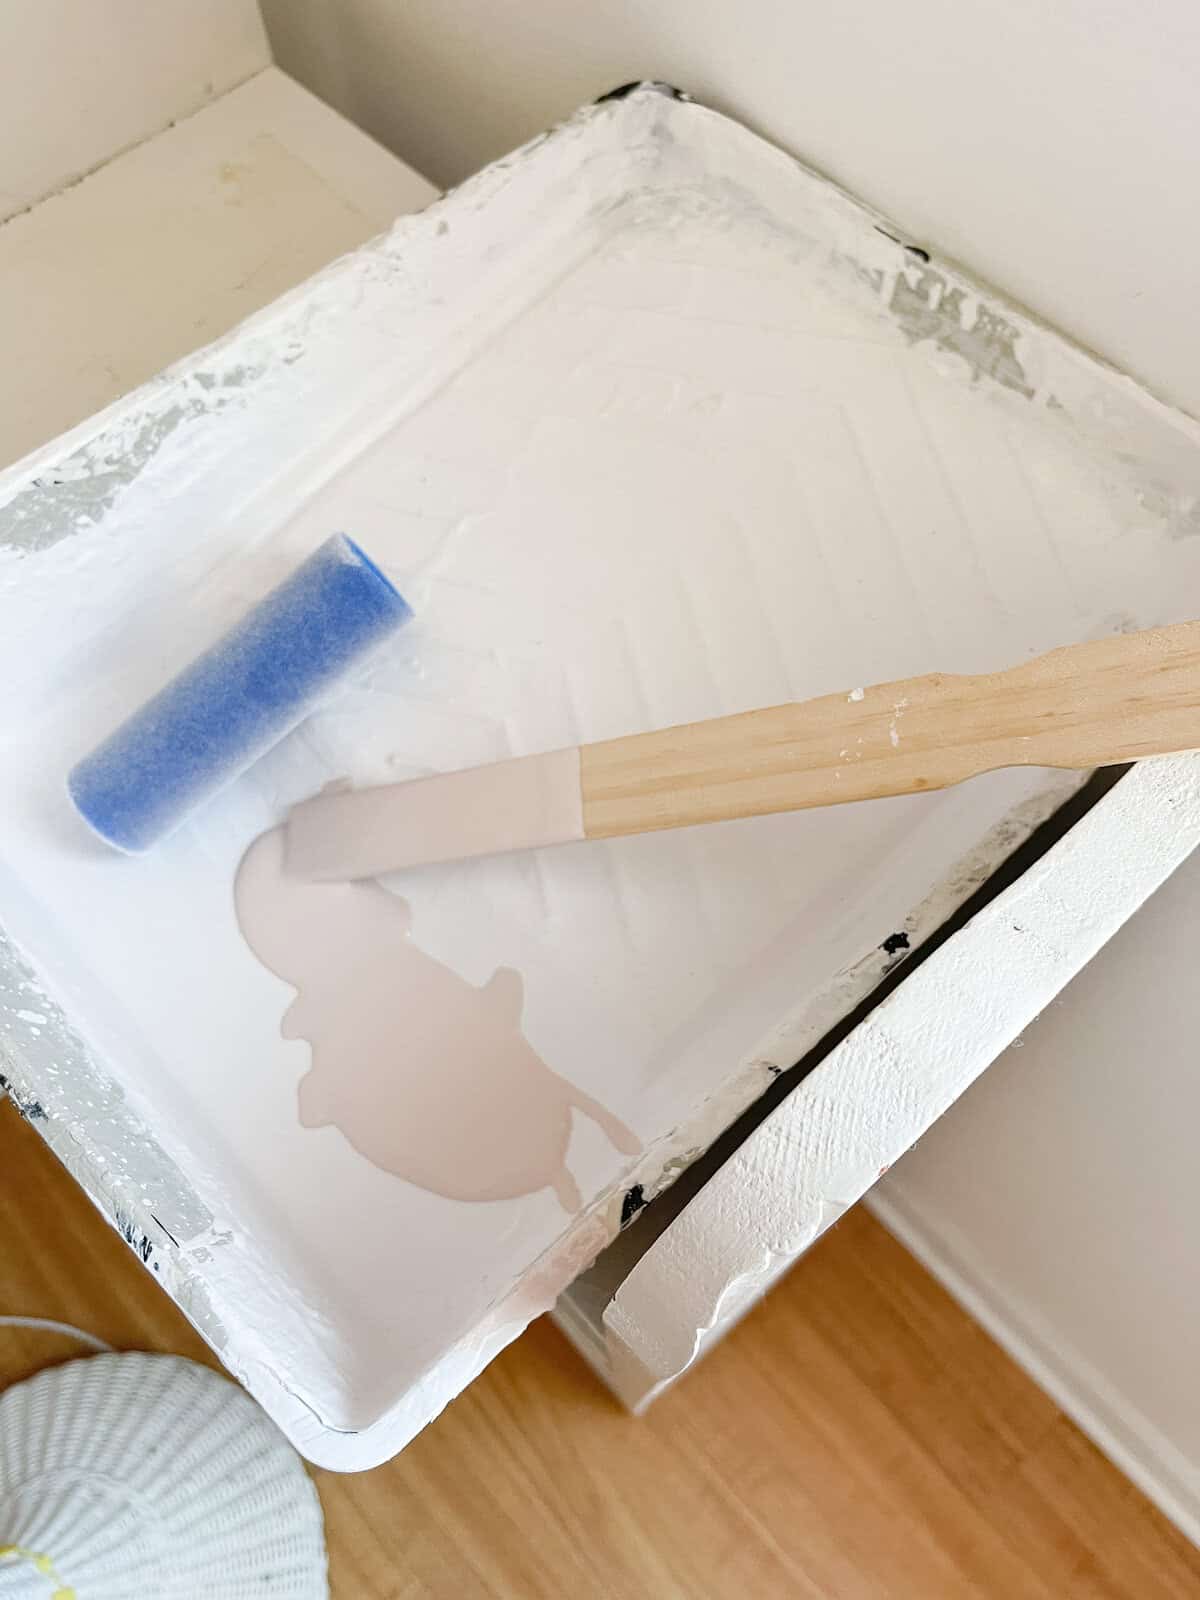
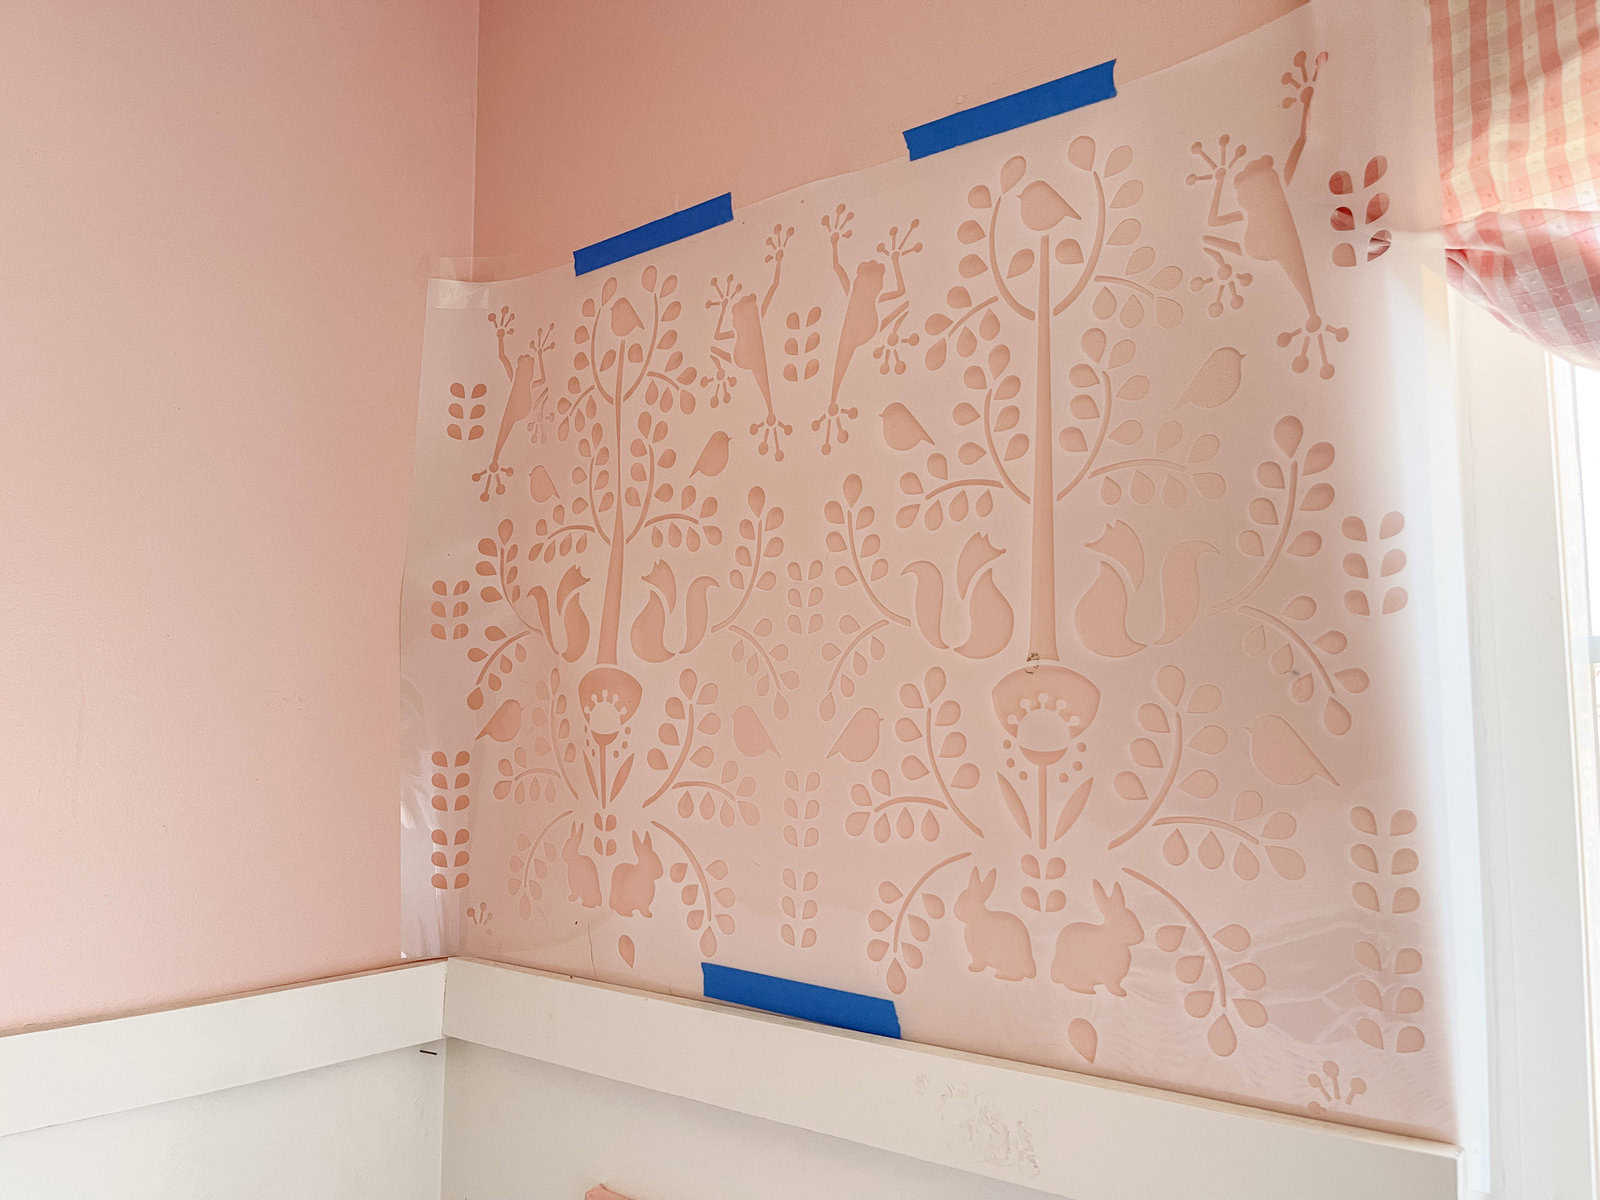
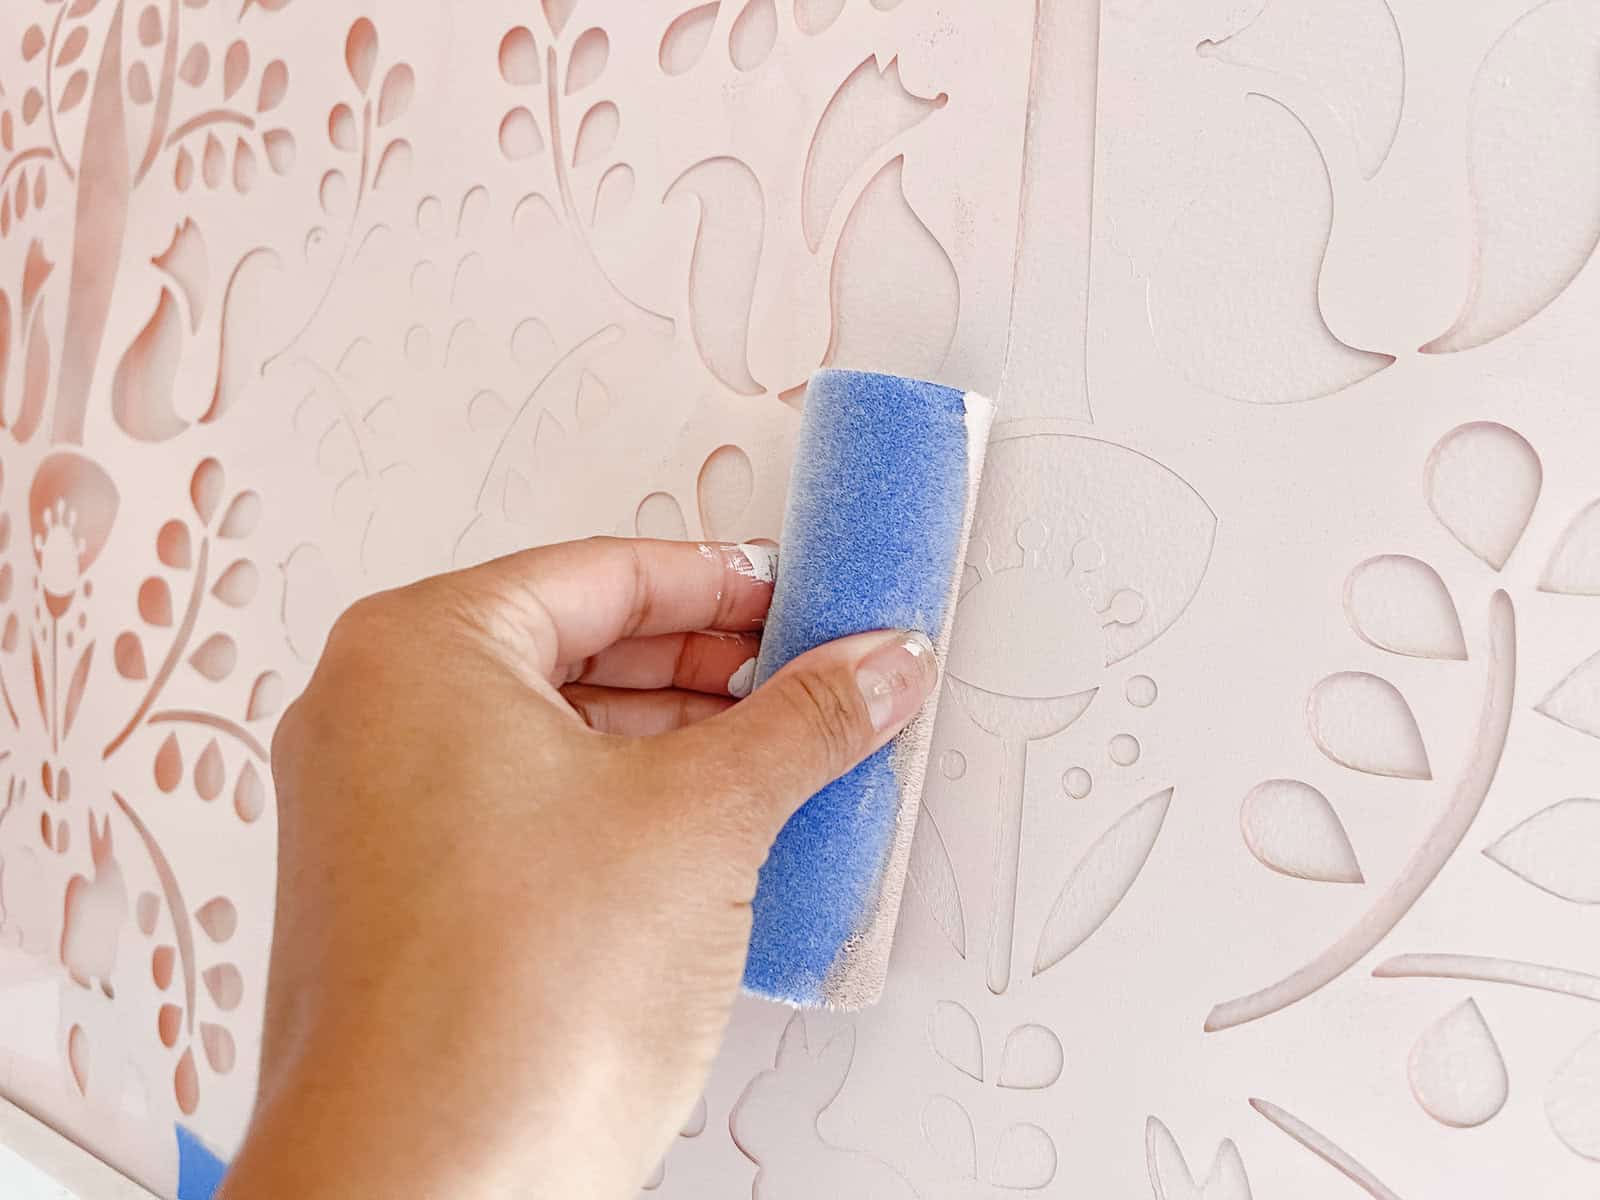
Although I’m using a roller sponge I didn’t roll the paint onto the wall for the majority of the project. After experimenting a bit with rolling and dabbing, I found that when you dab the sponge over the stencil and onto the wall you achieve a much cleaner outline to the pattern.
Applying the paint this way does take longer, but is worth it in the end. Be patient and break up the work into a few sessions.
CLICK HERE to watch the Video

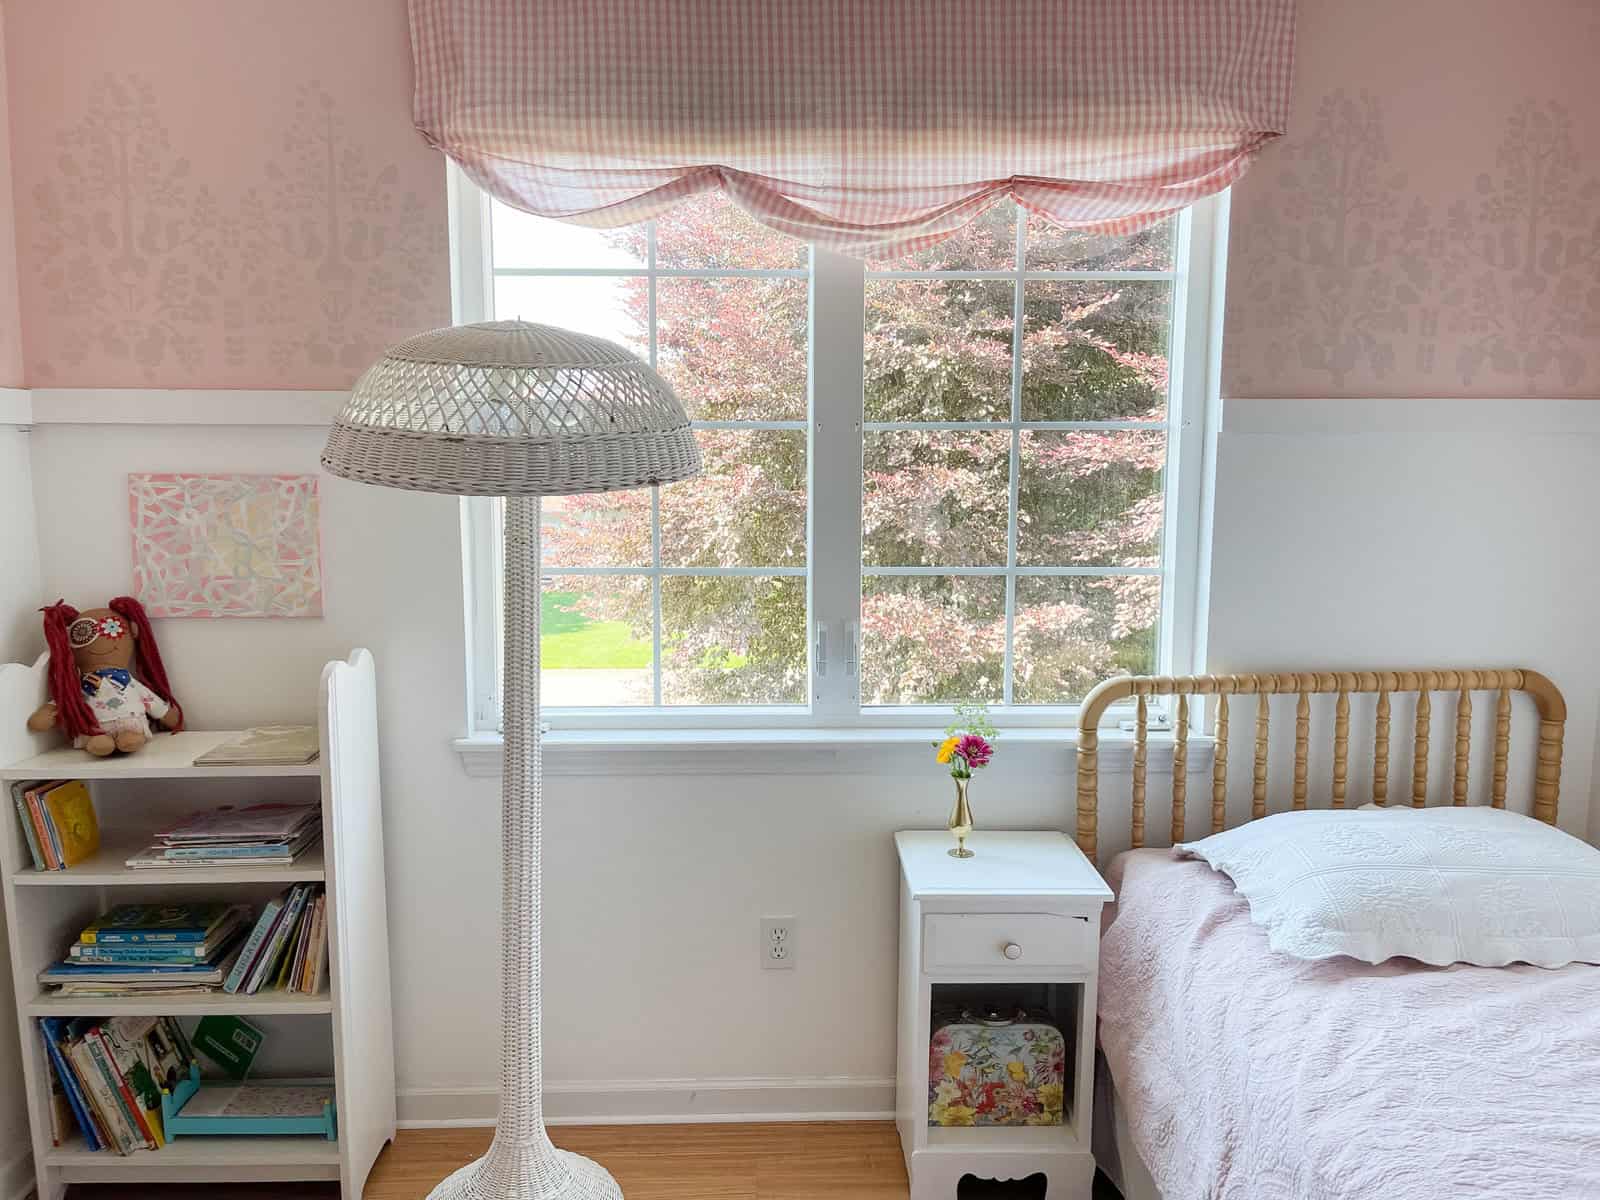
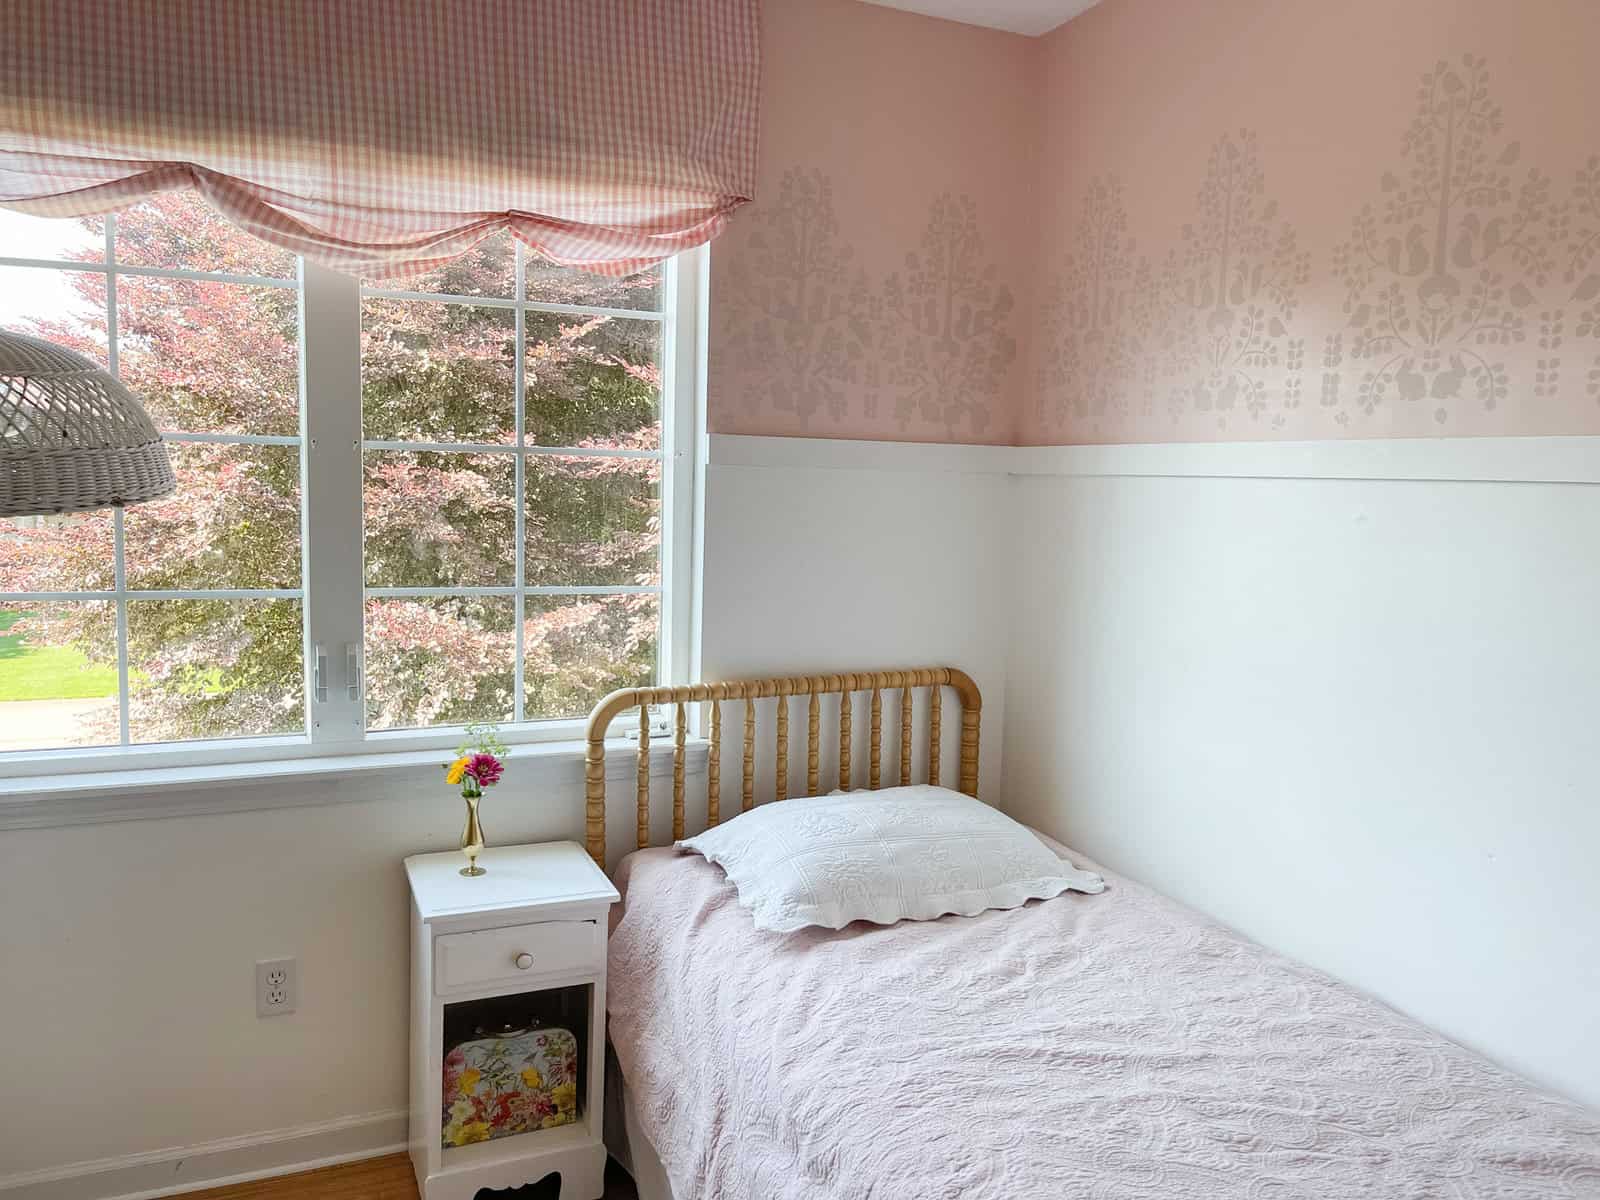
Grace Lynn gets a kick out of sharing her bedroom with little bunnies, foxes and birds. She loves this little change and it’s enough to get her on board with keeping her room tidy. Score!

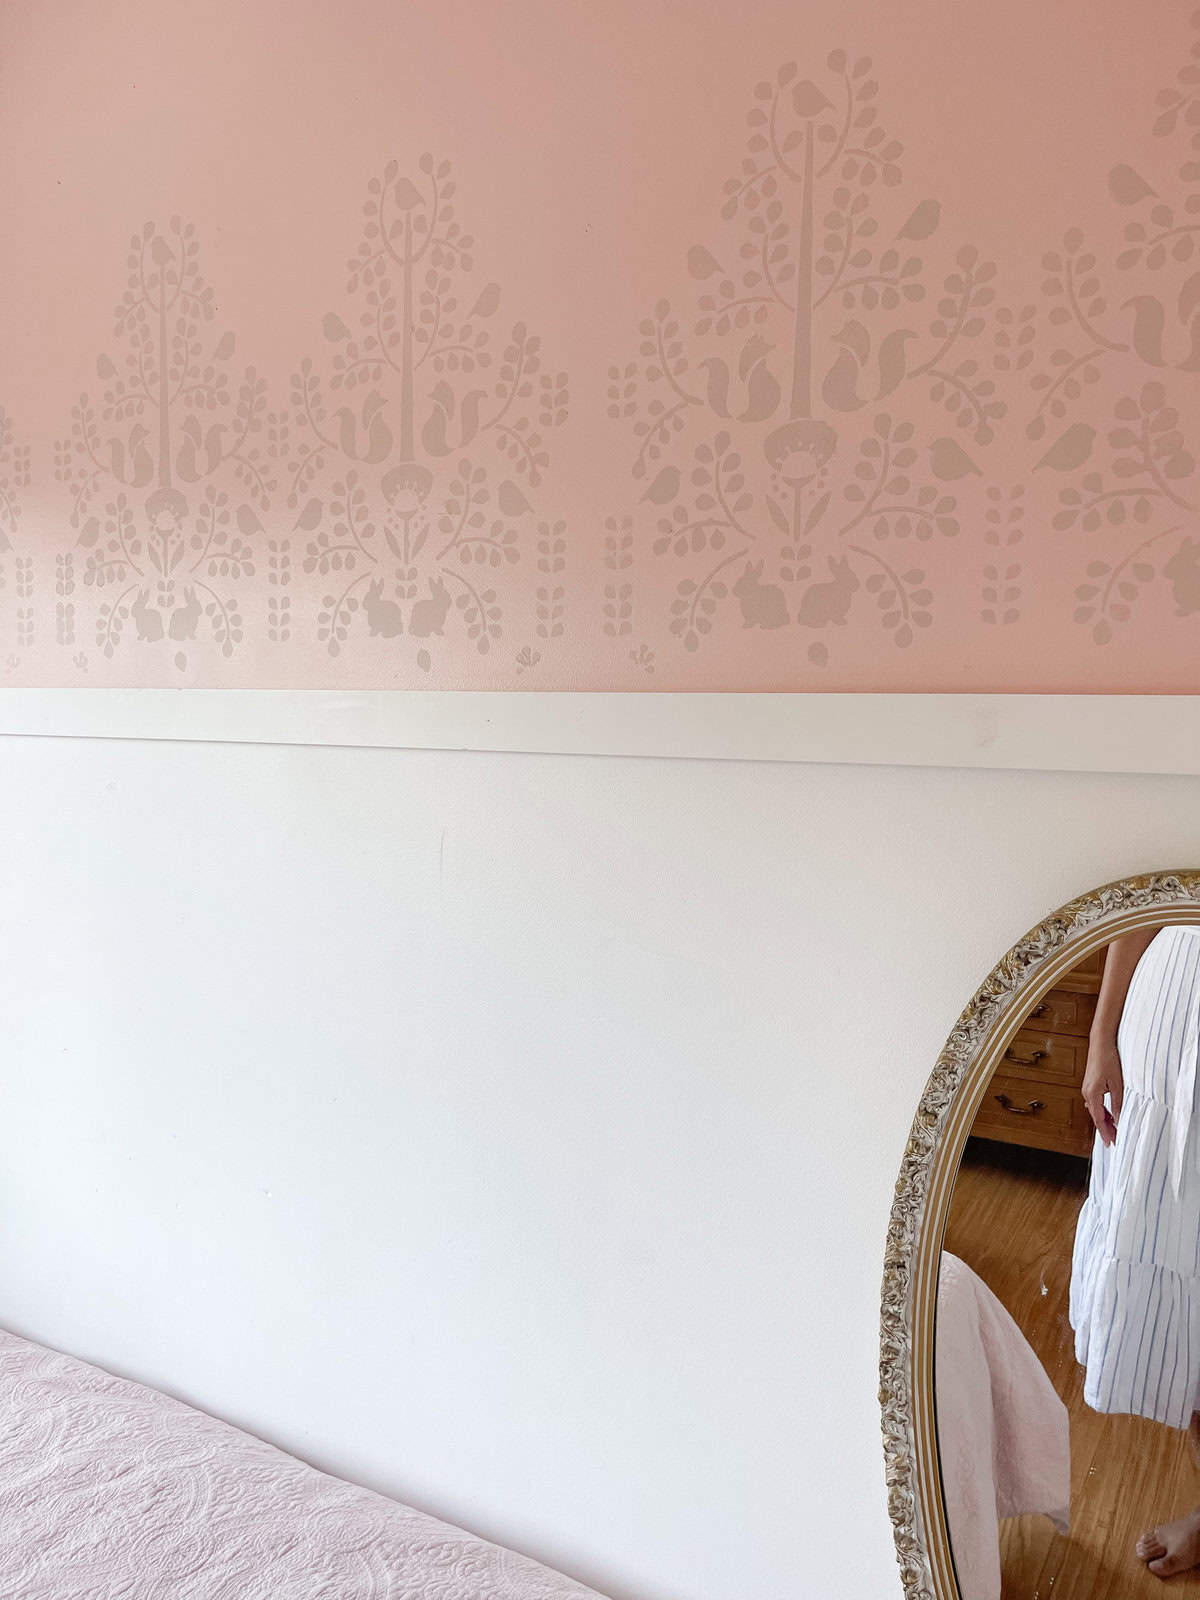
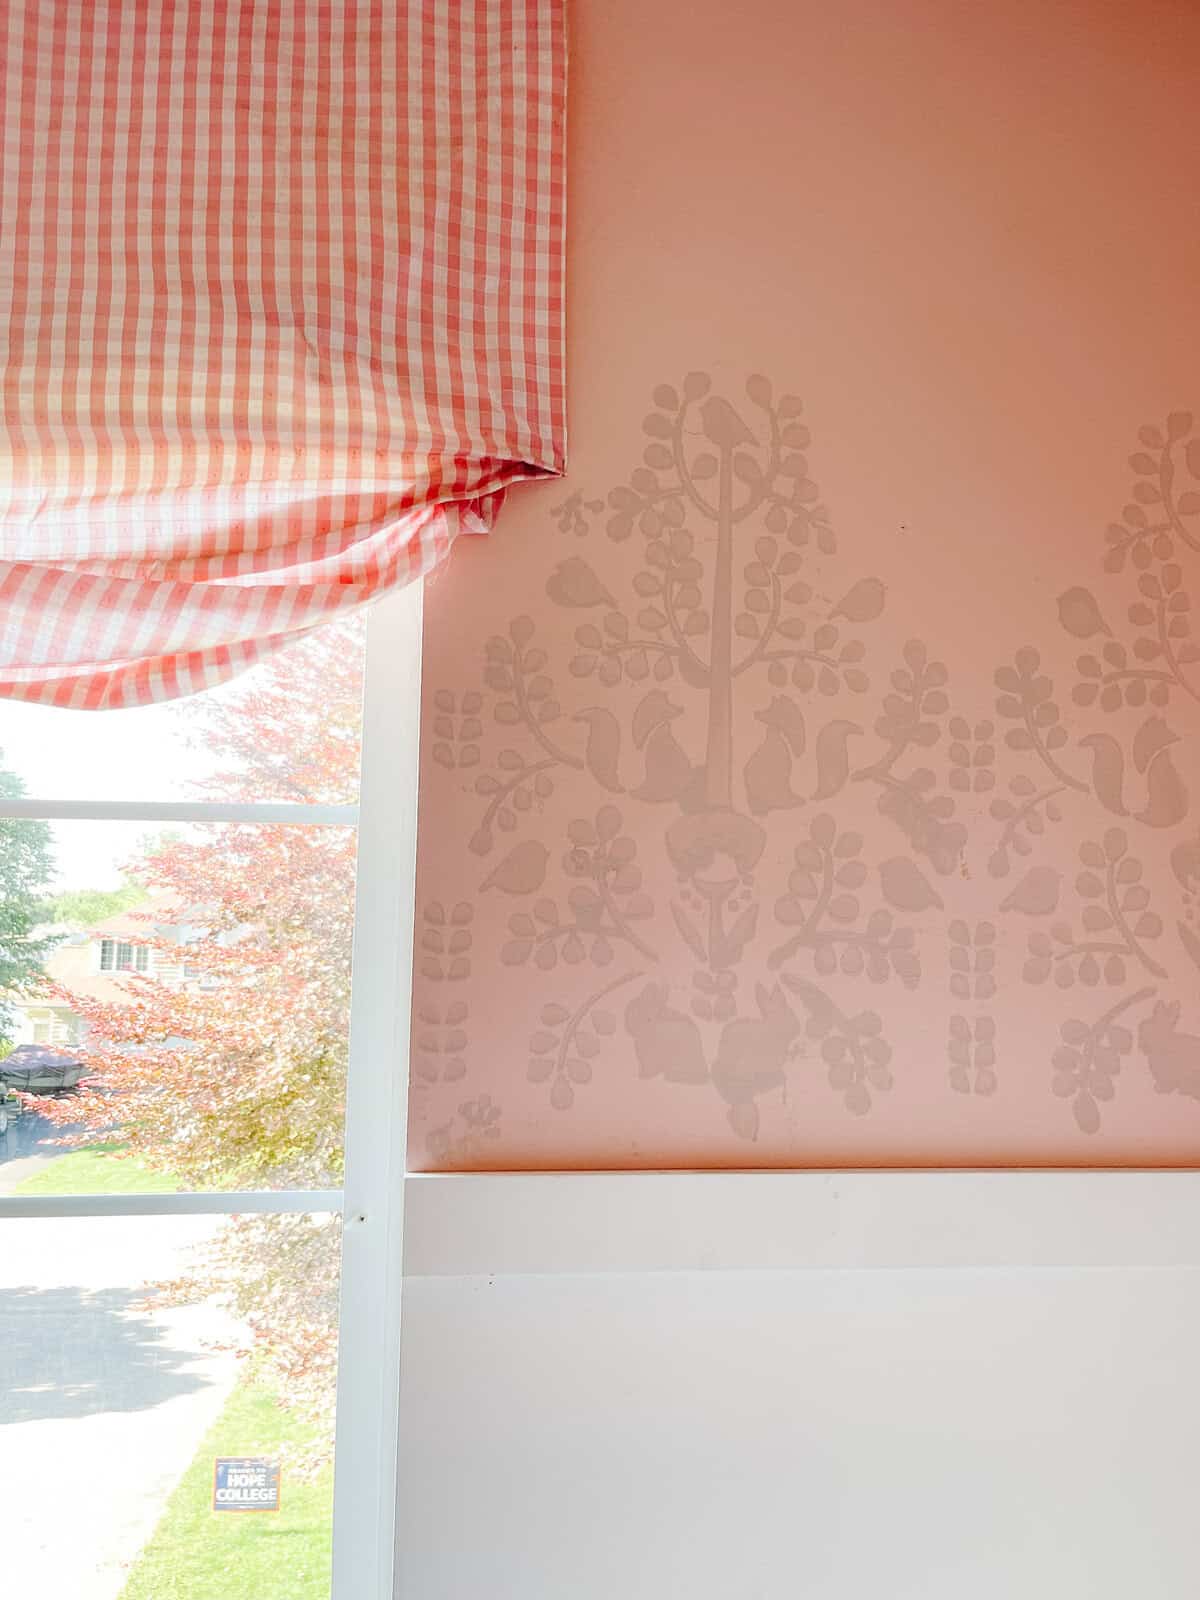
Adding the tone on tone stencil is a subtle difference, but one that makes me smile. Always a good sign when completing a DIY project. So many of our home projects are very personal and done to make someone in our family happy. If your little ones are excited about a project like this it really goes a long way to show them you care for and love them.
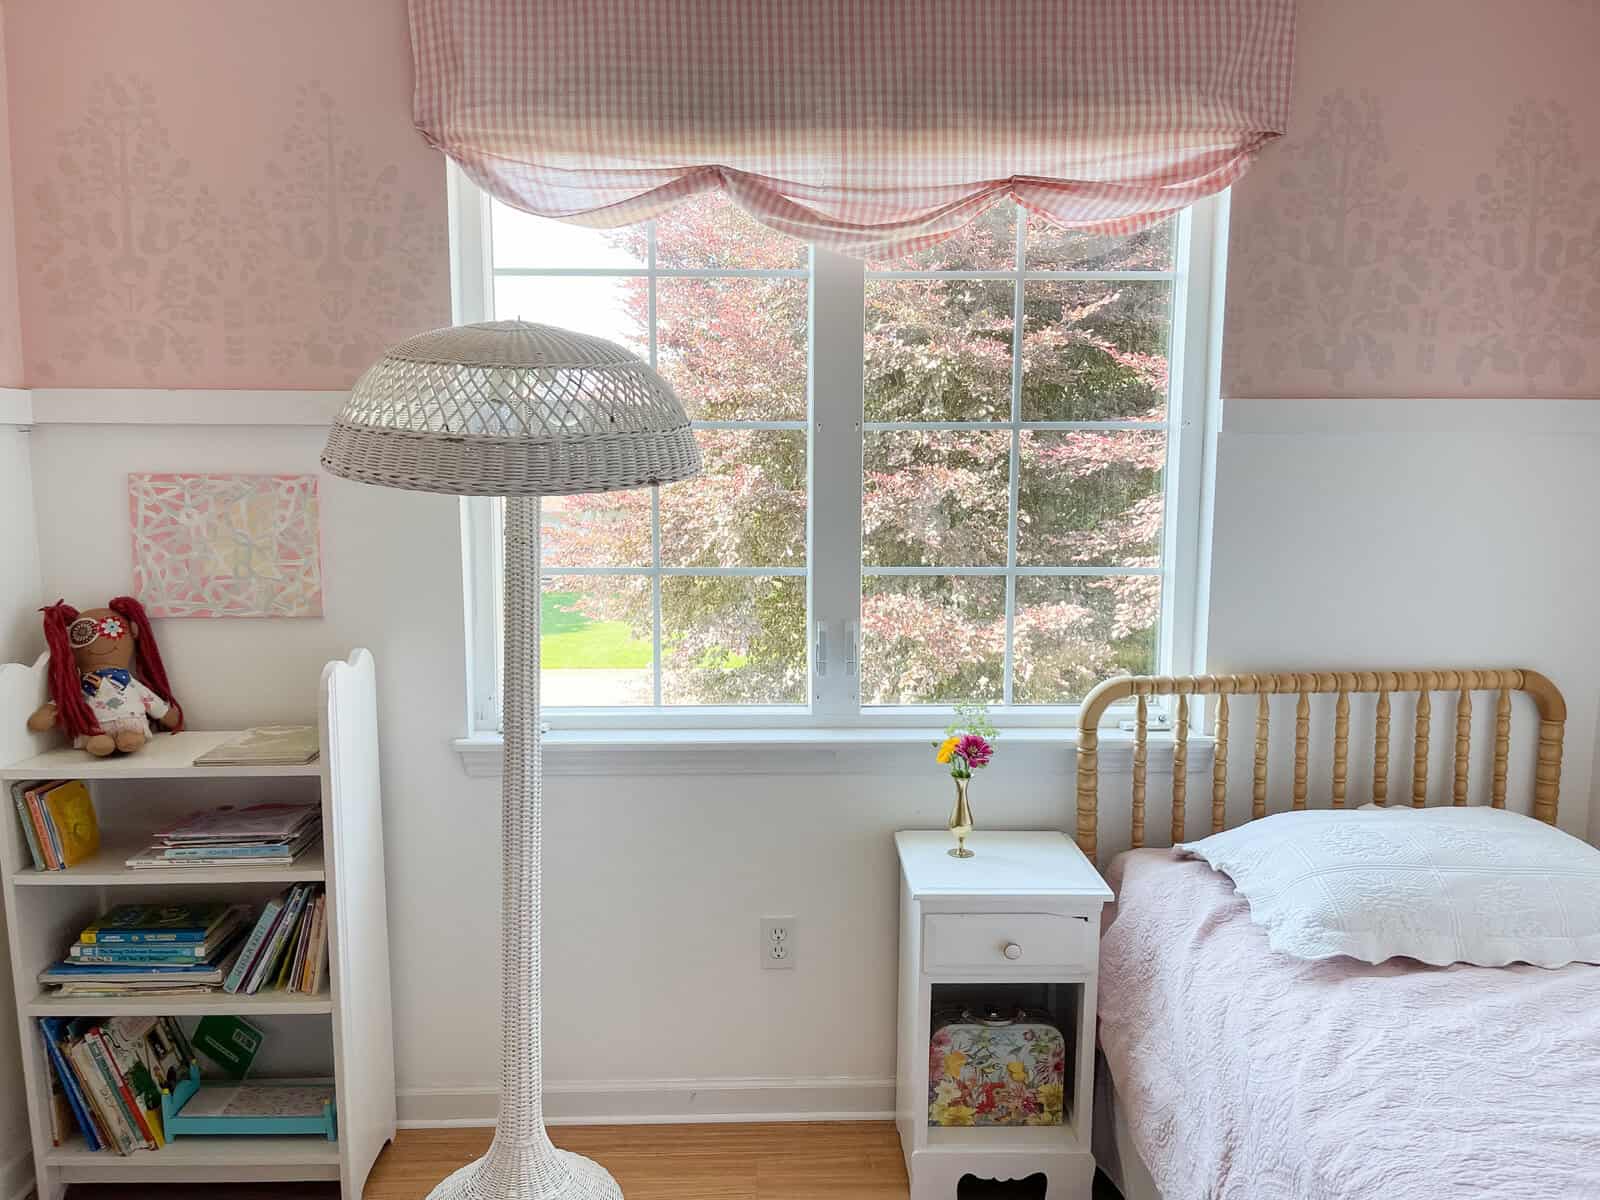
I’m pleased with how this stencil project turned out. It’s a nice addition to our home that’s very budget friendly. Most importantly Grace Lynn loves her room change and it’s given her bedroom a much more mature feel which should suite her for years to come.
Have you ever tried stenciling?
There are more stencil than you can imagine and by hacking a stencil you can customize it to your own personal style and needs. Let me know in the comments if you would try it in your home.

MORE BUDGET FRIENDLY DIY INSPIRATION
Pin It & Save It








This came out very nice. The tone on tone was a great idea.
Thanks Lorena! I think the tone on tone is my favorite part.