This week we’ve been diligently working on the music room and with great results.
The plywood plank floors are in and they look incredible. It’s a very cost efficient flooring option and aside from a few tricky cuts, straight forward in it’s installation.
Budget-Friendly Fireplace Refresh with Paint and DIY Bricks
Creating a beautiful new look to your fireplace can be done with a small investment of money and a weekend of your time.
Let me show you how we achieved a brand new fireplace using only paint, clay and a little spackle.
How to DIY a low cost fireplace transformation.
Our fireplace surround had fallen on hard times.
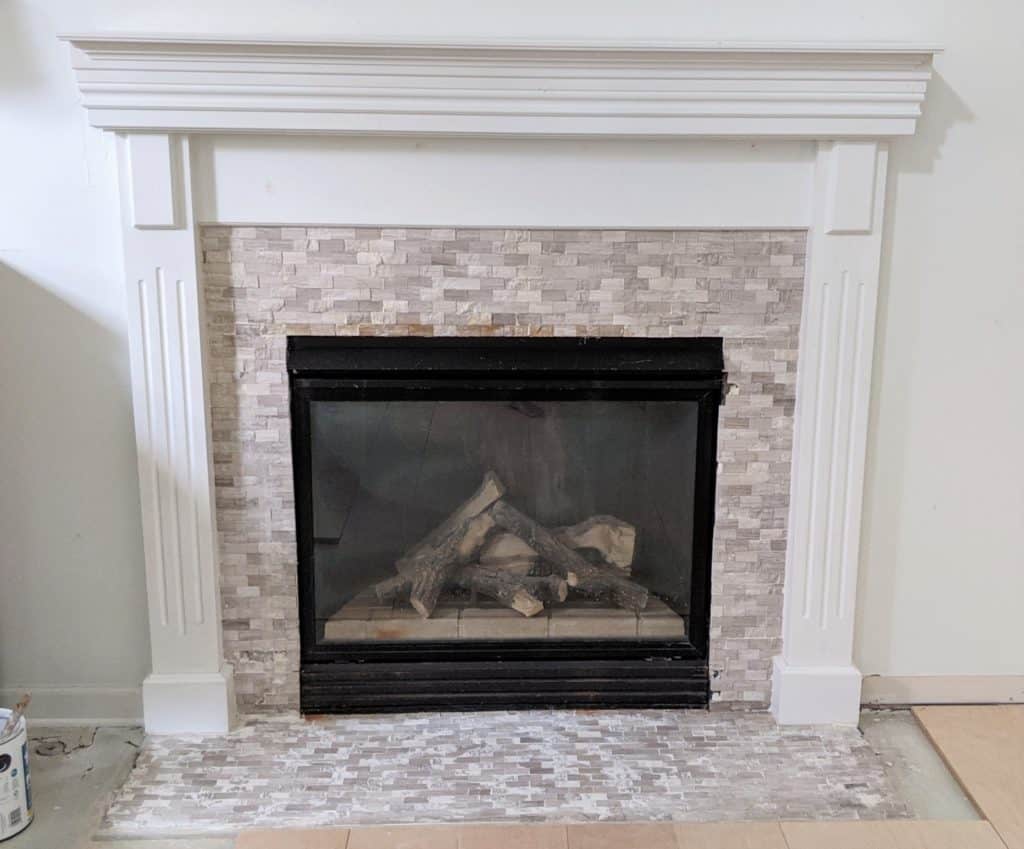
Cue sad music! About seven years ago the boys and I put in this tile surround, but it was no longer looking it’s best due to kids and water damage. The last several days we’ve been giving it a facelift.
1. Access What Be Saved
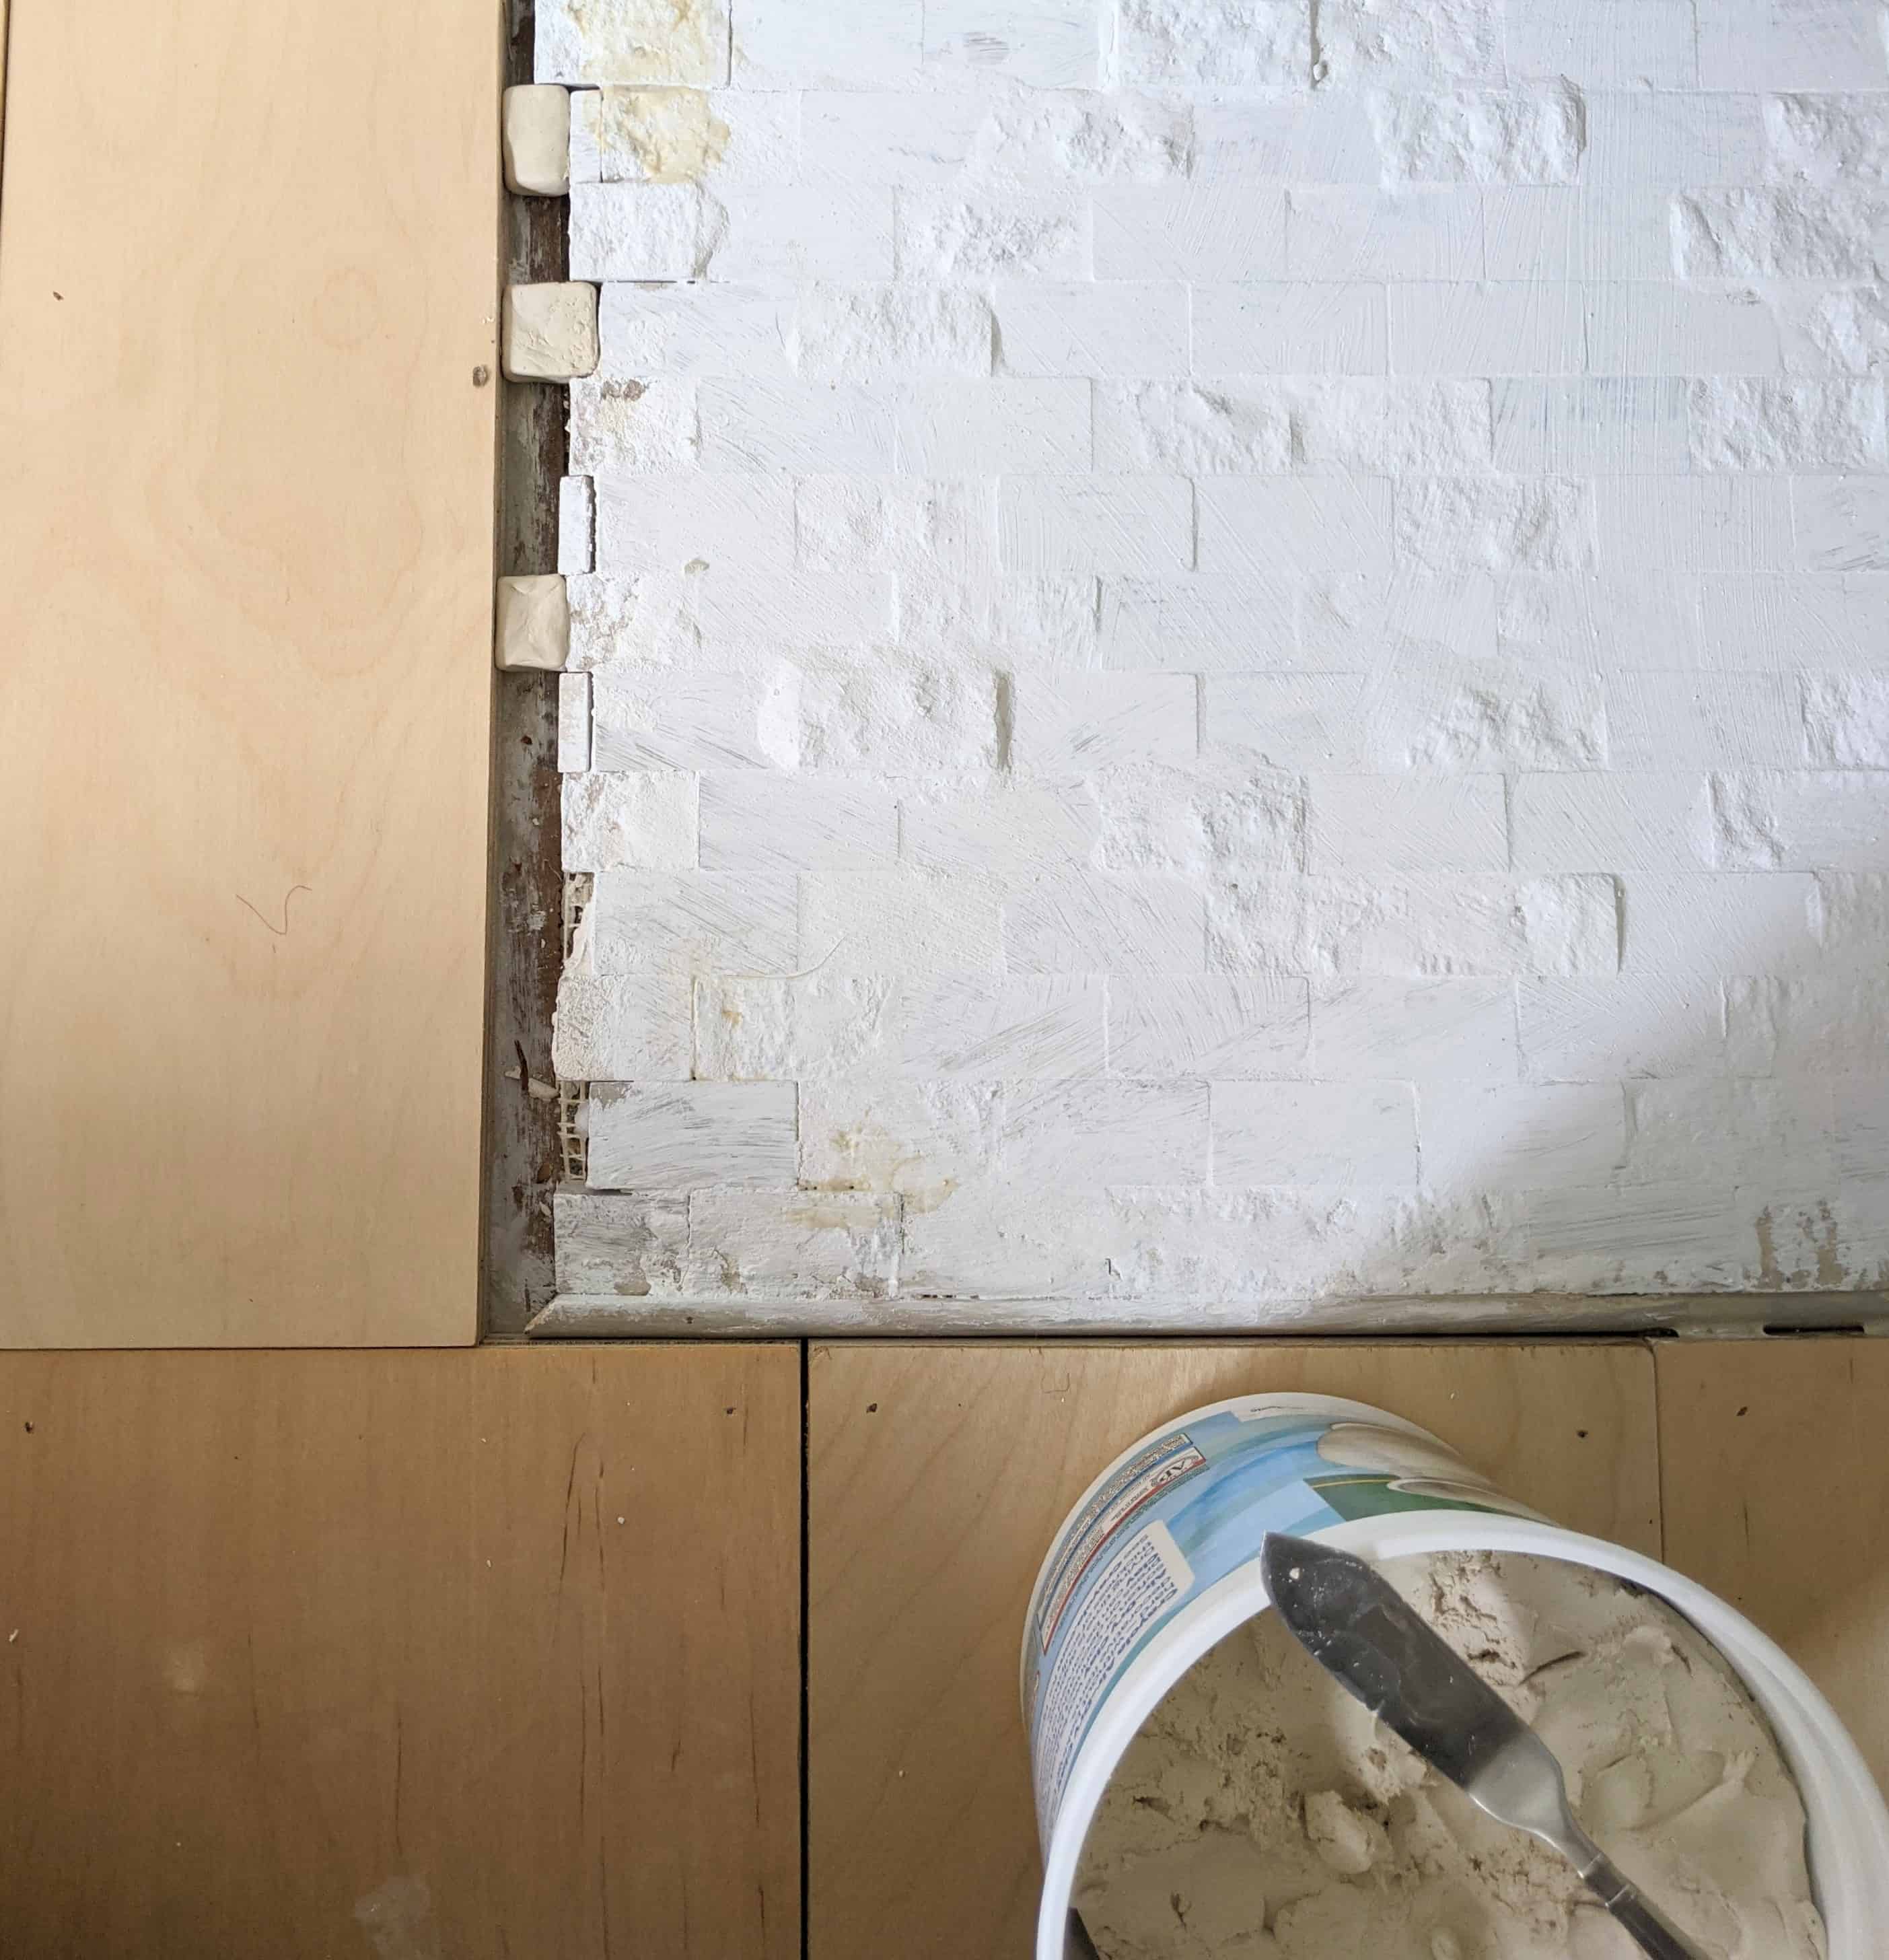
Our tile looked bad, but I knew it could be saved. I liked the smaller scale of the stone brick and it still functioned as it should.
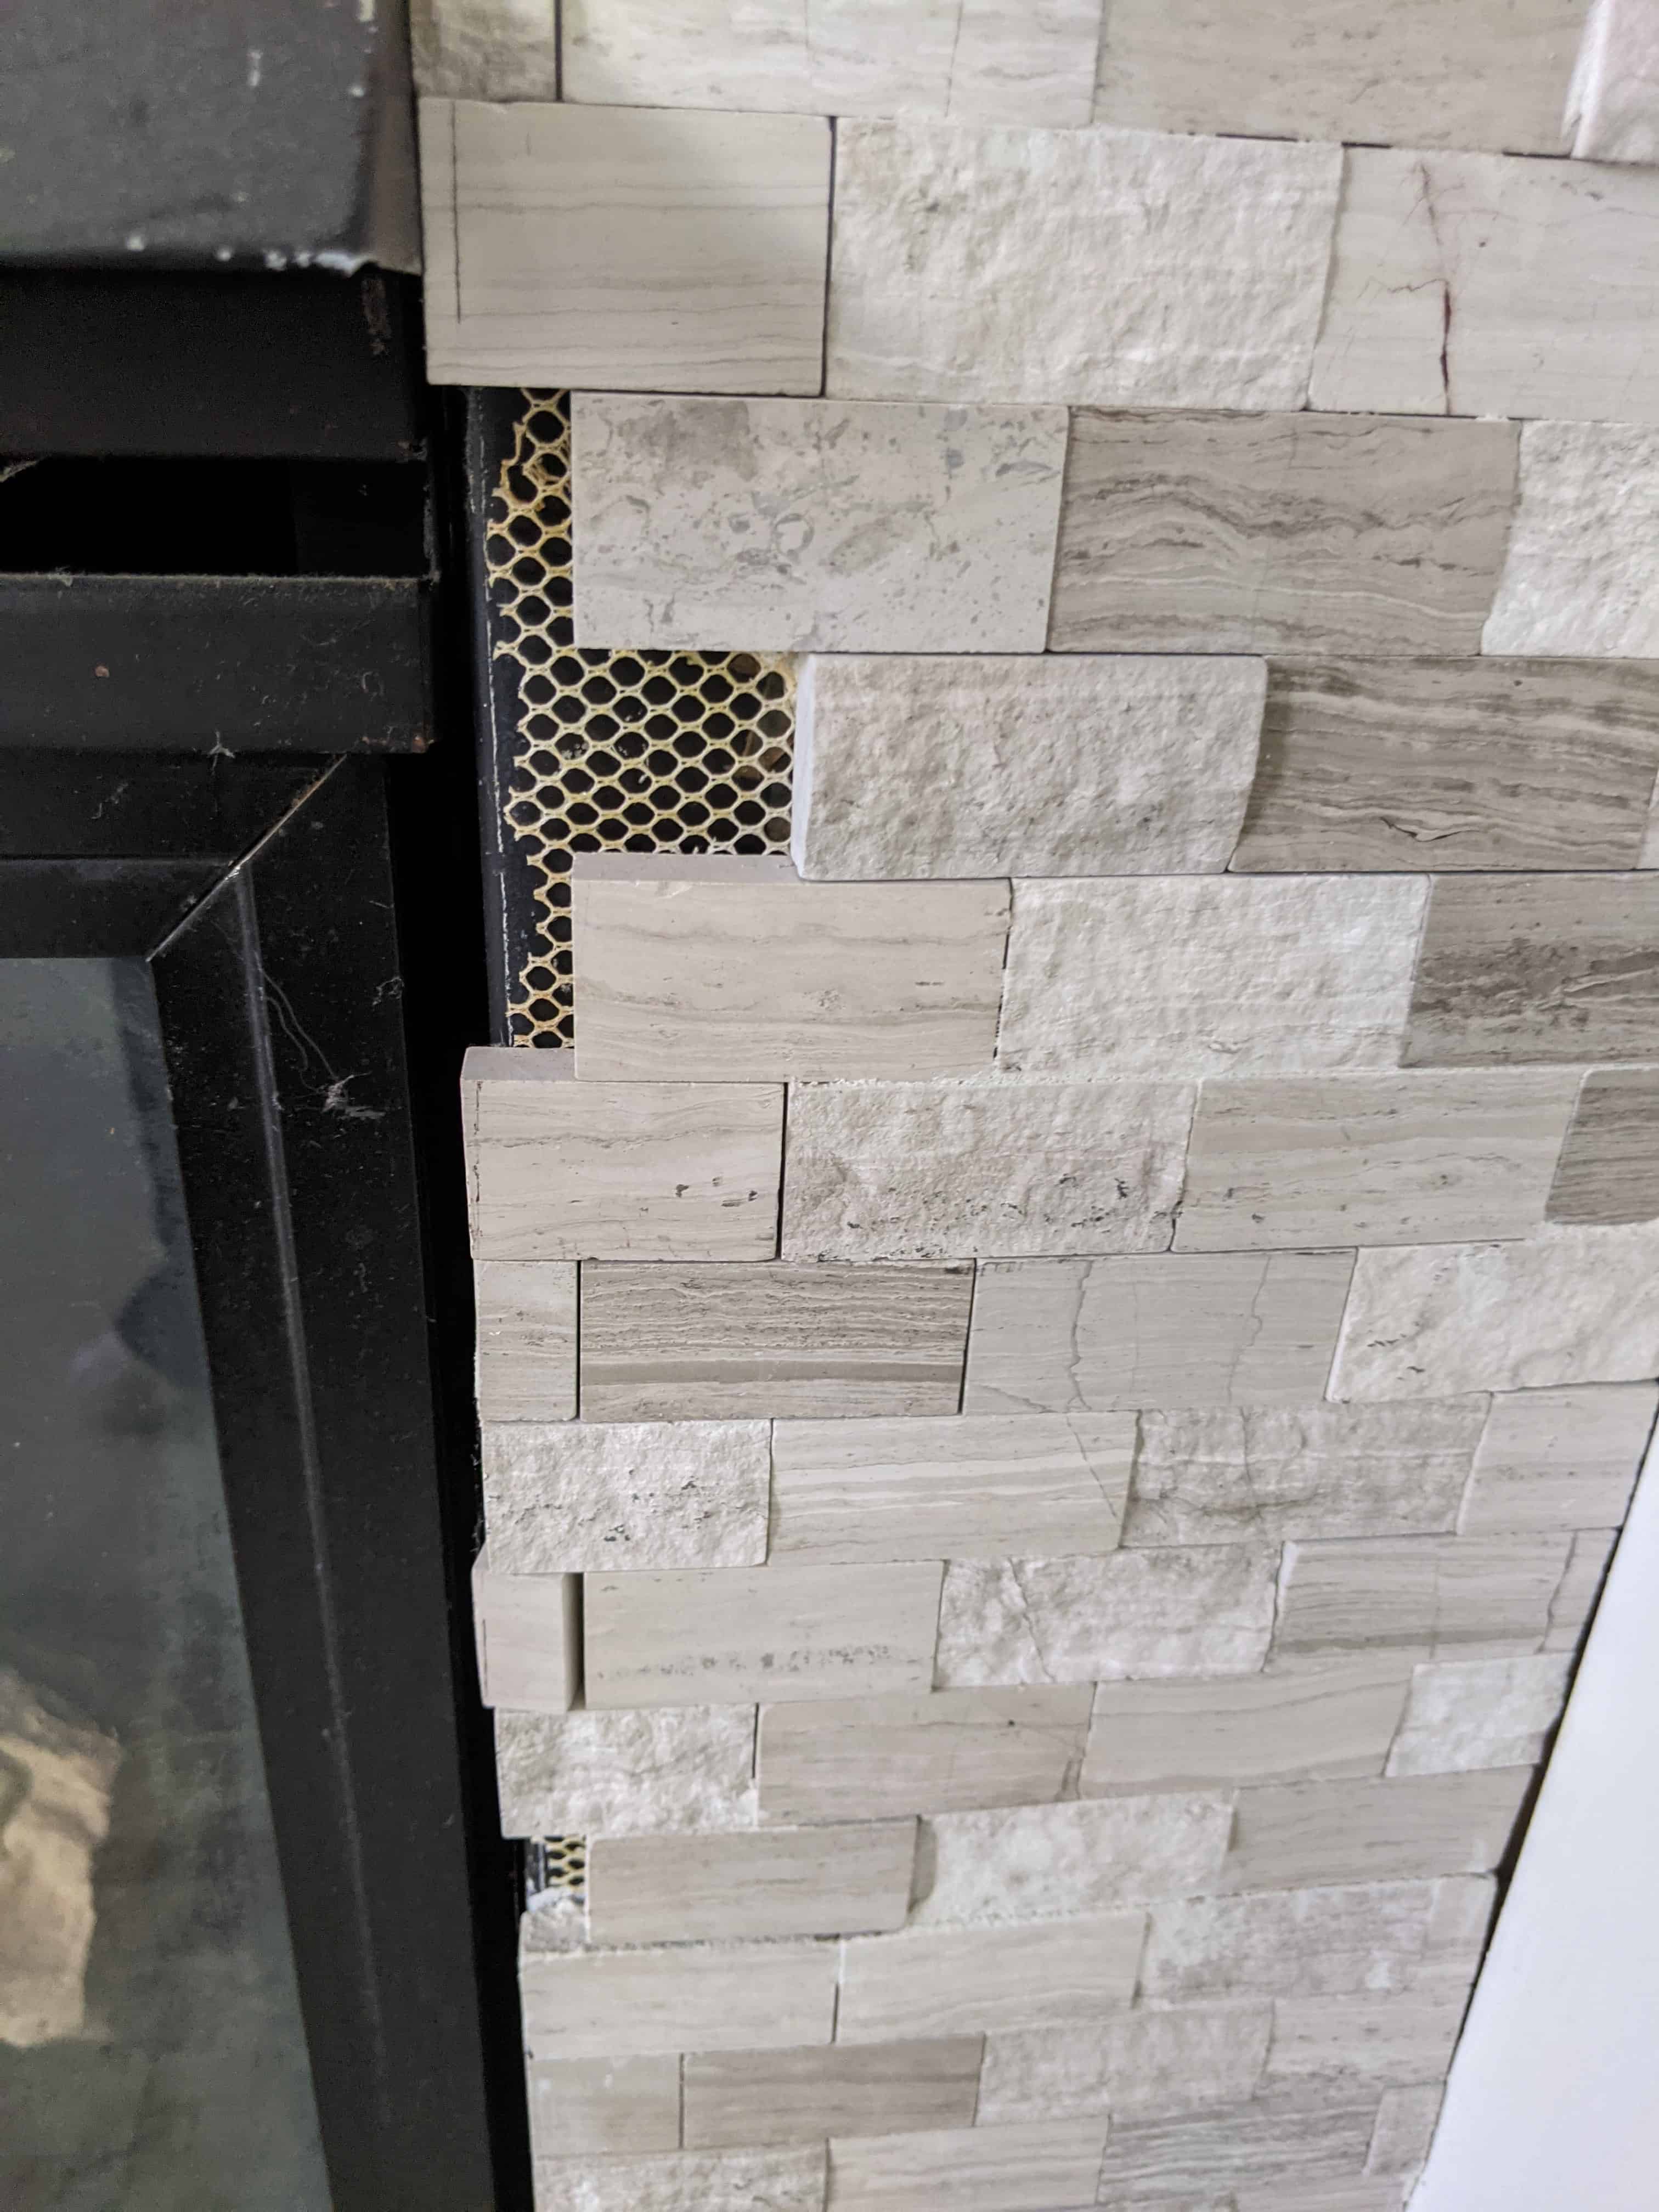
Back when our girls we’re really little they became fascinated with peeling the small stone pieces off of our fireplace surround.
They used them as props when they played with their Barbie dolls. They’re brilliant, I know. Very imaginative those two. I wasn’t able to find and return all the small brick shaped pieces to their original places so we’ve had several gaps in our surround ever since.
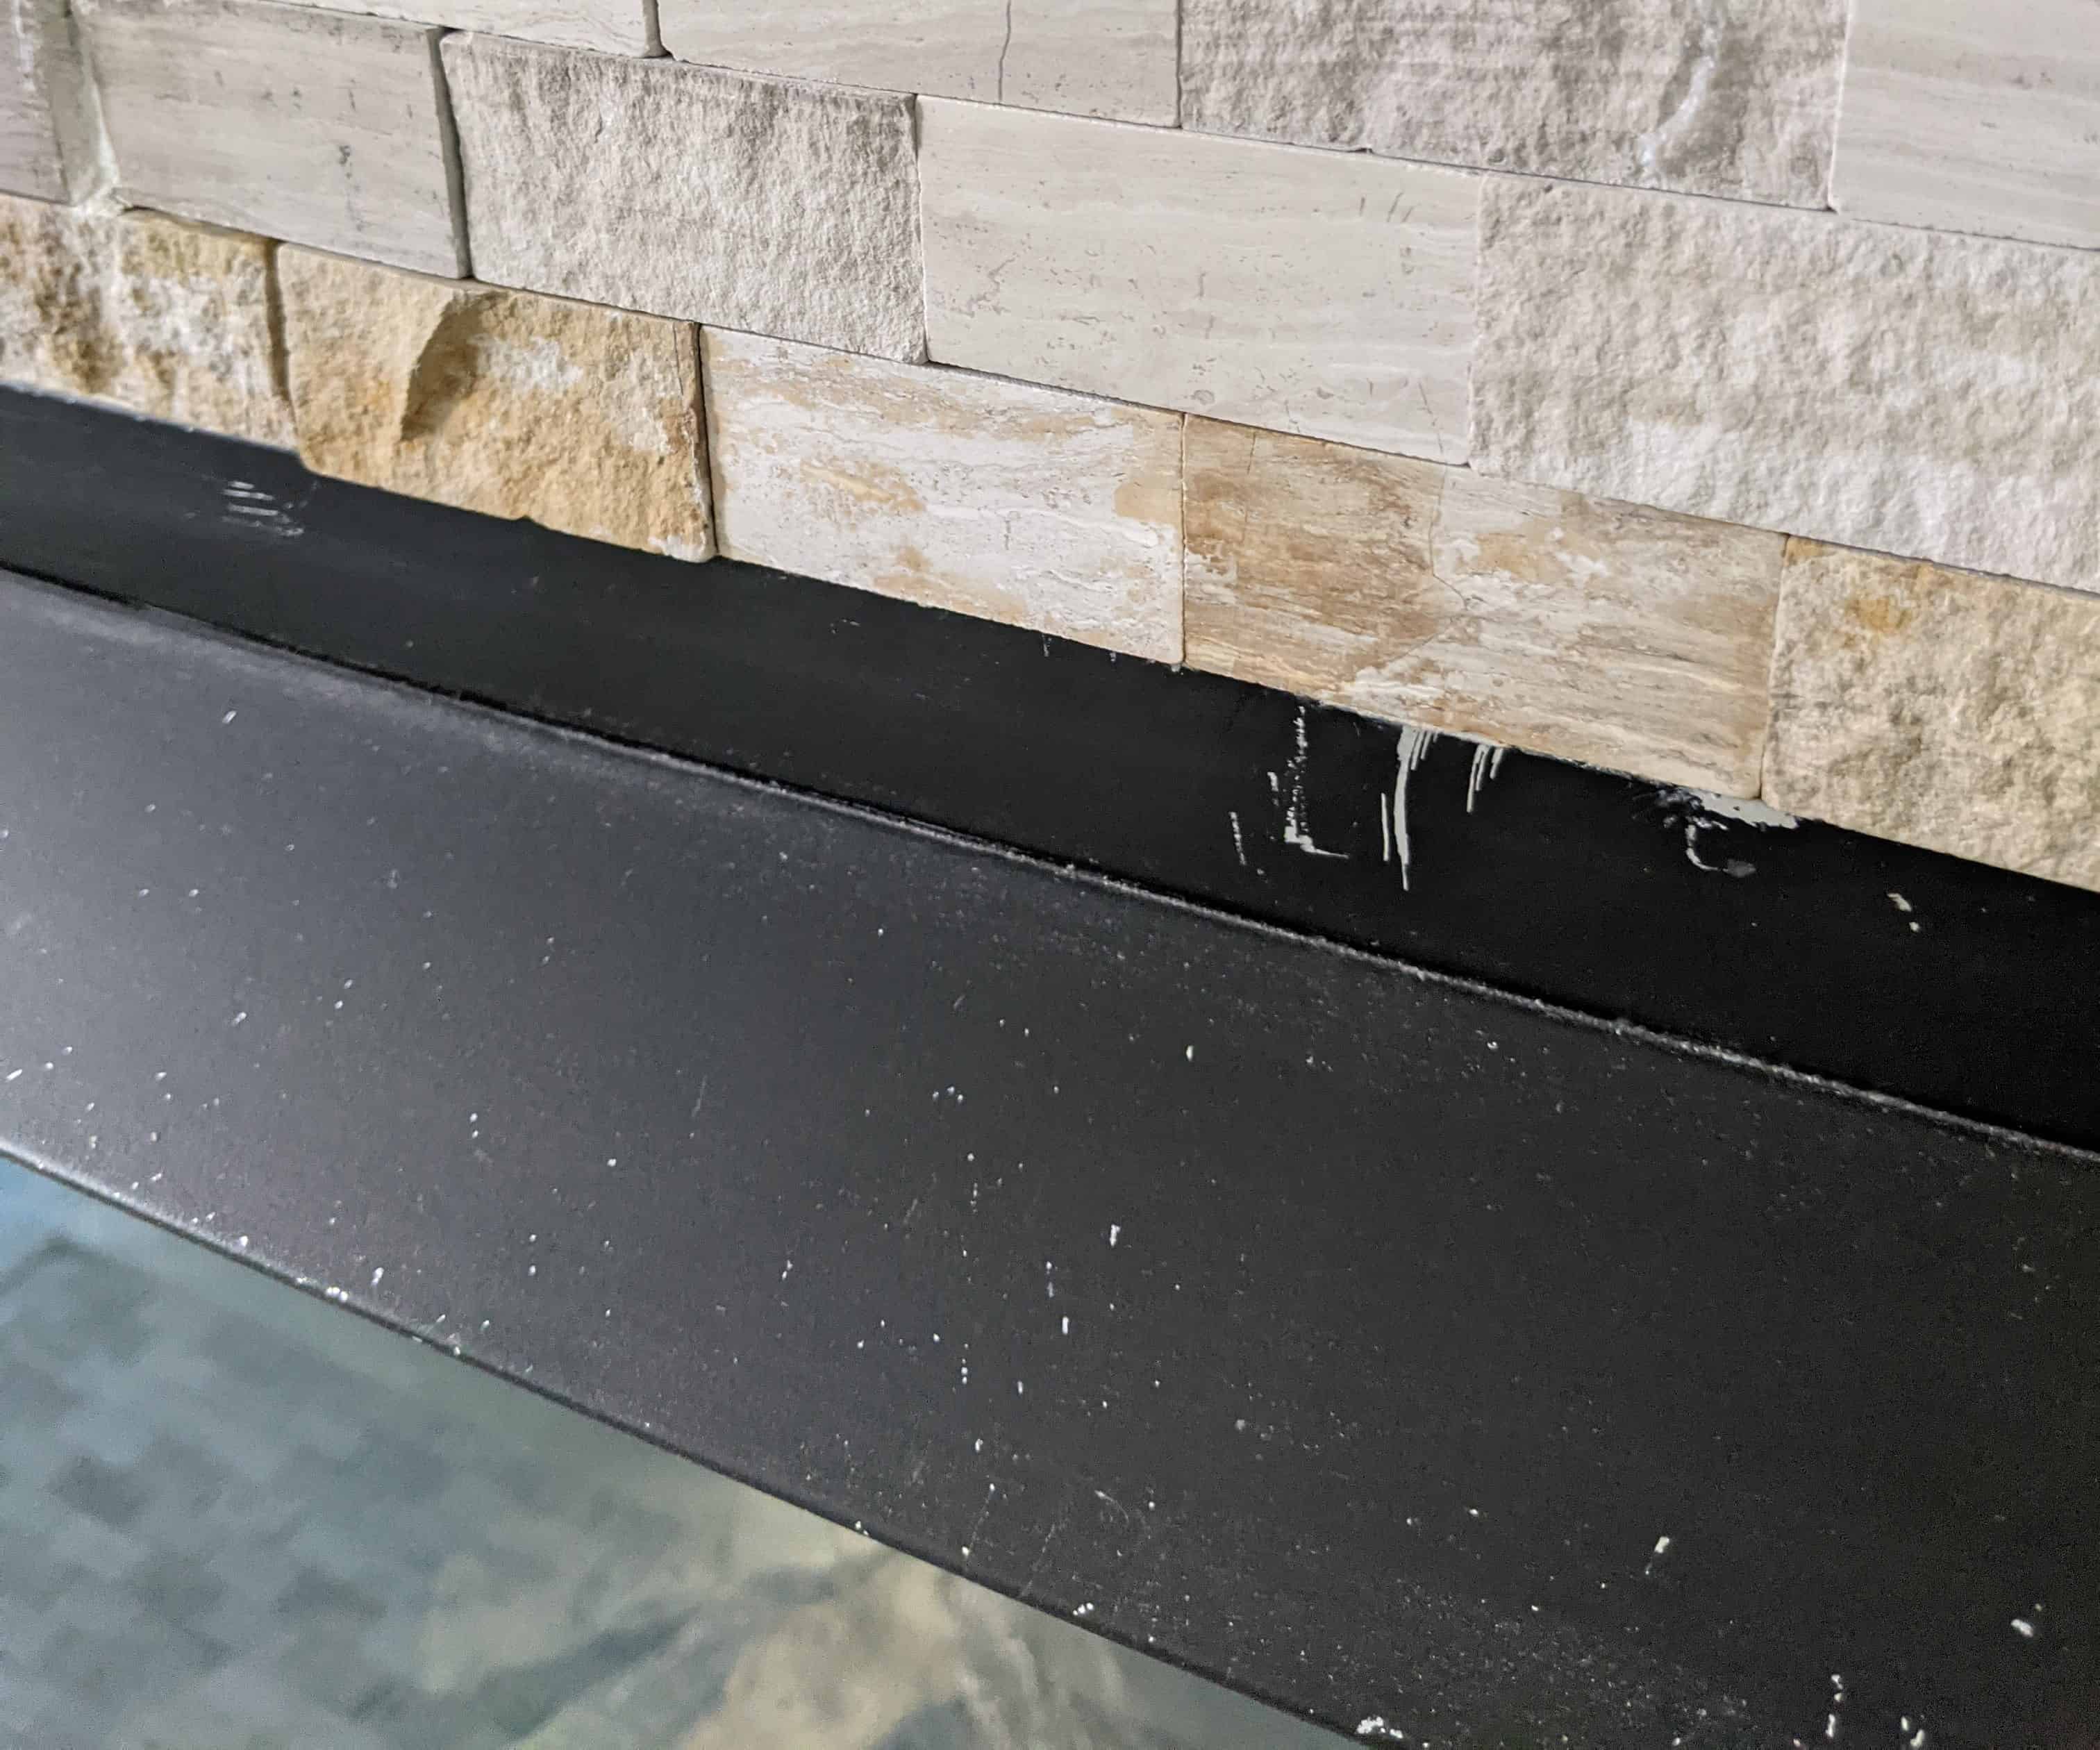
The fireplace also had a leak that we’ve since had repaired so a line of stones had rust stains that would not come out.
Both of these issue were not pretty to look at and lead me to think we should replace the surround with new tile.
2. Make Sustainable Renovation Choices
After thinking about it for a bit I decided not to replace them, but instead to give our fireplace a refresh and support sustainable design.
I like the small brick design and shape and if we tore out the stone it would feel too much like a waste of resources.
Also, my boys and I had put this surround in about 7 years ago, it’s a sweet memory and made me want to save these tiles.
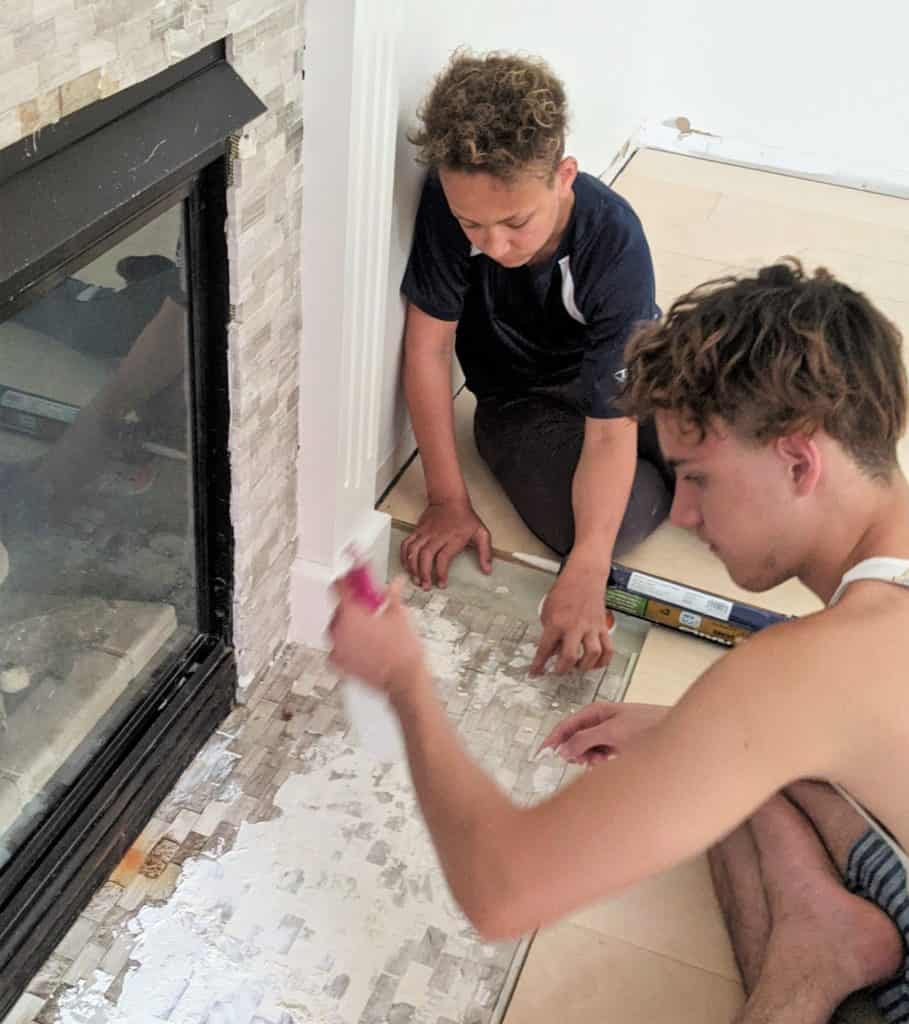
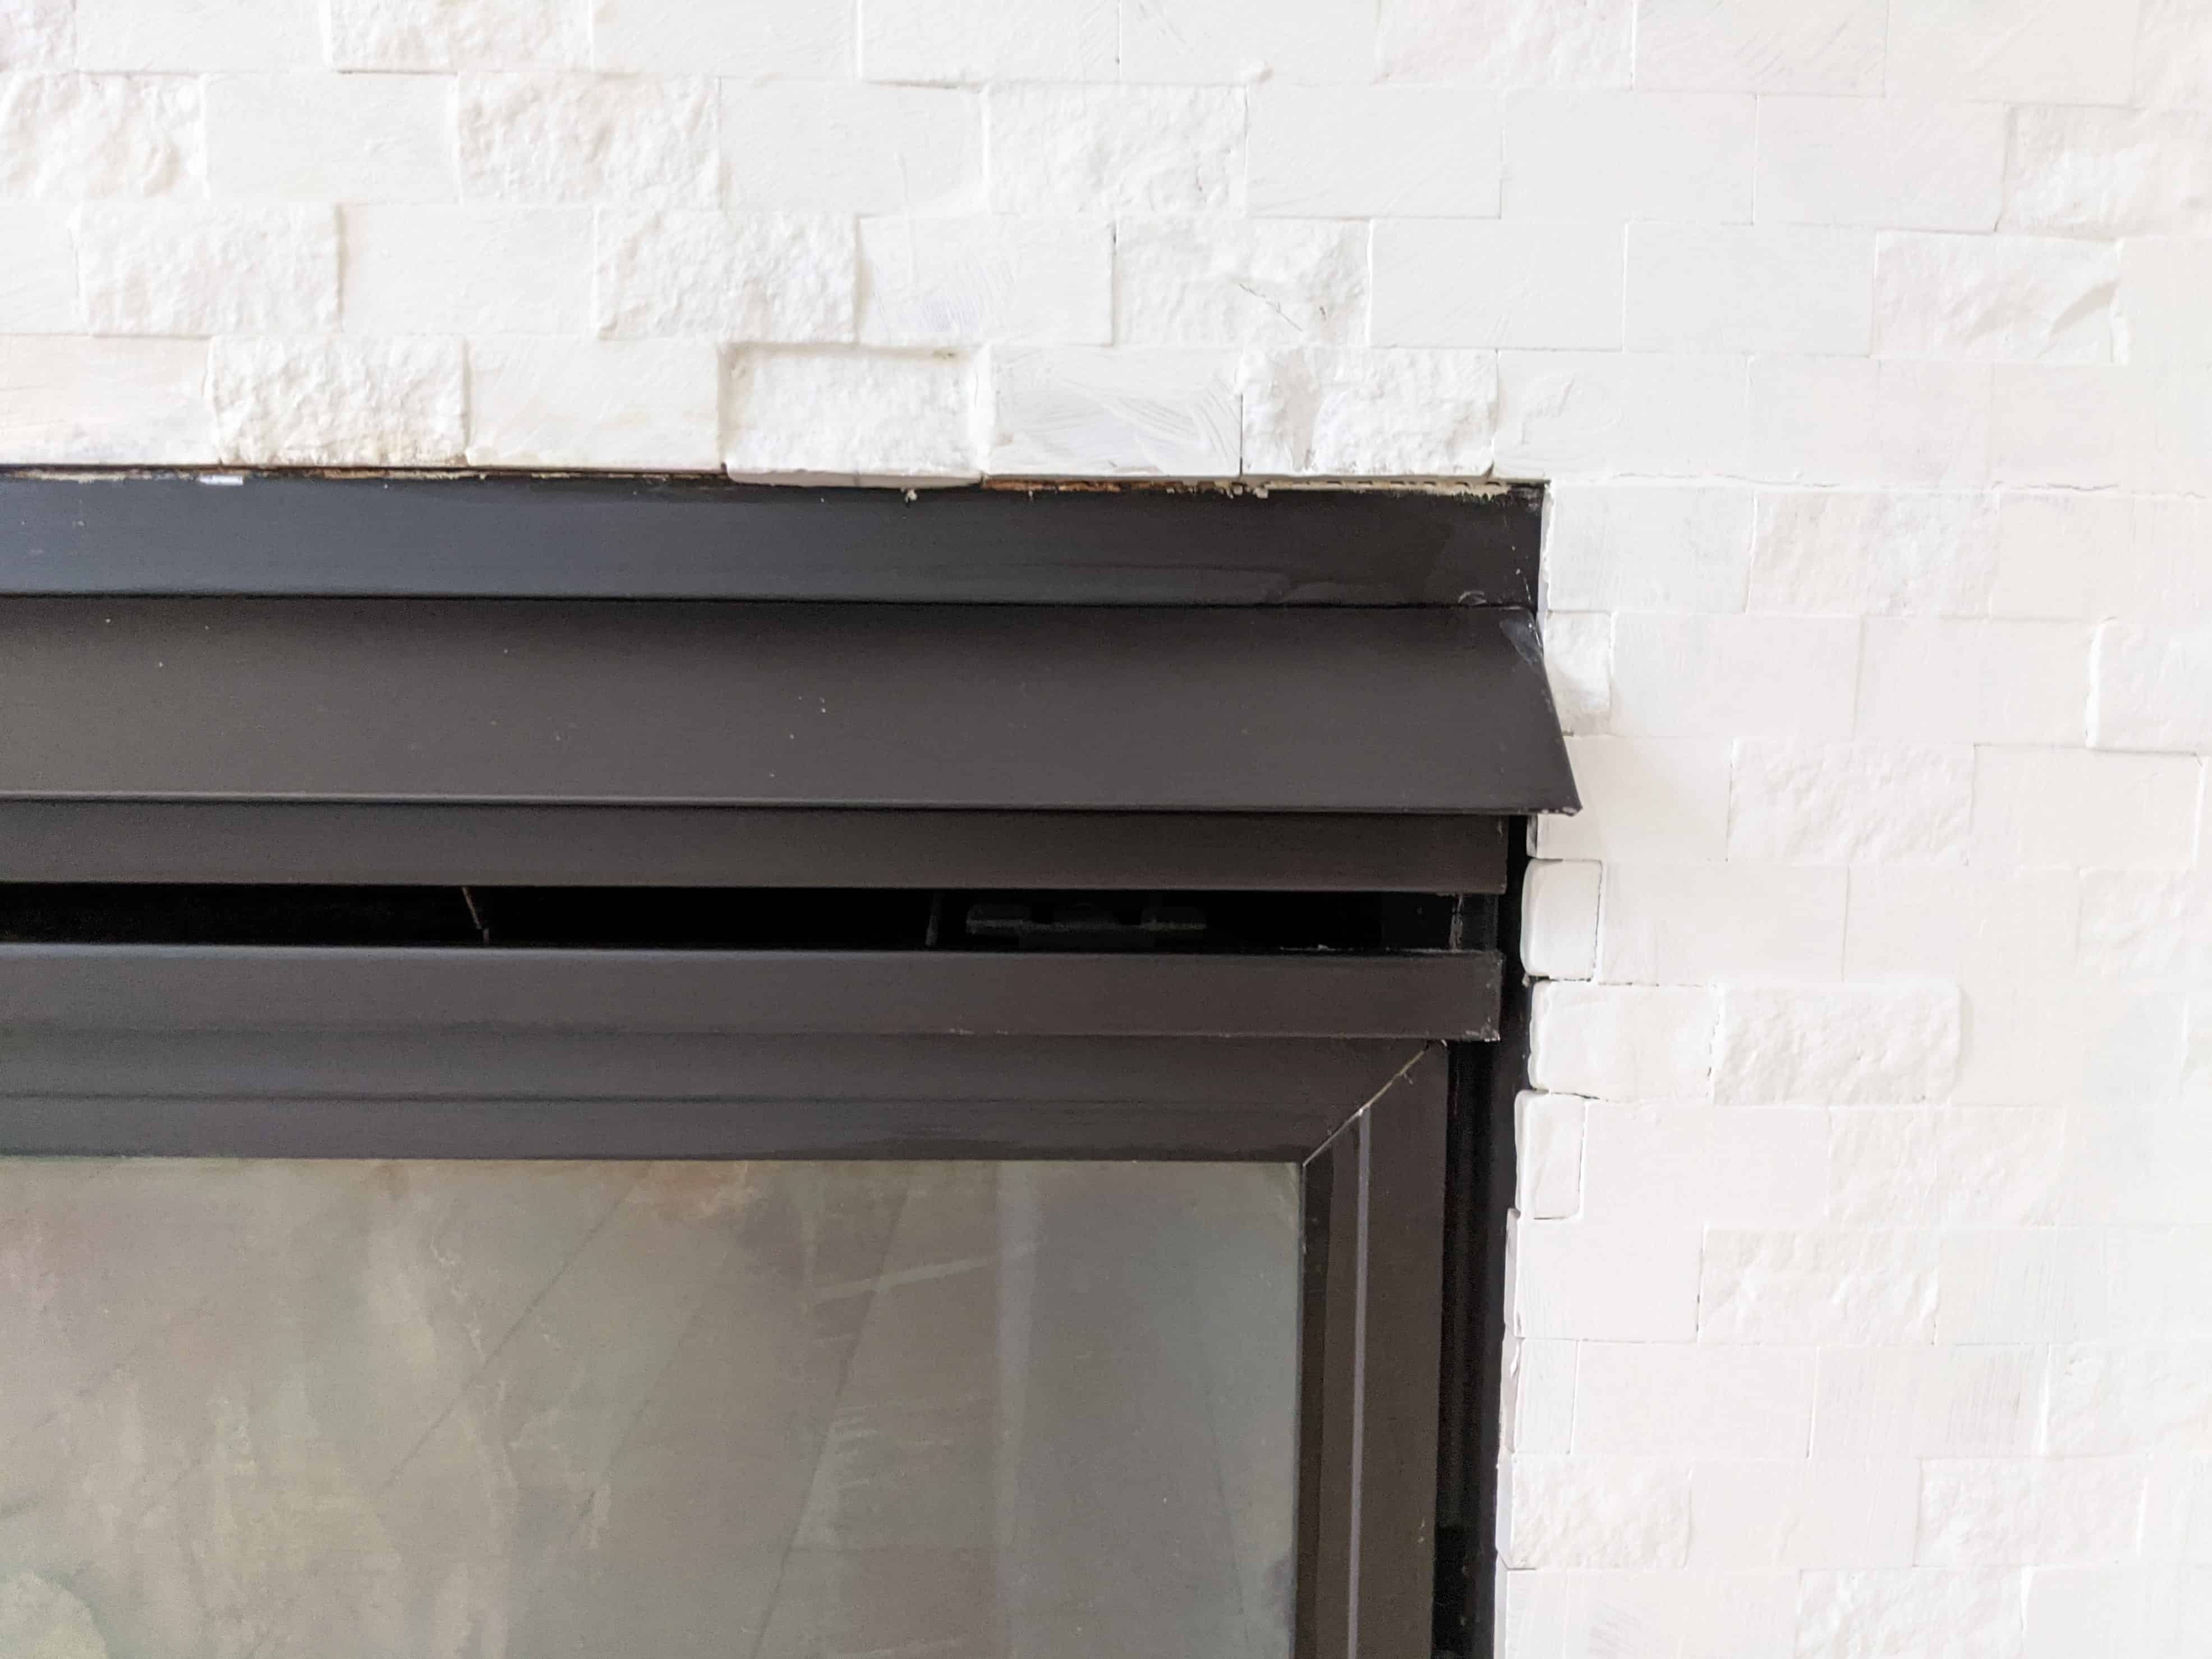
We got to work filling in the gaps and cracks of the aging surround with grout.
3. Make Your Own Bricks or Tile
Next step was to replace the missing brick tiles, but what to replace them with?
Those tiles had been lost long ago and Lowe’s no longer carried them.
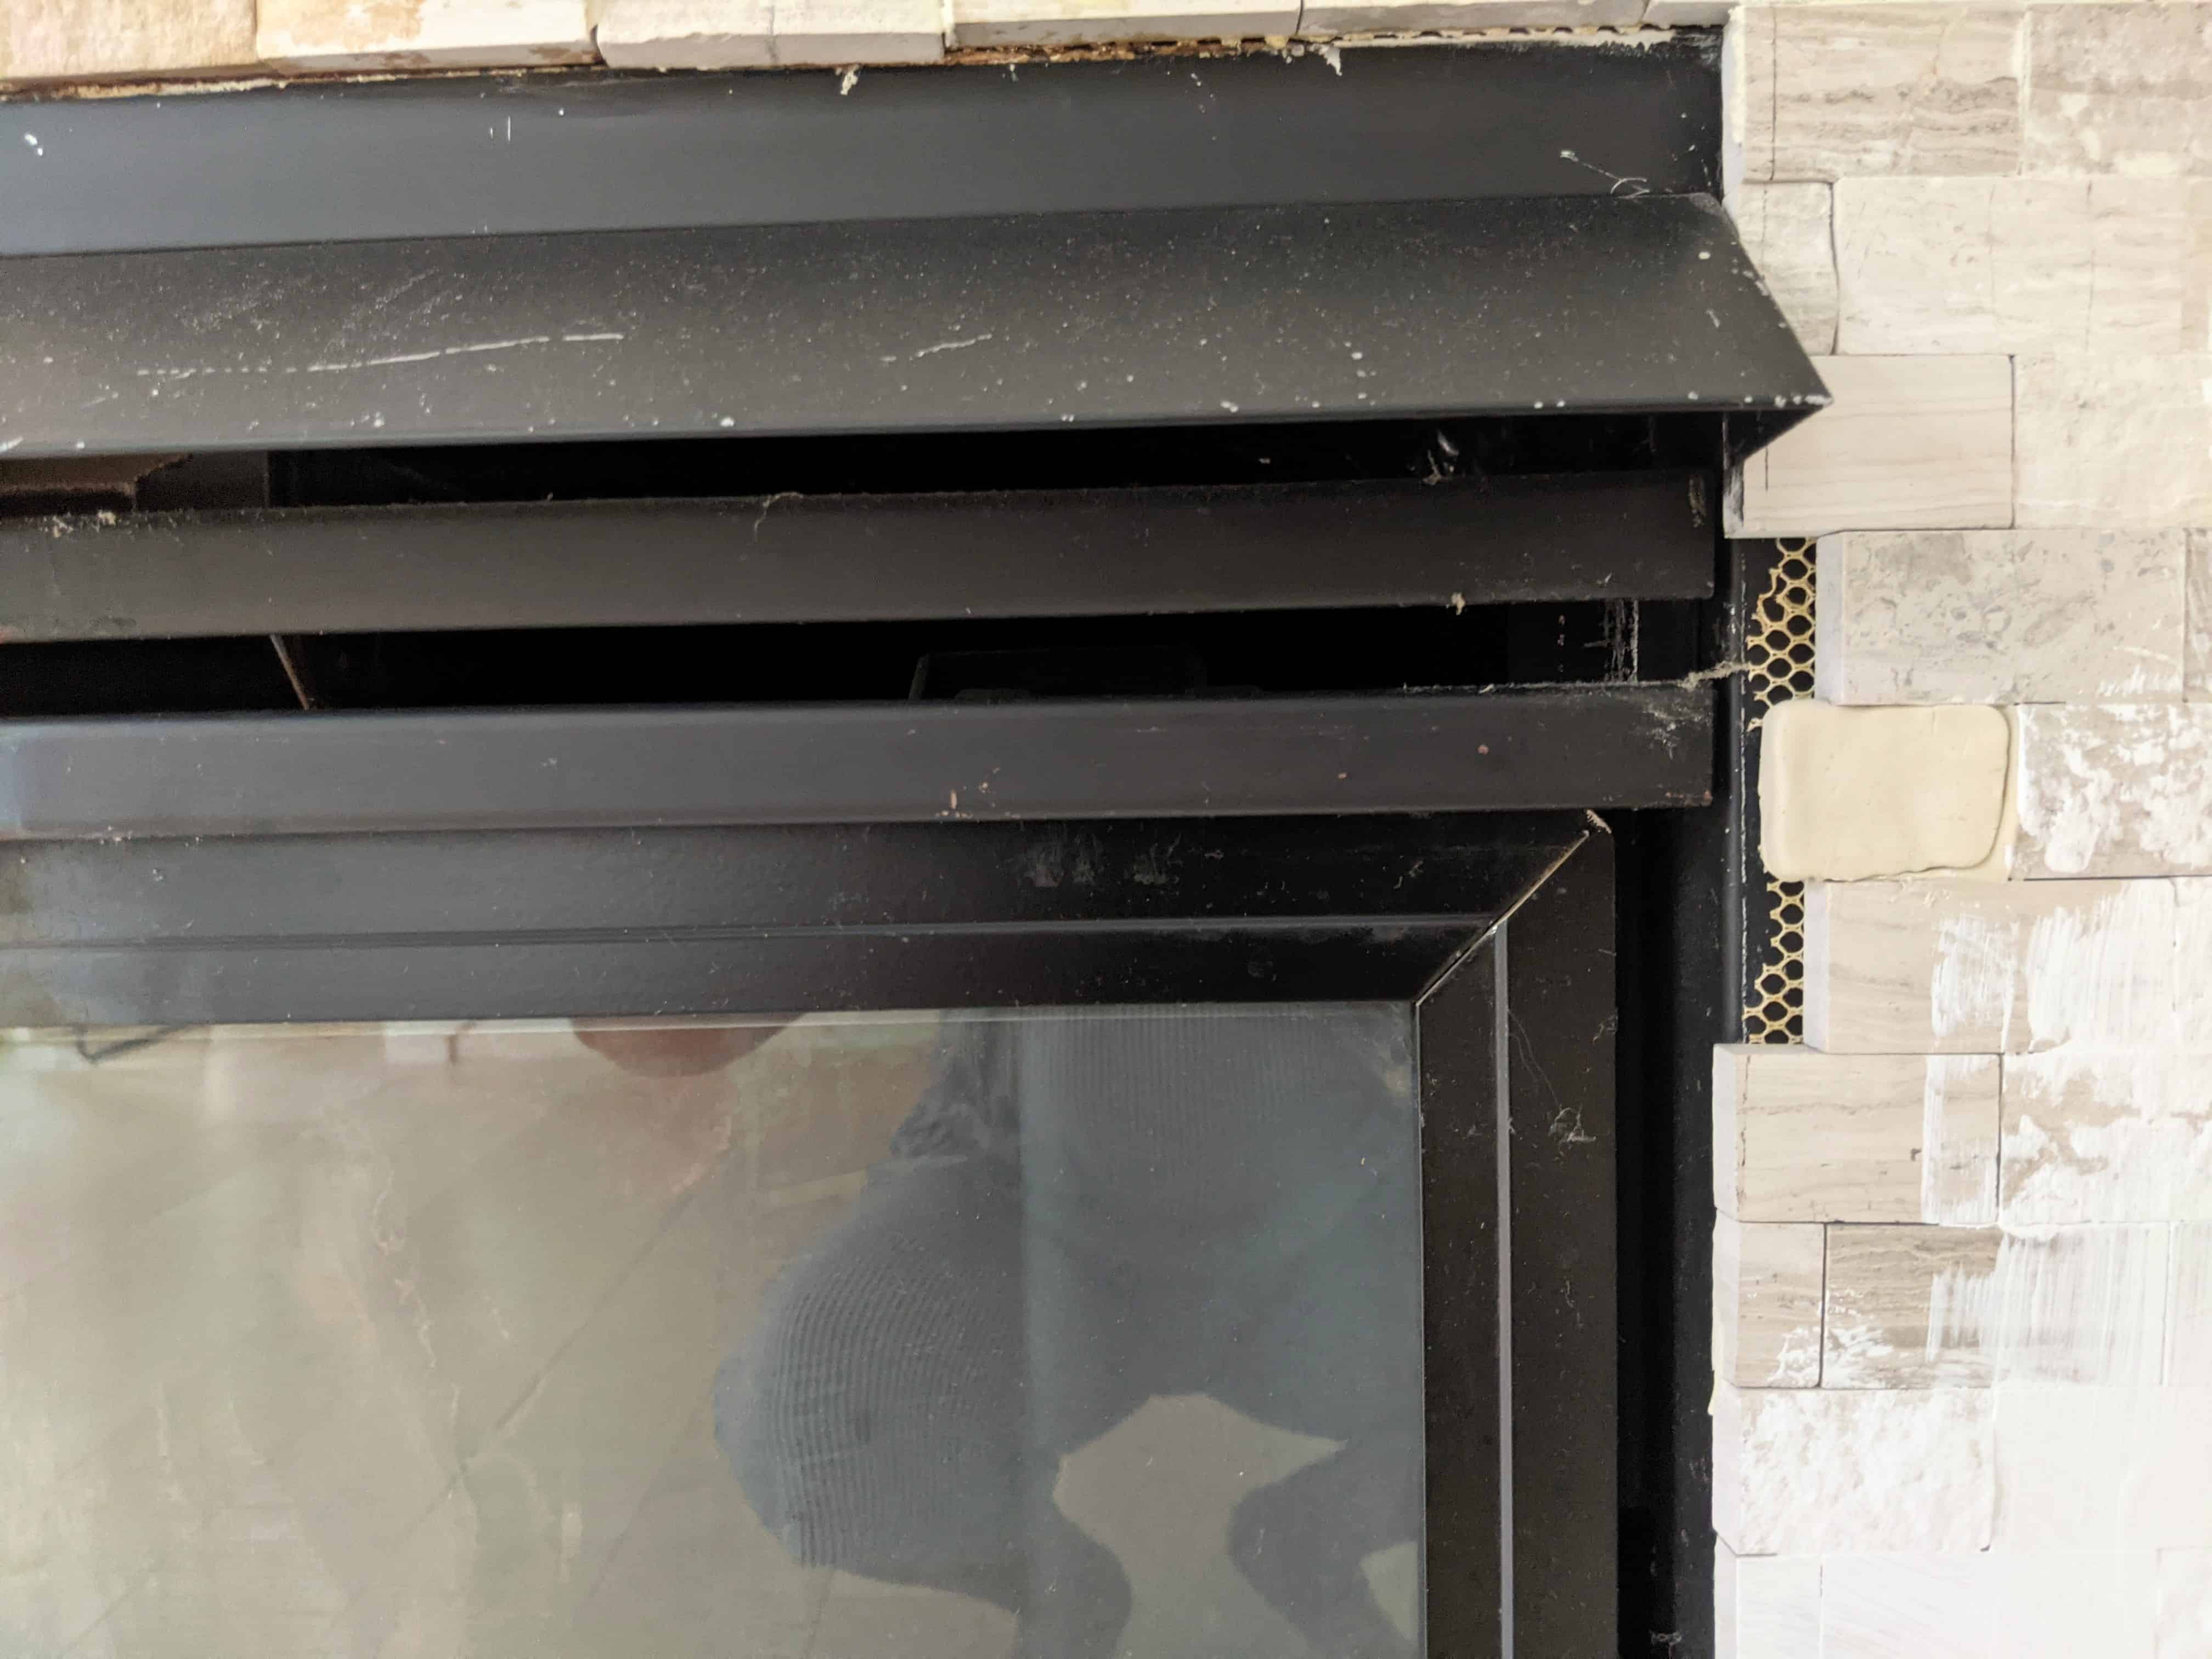
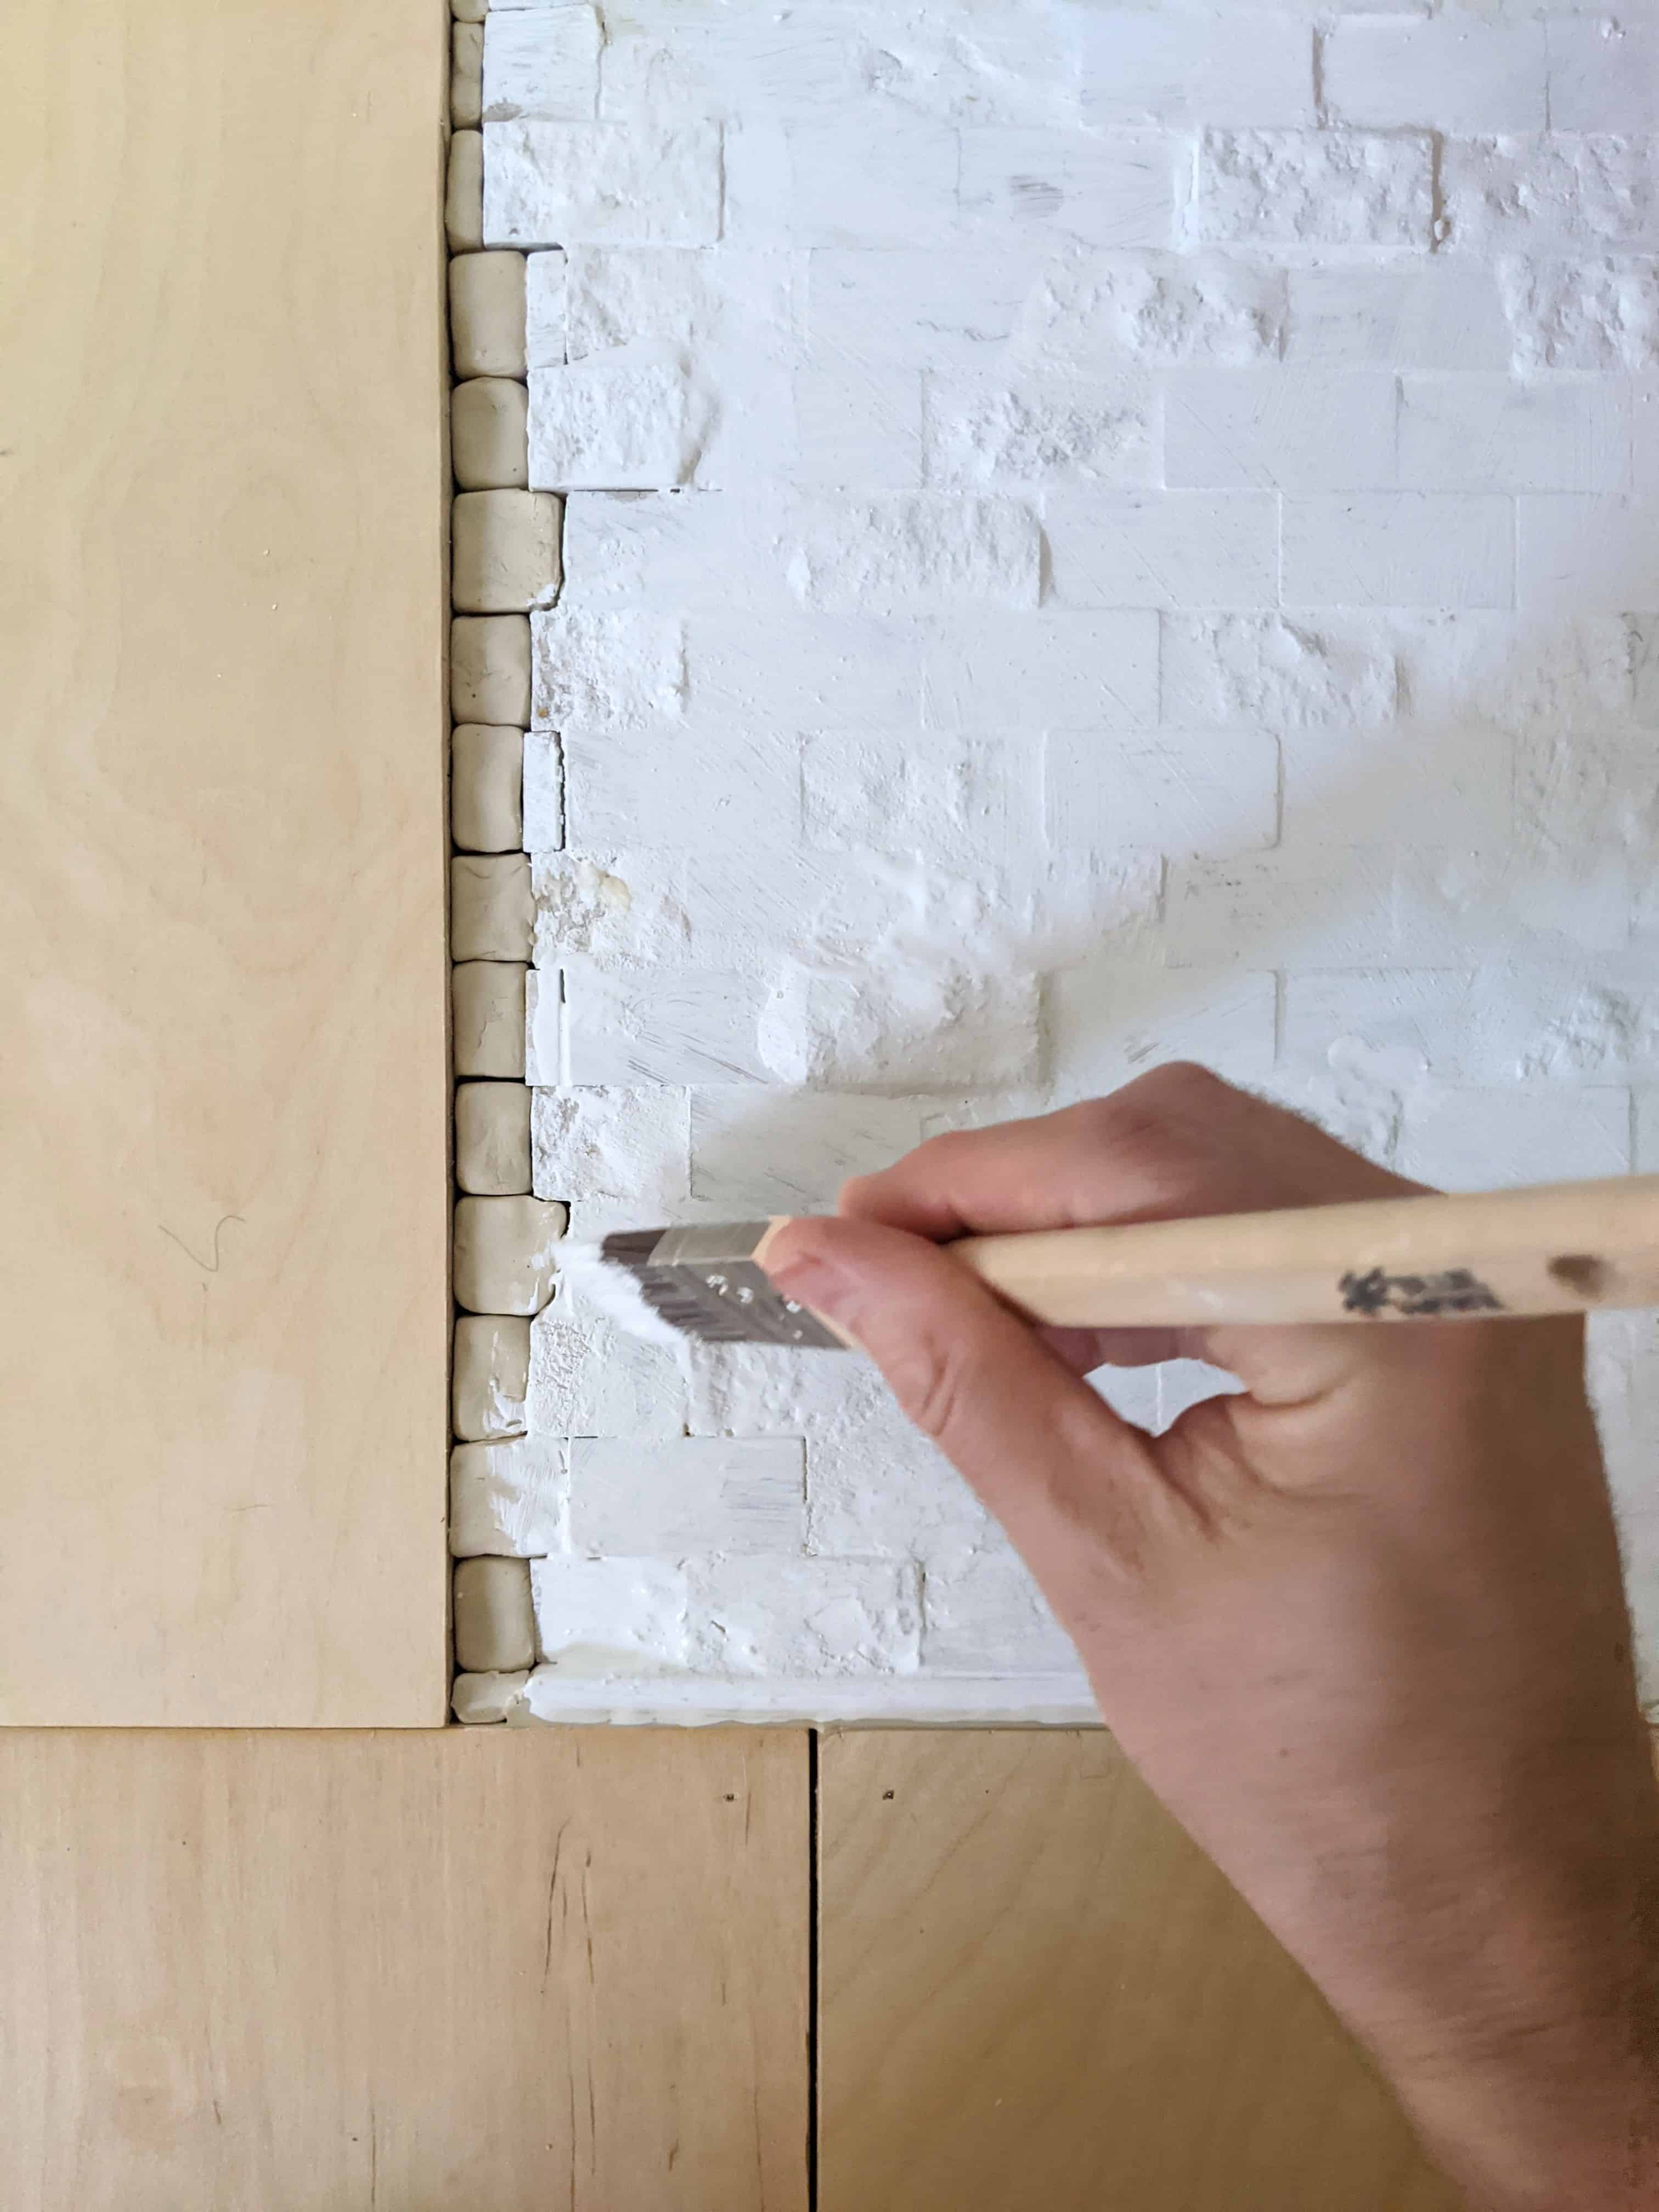
I decided to have our oldest daughter make custom brinks to replace the originals. It’s right in her wheel house since she’s a natural artist.
She loved doing the molding and perfectly shaped the bricks to fit each gap. Even if you’re not an artist forming bricks will bring out the kid in you. It’s s a doable and fun project.
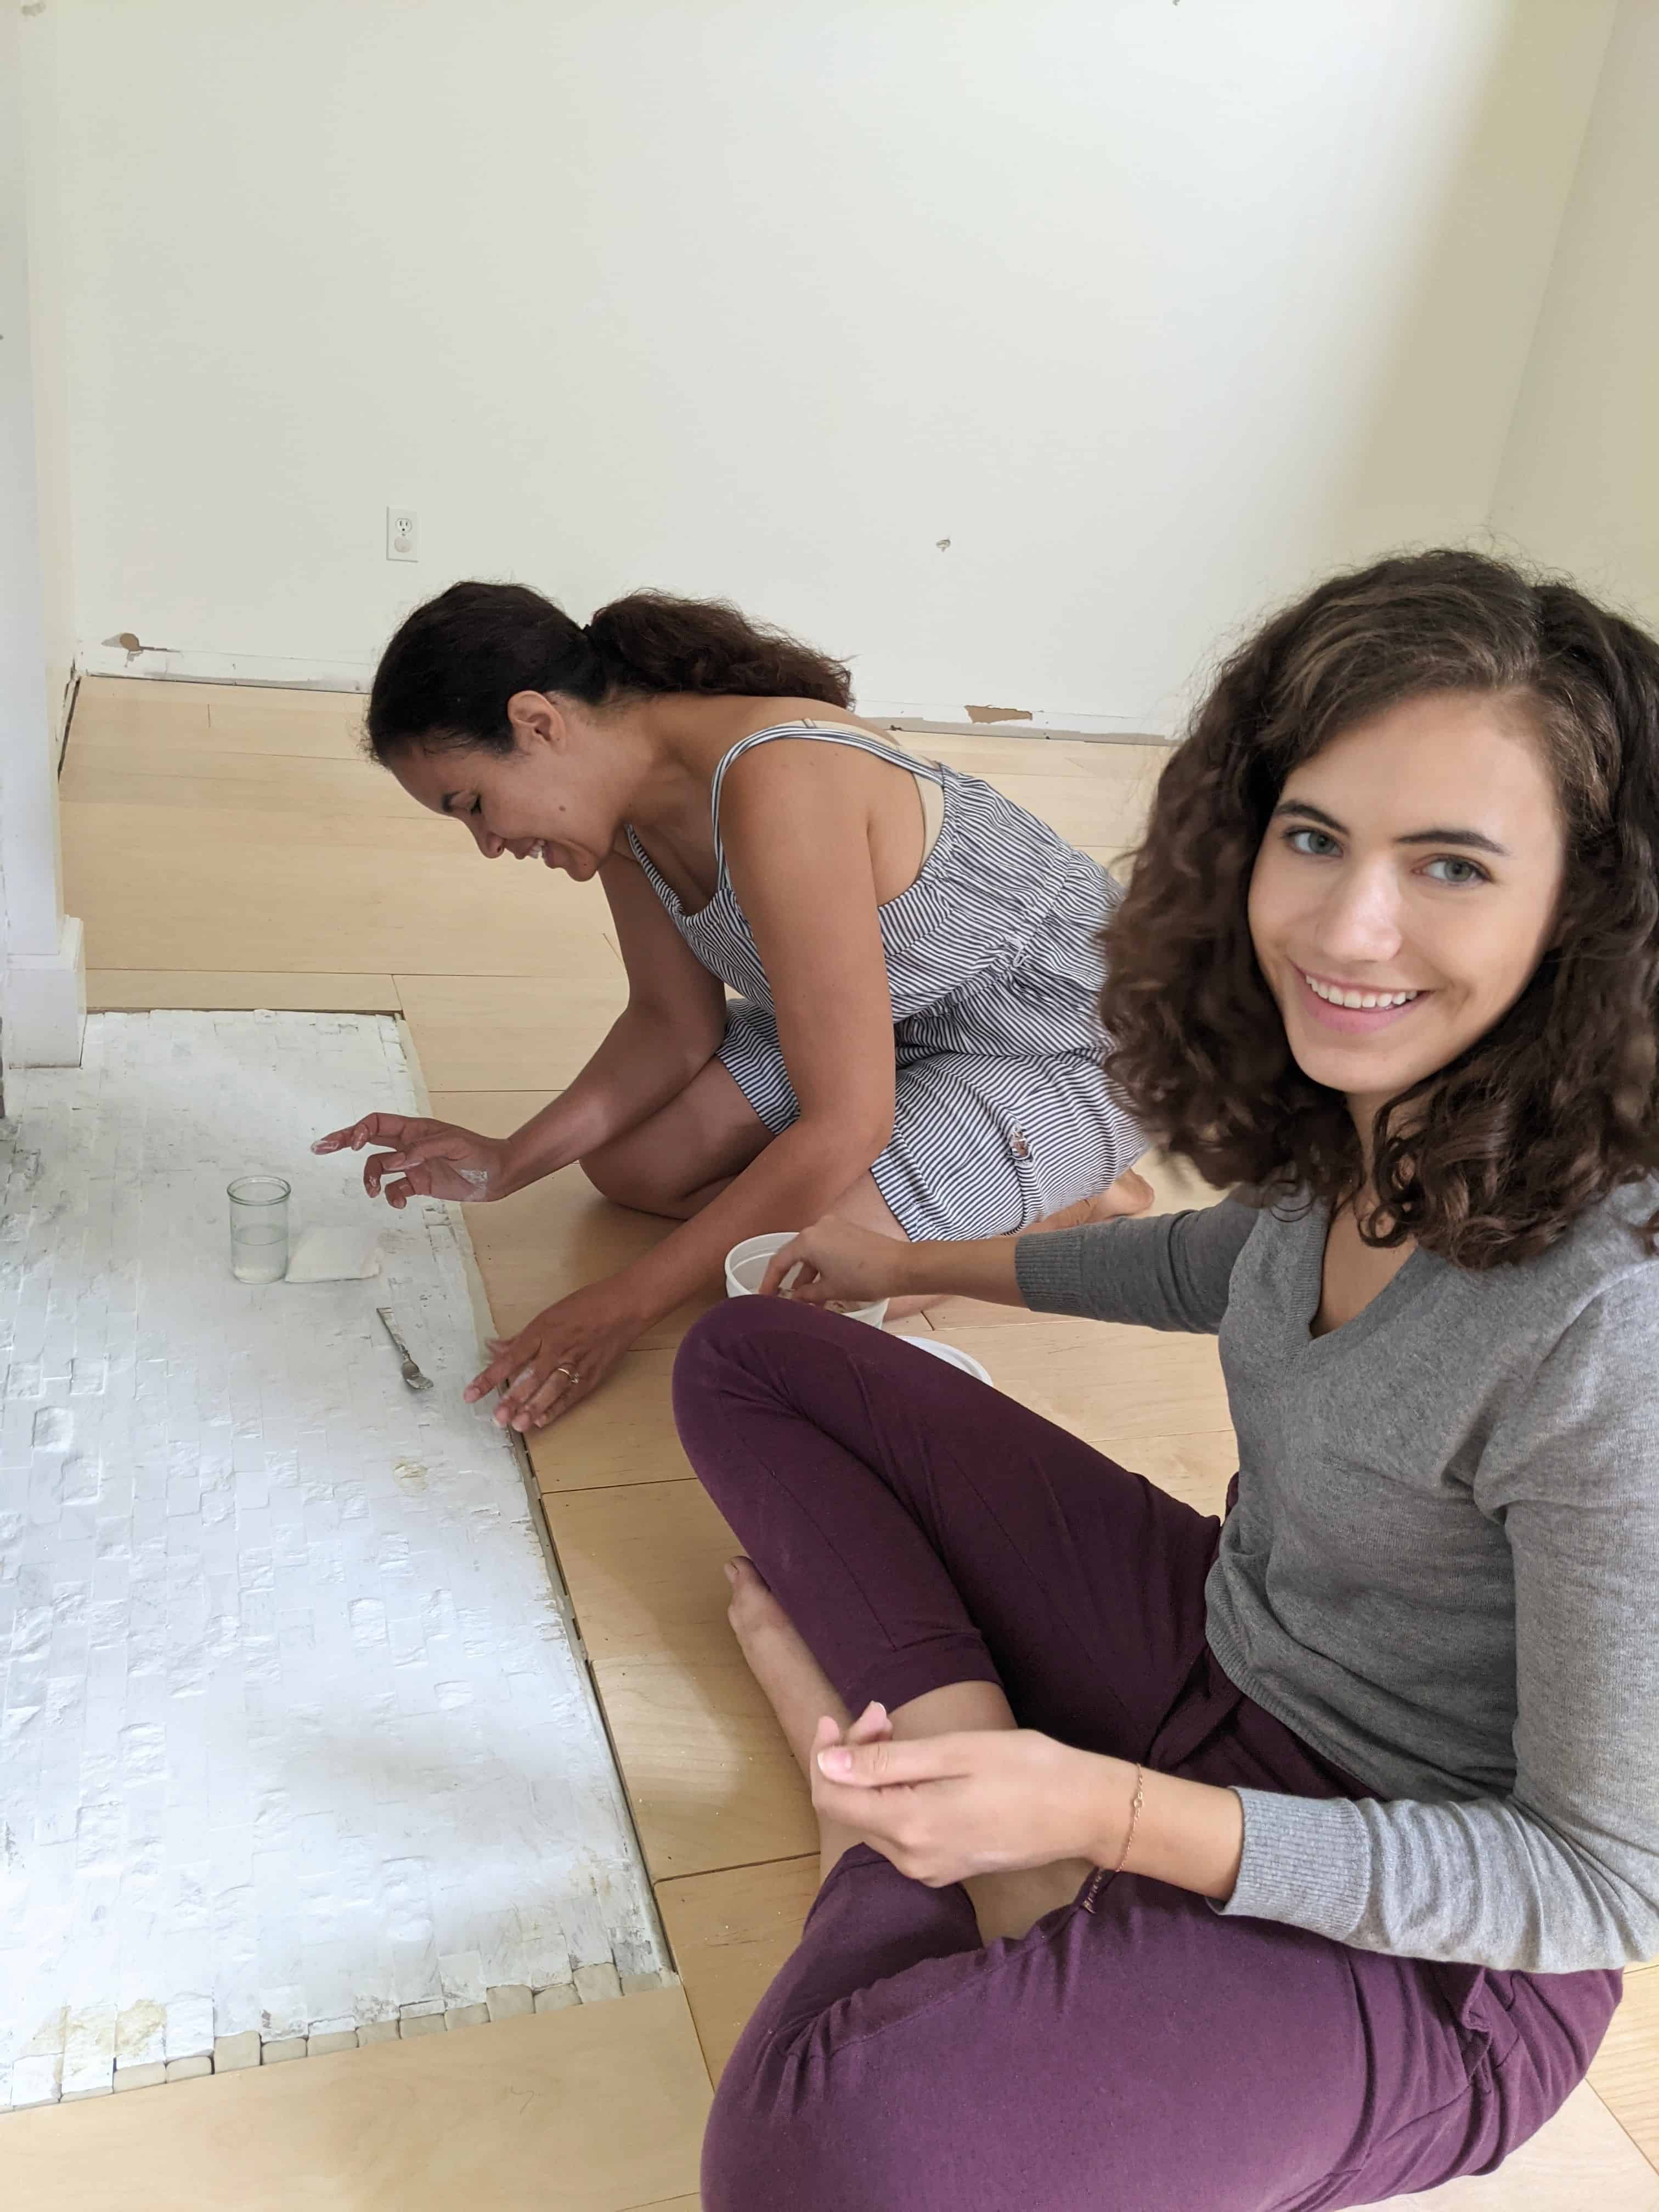
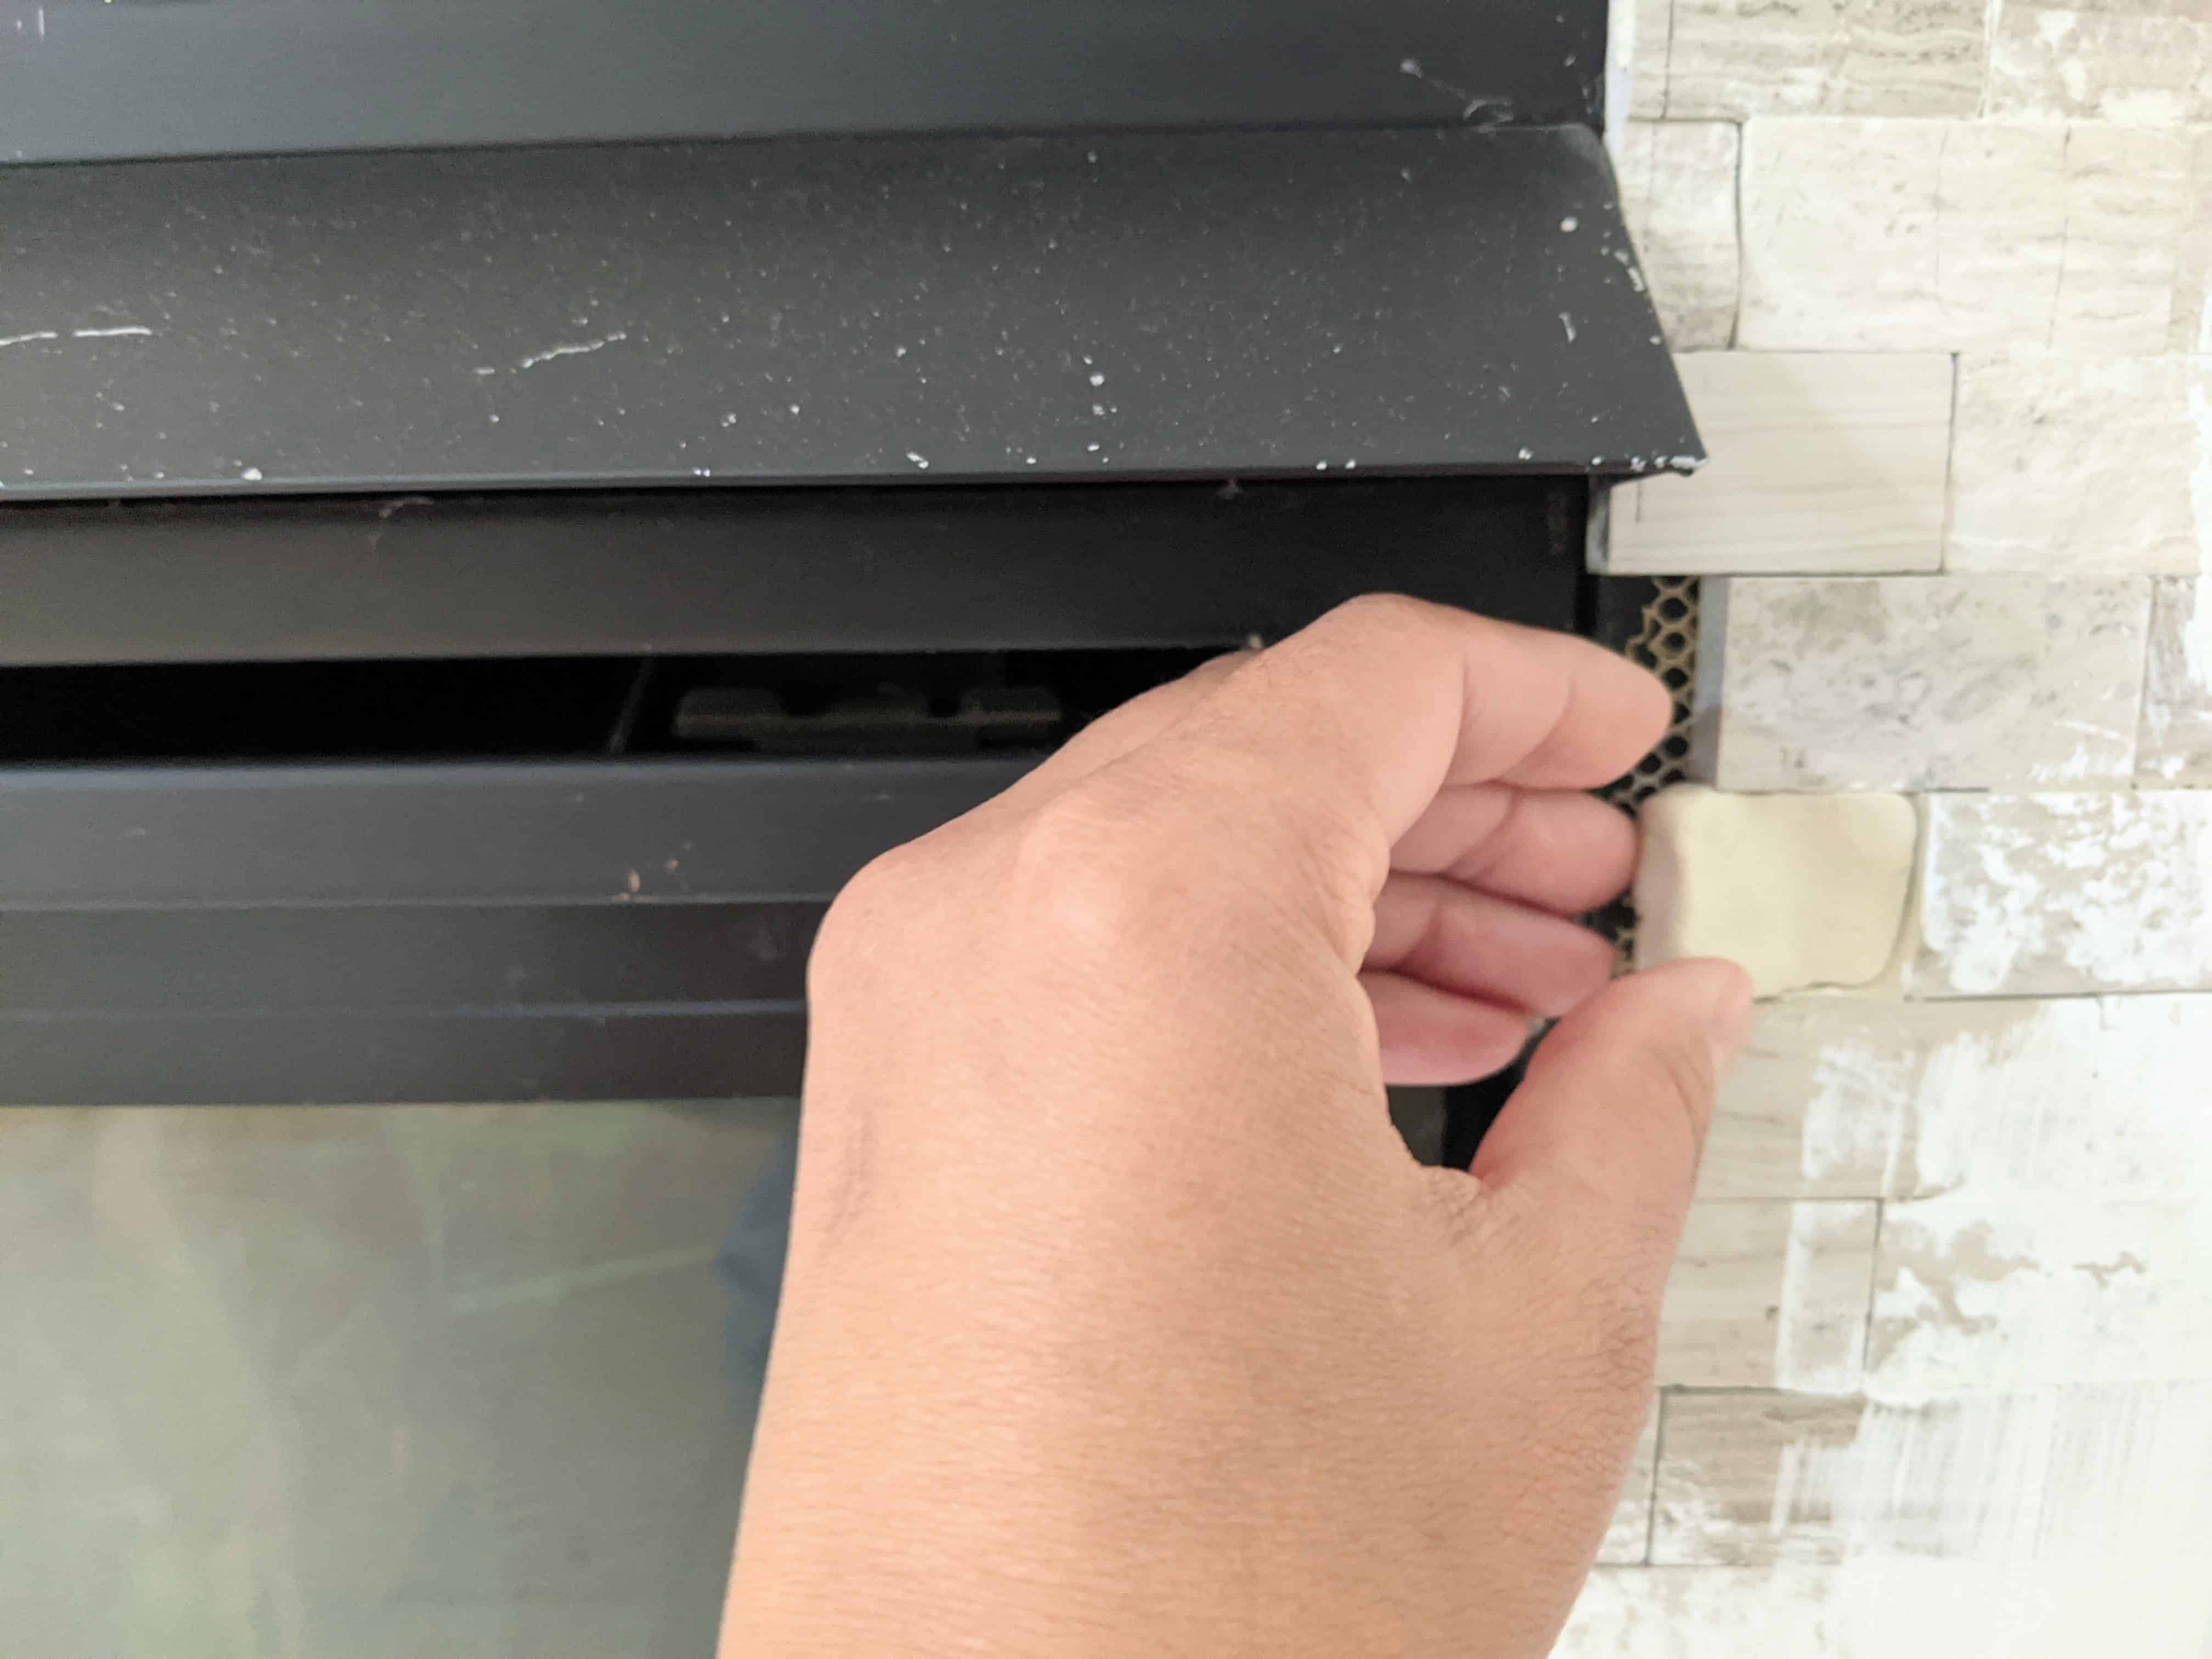
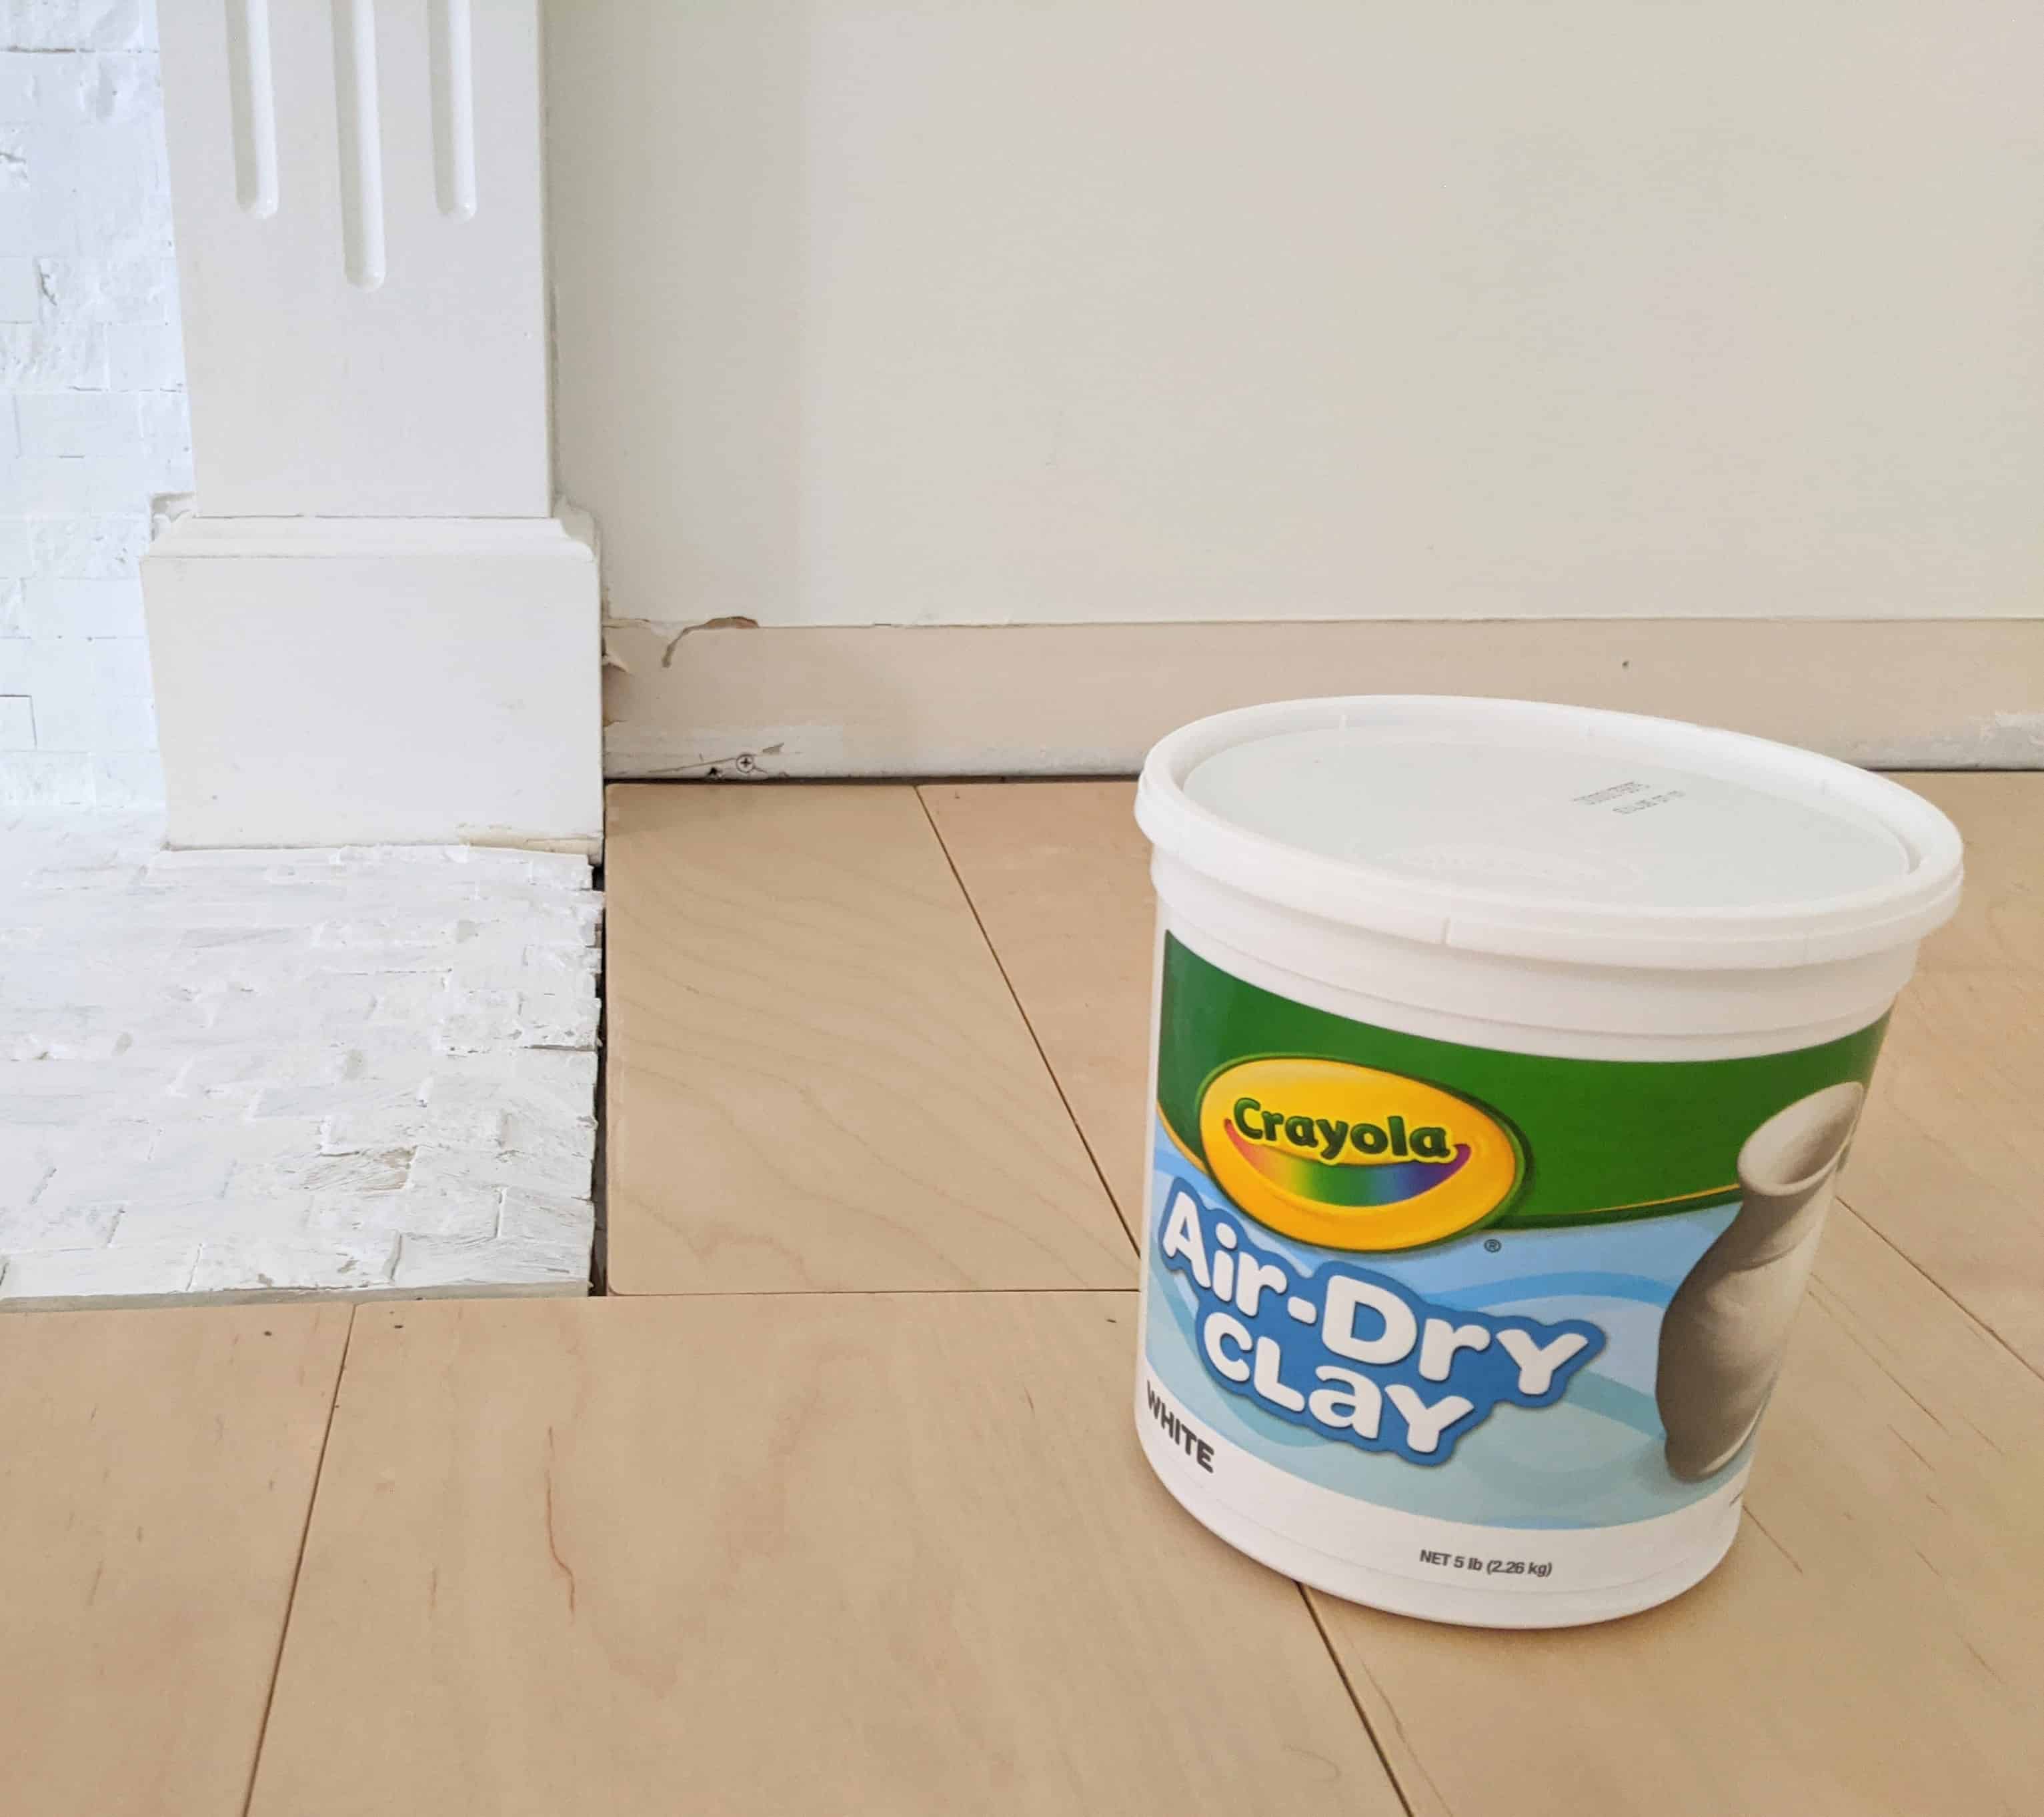
We used molding clay HERE then let it harden over night.
After it was dry we used subfloor glue on the back and put it in place.
The cracks between the small tiles were filled with calk.
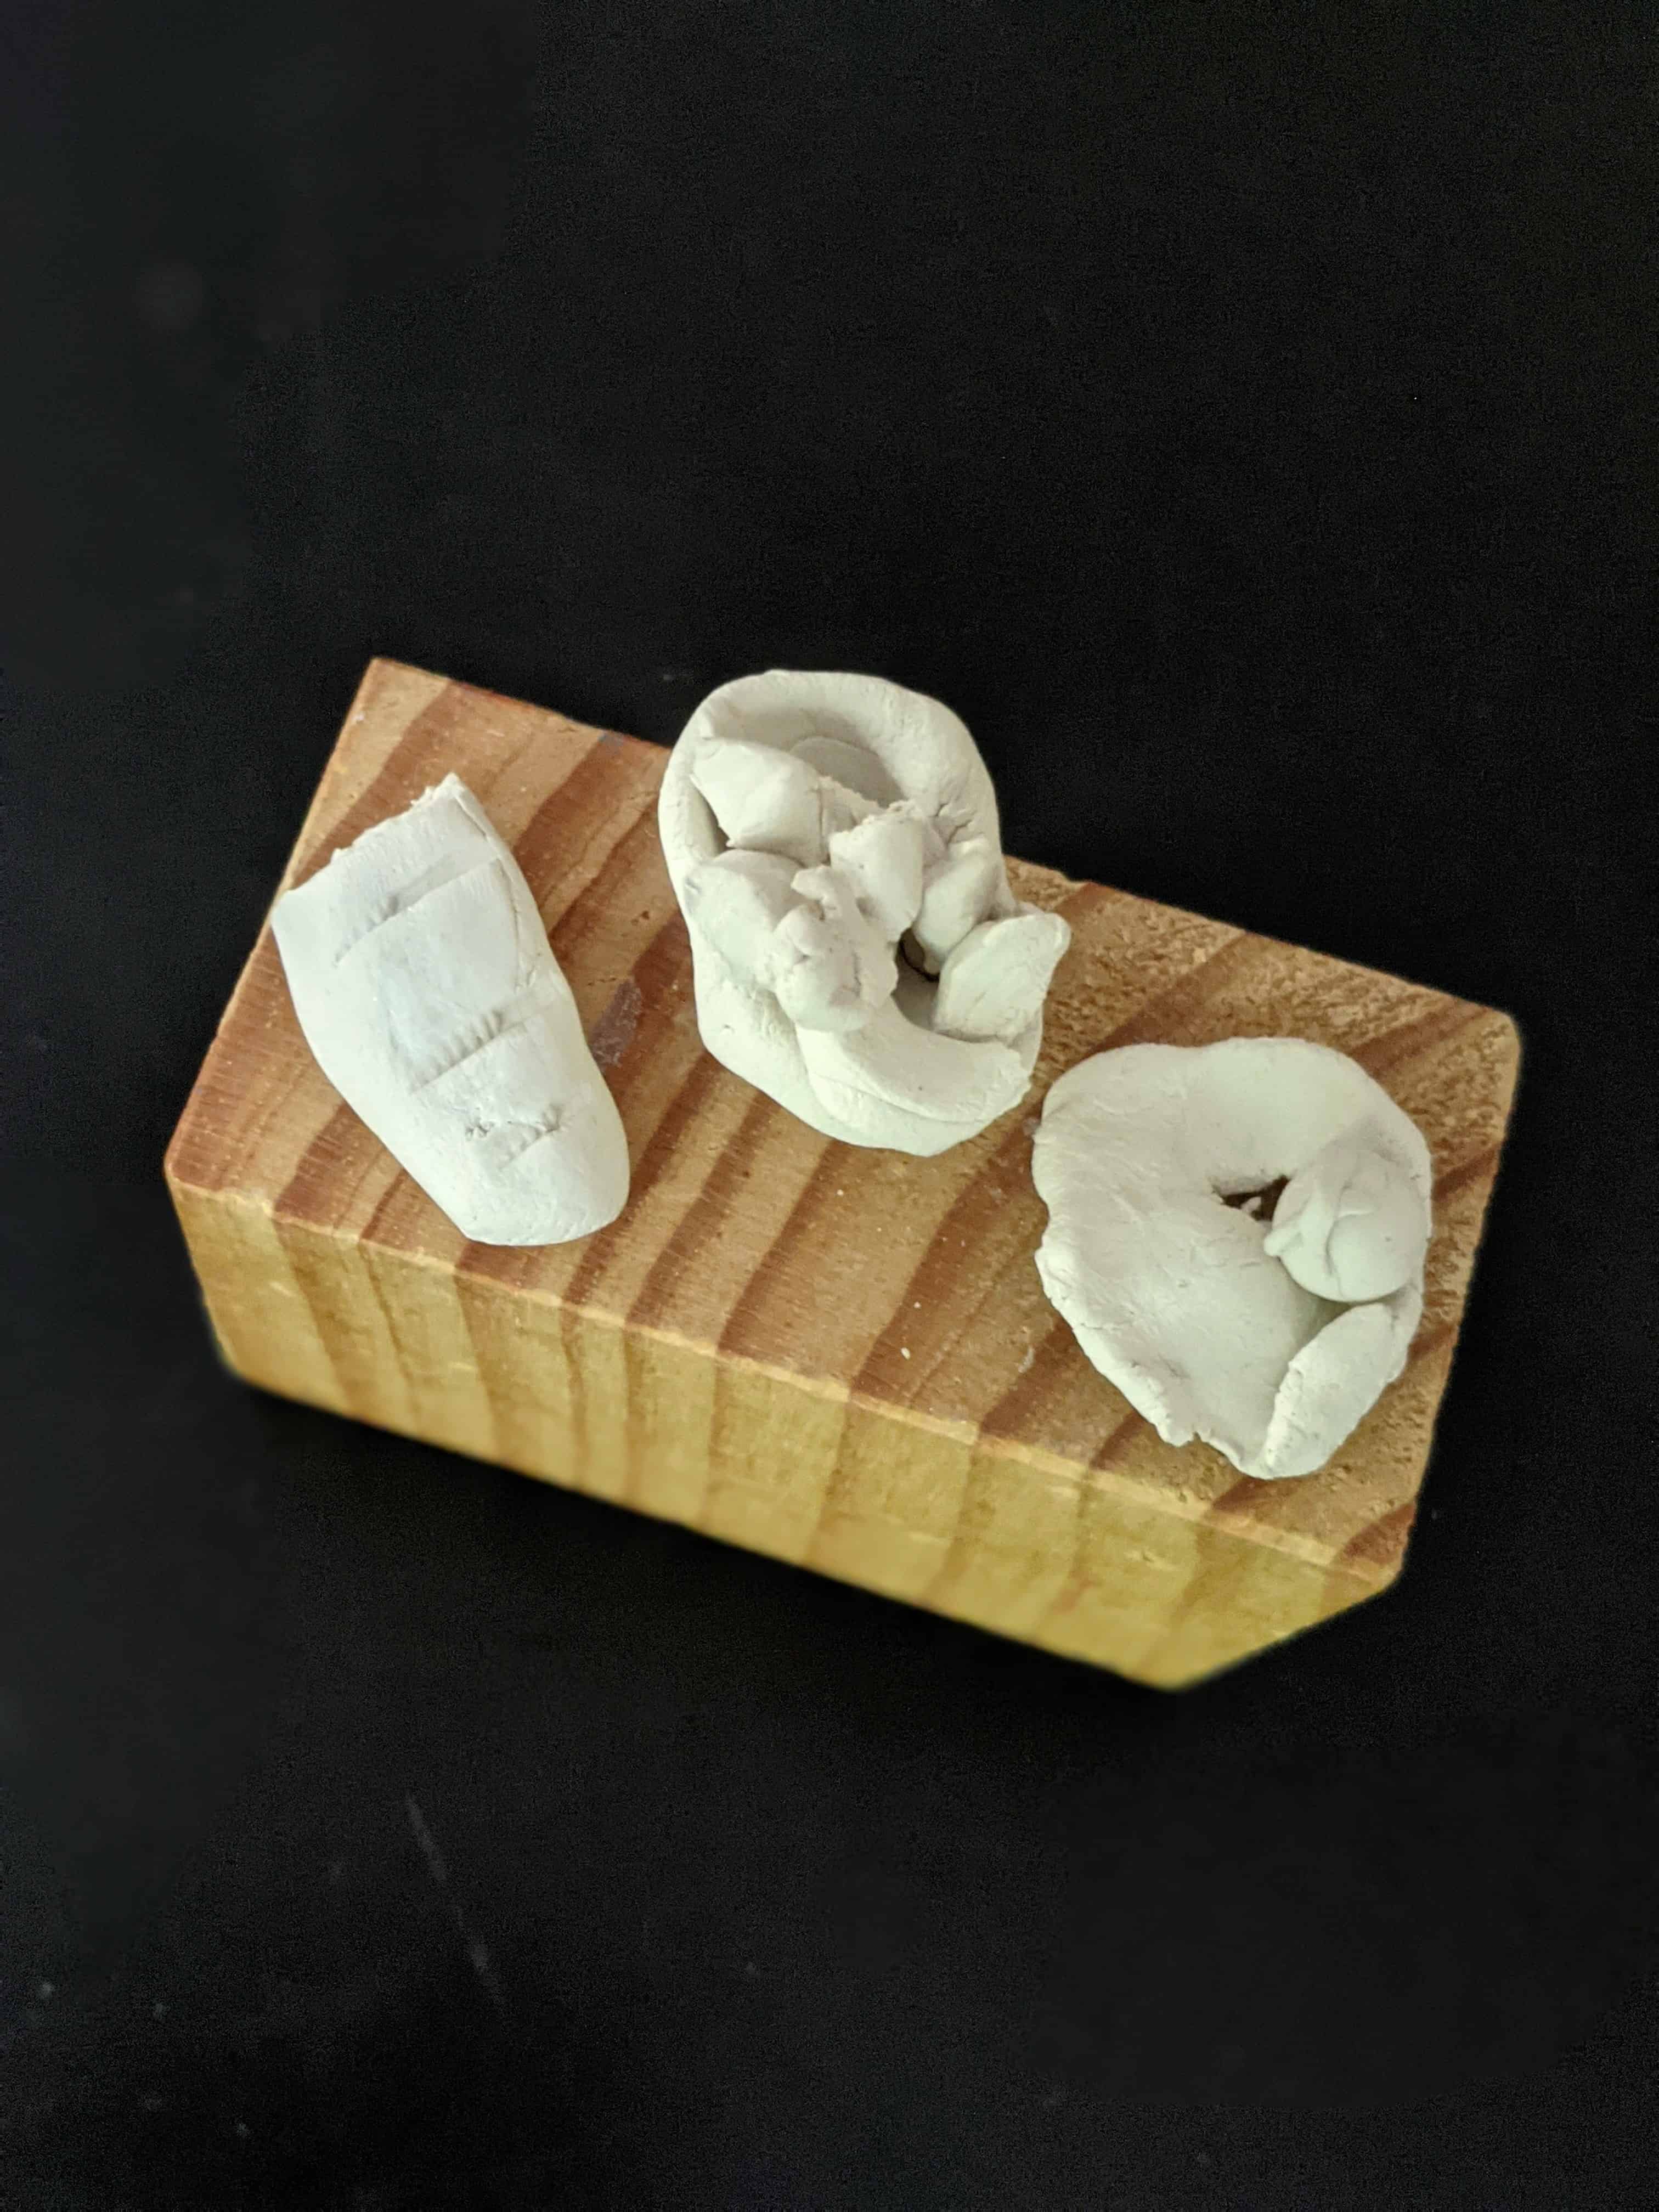
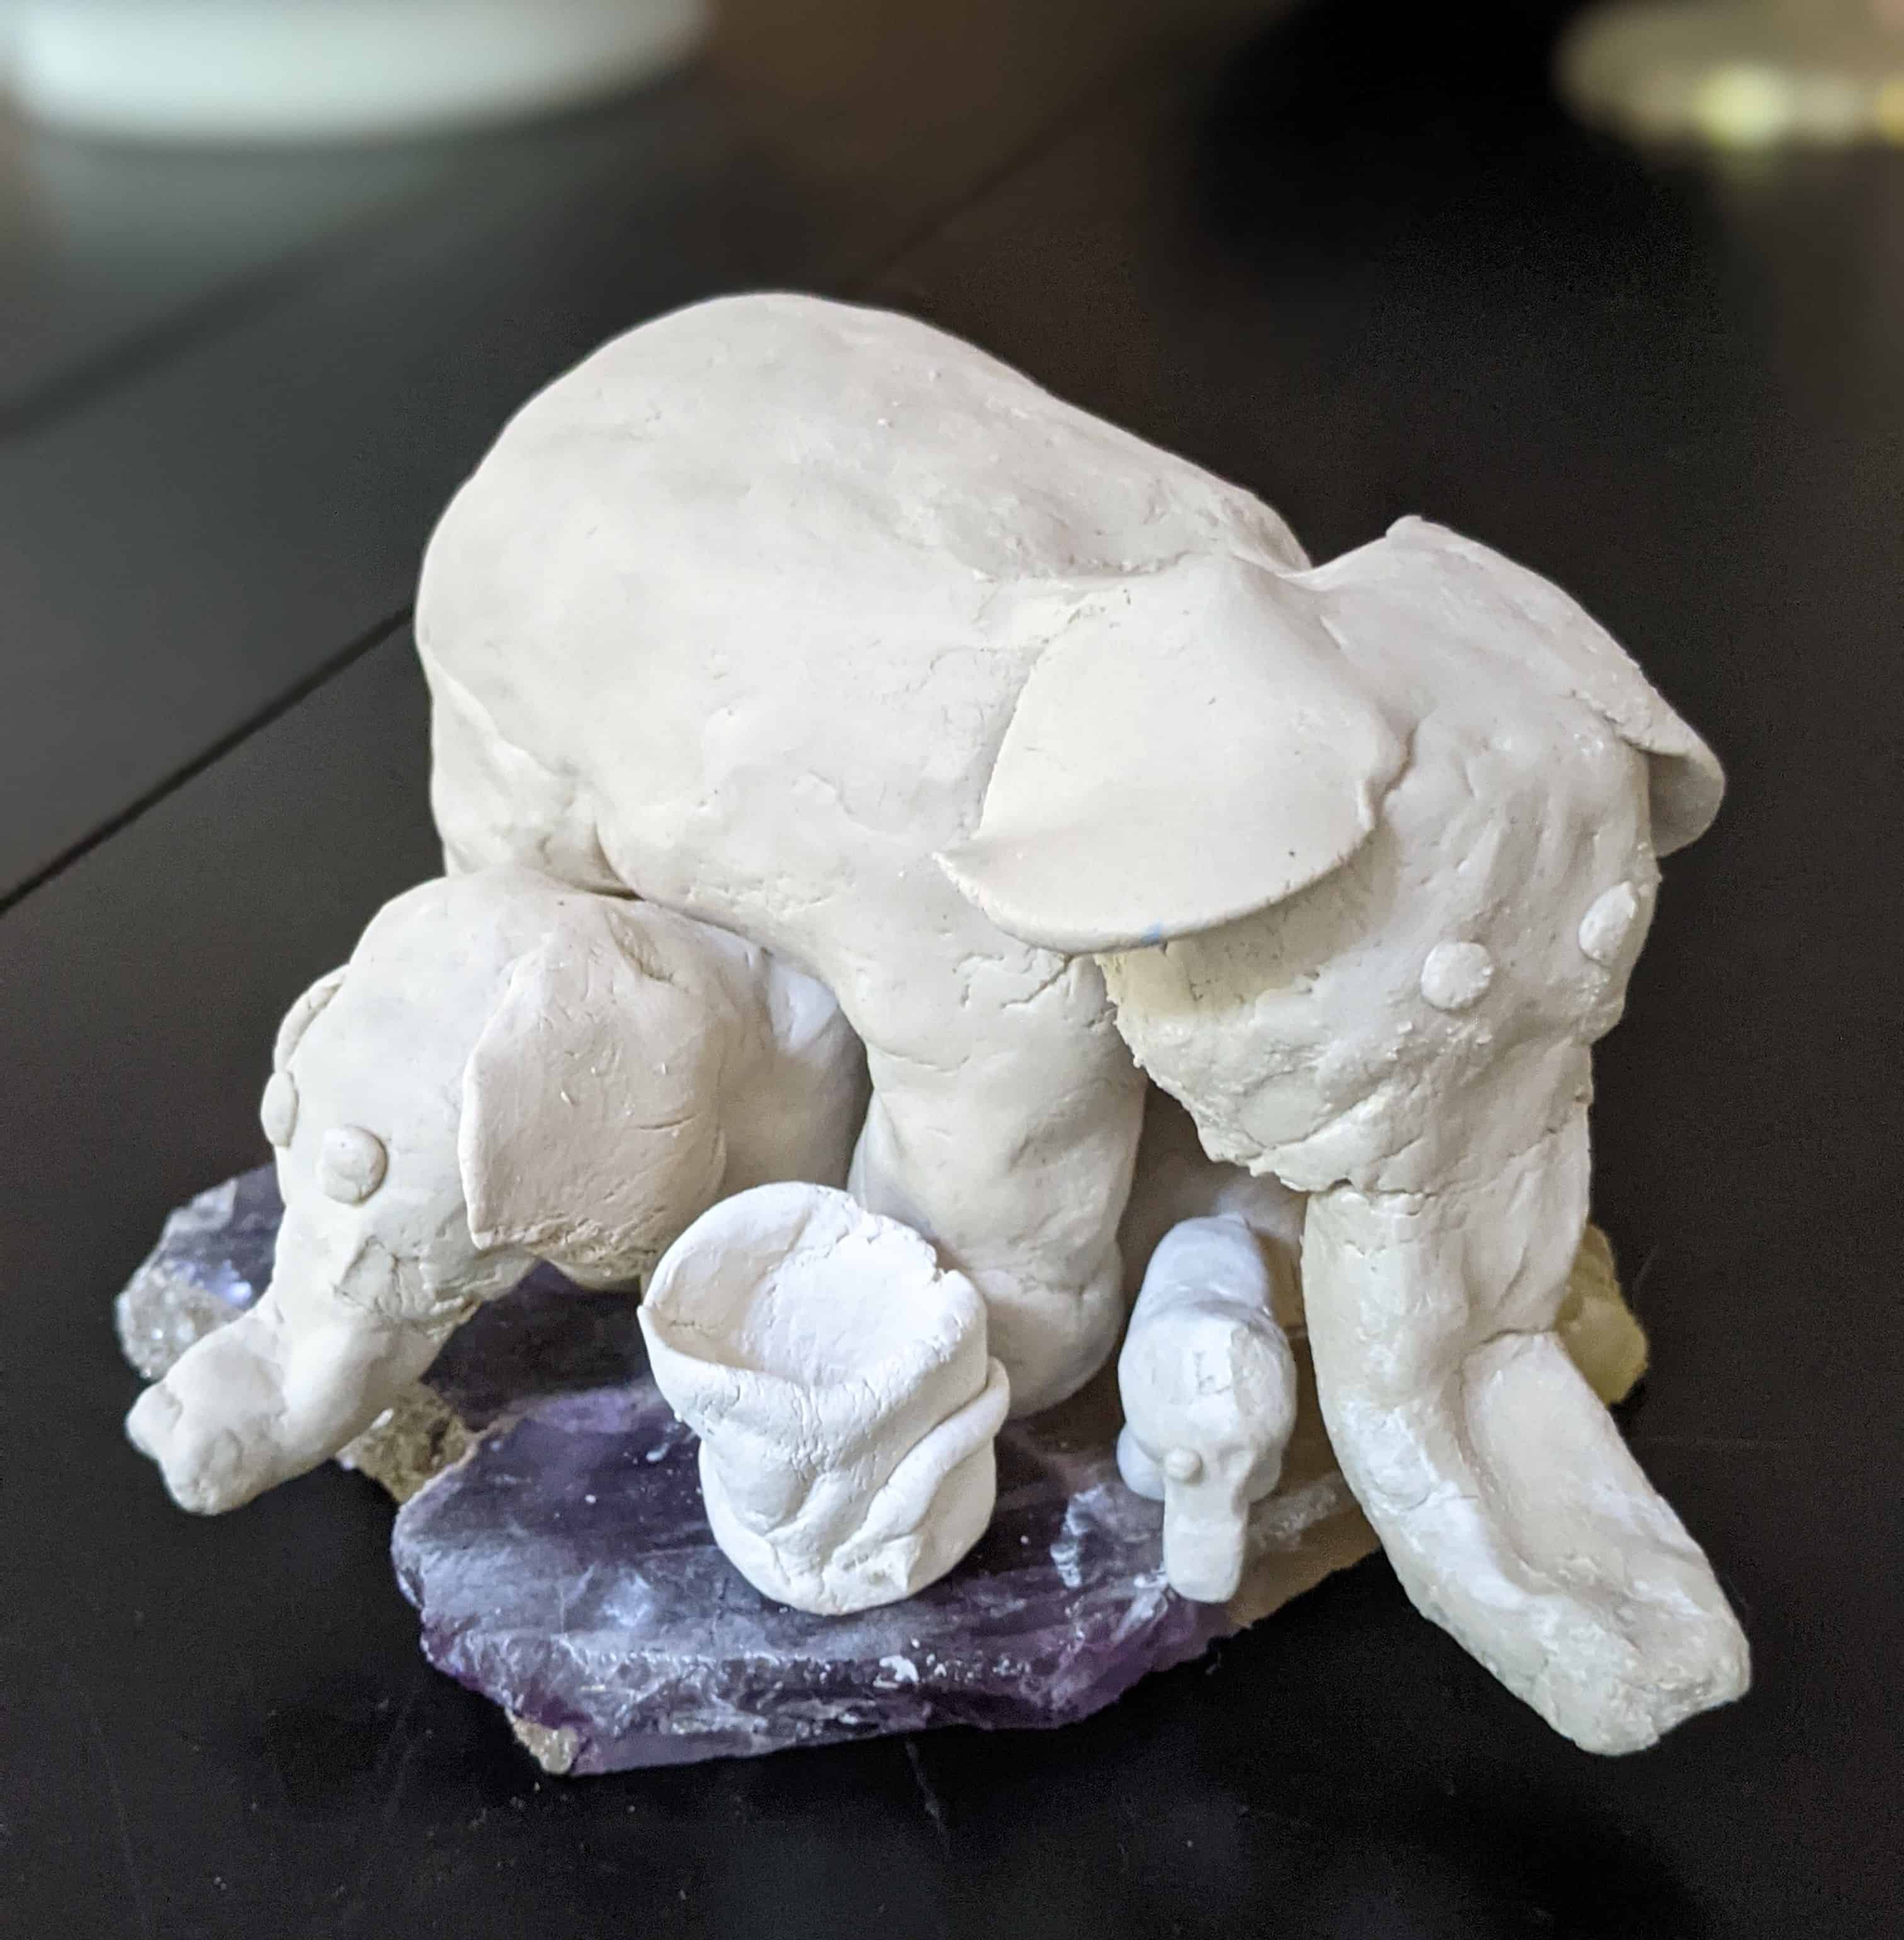
After we used the polymer clay I left it sitting on the kitchen table. Look what the little ones made with it!
Love it when kids feel free to create and dive into art making. They made so many fun things!
4. Paint Your Fireplace Surround and Metal Panel
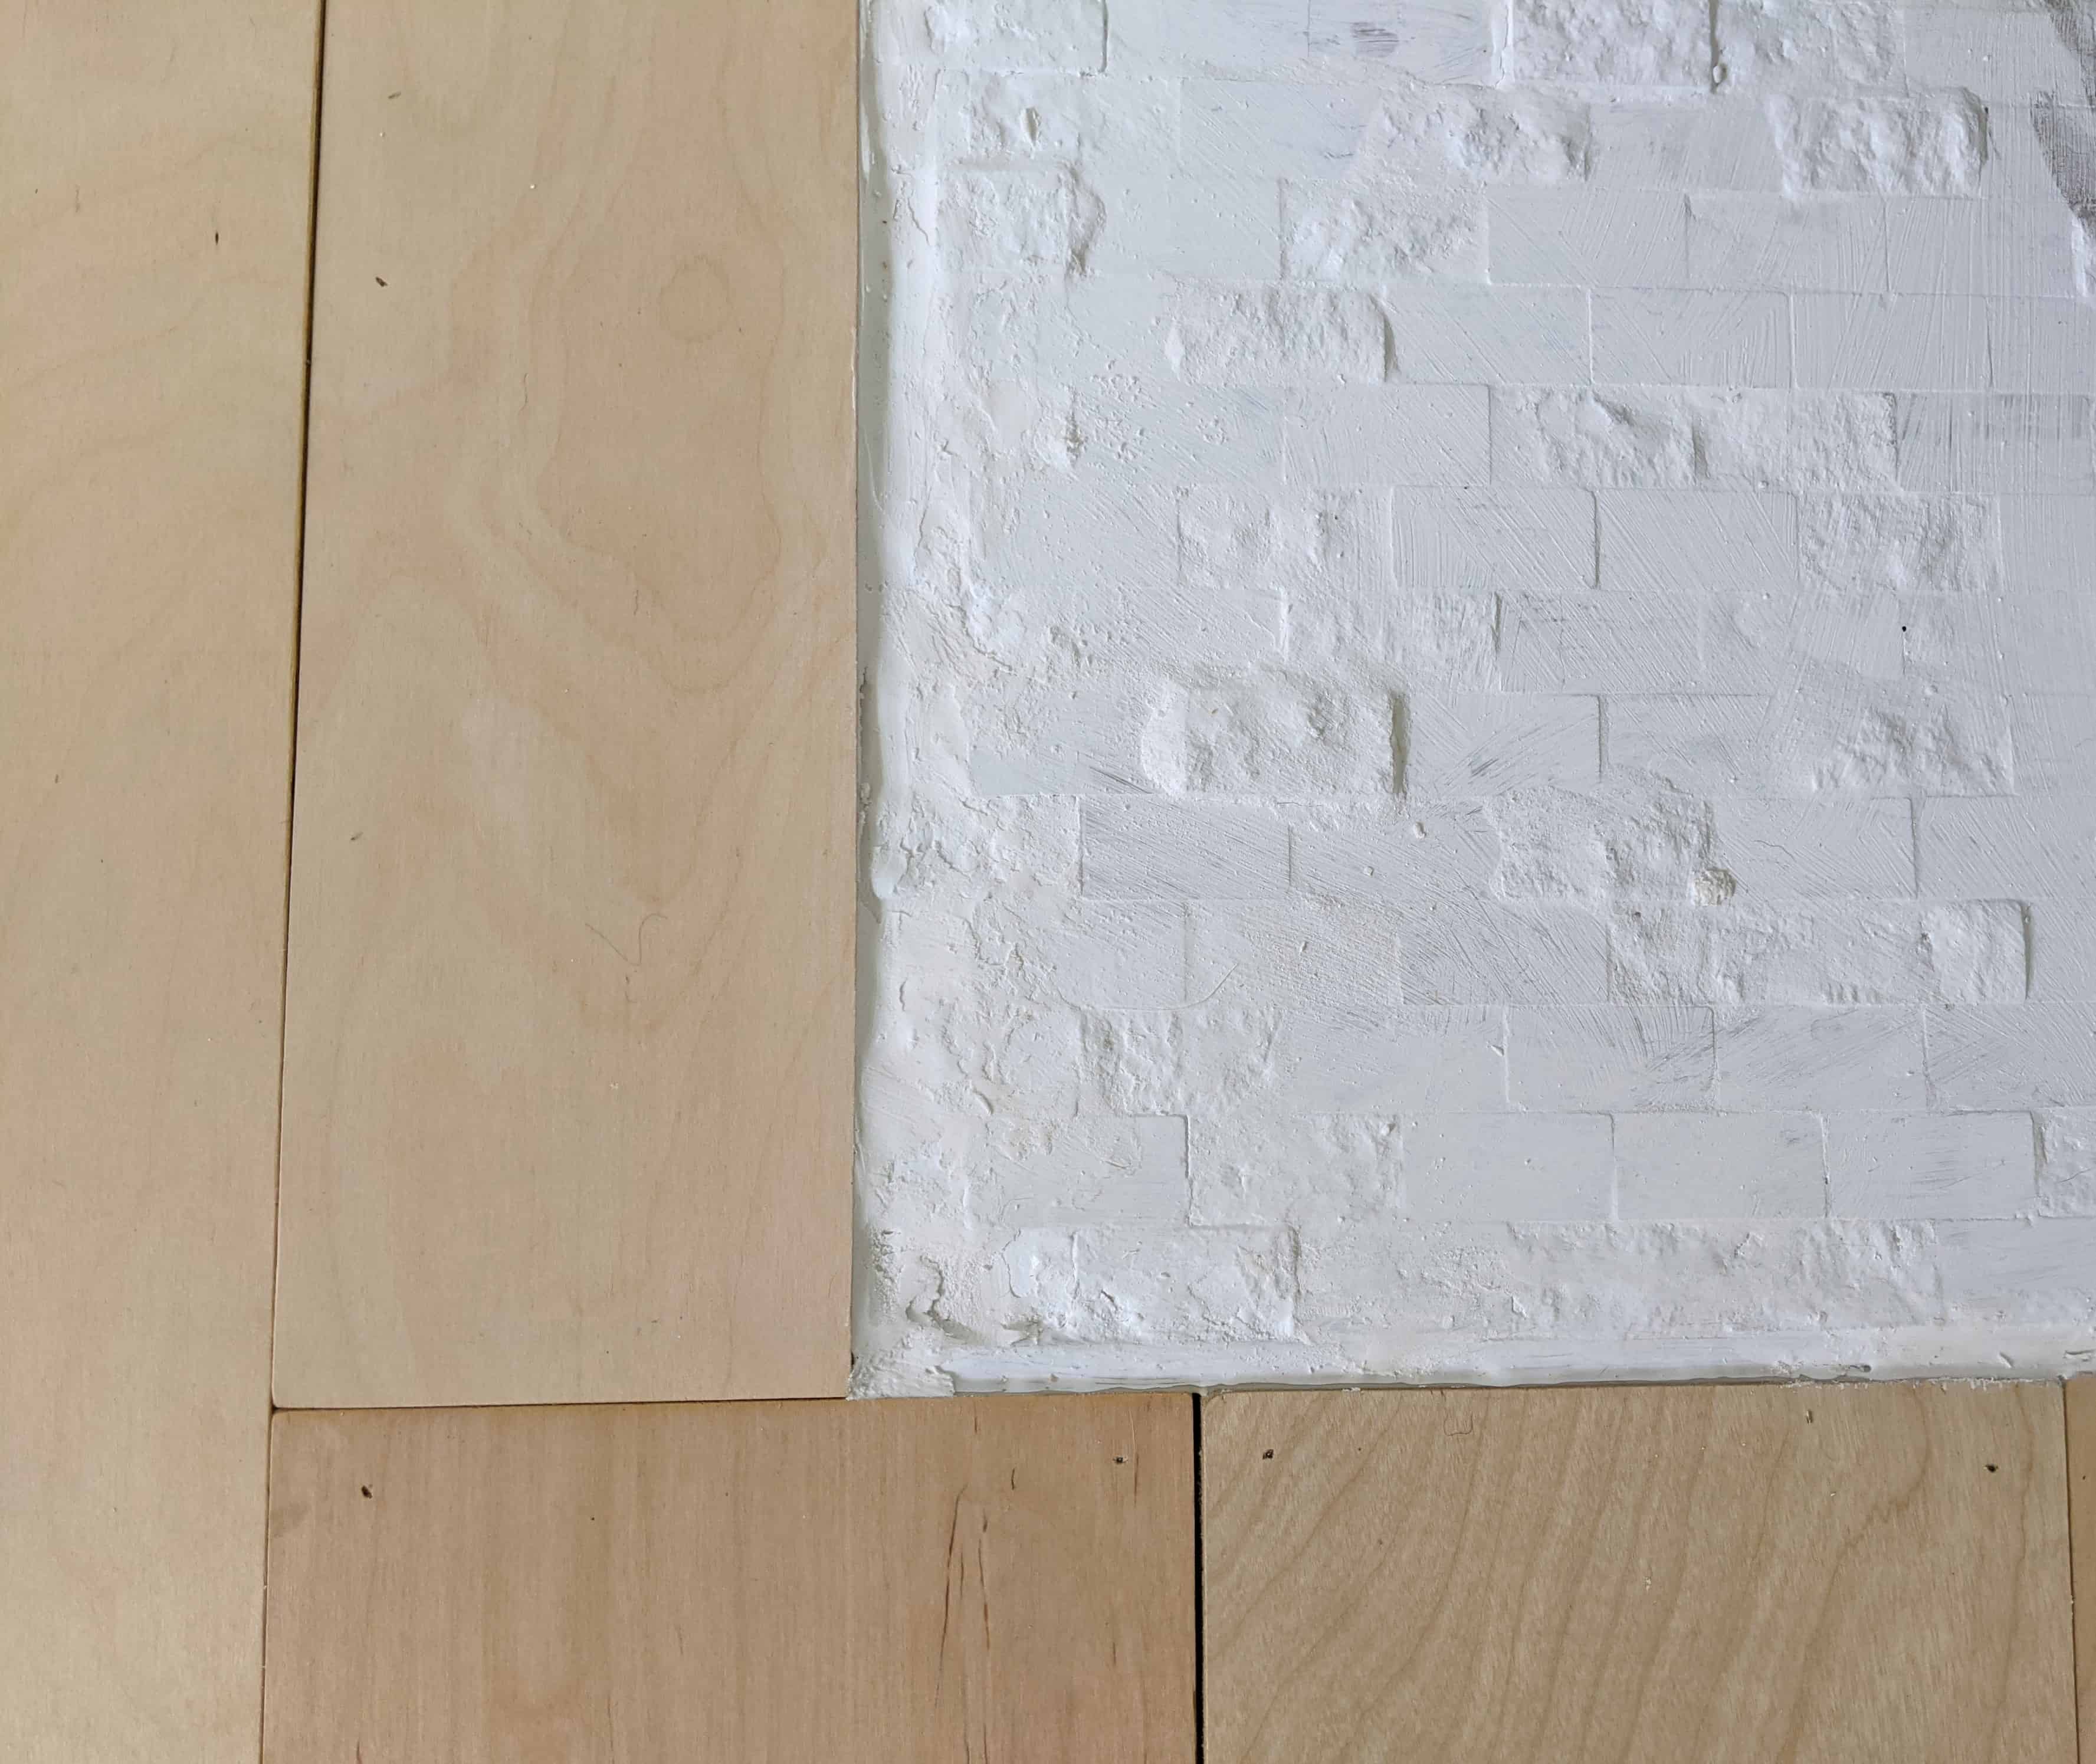
The leak that had caused the rust stains was stubborn. Scrubbing alone would not take it out of the stone so we covered it with Kilz stain blocking primer.
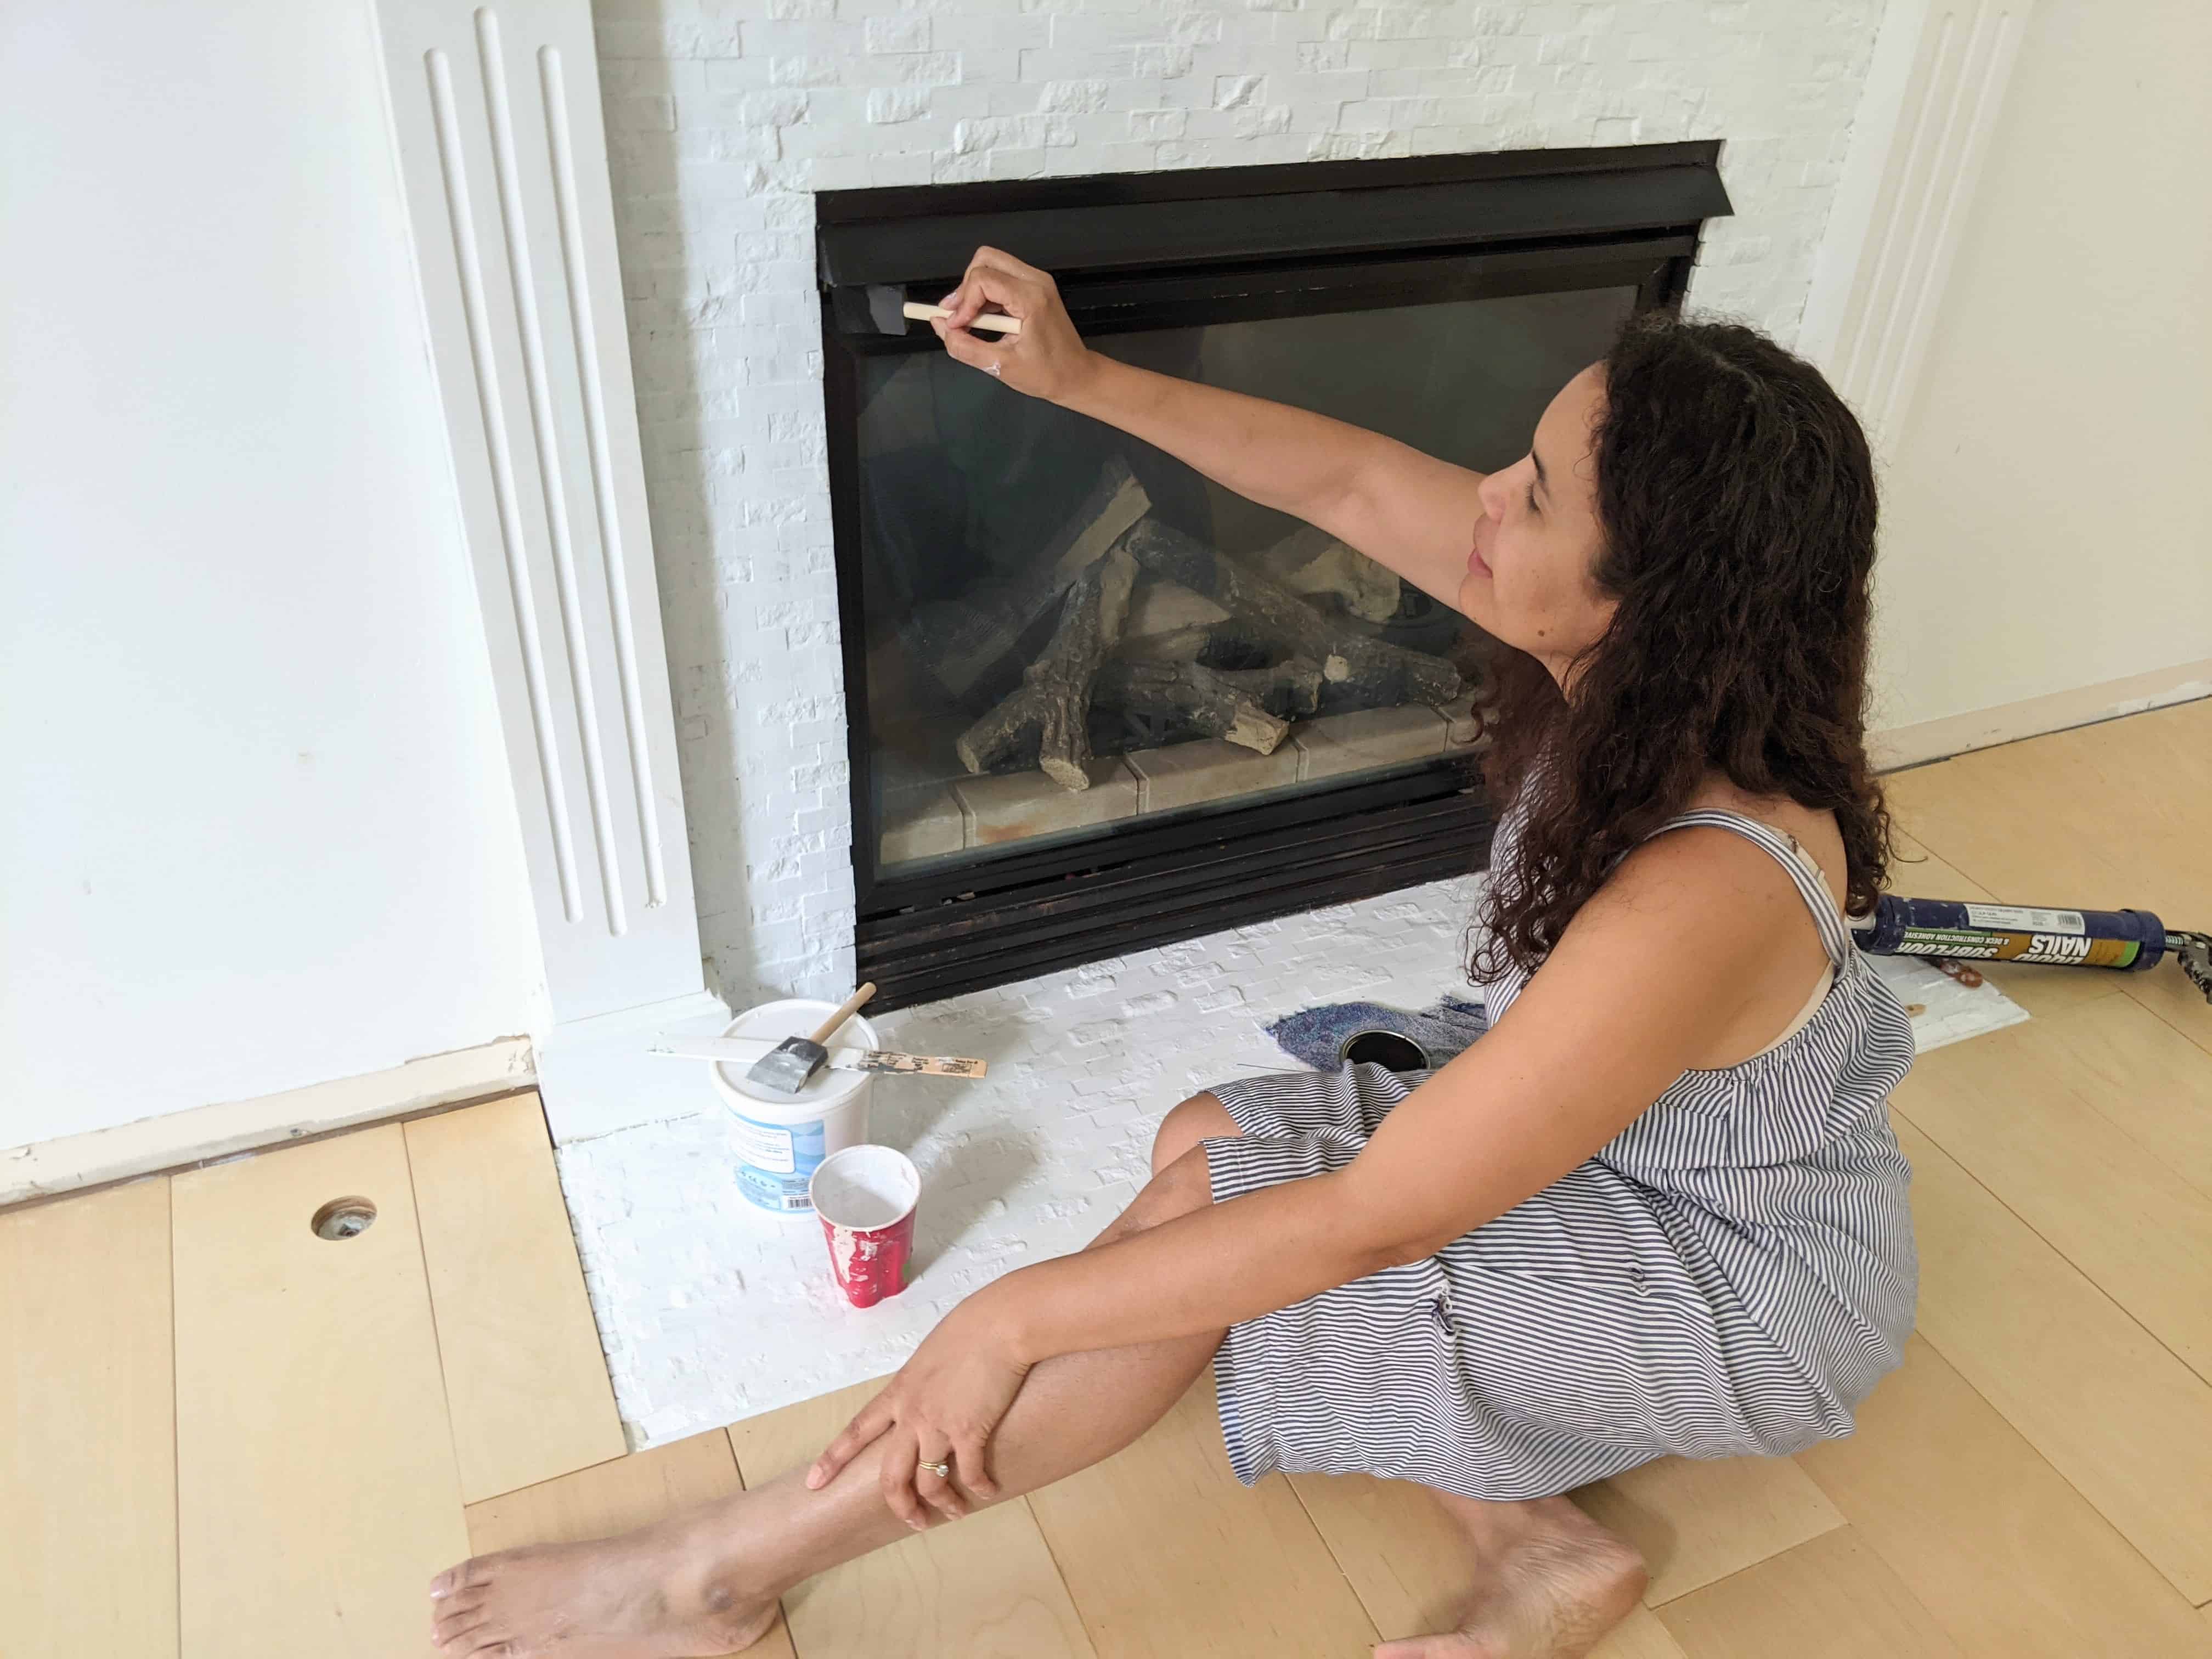
The exterior of the firebox needed attention as well. It probably had not received a new coat of paint since our house was built over twenty years ago.
Since we’ve lived here it has been scratched up a bit so I bought heat resistant paint and went over it with a couple of layers.
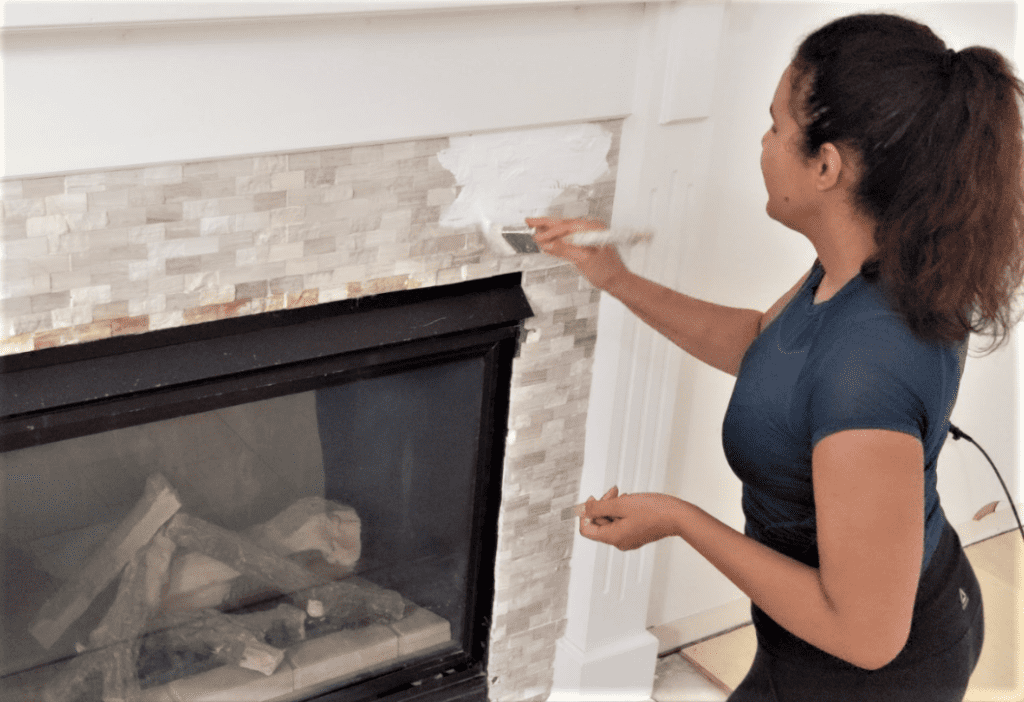
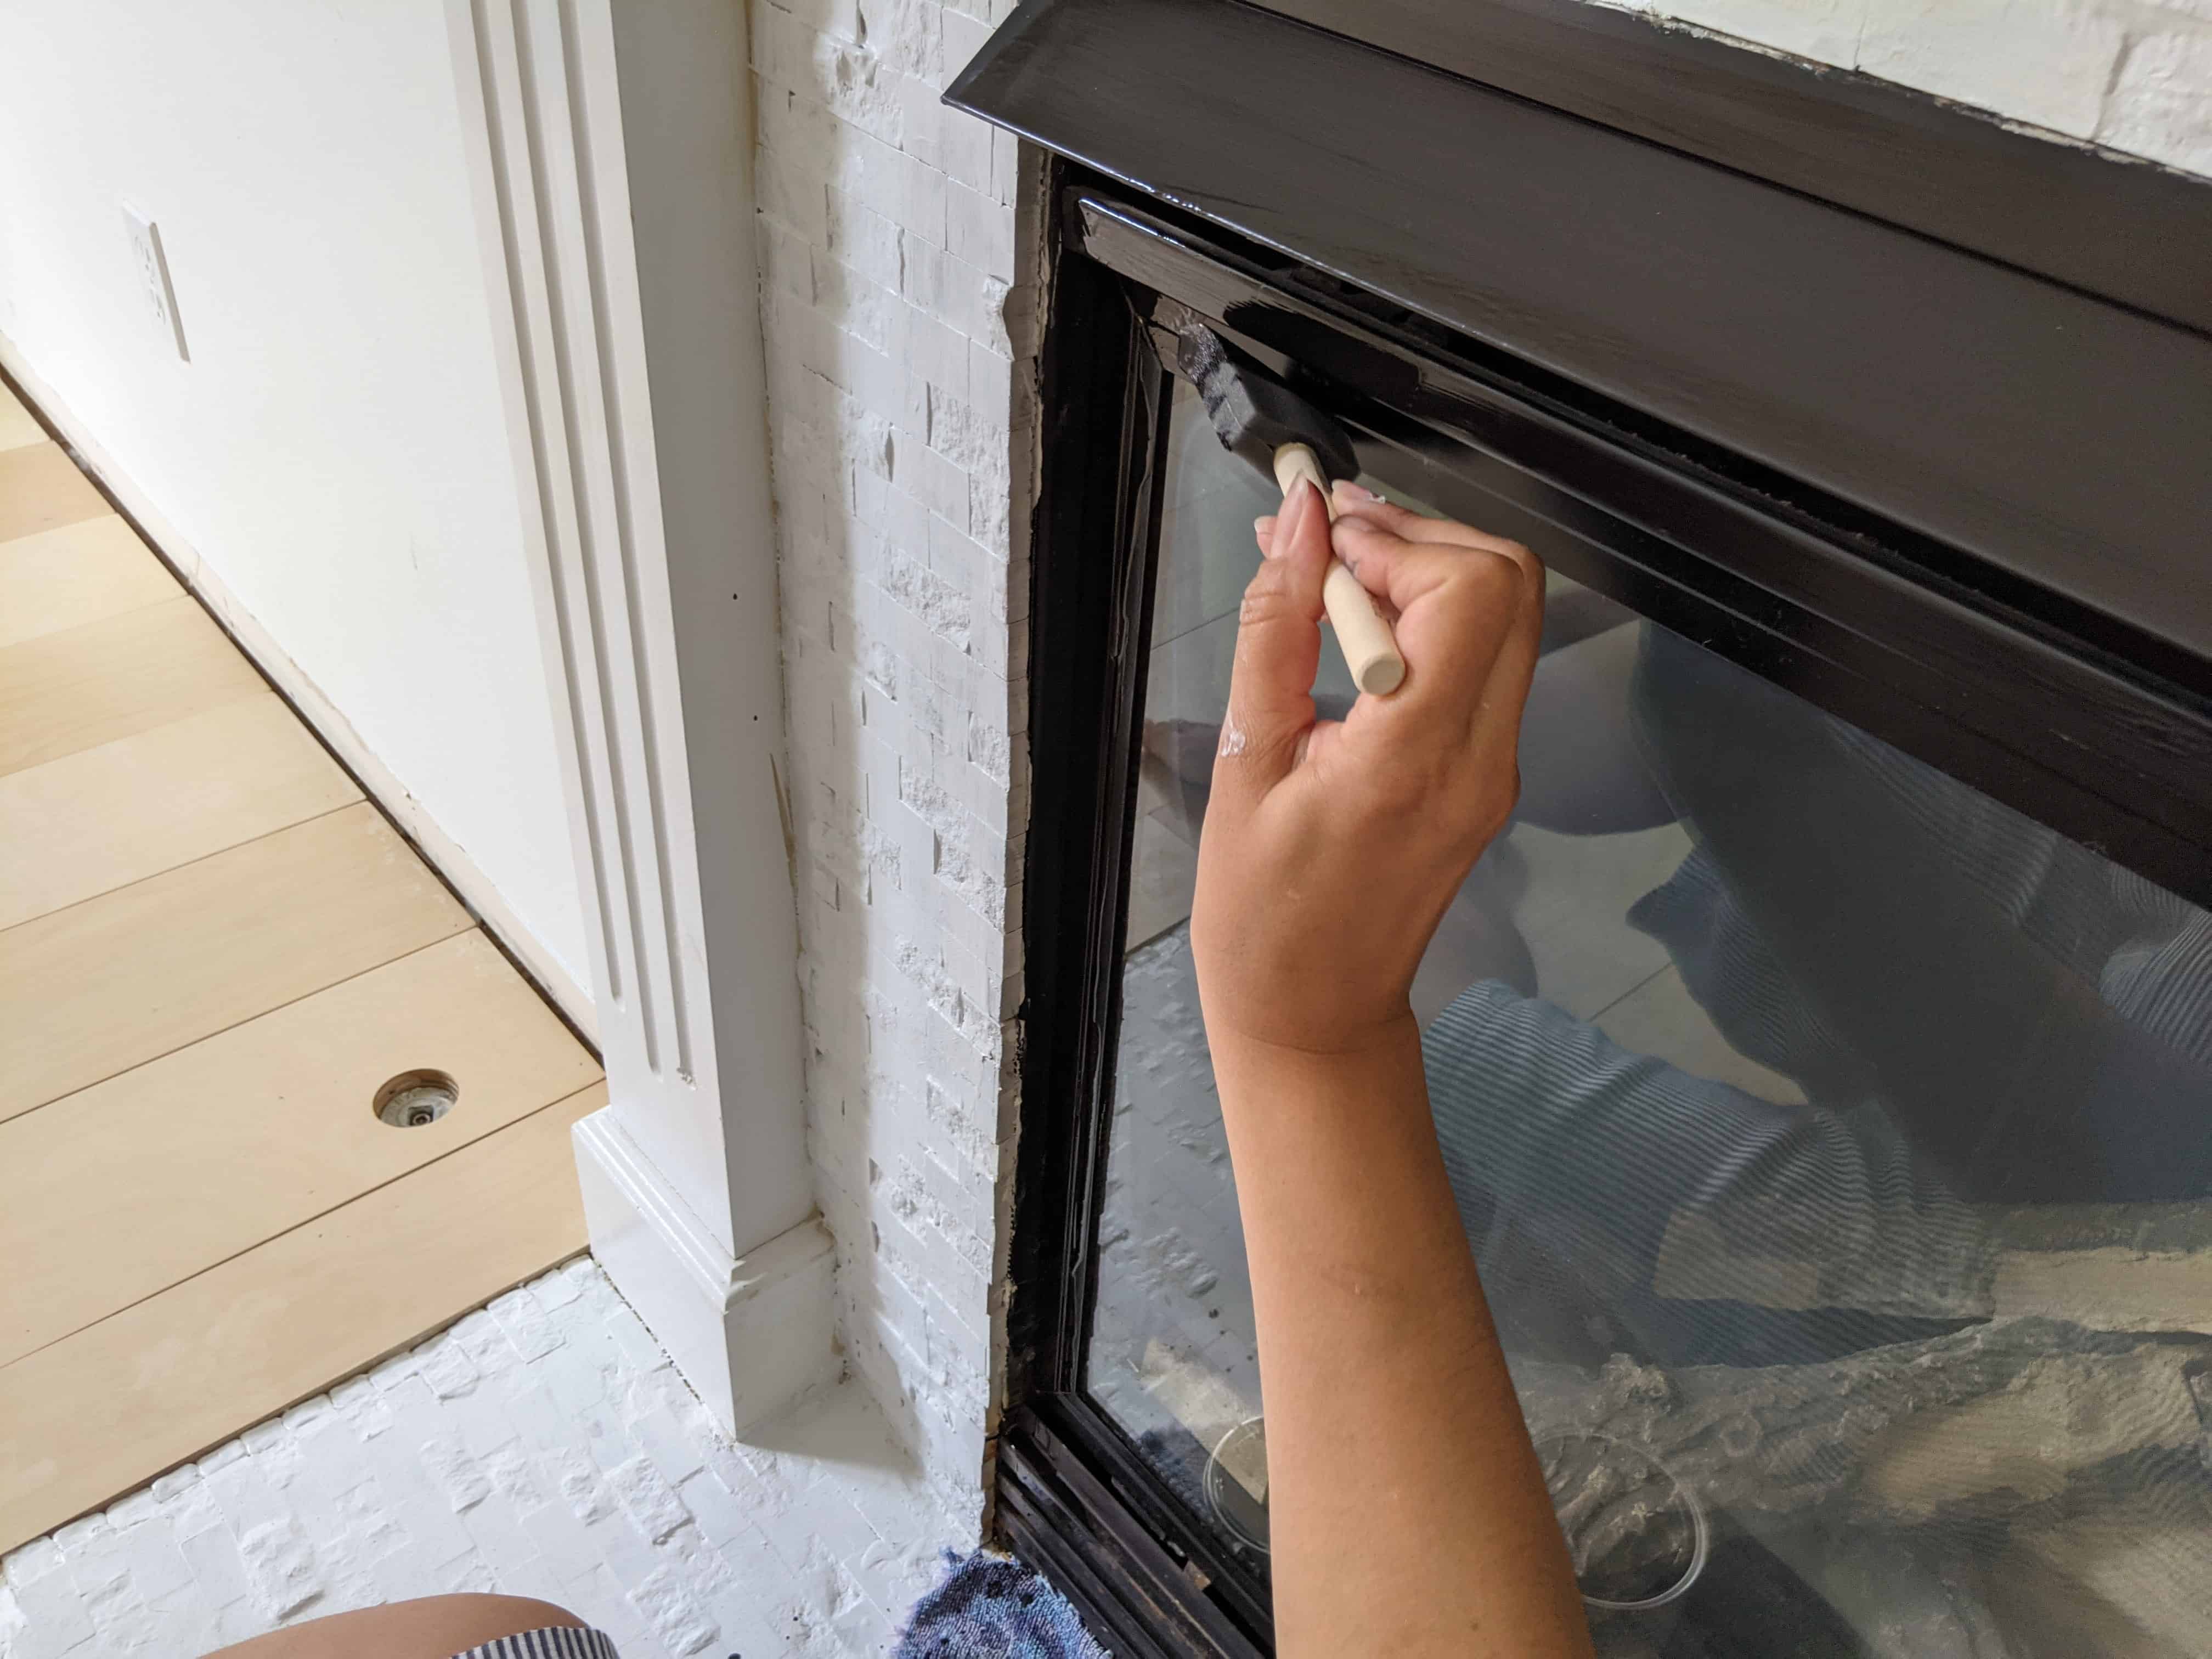
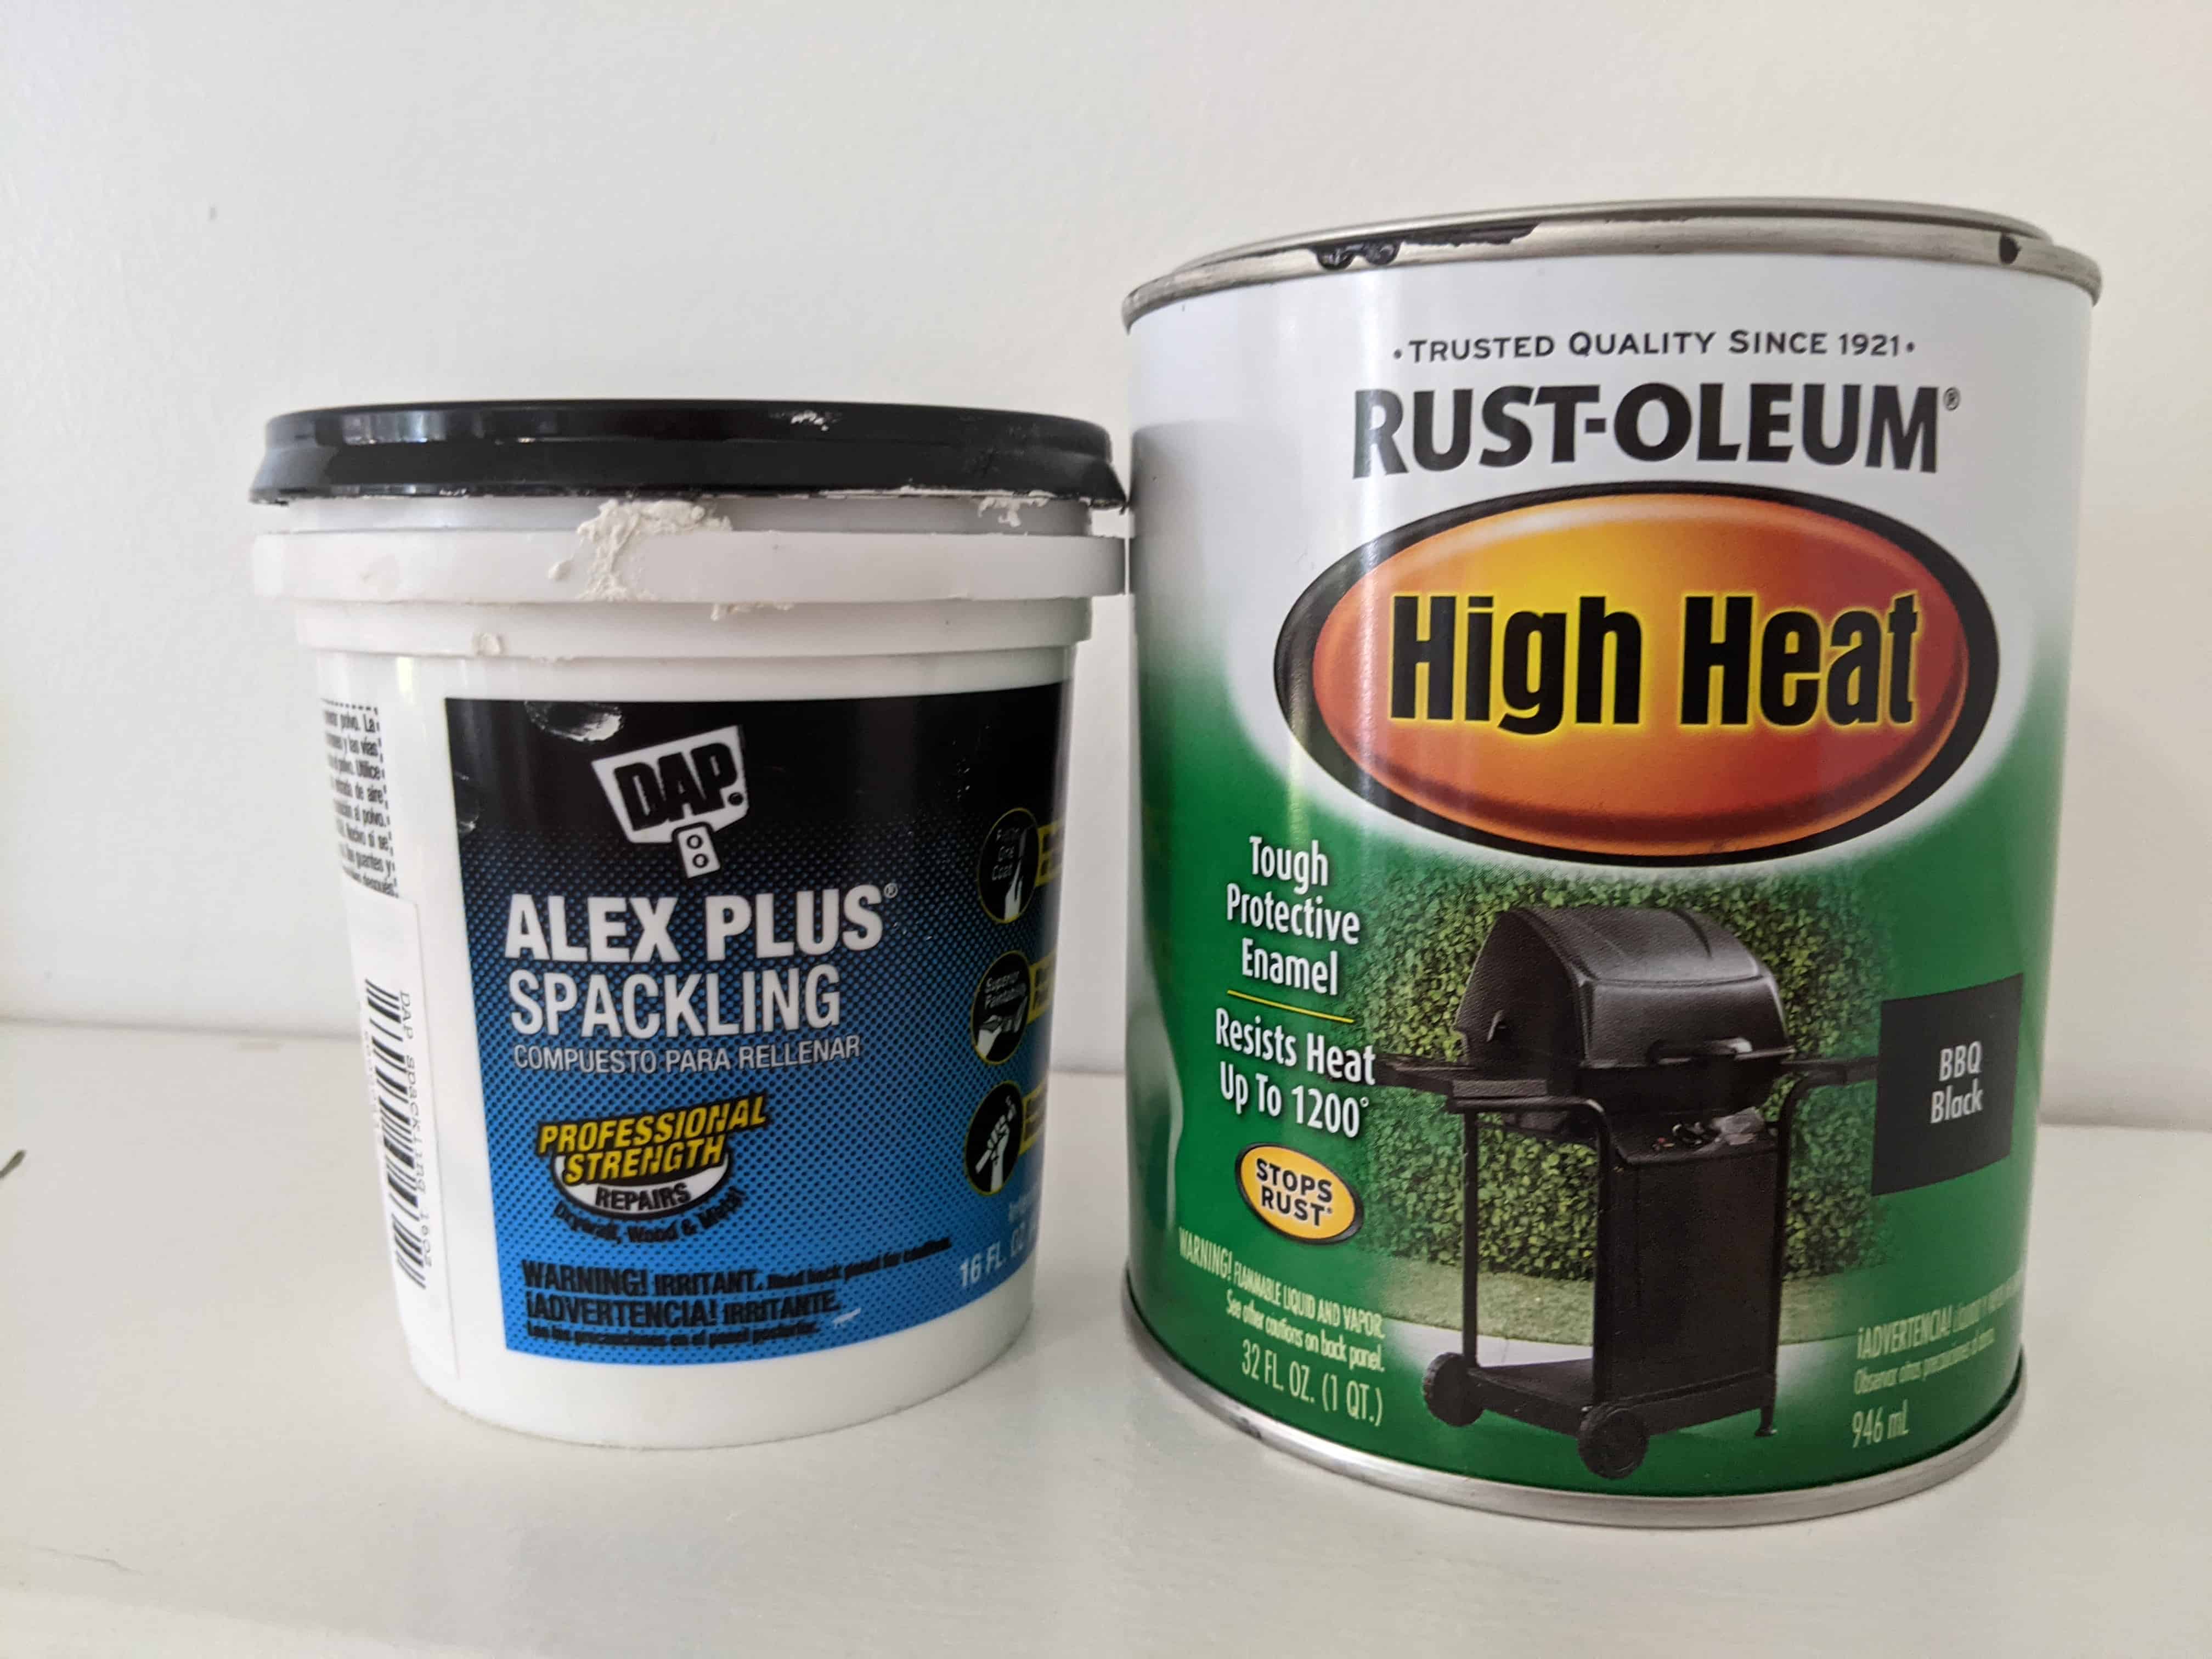
Make sure to use paint specifically for areas that het hot when painting your firebox. We used Rust-Oleum High Heat HERE.
It went on smoothly and covered well. It is oil based so use a foam brush. We also used a whole lot of this Dap spackling HERE in between bricks..
The photos don’t show what a huge difference this made to the overall look of the fireplace.
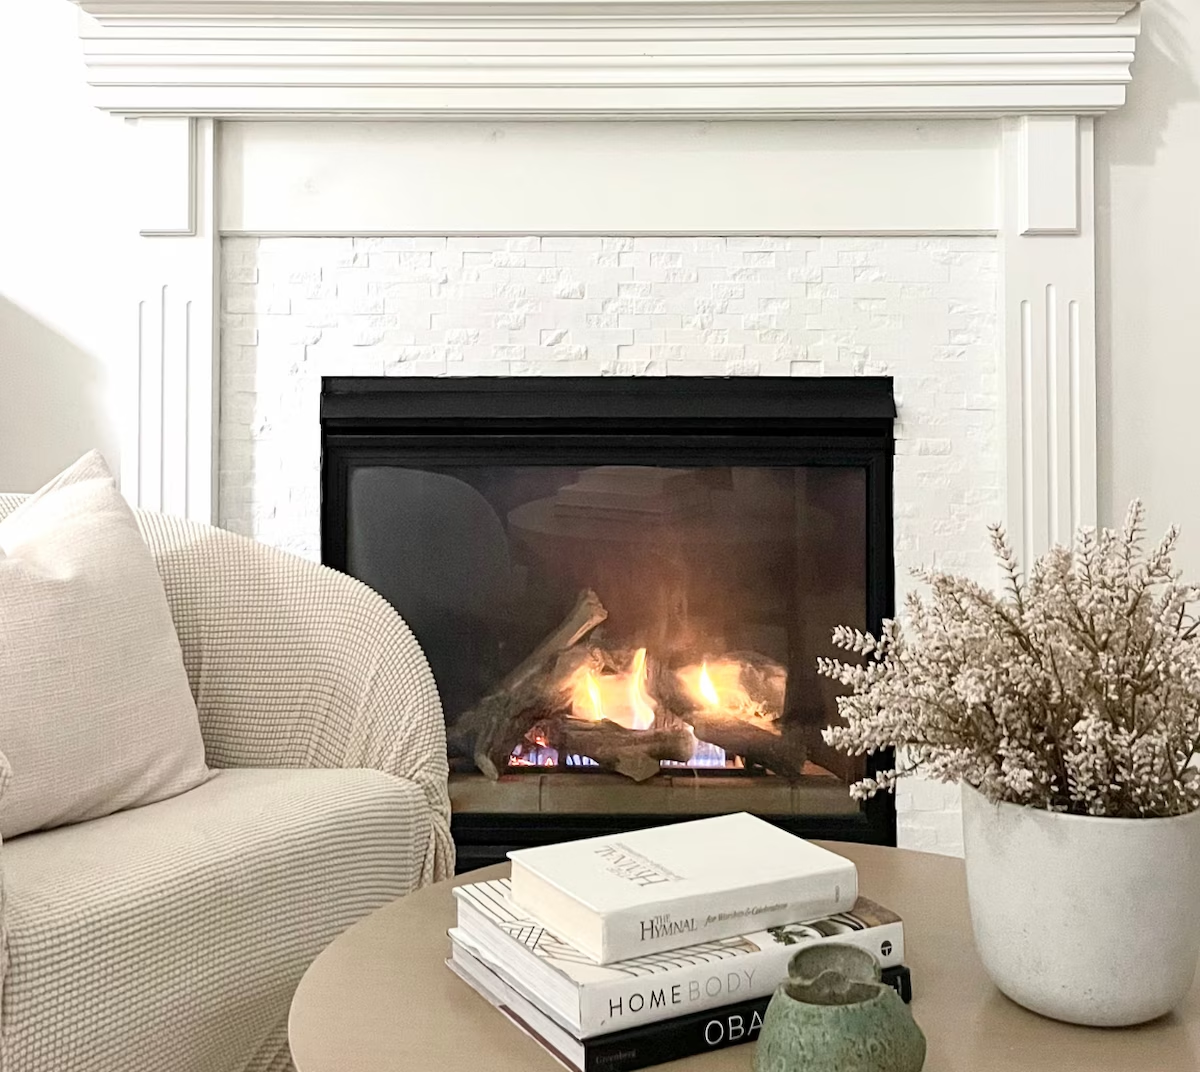
After all this work the fireplace is looking great. So glad we saved it instead of tearing it out.
That renovation can be for another project or even another family many years from now.
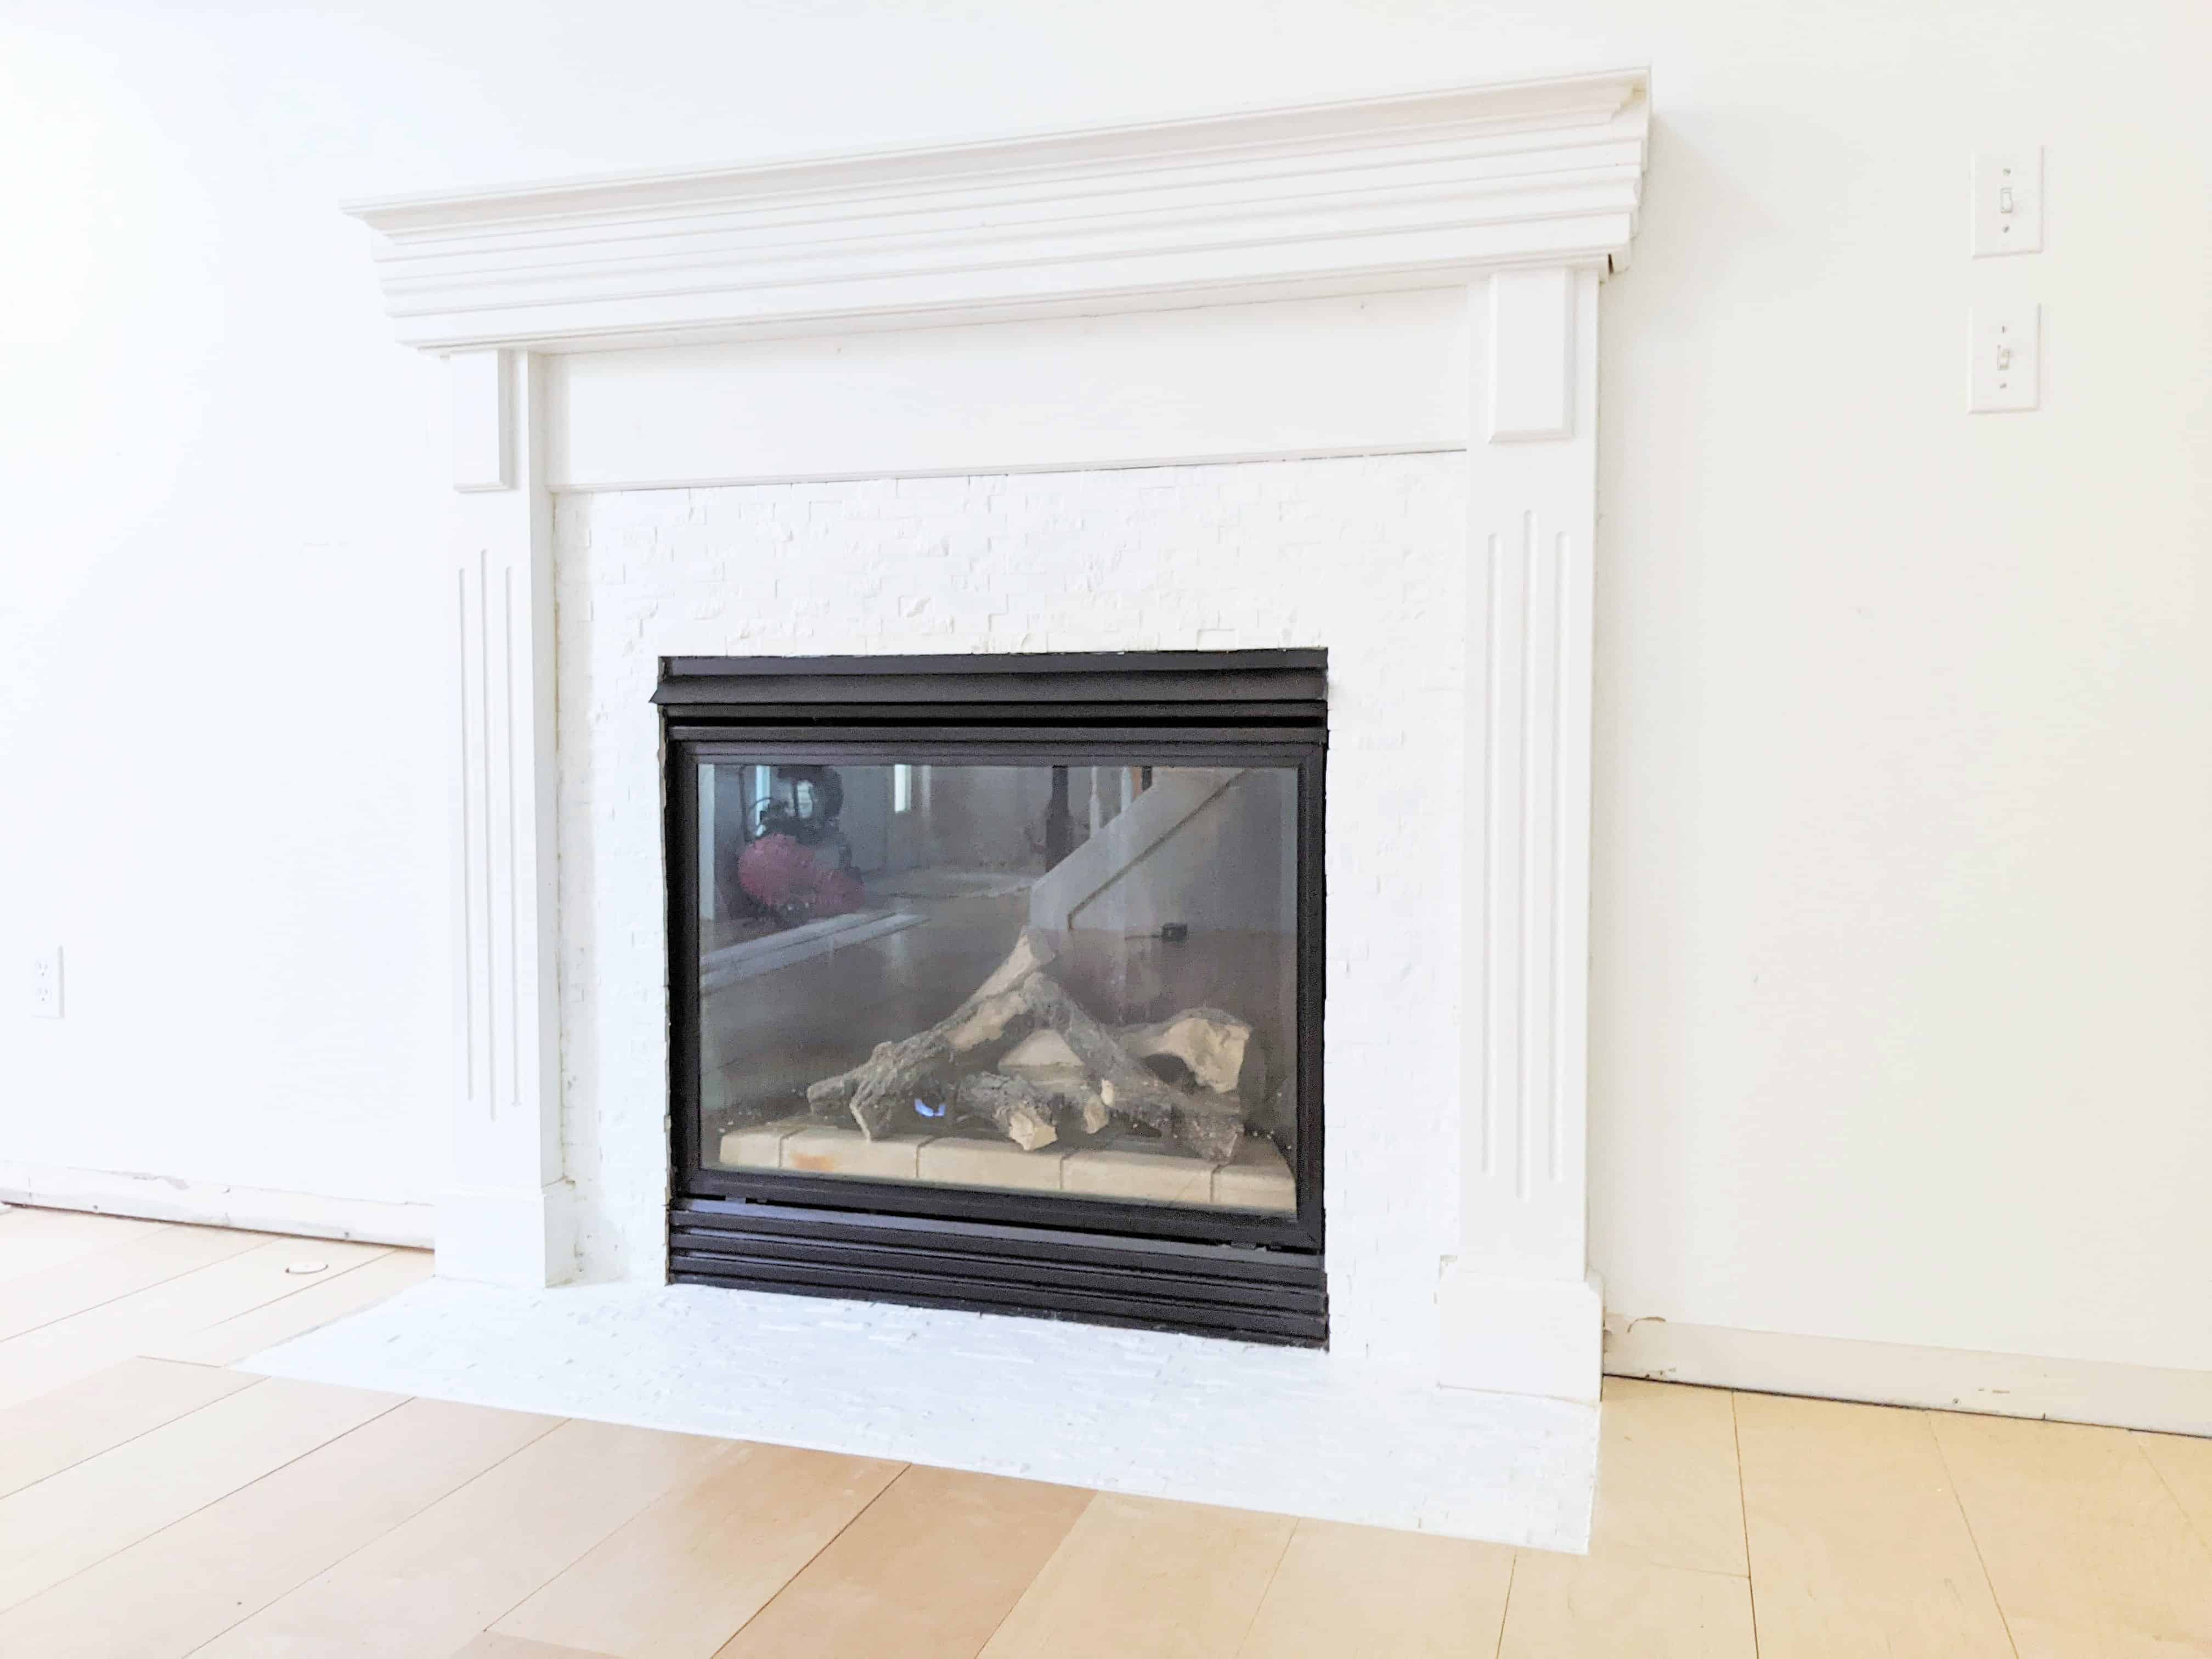
Now I’m at the point where I need to decide if I should keep the fireplace mantel and surround neutral colors or lean into deep saturated colors for more contrast against the white wall.
For now I’ll keep things as is, but it’s always possible to change things up.
After we worked on the fireplace it was exciting to put in the plywood plank flooring. You can see how we did that here.


All in all this fireplace makeover was well worth the time and effort.
It always surprises me how little needs to be invested financially to create a huge improvements in our homes.

MORE RENOVATION PROJECTS
- 4 Simple DIY Improvements in a Small Space
- Transforming a Hallway with a Wallpaper Mural
- Easy DIY Window Grids
Each week I like to try to make time and gather a few great deals on pieces I love and share them with you.
Here’s what I found this week!







0 Comments