Do you sometimes get a burst of inspiration that can’t be ignored? Even if it sounds a little crazy?
Recently an idea came to mind based on wanting three things.
- Save money.
- Save the planet.
- Save time.
That second one is a little grandiose, but hey, I dream big.
Basically, I wanted to use what I had to build something my family needed.
Upcycled Shelving Using Wood and Cardboard
As I shared with you in this post HERE, our kid’s bathroom has gone through some changes over the years.
When we first moved into our house the kid’s upstairs bathroom was one space. We had an incredible contractor come and install a pocket door and window above it. Our kid’s bathroom now comprises two areas: a sink and cabinet area as well as an enclosed toilet and shower area.
Doing this has greatly helped with bathroom usage for five kids.
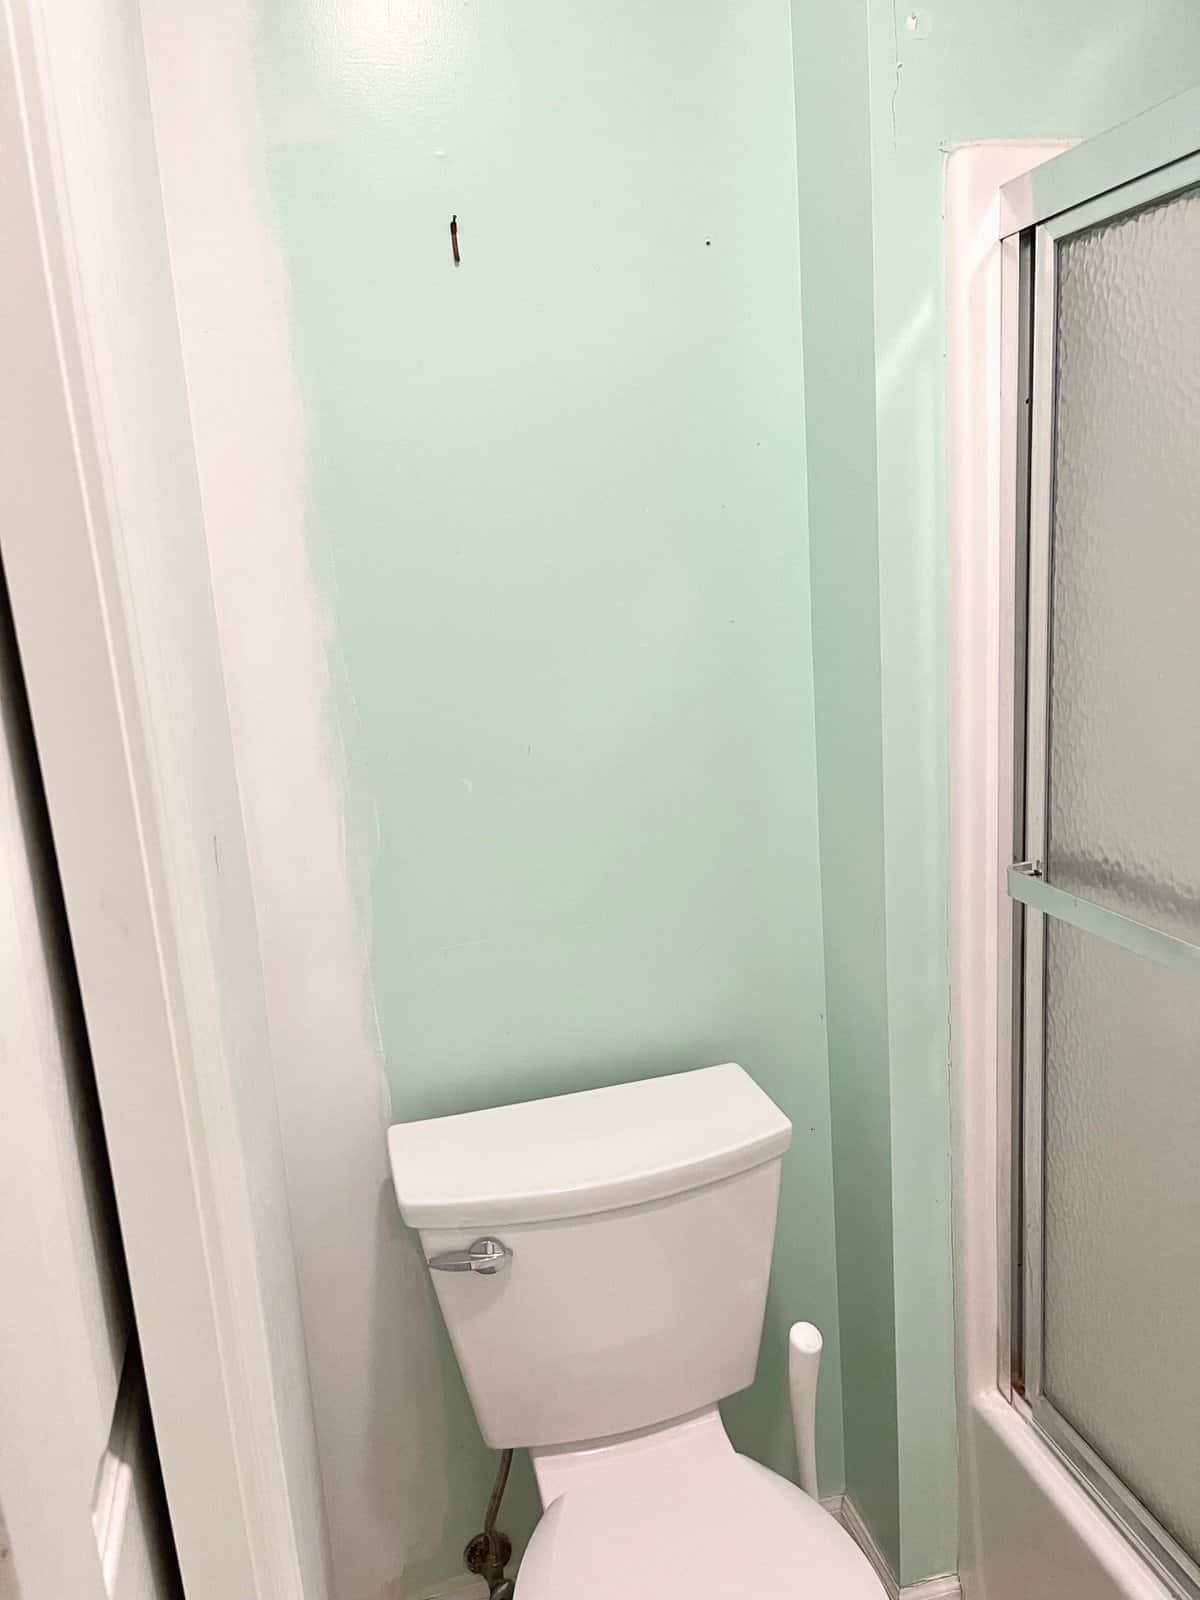
The Perfect Spot for a Bathroom Shelf
We found however that the cabinets which held the towels outside of the shower area were not strategically placed. If you forgot to grab a towel before getting in the shower you were stuck.
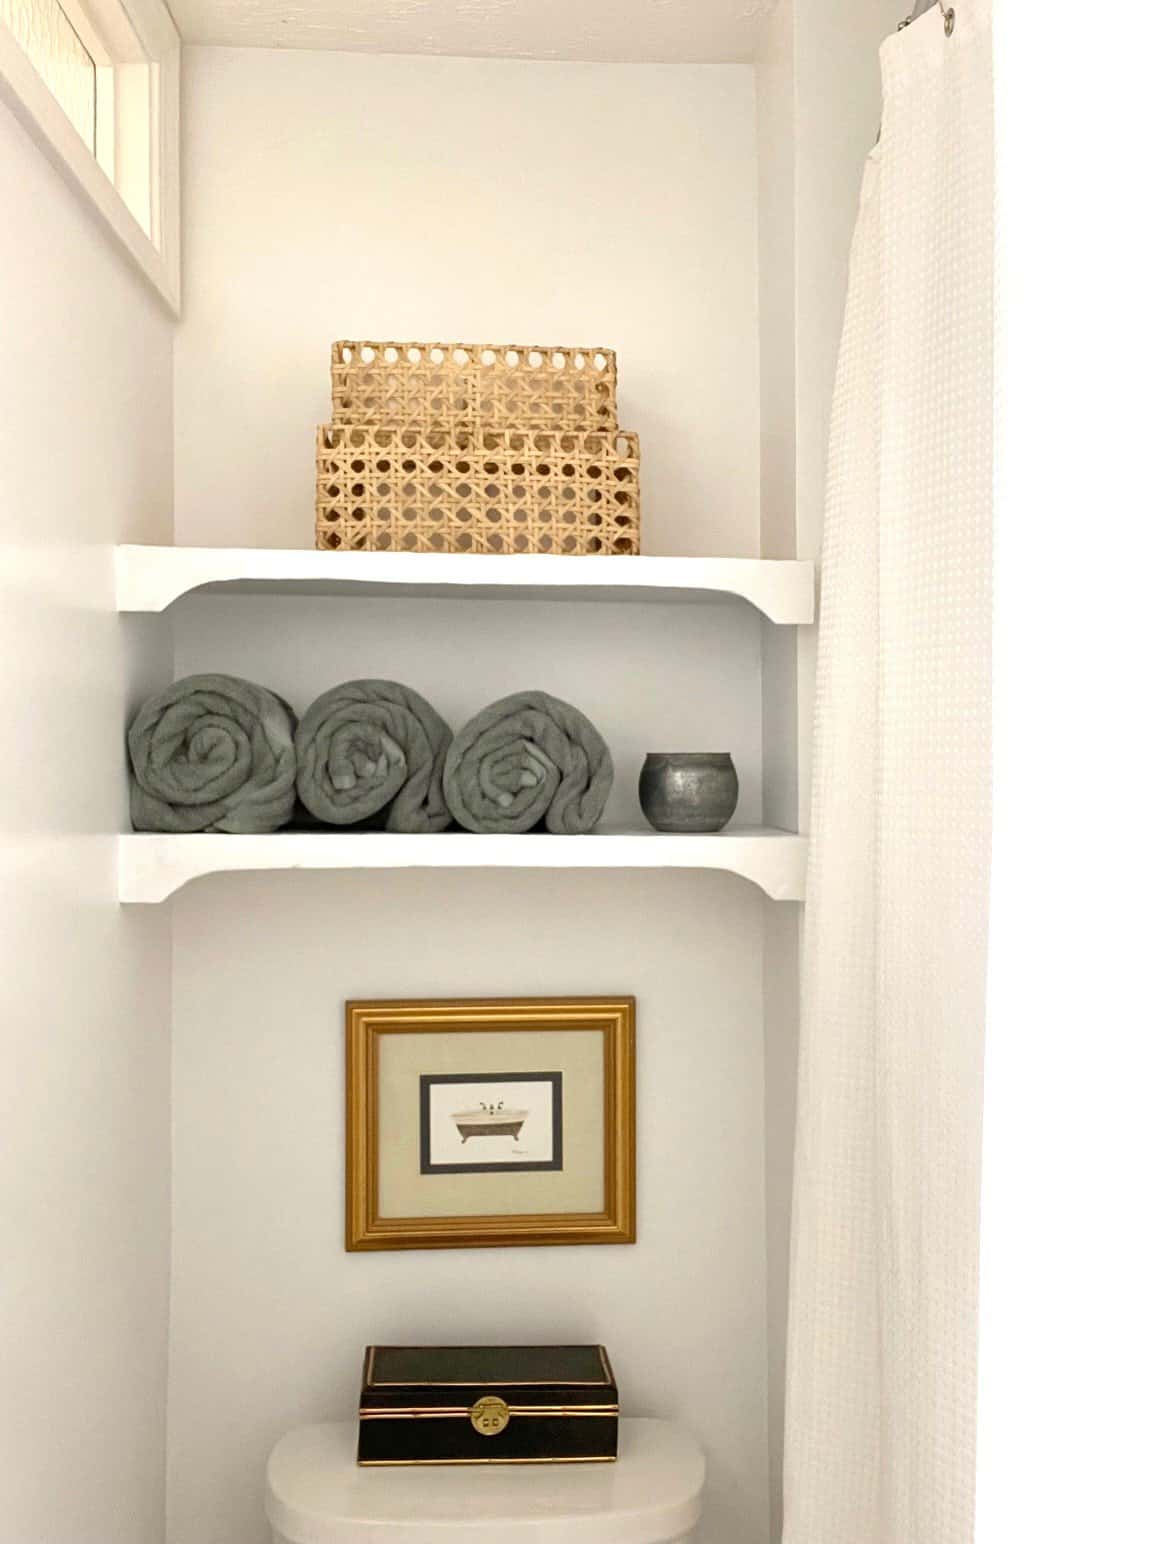
As with any small space there are always areas where storage can be added, and I had my eye on the area above the toilet. The little alcove was the perfect spot for a couple of shelves. Not just any shelves though, upcycled bathroom shelves using wood and cardboard!
Wait a minute, you say, hold your horses! You’re going to make upcycled bathroom shelving using wood and cardboard? To which I say, I know crazy right? But in the same breath I thought, I can do this!
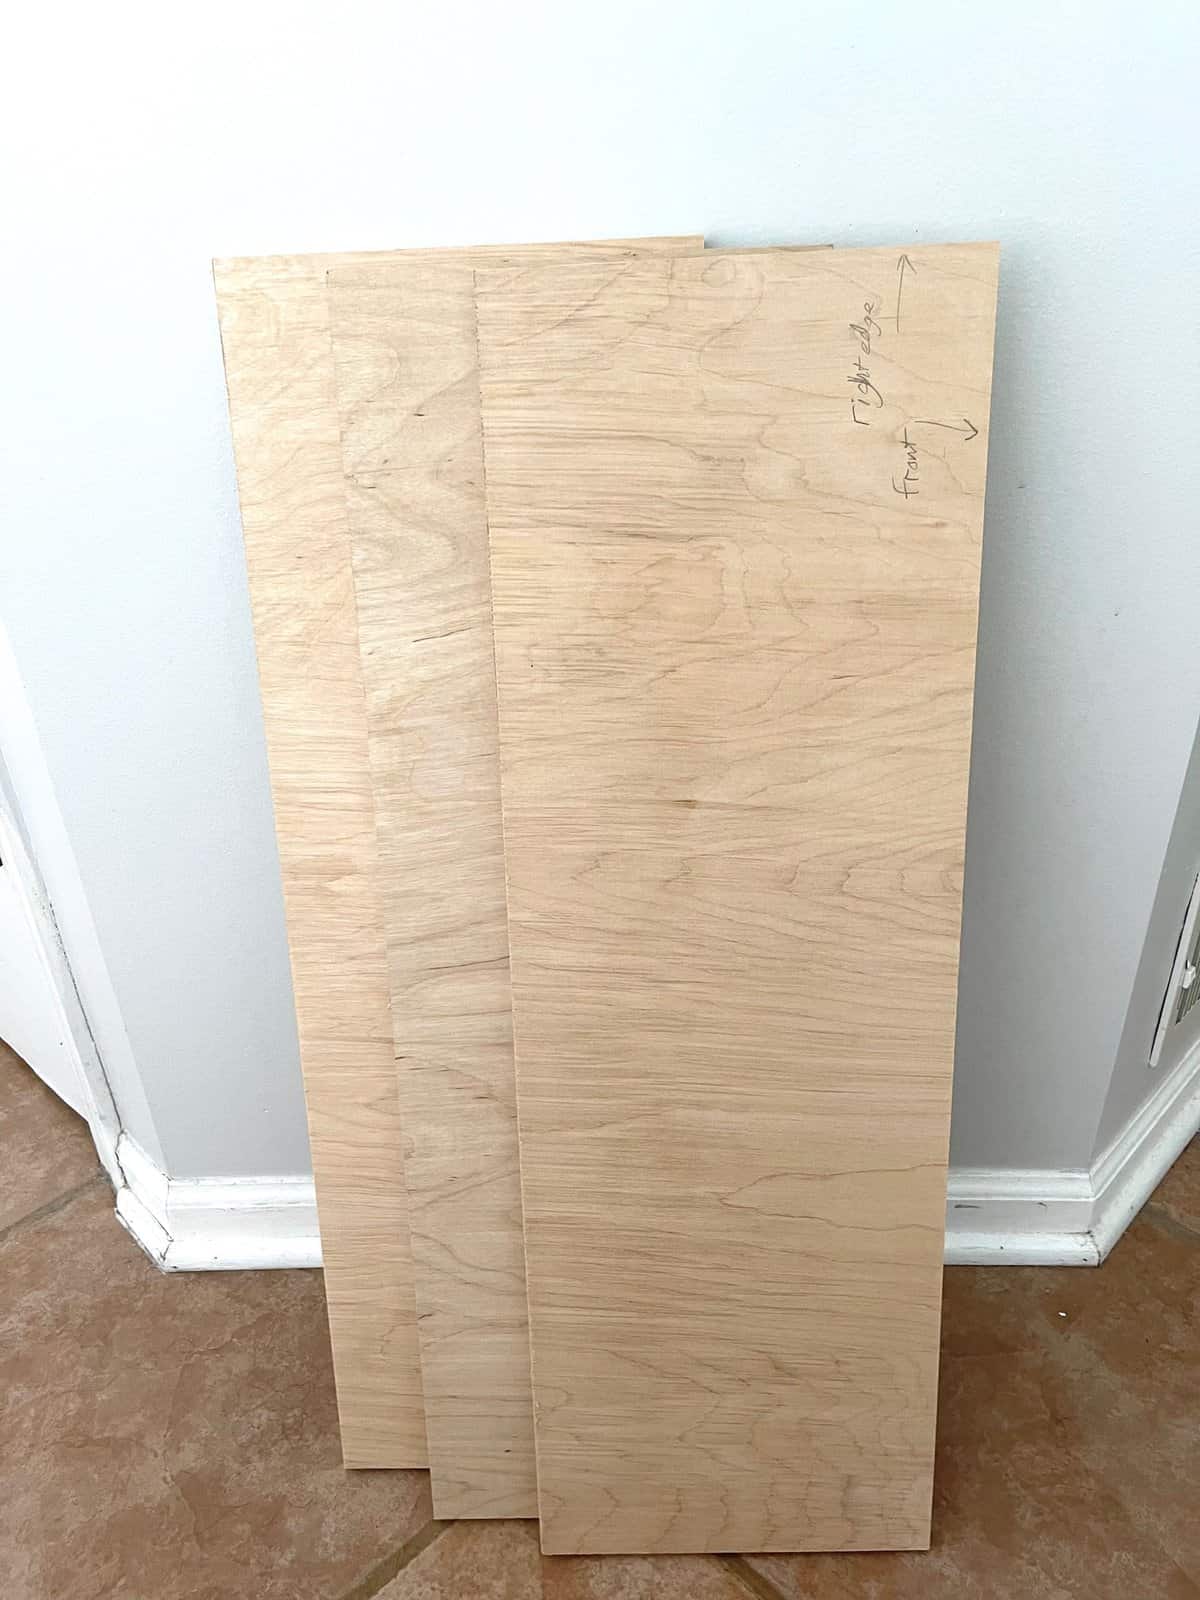
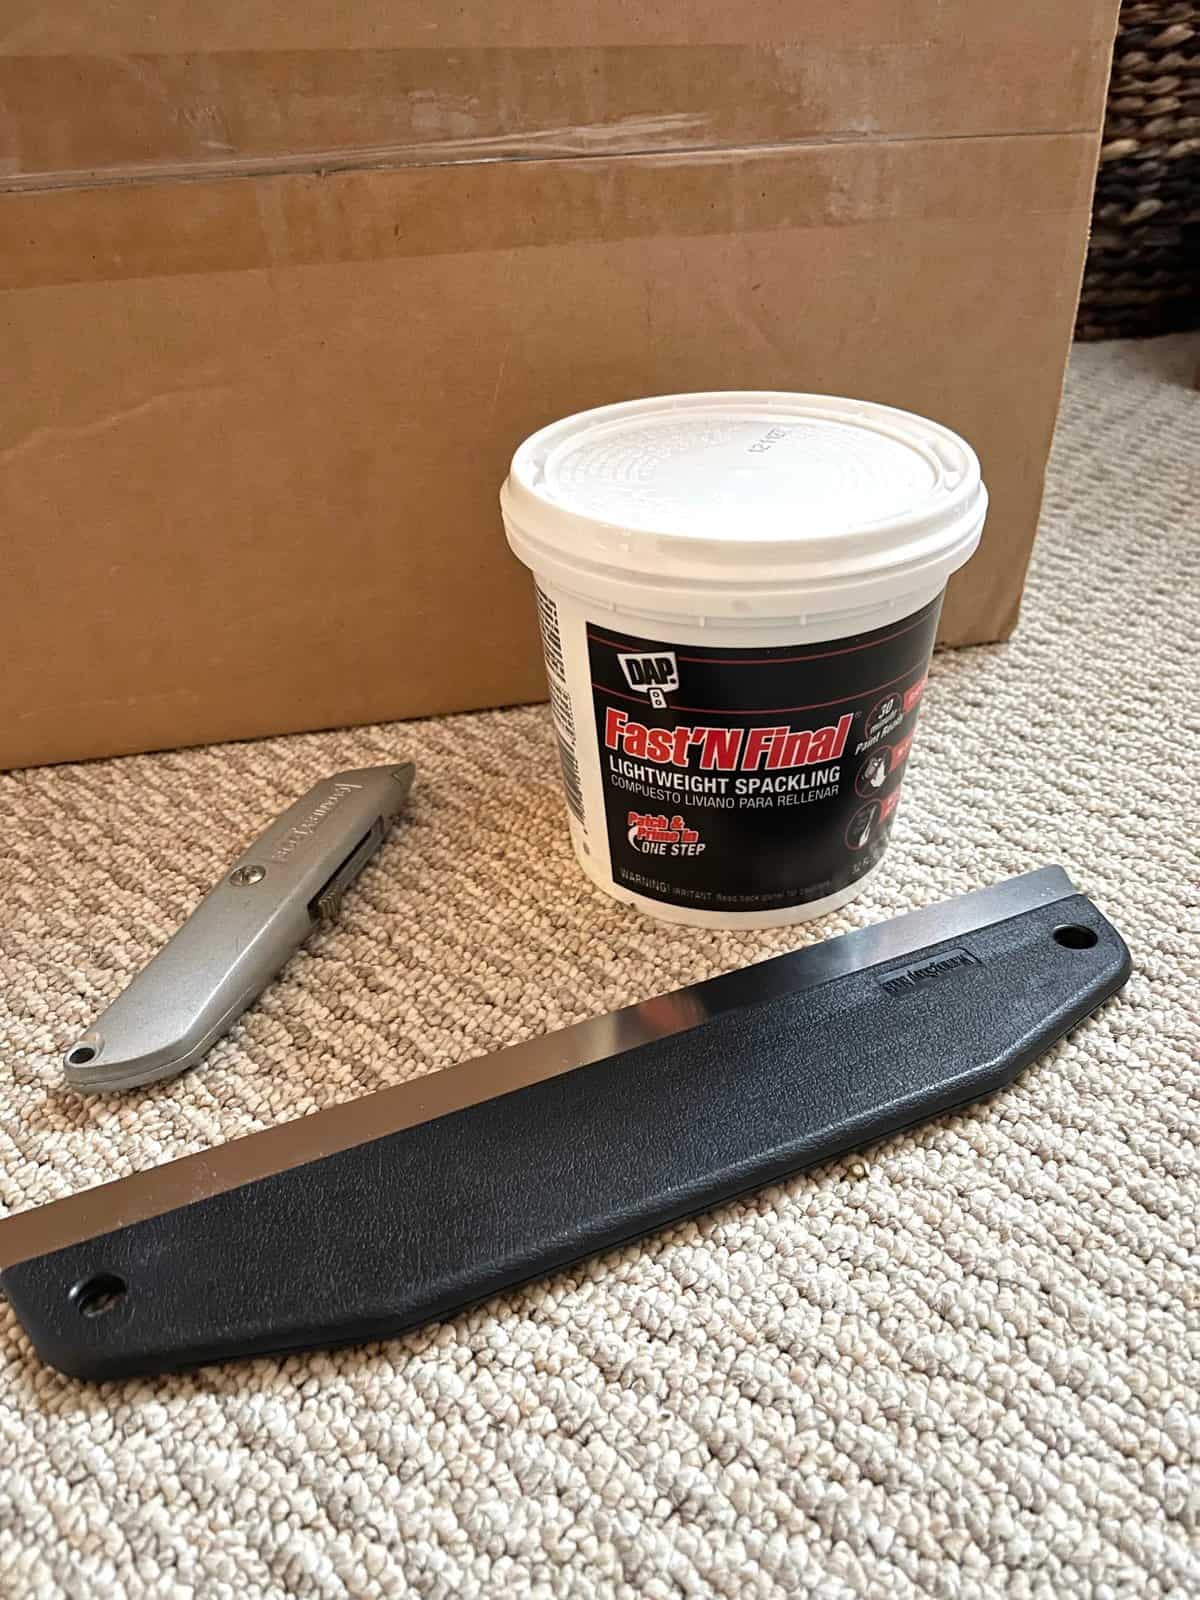
What I Used
(the only item I bought for this project were the thrifted wood shelves, everything else I had from previous projects)
- 2 Rectangle Wood Piece – thrift store (I know! That’s why we all must shop there, you never know what you might find.)
- Cardboard – straight from my recycling bin
- Scrap Wood – our scrap wood pile
- Box Cutter – our tool box
- Left over Spackle – from this DIY project HERE
- Wallpaper Smoothing Tool – I couldn’t find my paint scrapper which would have worked as well
- Liquid Nails – Love this stuff. I used the subfloor adhesive because it’s just so strong, and I thought it would be best in a humid bathroom environment.
- Sand paper – always have this on hand it’s so useful
- Left over White Paint – our somewhat scary paint stash
- Nails – our very scary and unorganized nail and screw stash
- Saw – hand or electric, your choice
How To Make Build In Shelving From Wood, Cardboard and Spackling
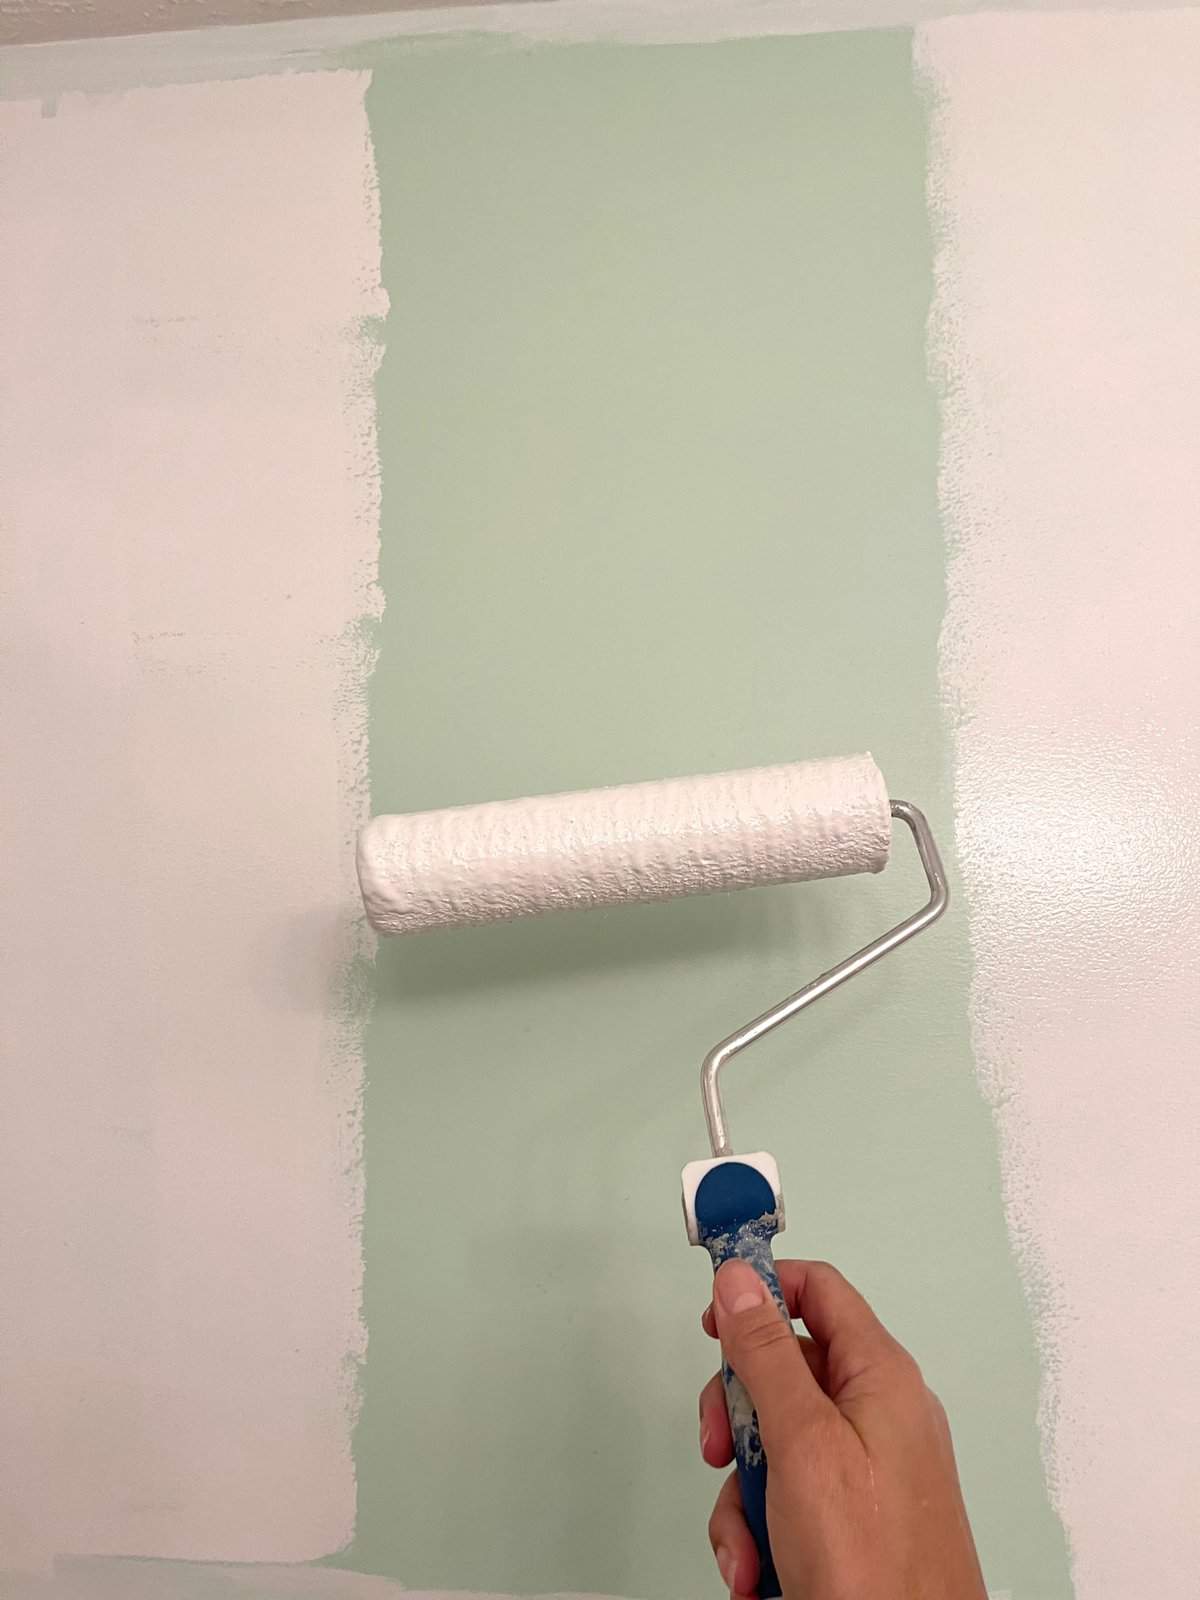
Paint your wall.
Goodbye mint green, I actually like you the first five years. Thank you for your service.
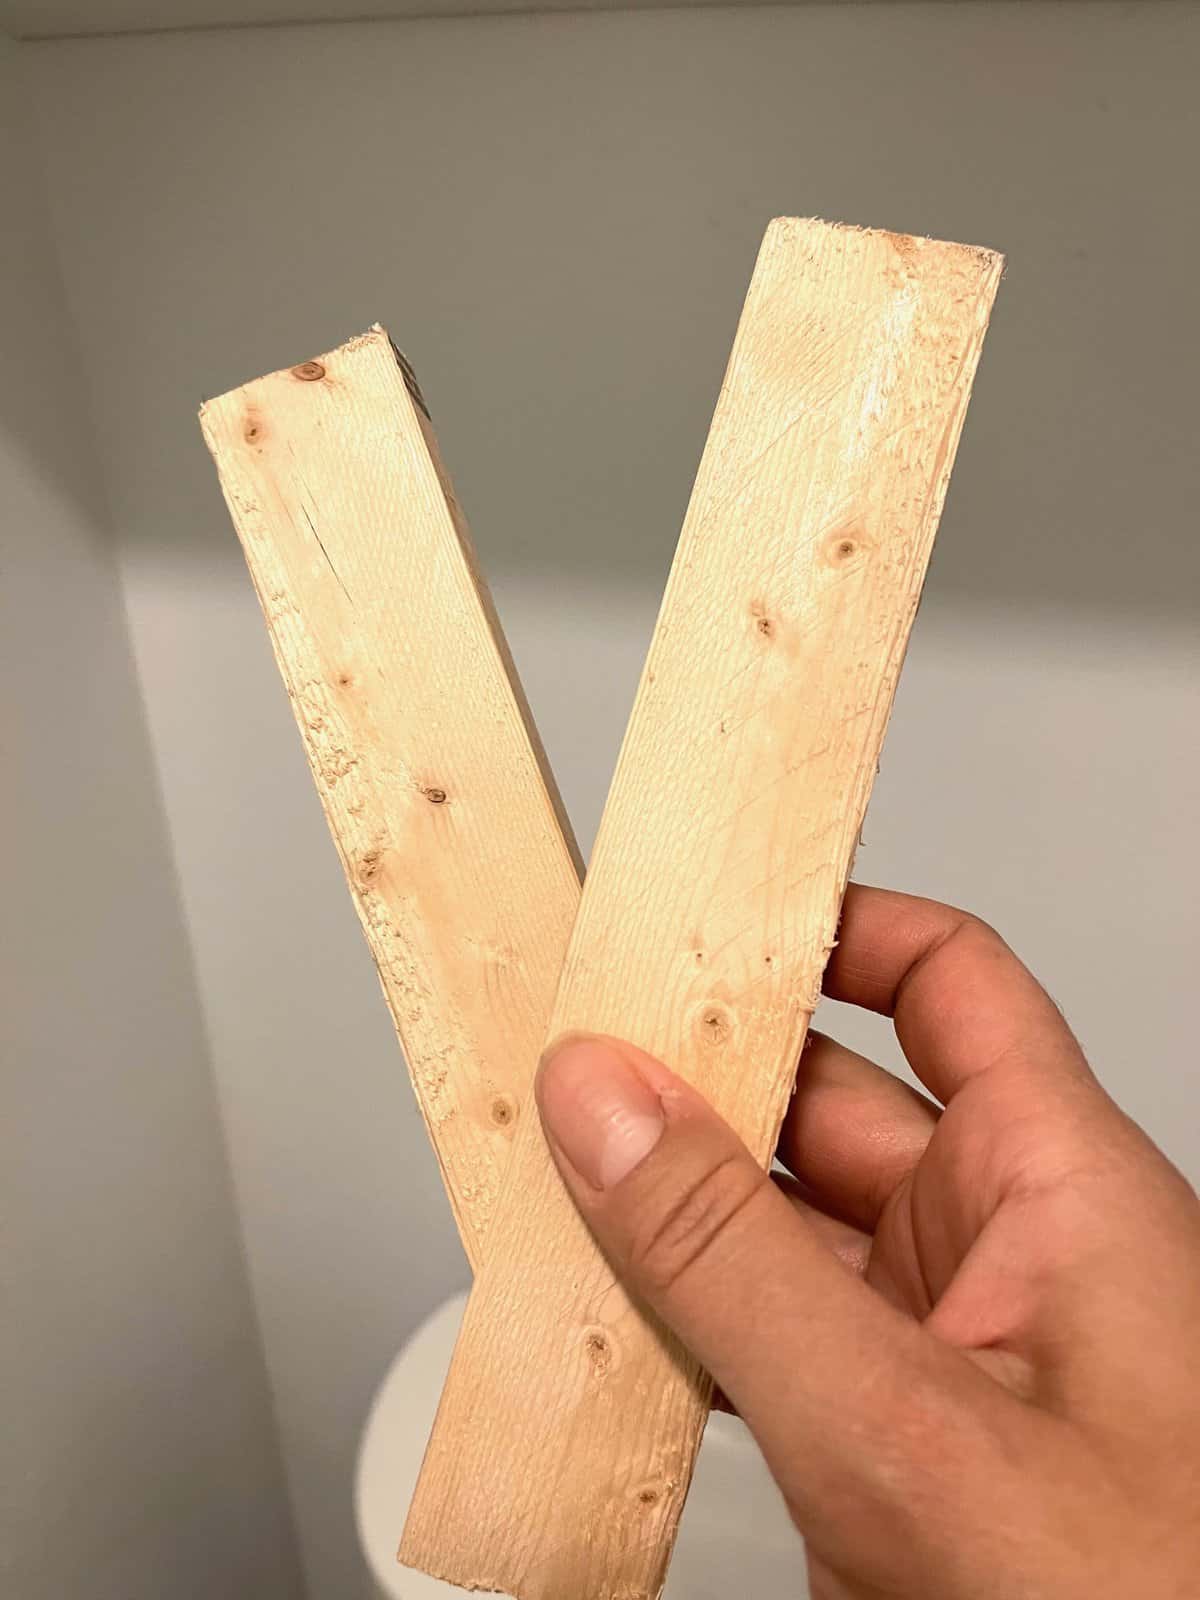
Cut wood shelves and wood support bars to size.
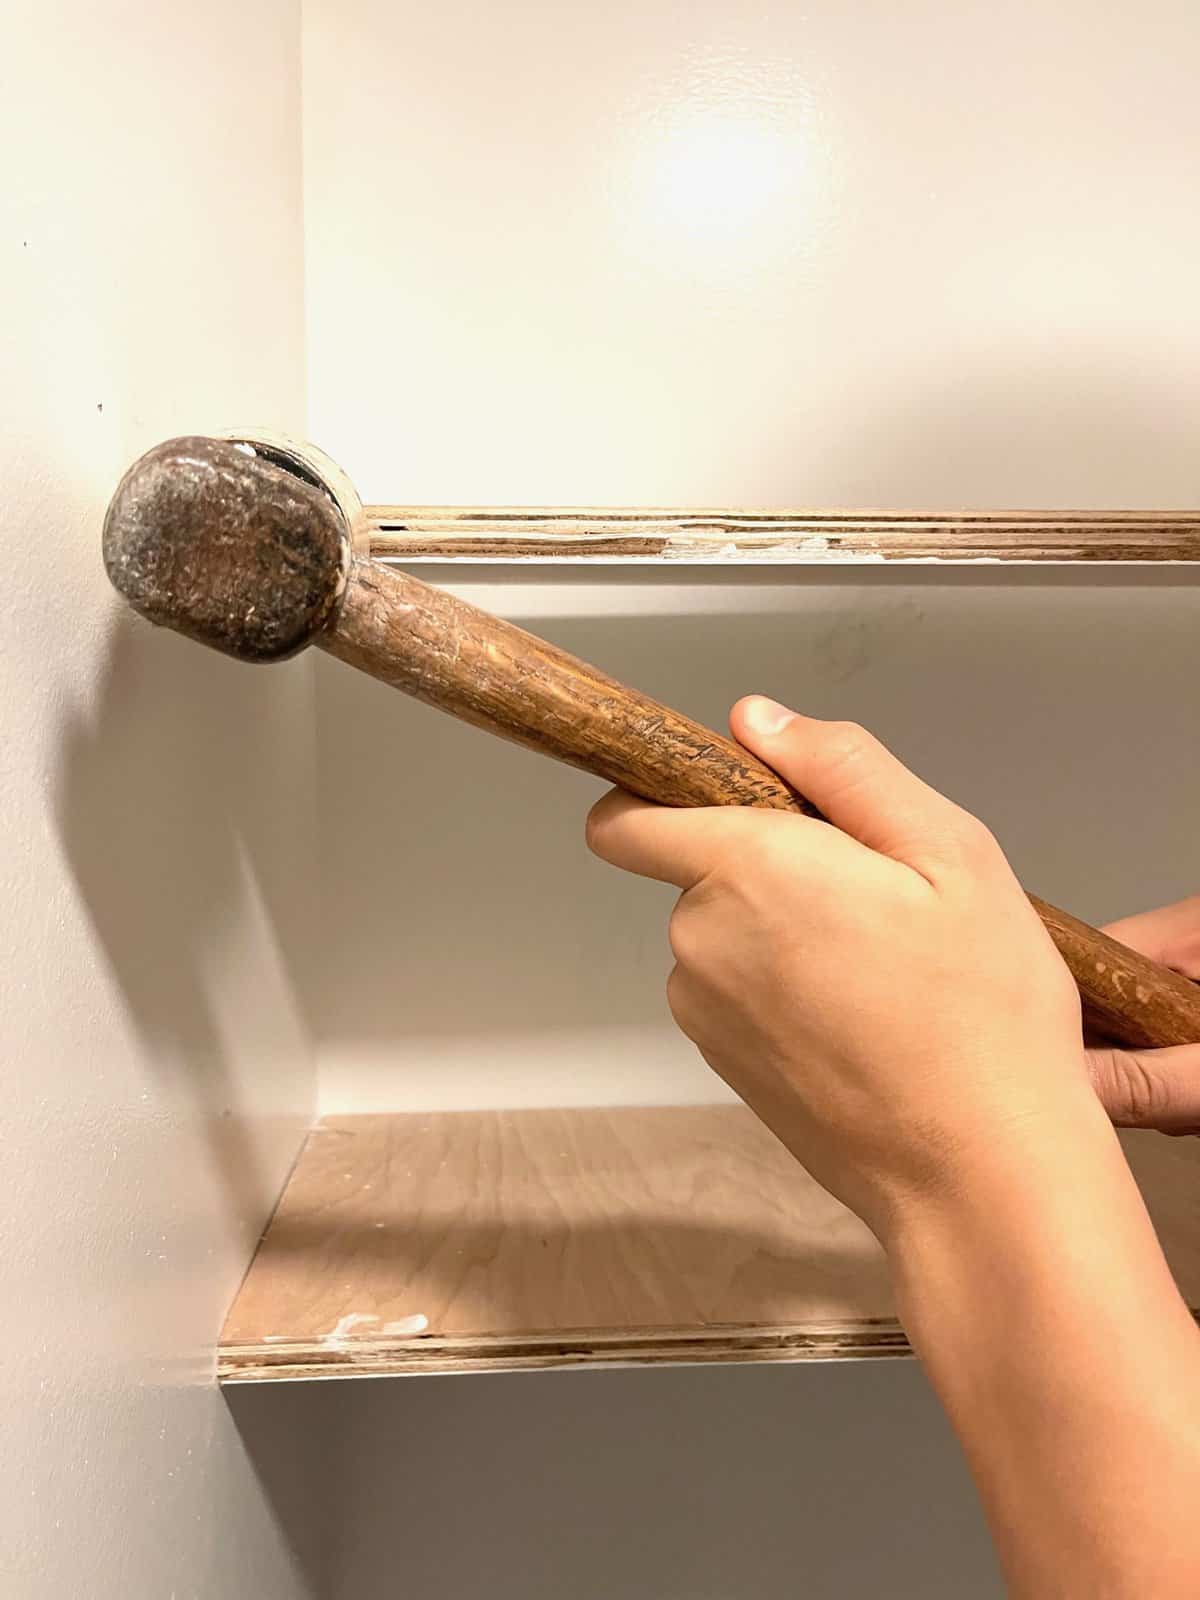
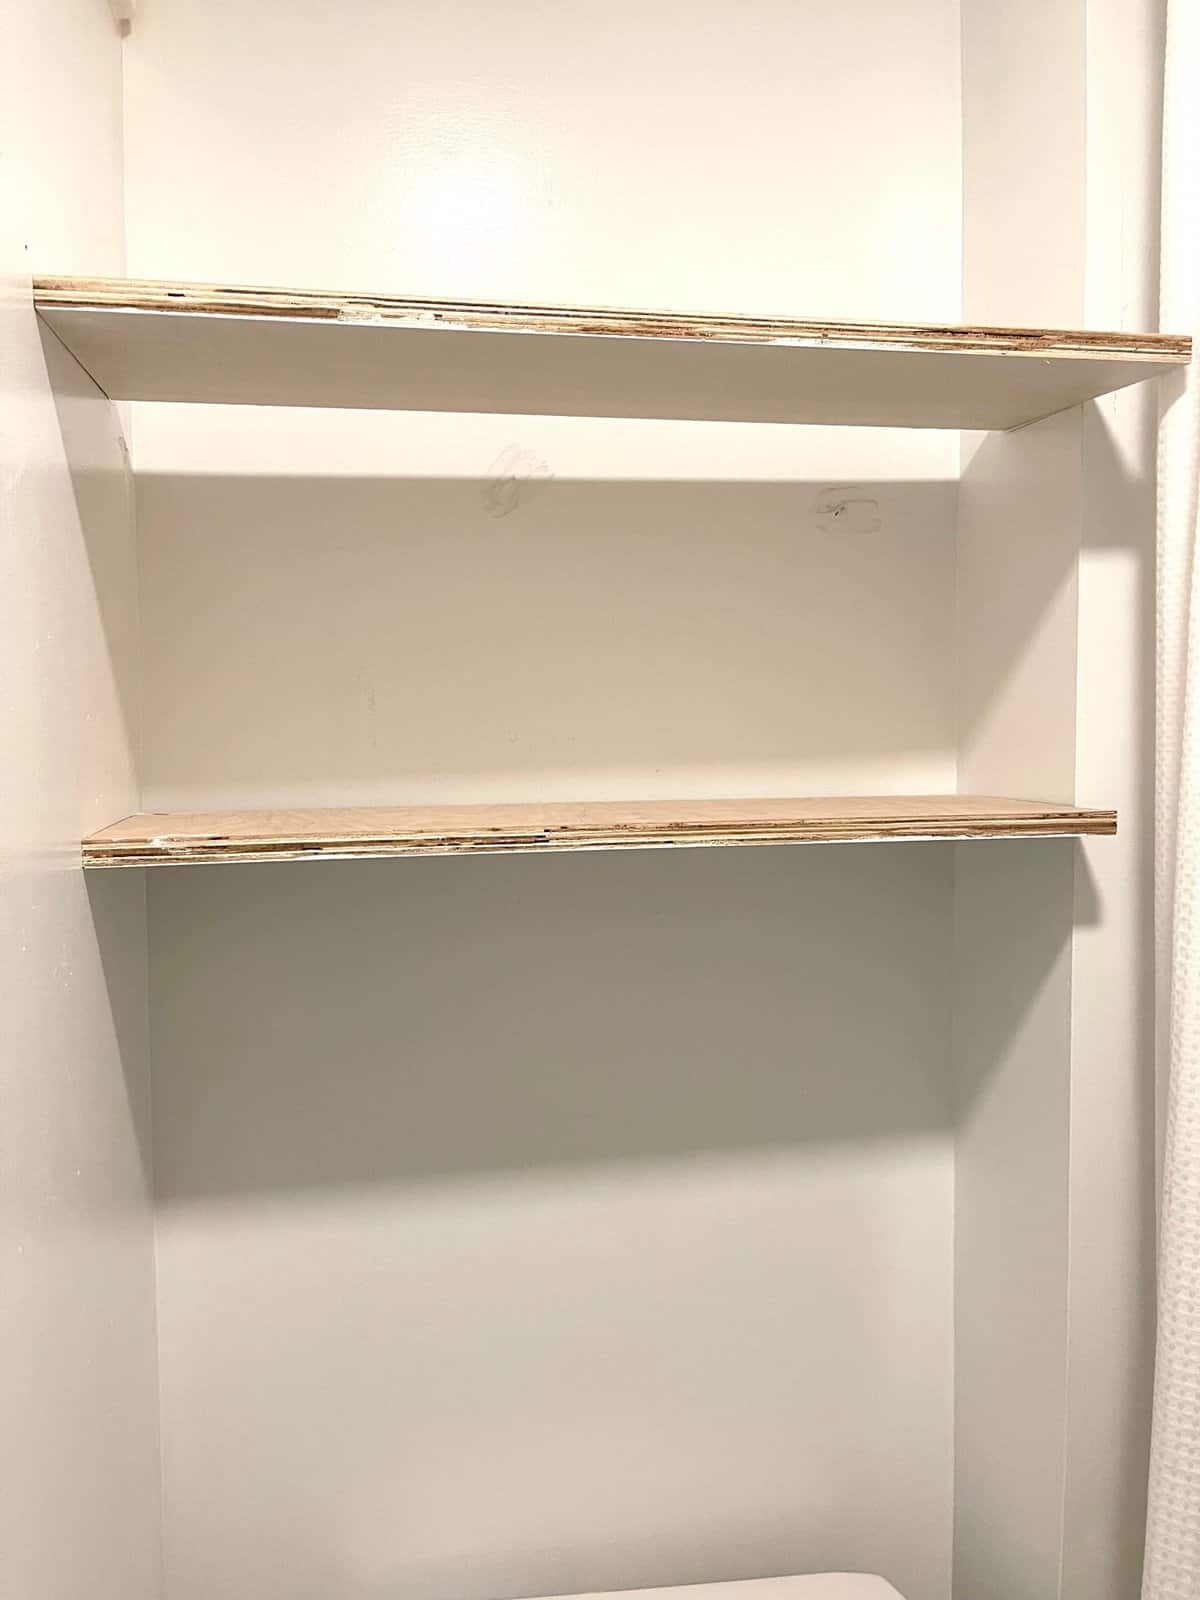
Measure where you want shelves to be positioned on wall.
Measuring is not my specialty so mine barely squeezed in and fit. (Notice the paint rubbed off! the wall!)
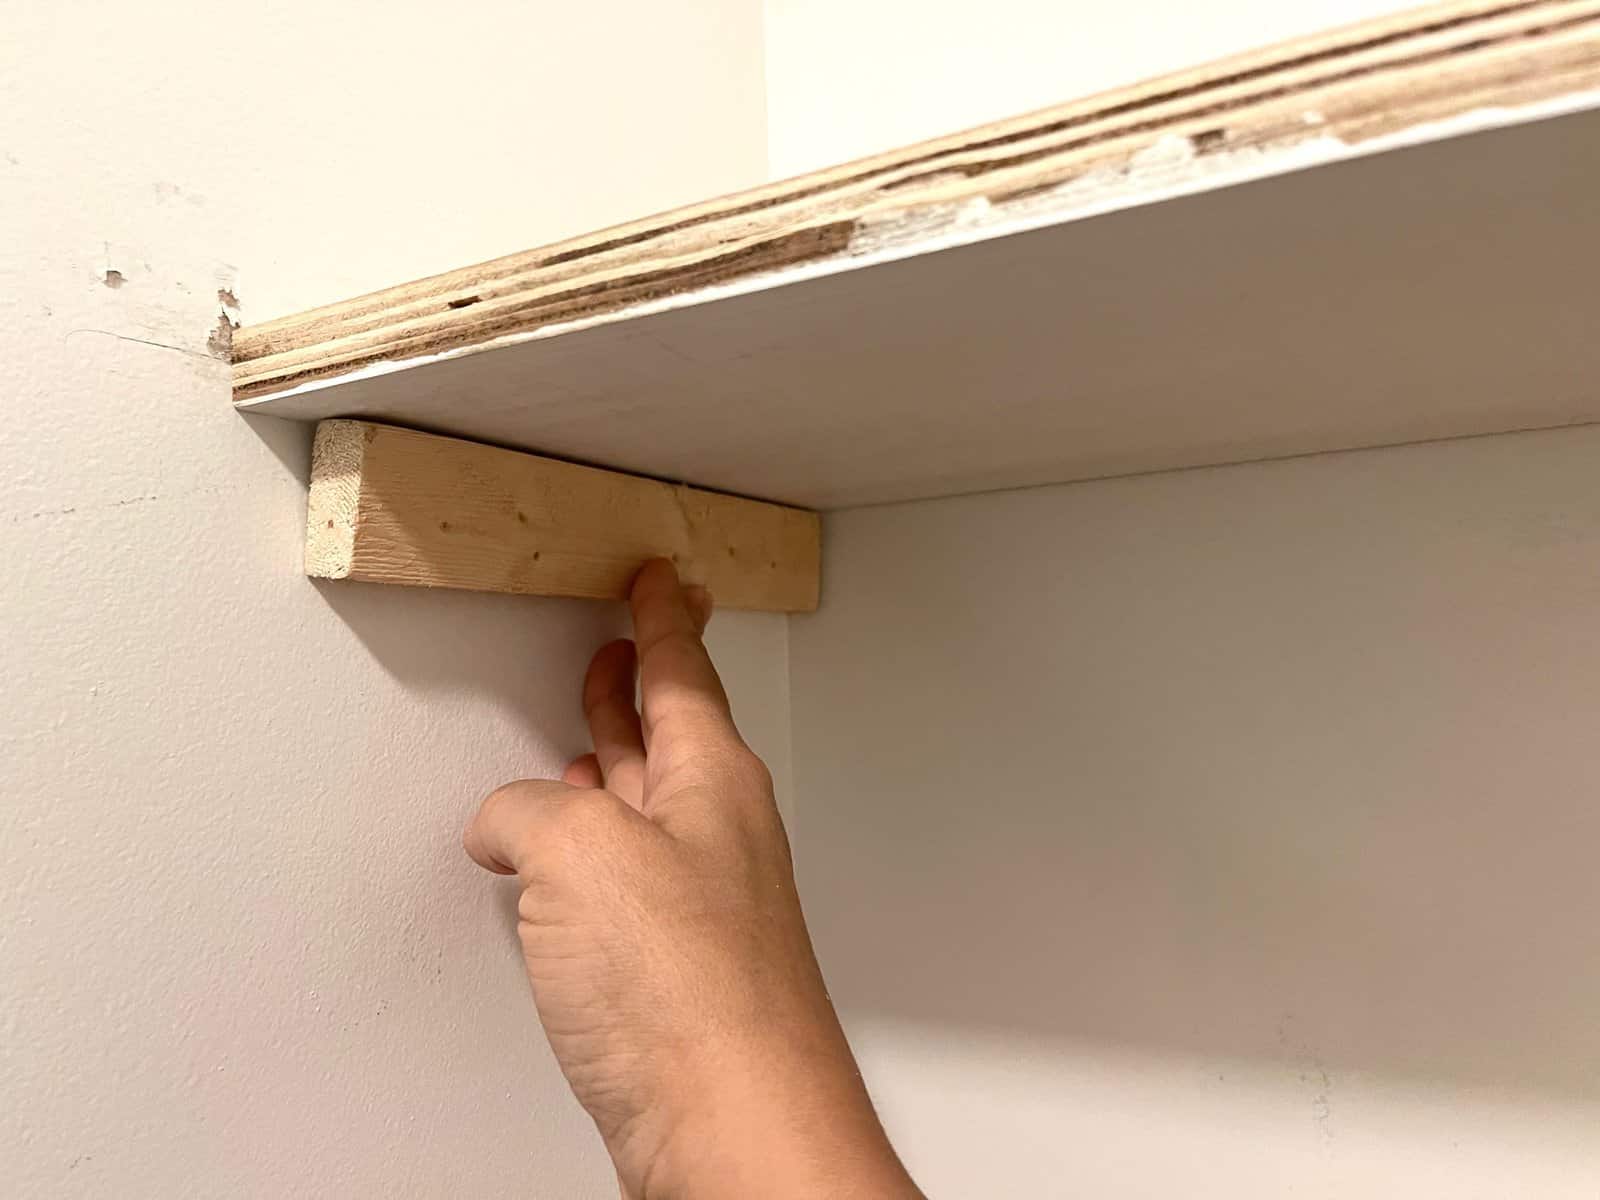
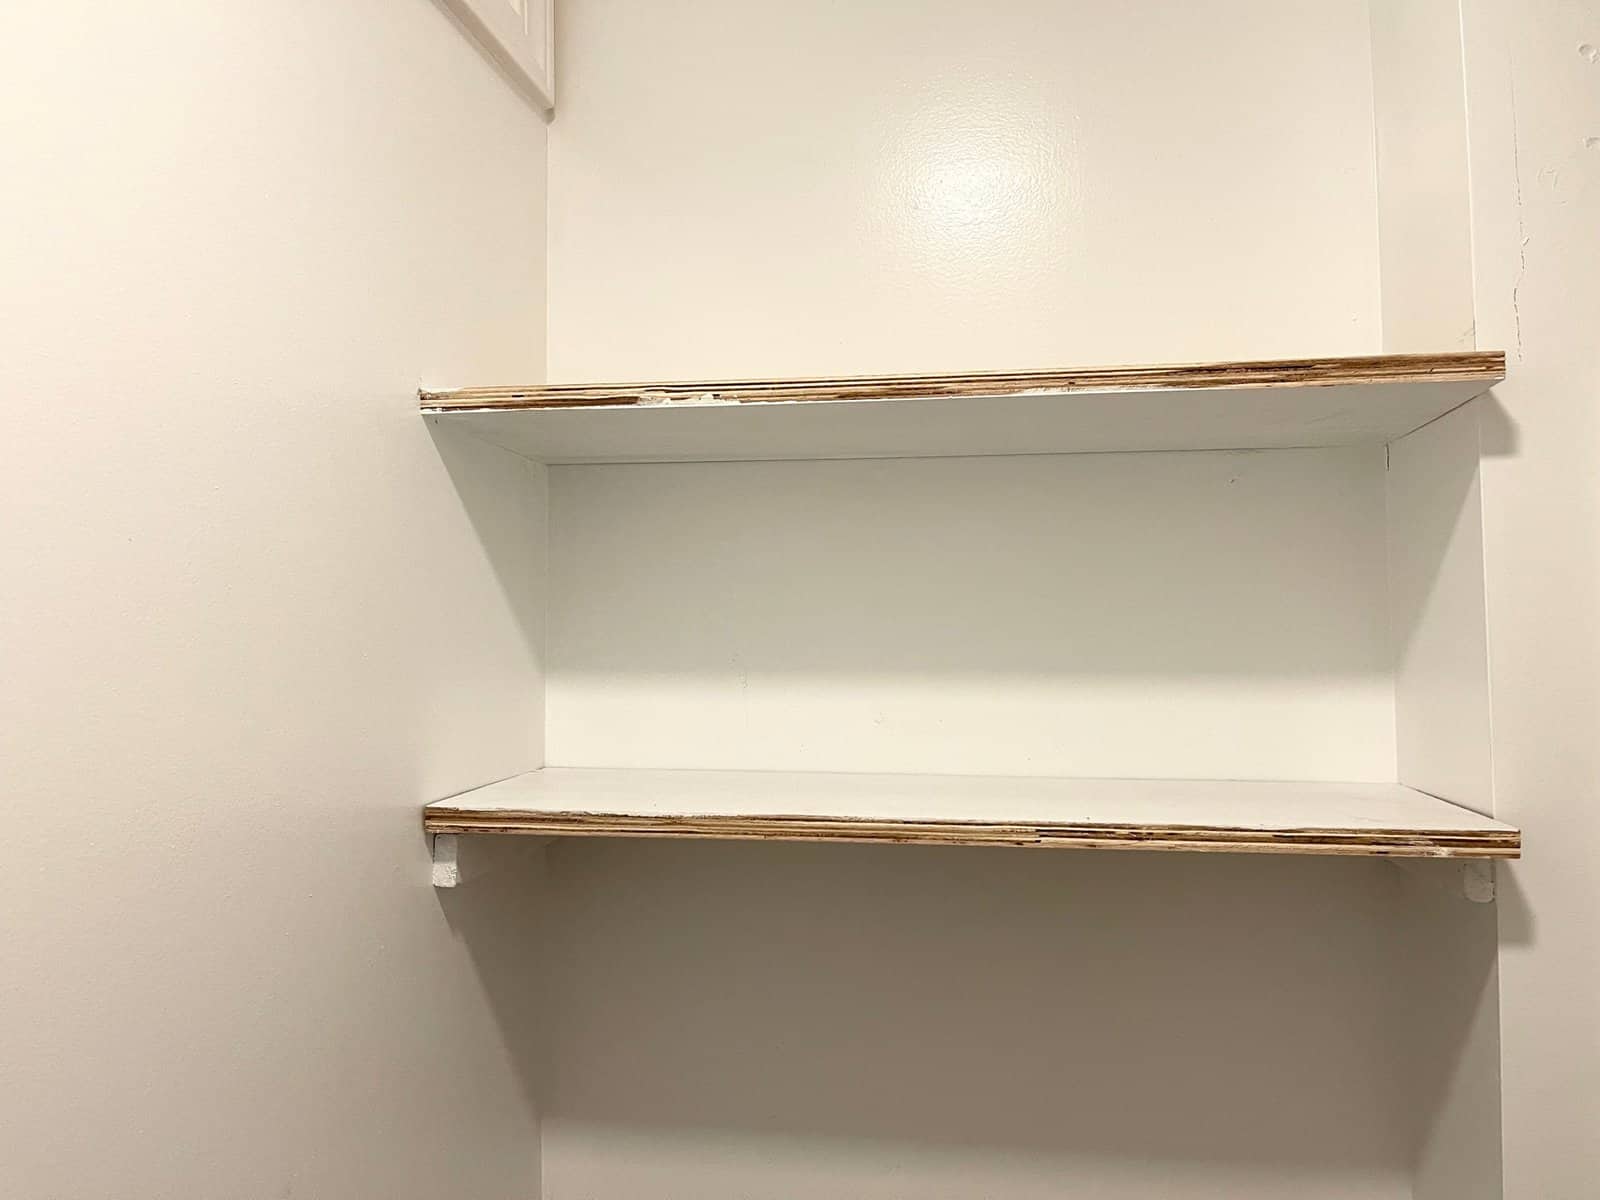
Screw or nail in the support bars on each side of the wall and lay wood shelves on top.
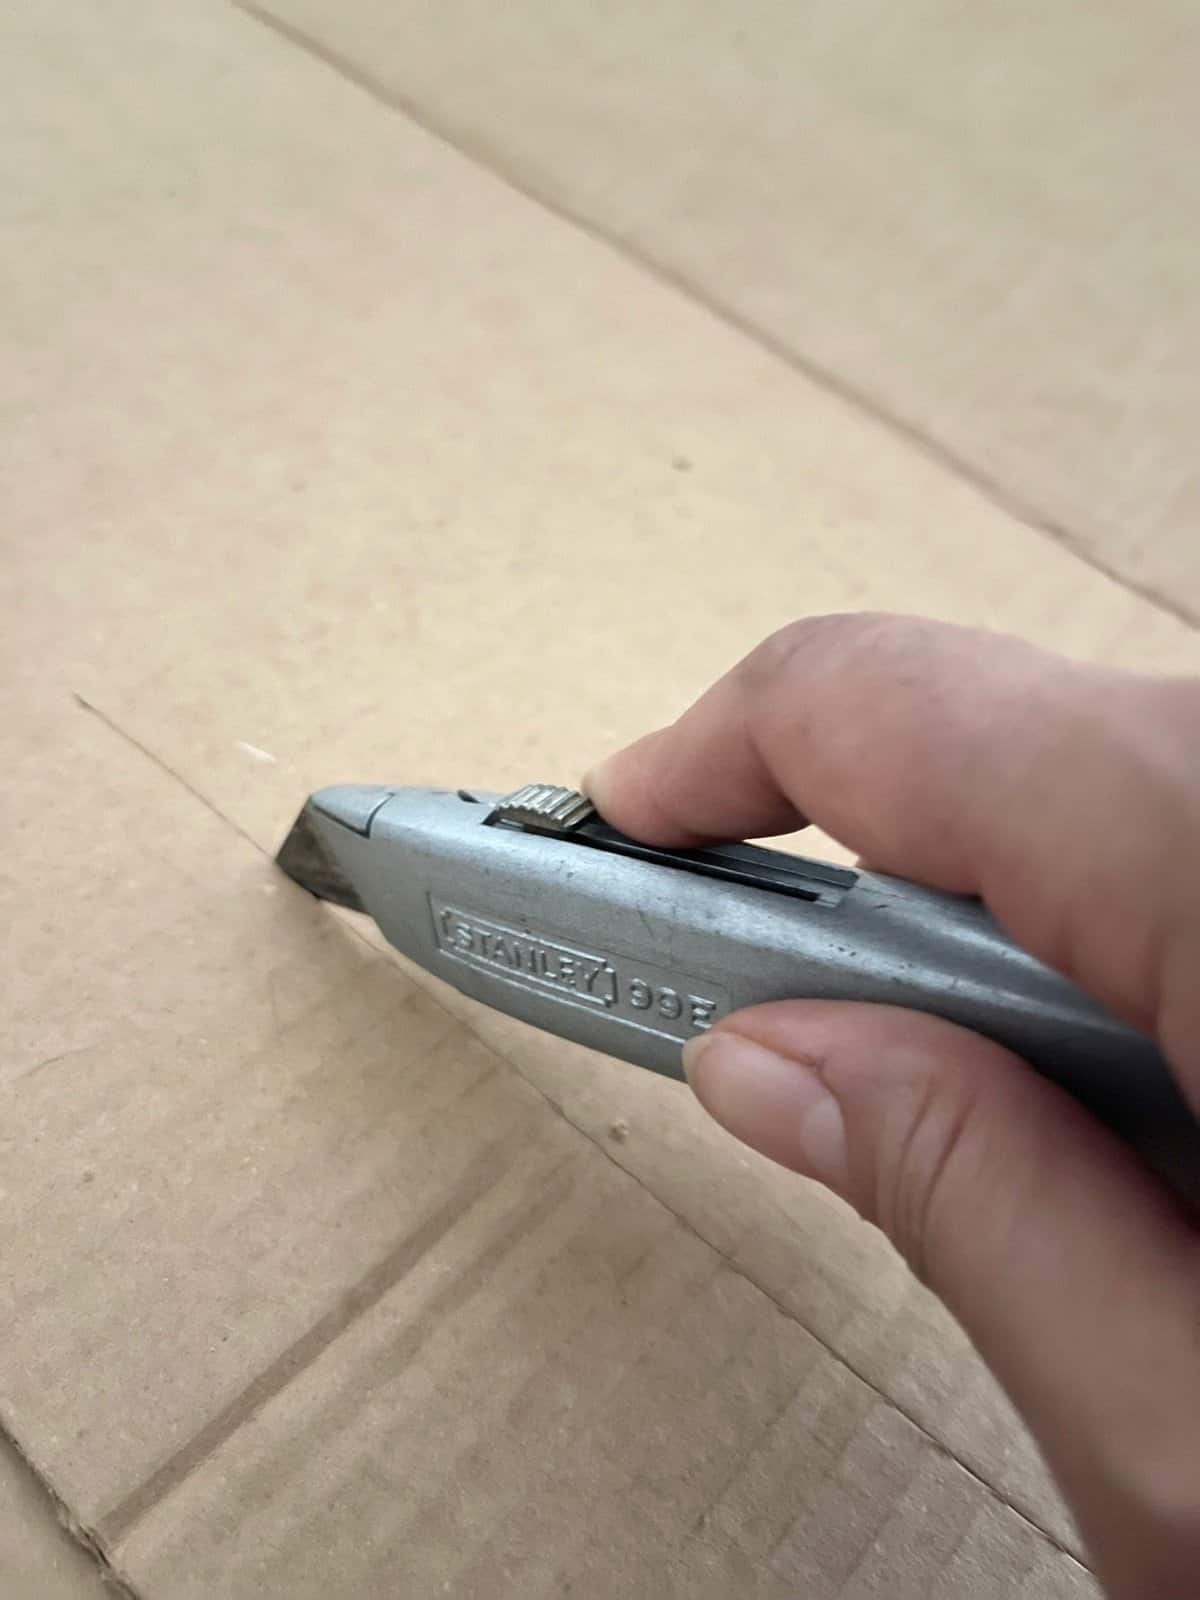
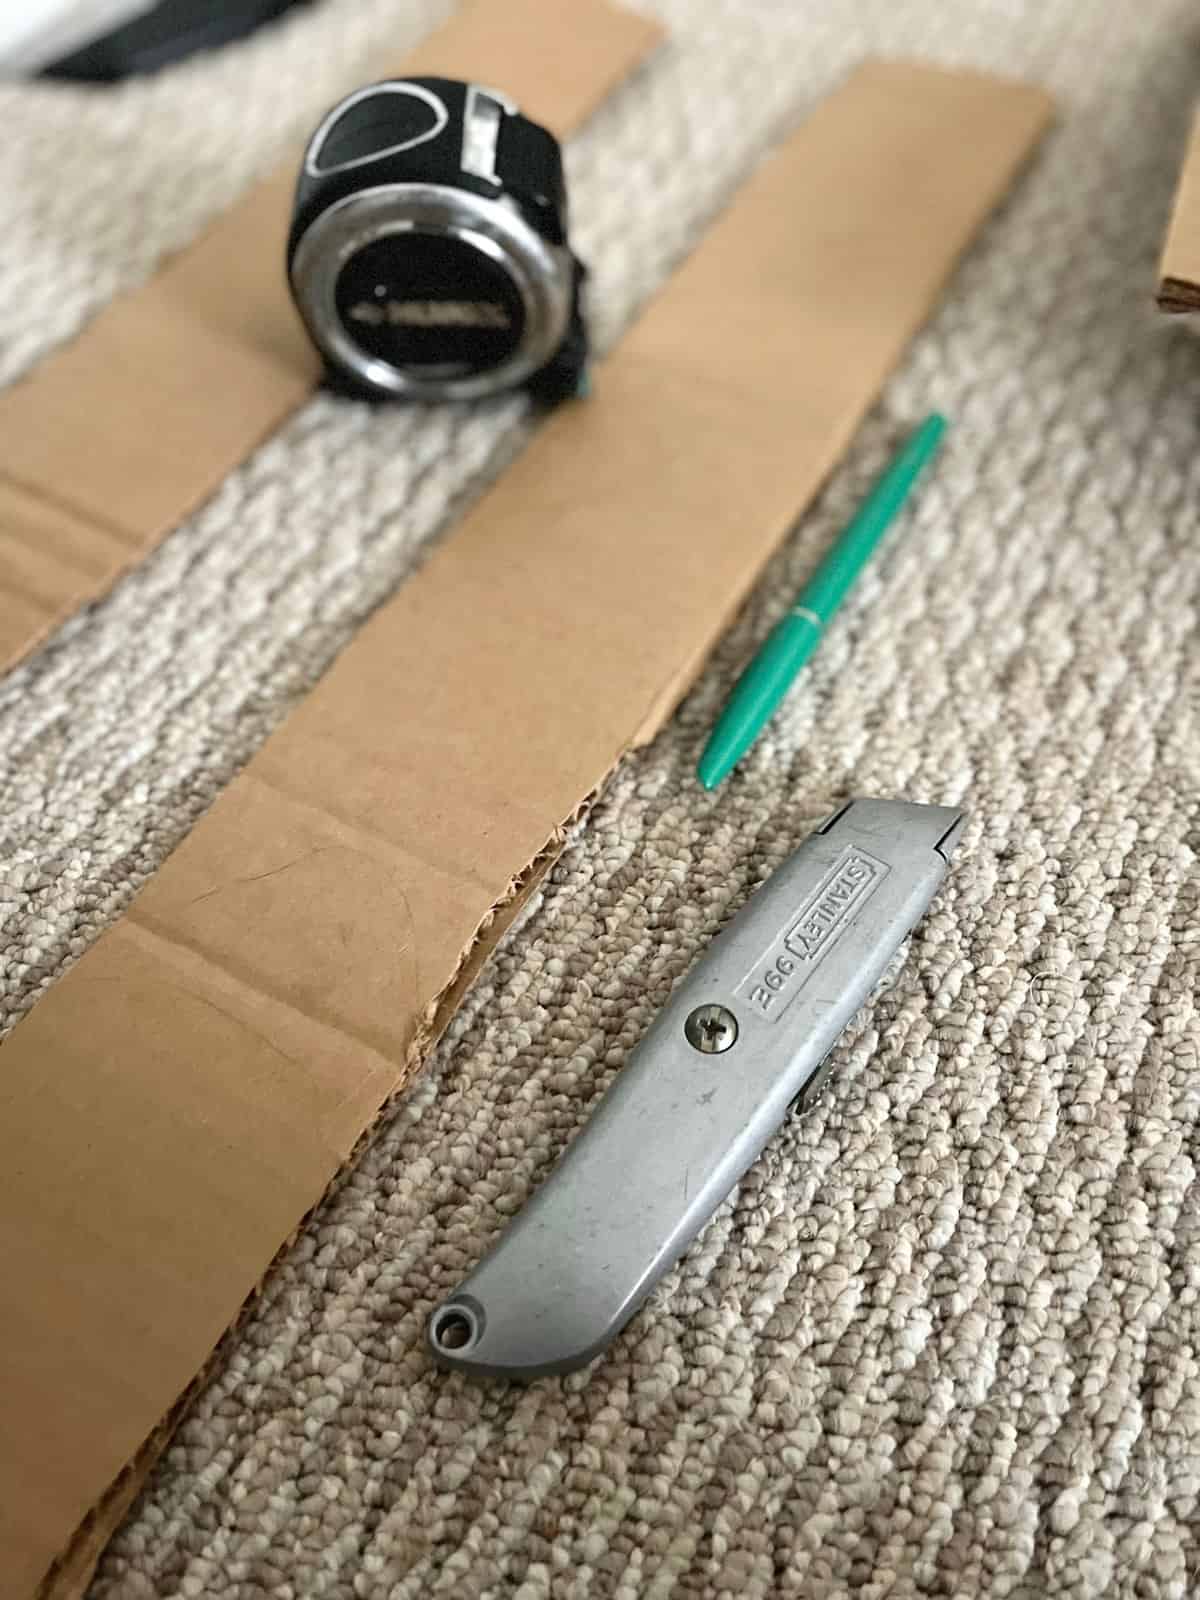
Cut cardboard to the desired shape you want used as molding and a front to your shelves. Get out your pencil, draw your shape and get creative here.
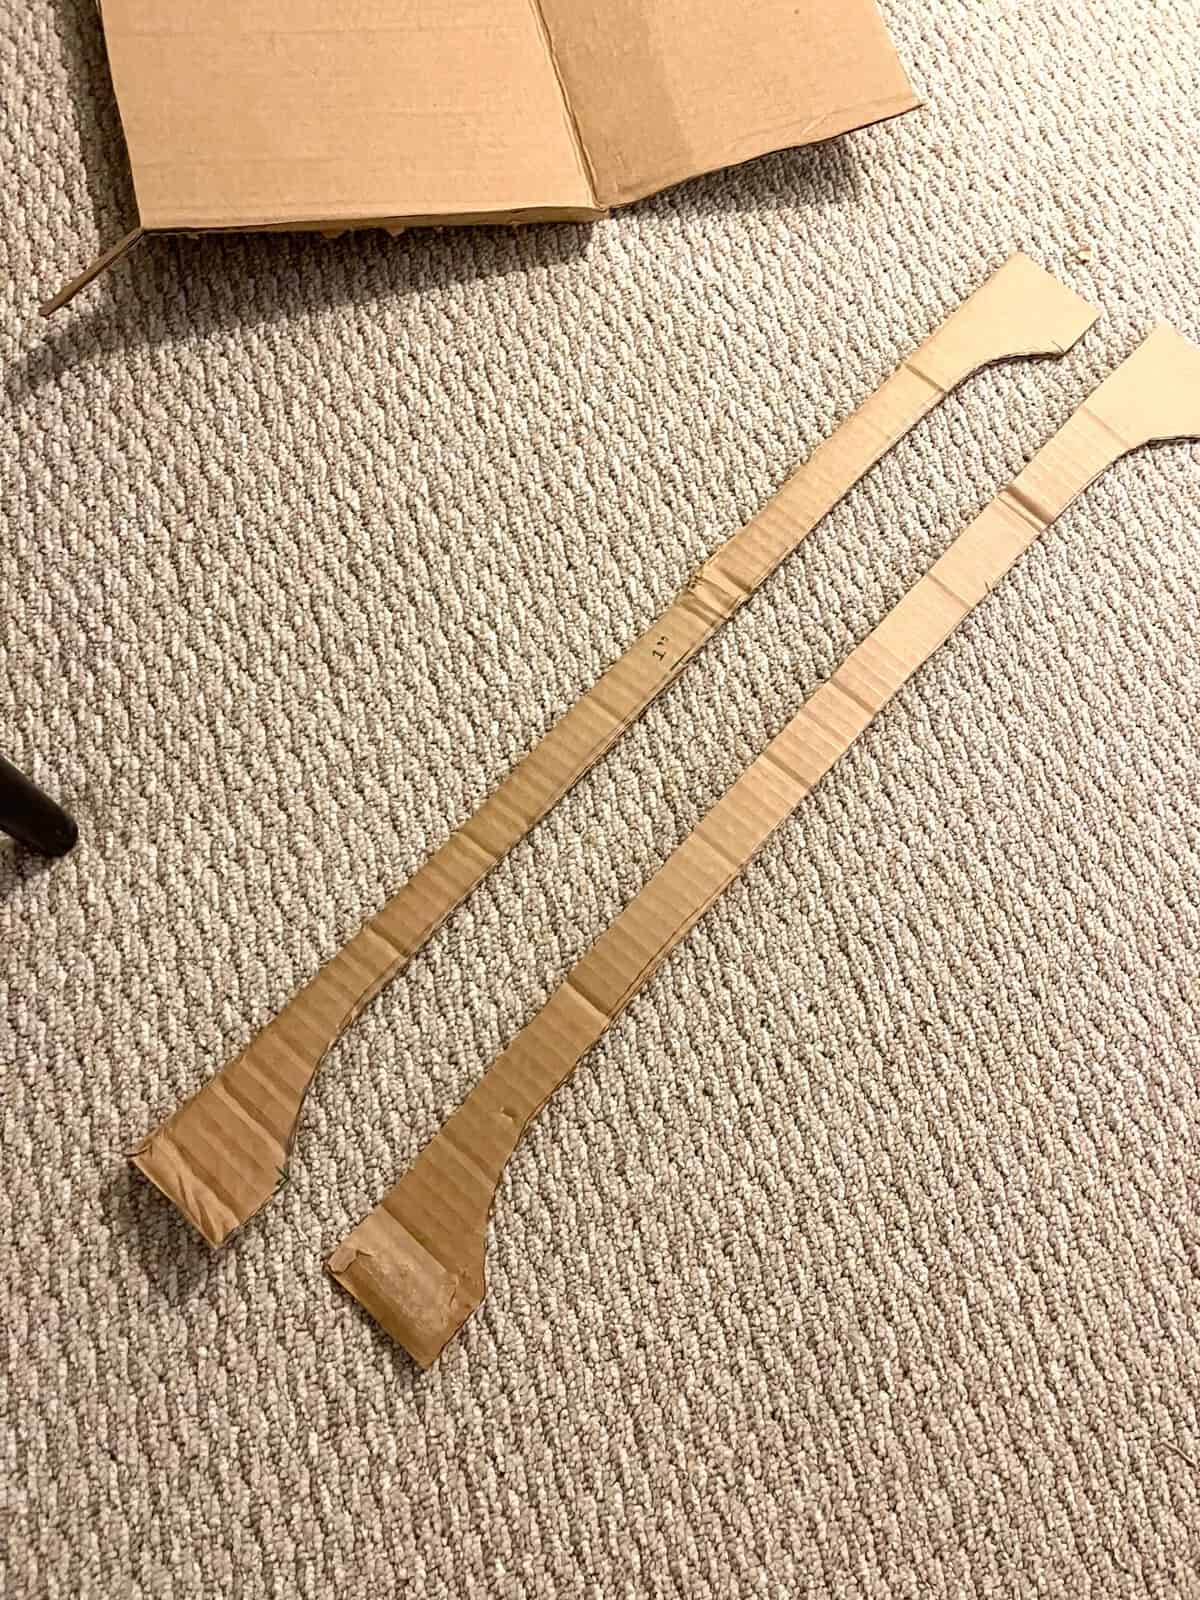
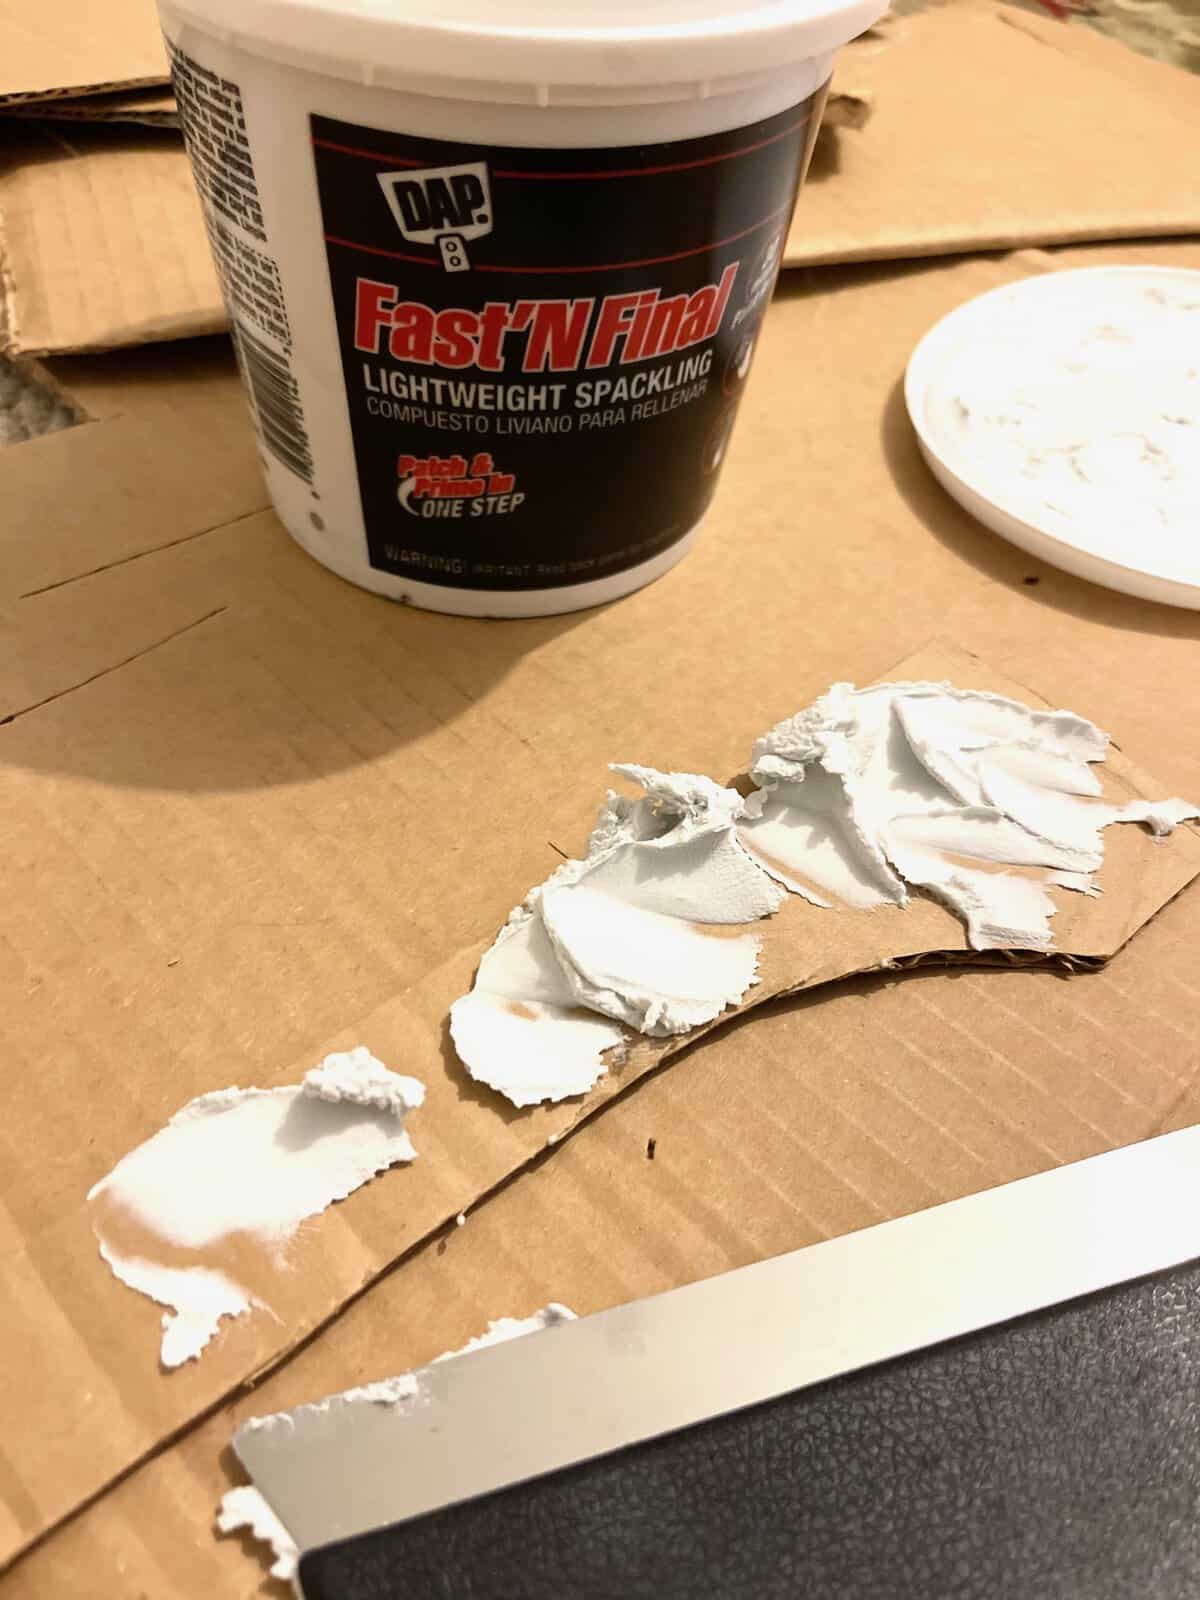
Spread spackle on to firm up the cardboard and protect it from humidity.
I wasn’t careful with this part. The look I was going for was lots of texture and a natural feel with some smooth areas and some rough areas. You could give it a pattern if you wanted. Have fun with this part!
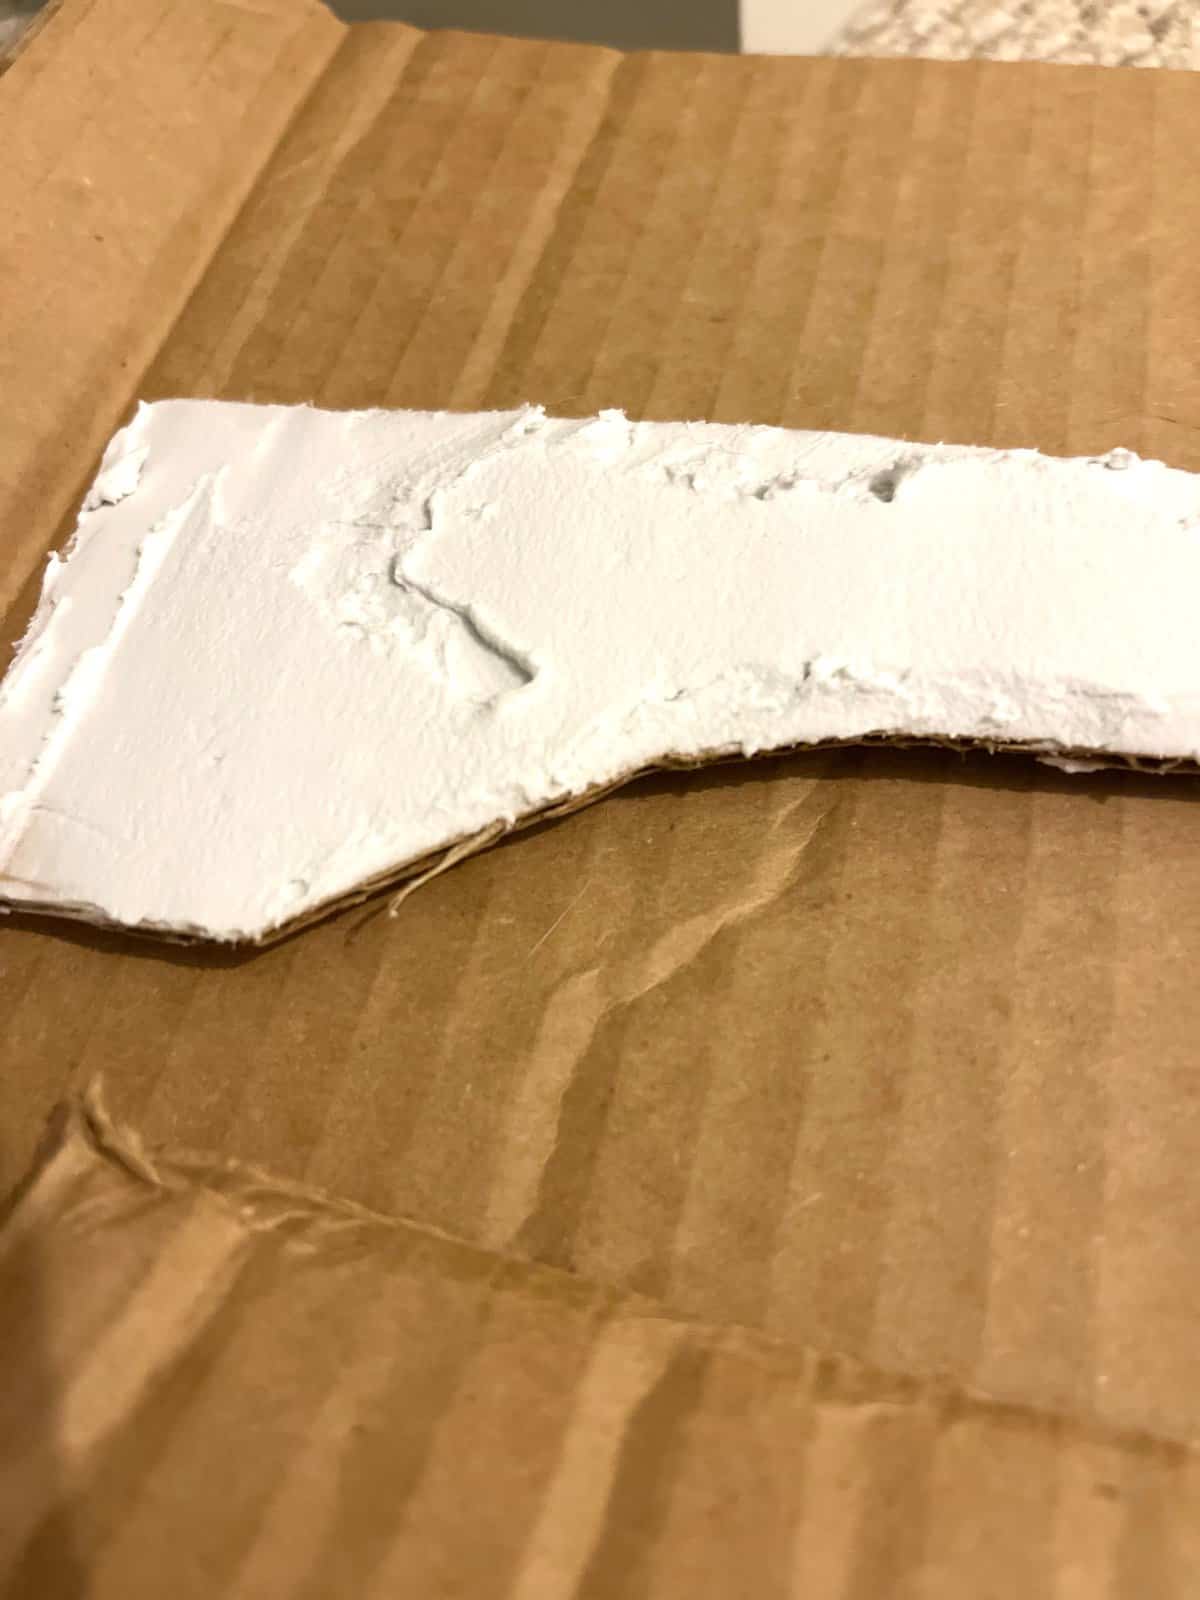
Let your spackled cardboard molding dry overnight.
A little DIY geek confession here. The next morning when I woke up I literally jumped out of bed to see how they turned out.
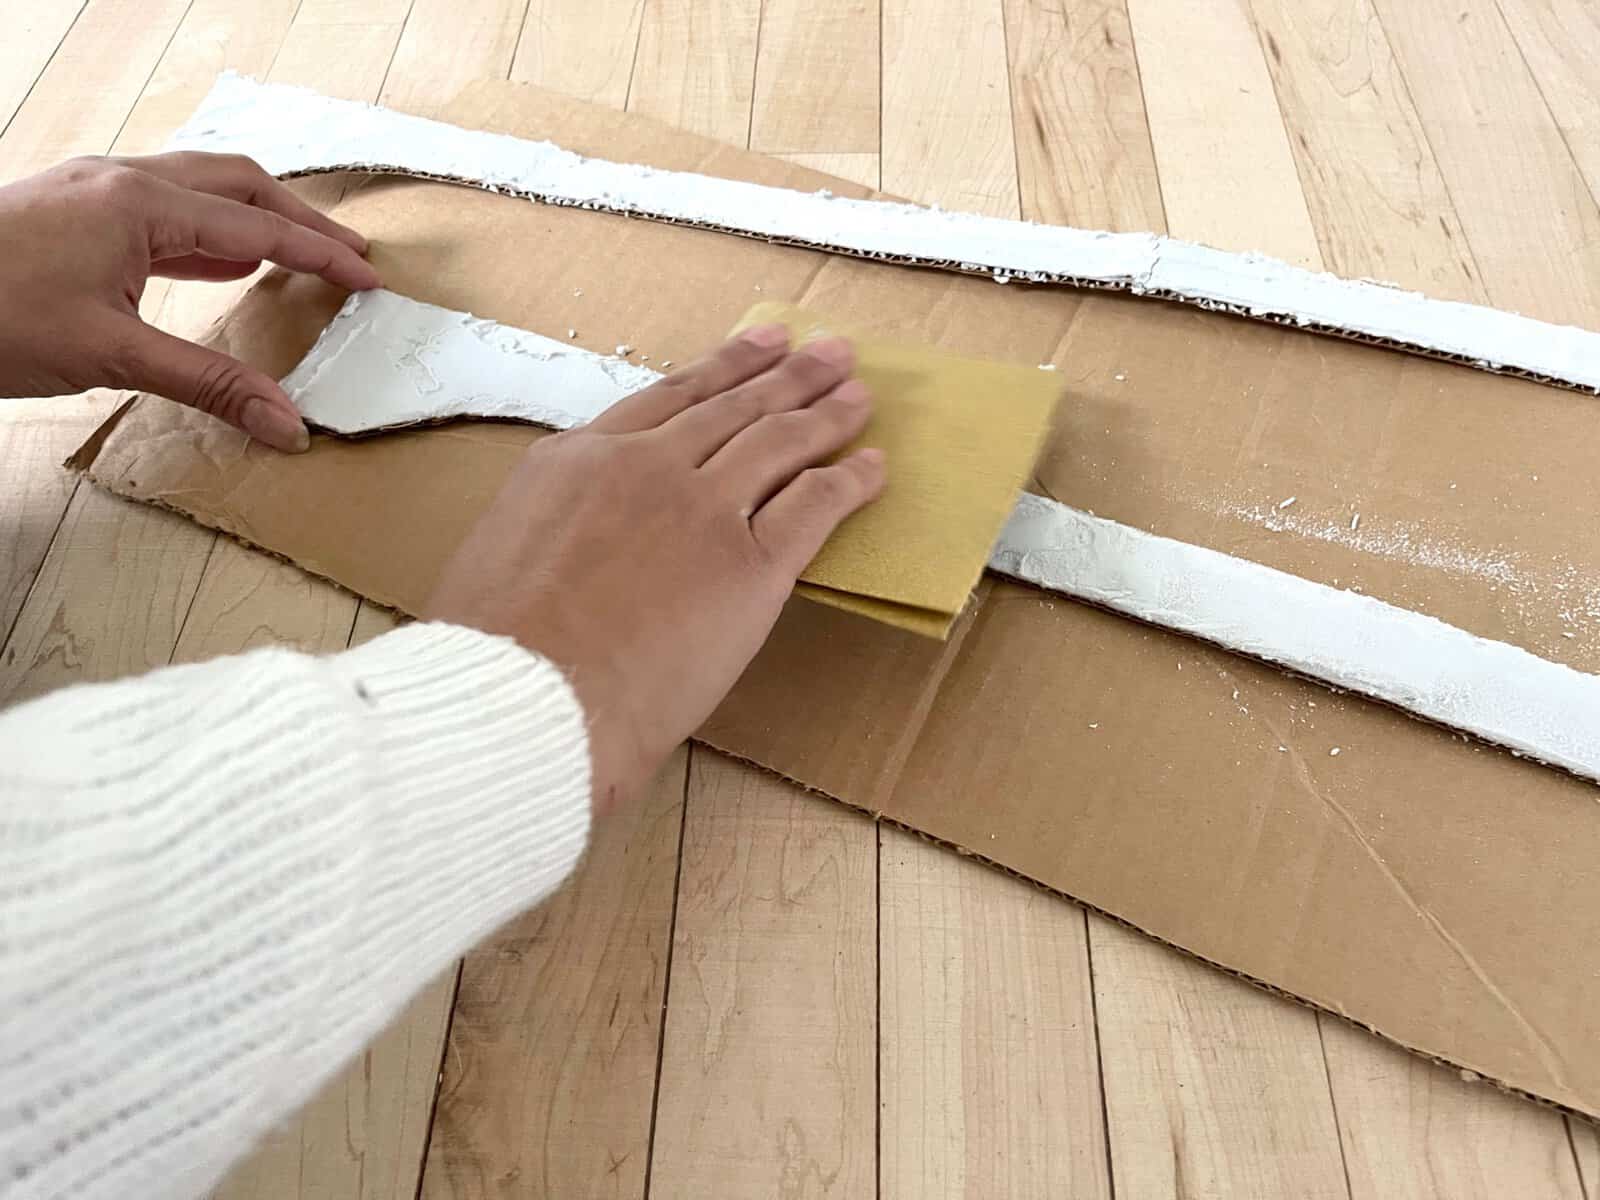
Sand off excess spackle. Or don’t! This is all about getting the look you want.
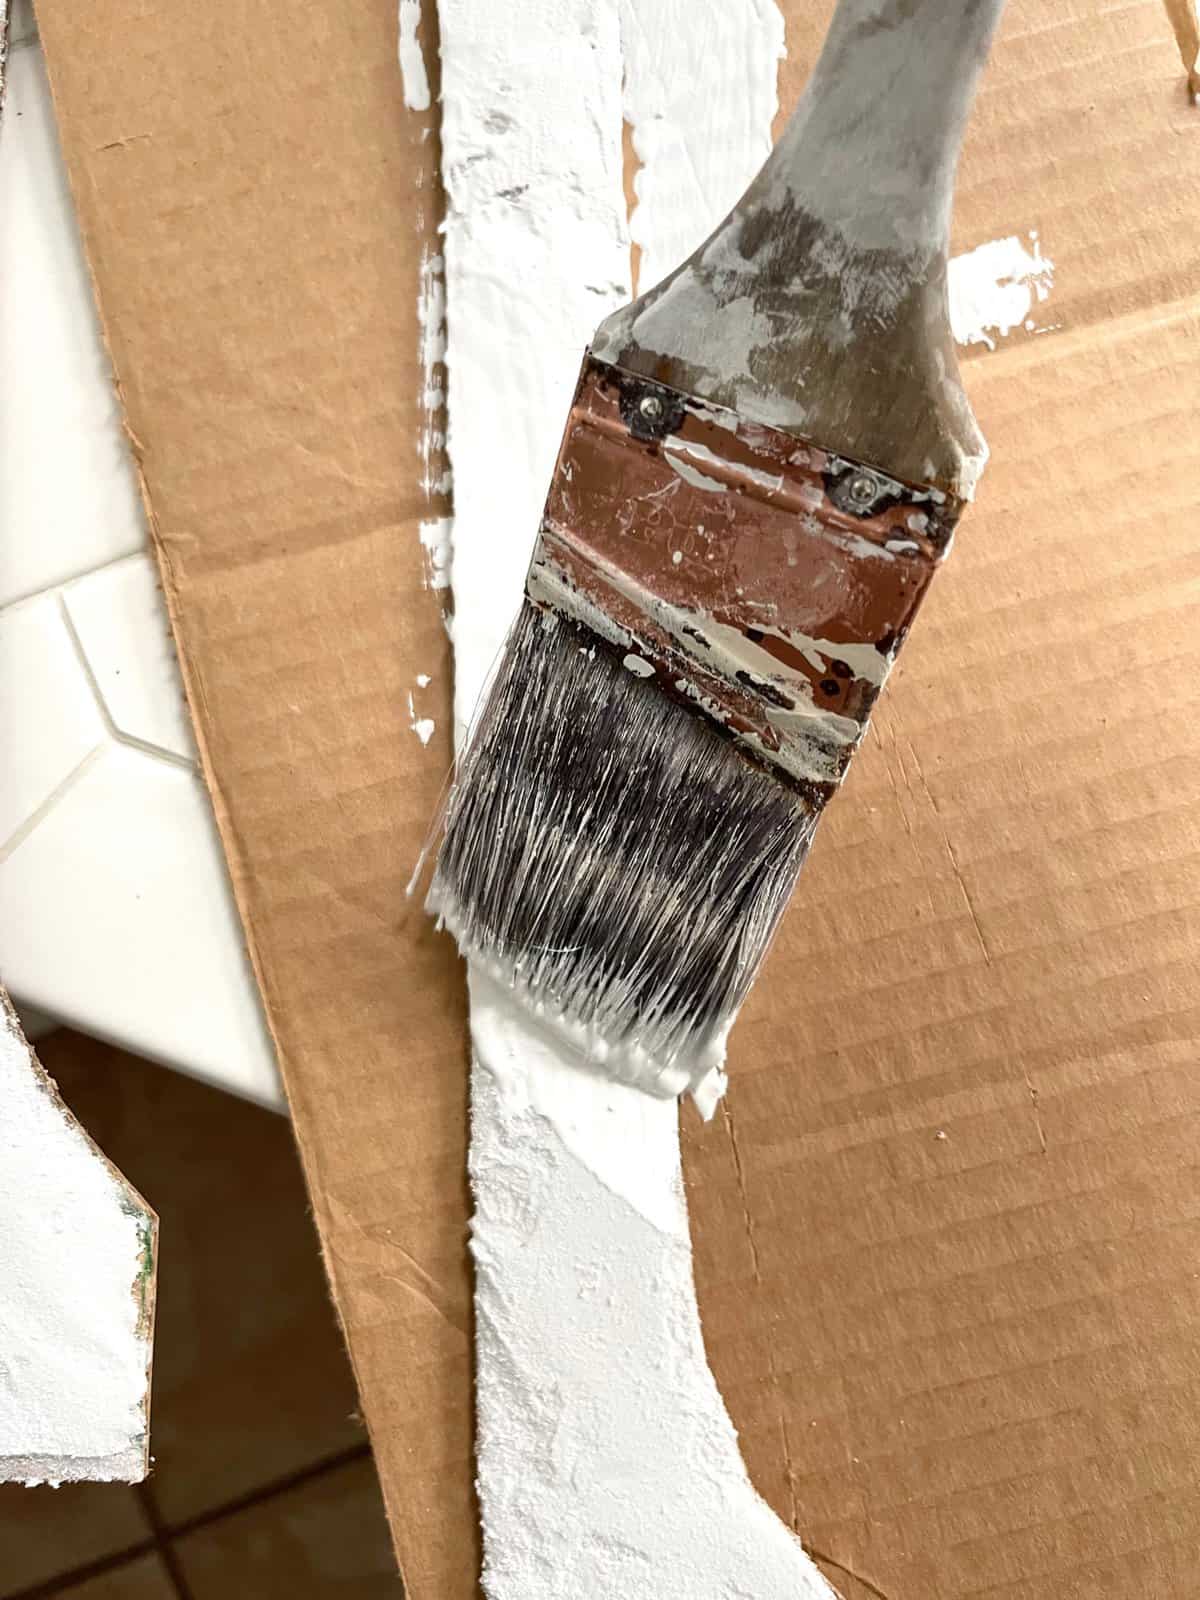
Paint. I applied the same white paint I used on the walls to speed up the process.
It also had the benefit of giving the shelves a more built in look and feel.
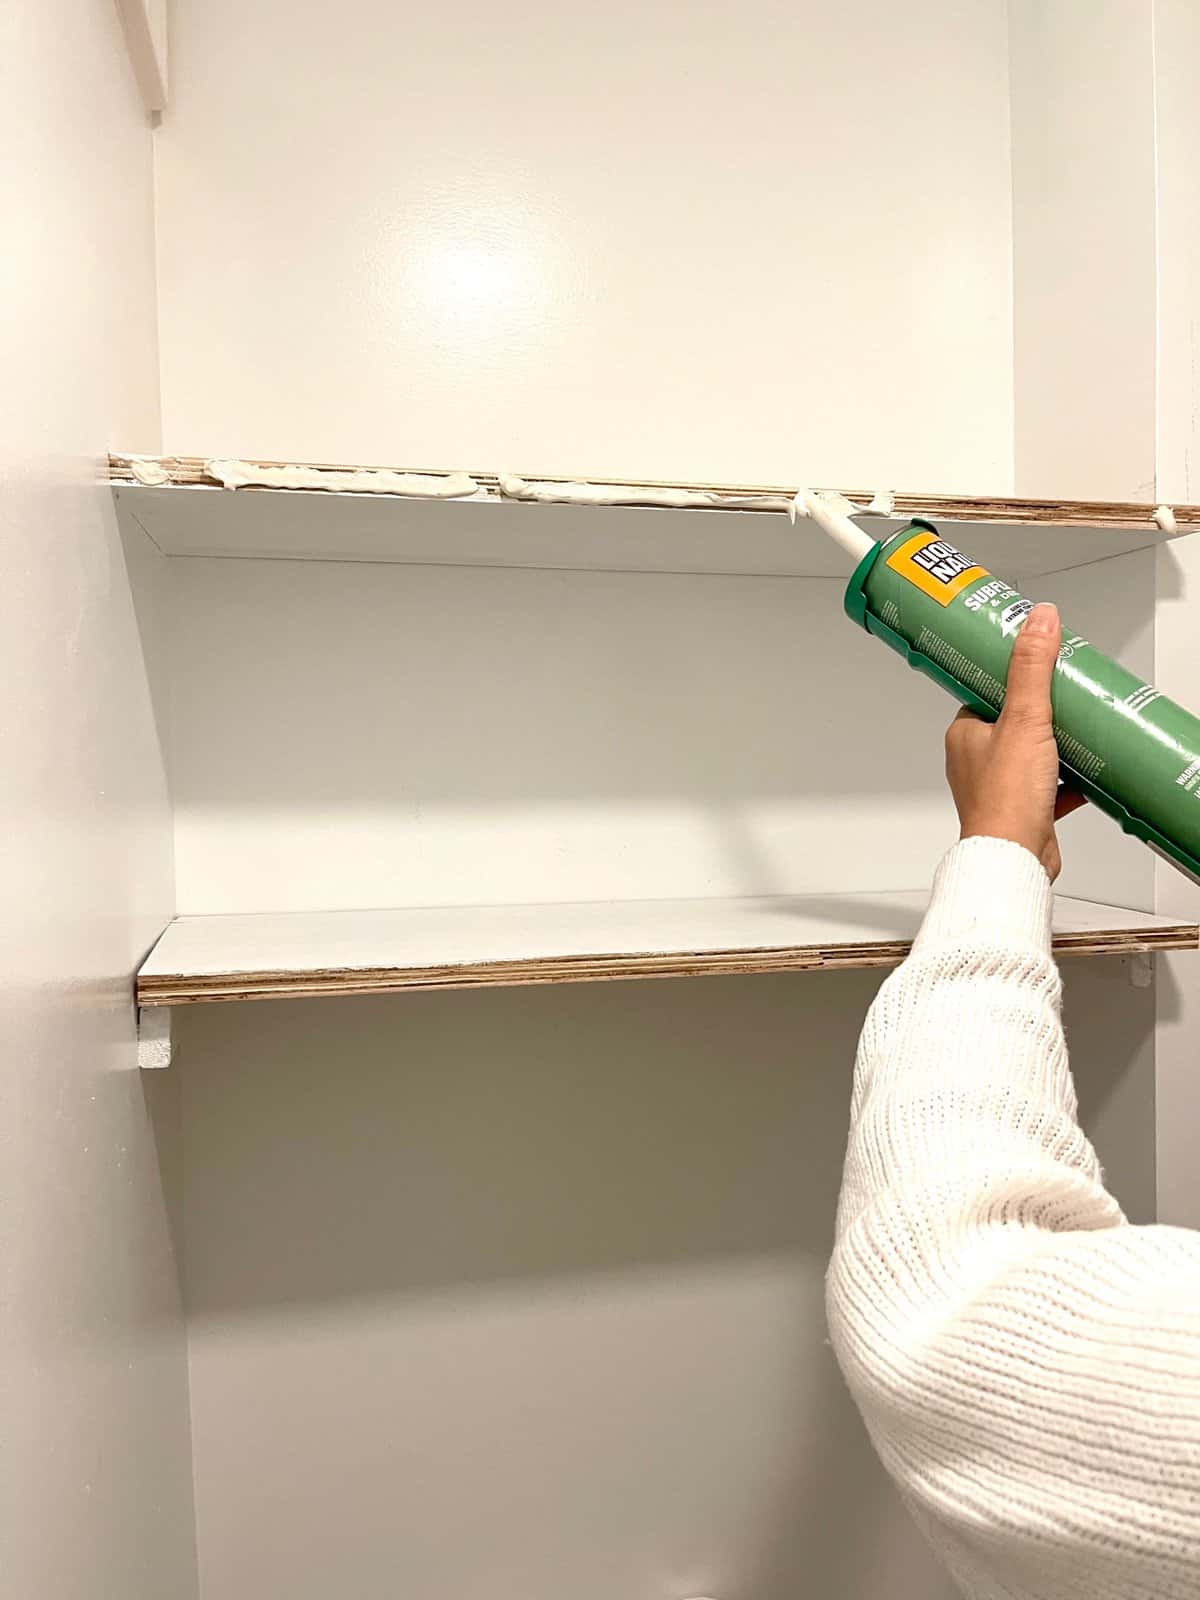
Apply to shelf with liquid nails. I spread the liquid nails adhesive on the side of the shelves and then pressed on the upcycled molding.
This was my favorite part because it all came together.
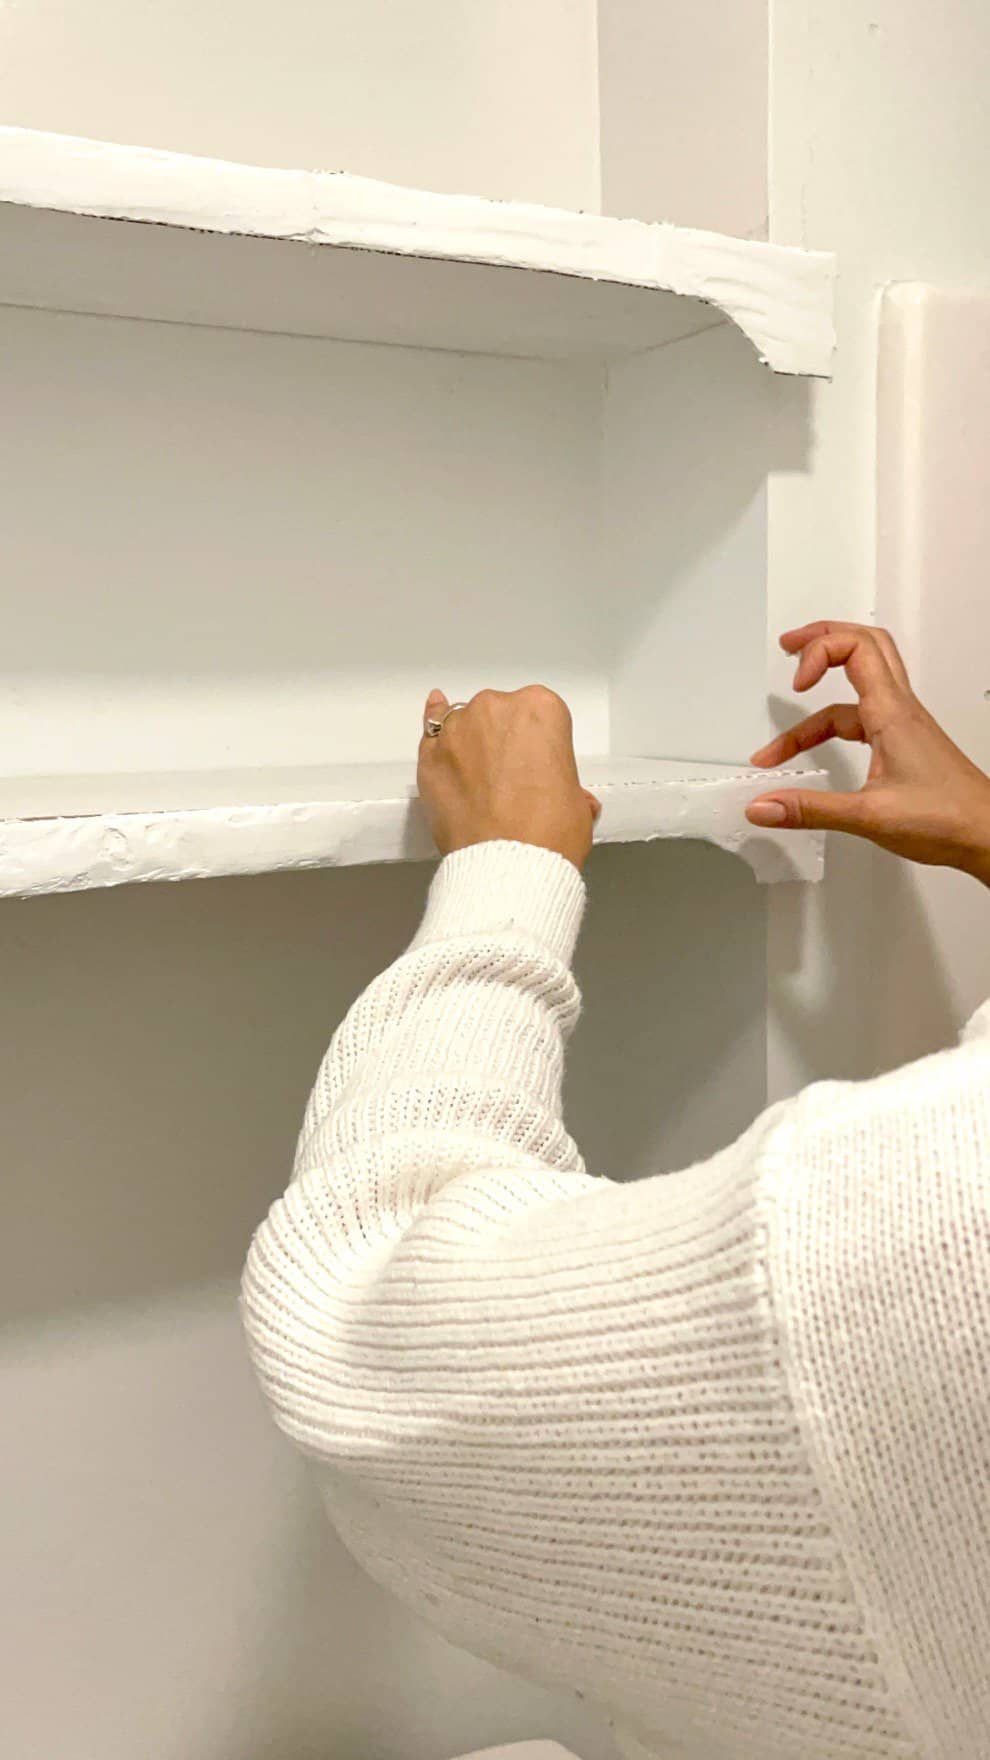
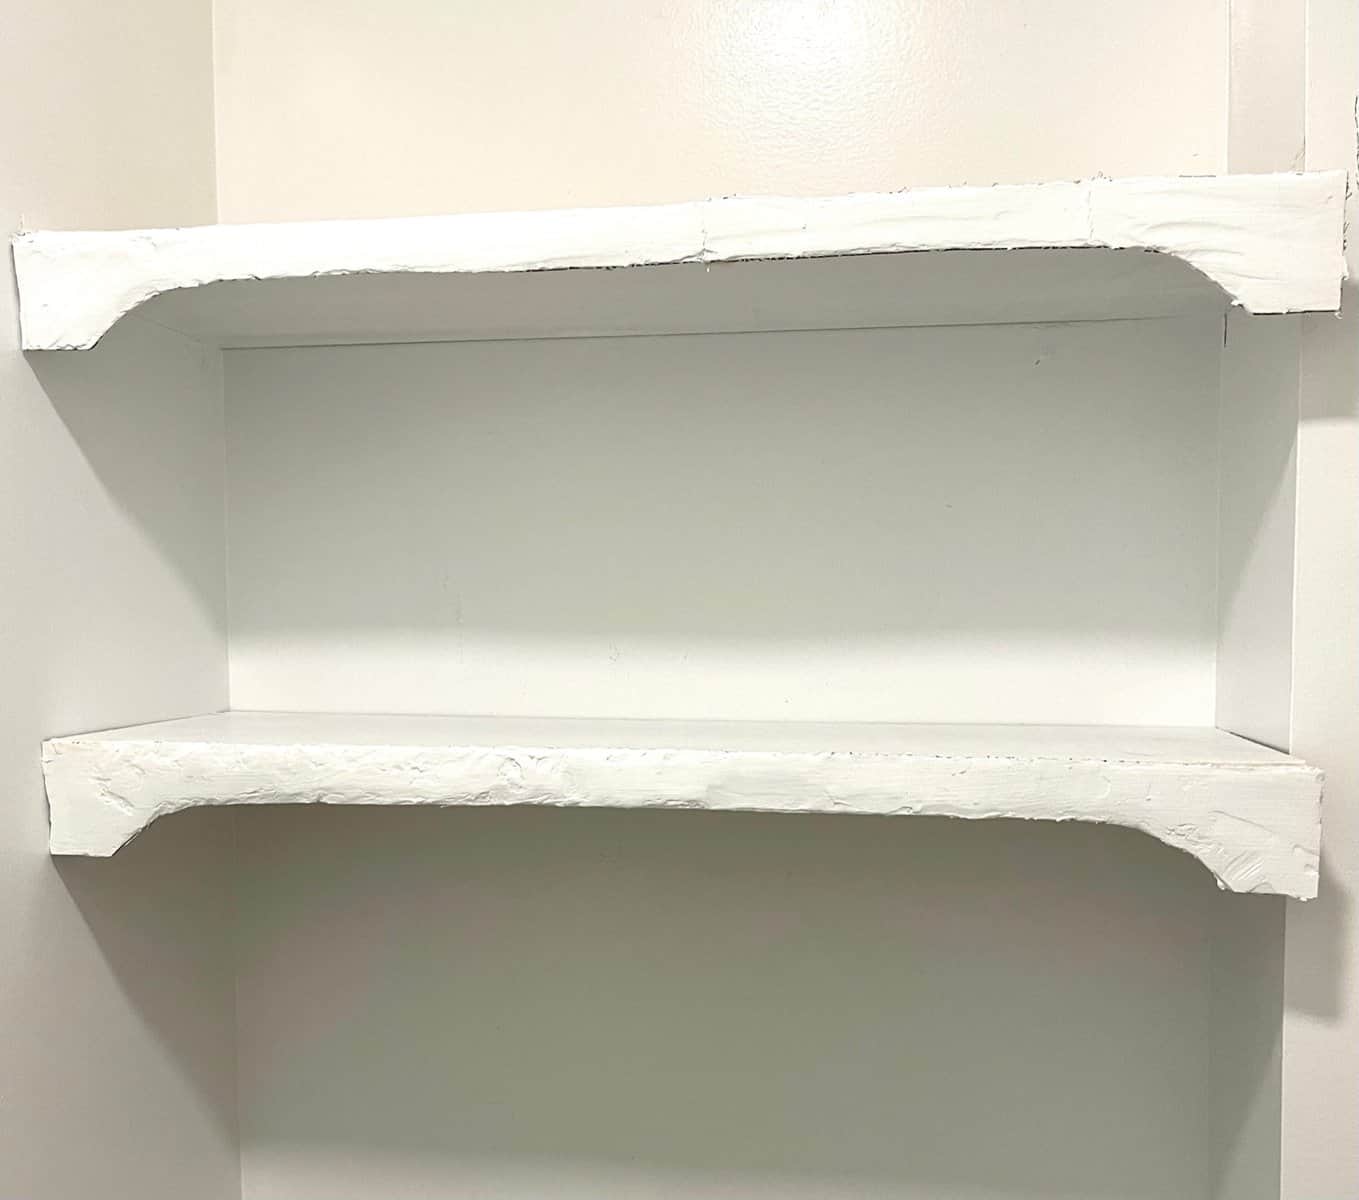
Add more spackling and paint as needed.
After the cardboard molding was in place I notice the area between the wall and molding, as well as the edges of the cardboard needed to be filled in. I wanted the edges of the cardboard molding to be smooth and as even as possible, and this extra step was well worth the time and effort.
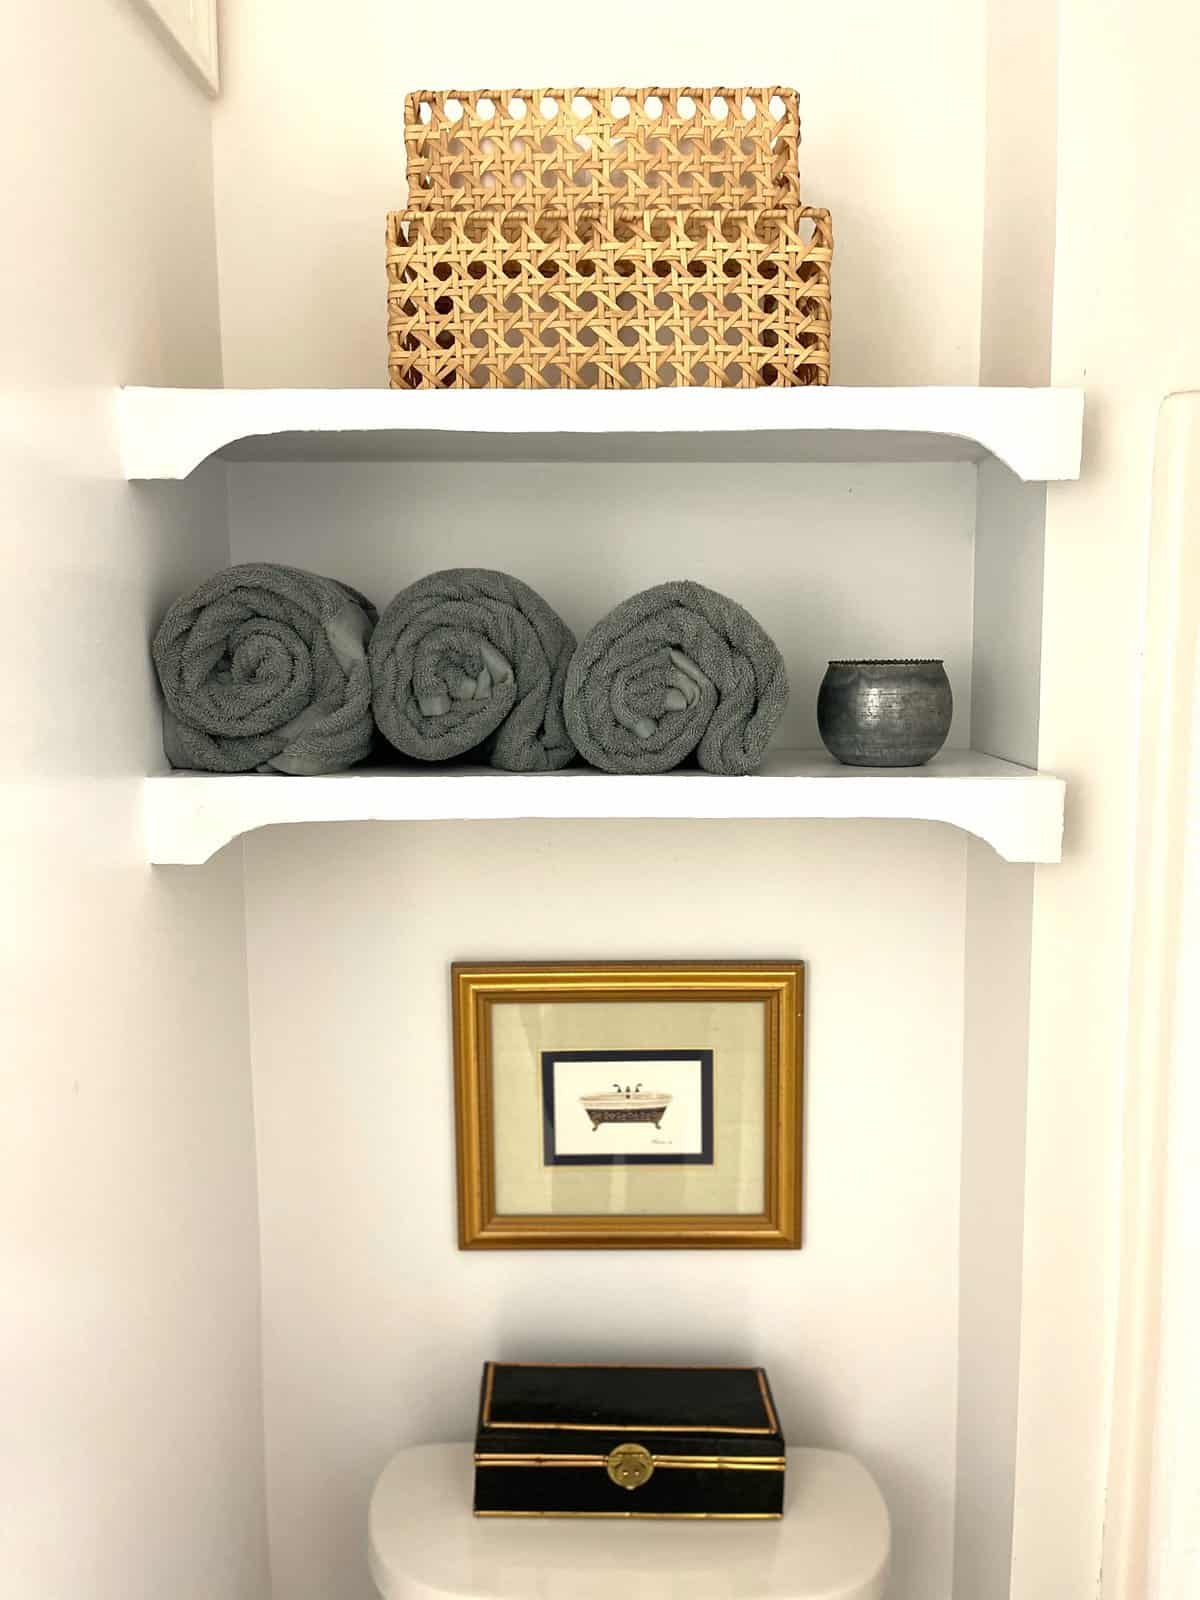
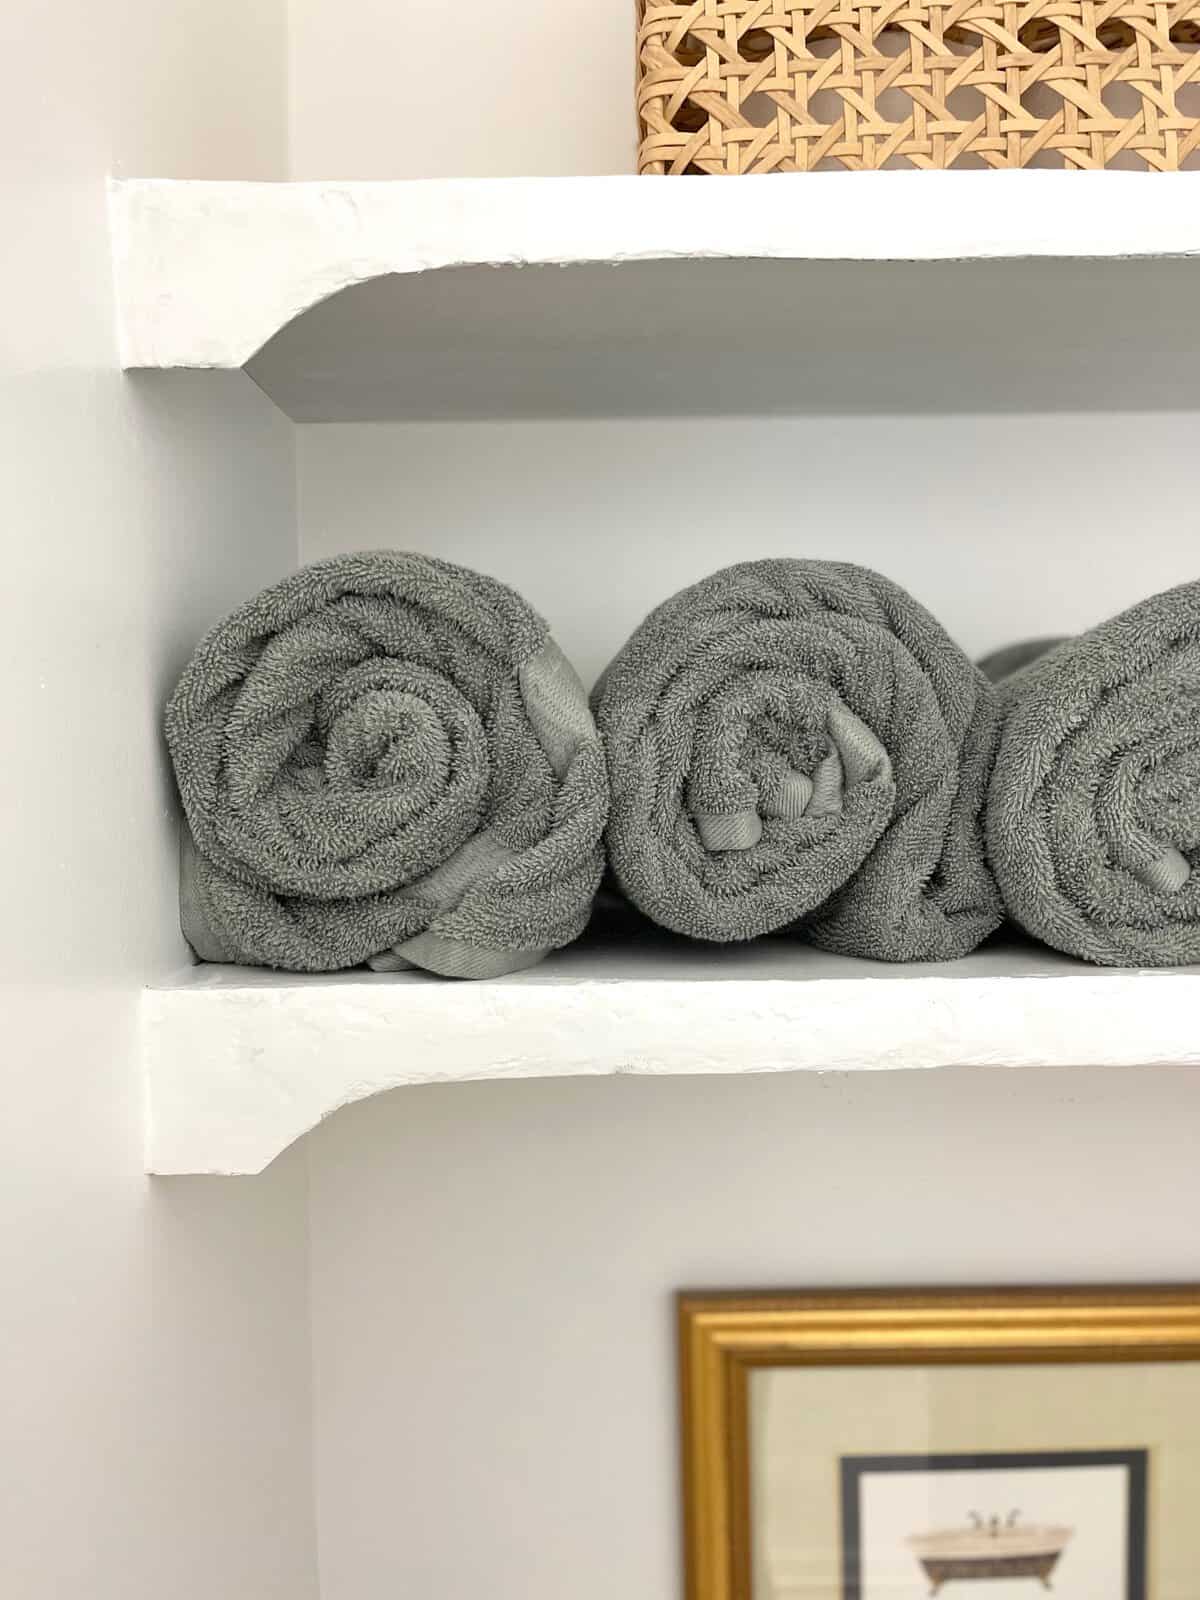
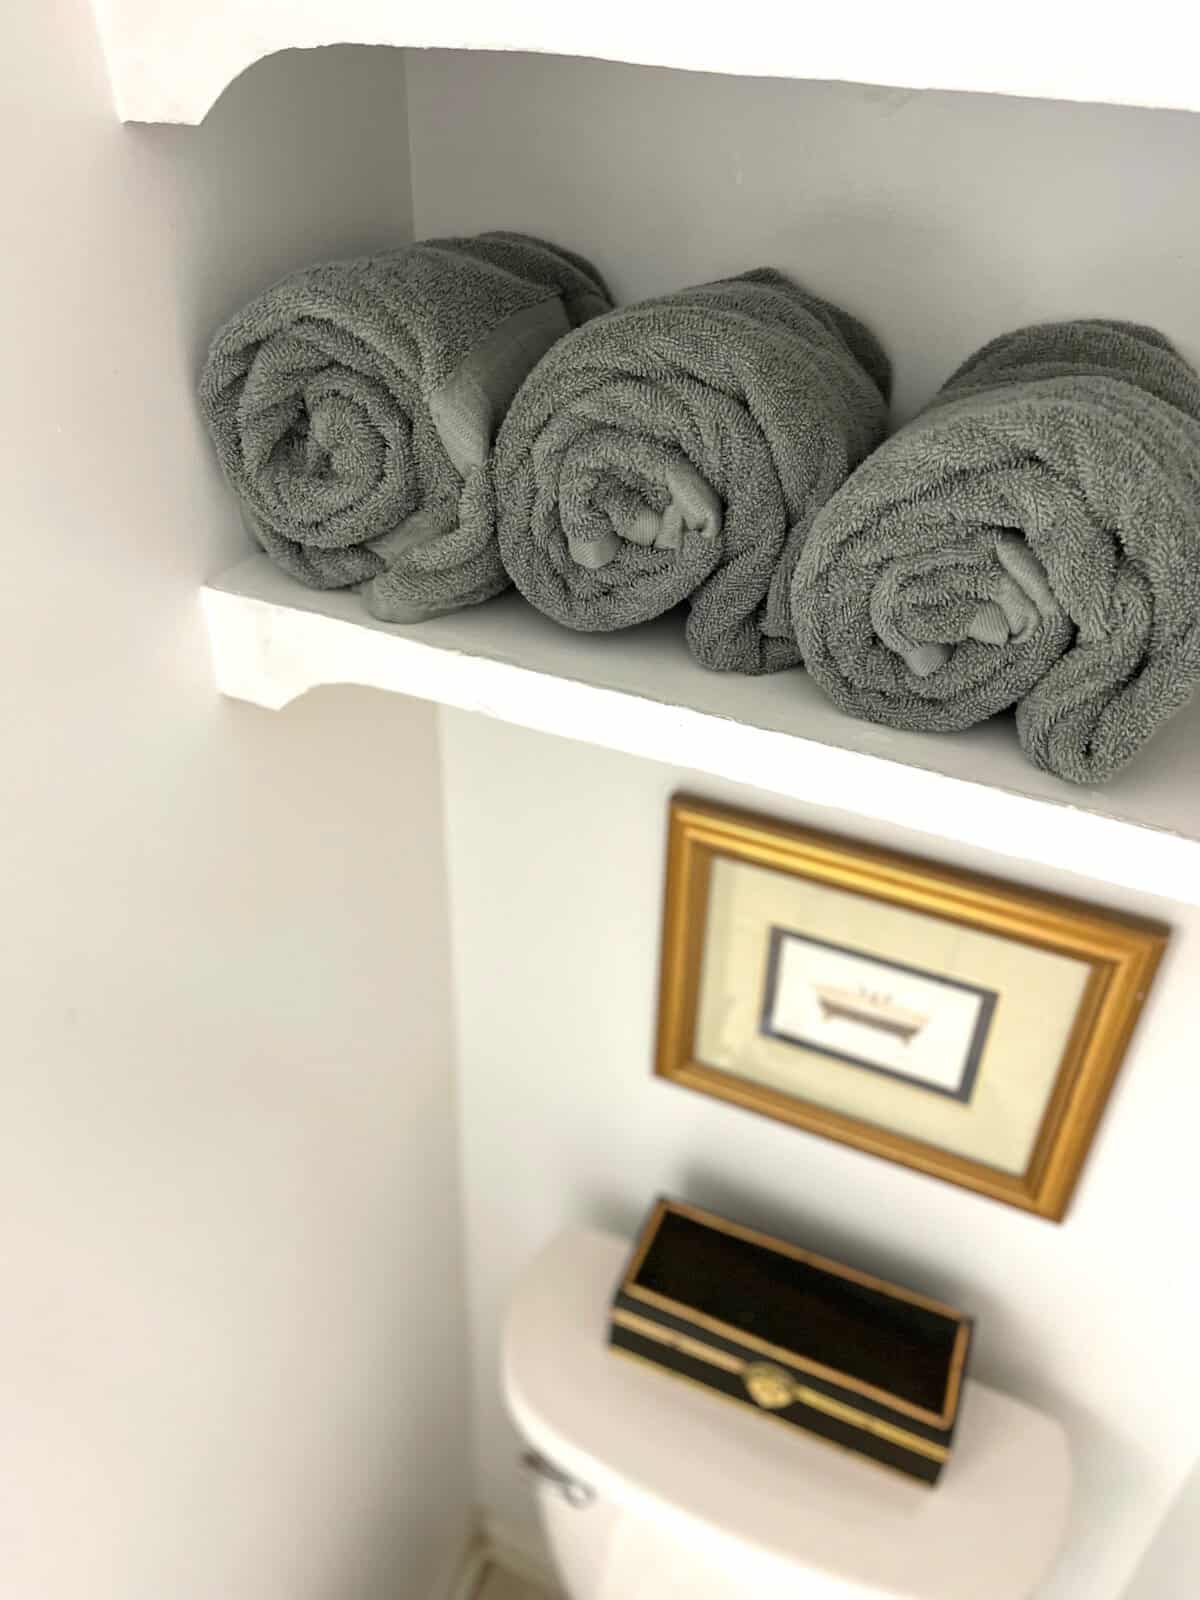
What do you think?!
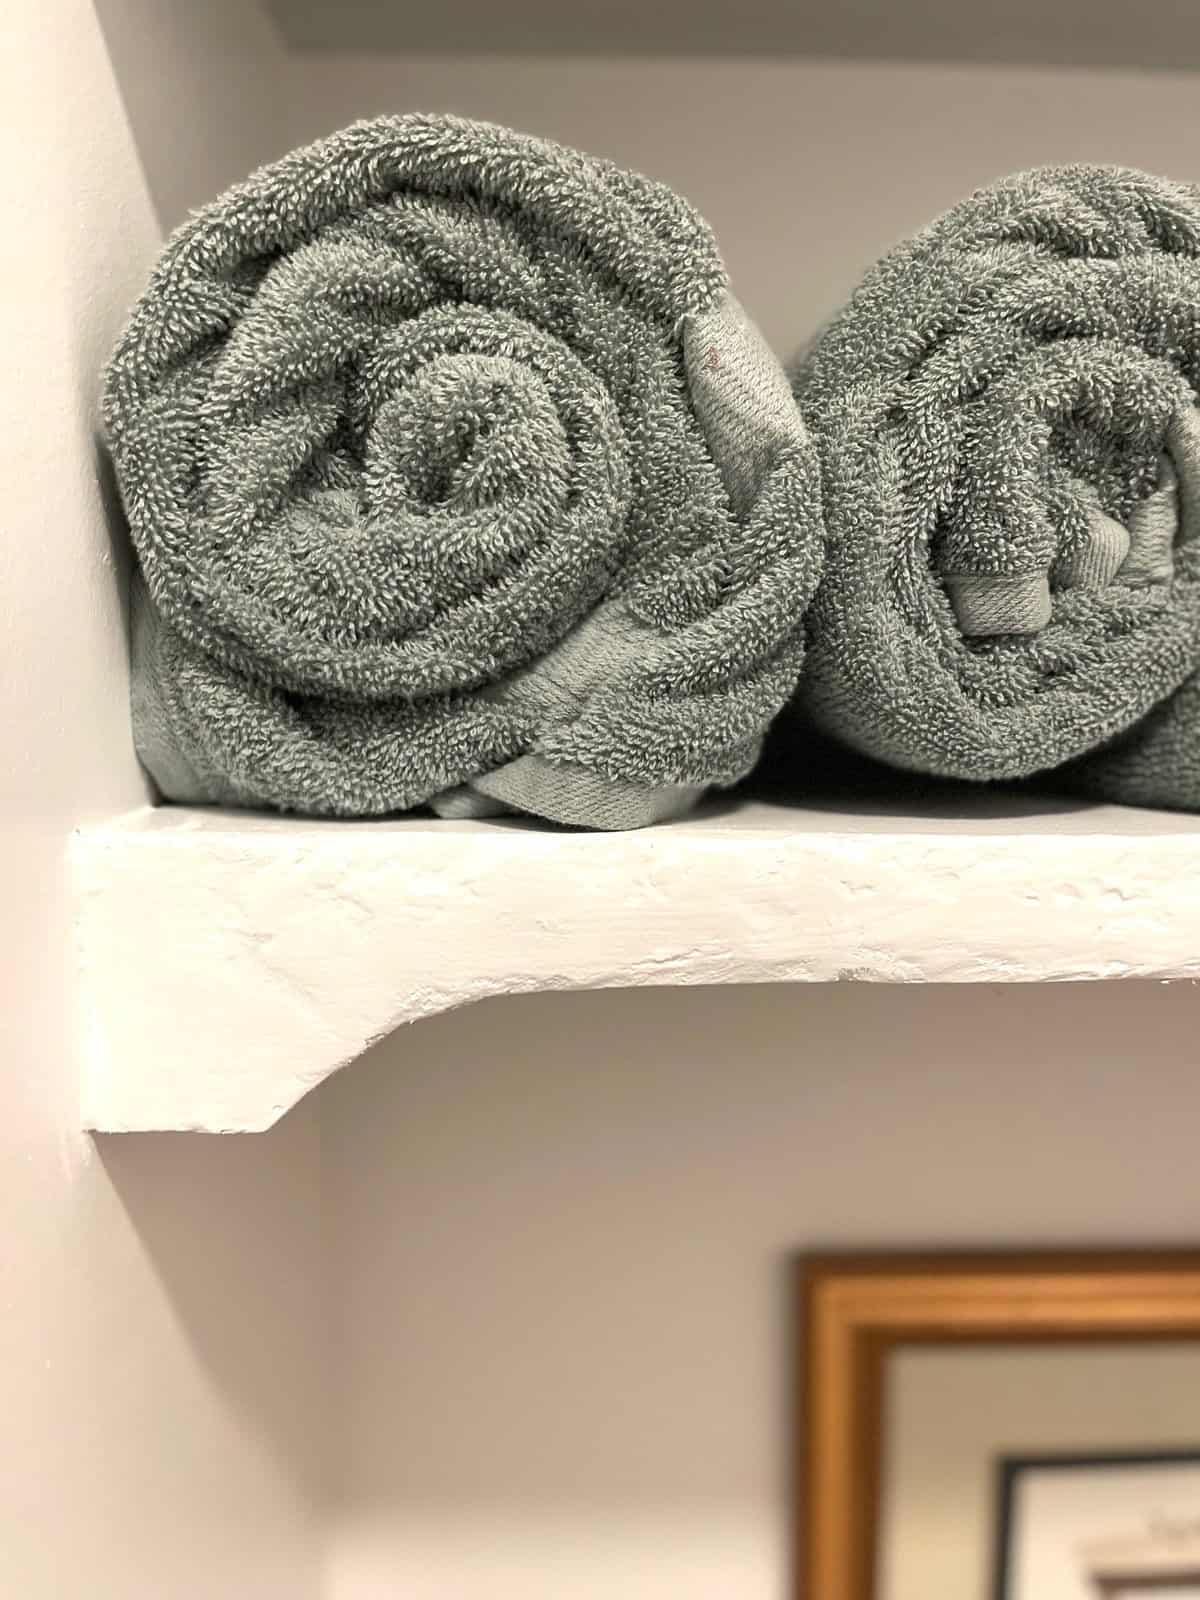
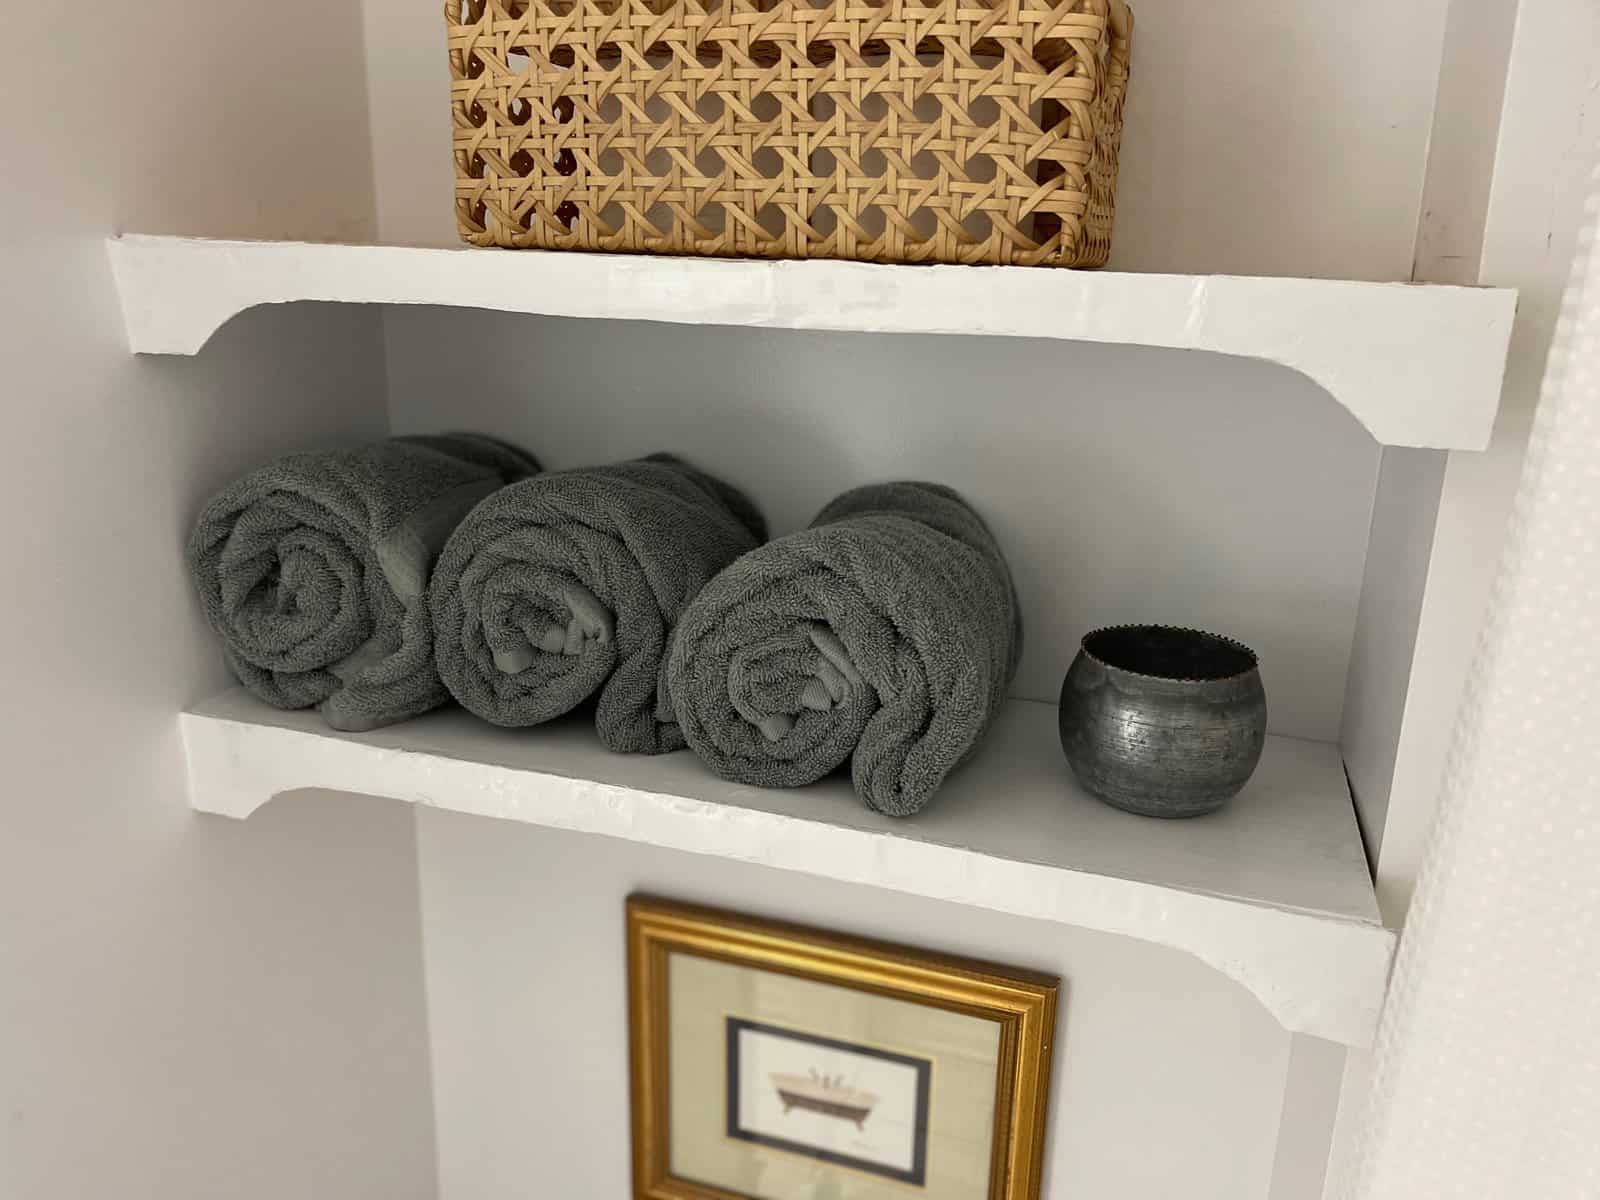
Not bad for an investment of $14. I’m thrilled with how this inexpensive upcycled shelf turned out!
One of the benefits of DIY is having leftovers from past project. Often they can turn into a whole new project that can even be accomplished without spending a dime.
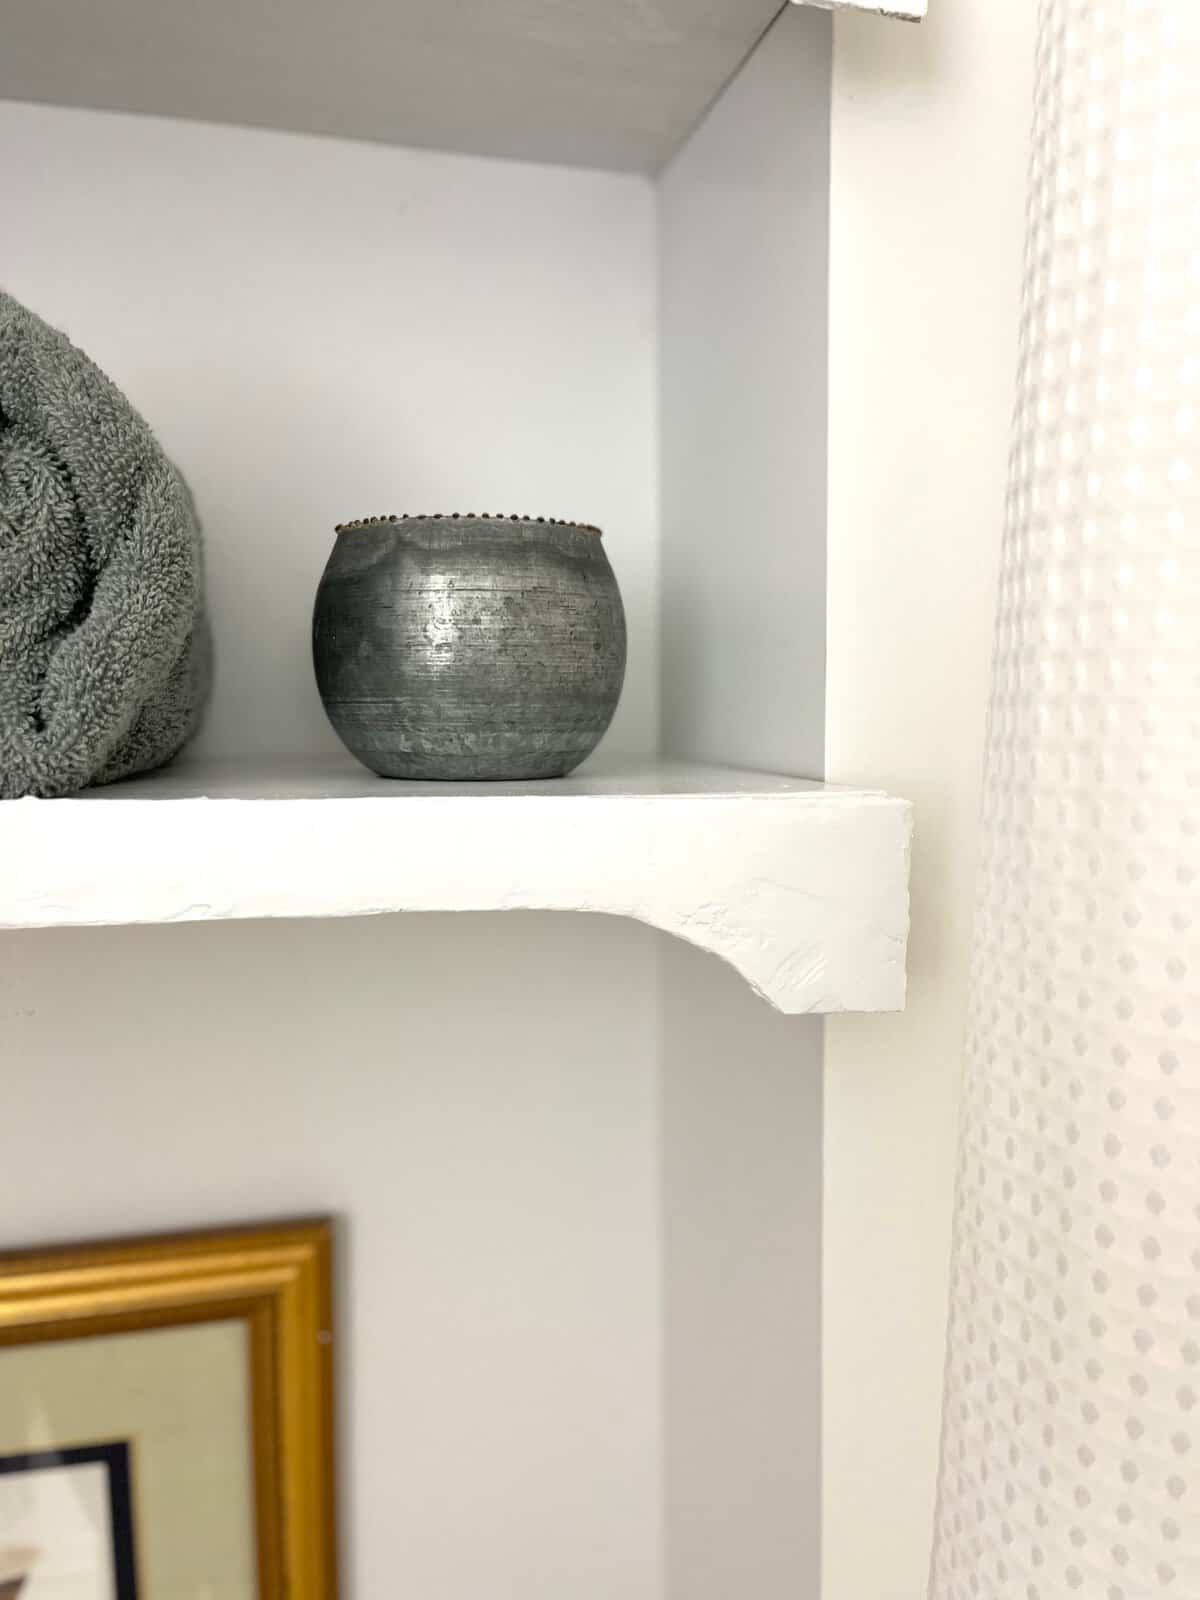
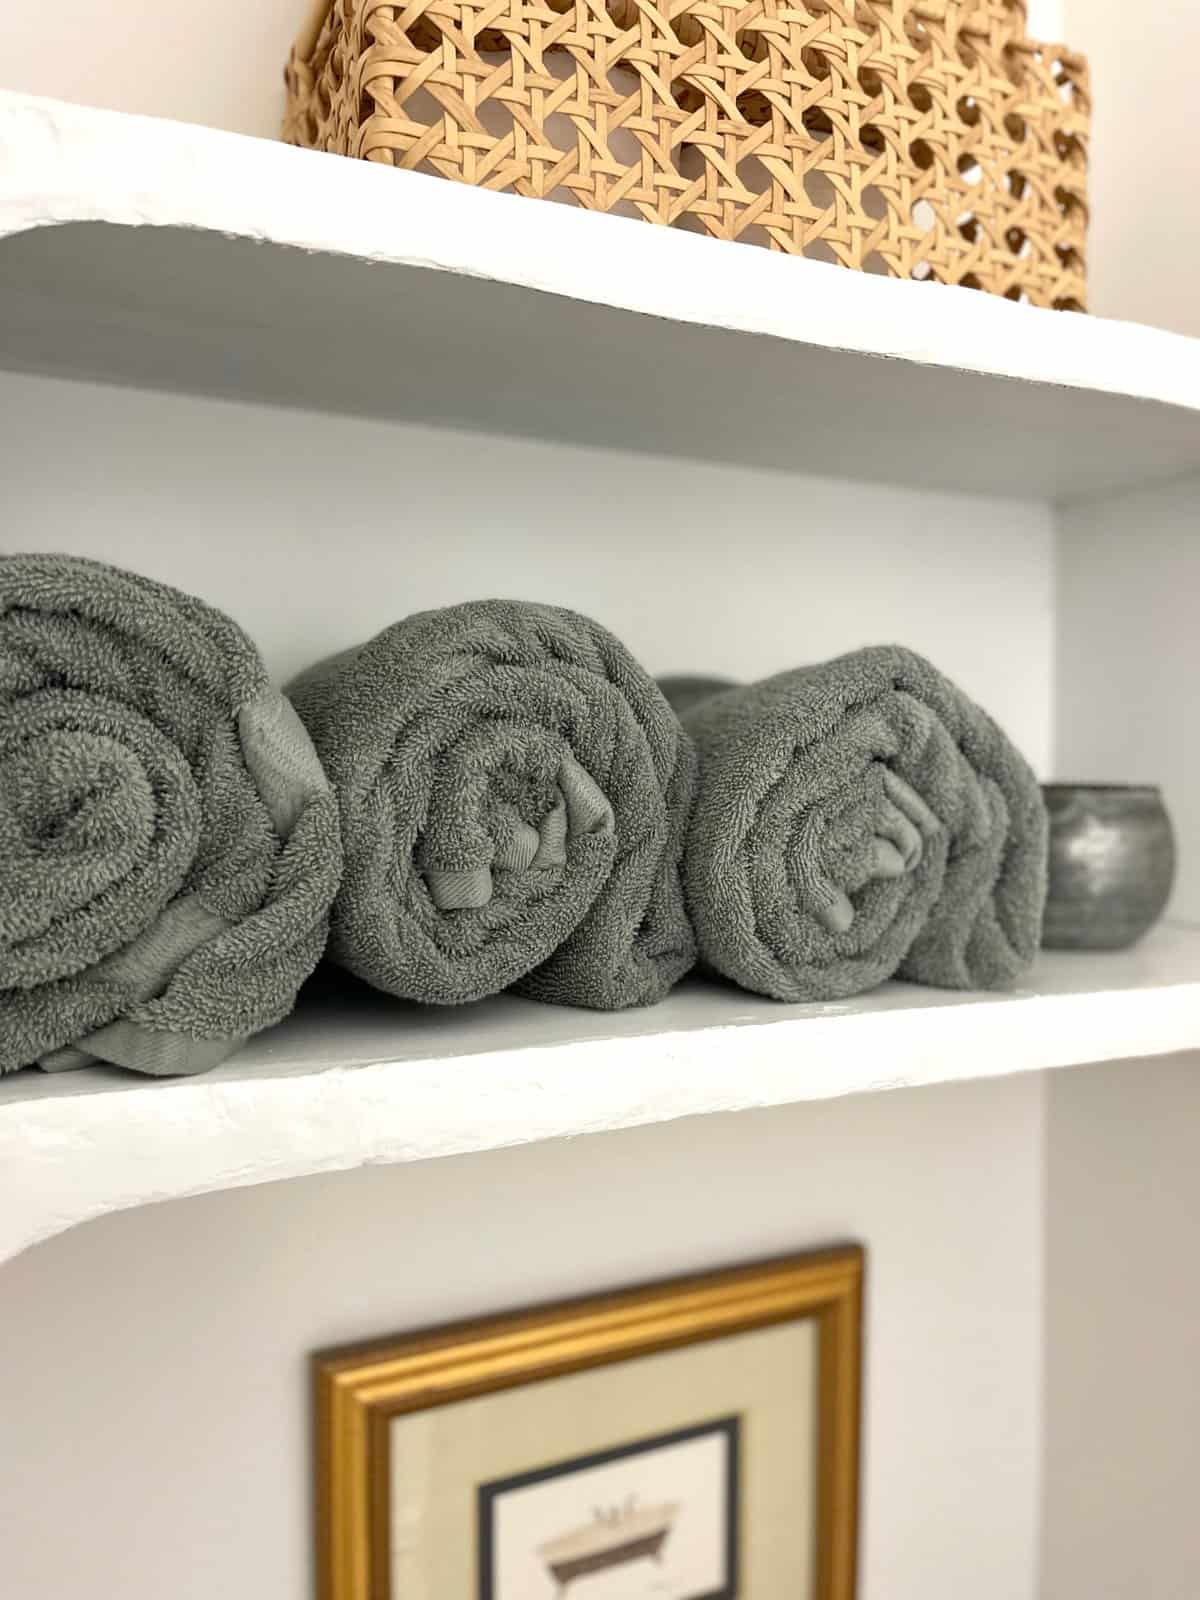
If you have any questions about this diy upcycled bathroom shelving let me know. I’m happy to explain how I did it using wood, cardboard and spackling. I think there may be more projects to come centered on these three items.

MORE UPCYCLING PROJECTS
Pin It & Save It!

**Some of the links in this post are affiliate links. This means if you click on the link and purchase the item, we will receive an affiliate commission at no extra cost to you.






That is clever! Extremely clever and great use of what you have on hand. Best part? It looks wonderful!
Thank you! I hoped you would think so!