If you’re determined to save money and still have a home you love, let me show you how to transform wood counters in an hour.
When we renovated our kitchen, we got to the end of the project and like so many people, we ran out of funds.
Along the way there were several unexpected issues that depleted our kitchen renovation budget. Because of this we had to get even more creative and savvy in order to finish our kitchen renovation.
Thankfully, I like the challenge of getting what was most important to us on a tight budget.
Yes, I’d rather have more than enough when renovating, but having to stretch your dollar helps get your mind working in ways it wouldn’t had there not been a financial challenge.
We decided to go with wood counters throughout our kitchen, which was considerably less expensive than stone counters. Jeremy expertly DIY’d our kitchen counter tops with butcher block. He’d never done it before, but figured it out and wow, I was so proud of him.
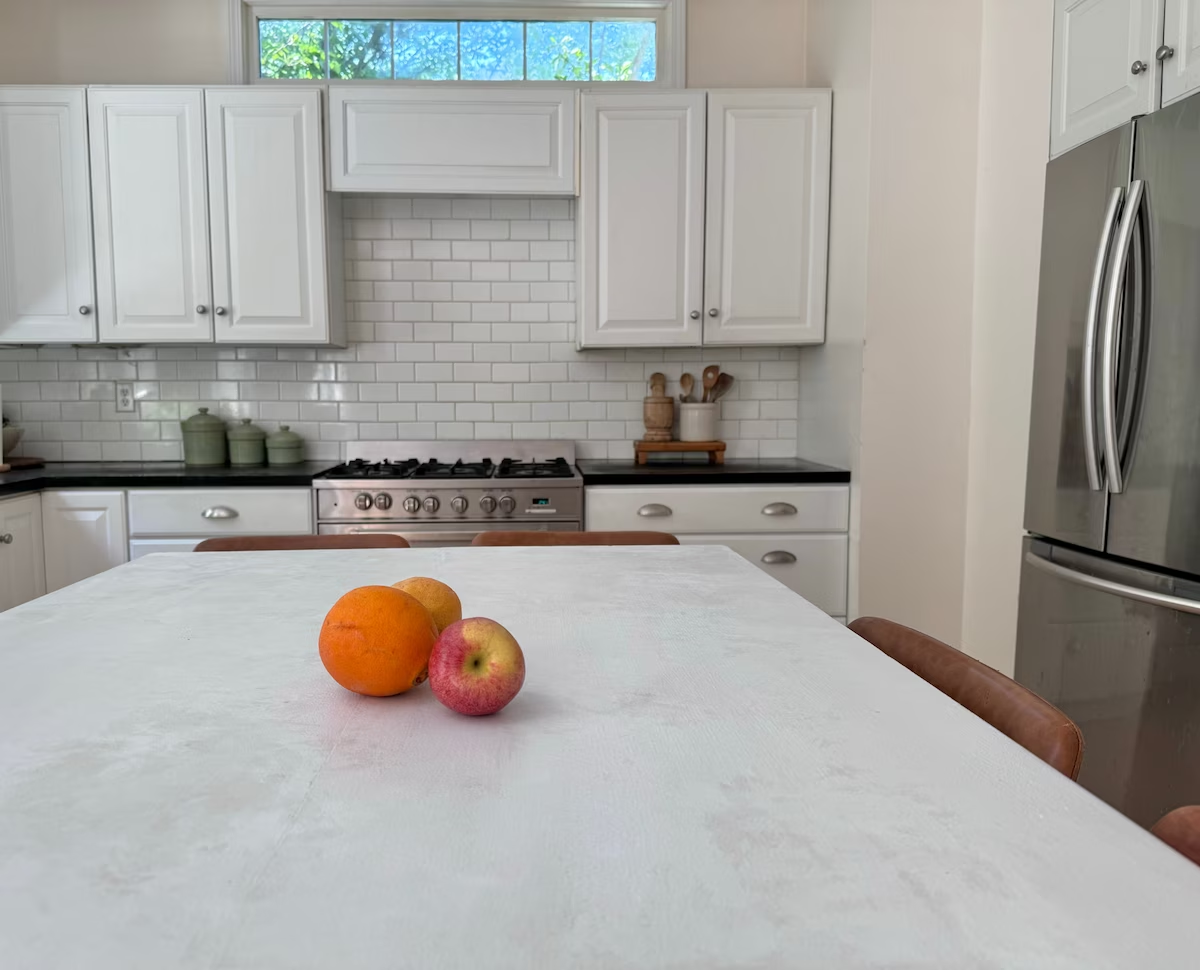
When it came to our island, we found an even less expensive solution. While at the Restore, we came across three wood office desktops.
Transform Wood Counters with Paint in an Hour
Jeremy cut the counters down to `the size of our island.
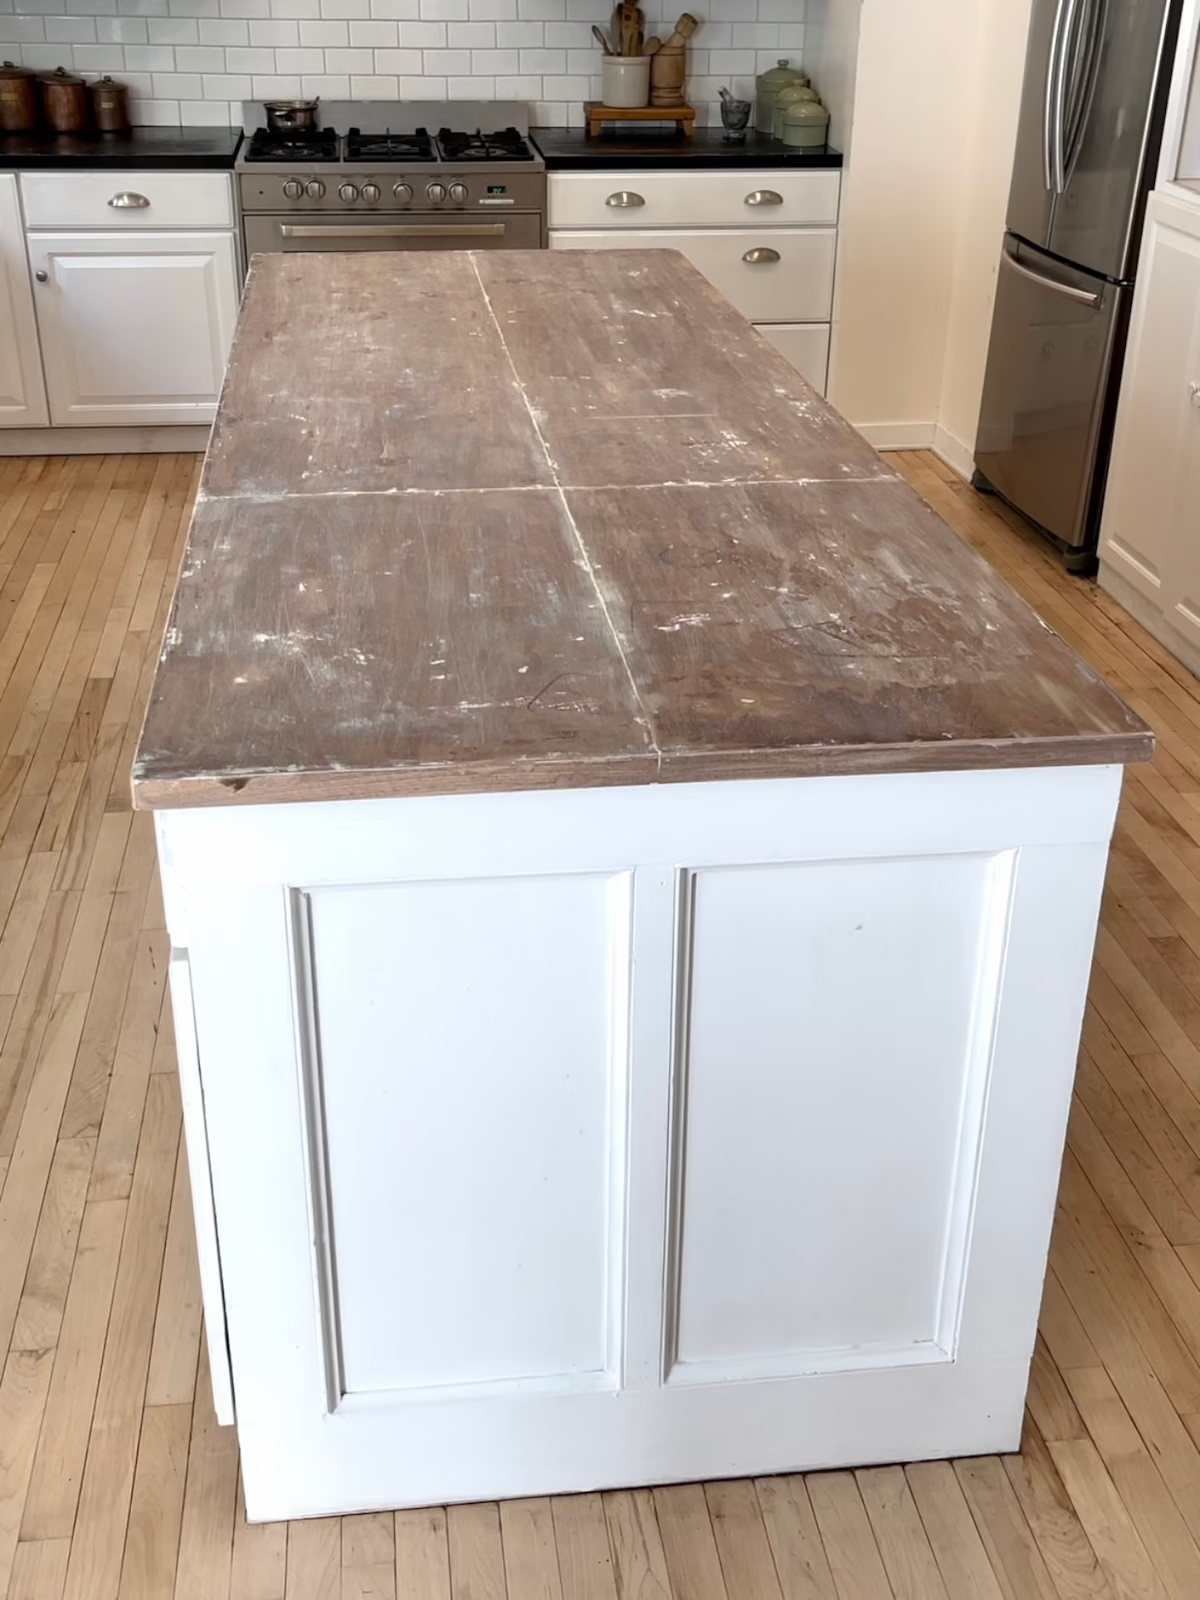
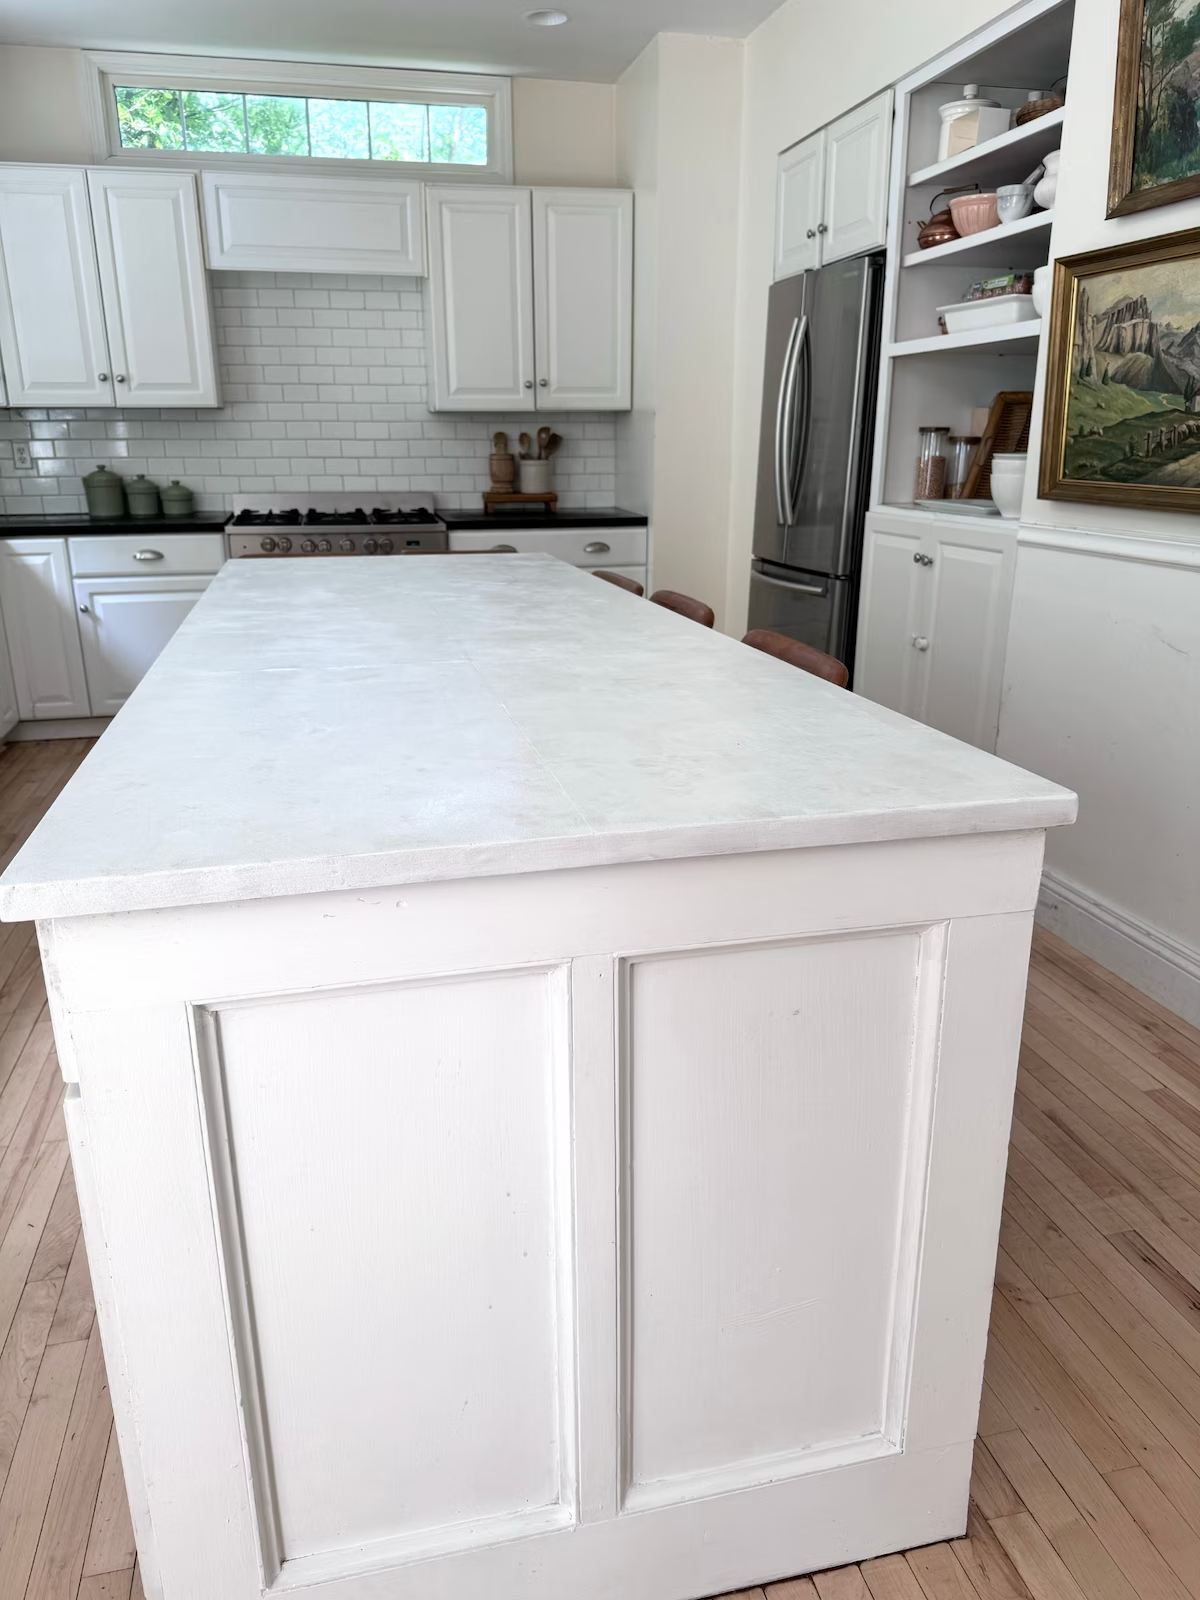
The island top is made our of three pieces and because they had seams that we filled with wood putty, I decided to paint the countertops.
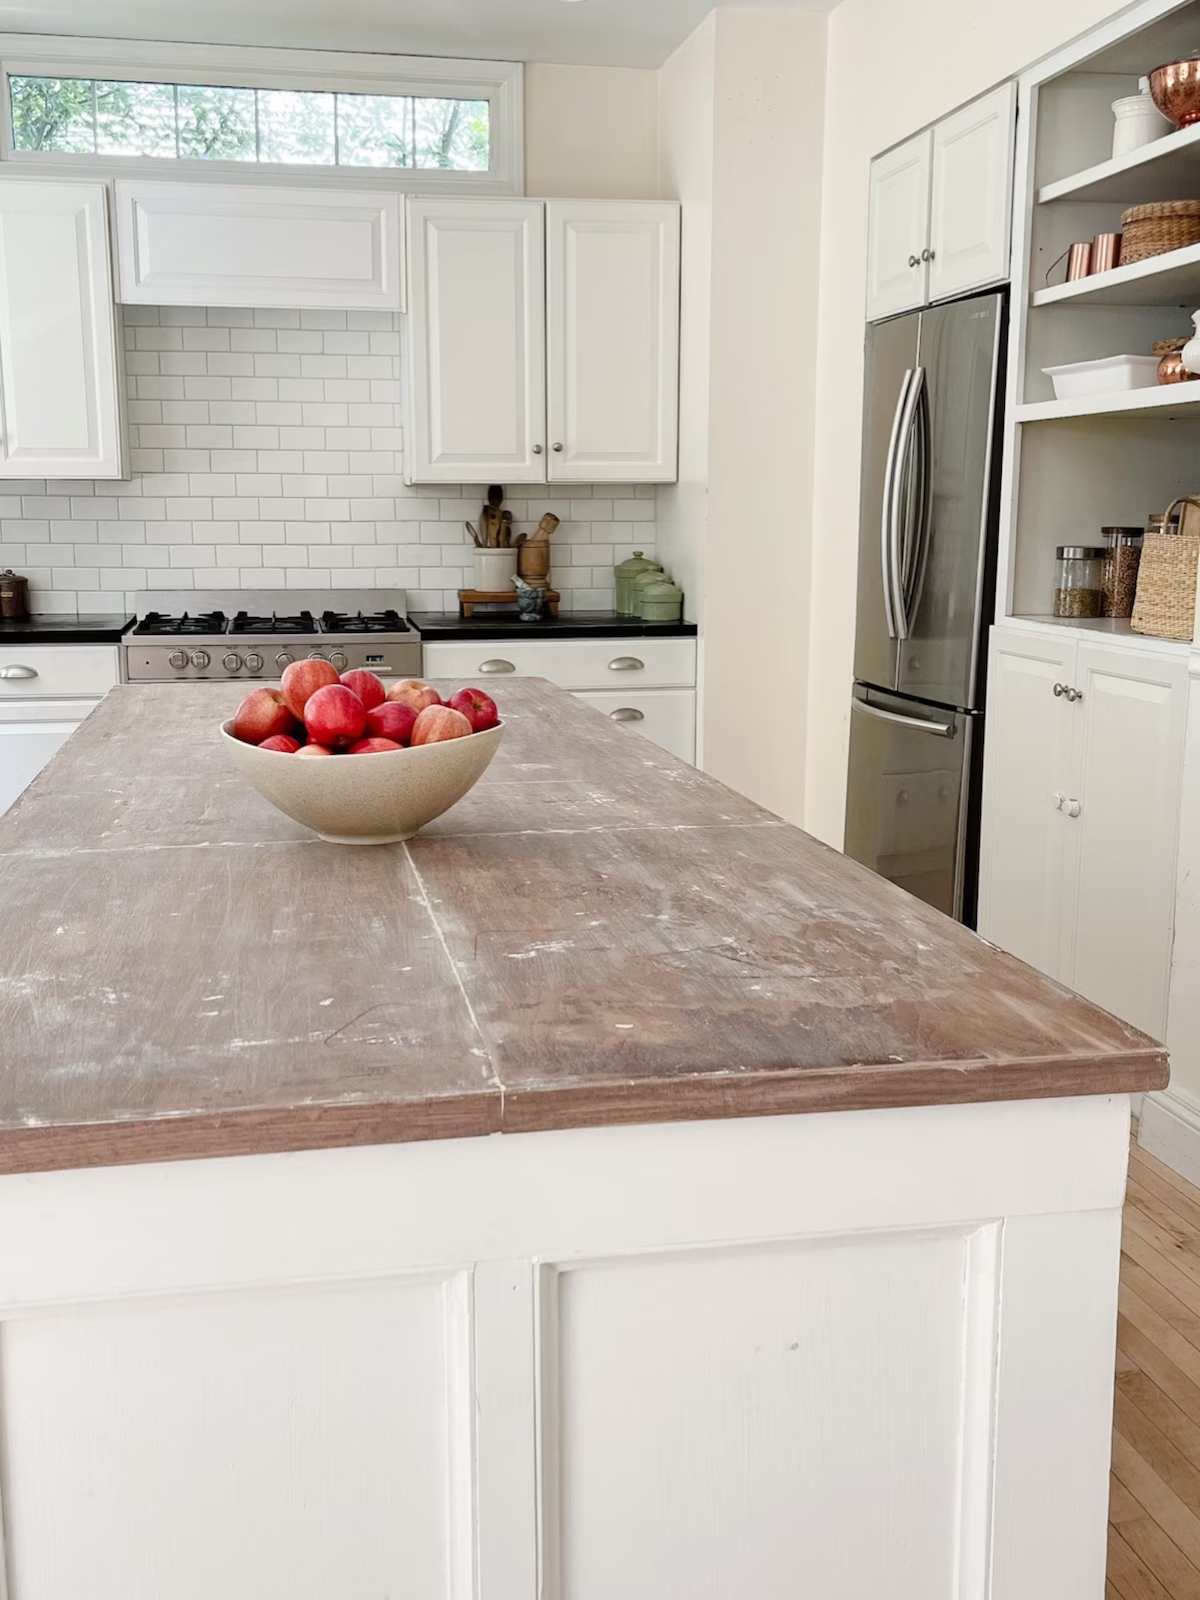
Will a painted counter last?
Our painted island countertop received a lot of use and lasted about three years before it started showing wear and tear.
Then I just touched it up and resealed it.
Painting our wood counters has saved us roughly five thousand dollars. That’s how much a stone top would have cost, on the low end.
What if I want to change the paint finish of my counters?
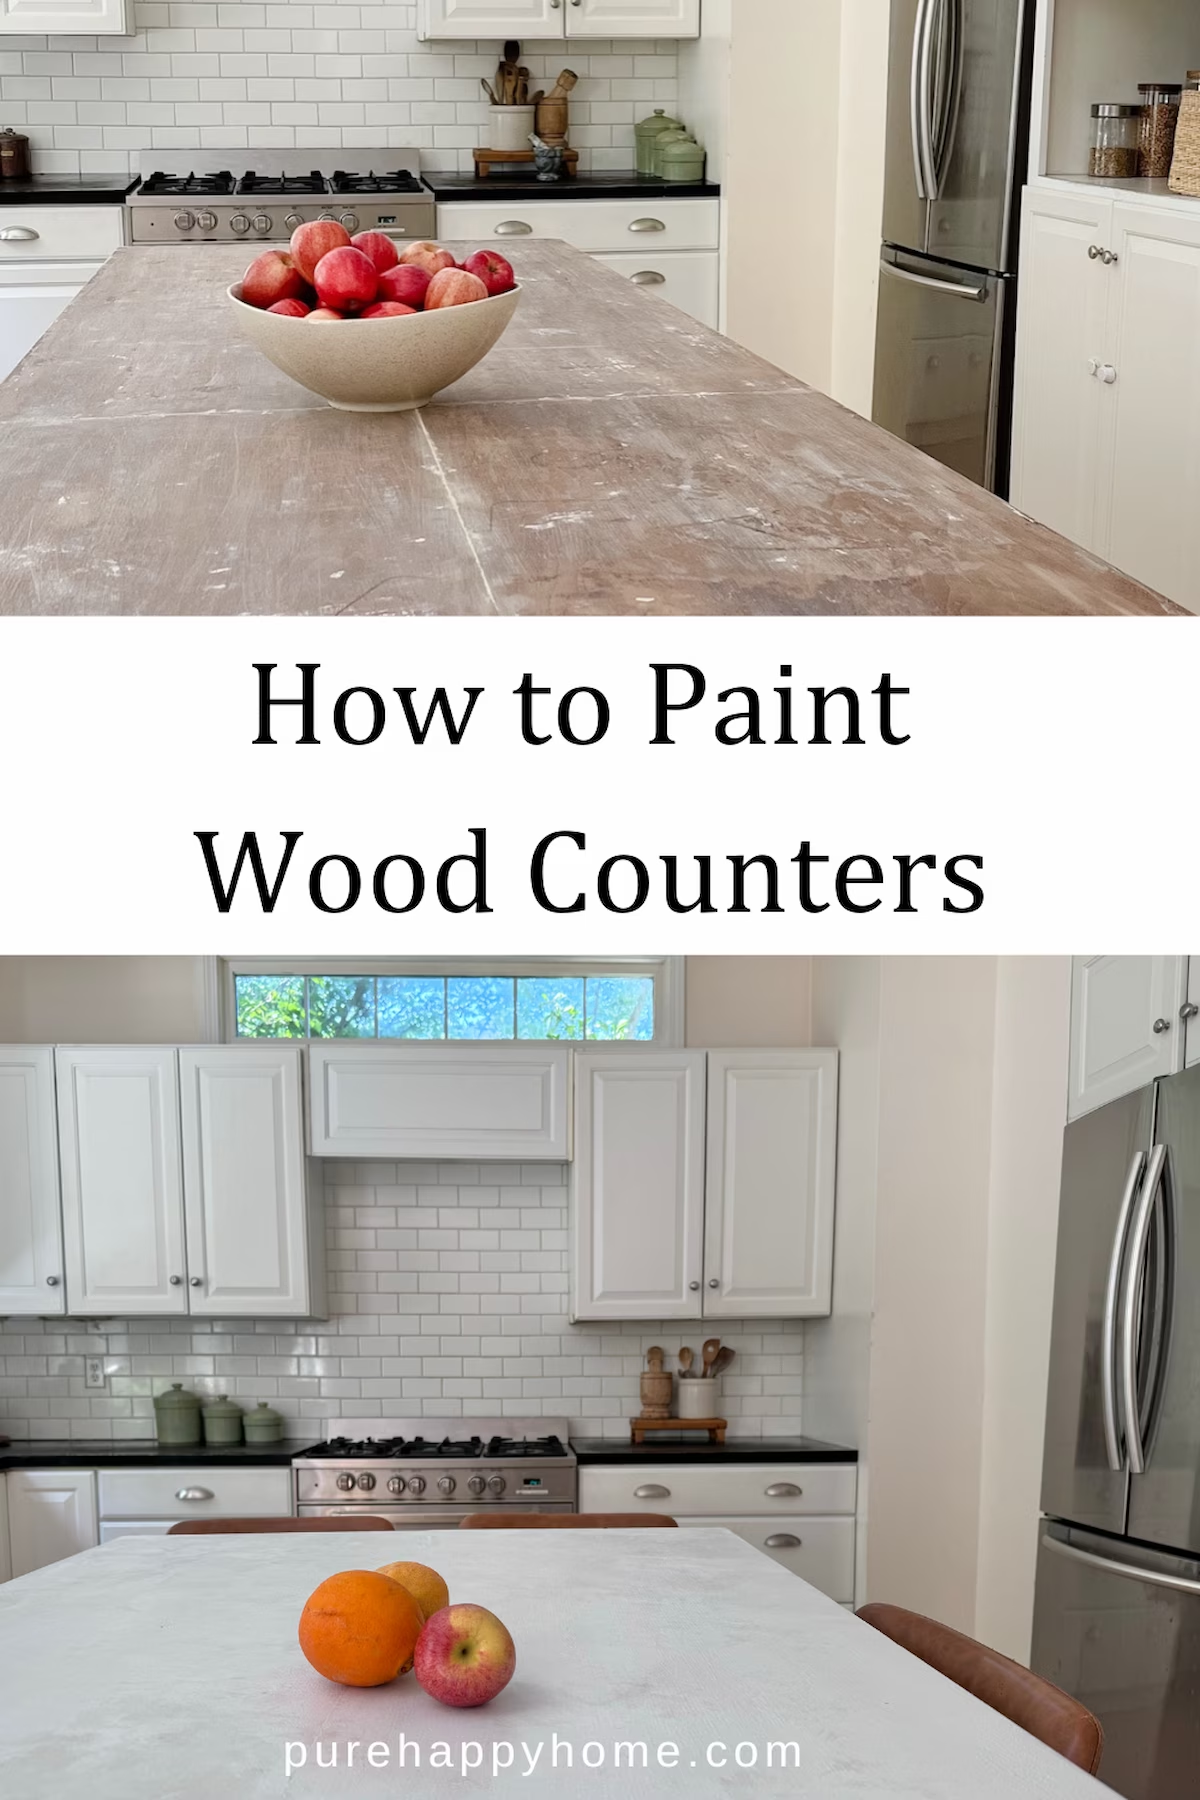
Just start fresh and paint your wood counters again.
Recently I removed the original paint finish because I wanted a new finish and design.
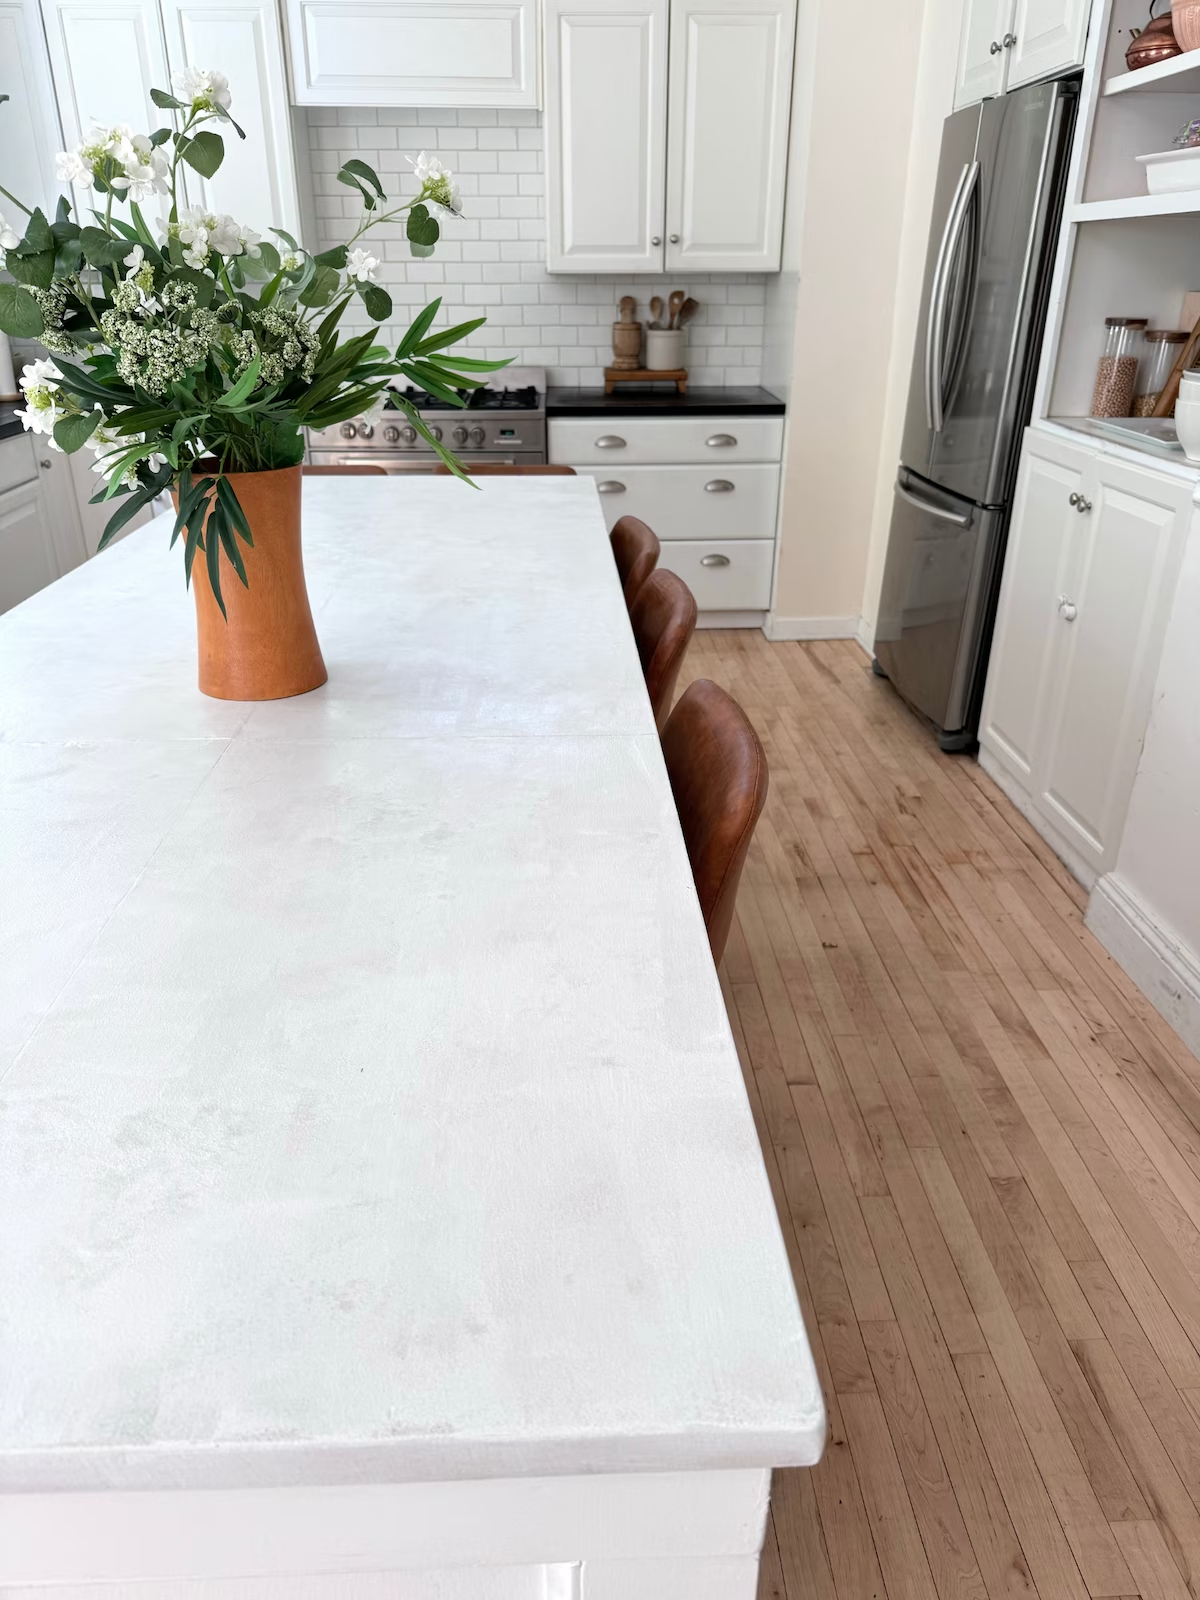
Repainting the wood counter took me an hour and they’re looking fantastic again!
Here’s how I did it.
1. Sand Counters
Lightly sand, your counters, and wipe clean. I used 150 grit sandpaper and did it by hand.
It only took about 5 minutes.
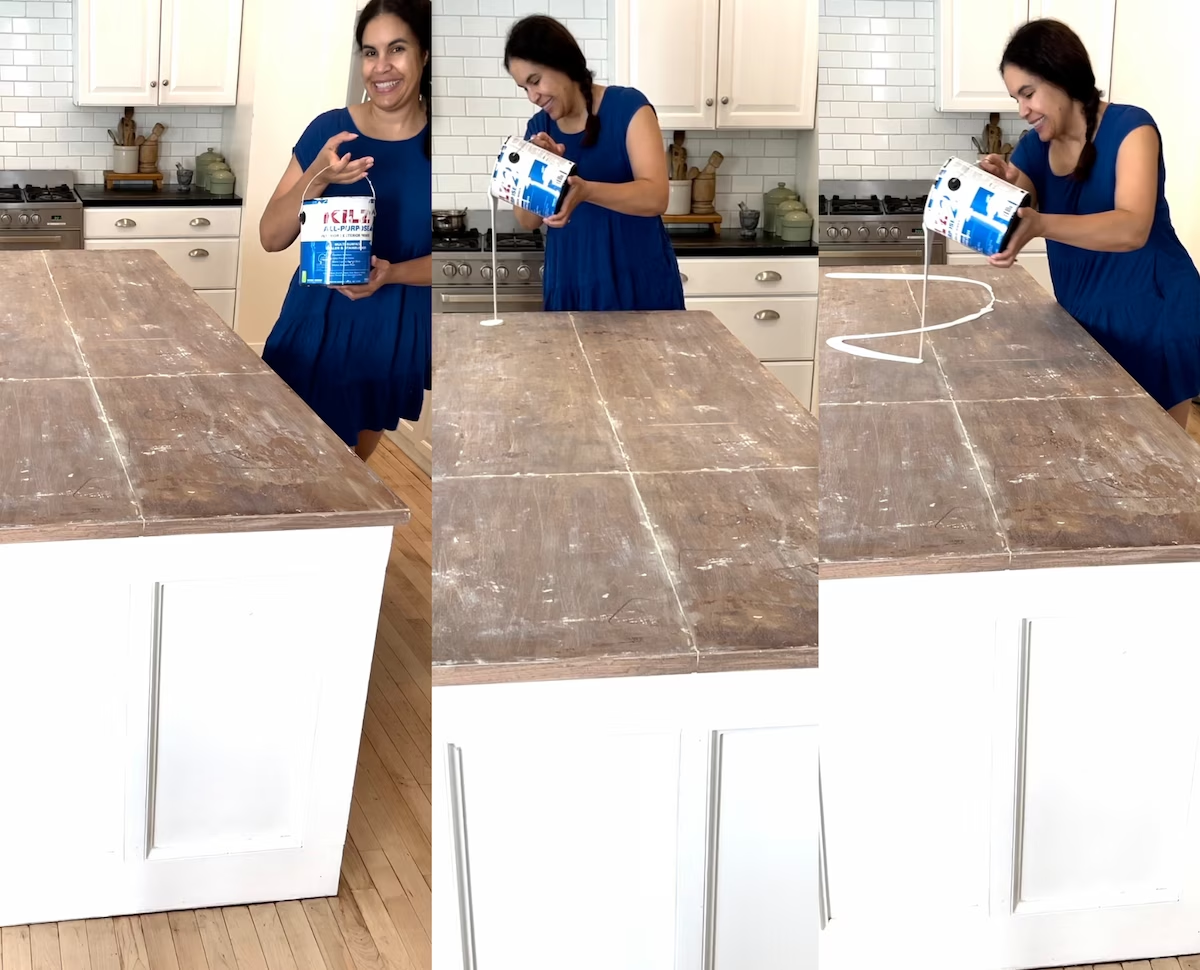
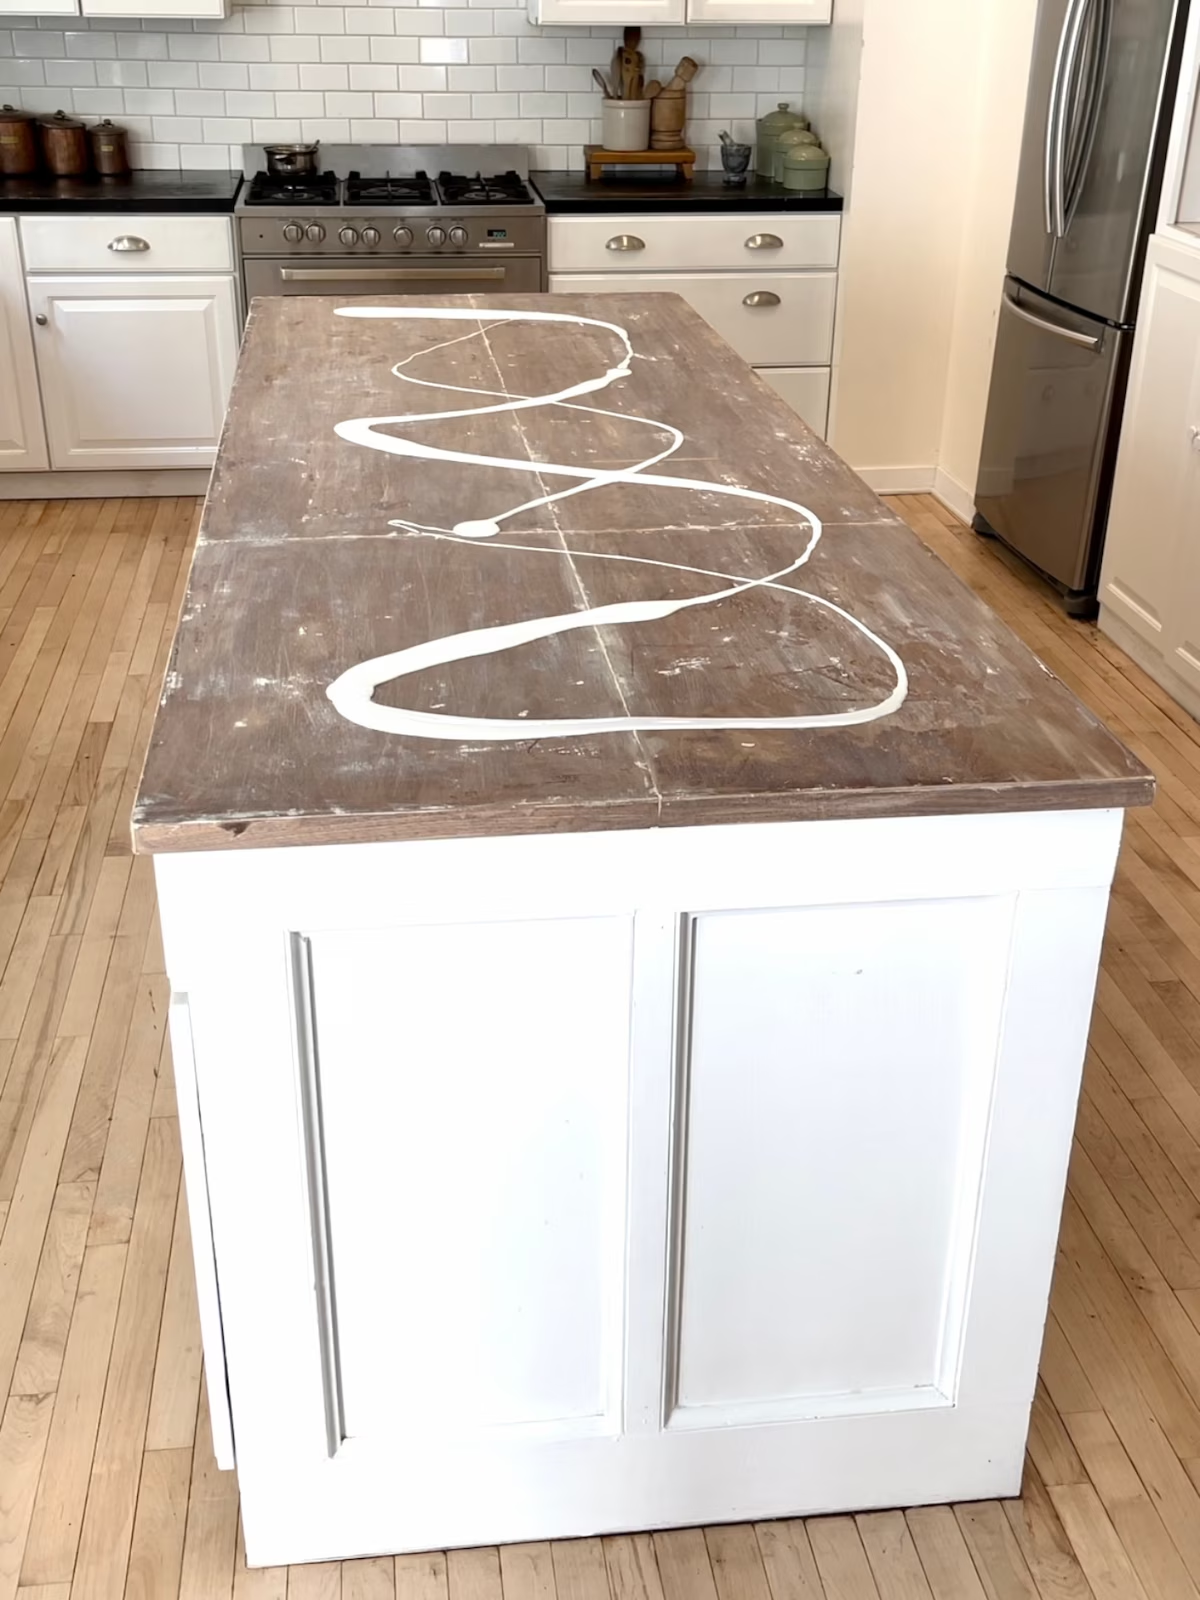
2. Apply Heavy Primer
Prime the wood countertop with paint primer. For this project I laid the primer on heavy and just poured it right on the counter. FUN!
I use the water based Kilz brand of primer. It’s one of my favorite products because it really blocks out stain.
I especially needed the coverage with this wood counter because it was previously stained with oil based stain.
Let dry an hour.
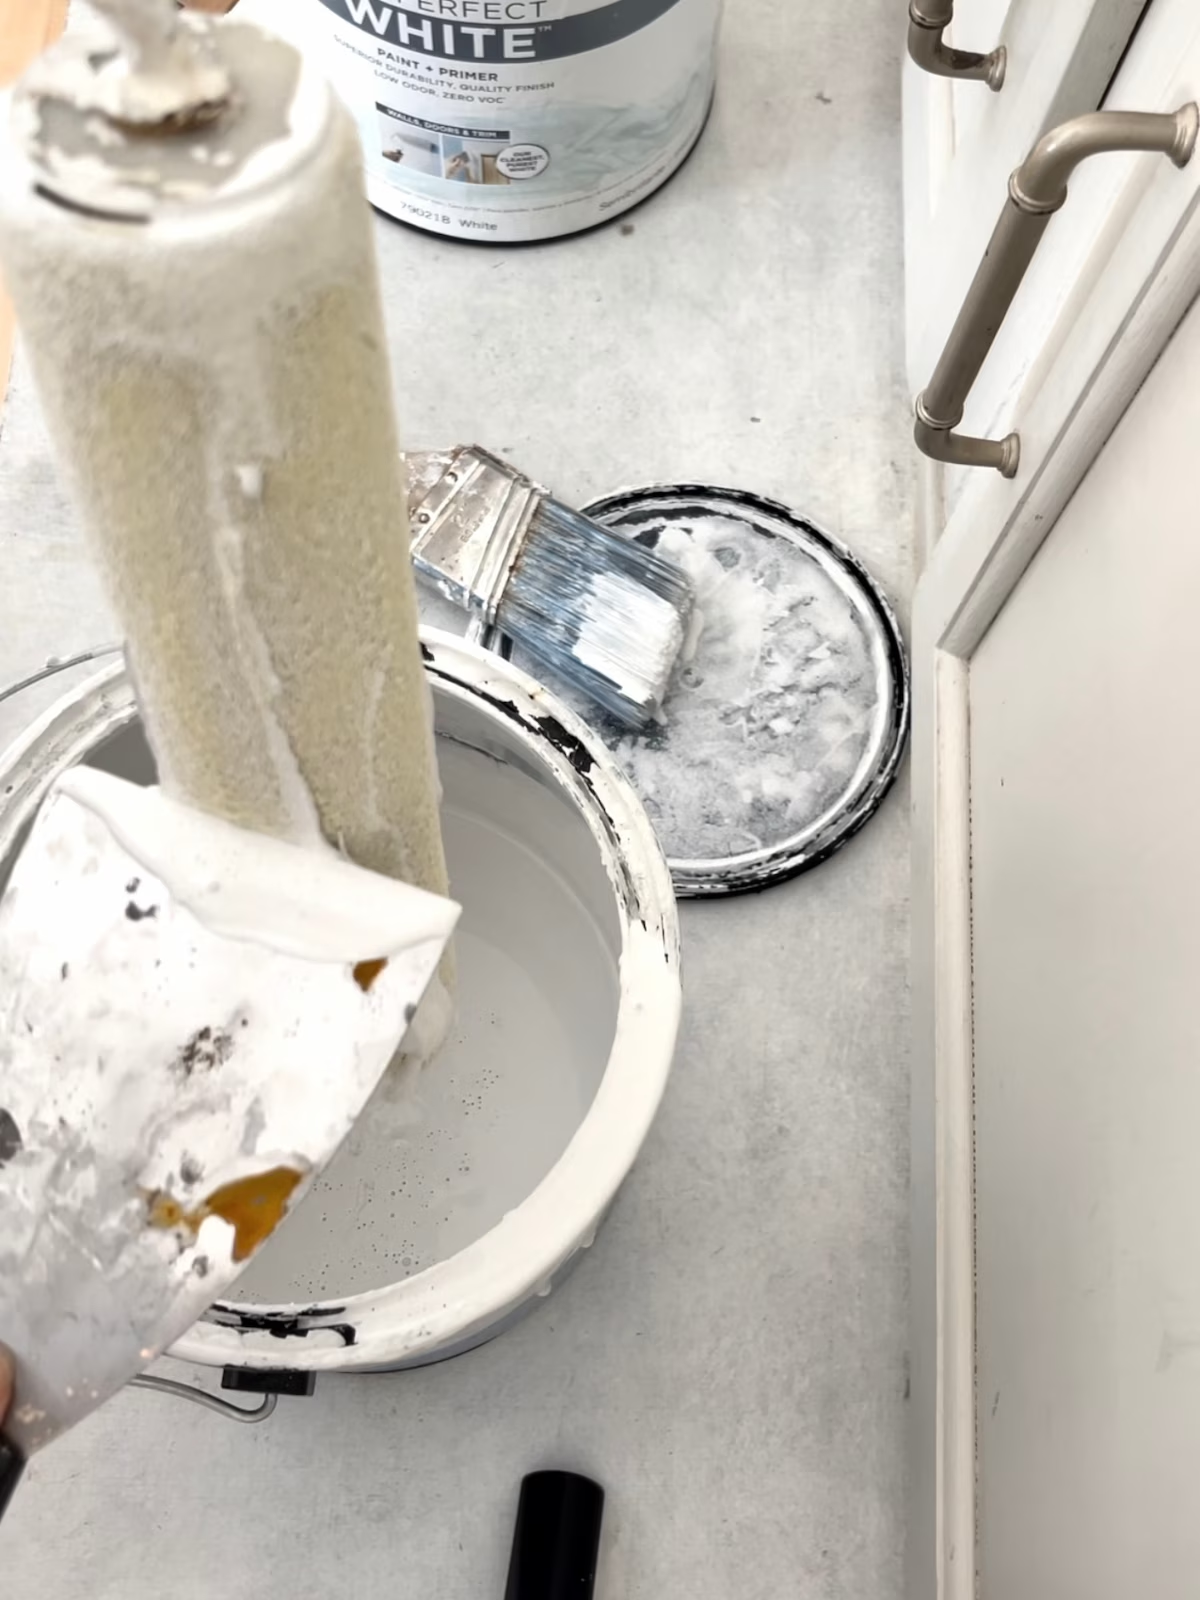
FRUGAL TIP : After I prime and before I add the top coat I always scrap off my roller cover over the paint can.
I use a paint scrapper to save every bit of paint I can.
When possible, waste not my friends!
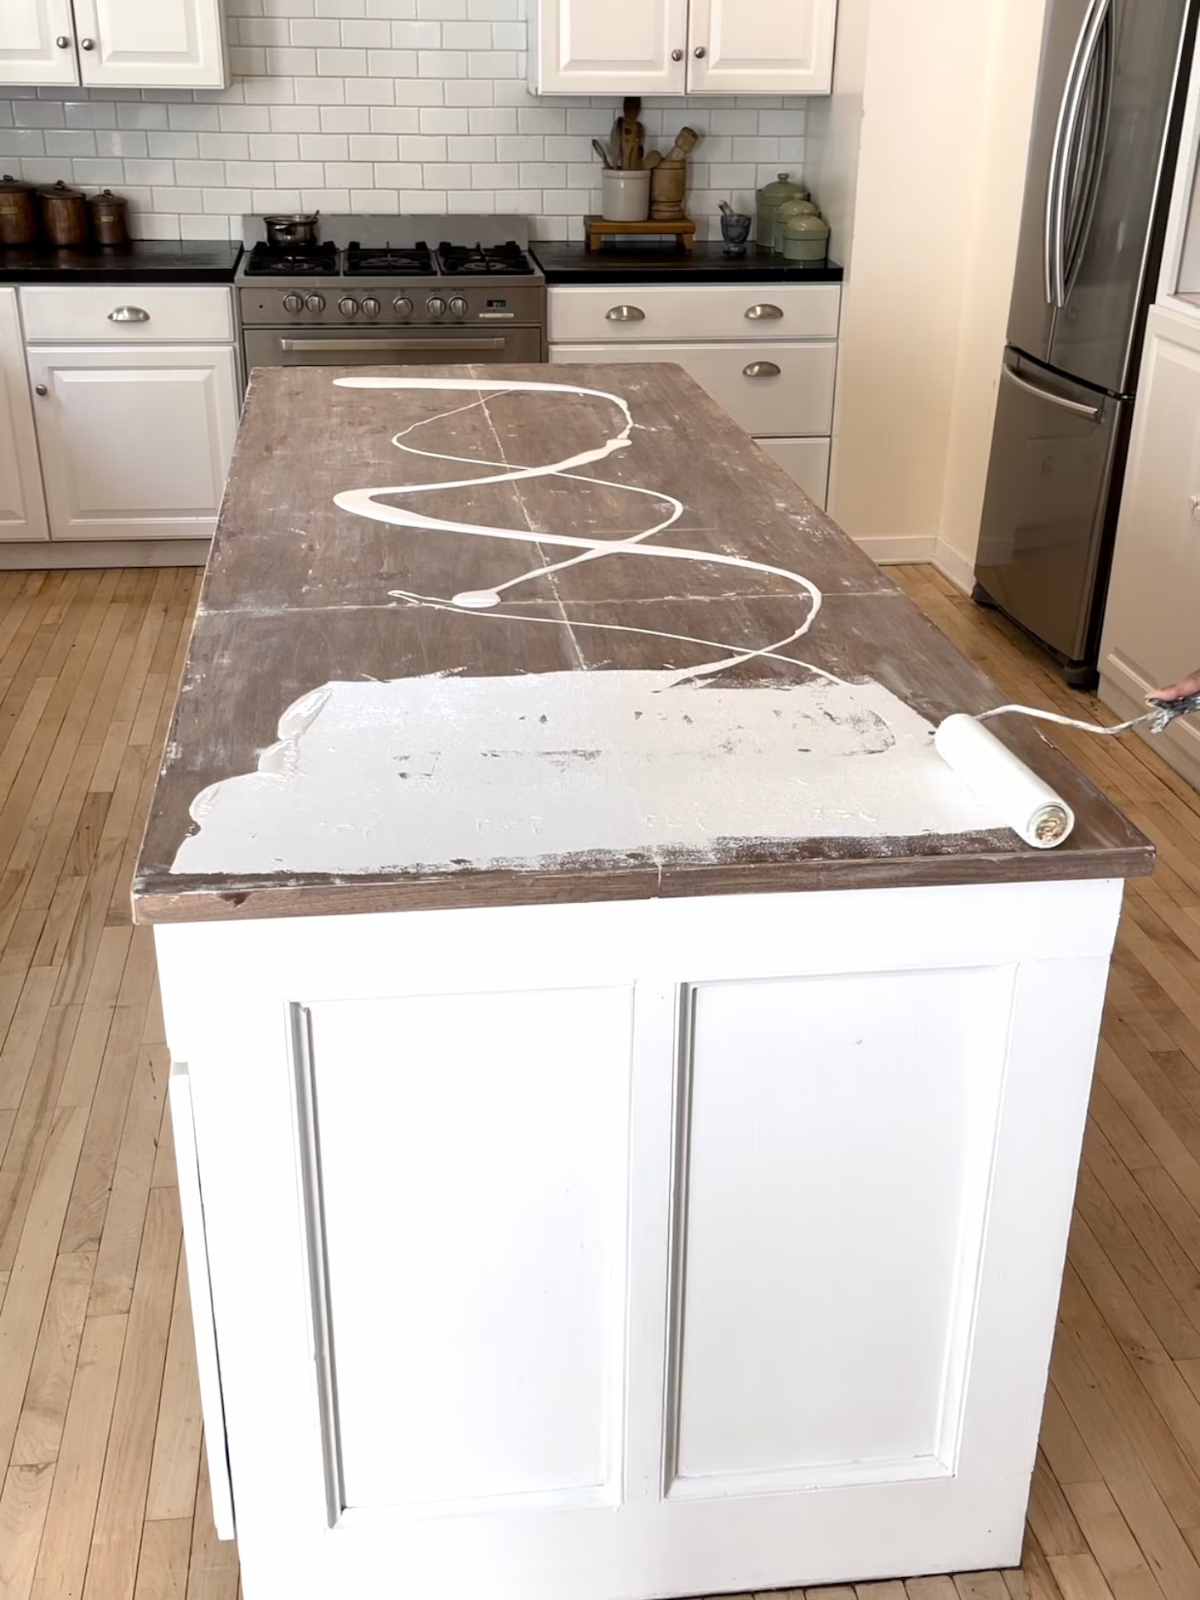
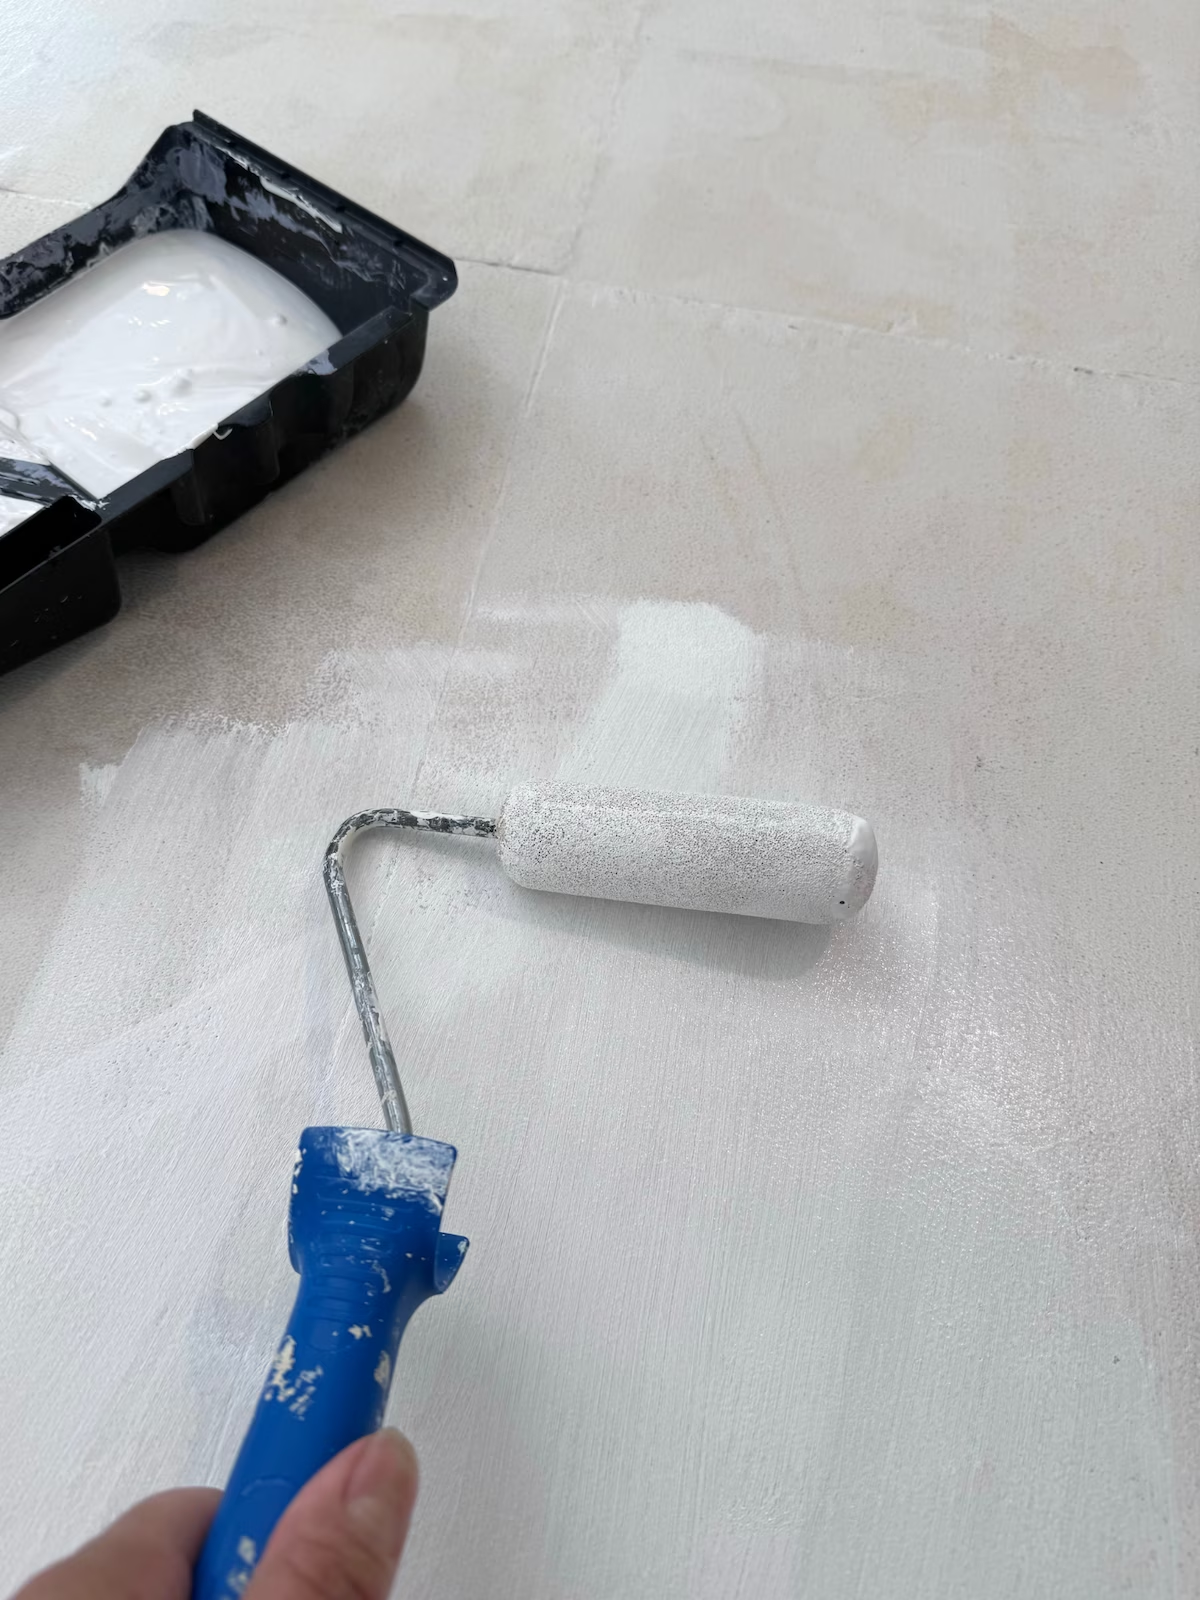
3. Paint with Roller
Apply a coat of paint with a foam paint roller. You want a foam roller because it lays down a layer of paint while hiding roller marks really well.
In some areas apply a heavier coat of paint.
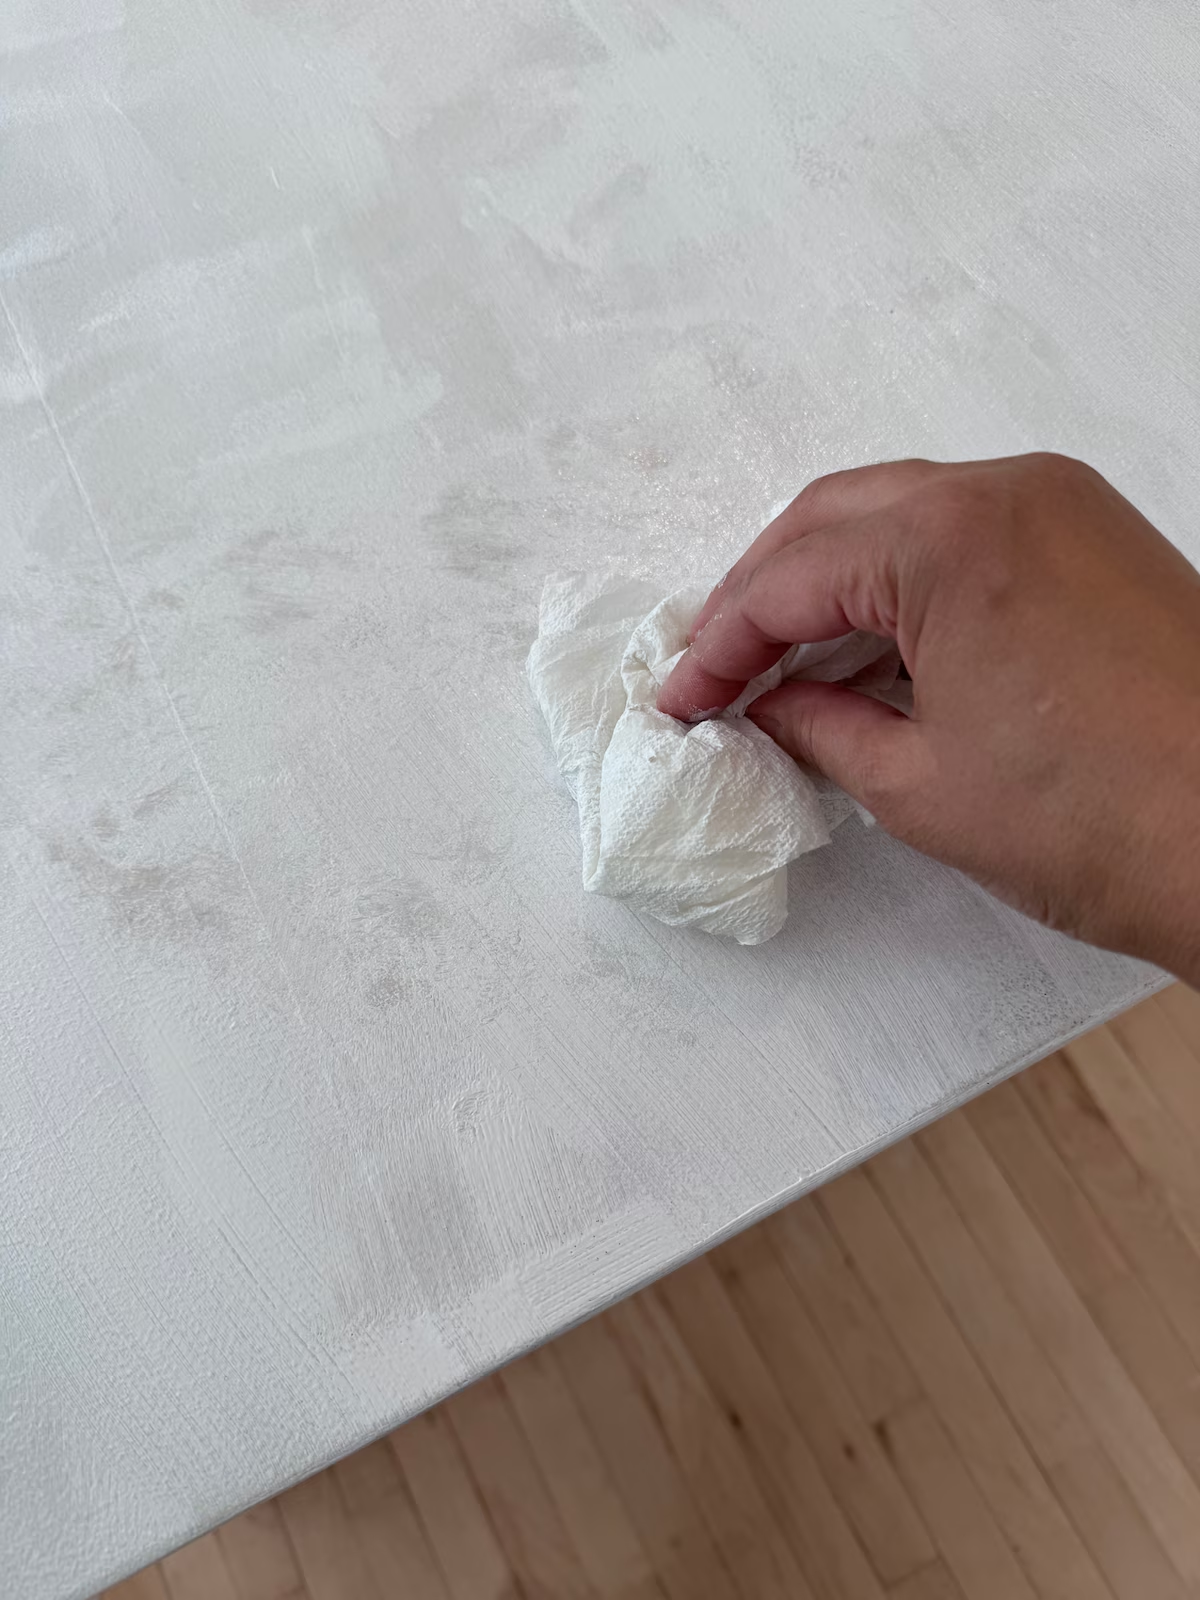
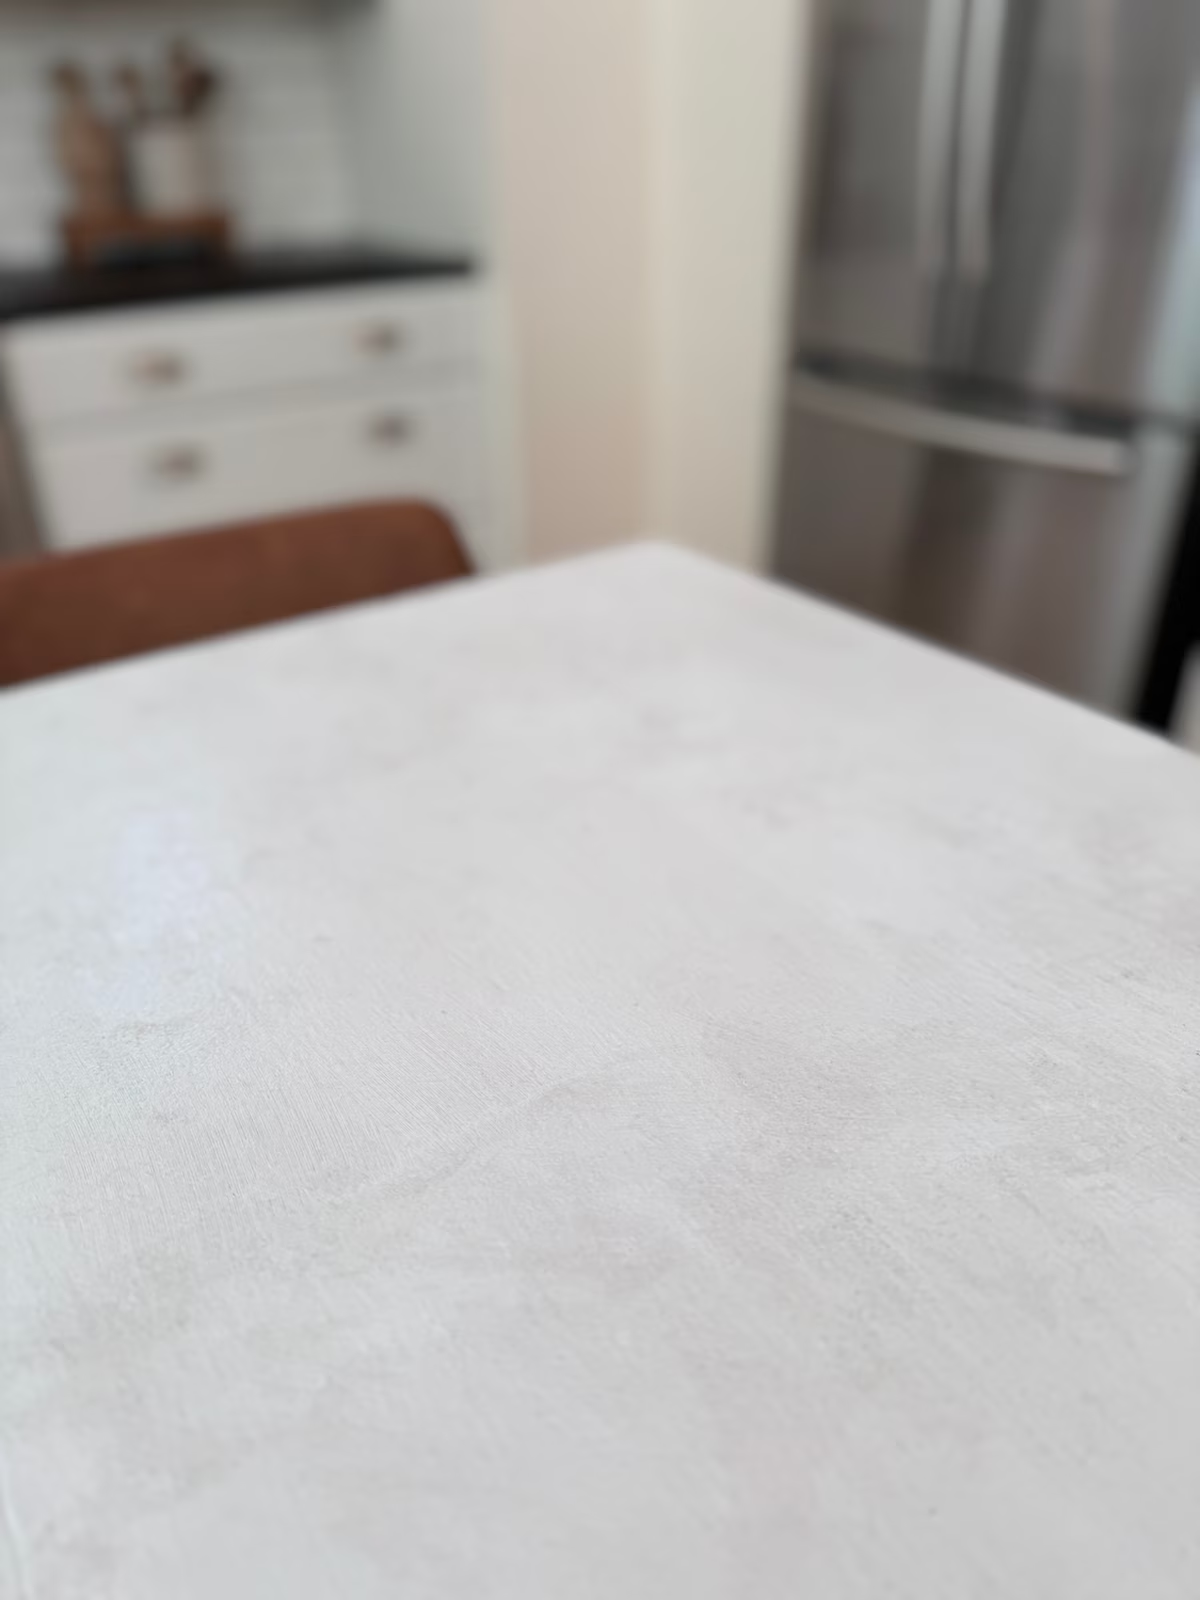
4. Sponge Off Paint Color
Lightly sponge off small areas of your second coat of paint with a damp paper towel.
You’ll want to vary where you are applying the paper towel. Allow the primer to show through in some areas.
This gives texture and dimension to your countertop.
5. Seal Counters
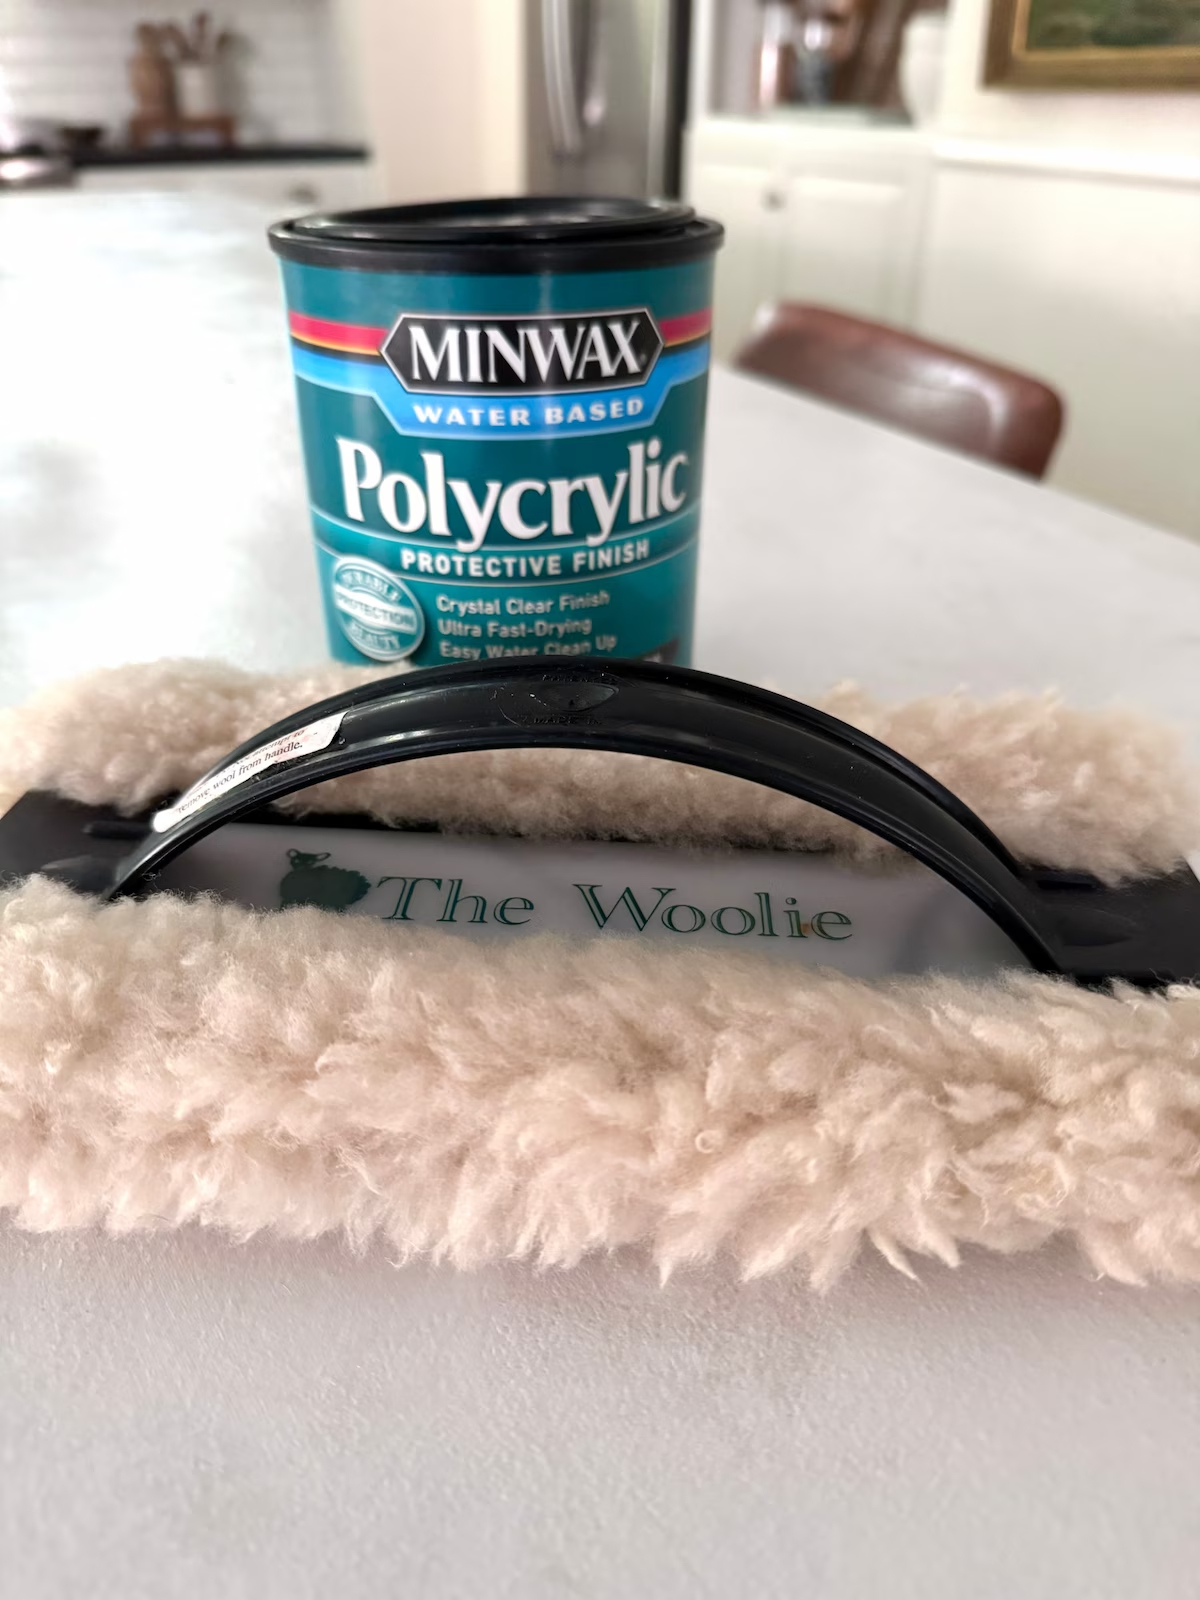
Finish by sealing your painted wood countertops with polyurethane. I like to use crystal clear because it dries non-yellowing.
The Woolie was a discovery I highly recommend. It makes application easy and you don’t see any brushstrokes.
The sealer dries quickly and does not turn yellow which is super important if you’re painting your counters white. If you live in a highly humid climate, let the sealer dry overnight before using your counters.
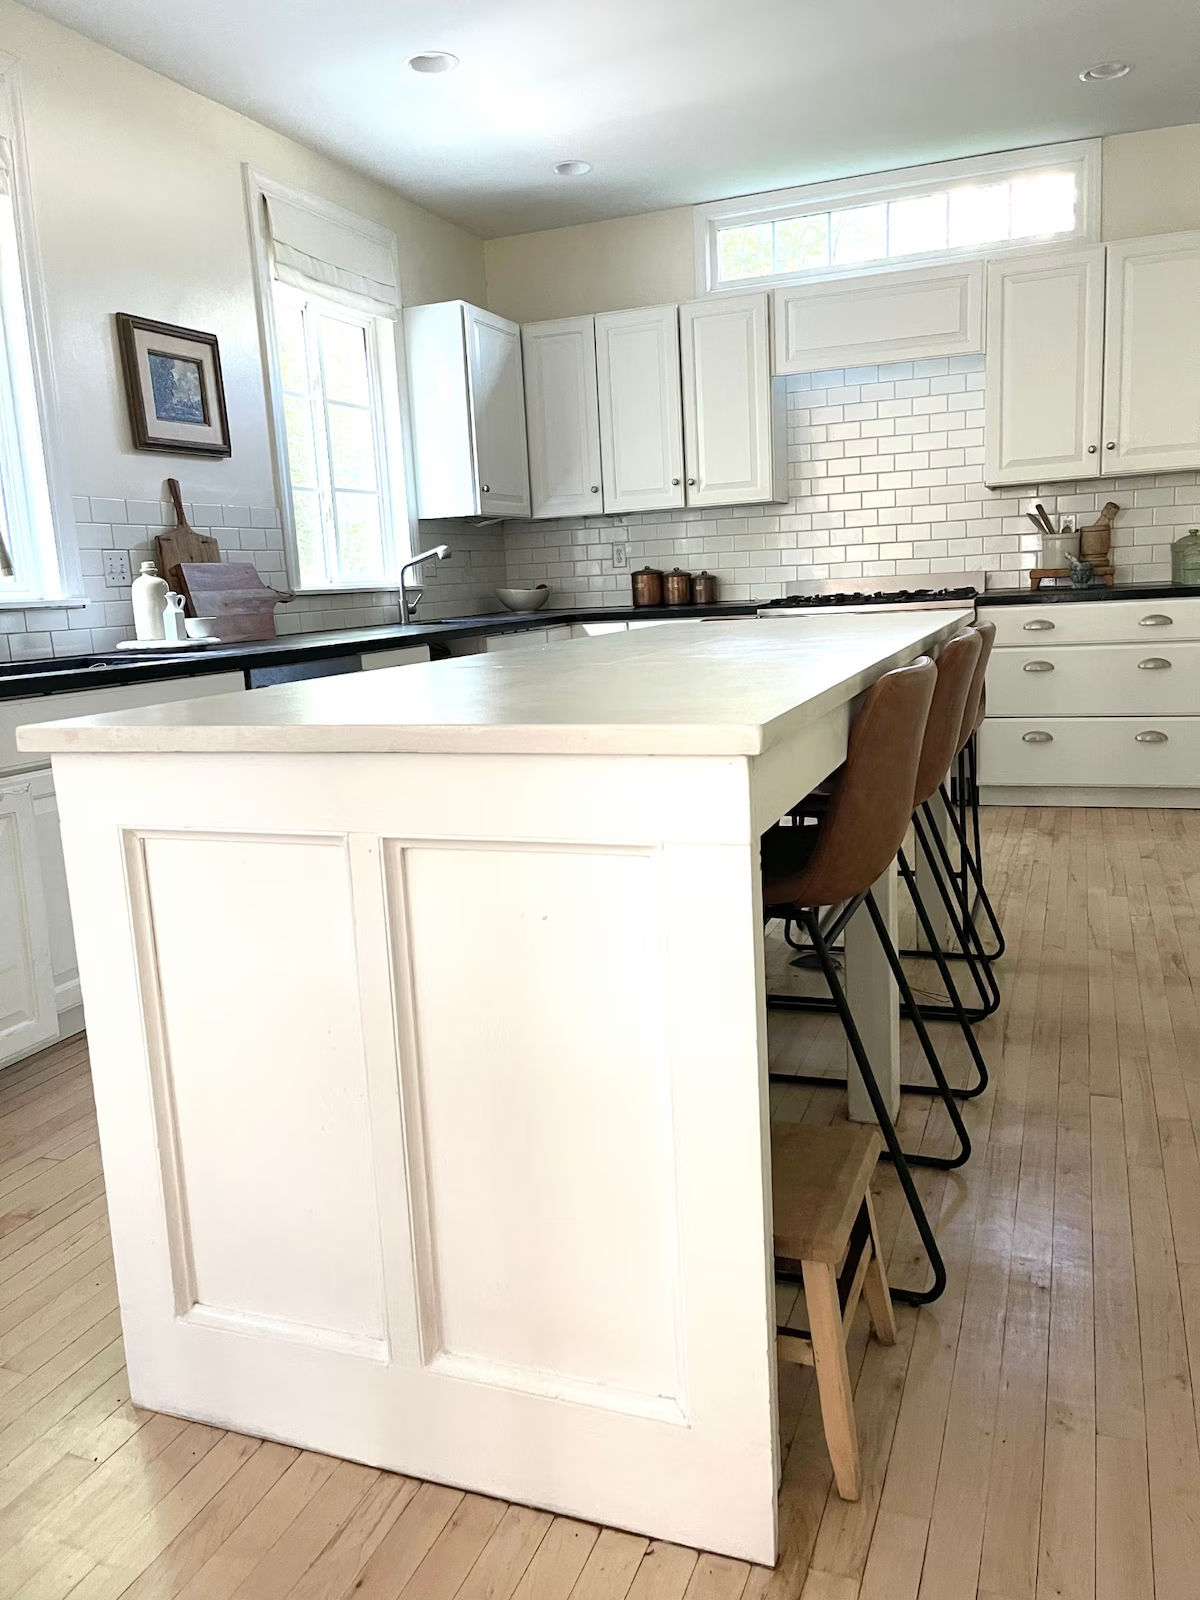
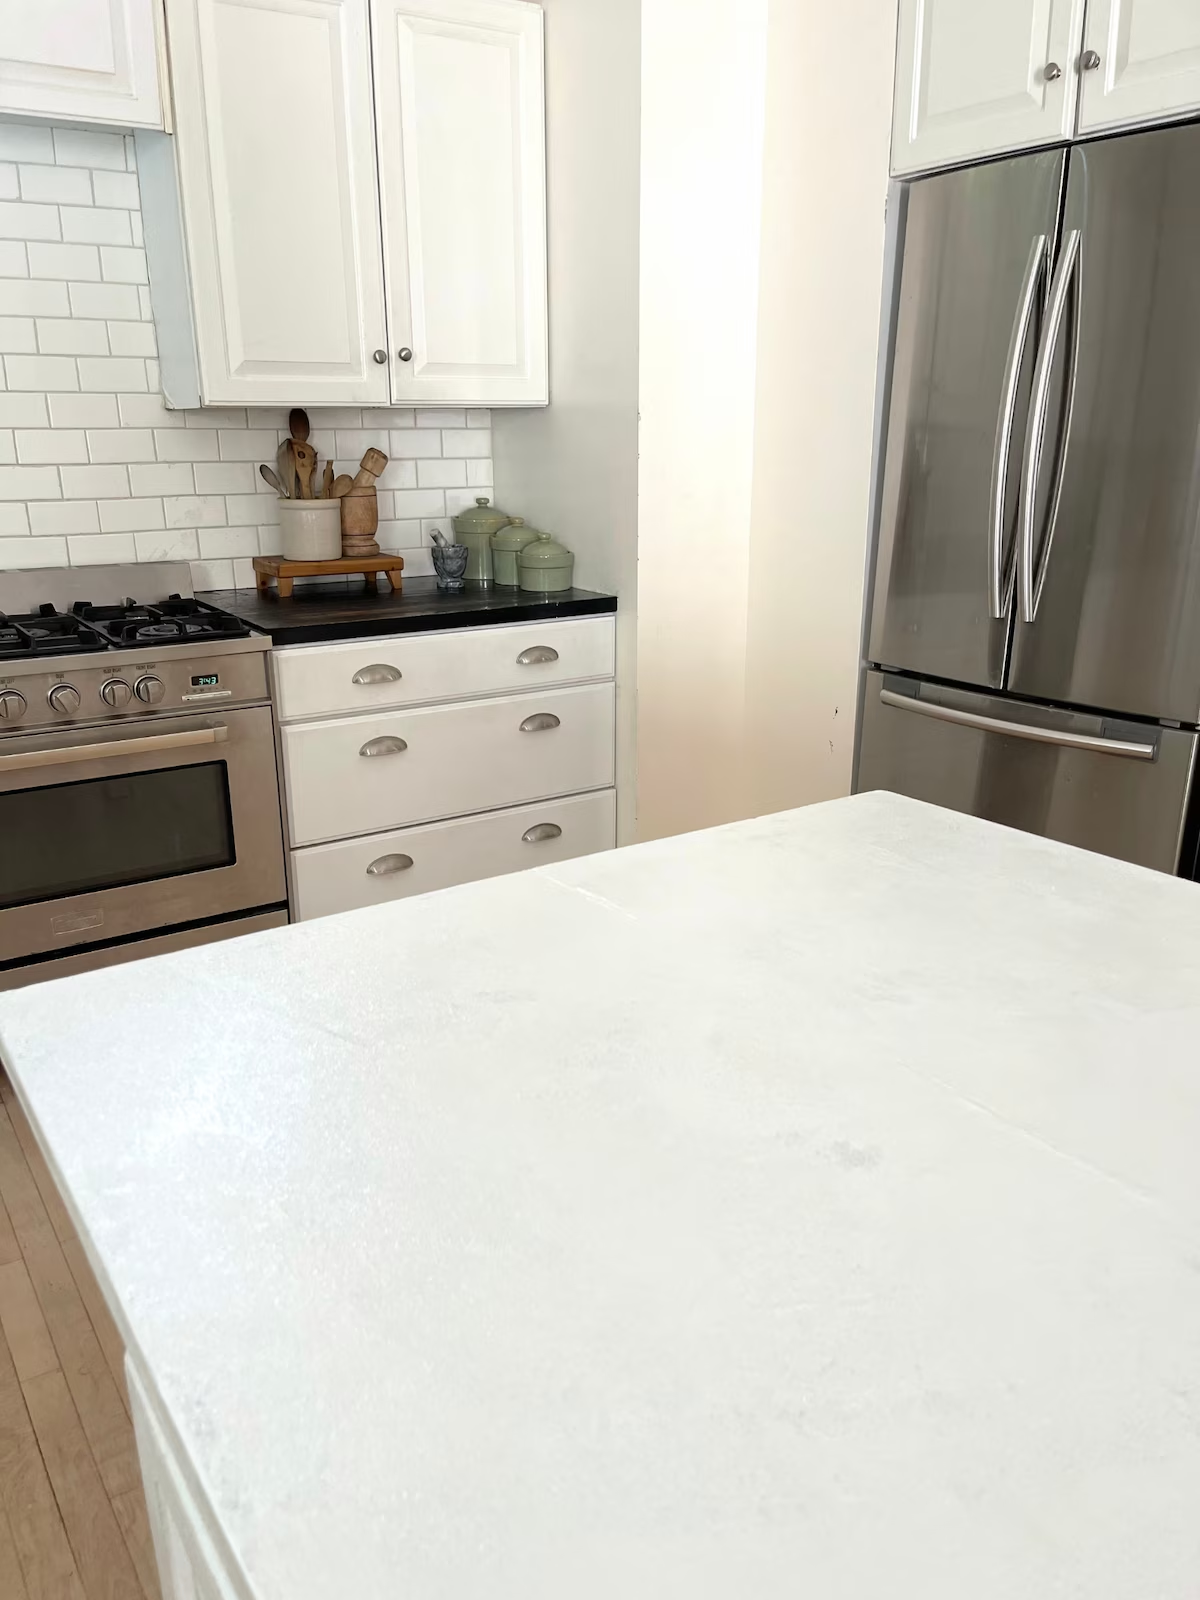
This technique works really well for me.
Easy is the name of the game for me when it comes to projects.
Transforming wood counters with paint in an hour makes this project one of my favorite.
Minus the drying time you’ll be also be able to give wood countertops new life in an hour
Painted Counter Supplies
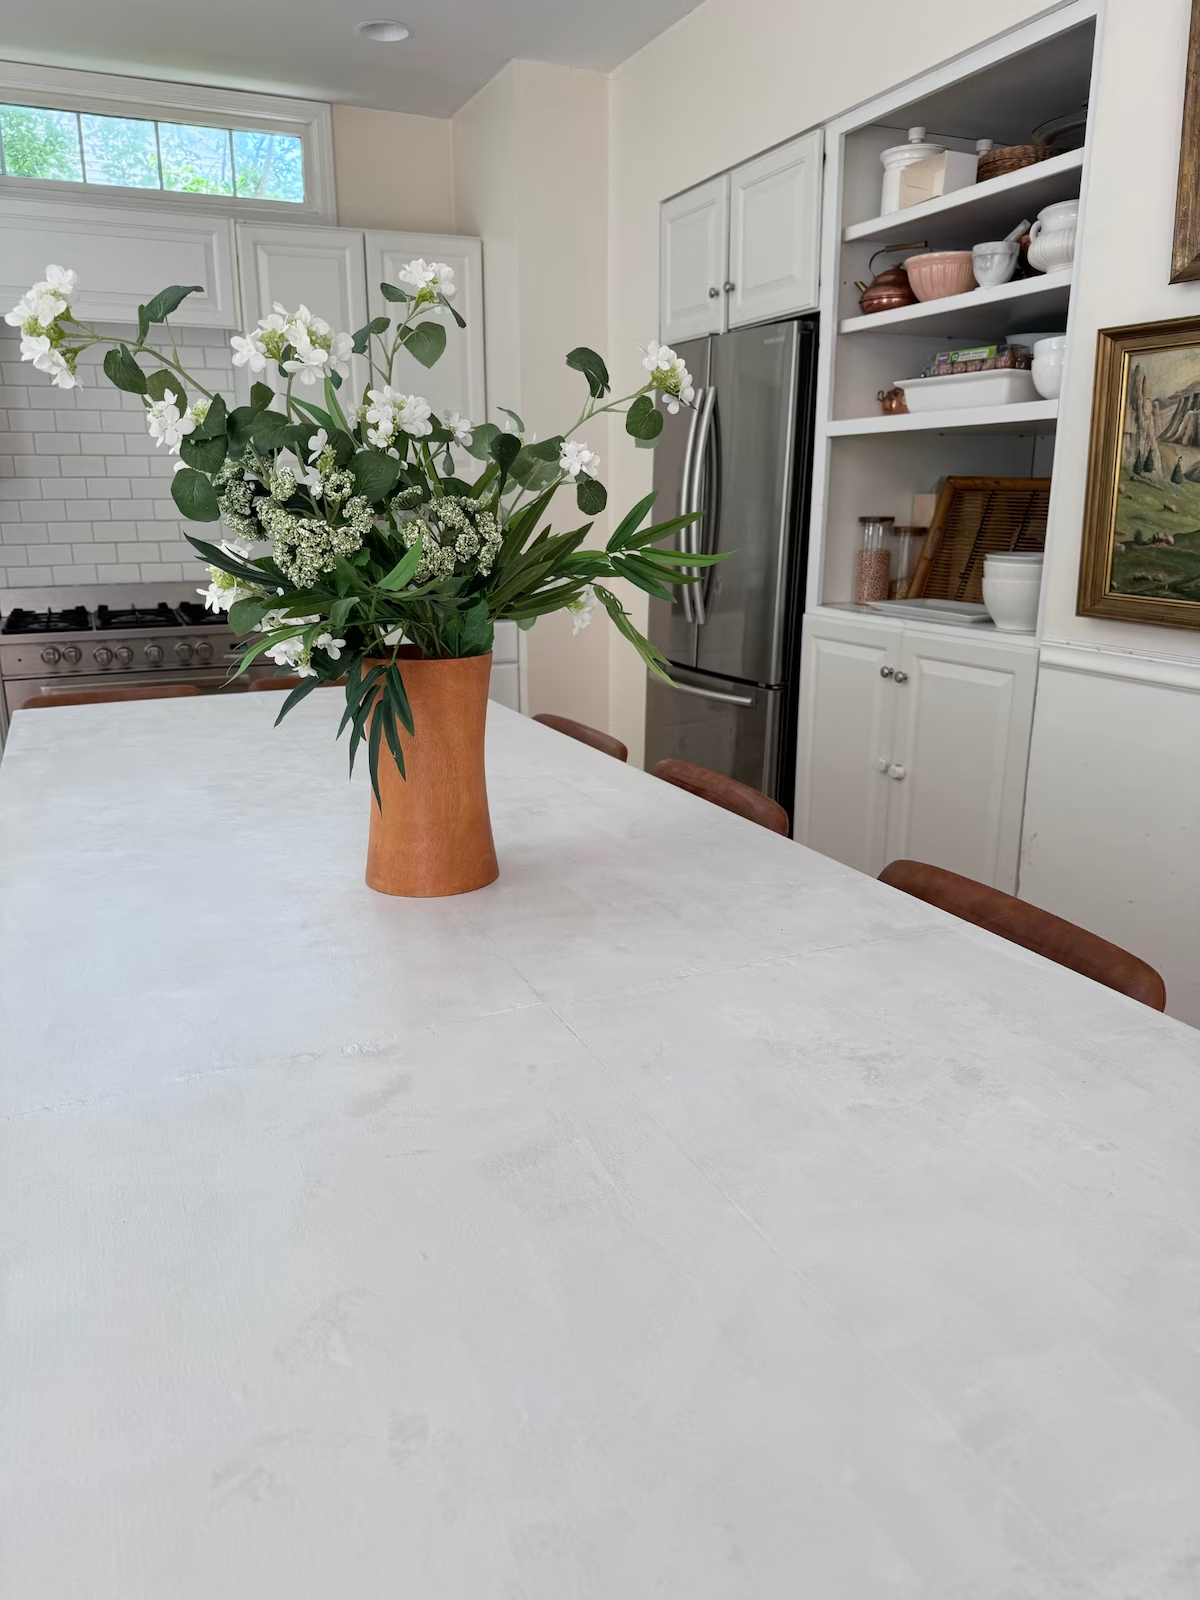
Consider painting your wood counters if you need a refresh and want to invest in other areas of your home.
It’s an incredible way to save money on a kitchen remodel and we’re very happy with ours.
Let me know if you have any questions in the comments.
Thanks for being here my sweet DIY friends!

MORE PAINT PROJECTS
- 7 Paint Projects with Huge Impact
- How to Transform Shoes with Spray Paint
- How to Paint Tile to Mimic Stone
Pin It & Save It for Later






You did a great job.
Hi Cindy, I appreciate it, thank you!