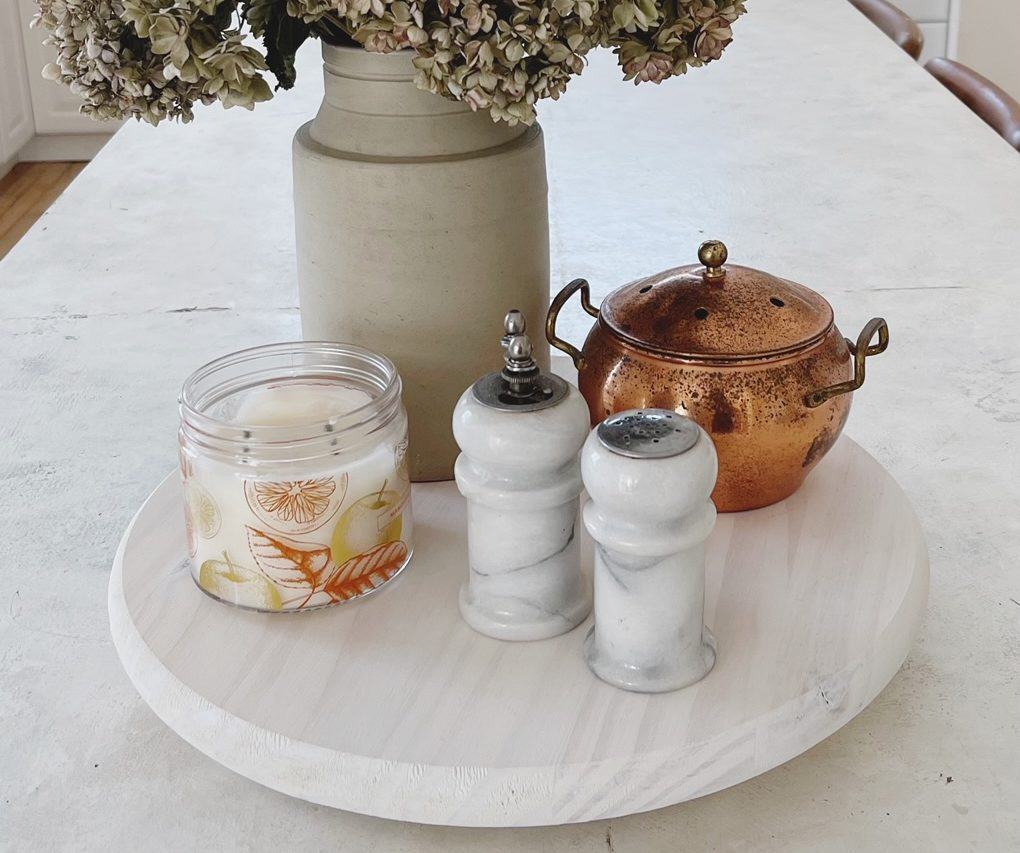
So excited to share a super simple project I dreamed up. Let me show you how to make the easiest DIY Lazy Susan ever!
A few weeks ago I was on Amazon looking for wooden lazy Susans. Nothing I was seeing really interested me or it was way more than I wanted to pay, so of course I started trying to figure out how to do it myself.
After some research, I saw people were indeed making their own lazy Susans, but it seemed more complicated than it needed to be.
Either that or I’m lazy, like Susan.
The Easiest DIY Lazy Susan
So in honor of the Susan who came up with her name sake kitchen essential, I decided to do it the easy way.
Couldn’t I take one of the effective, but “uncute” (pretend that’s a word) plastic lazy Susans and just glue what I wanted on top? Then I could customize it to my liking and call it a day?
Turns out, I could and I did!
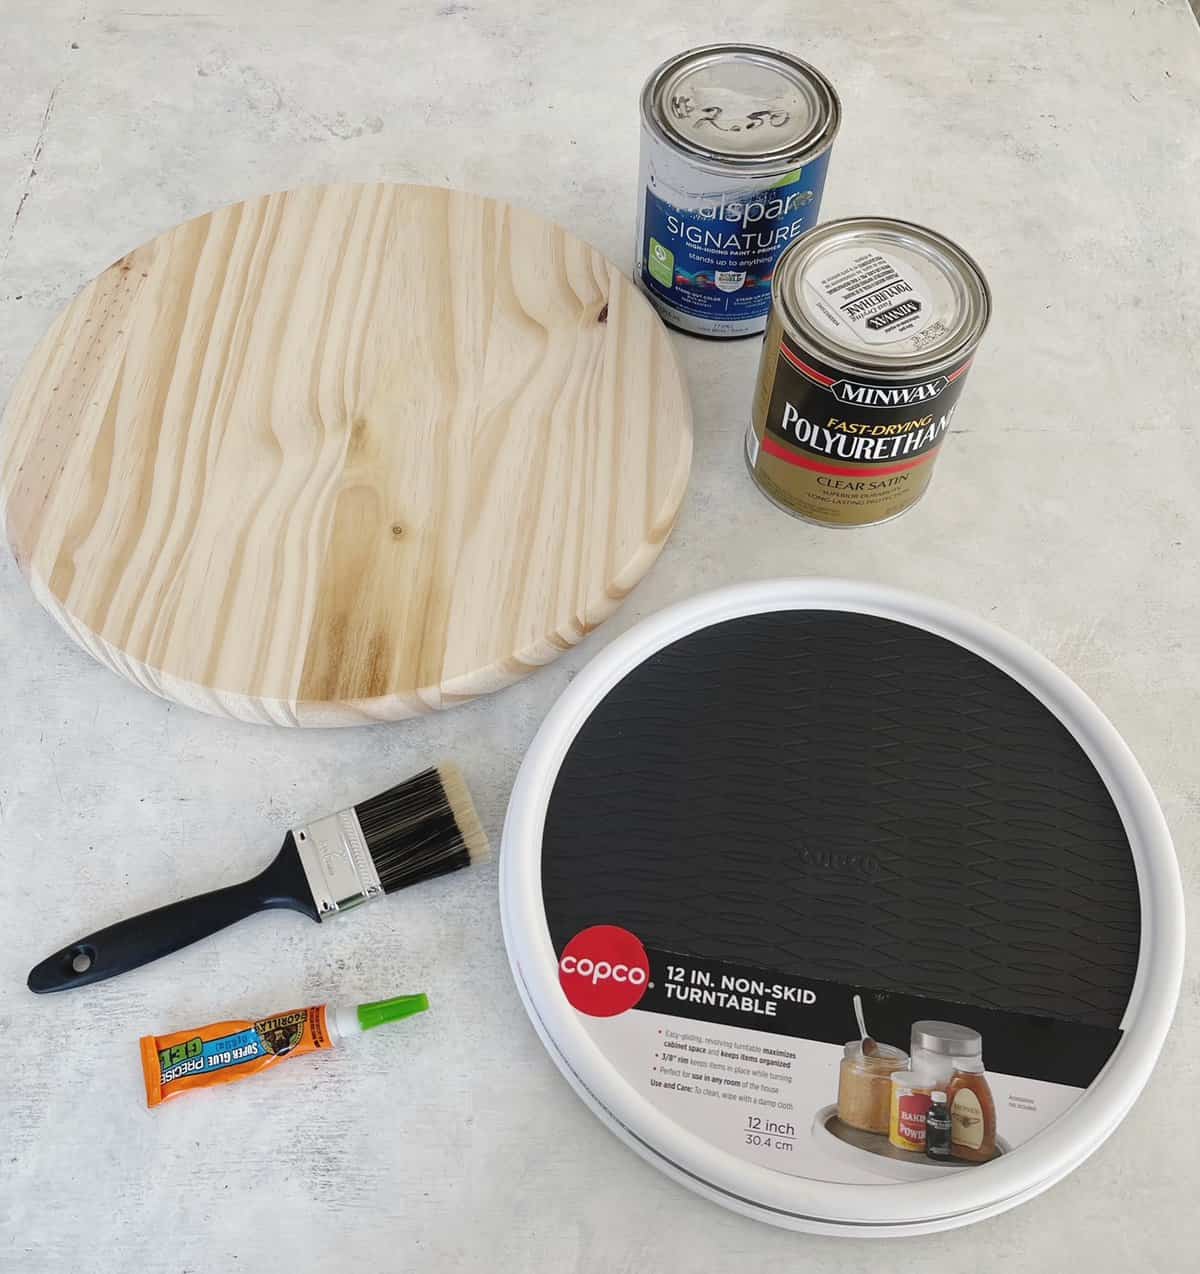
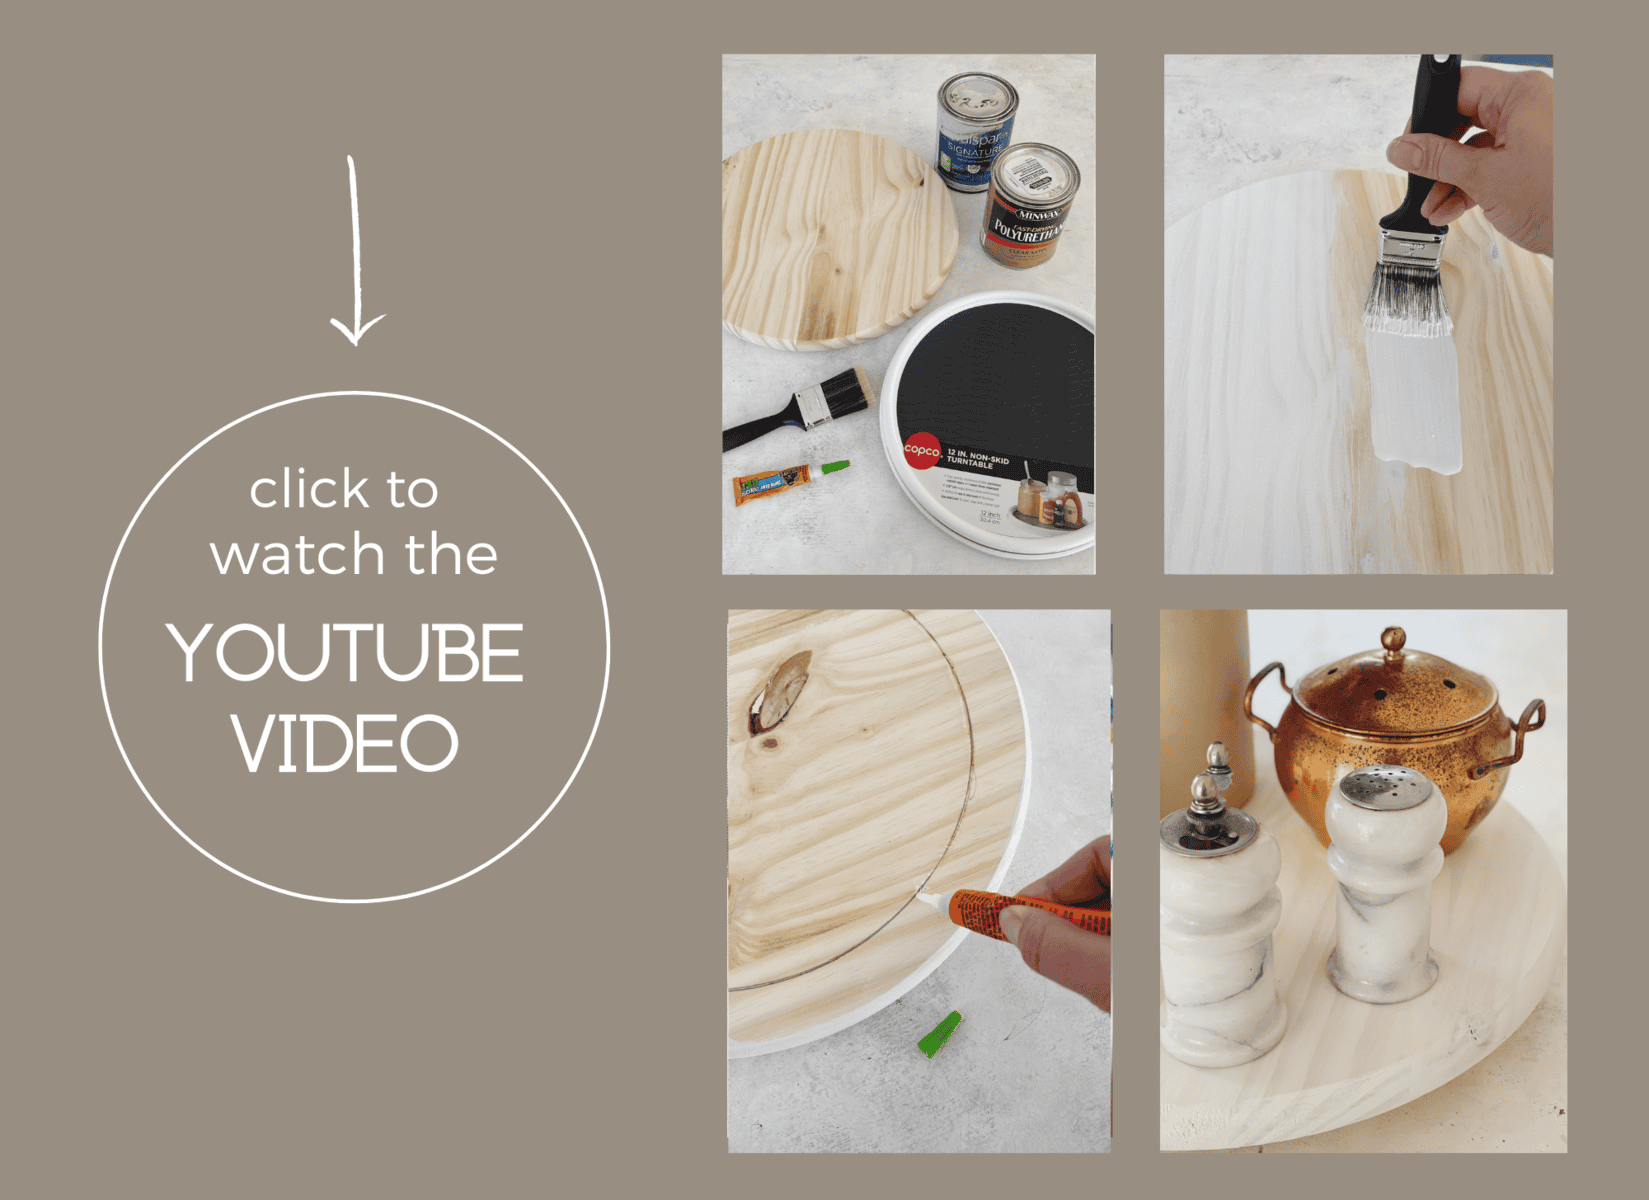
Supplies Needed for the Easiest DIY Lazy Susan
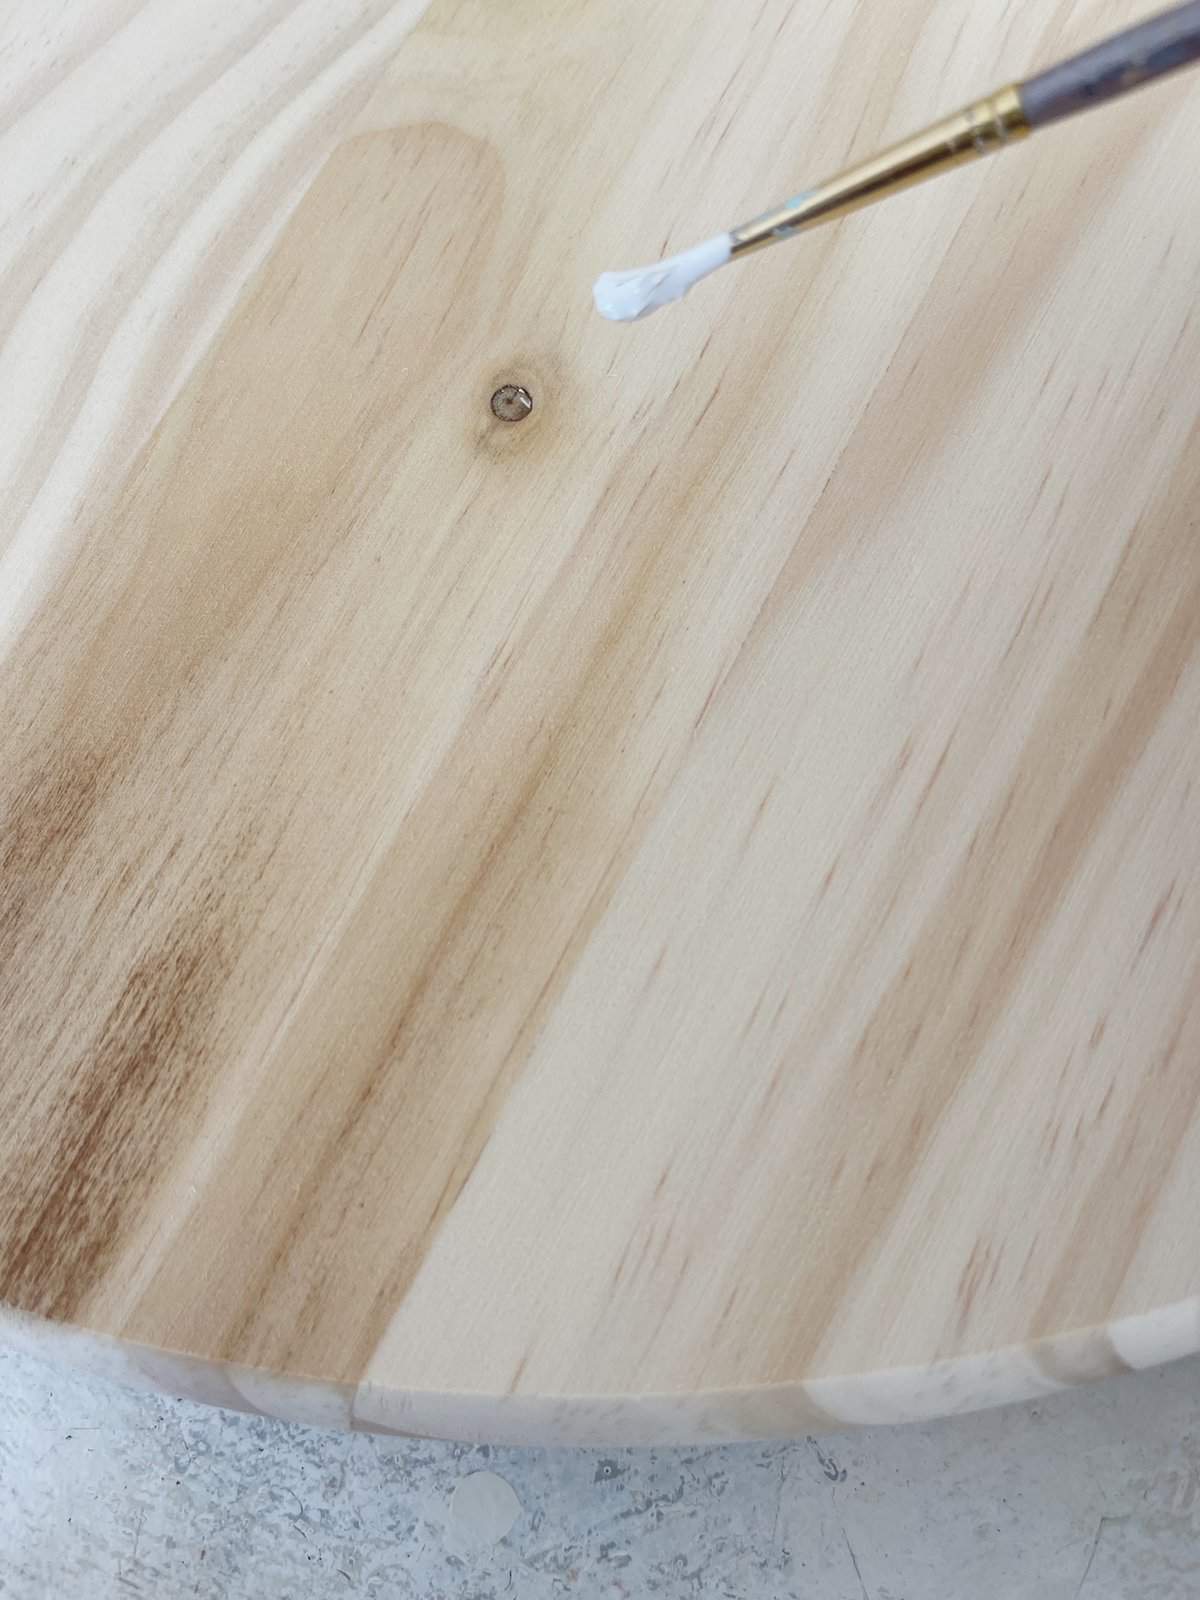
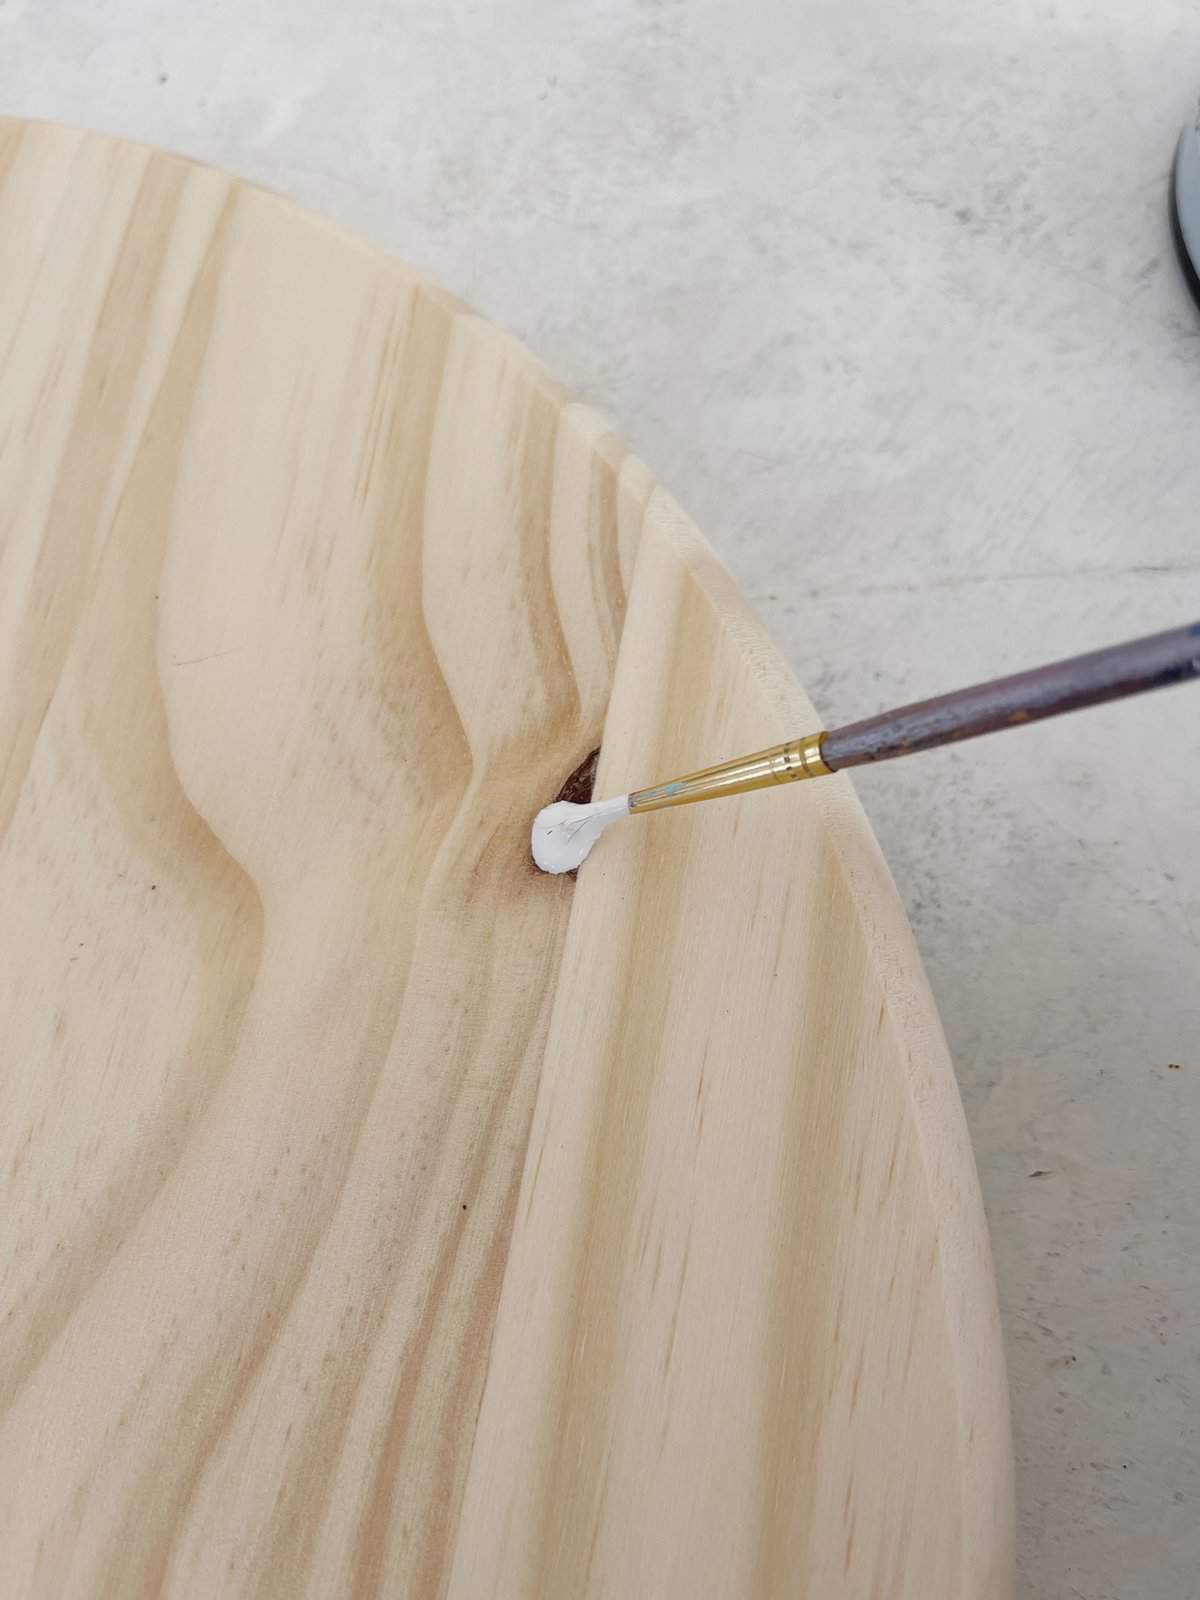
Steps to Making the Easiest DIY Lazy Susan
Cover the pine knots with your paint color. Work it into the wood and really allow it to soak in.
Any kind of paint can be used. I found this in the clearance section at the hardware store, and wanted to give a whitewash look to my Lazy Susan.
You can customize your Lazy Susan with any paint color or technique you’d like.
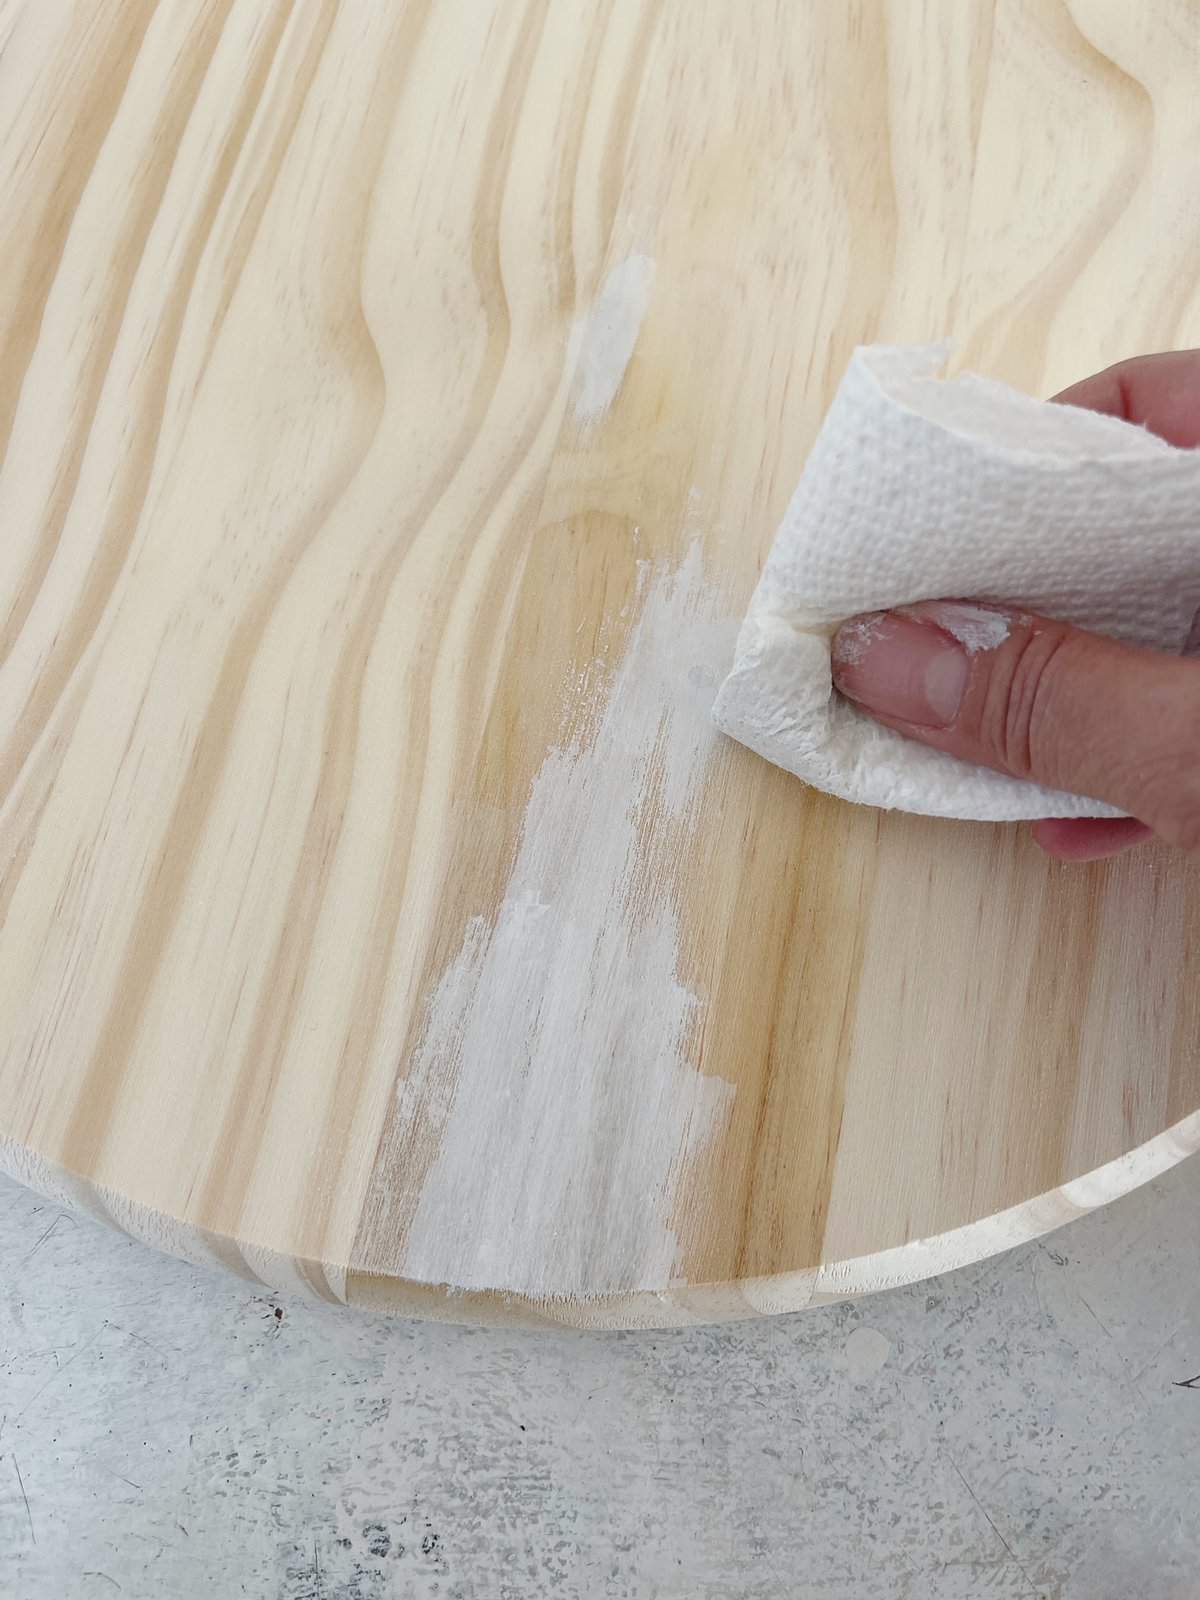
Gently spread the paint outward around the pine knot, leaving the heaviest amount of paint on the knot itself.
This step is only needed if you don’t want the pine knots to stand out.
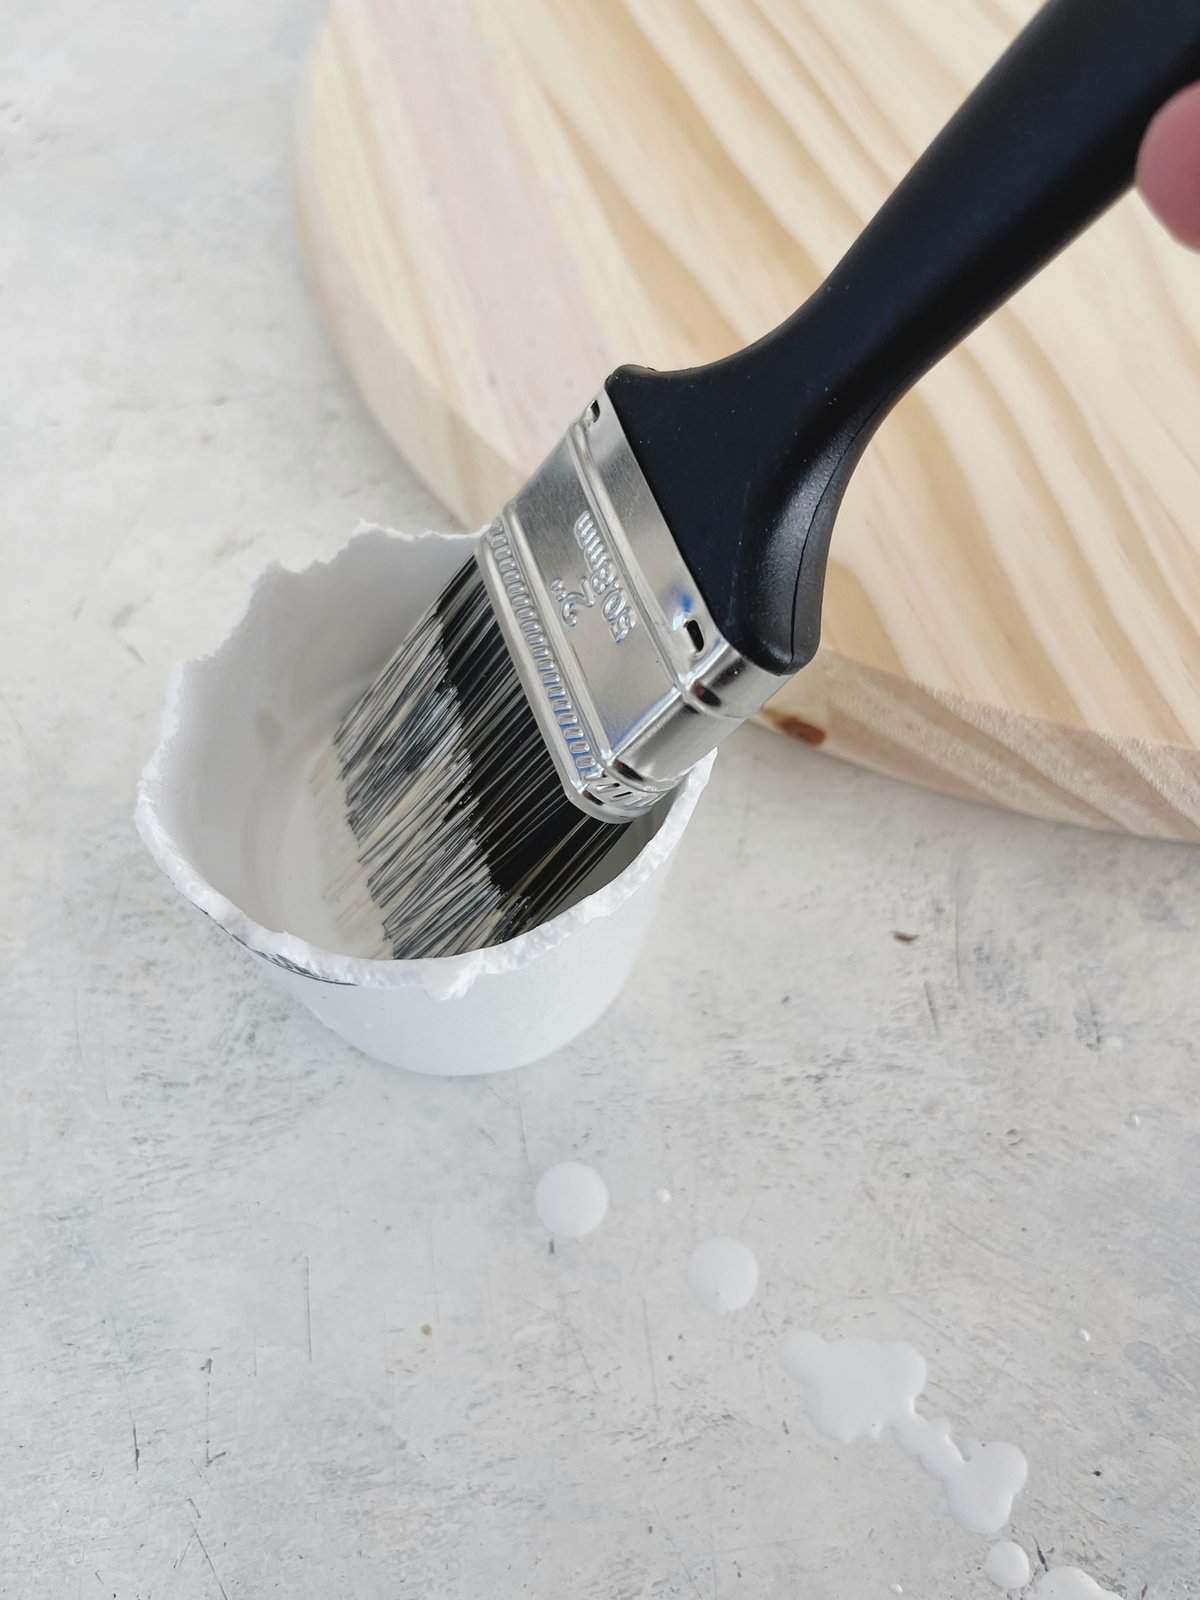
Water down your paint so it’s a drippy consistency.
Brush on your paint and water mixture so it soaks into the wood, with the wood grain still showing through.
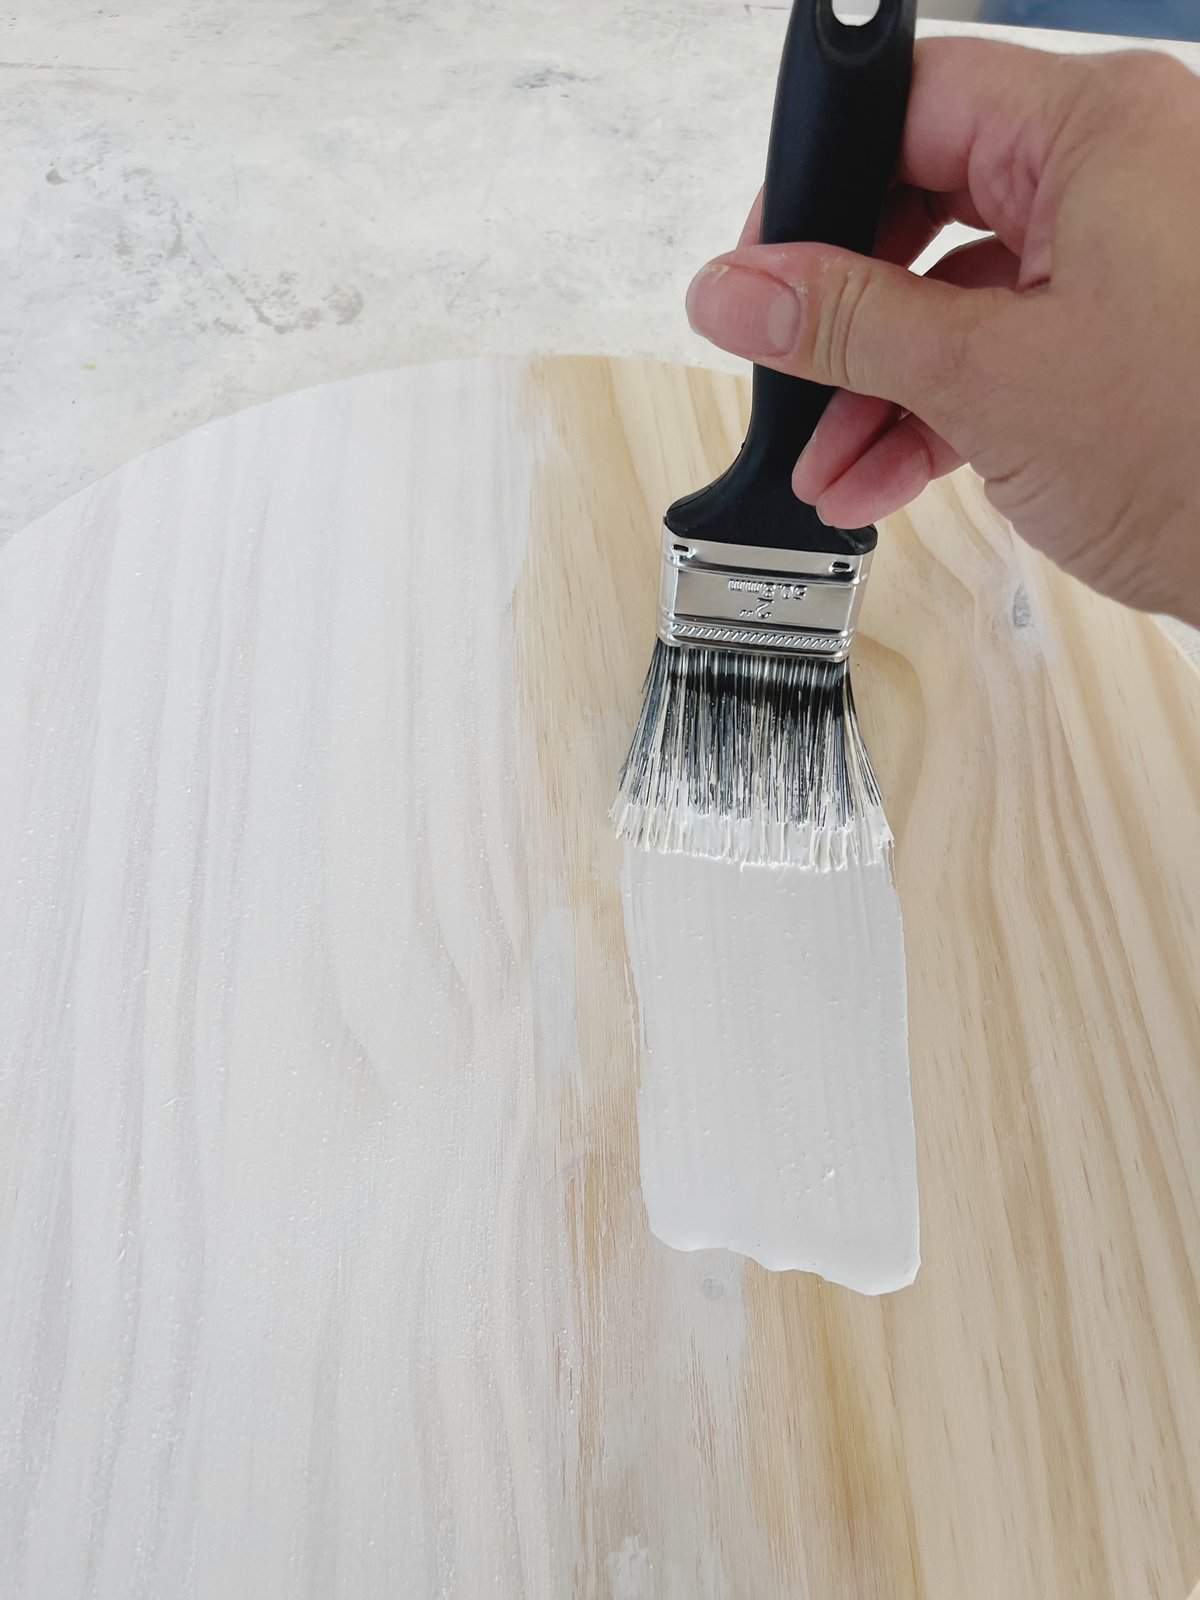
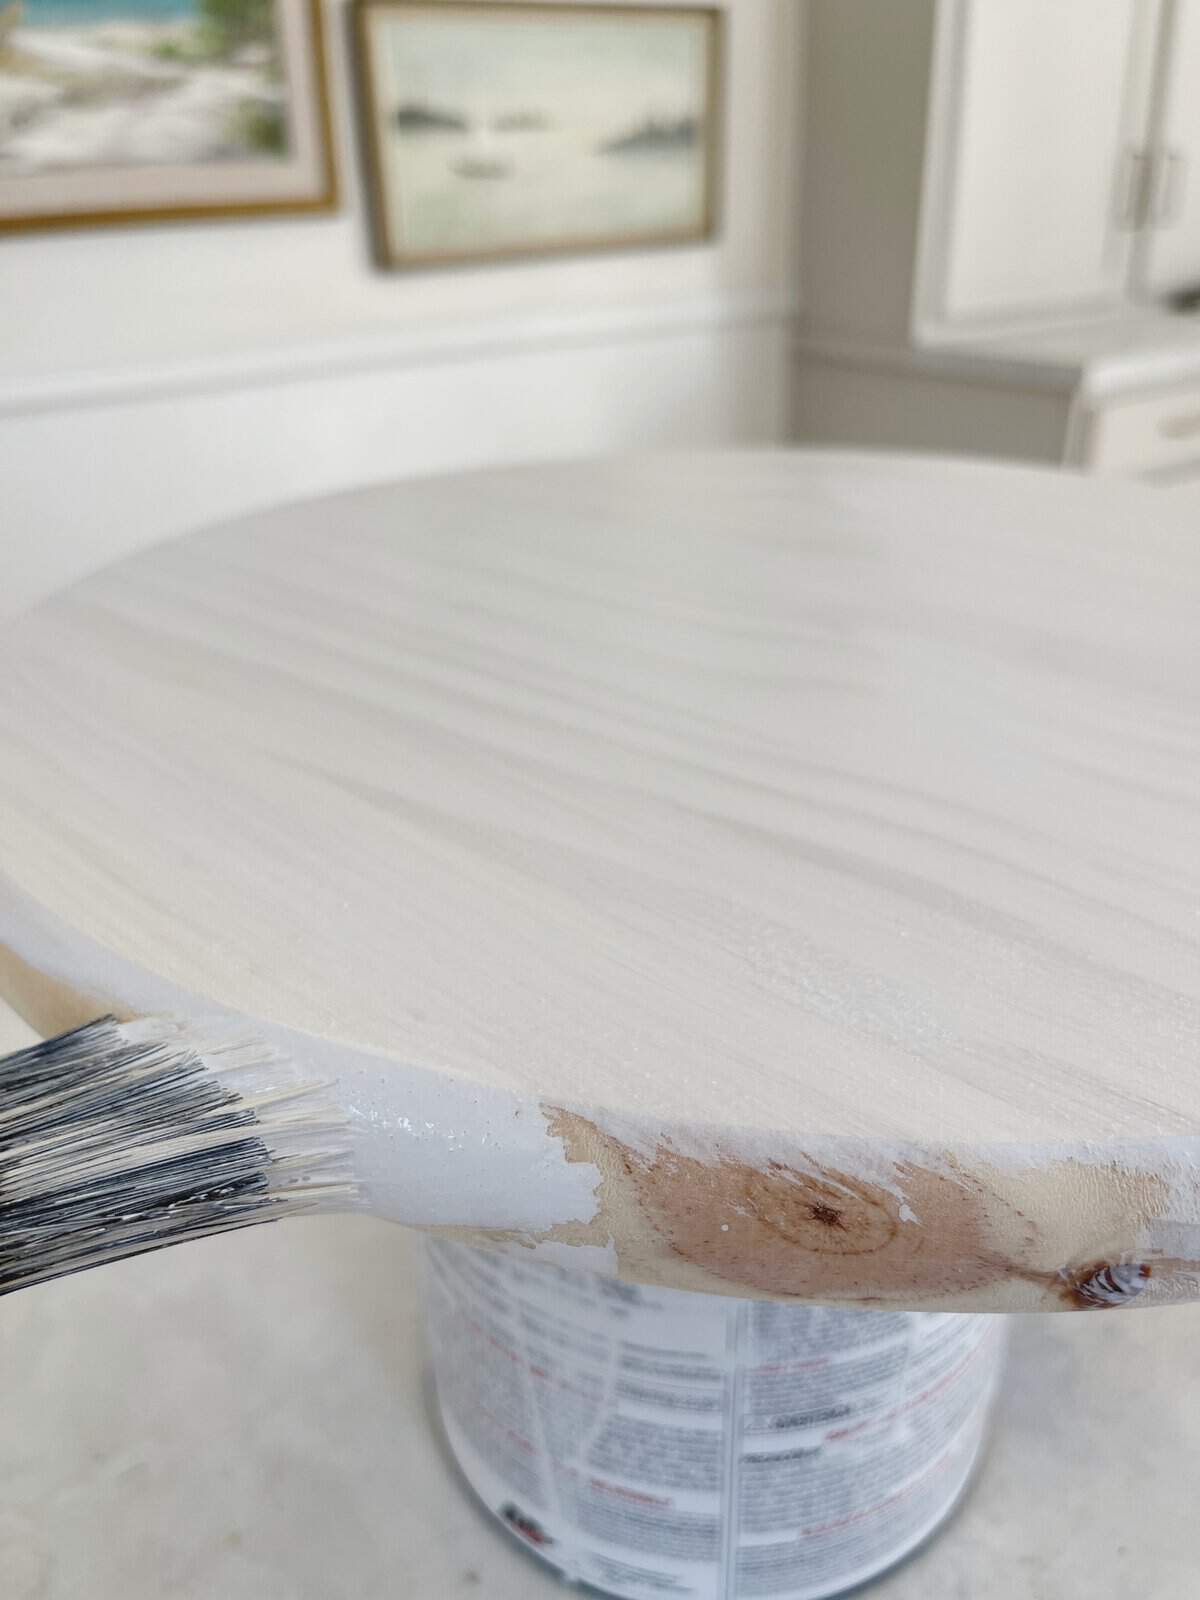
DESIGN TIP:
In order to get the sides painted a quick way of doing so is to set your wood disc on a paint can.
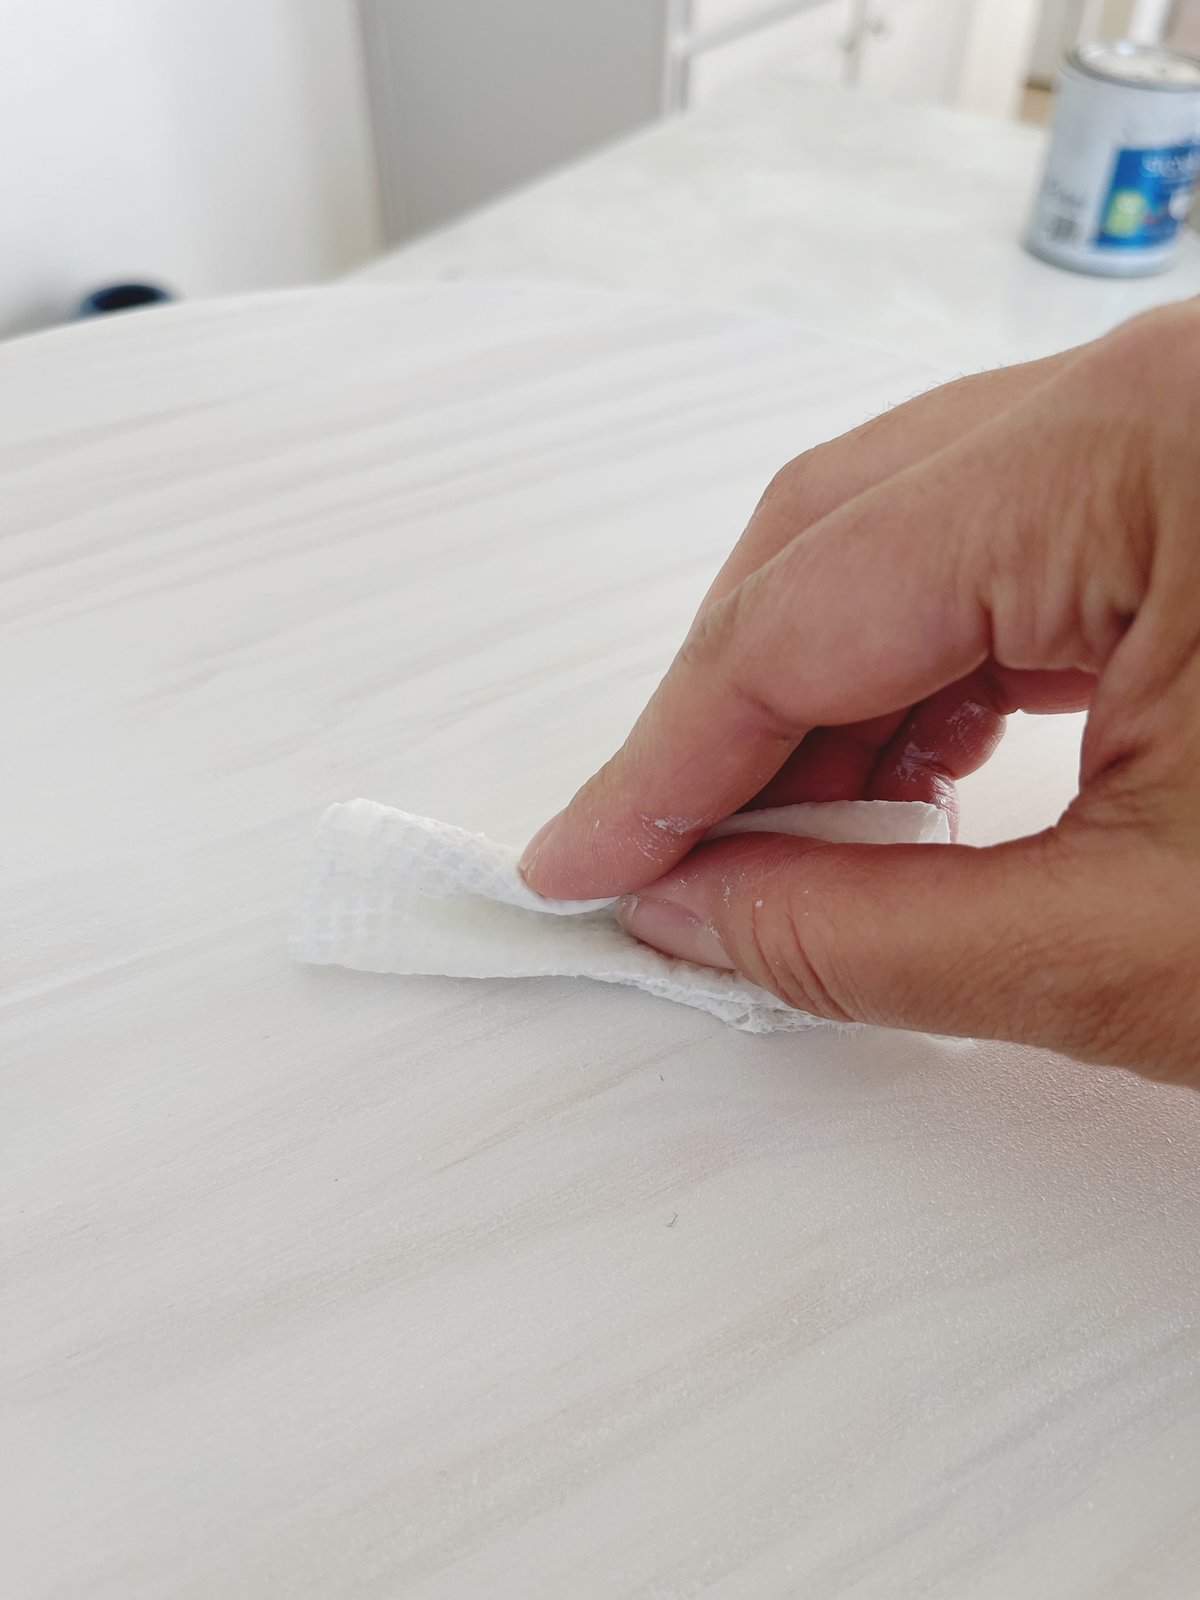
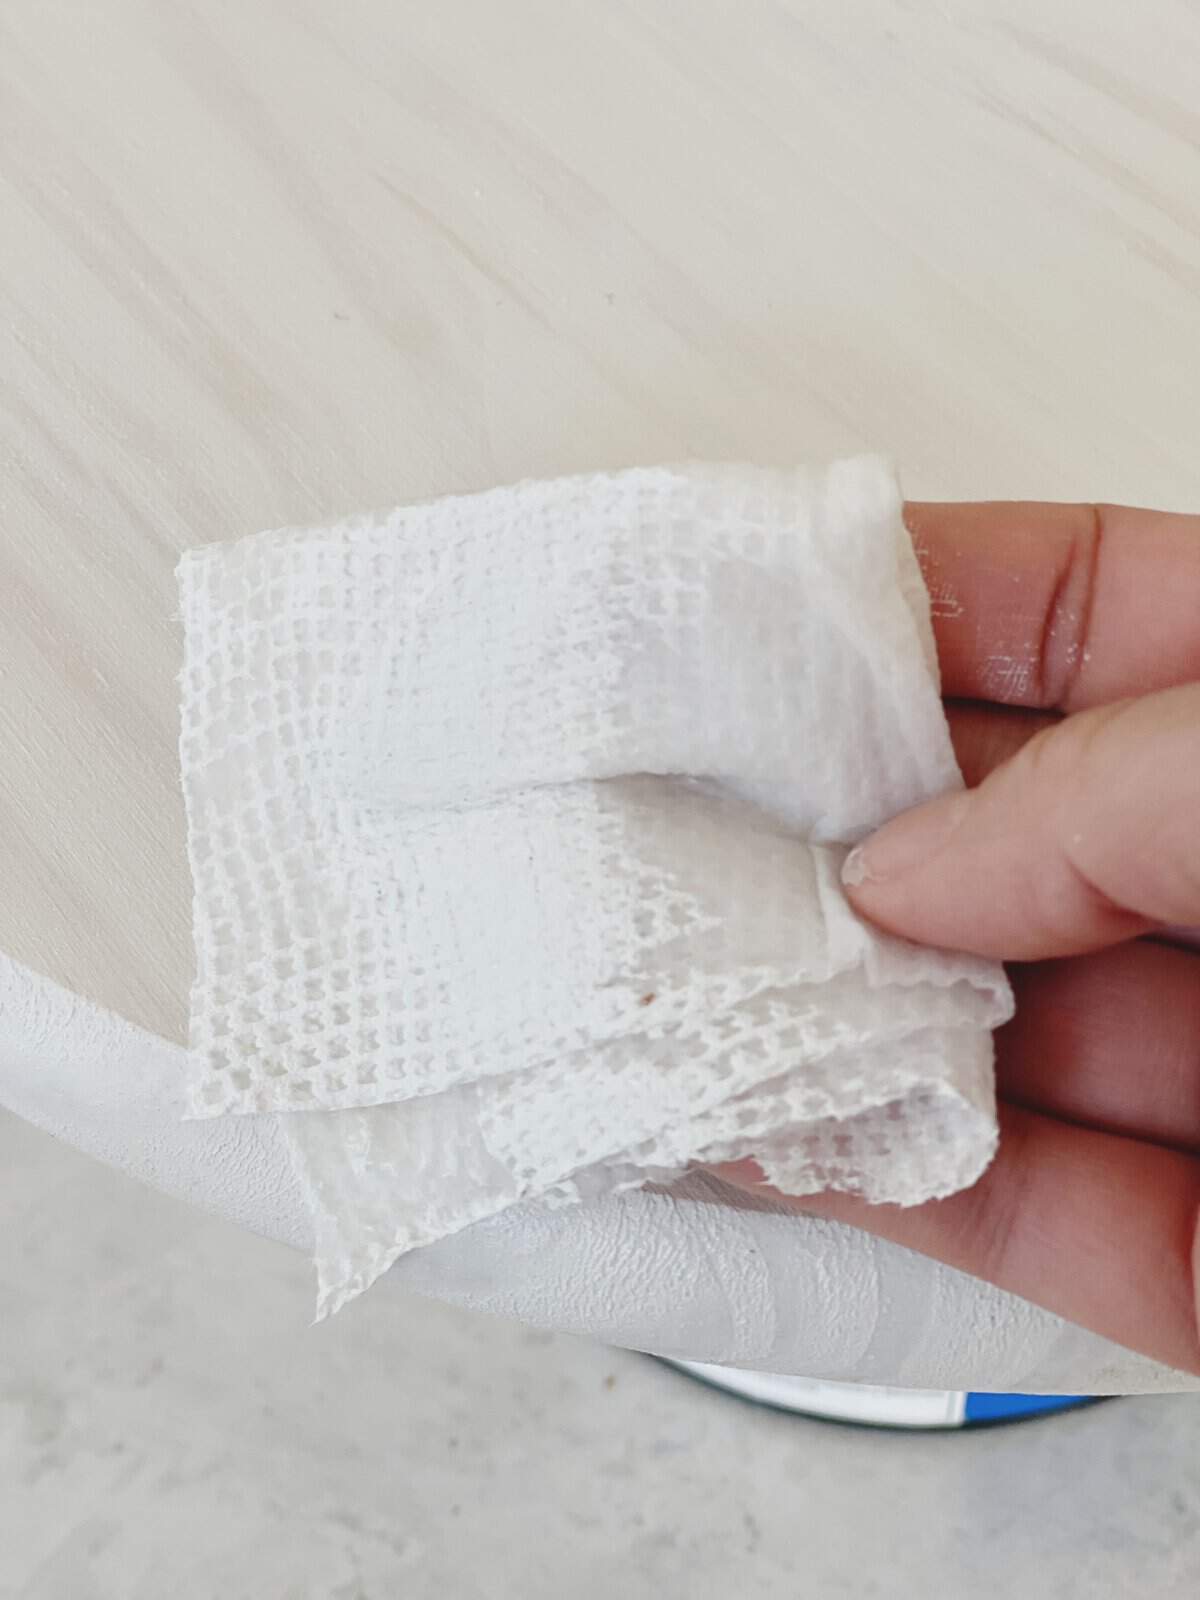
Wipe off paint as needed.
The more you wipe off the more the wood will show through. This is a step you can do until you have it just how you like it.
If you take too much off simply add more paint and begin wiping it off again.
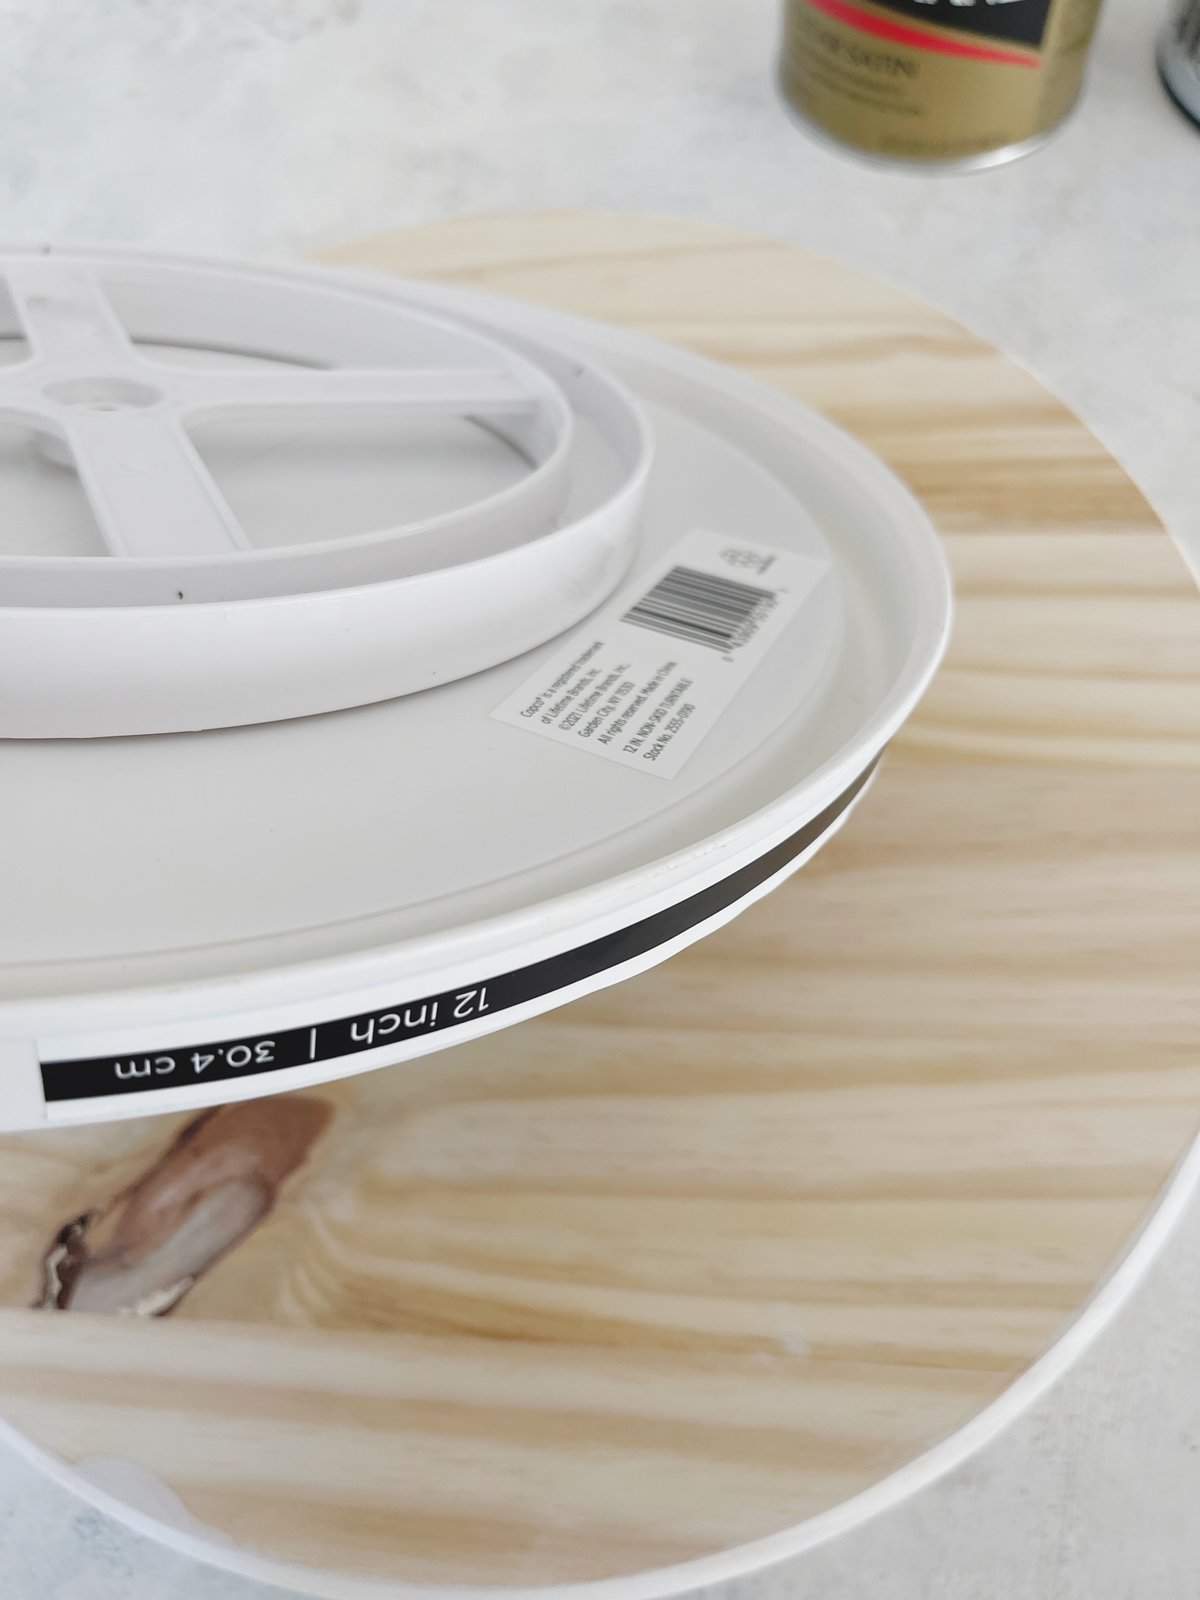
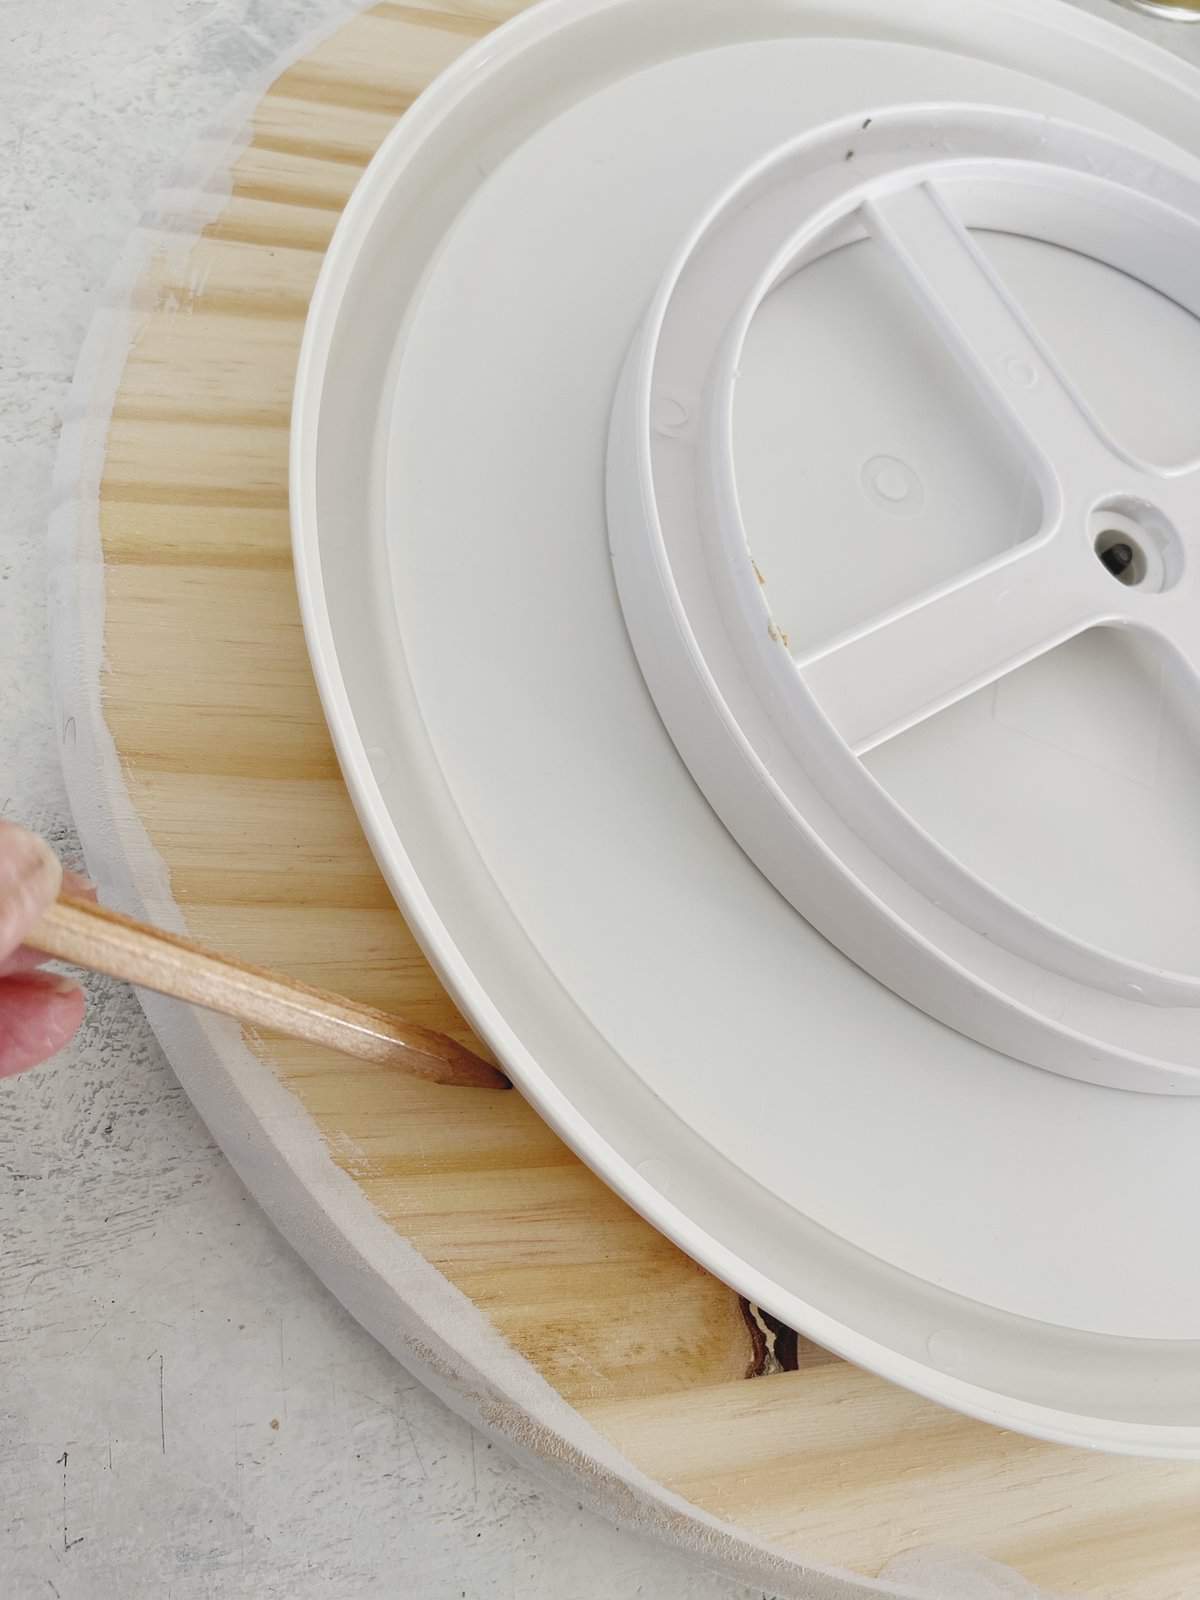
Trace the lazy Susan with a pencil.
After allowing your wood disc to dry turn your wood disc upside down and lay the plastic lazy Susan top down on it.
Trace the lazy Susan with a pencil and you will have a circle to guide you as to where you glue the Lazy Susan.
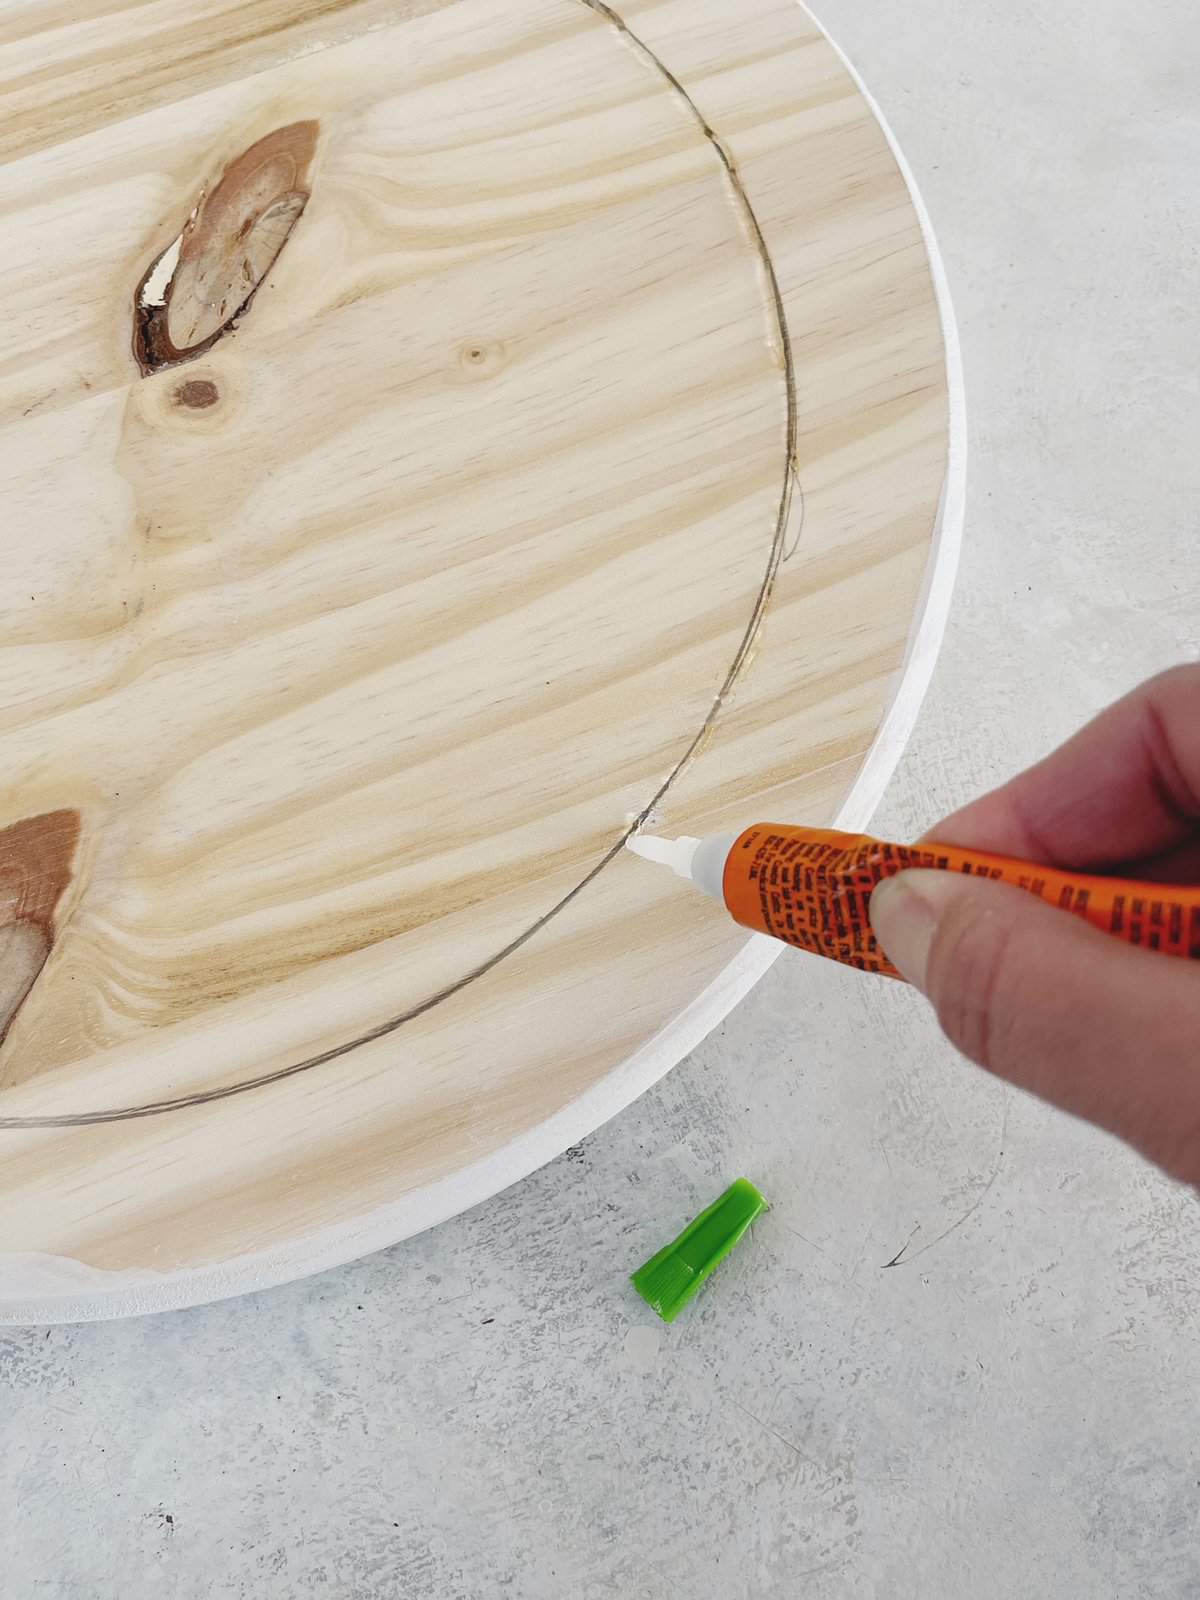
Trace your pencil line with super glue.
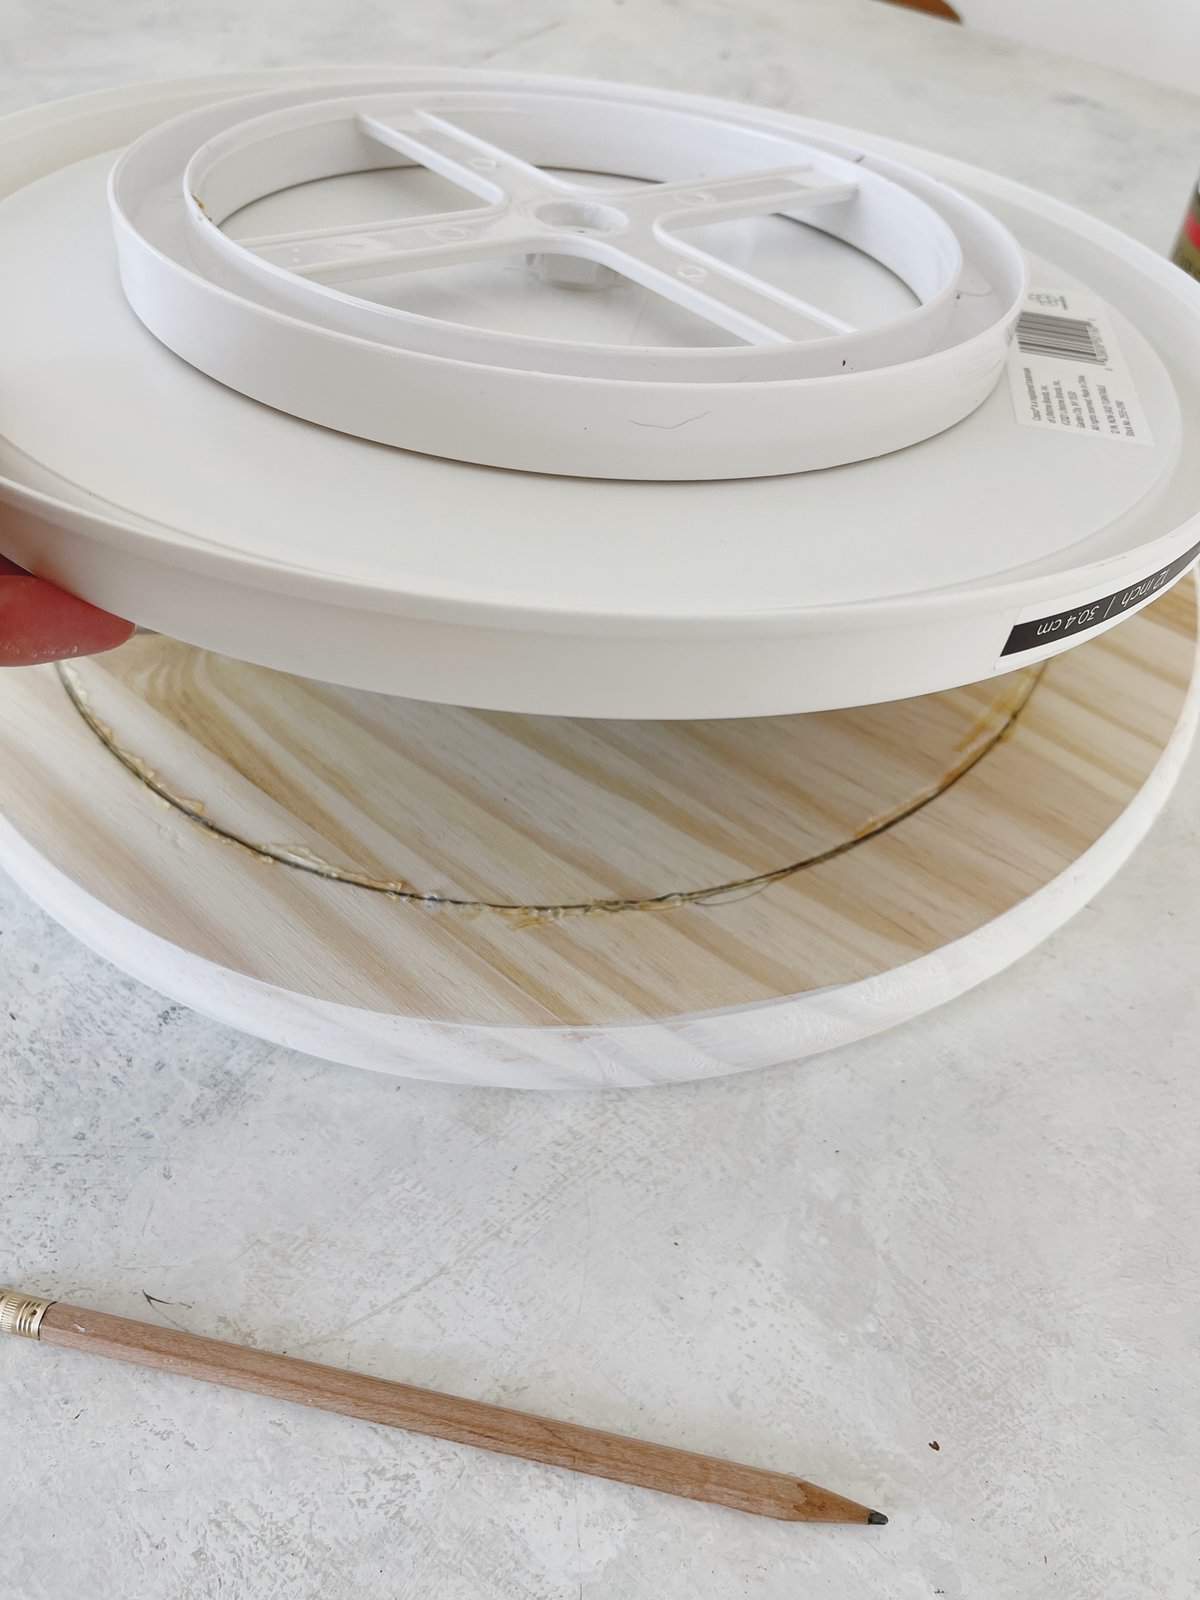
Attach the wood disc to the lazy Susan.
Lay your lazy Susan down top first onto the back of the wood plaque.
Allow to dry. I waited about fifteen minutes.
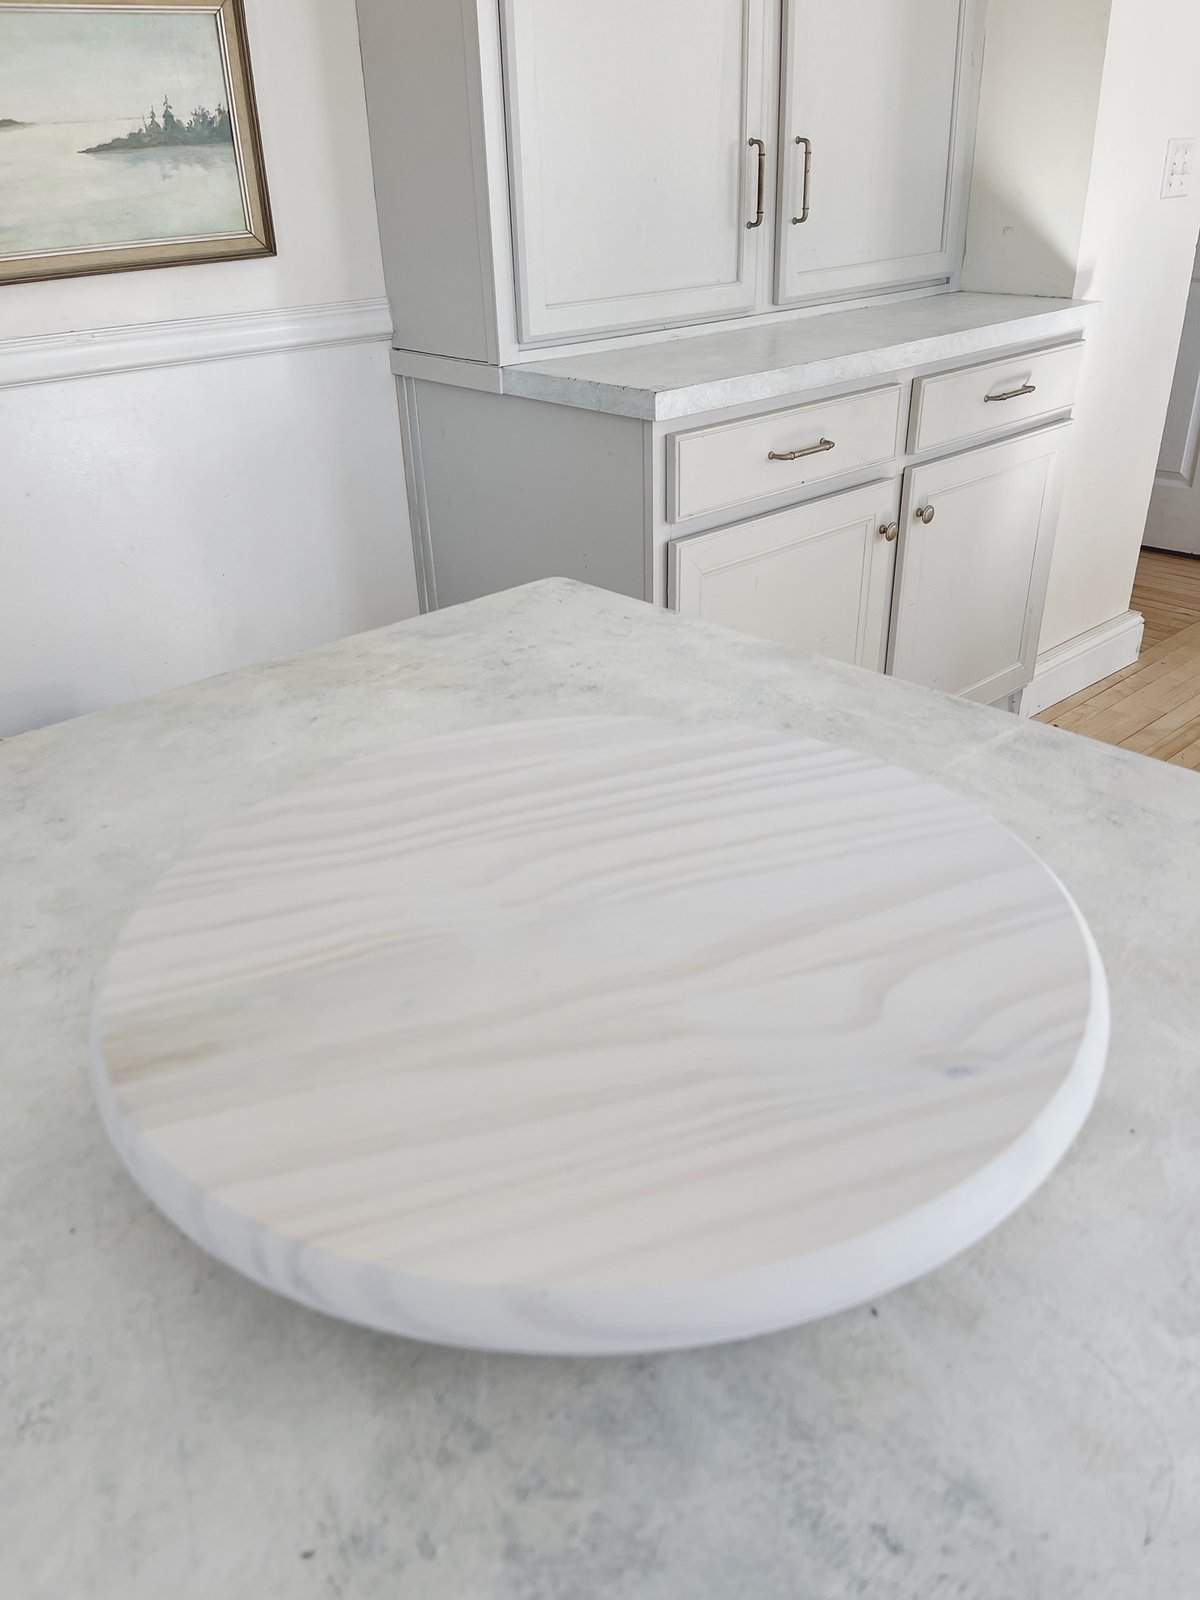
Flip your DIY lazy Susan over and your all done!
It spins perfectly and adds such a whimsical touch to your kitchen. My kids love this little lazy Susan.
It’s always the little things that delight you it seems.
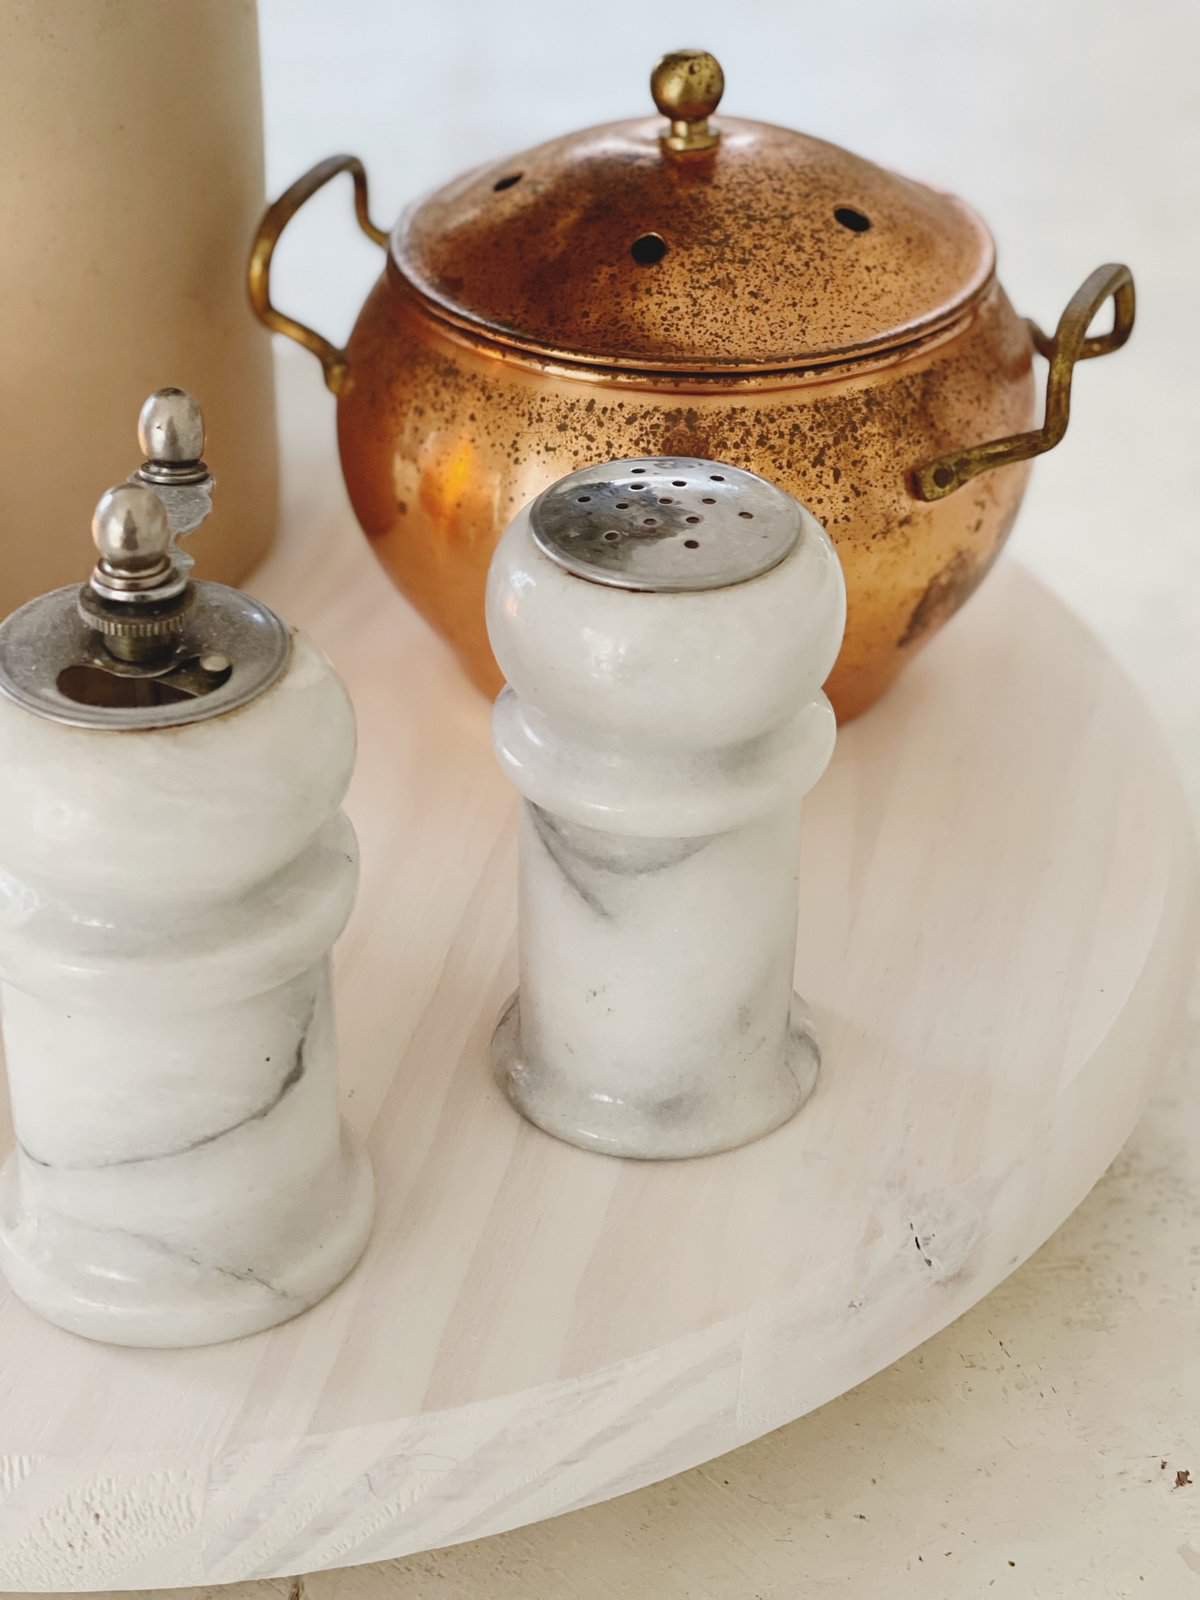
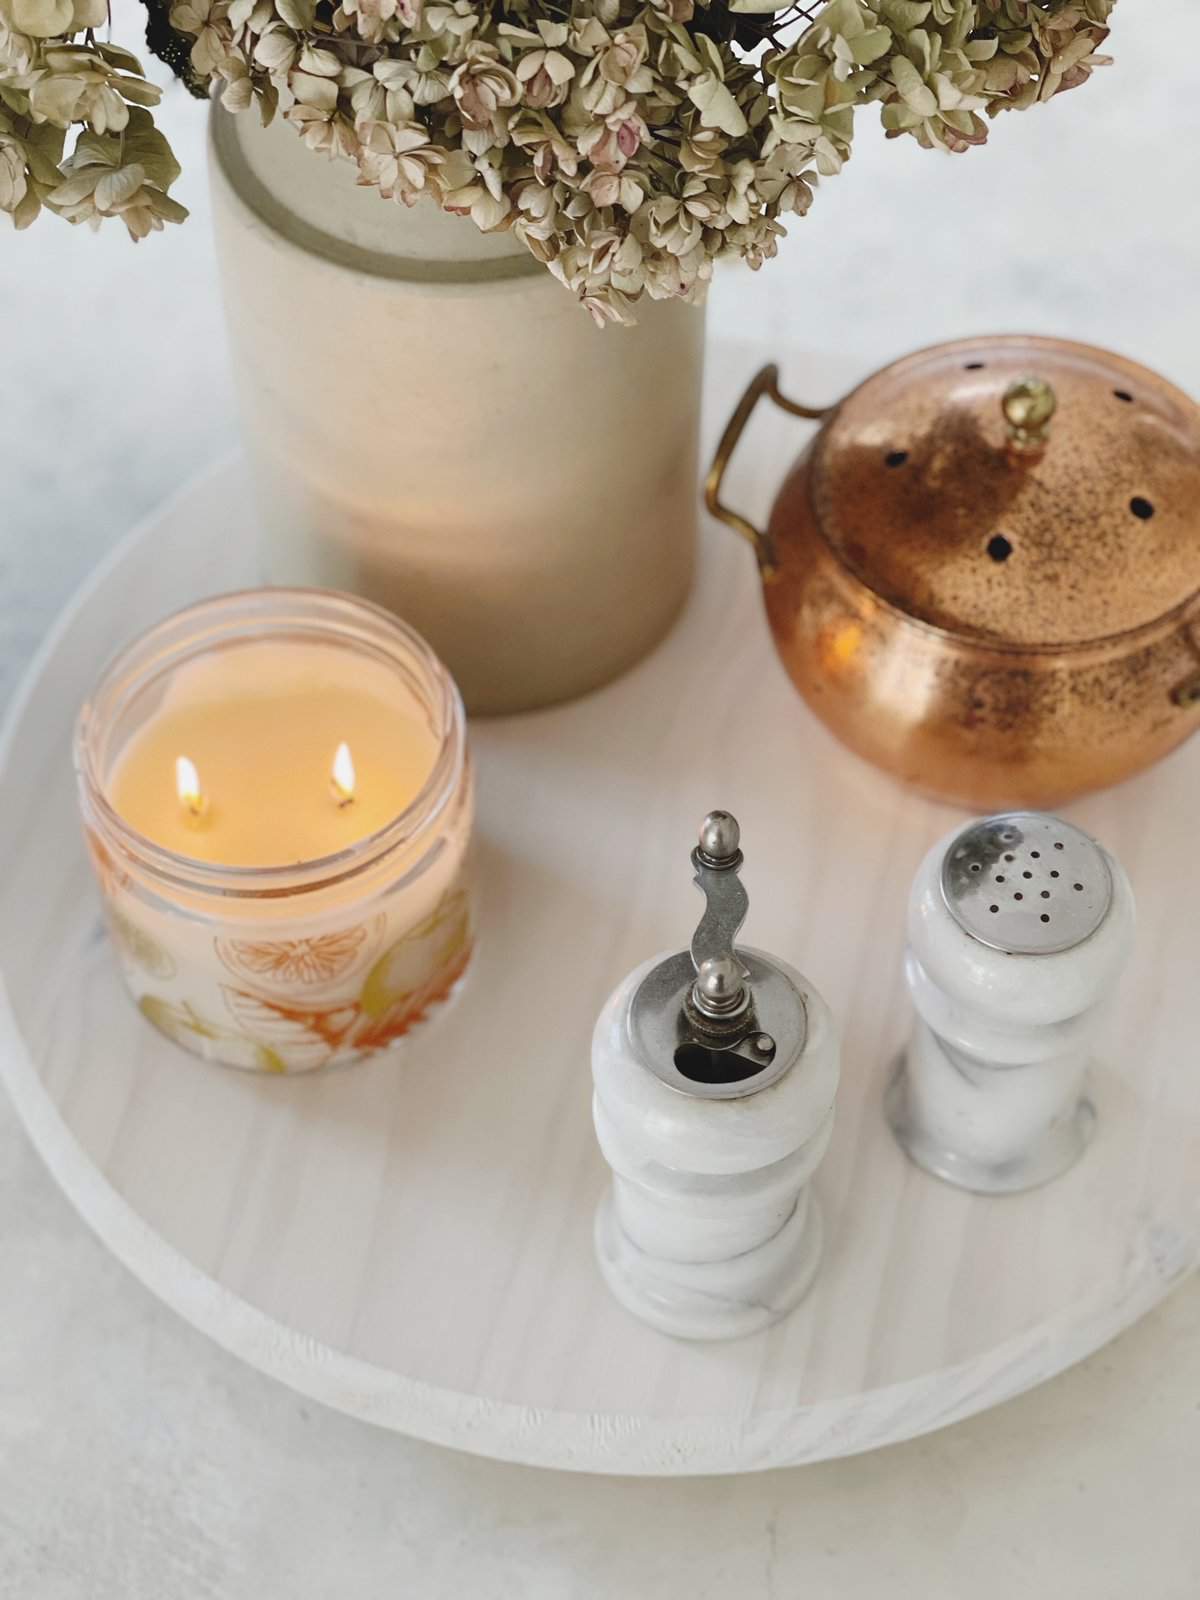
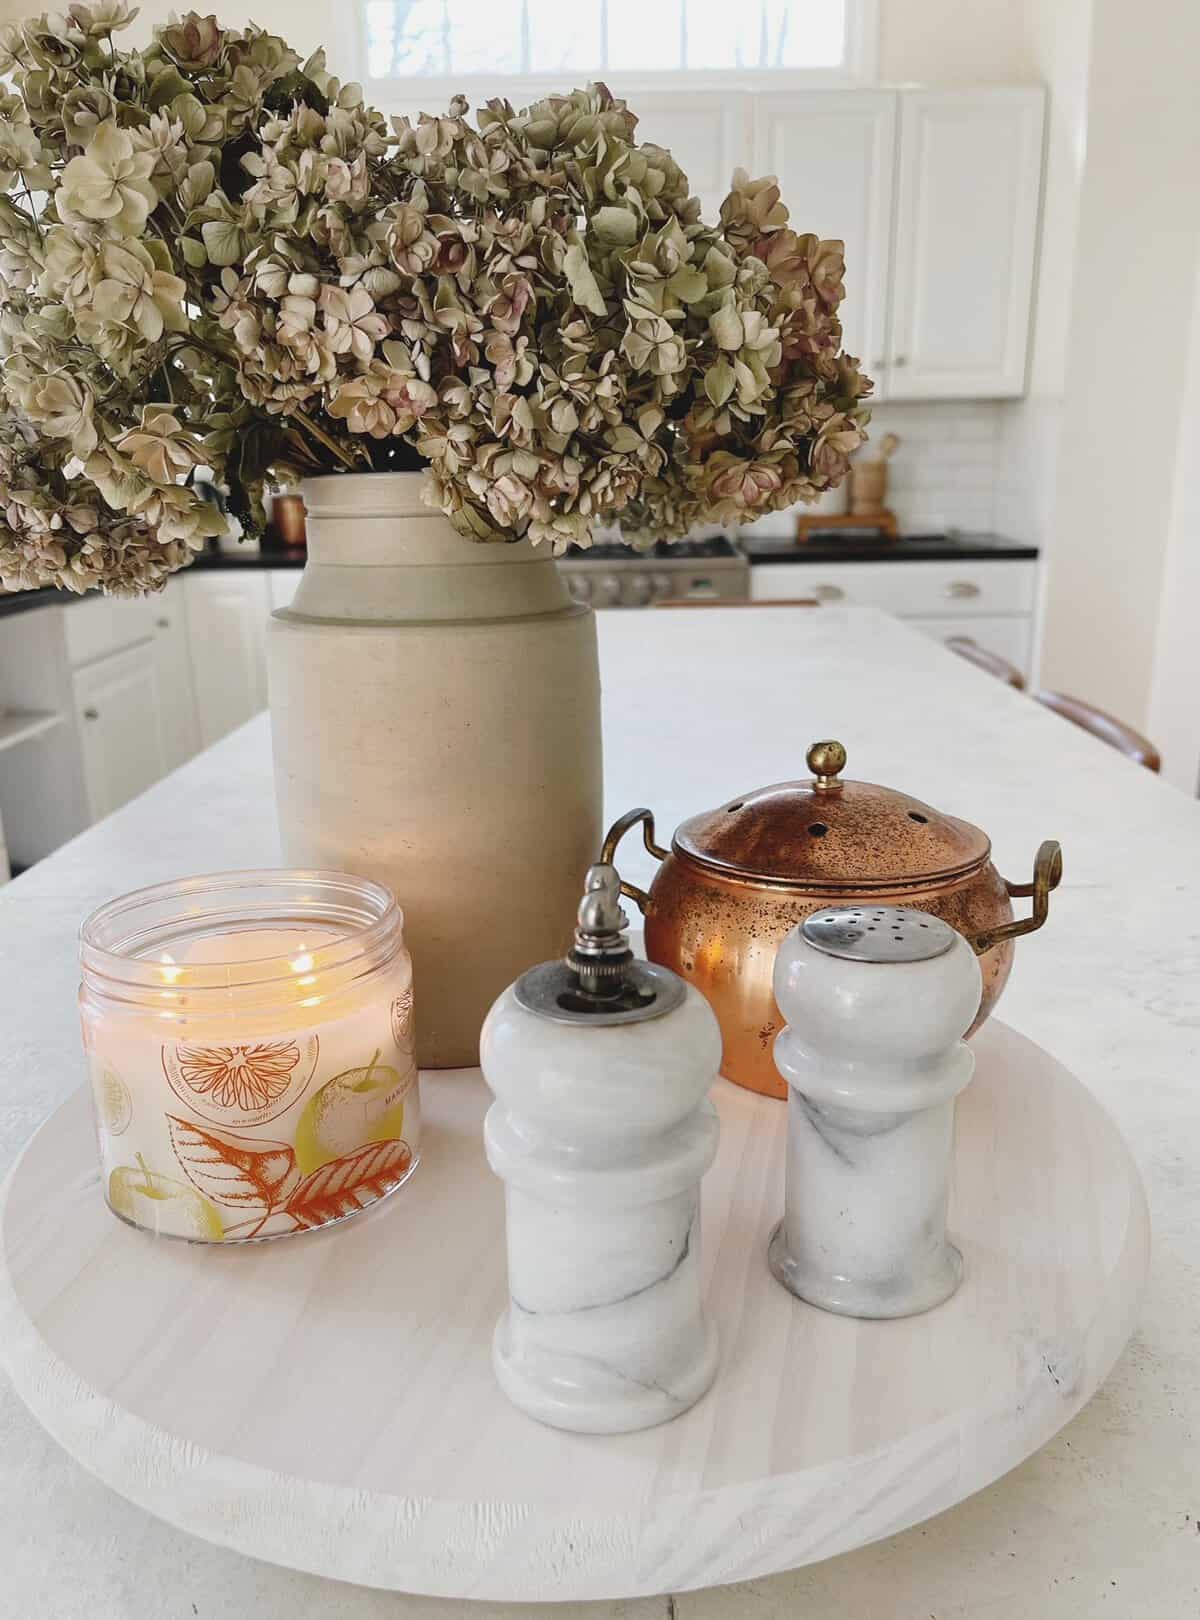
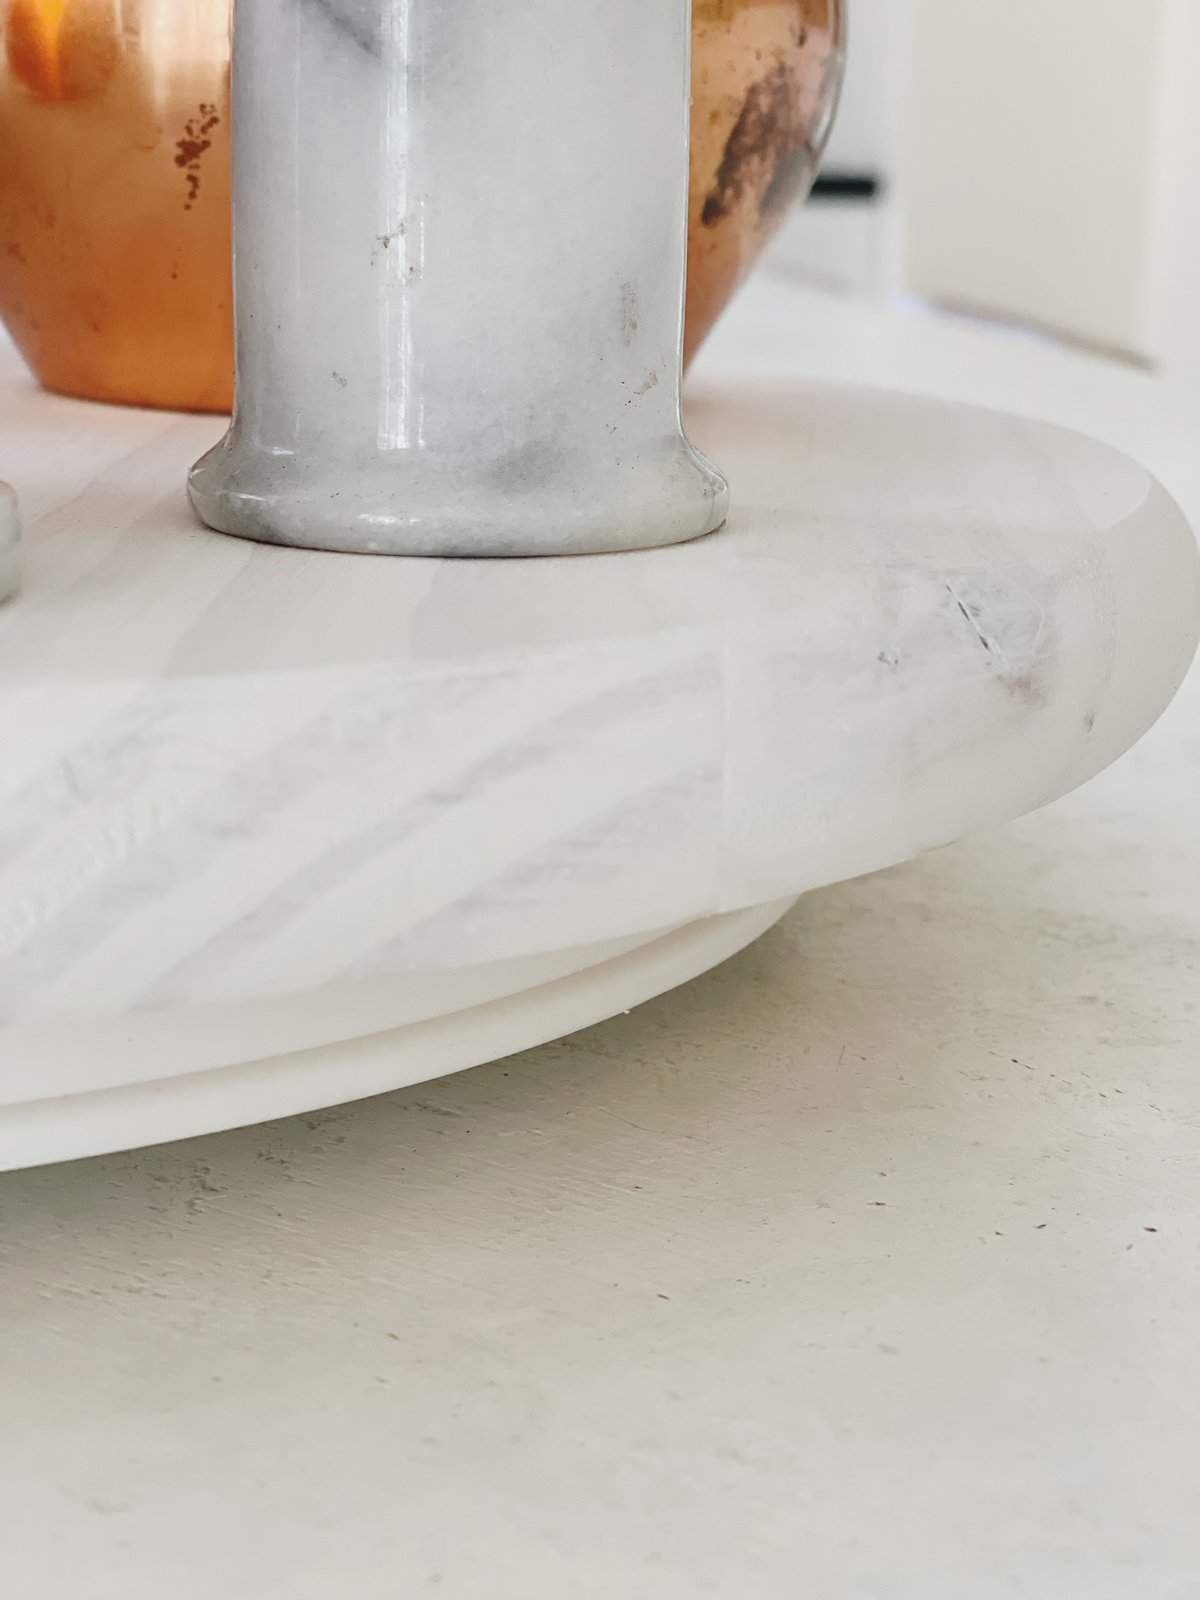
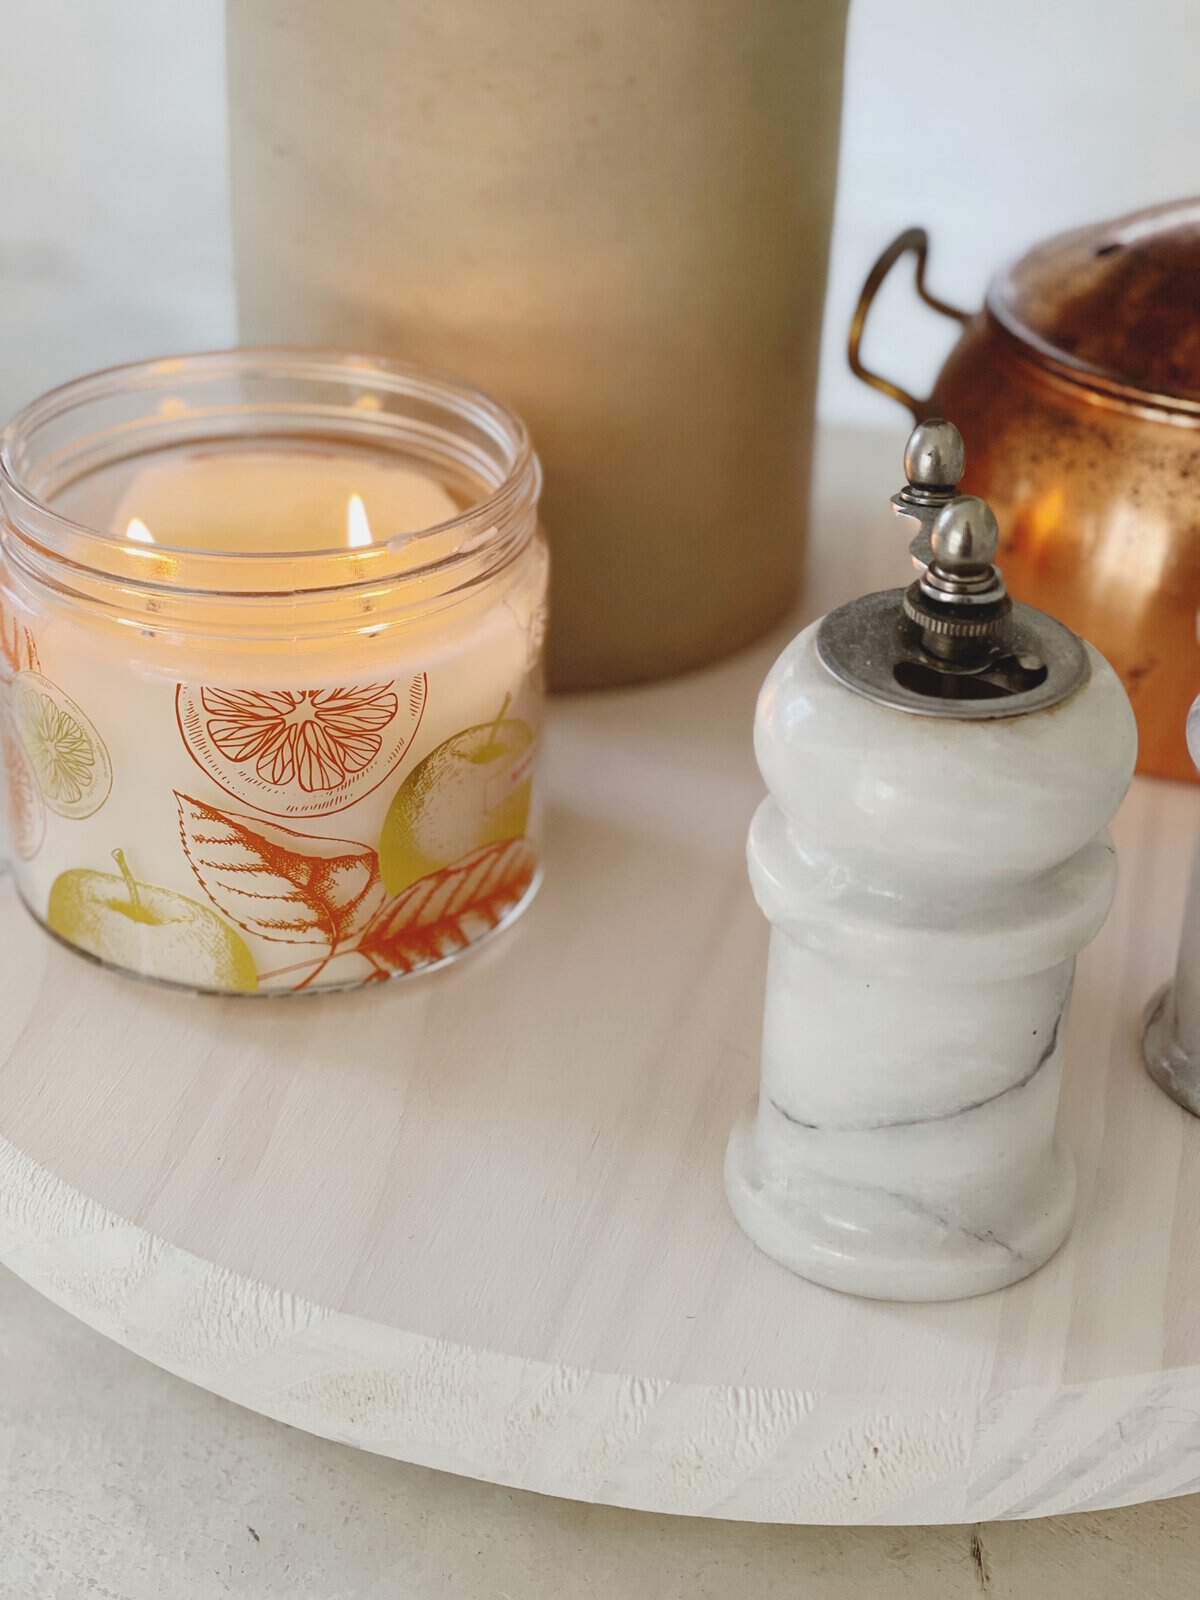
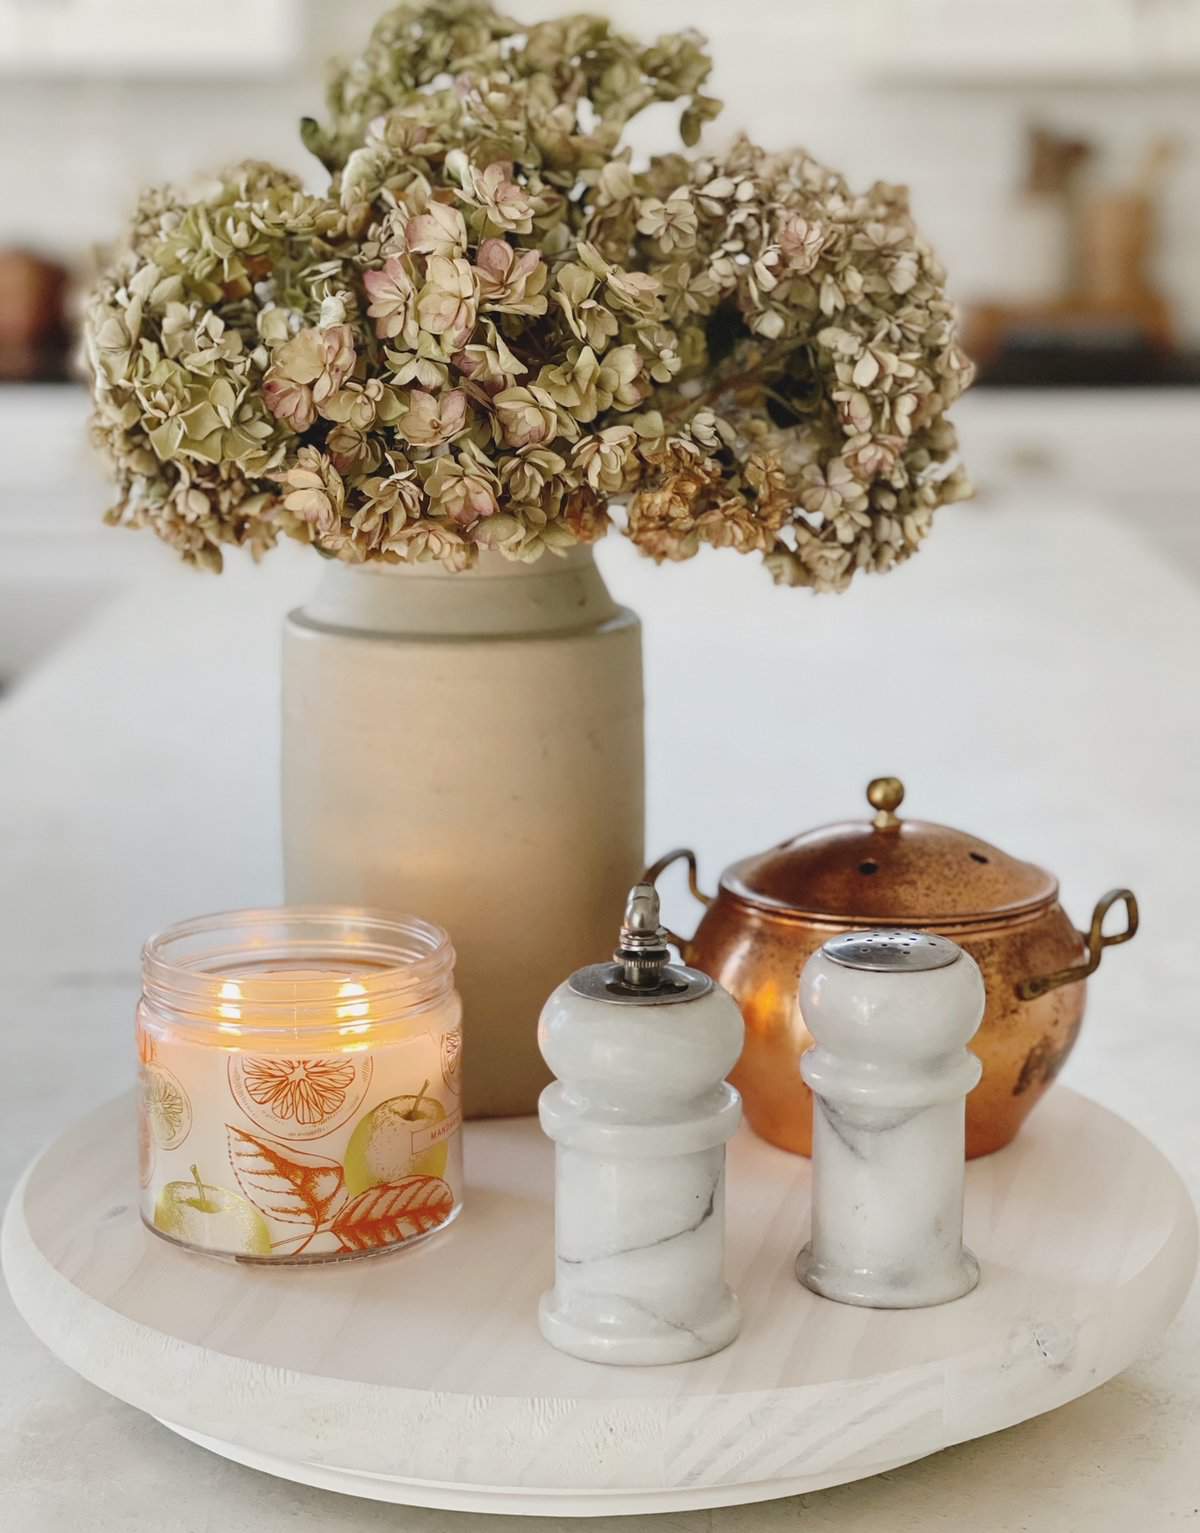
It’s true to say this is an easy DIY project that serves us well. I finished this white washed wood lazy Susan in a little under an hour and had a good time putting it all together.
Gotta love it when a something you thought up goes as planned.
Let me know if you think this might be a DIY you’d like to try.

MORE DIY EASY PROJECTS
Pin It & Save It


**Some of the links in this post are affiliate links. If you click on the link and purchase the item, we will receive an affiliate commission at no extra cost to you.







Maria
Great job and tutorial. Love the hydrangeas
Thank you Cindy!
You’re super smart! Shout out to the original Susan who was lazy 😅
Aww, you’re so sweet! Thank you Felicia.
Genius, Love it, and will not mind having one of my own. You should make and sell them.
Found your post at My Thrift Store Addiction. My entries this week are numbered #38+39.
Please join and share your posts with us https://esmesalon.com/tag/seniorsalonpitstop/
Hi Esme, thank you so much, I will!