Make a DIY Picture Frame Without Power Tools

by

diy picture frame wood
Hang onto your hammers because in this post I’m showing you how to make a DIY picture frame without using power tools!
I have nothing against a good power saw, but if left to my own simple style I like to tackle projects which avoid a power saw. Don’t spread this around, but I find them scary. Jeremy almost always does the cuts when we’re working on a big home project.
My mind goes to all the terrible things that could happen and I’d much rather do literally anything else.
So when I decided to make a custom wood picture frame for this beautiful pastoral print I found, I didn’t haul out our miter saw.
Instead a miter shear cutter was my first choice.

How To Make a DIY Picture Frame Without Using Power Tools

Materials Needed for Your DIY Wood Frame

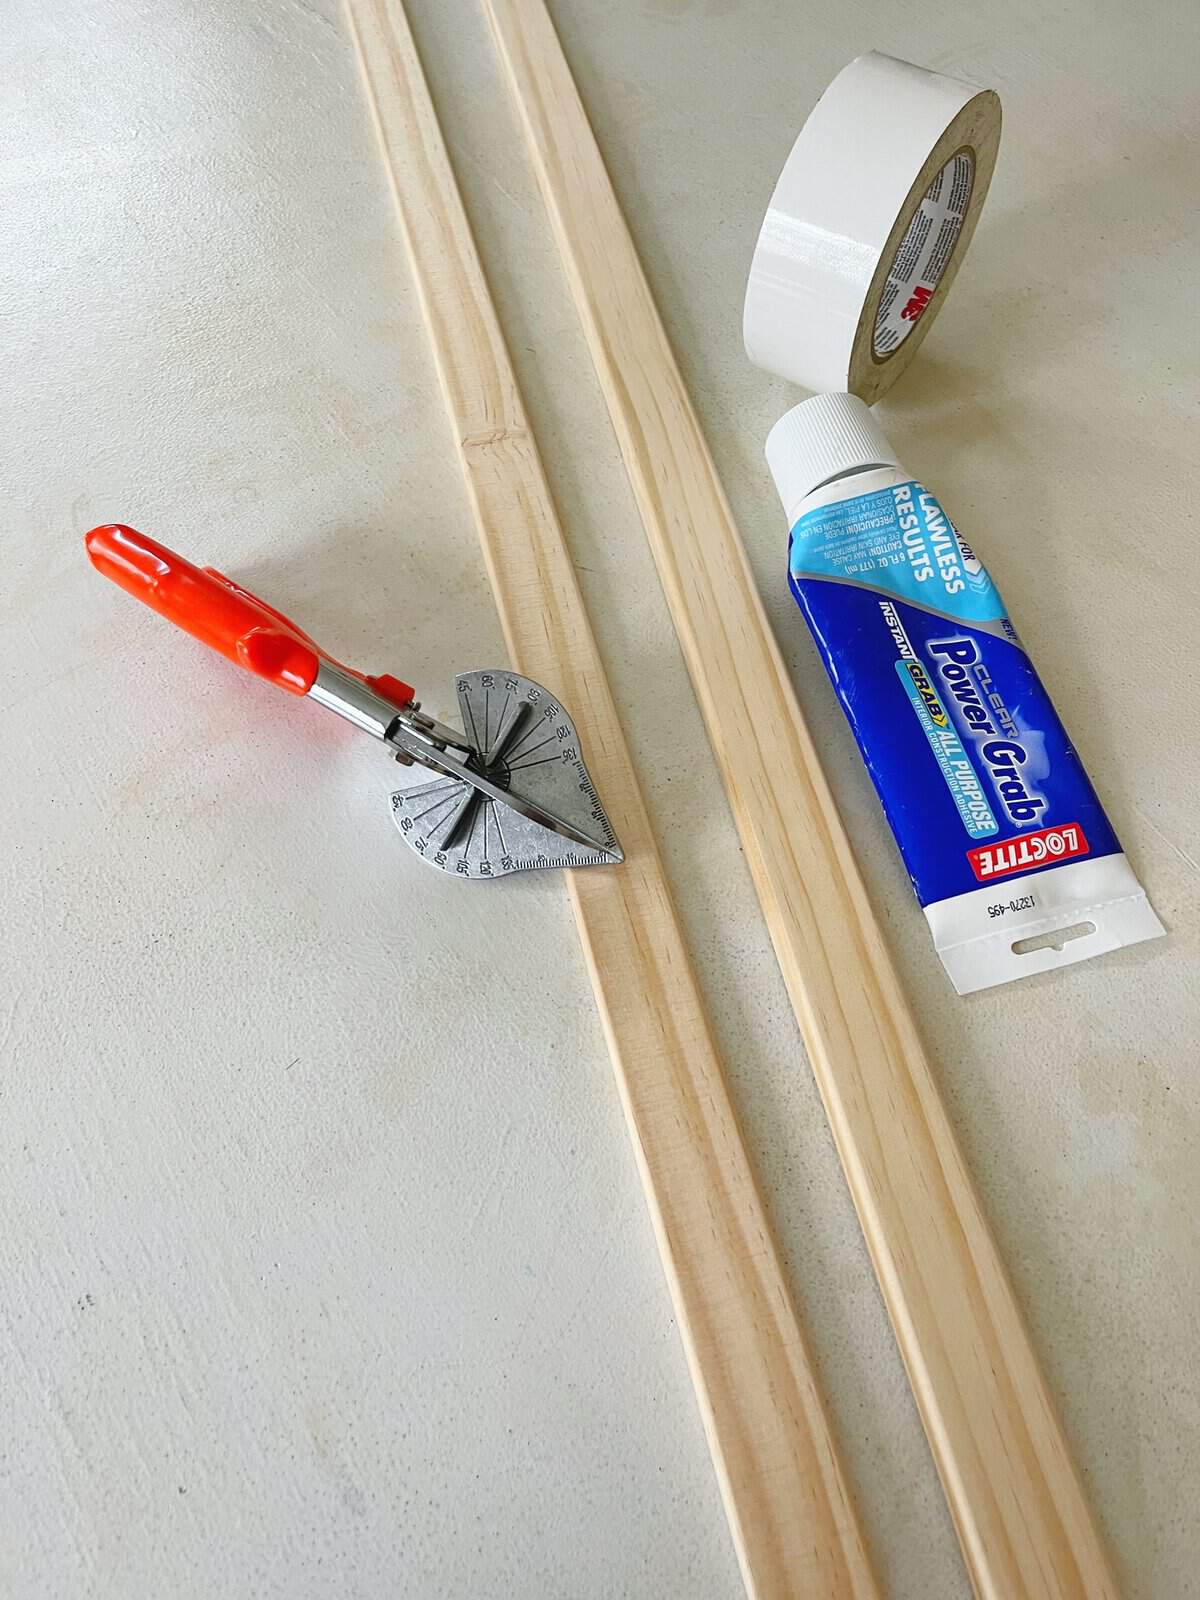
Before diving into the crafting process, let’s look at the supplies you’ll need.

  • – Print and Matt for display
  • – Foam board for backing
  • – Wood molding for the frame itself
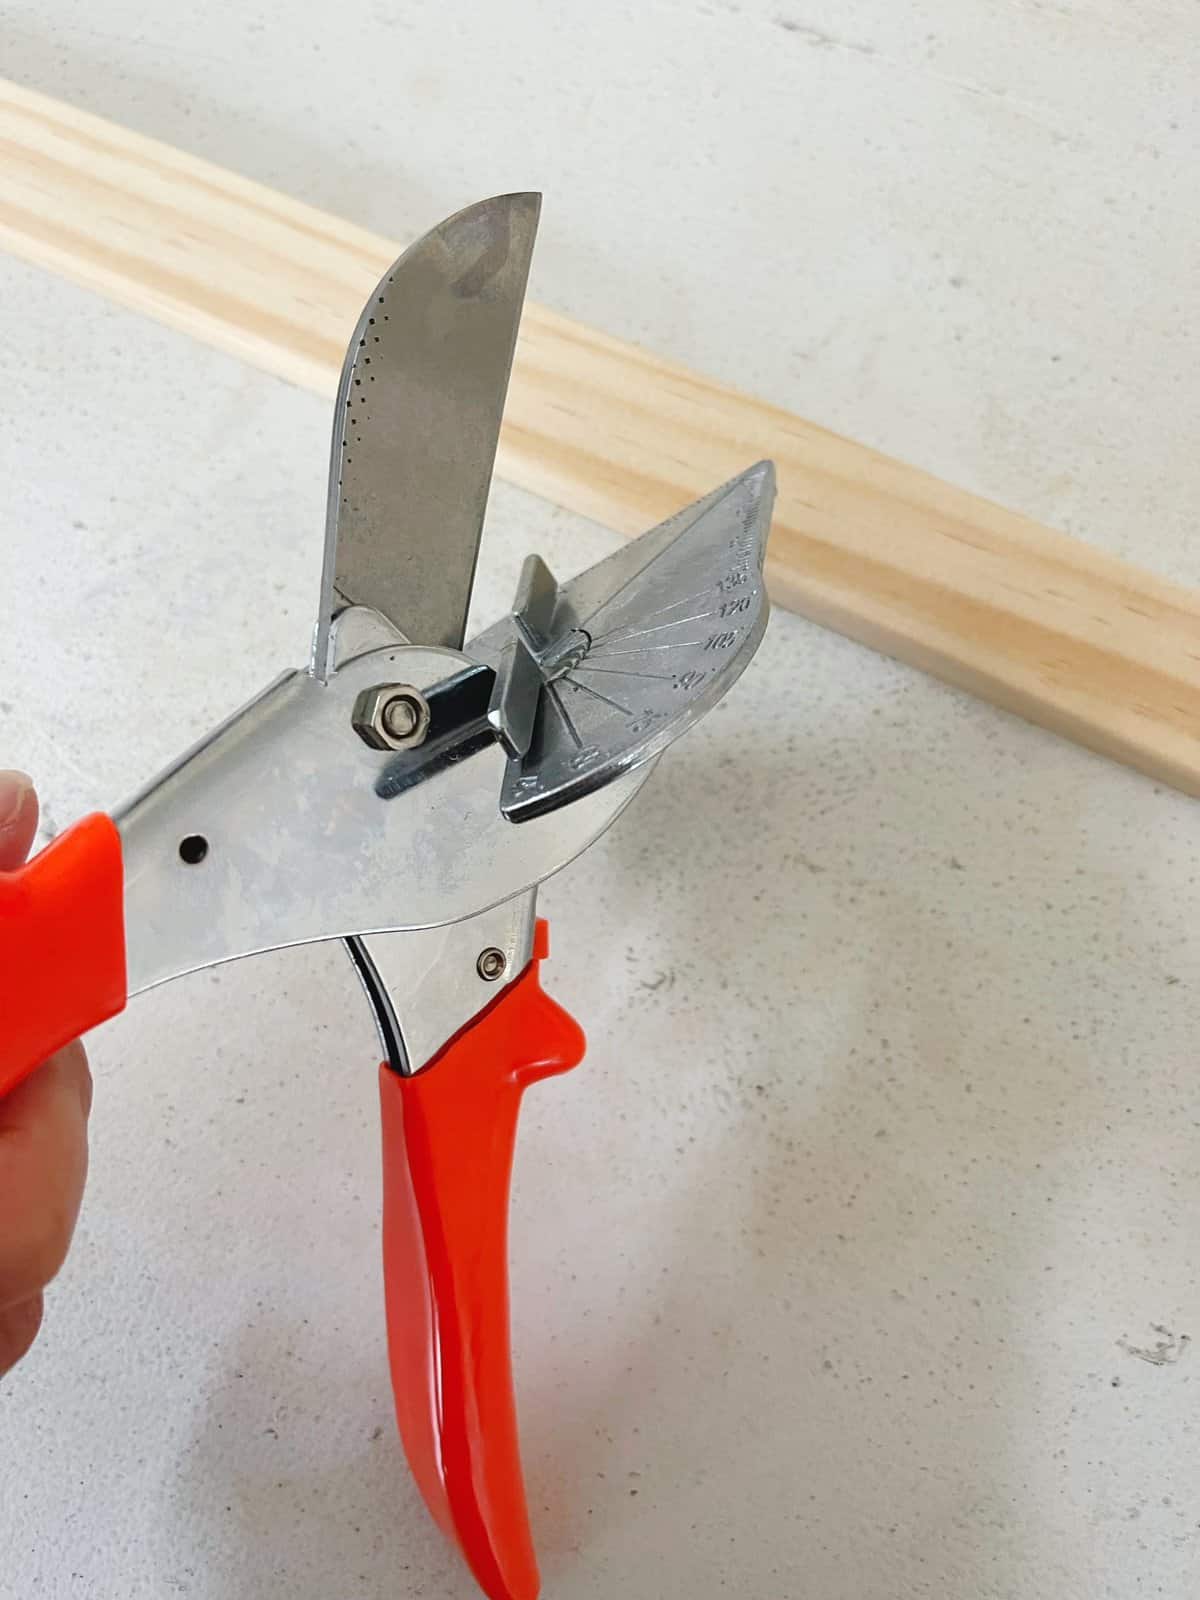
  • Miter cutter or saw for precise cutting
  • – Brown paint and water for staining
  • – Paper towel for application
  • – Clear mat varnish for protection
  • Liquid nails (or another heavy-duty adhesive) for assembly
  • – Heavy objects (like ceramic bowls or books) to secure the frame while drying
  • Picture hook and hammer for hanging

Many of these supplies I already had on hand.

Once you start doing DIY projects, the supplies you have on hand will make it so easy to complete more projects.

You’ll end up saving even more money by using what you have!

Step-by-Step Guide to Crafting Your Wood Picture Frame

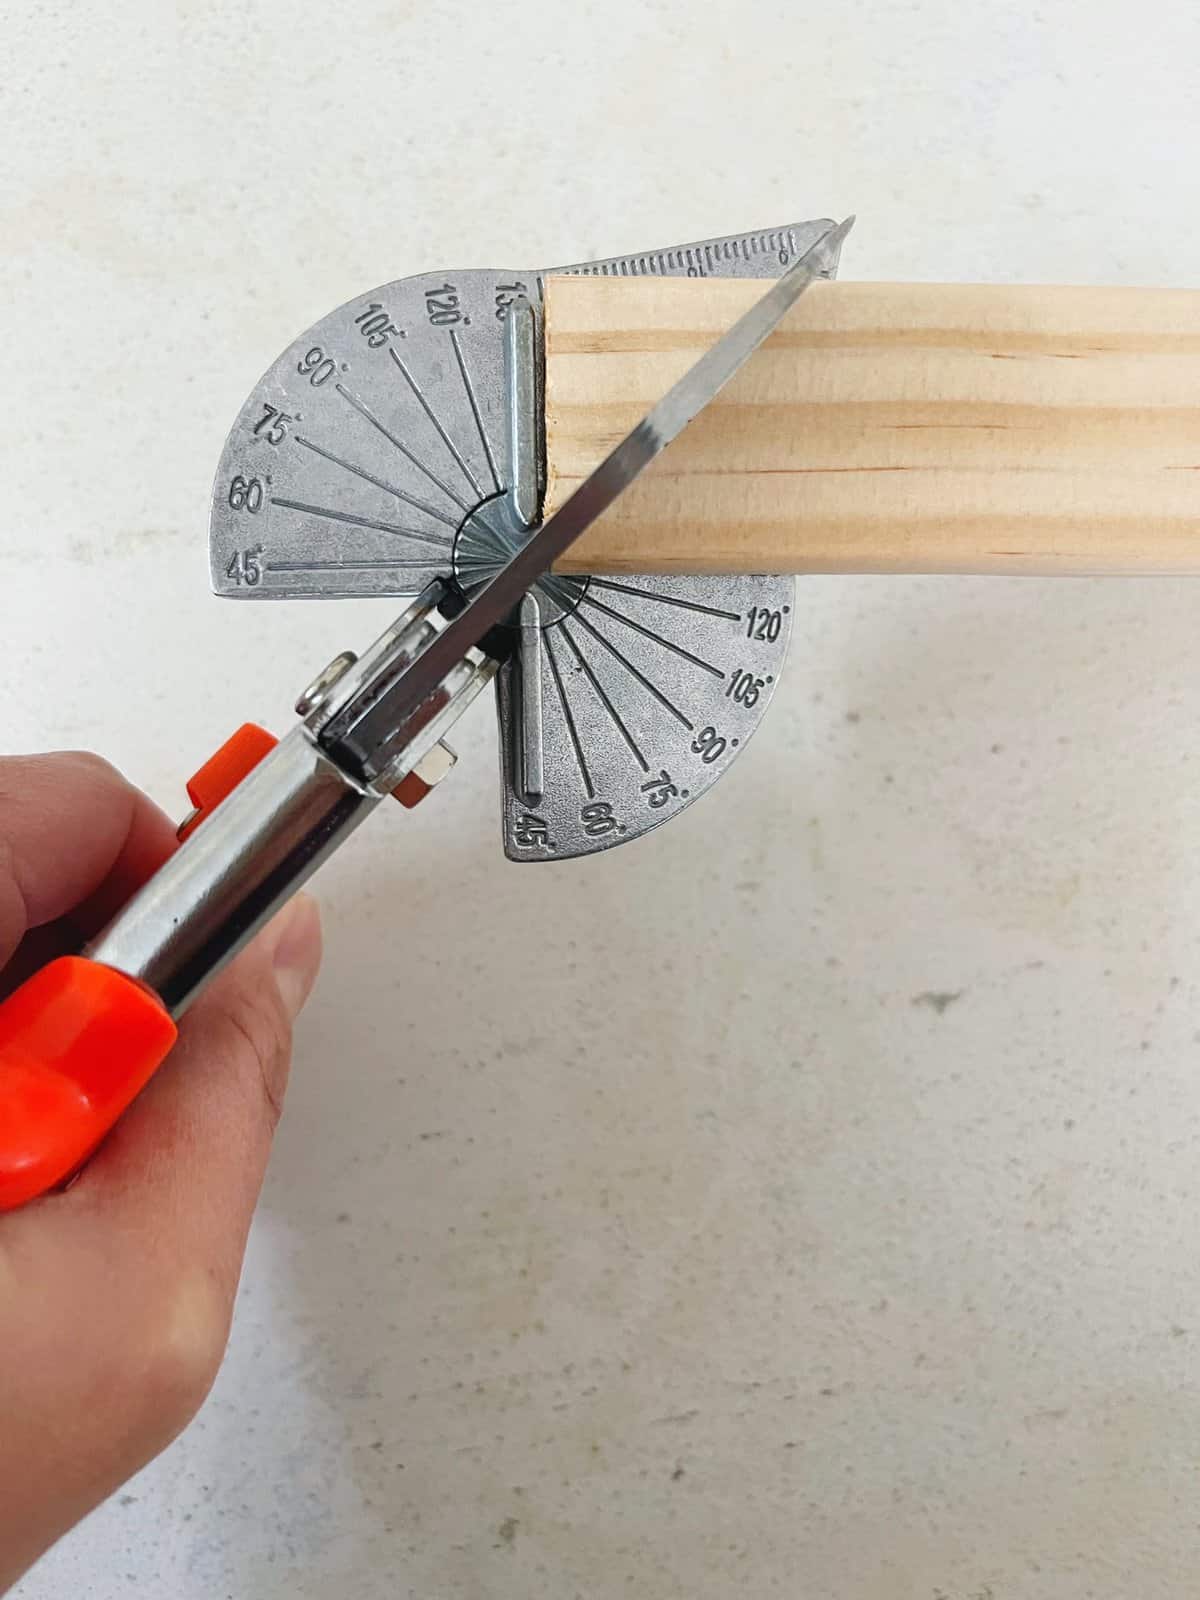
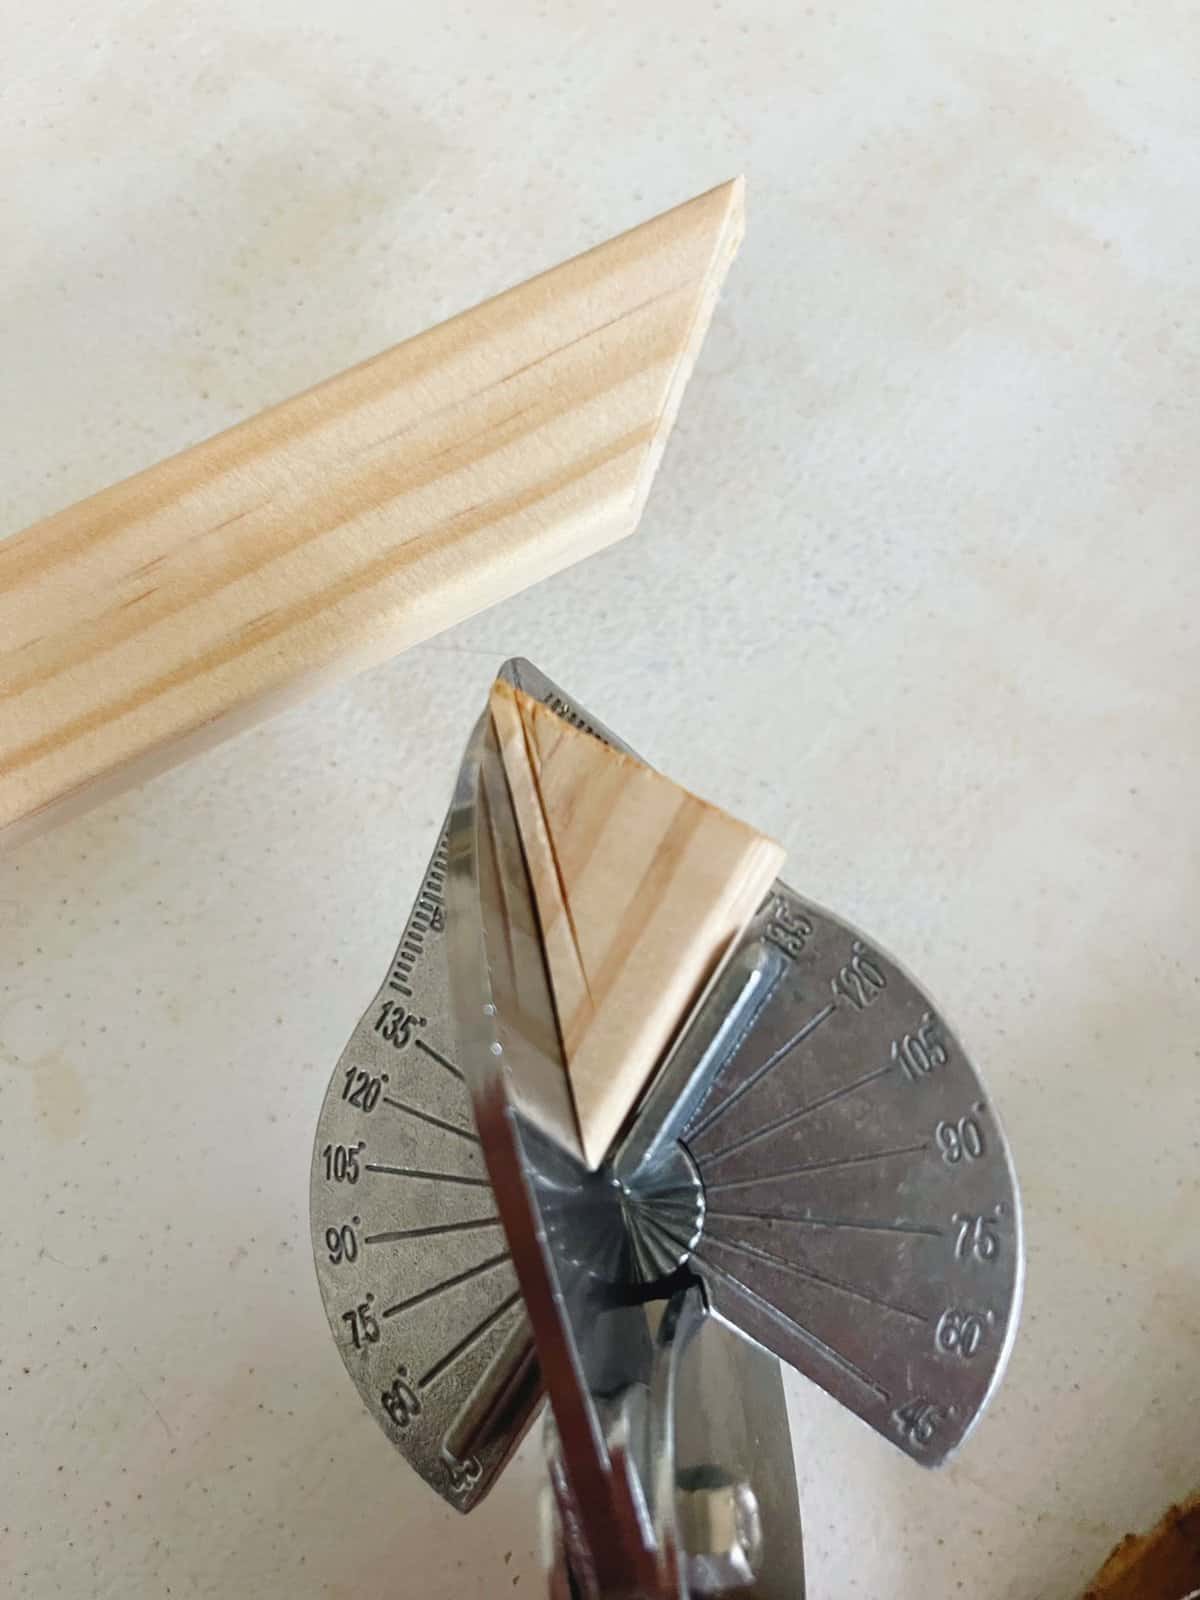
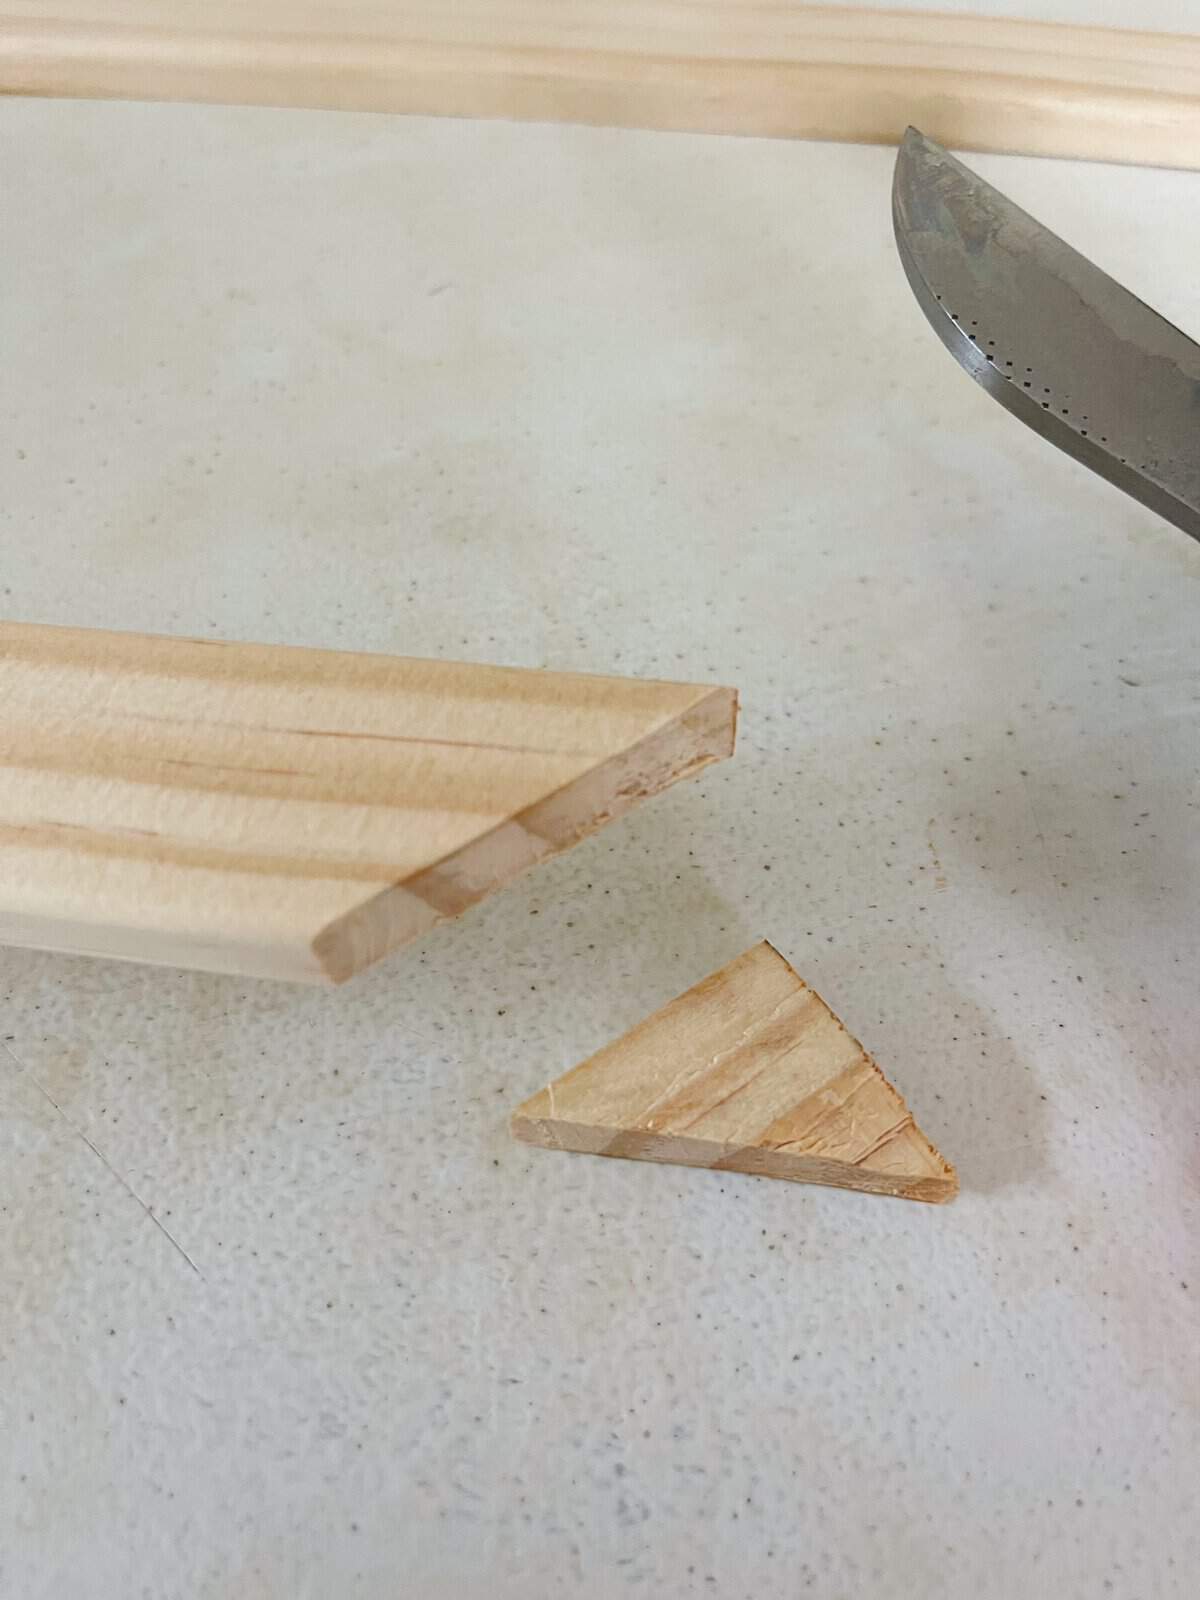
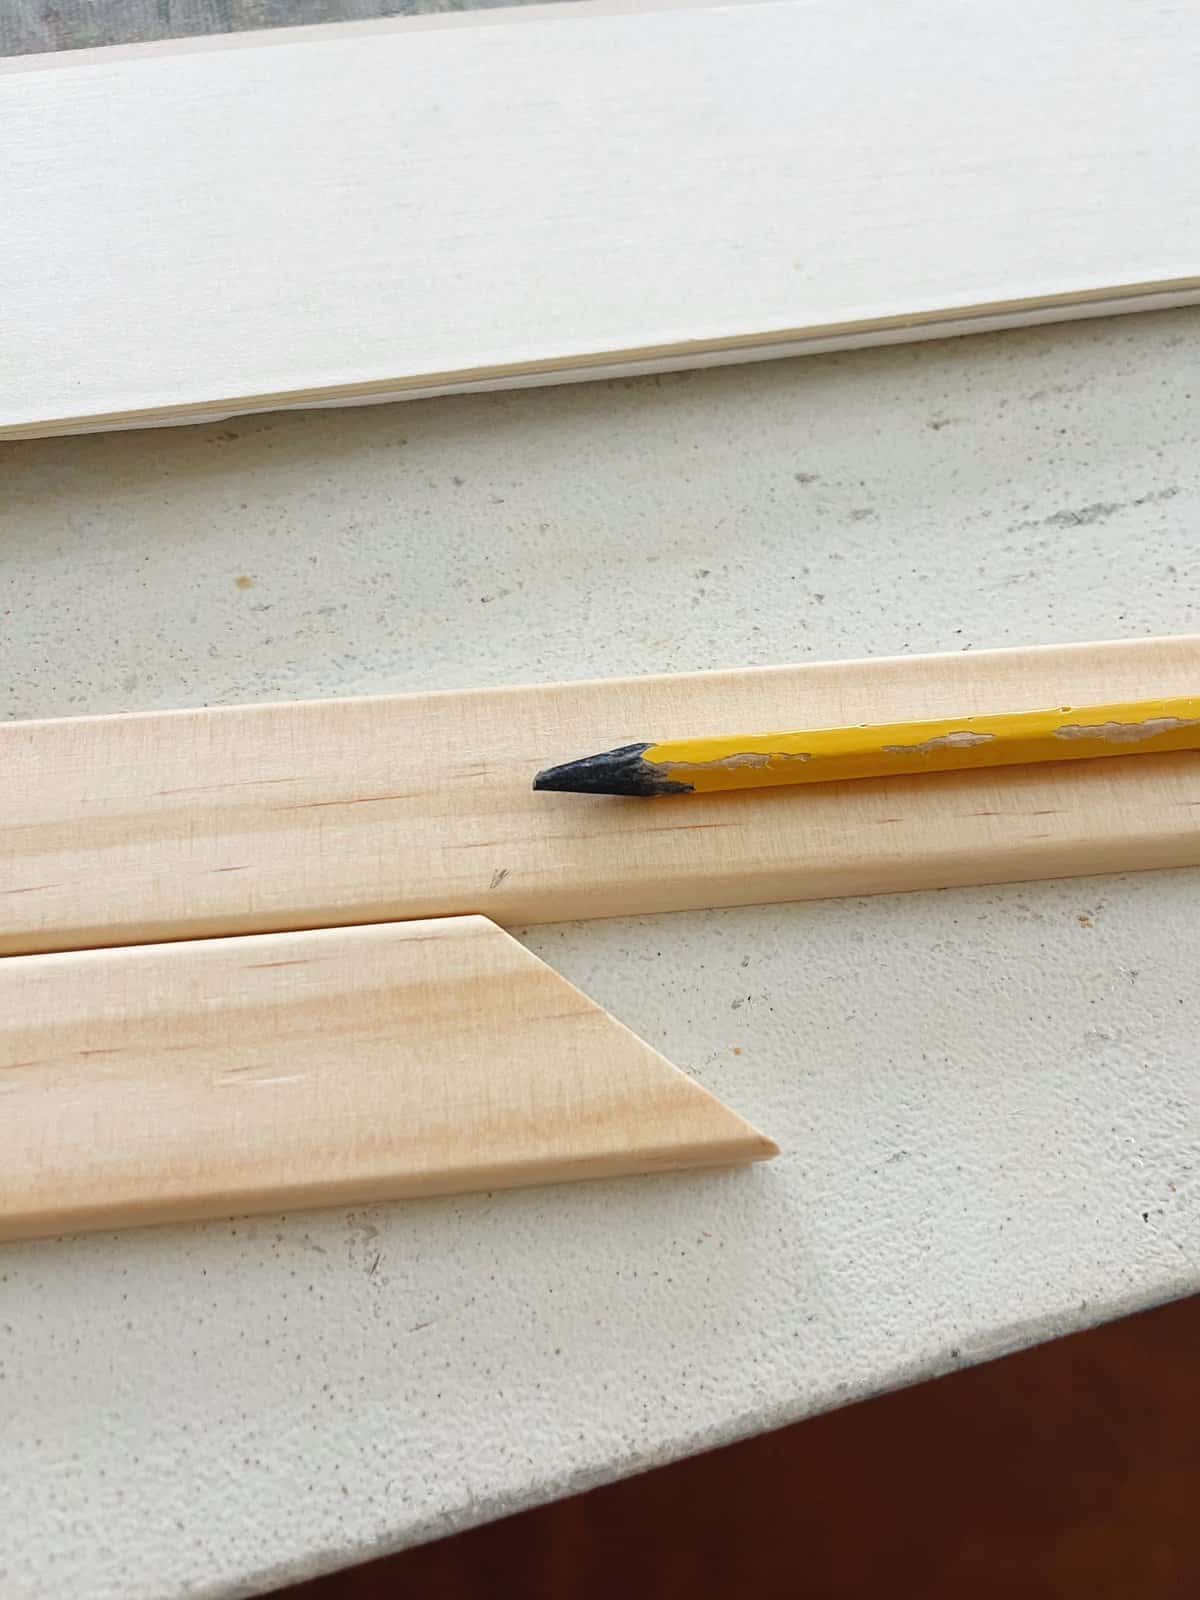
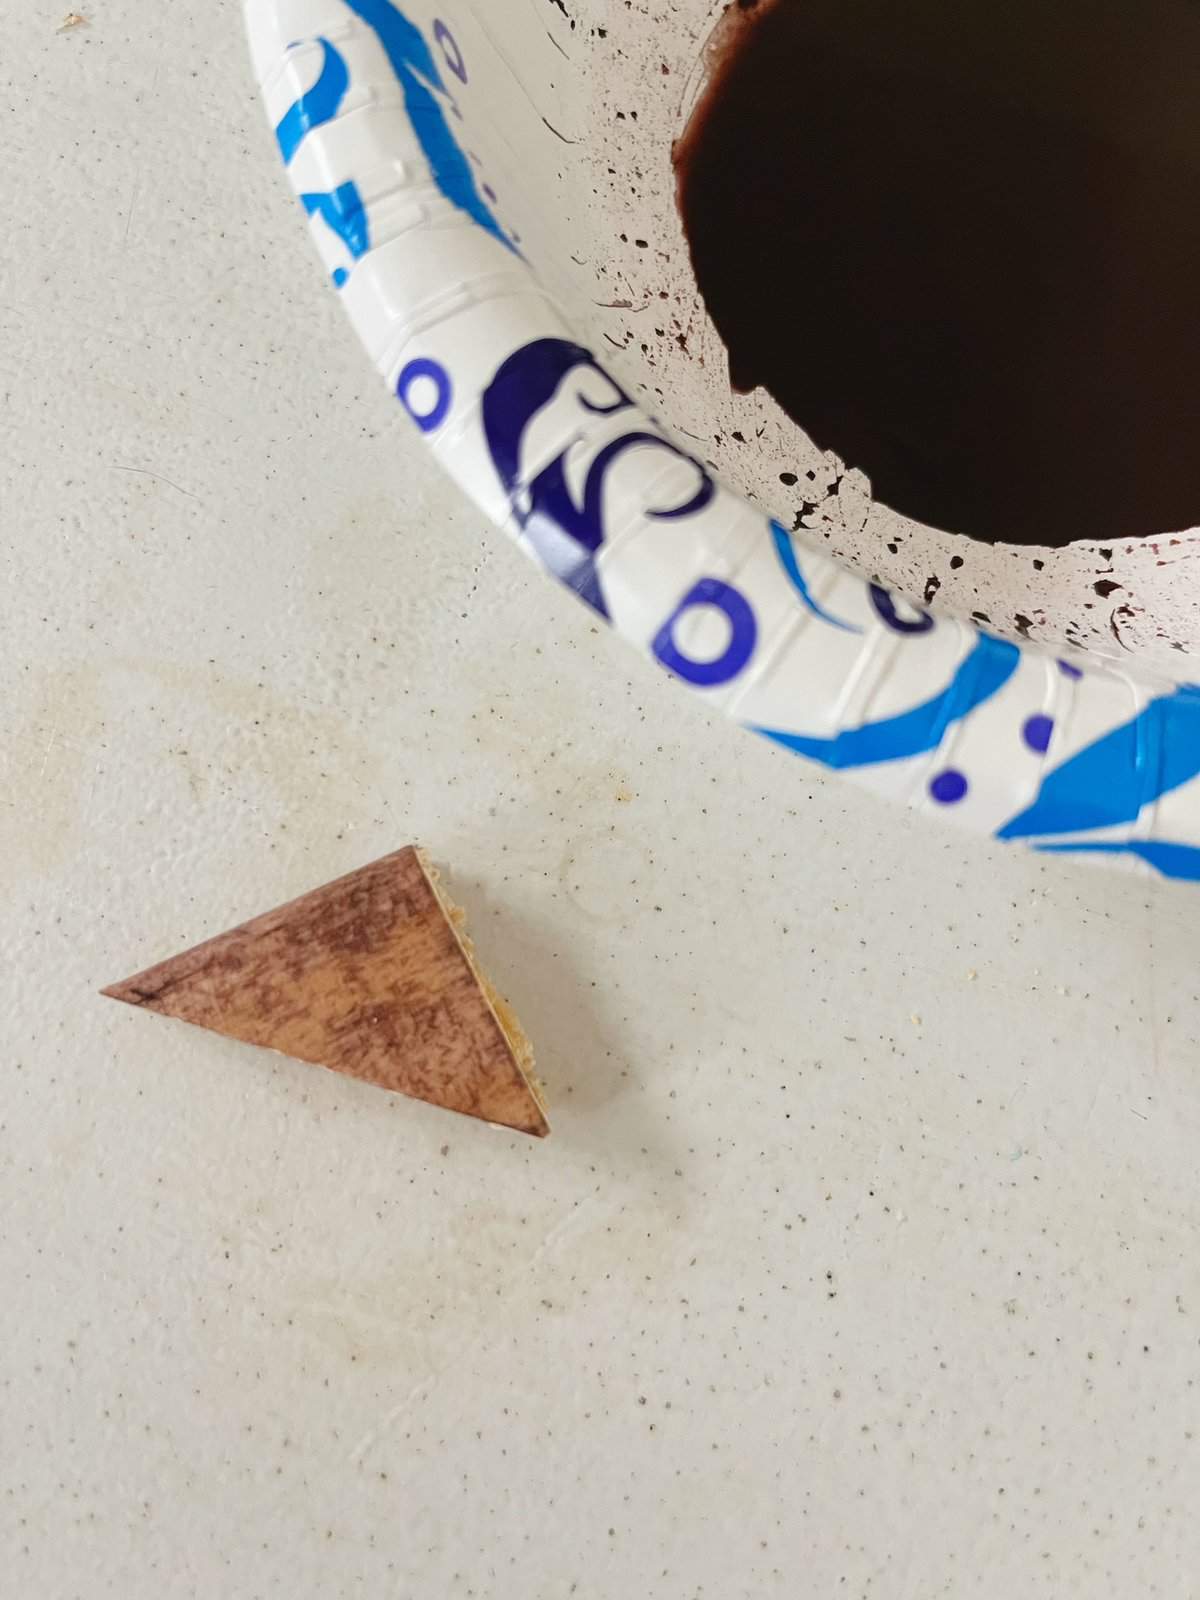
1. Measuring and Cutting:

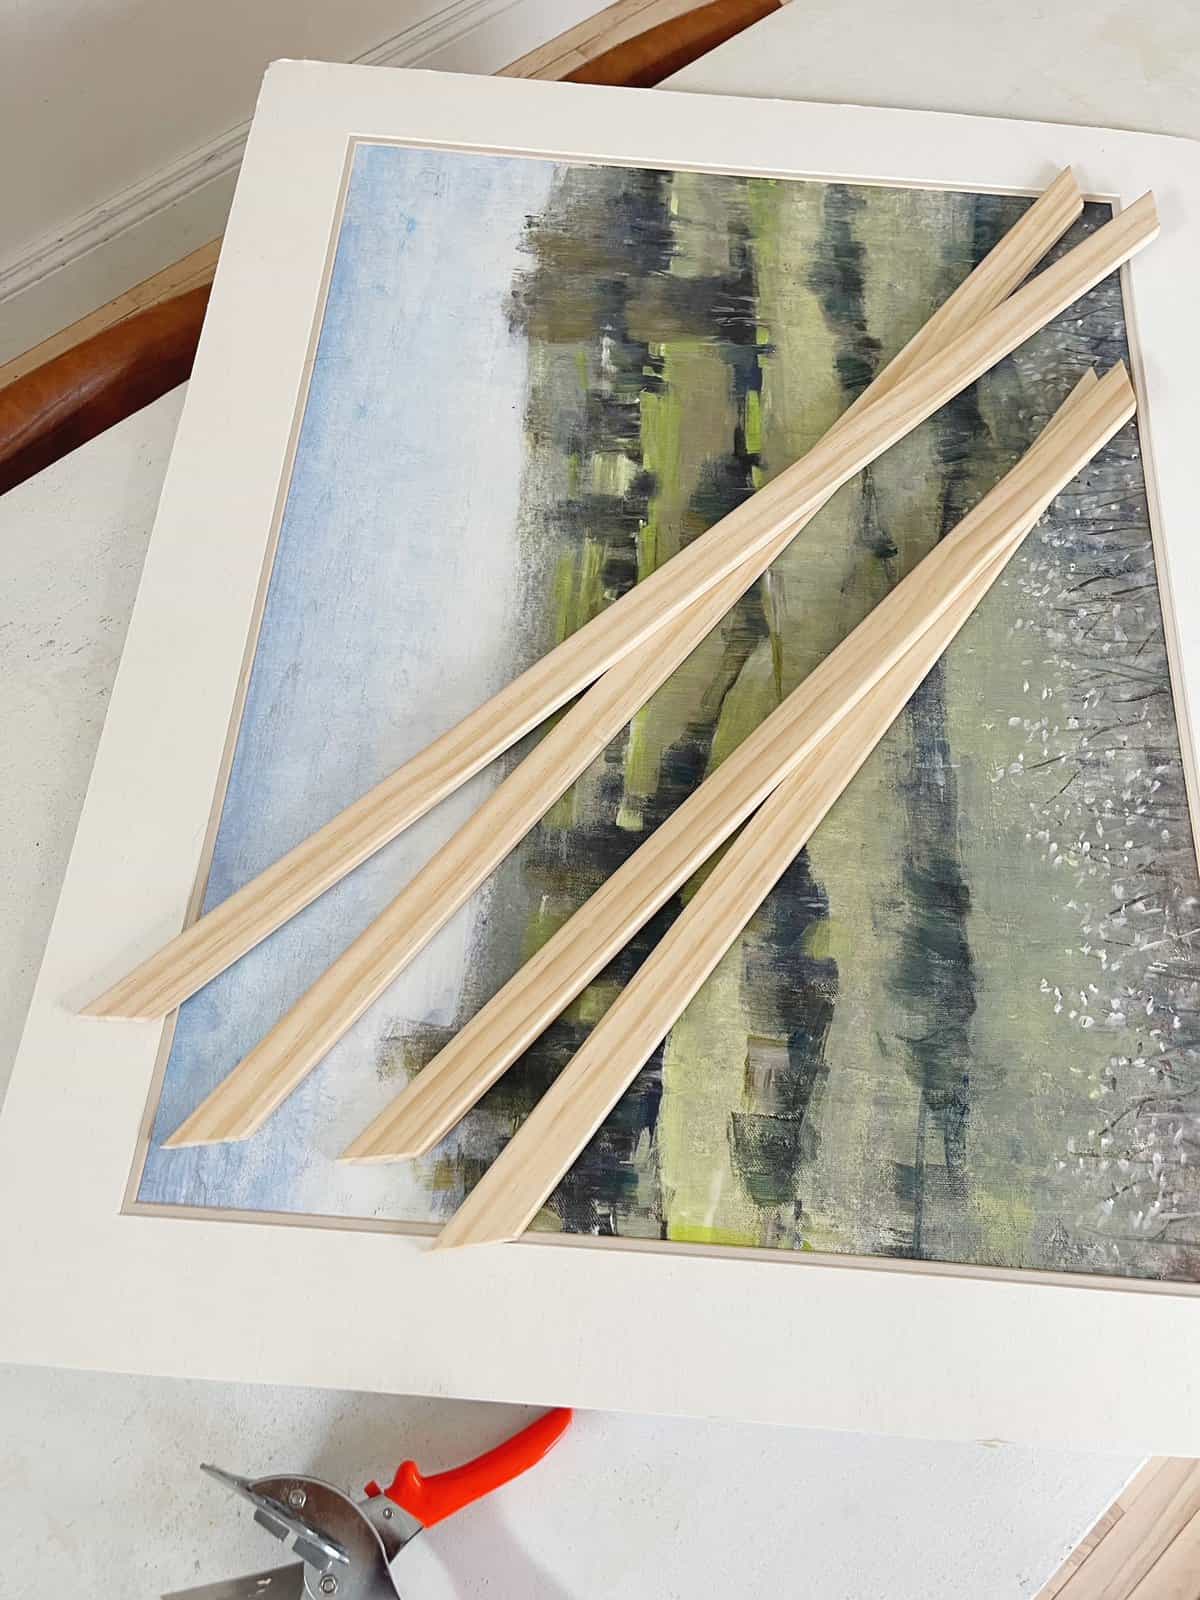
I began by purchasing two 8-foot pine molding pieces, cutting them into four pieces with a miter cutter to fit around my print. The miter cutter was a convenient choice for those without access to a miter saw, offering

precision and ease of use.

Large Art Print As Design Element

The power of a beautifully framed print can’t be denied, but they can be expensive!
When I started thinking about what kind of frame I wanted wood immediately came to mind.
Because the print I chose is a pastoral scene I liked the idea of complementing it with nature in the form of wood. It adds personality, elegance, and a touch of personal flair to any room.
But, if you’re anything like me, finding that perfect frame can often feel like a search for a needle in a haystack, especially when you’re working within a budget. That’s why I embarked on a DIY journey to create a custom wood frame for this incredible thrifted print.
I’m super happy with how it turned out and geeked to share the process with you.

The Inspiration Behind the Project

 This little DIY journey began when I went shopping at a thrift store and found this print that was too good to pass up.
The cost of custom framing a print quickly dampens my enthusiasm when I see them at thrift store.
However this print already had the foam backing and the matt, score!
That’s when I decided to take matters into my own hands. I set out to create a bespoke wood frame that would not only showcase my print but also blend seamlessly with my decor.
Think warm, unfinished wood tones.

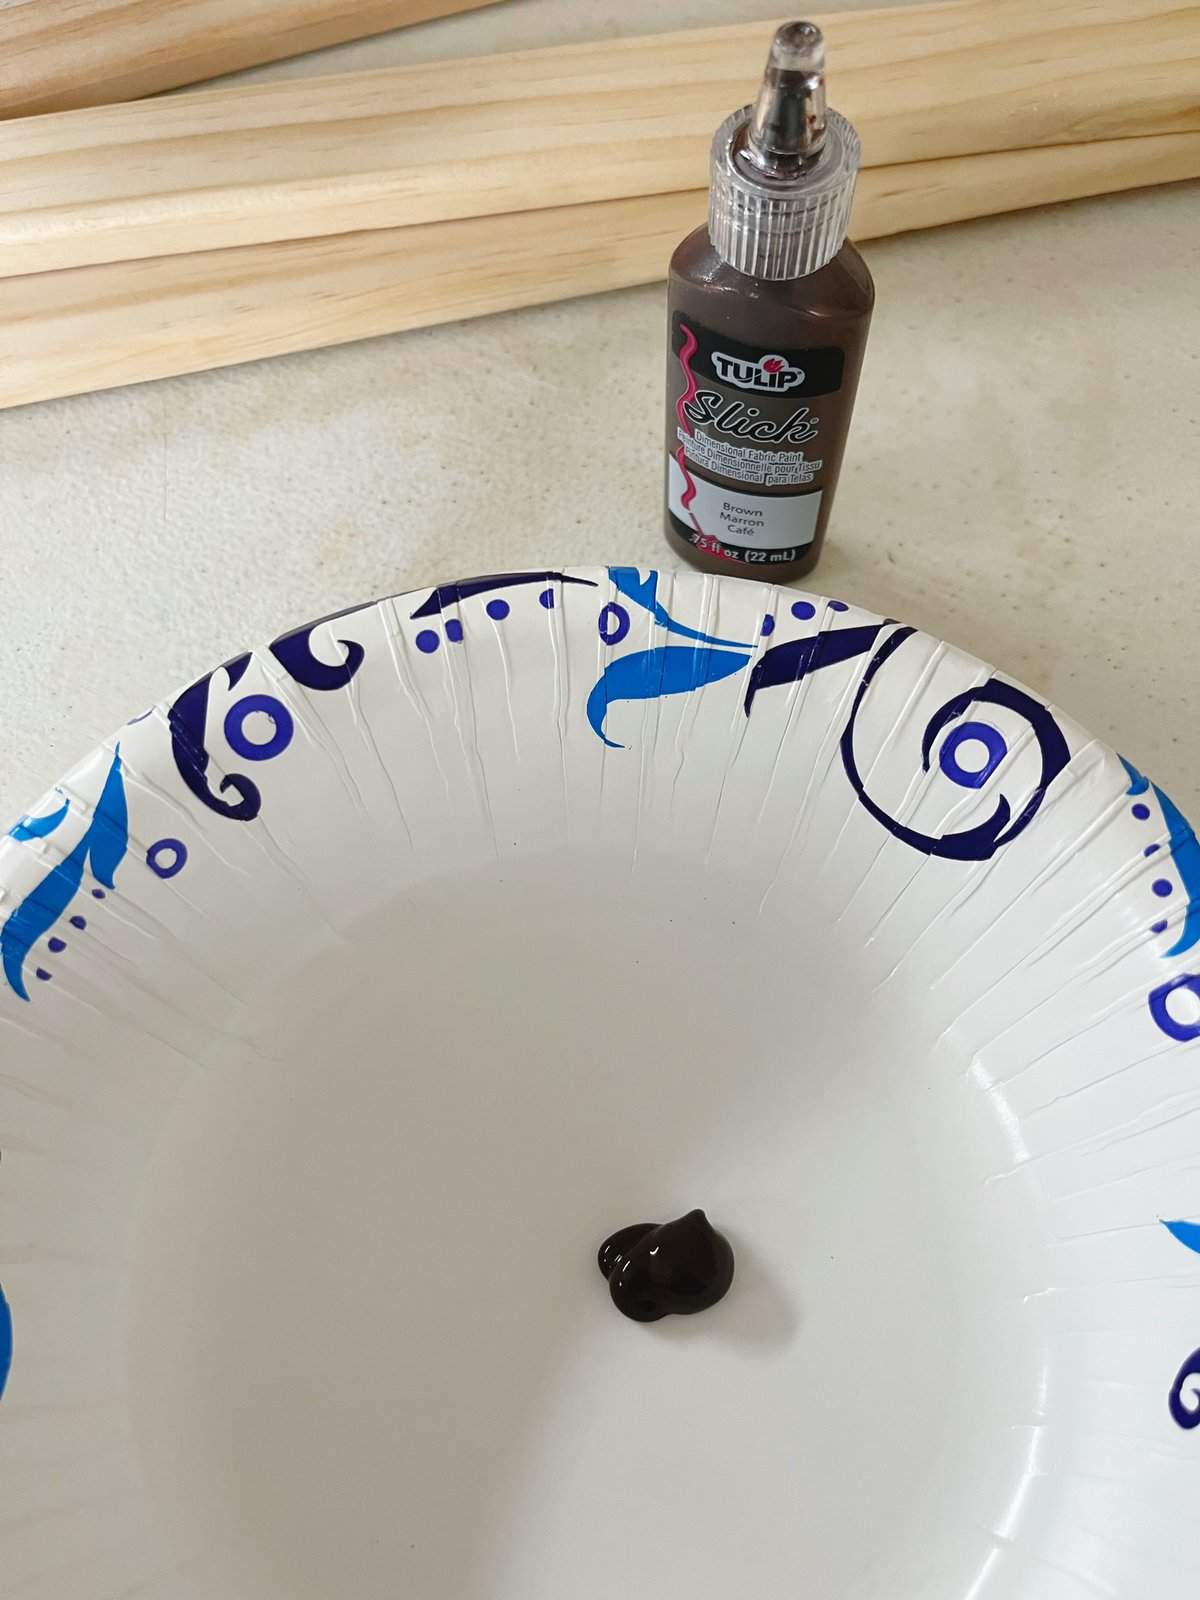
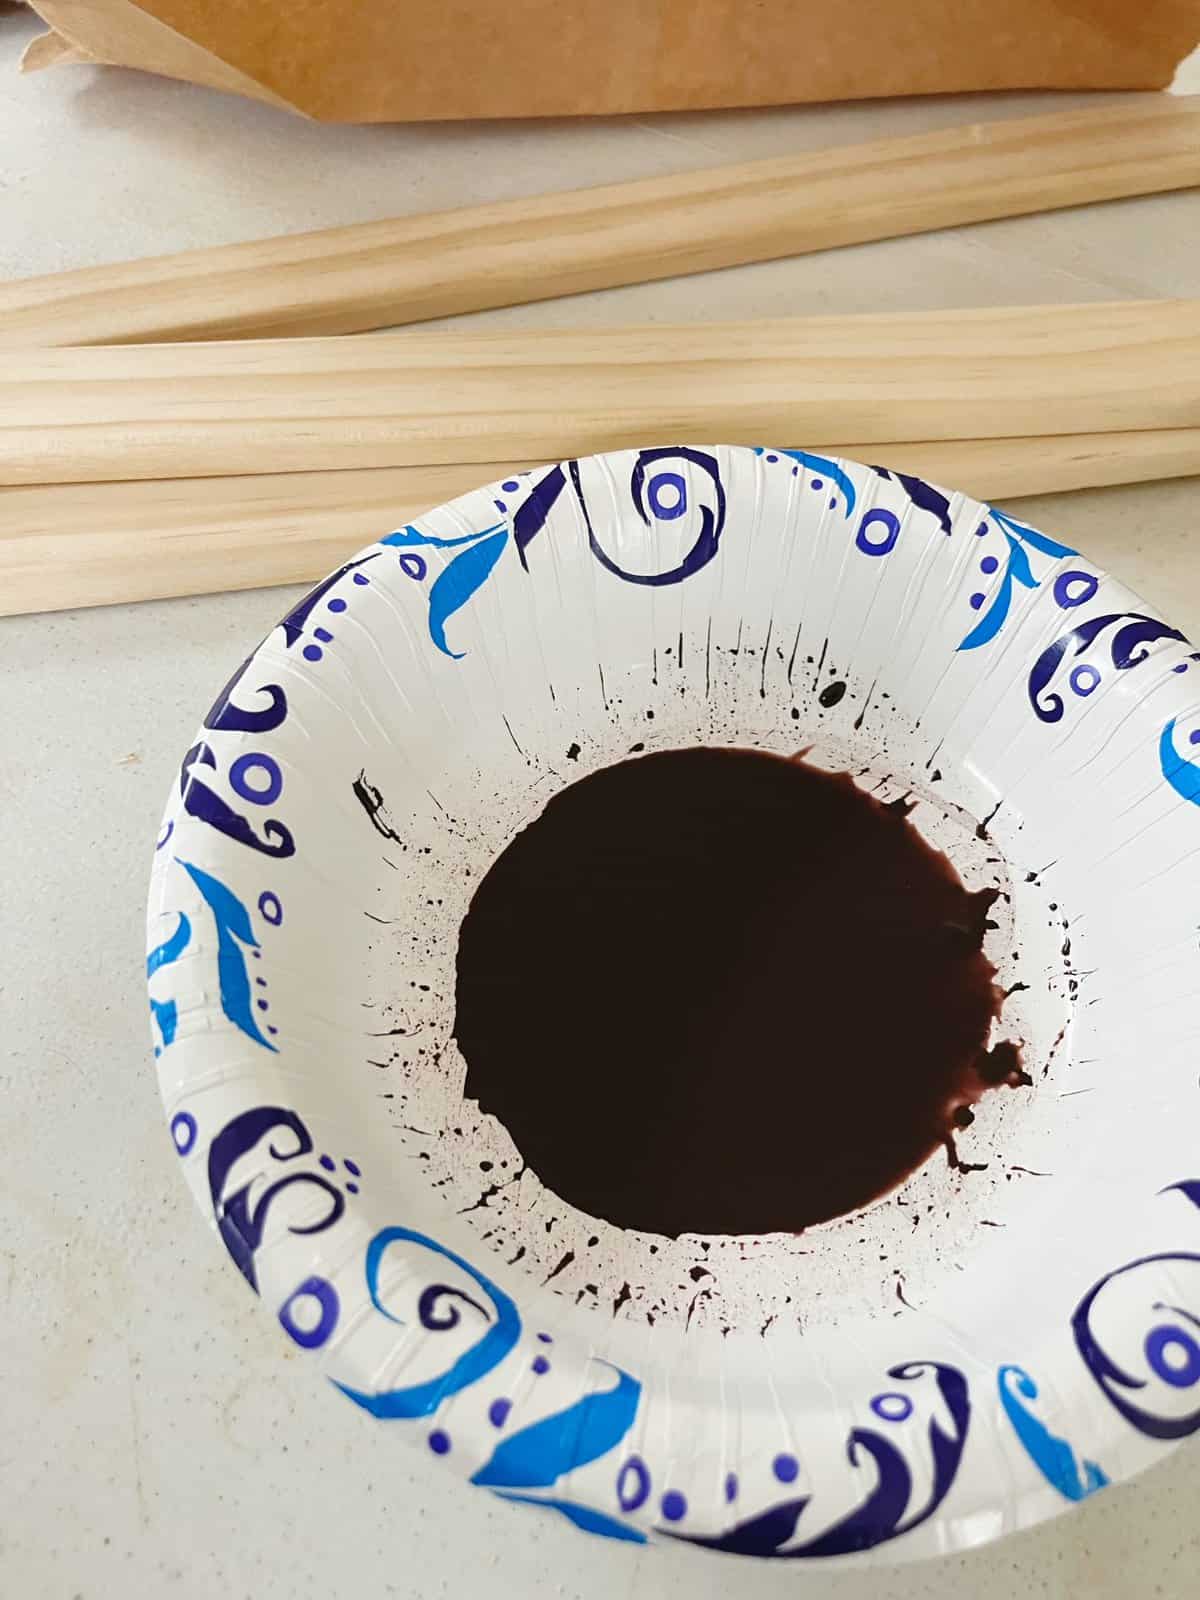
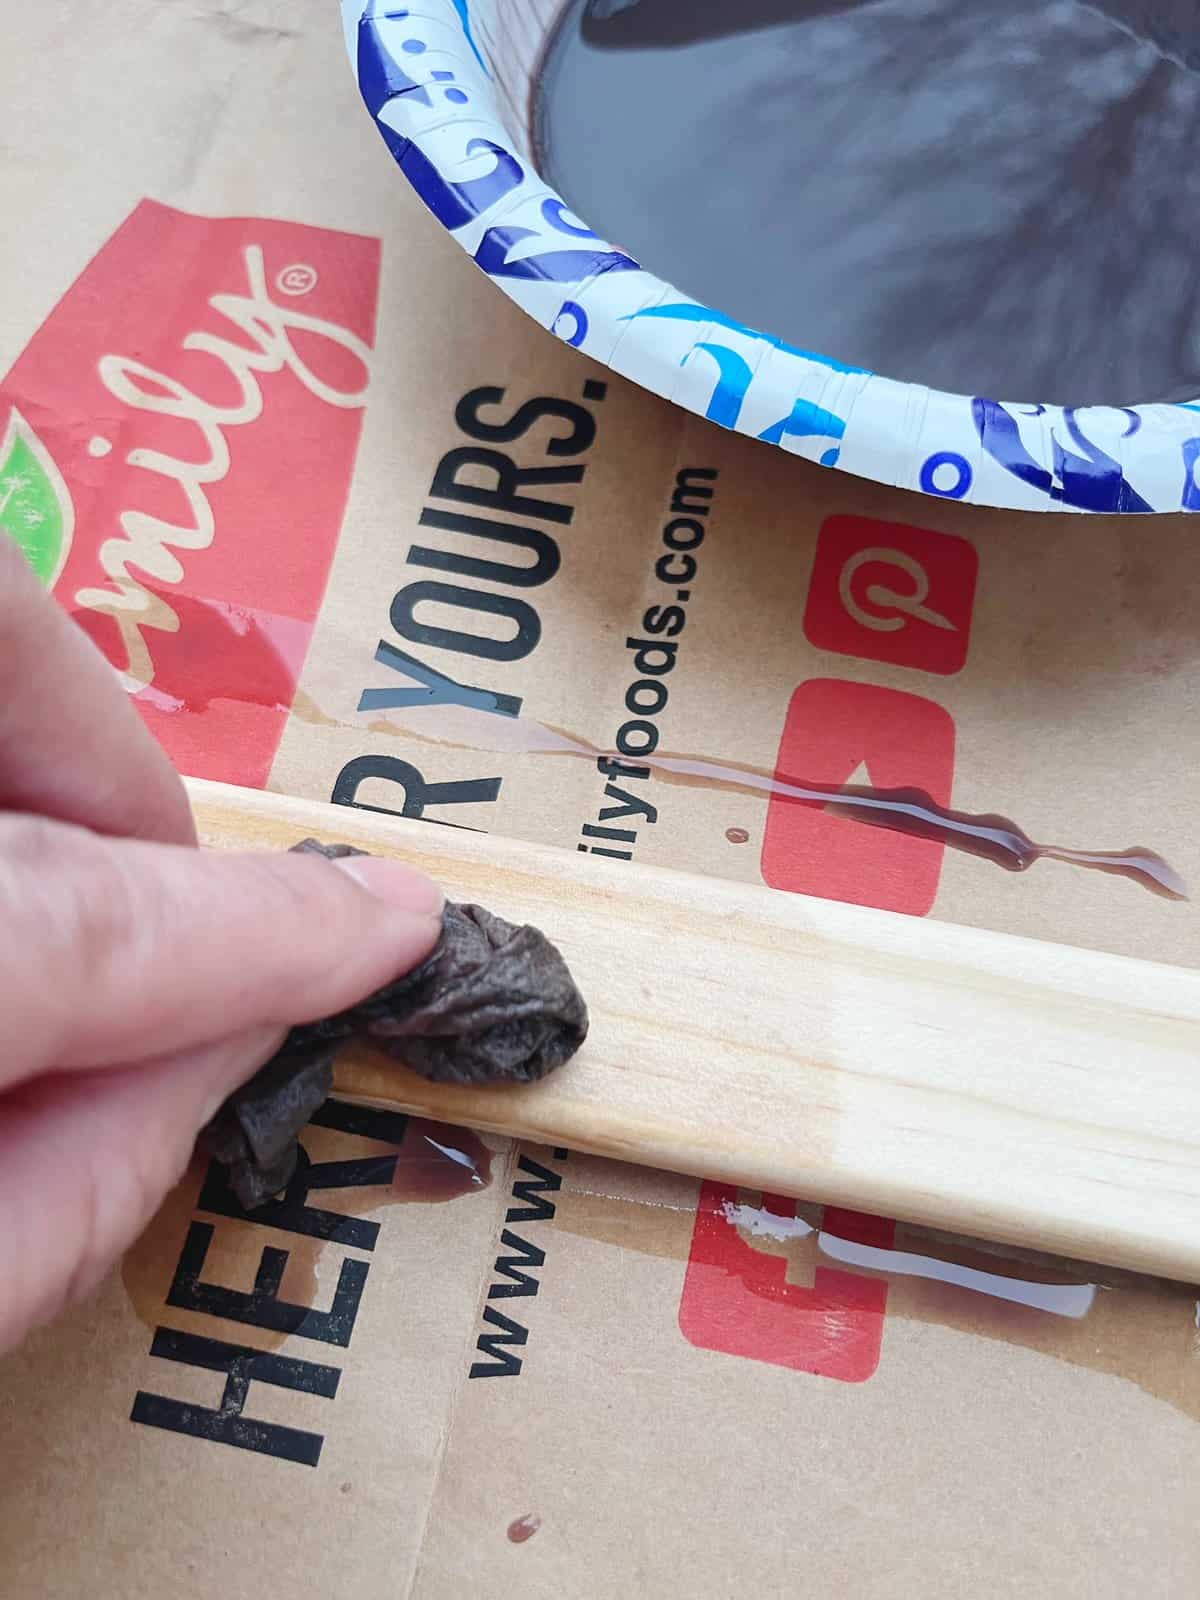
2. Staining the Wood:

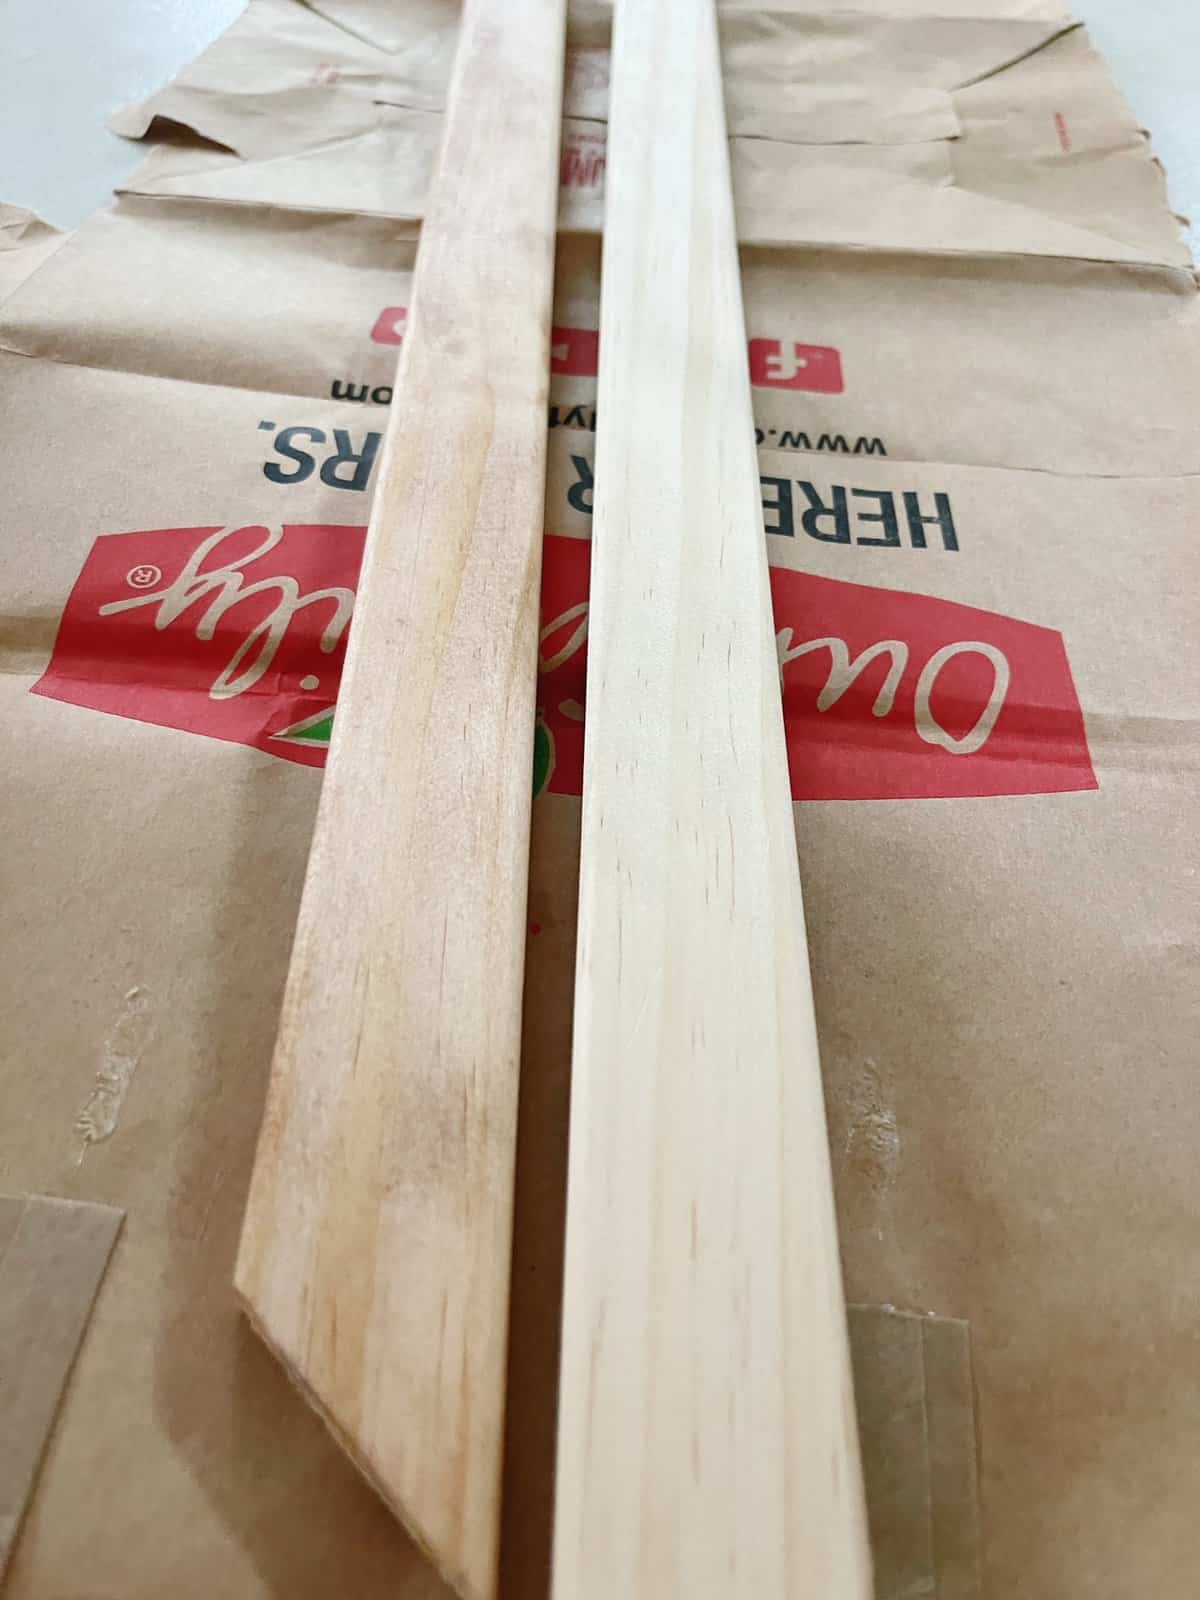
To achieve a natural wood look on a budget, I mixed brown paint with water to create a thin, stain-like consistency.

Applying this mixture with a paper towel, I gradually built up the color to my desired shade.

This method is a fantastic, cost-effective alternative to buying traditional wood stain.

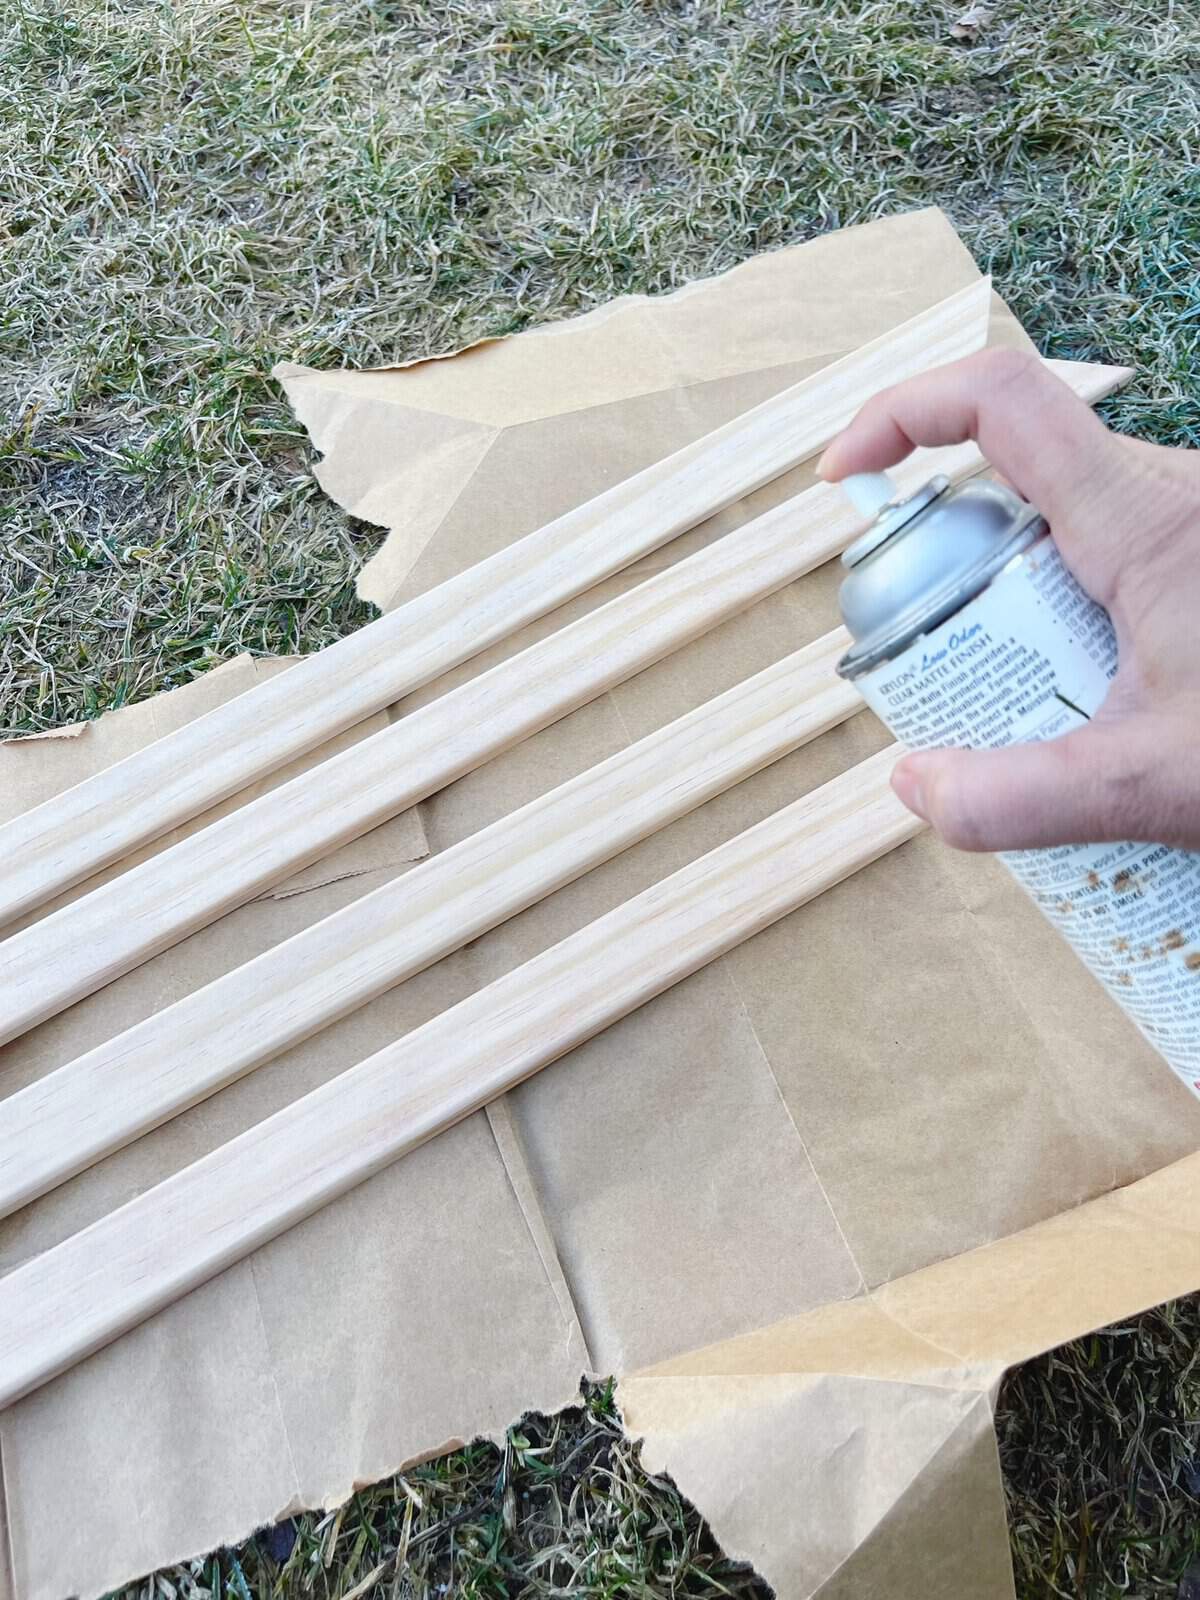
3. Sealing the Frame:

After letting the stain dry overnight, I applied a clear mat varnish to protect the wood and ensure the frame’s longevity.

Make sure do your spray painting outside away from people so no one breaths in the fumes.

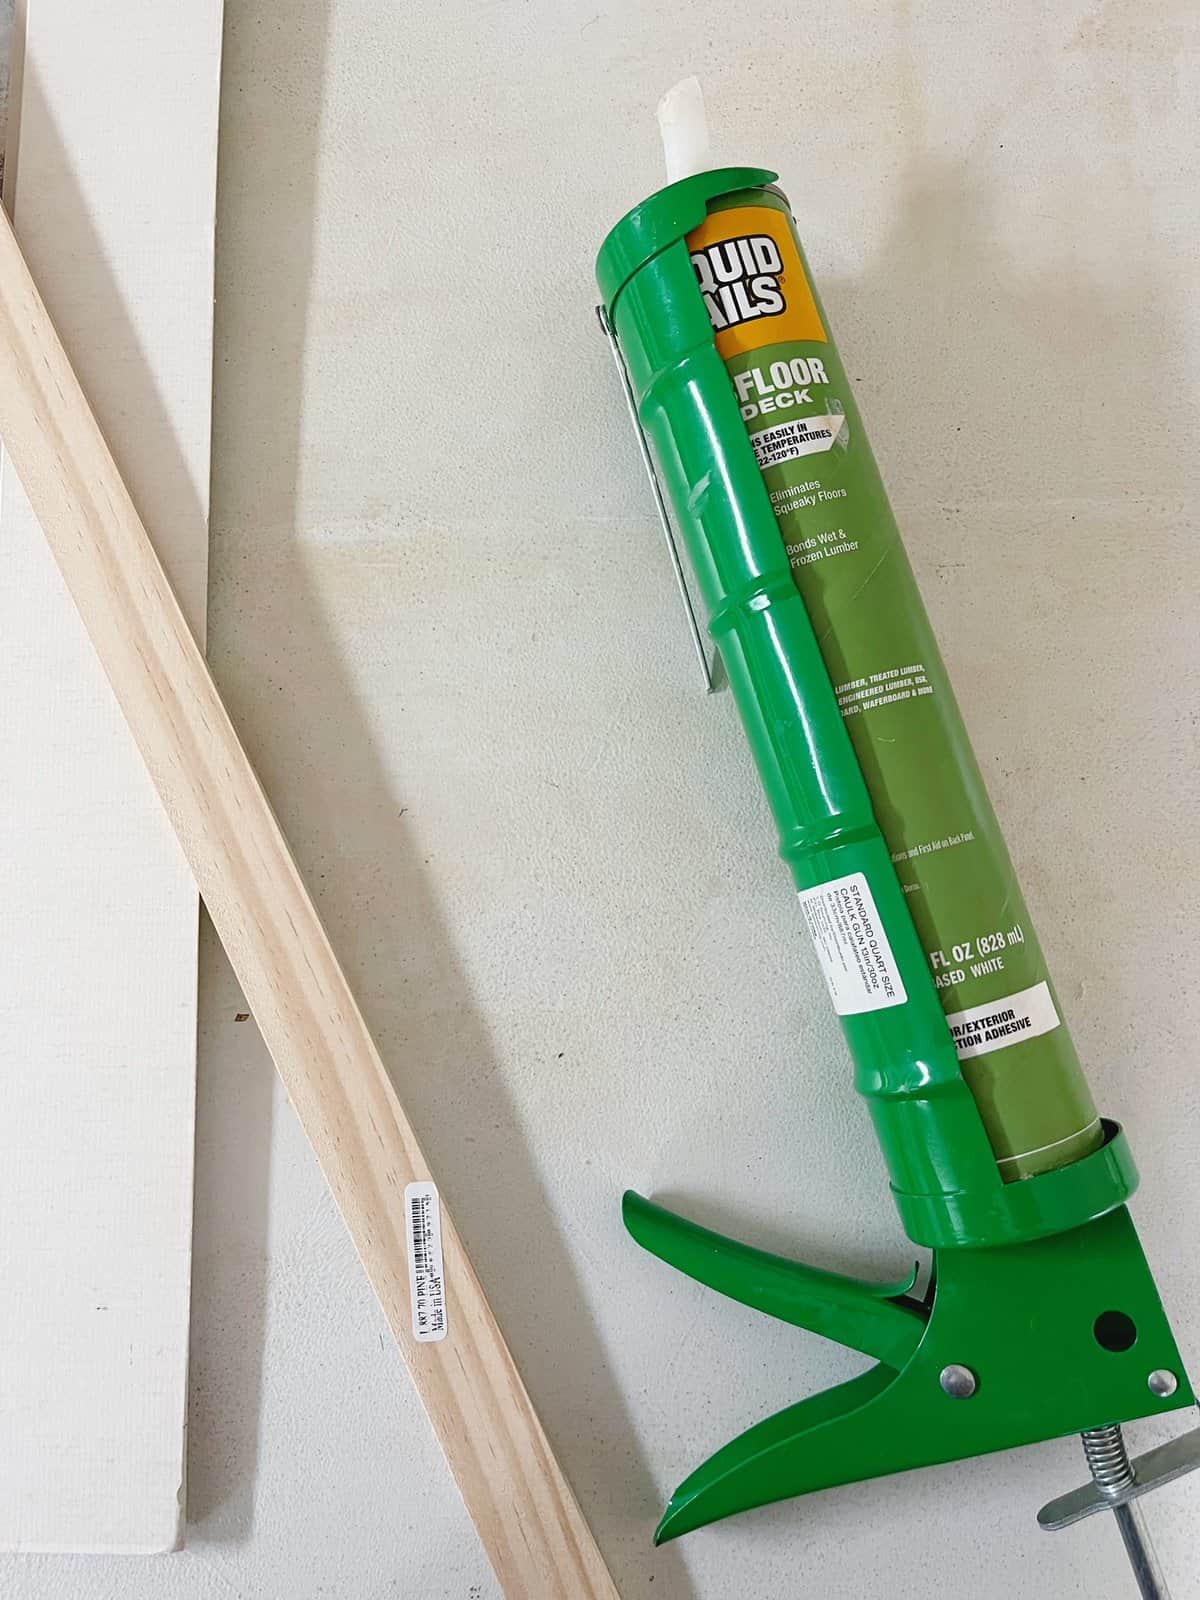
4. Assembling the Frame:

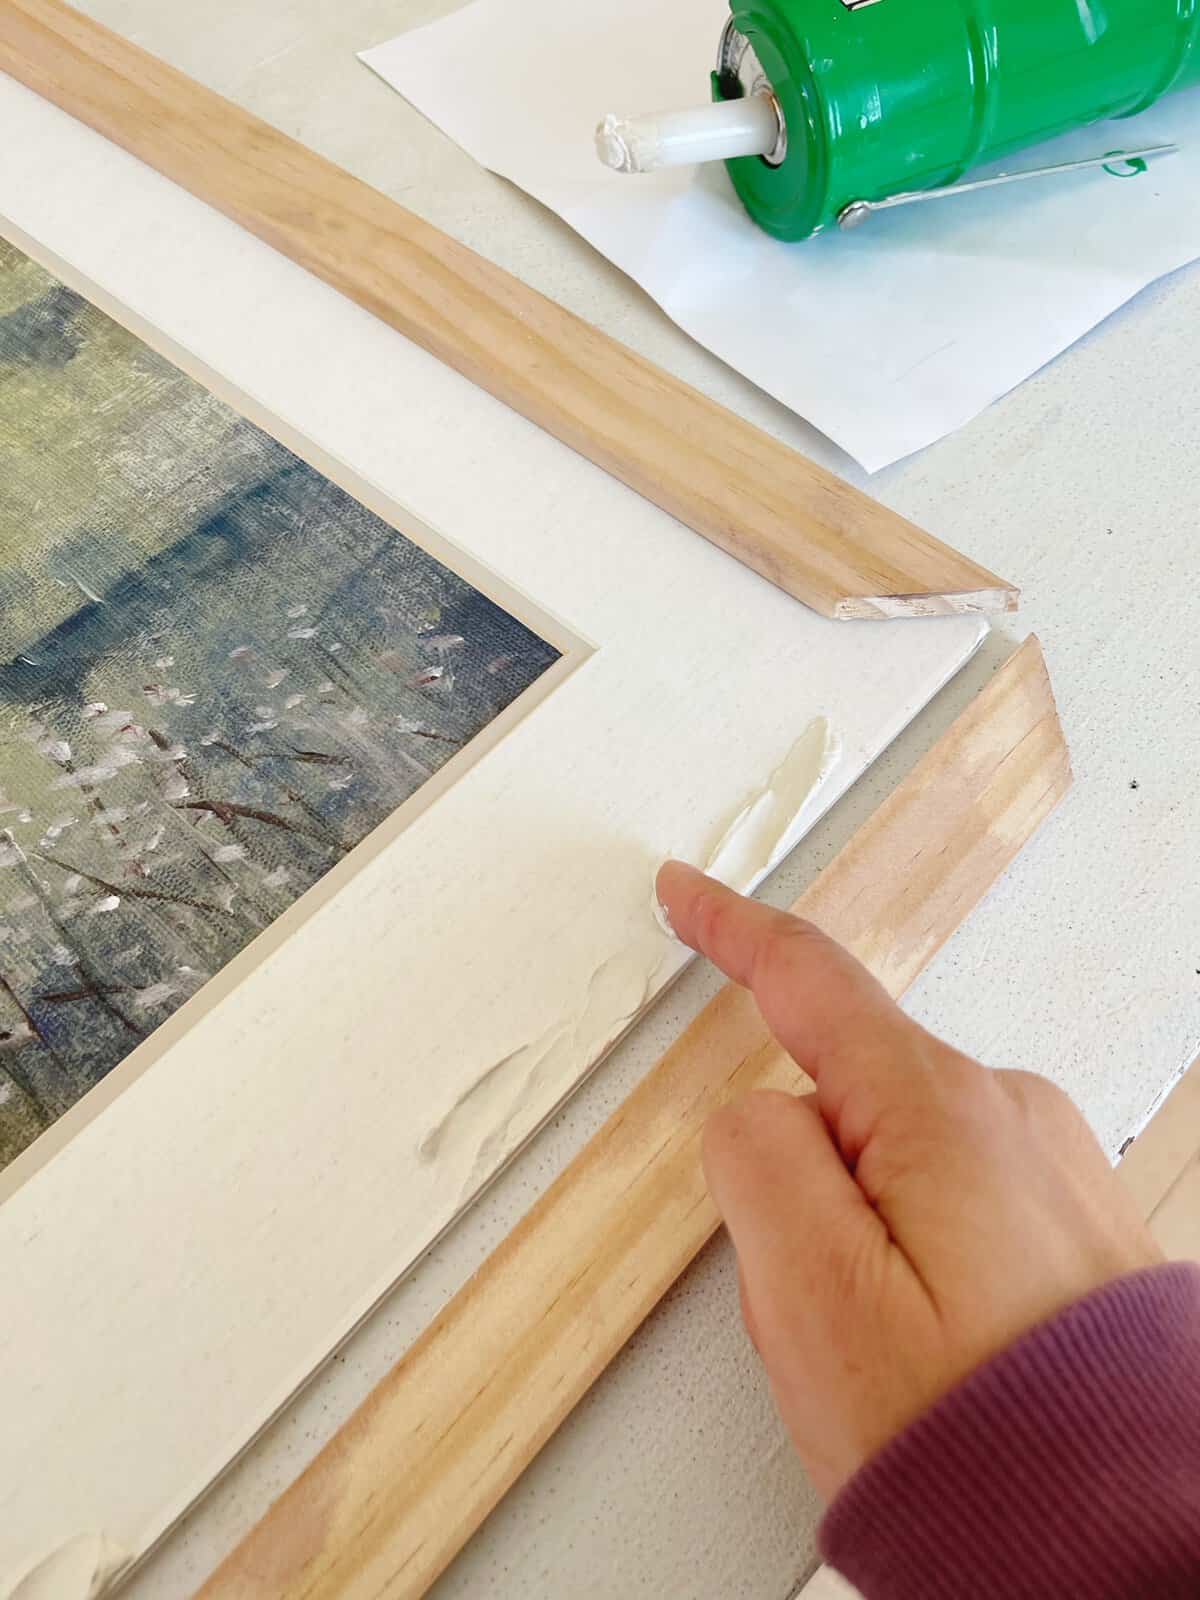
With my print and mat ready, I used liquid nails to adhere the wood pieces to the edges of the mat.

I ended up finding that applying it with my fingers got me the exact amount I needed because I was able to control the amount I used better than with a caulk gun.

Any thick adhesive will work, feel free to try another glue if you don’t have liquid glue in the house.

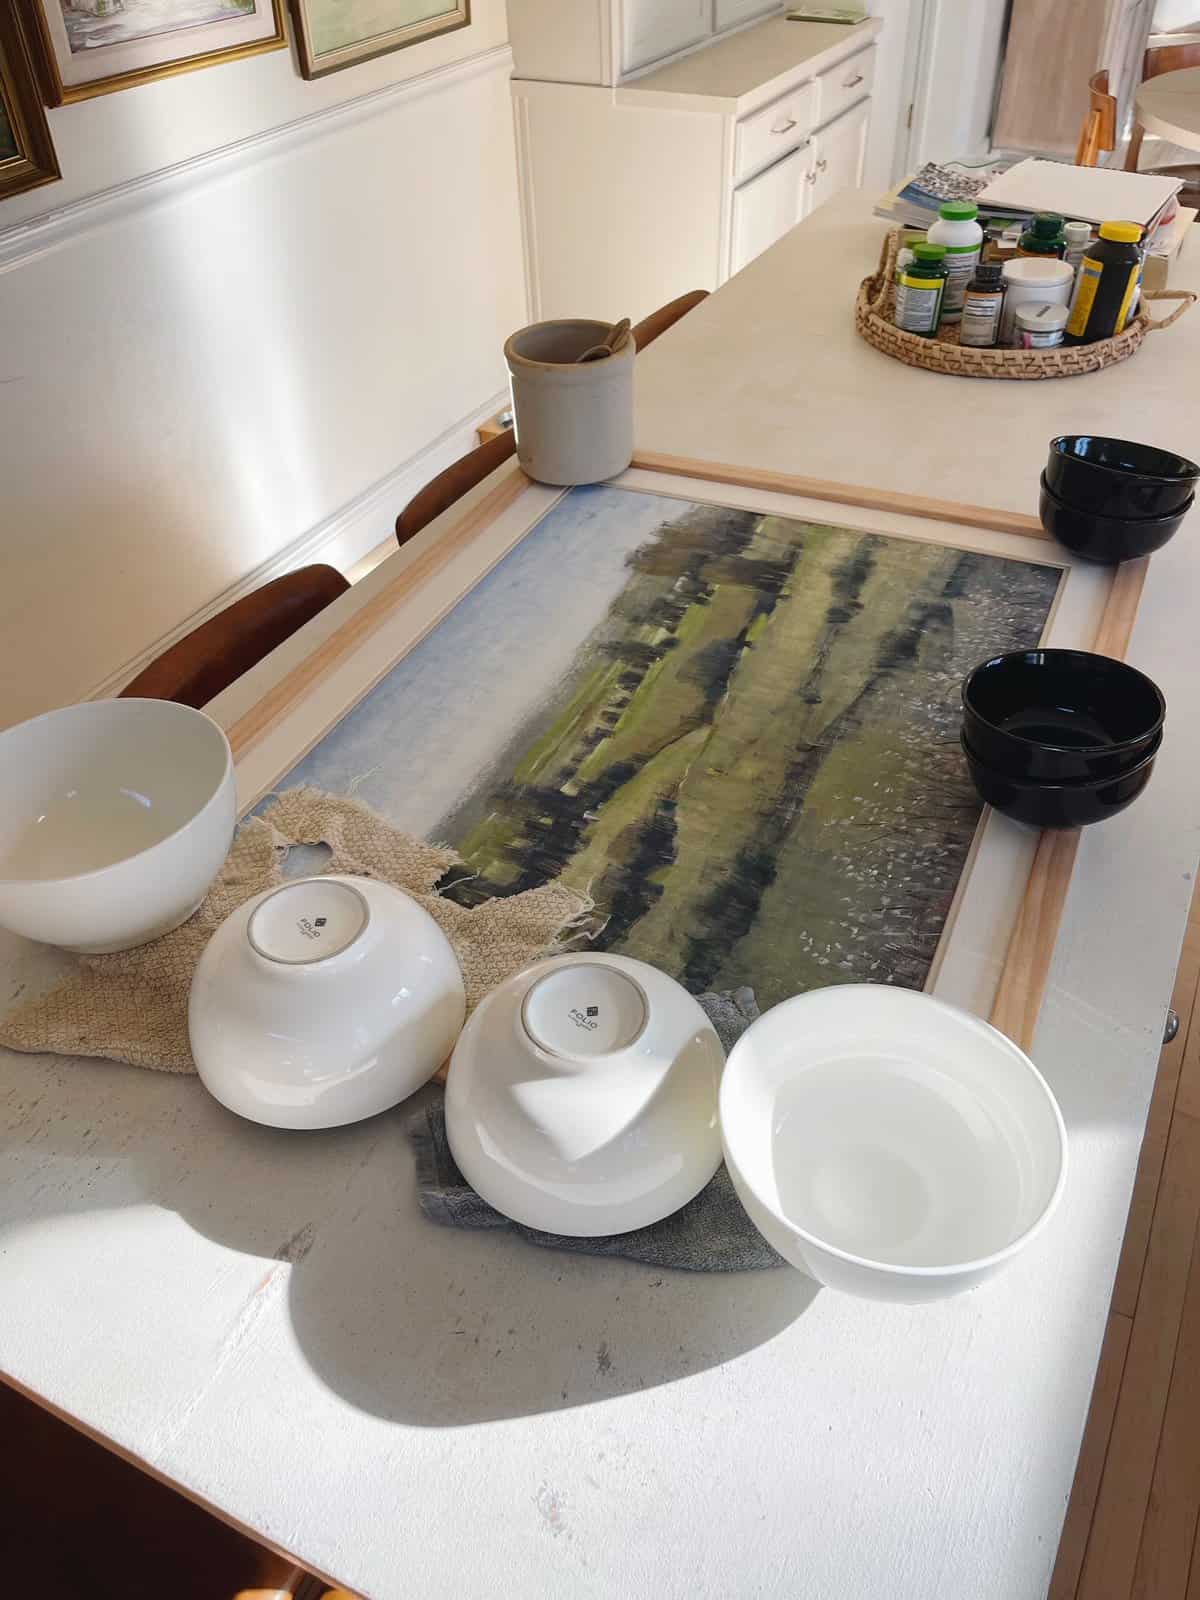
Heavy ceramic bowls served as weights to secure everything in place during drying, a step where books or other heavy objects could also be used.

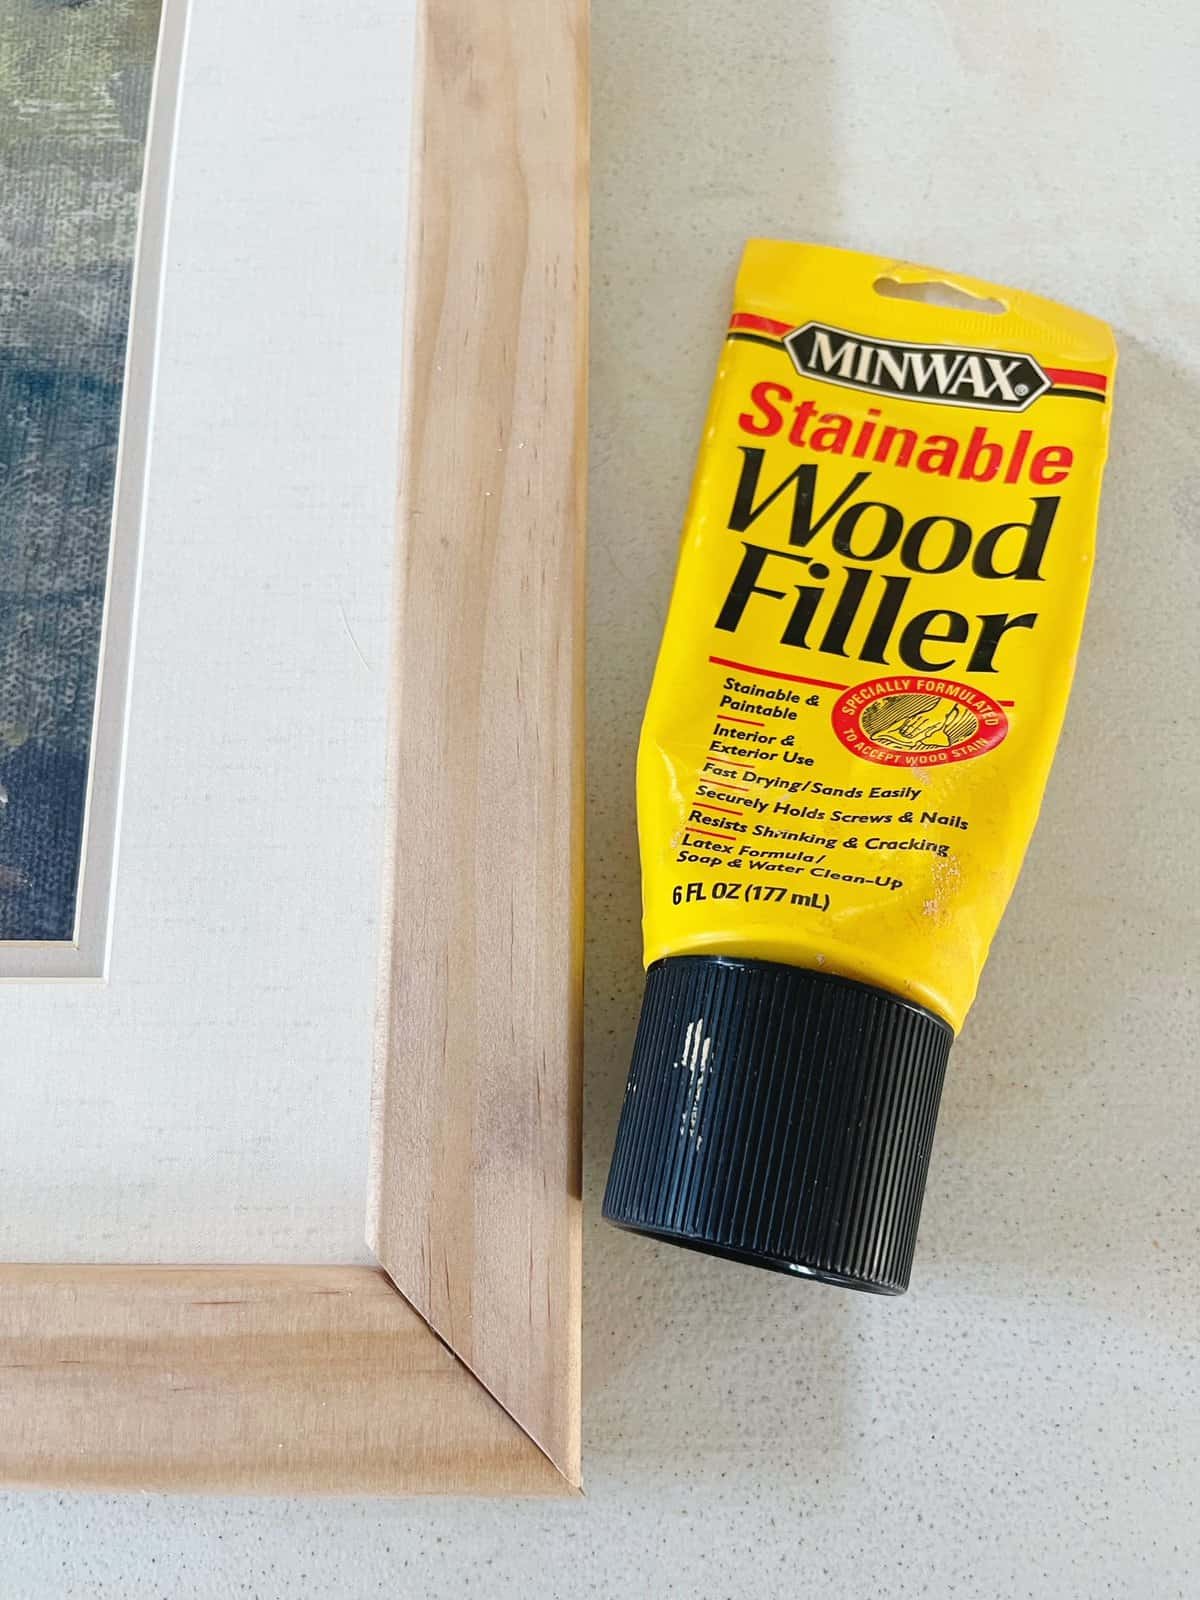
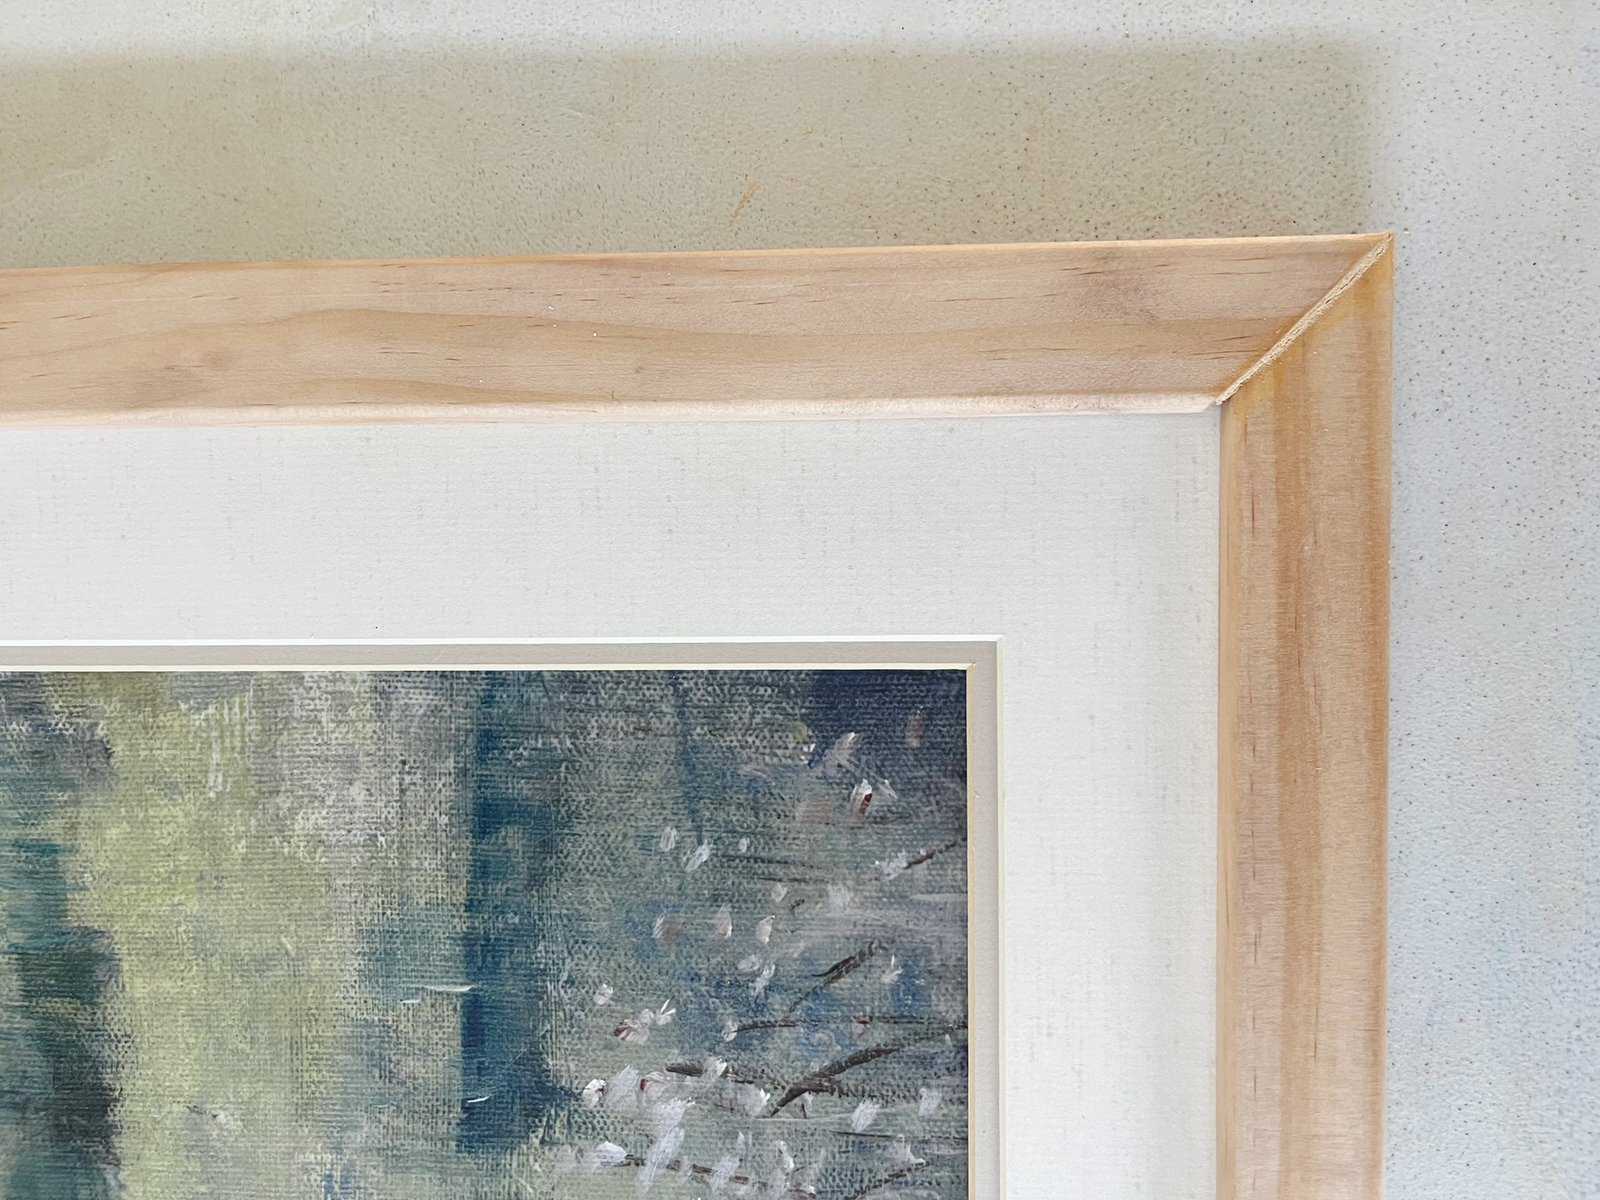
5. Finishing Touches:

Once the glue dried, I filled the mitered corners’ seams with wood filler matching my frame’s color.

You can buy stainable wood filler like I used here in case you the filler color needs a better match to your wood picture frame.

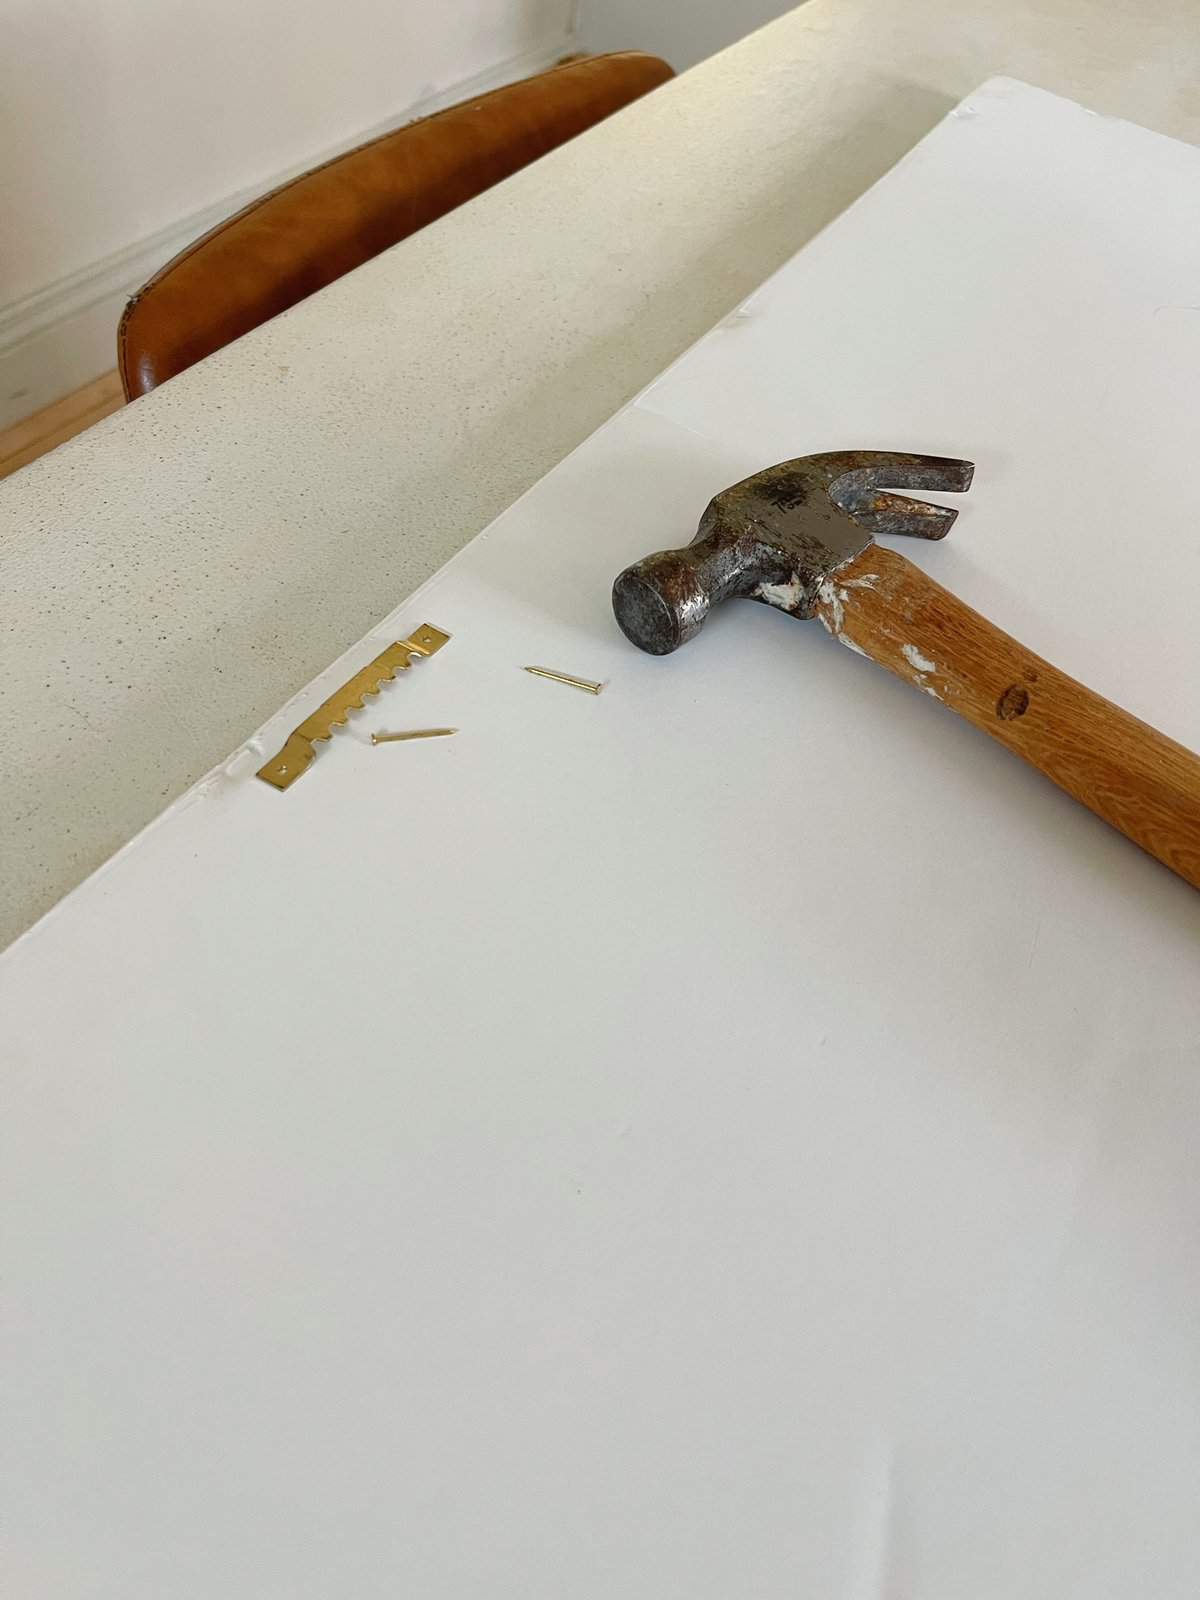
To prepare for hanging, I attached a metal picture hook to the frame’s top back.

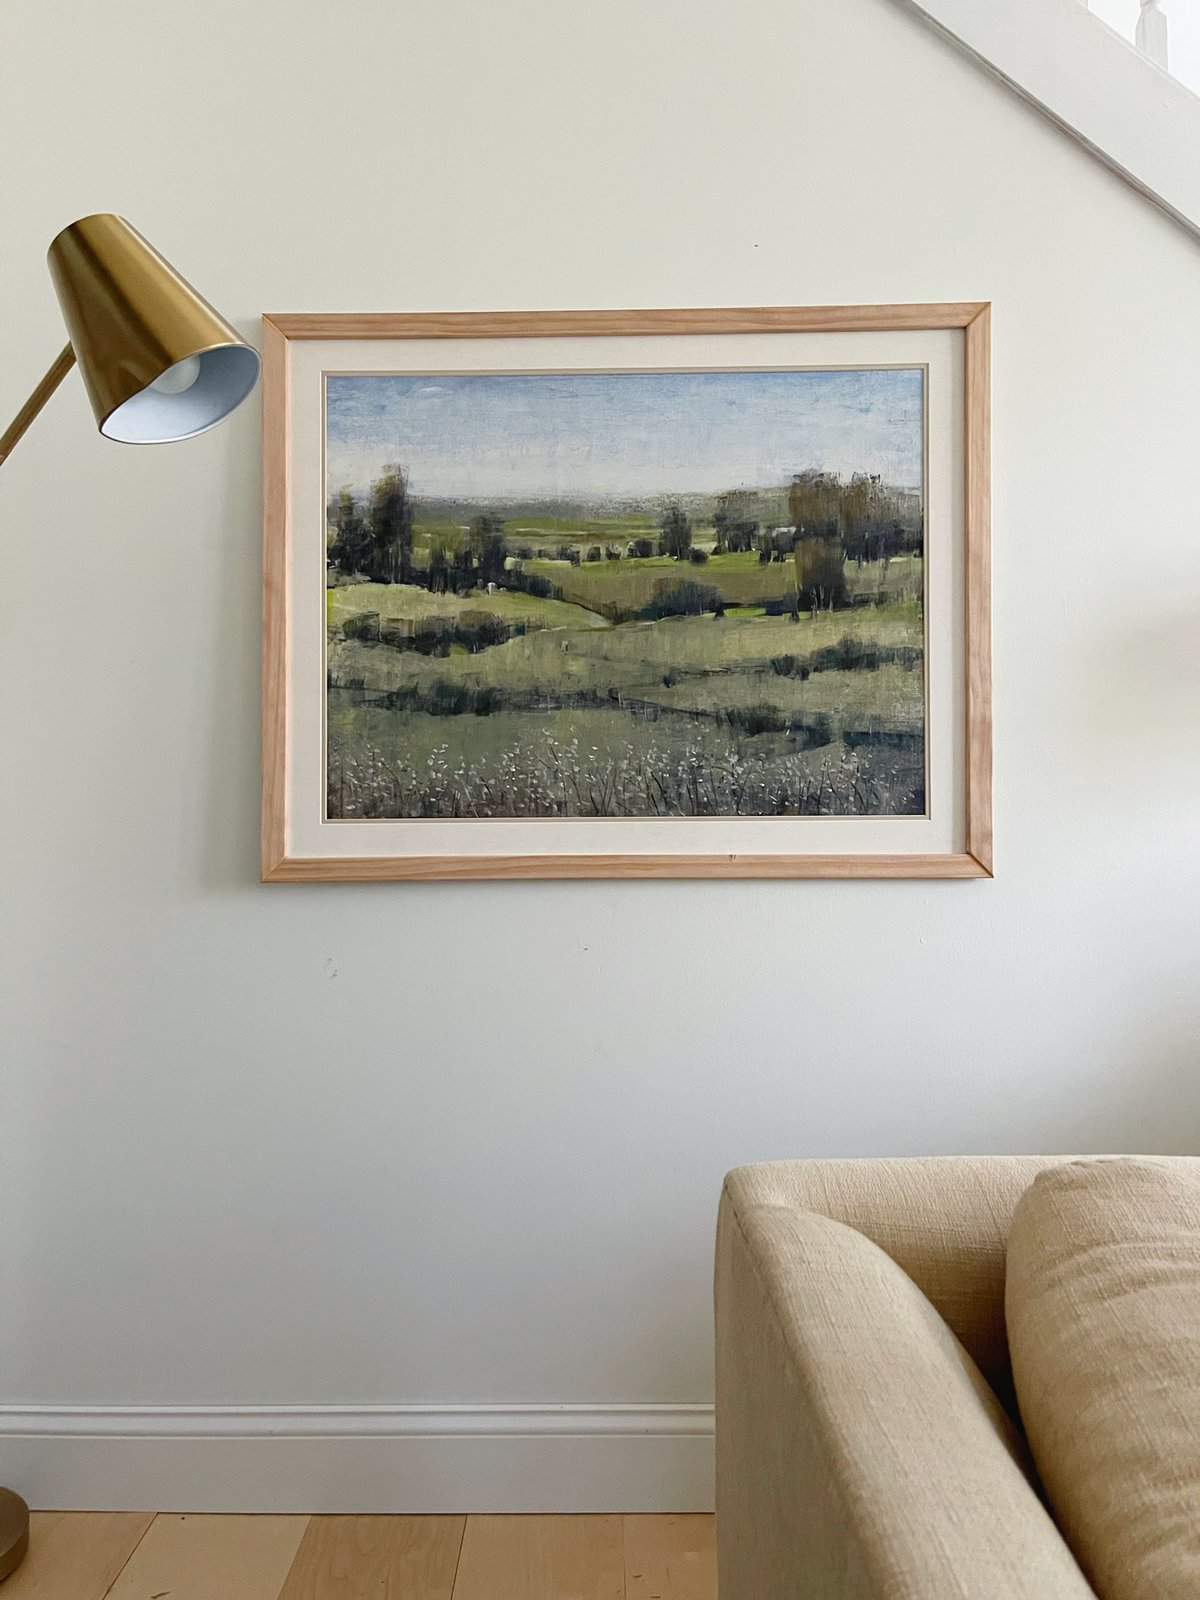
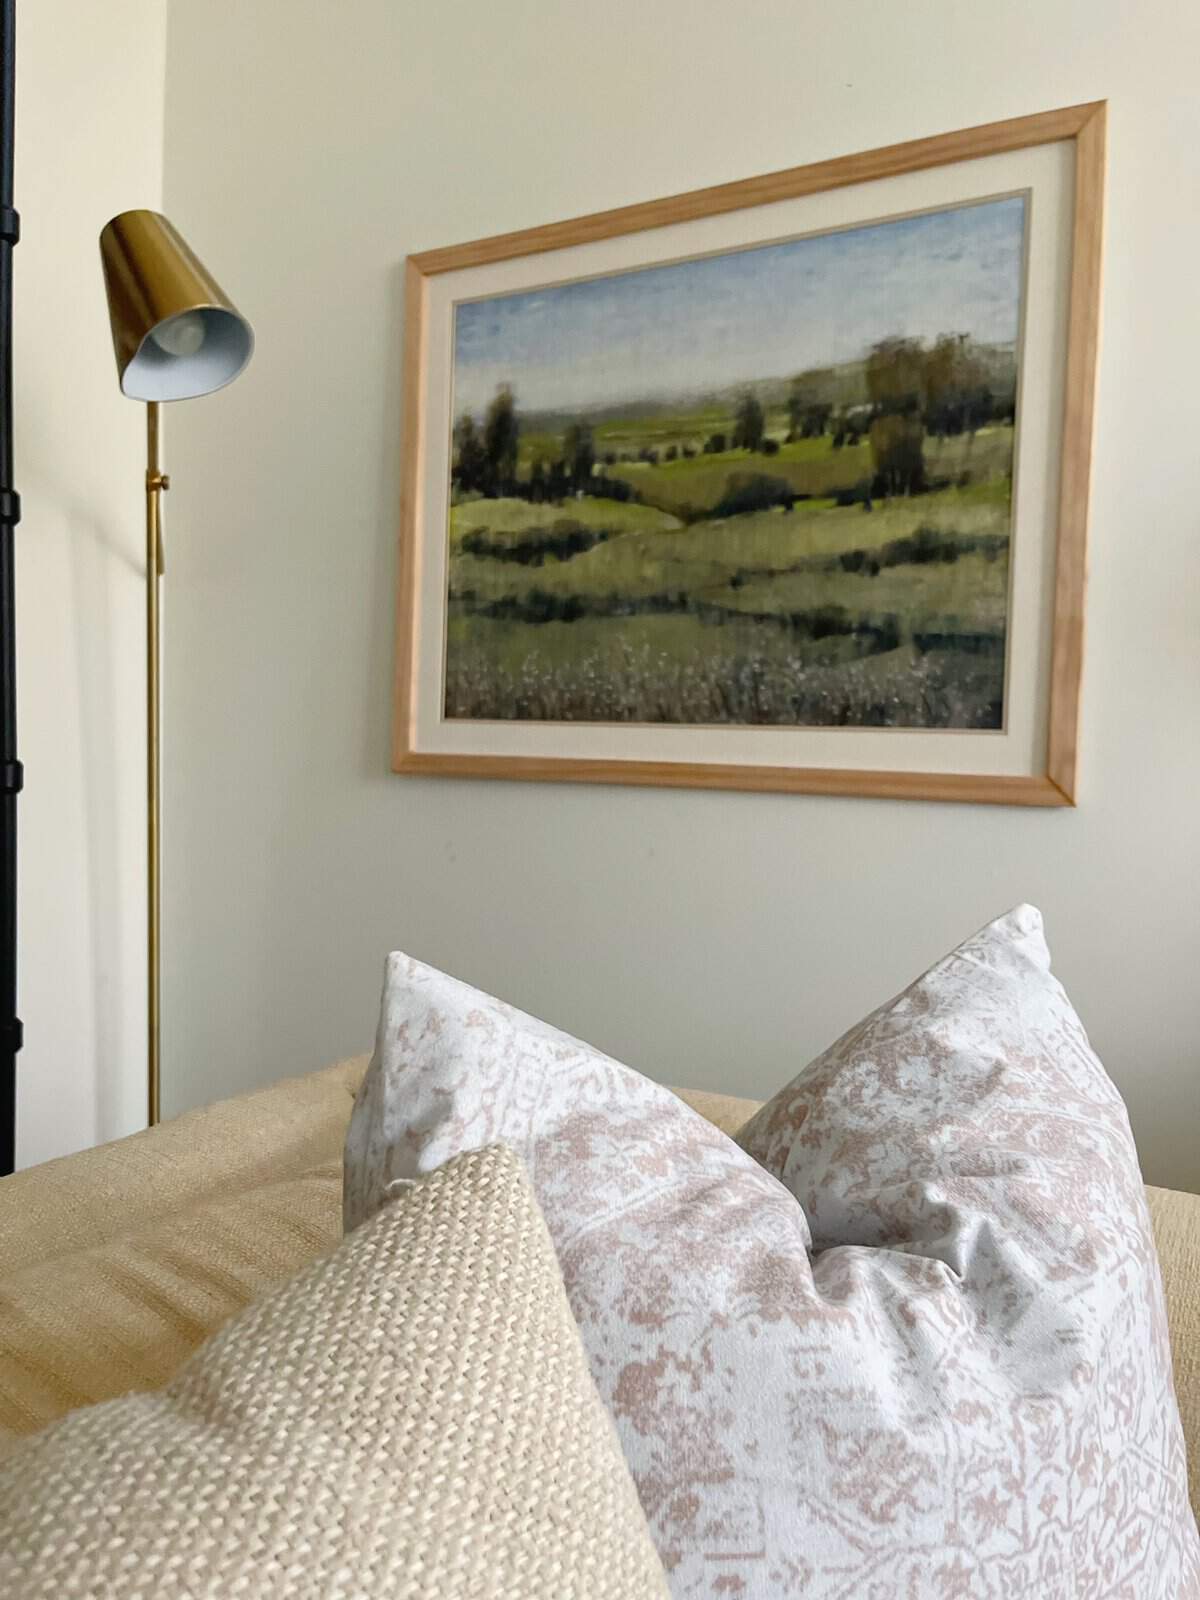
6. The Final Reveal:

Hanging the frame and stepping back to admire my work was the crowning moment of this project. Not only had I created a personalized piece for my home, but I had also done so within a remarkably modest budget.

This DIY wood picture frame project saved me lots of money. I’m shocked at the pricing of some of the low quality frames out there.

This project is not only budget-friendly but also customizable to fit any size print or decor style:

This project came in around $30.

  • $18 wood molding
  • $7 thrifted print and mat
  • Approximately $5 worth of paint, wood filler and metal hook I had on hand

I was able to transform a thrift store print into a piece of art that adds warmth and character to my home.

In case you can’t find a thrifted landscape print, I’ve gathered a few stunning landscape art prints for you to check out below.


This project proves that with a little ingenuity and effort, creating beautiful, budget-friendly home decor is entirely within reach. Whether you’re an experienced diyer or just beginning this wood frame project is a rewarding venture that can be tailored to suit any style or need.

If you don’t want the hassle of a miter saw, the miter cutter is a great cost saving investment.

I hope you give this a try if you need a custom frame a try!

xo maria

MORE CLEVER &  AFFORDABLE DIY PROJECTS

Disclosure: Affiliate links in this post allow me to receive a commission at no extra cost to you.

2 Comments

  1. Cindy

    Hi Maria

    This frame turned out great! I don’t touch power tools either. That’s my husband’s domain

    Reply
    • Maria Kamara

      Thank you Cindy! It was empowering not to use power tools and still get what I wanted. LOL

      Reply

Submit a Comment

Your email address will not be published. Required fields are marked *

Welcome to Pure Happy Home! A home design and DIY blog encouraging and helping you to design spaces you love. Here you’ll find budget makeovers, design tips and creative ideas you can apply to your home. Follow along as our family of 7 works to make our home more beautiful and our relationships closer.

CATEGORIES

TAGS

RECENT POSTS

Legs for Days: 3 Outfits to Flaunt Your Best Assets

Legs for Days: 3 Outfits to Flaunt Your Best Assets

This time of year I like to layer my clothes, but it's still warm out. Keeping that in mind here are 3 outfits to flaunt your best assets. Legs for Days: 3 Outfits to Flaunt Your Best Assets Long, long gone are the days were women had to worry about showing too much...

Easy Homemade Macaroni and Cheese Bar Recipe

Easy Homemade Macaroni and Cheese Bar Recipe

We celebrated last weekend and worked up an easy homemade macaroni and cheese bar recipe. It was so fun you guys! Don't that good ole mac and cheese ever gets boring to kids, but spicing it up was even better. Easy Homemade Macaroni and Cheese Bar Recipe Macaroni and...

How To Restore Outdoor Wood Furniture Fast

How To Restore Outdoor Wood Furniture Fast

Want a quick DIY project? I gave myself a few hours to figure out how to restore outdoor wood furniture fast. The challenge was the mismatched outdoor pieces we have. We have a collection of two different styles of wood furniture at out house. There are two wood...

GET YOUR FREE GUIDE

5 Easy Home Tips for Hosting Guests

Recent Posts

DIY Garden Arch with Cattle Panel Trellis

DIY Garden Arch with Cattle Panel Trellis

Never did I ever think it could be so easy to install a DIY garden arch with cattle panel trellis. I mean, I didn't even know what a cattle panel was until a little while ago. Now that I do I want to install another one of these cool garden fixture asap! DIY Garden...

Legs for Days: 3 Outfits to Flaunt Your Best Assets

Legs for Days: 3 Outfits to Flaunt Your Best Assets

This time of year I like to layer my clothes, but it's still warm out. Keeping that in mind here are 3 outfits to flaunt your best assets. Legs for Days: 3 Outfits to Flaunt Your Best Assets Long, long gone are the days were women had to worry about showing too much...

Easy Homemade Macaroni and Cheese Bar Recipe

Easy Homemade Macaroni and Cheese Bar Recipe

We celebrated last weekend and worked up an easy homemade macaroni and cheese bar recipe. It was so fun you guys! Don't that good ole mac and cheese ever gets boring to kids, but spicing it up was even better. Easy Homemade Macaroni and Cheese Bar Recipe Macaroni and...