Have you ever fallen in love with a color, but been too afraid to paint a whole room with it? I have!
This week that all changed, thanks to my daughter.
I’ve learned yet again that your kids help you grow in so many ways.
Here’s a little story.
My Mary has always loved strong colors. I remember she wanted to paint her first big girl bedroom a bright purple.
I said, no.
We went with a lovely, very pale lilac and she was not happy.
A few years later I decided she should be able to have her room any color her heart desired (see I was learning as a parent) and so we painted it a VERY “oh my eyes” bright, what some would call happy, yellow.
She indeed was happy.
When we moved to this house ten years ago she wanted a a coral color that I could not abide by so she painted her closet with this coral and it’s still in there today. We compromised on a pretty turquoise for her bedroom walls.

It was nice. You probably remember this color because it was every where. I think most Gen Z girl’s either wore it, painted their room with it or wished they could have.
Here we are all these years later and Mary is about to move out for good, (she graduated from college this past Spring) but before she does I wanted to do one last bedroom makeover with her.
Yes, I get emotional just thinking about it, but back to design!
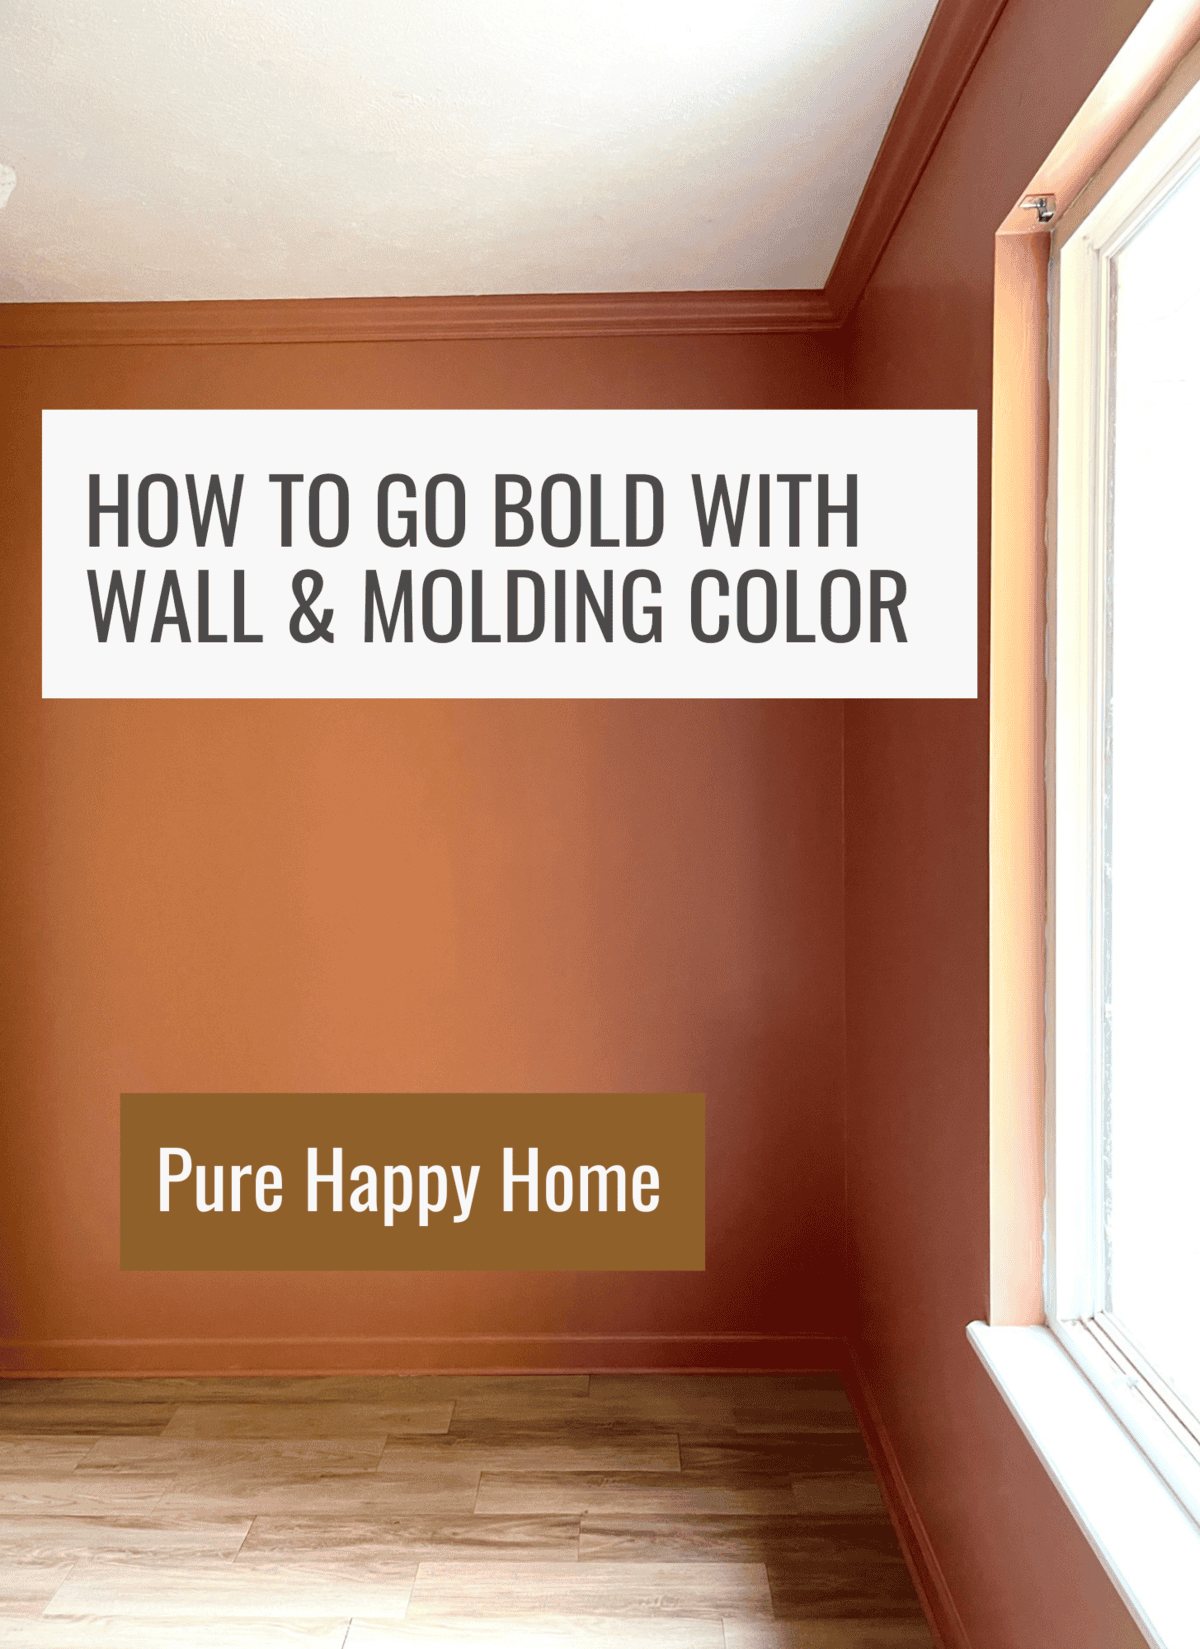
Guess what color she went with? A bold and beautiful color that I took a deep breath and said heck yes to.
Terra Cotta!
How to Paint Your Bedroom Walls and Molding a Bold Color
1. Go with what you love.
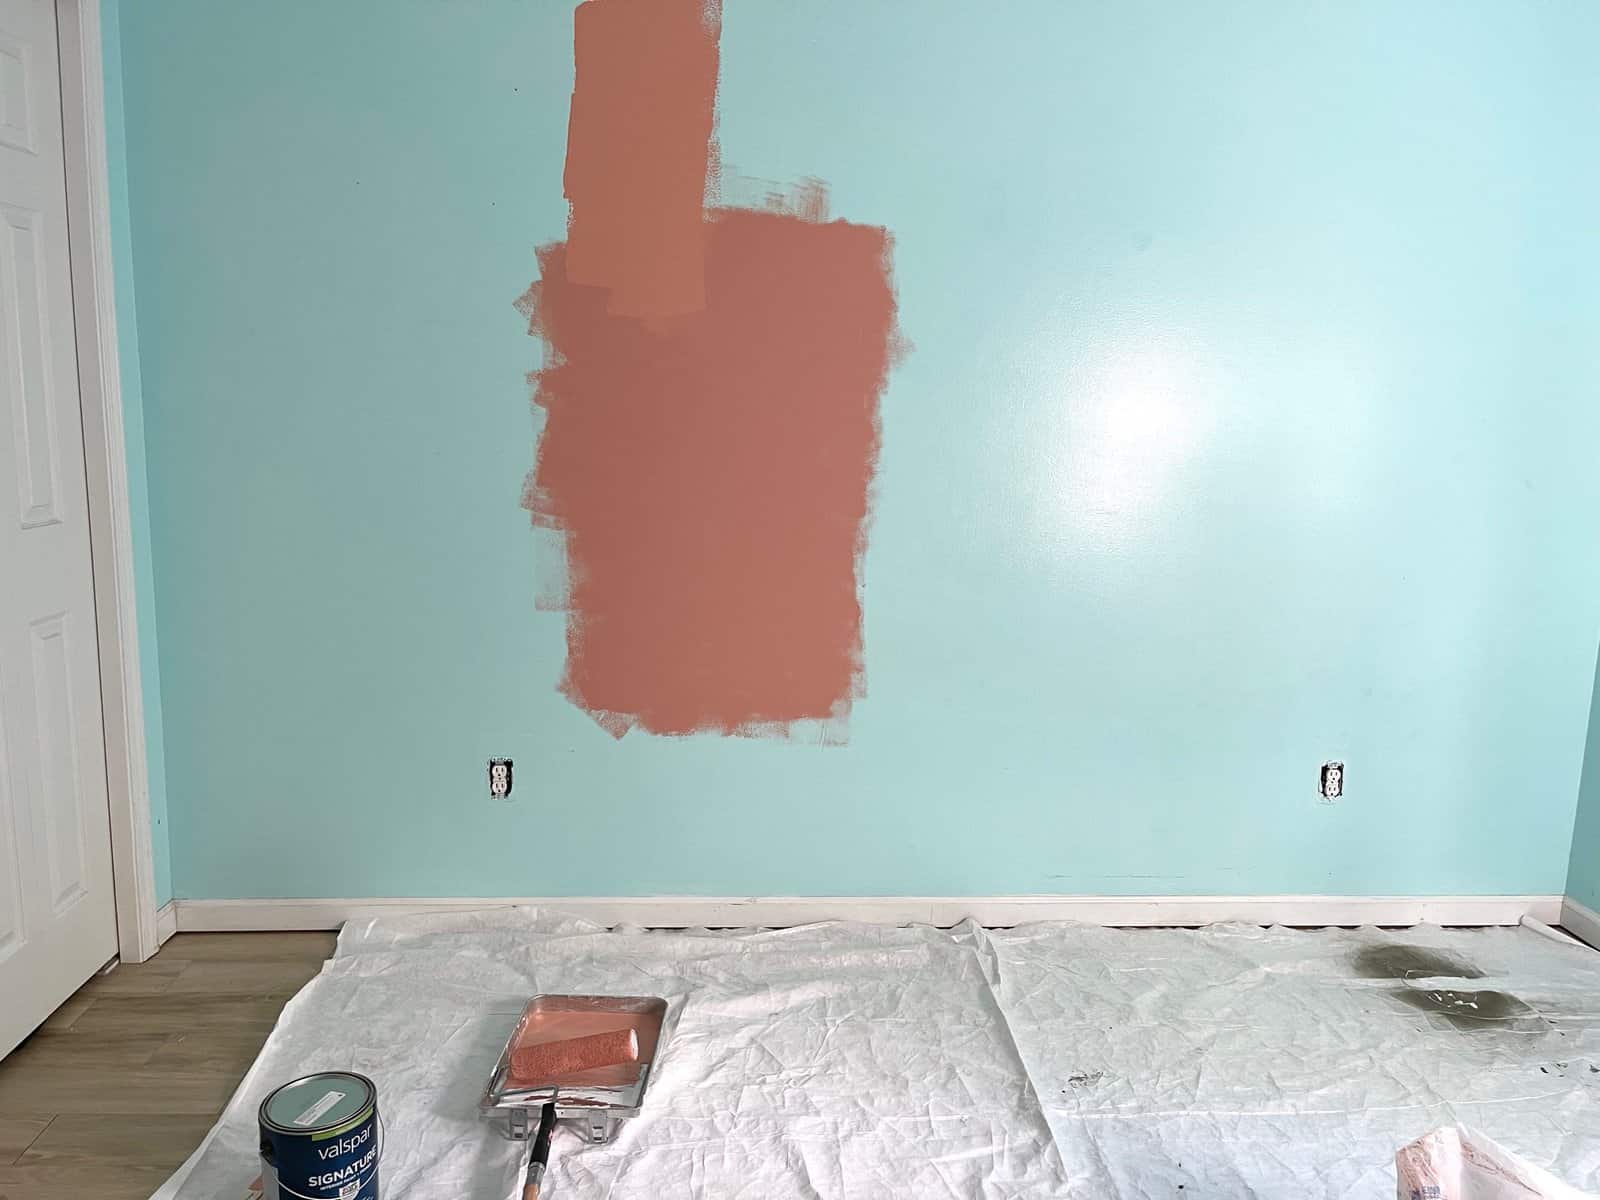
Mary got on Pinterest and saved many, many beautiful photos of interiors. In doing so she discovered what really spoke to her. Warm, earthy tones kept coming up again and again. She simply loves this color.
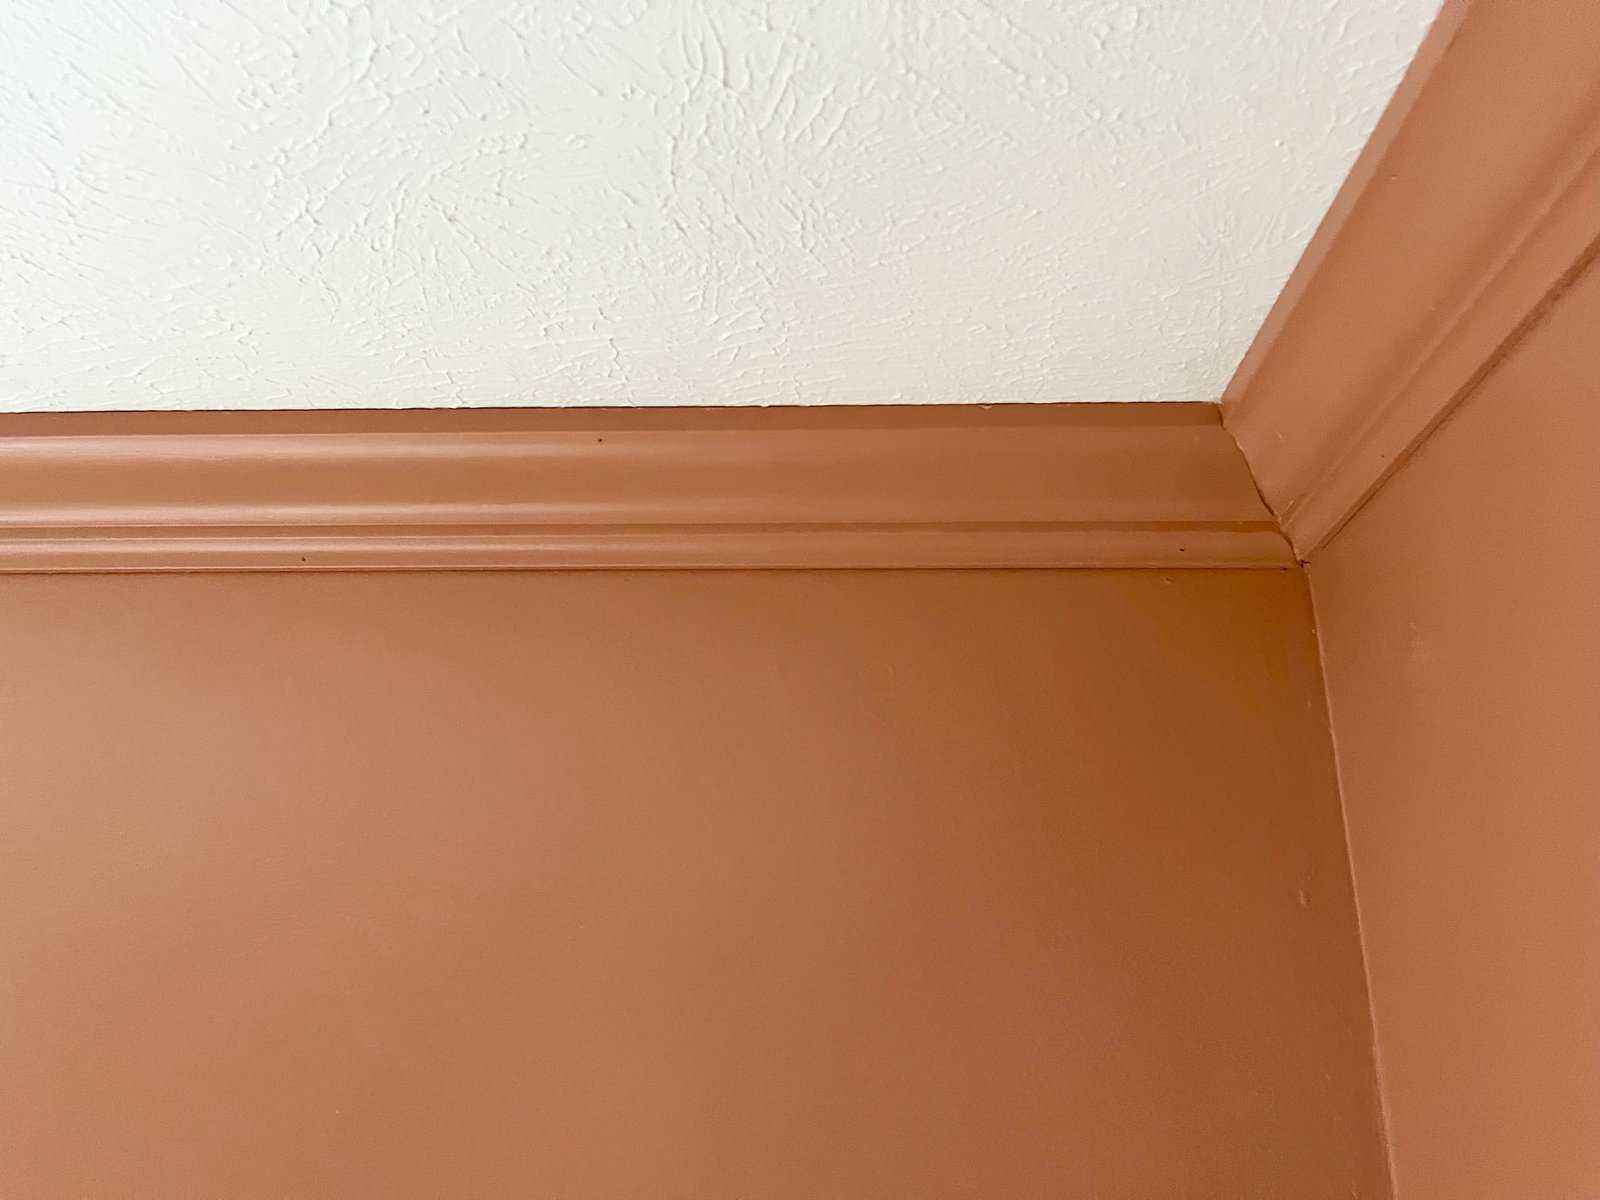
Not only did we paint it this deep, saturated warm color we painted the molding the same!
Go bold, or go home!
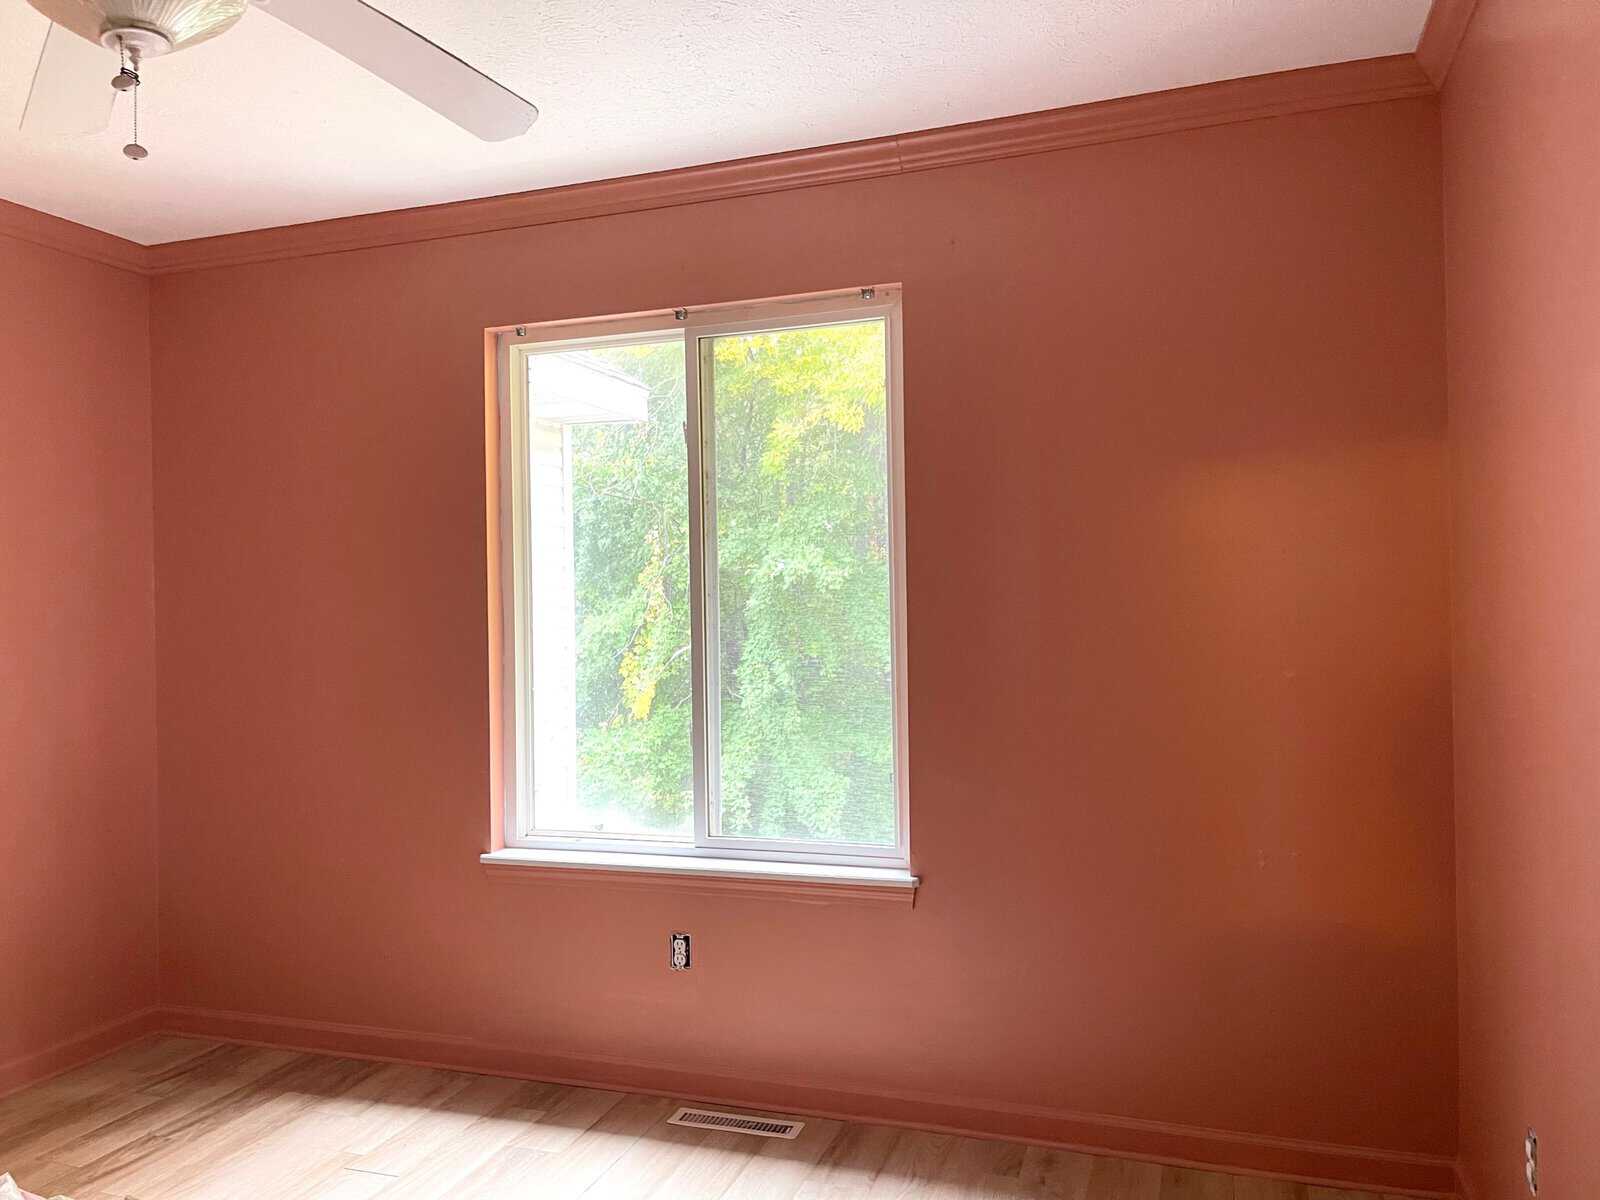
2. Paint Your Molding the Same Color for a Uniform Look
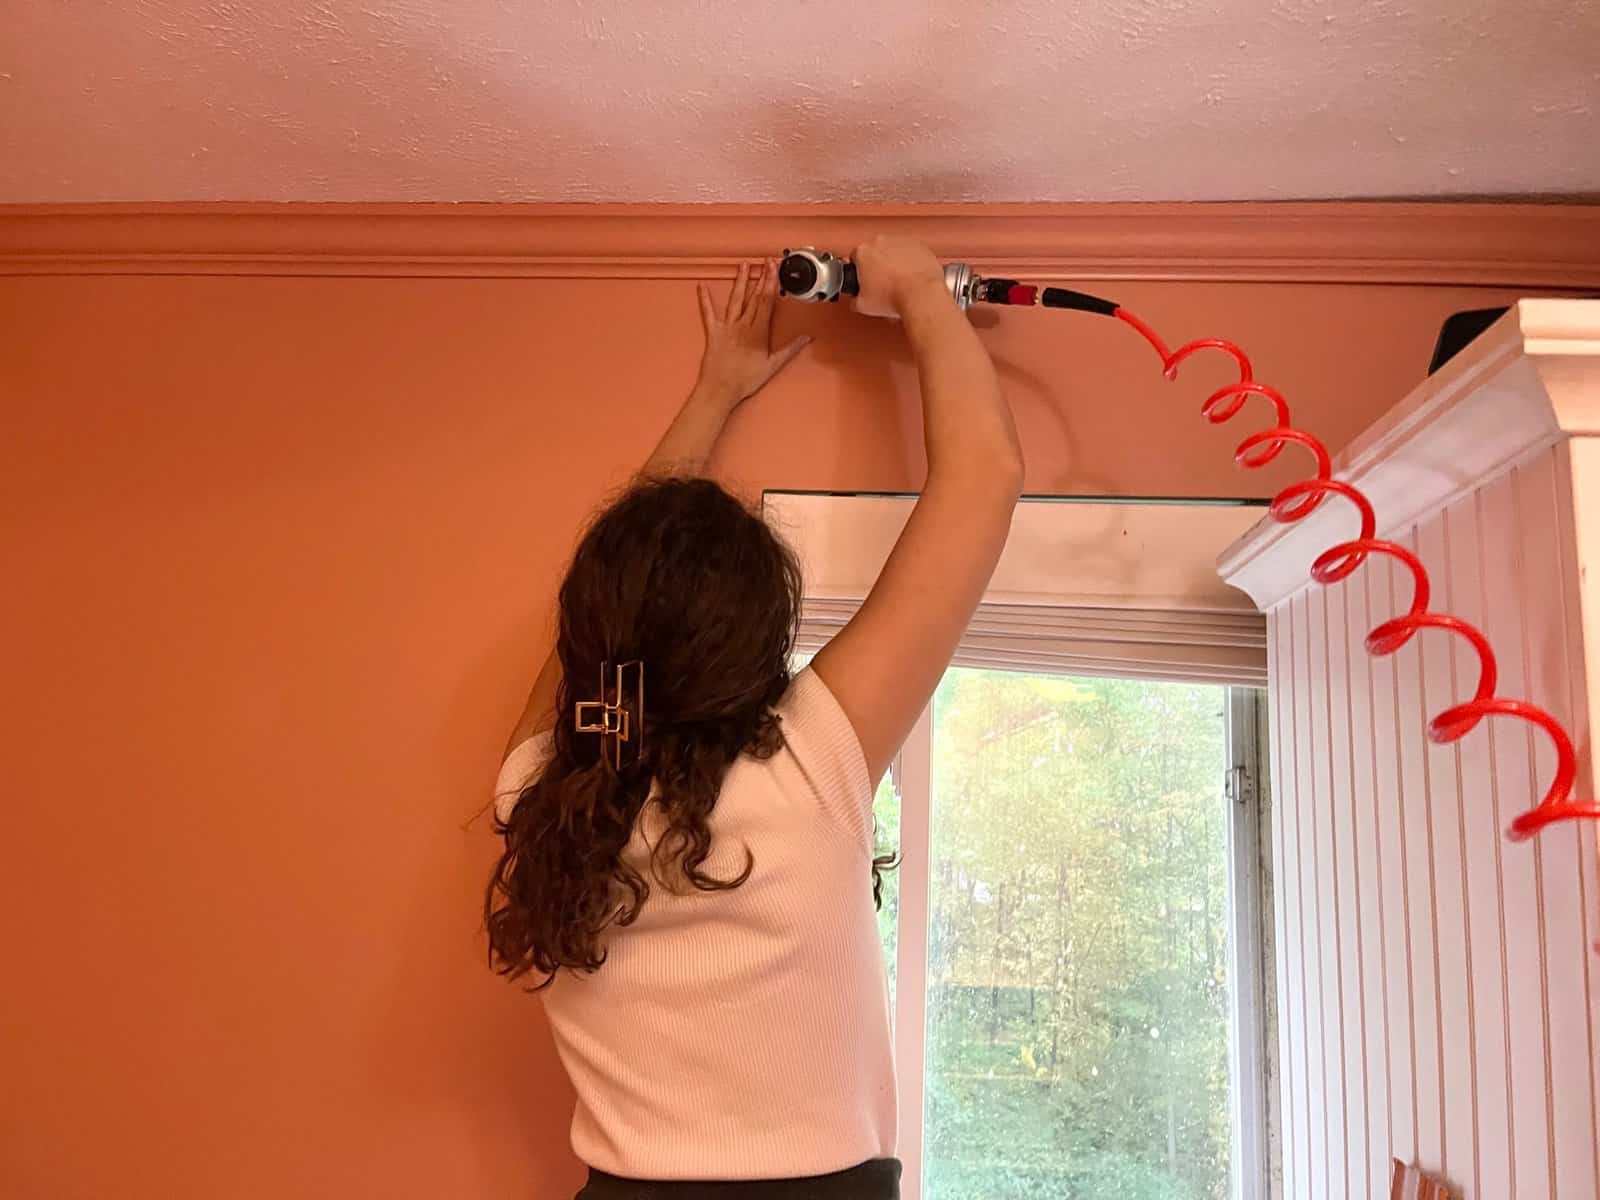
Parisian Boho retreat is our inspiration so we added crown molding to give the room the feeling of age and a Parisian apartment. Quarter round went on the existing floor molding as a cost conscious alternative to new floor molding. It gives weight to the standard builder grade floor molding, and saved us at least a hundred dollars.
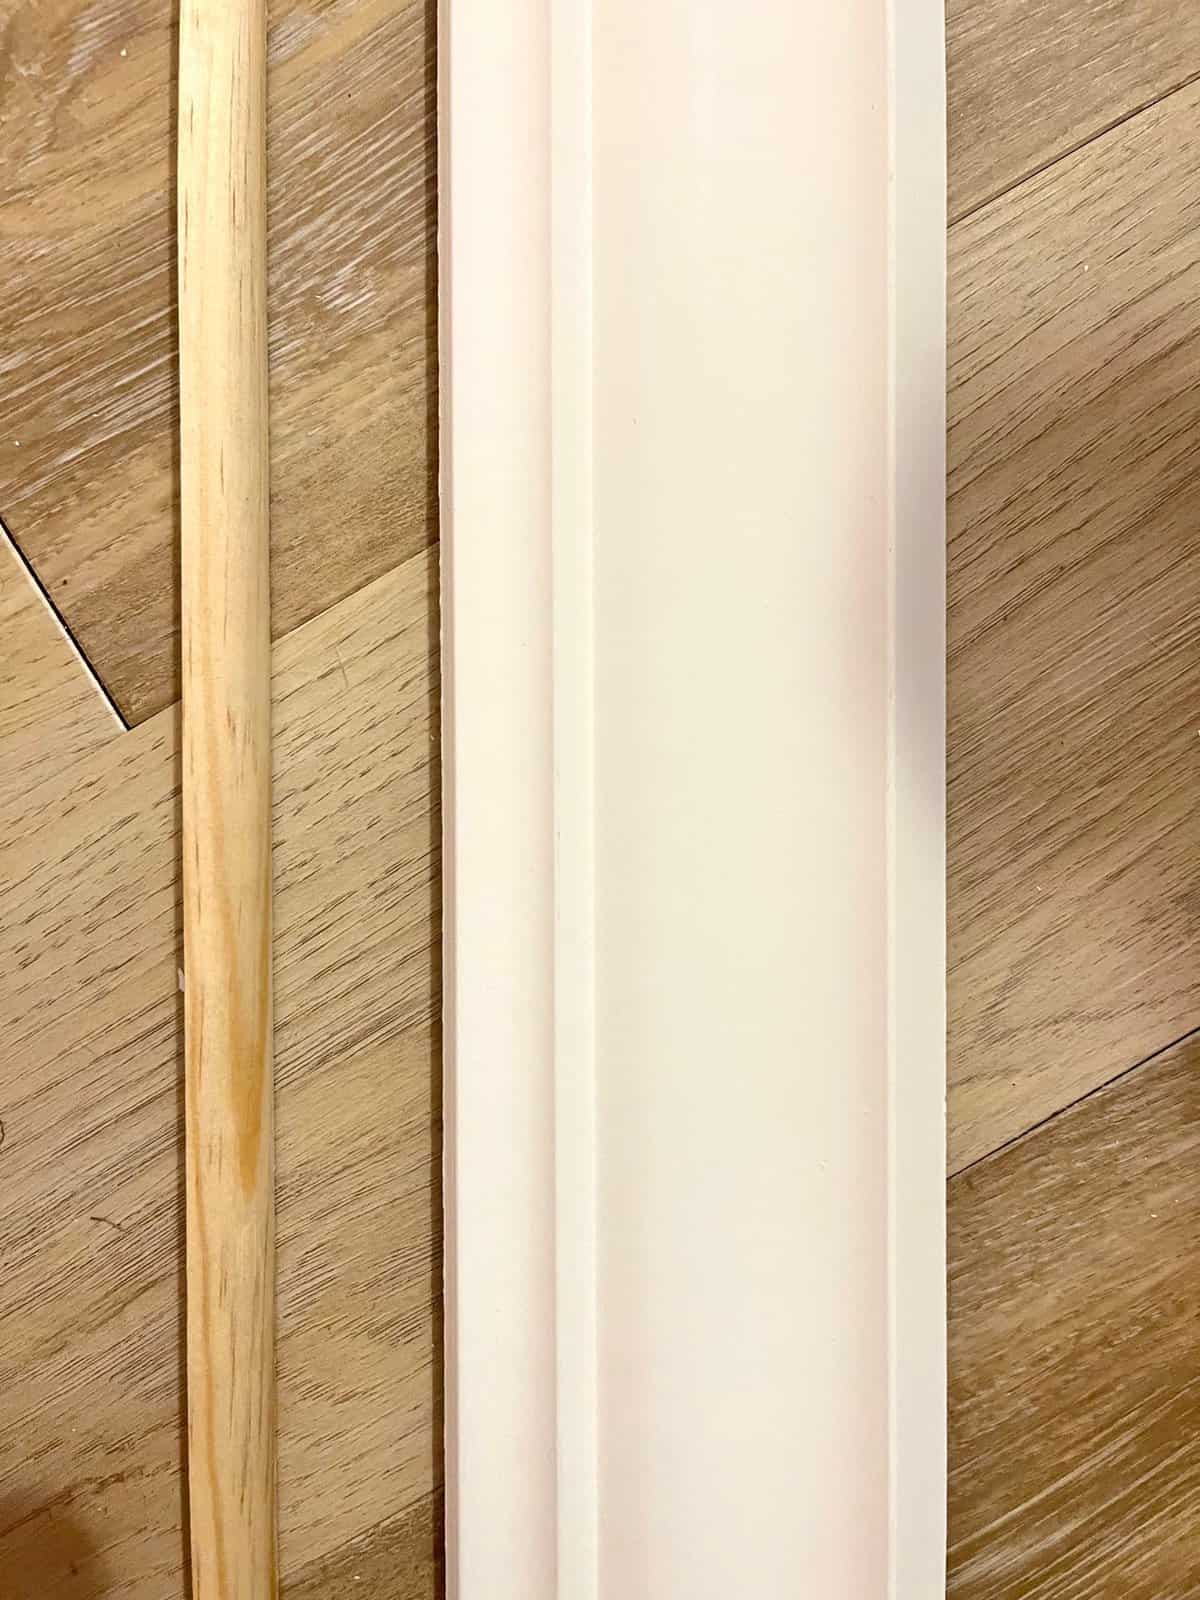
I painted the molding before installing. Everyone does it differently but in this case it worked best for us and saved time.
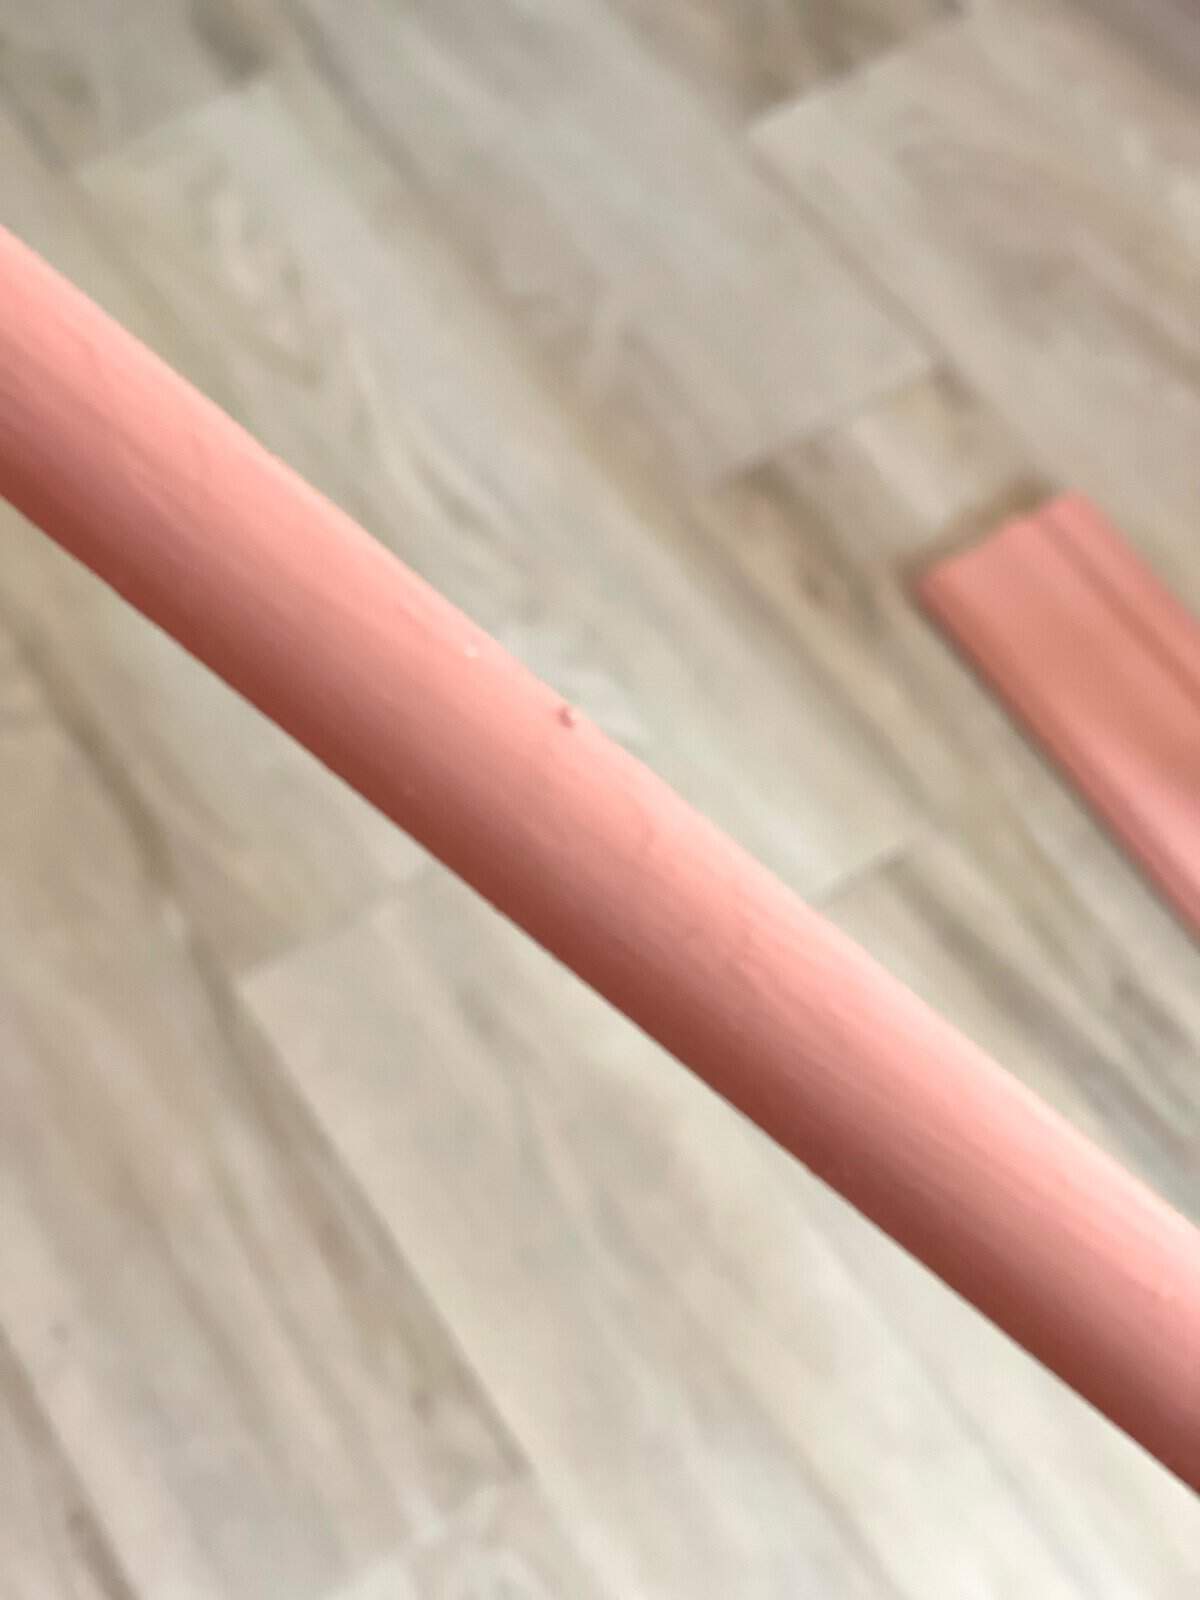
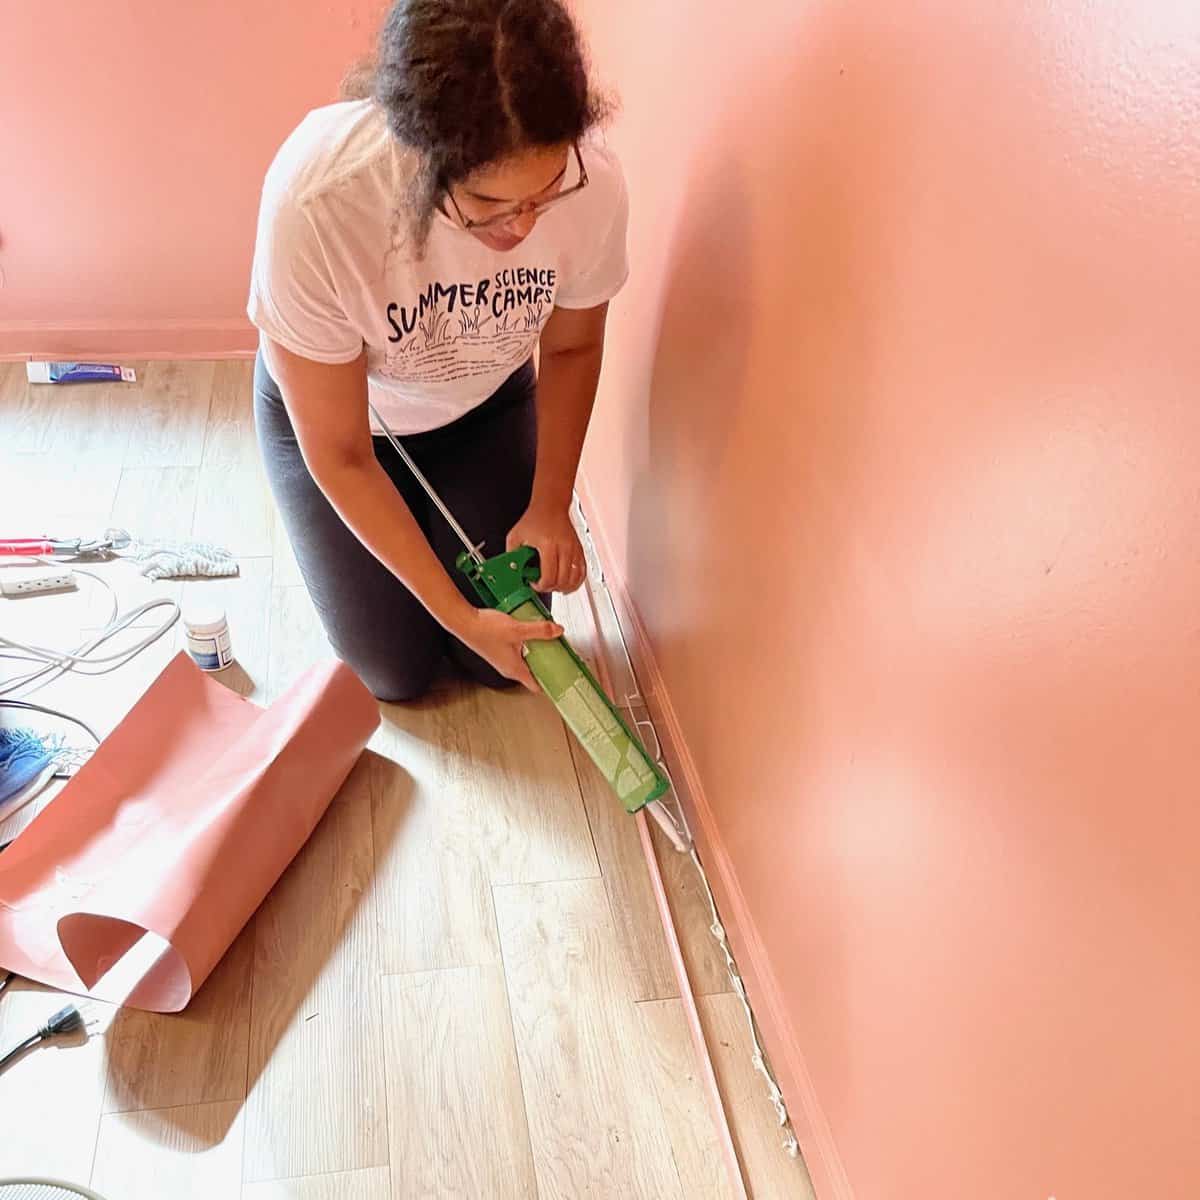
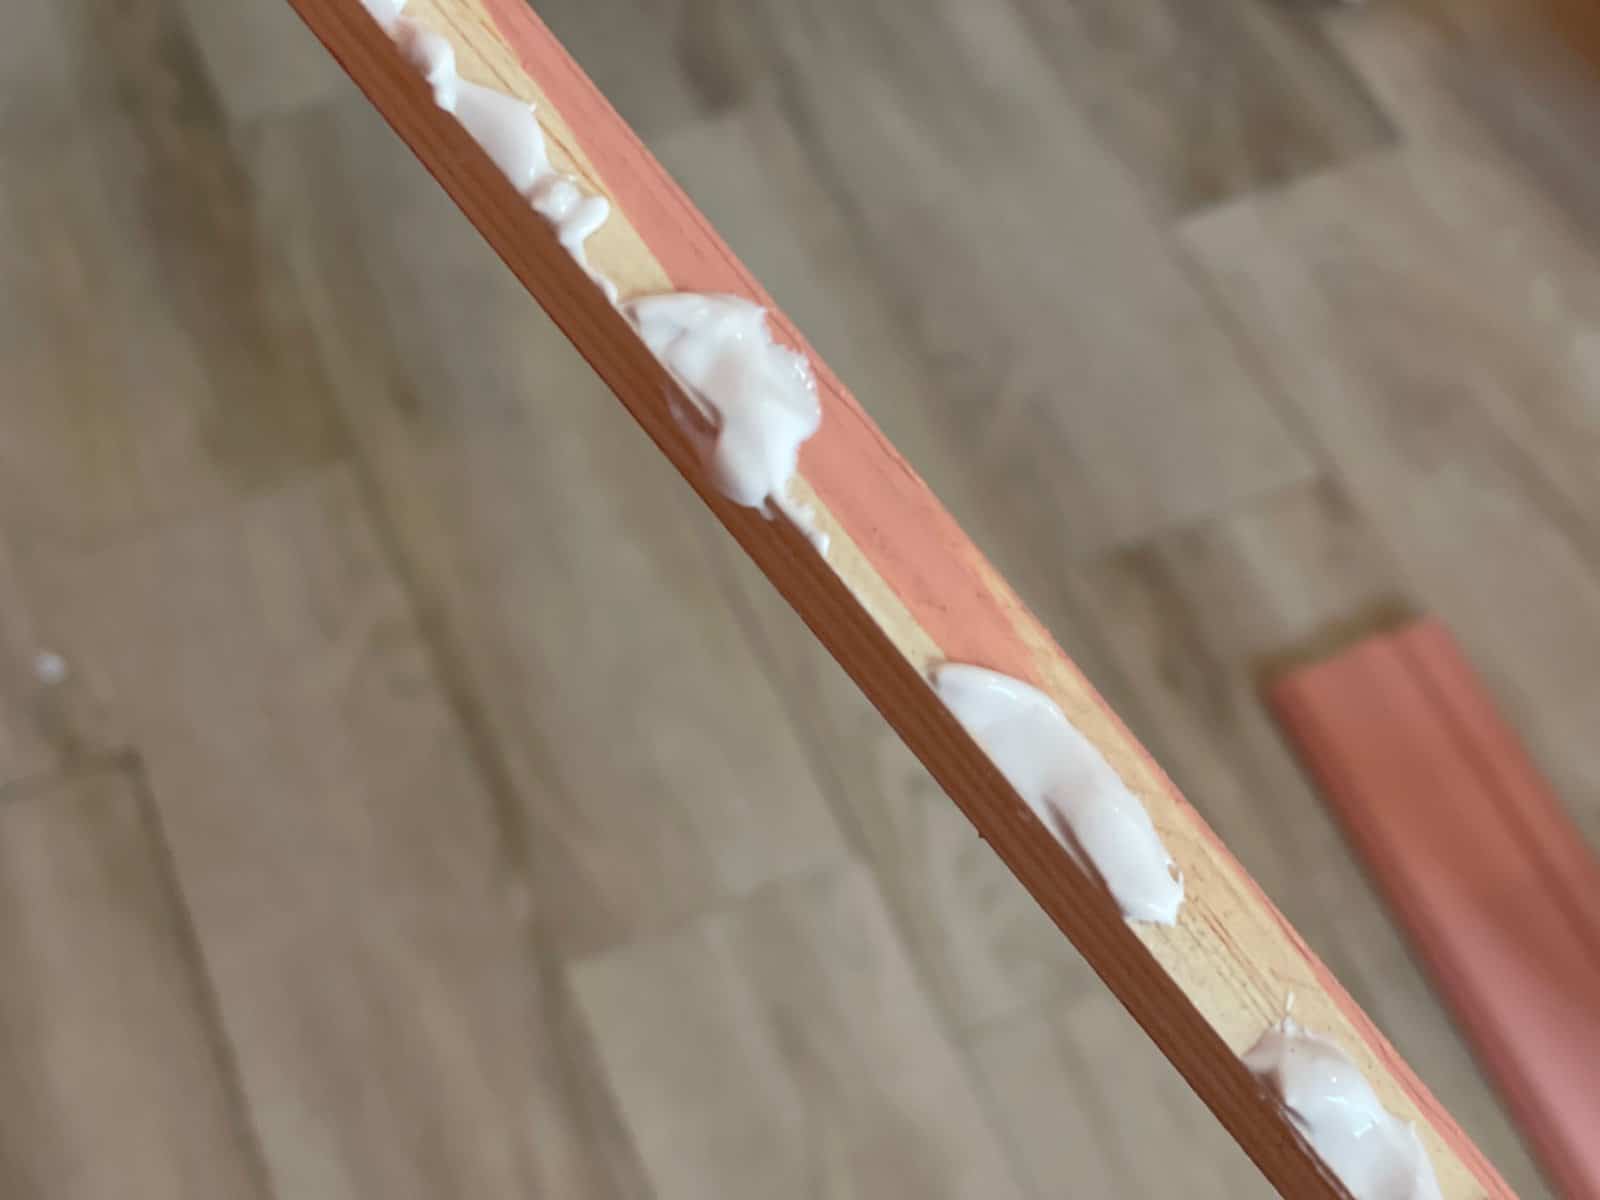
Usually I take the nail gun to any floor molding, but this molding was so thin I thought I’d experiment with gluing it into place.
Less nail holes to fill.
Get Several Paint Samples
You have to invest in paint samples. You can see the one Mary went with making a cameo appearance in the above photo. Also, do you see the large piece of paper rolled up next to me in the photo?
Well, this was so helpful in deciding what color to go with on the walls. We picked up about four of these from the Dollar Store and painted each one a different shade of terra cotta. Then we taped them to the wall and could observe each color during different times of the day.
It made such an impact on the decision and…
It gave us the courage to go bold!
We ended up applying the glue directly to the molding, it just went smoother. Do whatever works for you is my motto when it comes to DIY.


Dare to Fail
My last bit of advise on how to go bold on your walls is this, dare to fail. Just be ok with the chance of failure.
We learn so much more from our failures than our successes.
But I think these walls and molding were a great success.

So what do you think? Are we crazy?
Tell me what you really think in the comment, and be honest! lol

MORE PAINT PROJECTS

SAVE & PIN IT!







Maria!!!
I LOVE IT!!! All my rooms are painted with deep rick colors!! Everything you put against it just seems to pop!! This is a fantastic shade!! LOVE it!!
Hugs,
Deb
Thank you Deb! I’m so glad I trusted my daughter’s vision. She was right and design is all about making people happy, which this color does. Have a wonderful weekend!