Look out the window here at our house and you’ll see the most beautiful colors of leaves.
Are your Fall leaves still hanging in there or are they already gone?
Soon all the leaves here in Michigan will have fallen. In preparation for that we need to get a window treatment up in Mary’s room.
Fast!
Although her bedroom faces the woods it’s still nice to have curtains in a bedroom added privacy, and as insulation for the glass at night.
As I’ve said before, and you probably know, window treatments can be incredibly expensive. While making over Mary‘s room we dragged our feet a little too long over just what to do with her window. In waiting we limited our choices because the wait on some of the curtains we looked at was more than a week, and wanted to get it finished sooner rather than later.
Mary knew what she wanted but we were having a hard time finding it. As I was searching for curtain rods I realized we just had to make a curtain rod to get the look we wanted. In the end it was a good choice because we were able to do it with very little financial investment. What can I say we like a challenge!
You can go here to see a similar DIY curtain rod I made for Elsa‘s bedroom makeover.
How to Make Custom Looking DIY Window Treatments
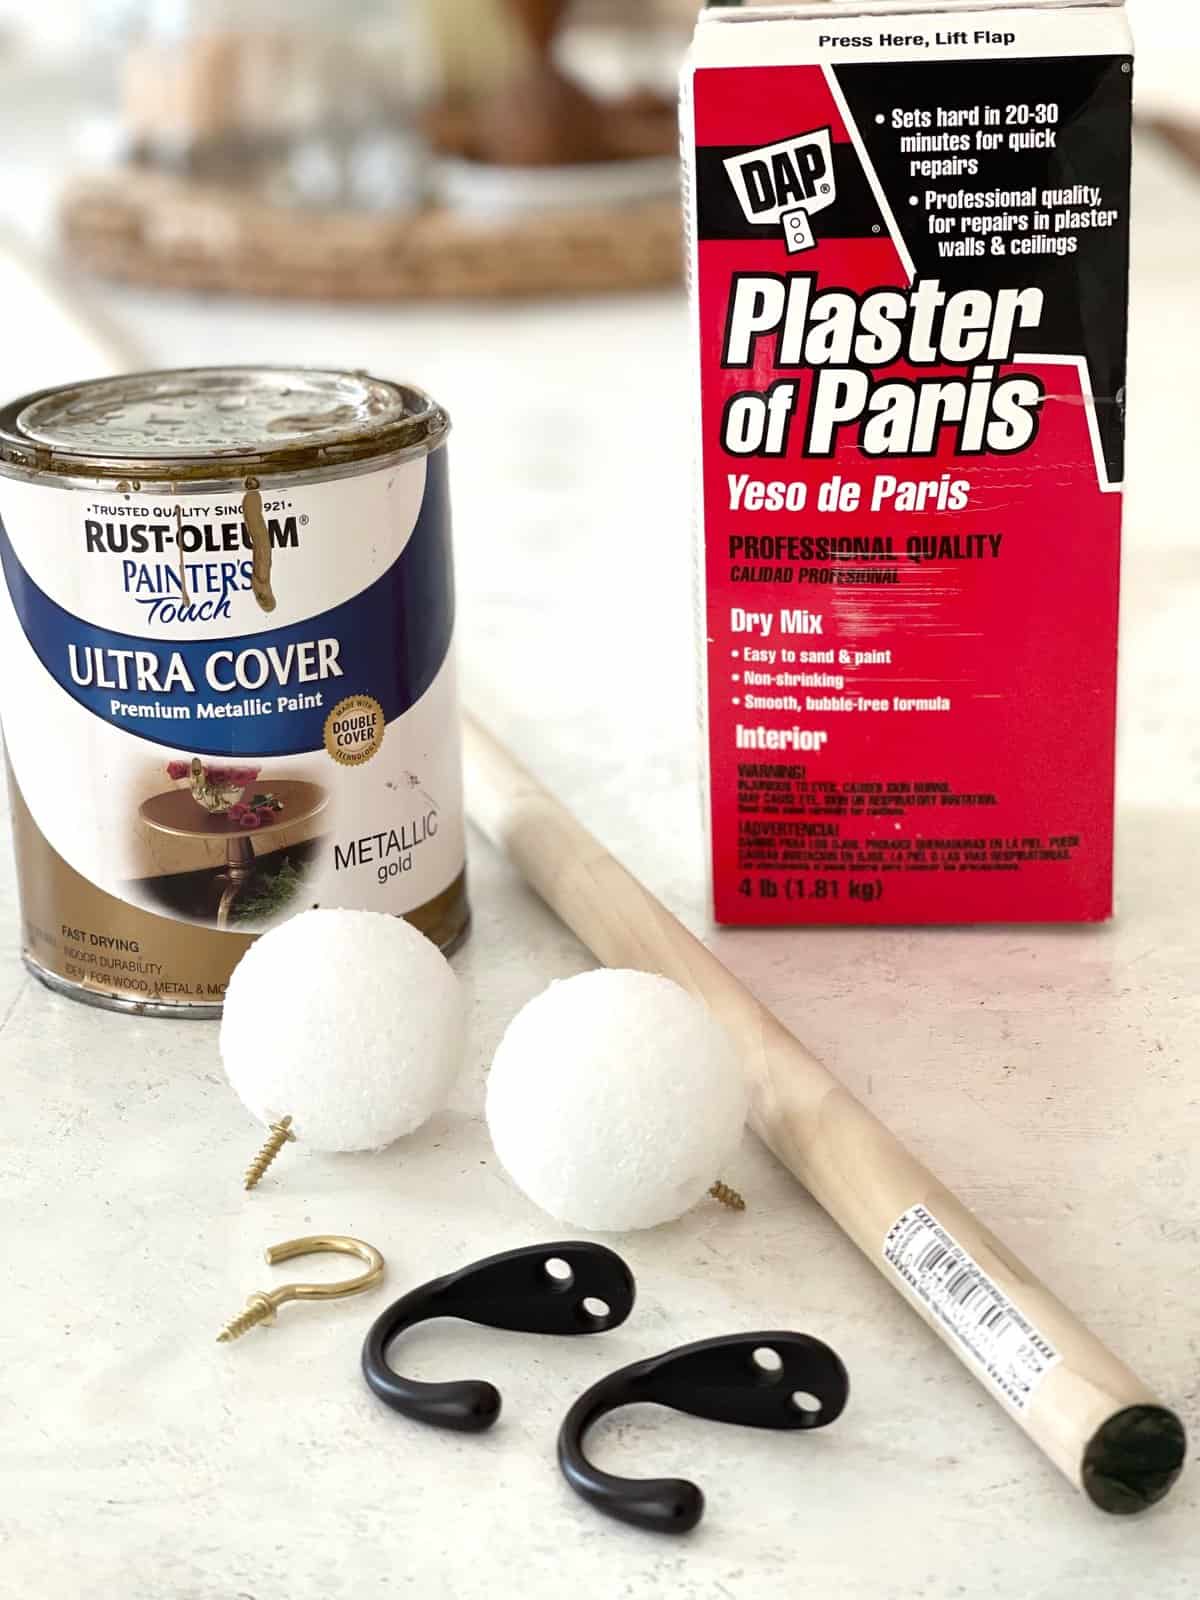
Here’s what are used to make this DIY curtain rod
SUPPLIES
- Long wood dowel
- Hook Screw
- Styrofoam balls
- Gold oil based paint
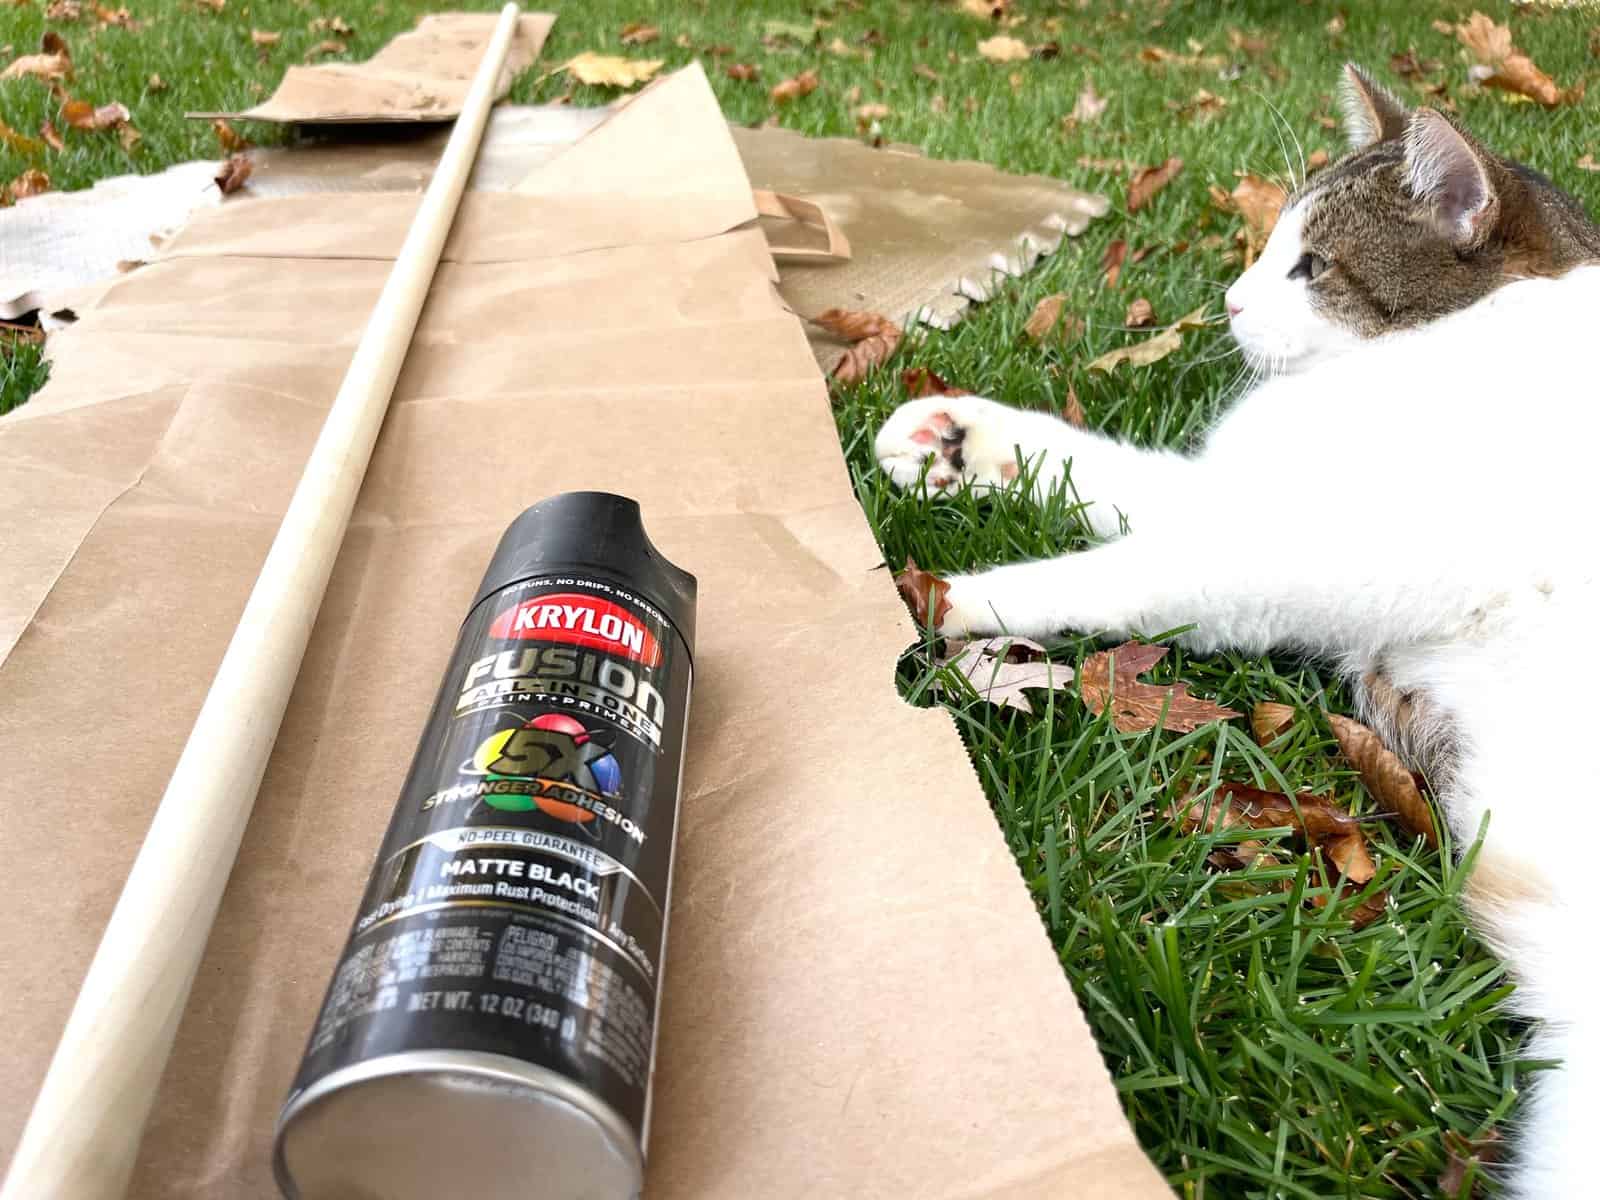
- Black Spray Paint
- J Support hooks
- Plaster of Paris

Here’s a quick overview of the steps we took:
Drill hole in both ends of the dowel
Paint Dowel
Insert hooks into Styrofoam
Cover ball with plaster
Paint ball
Attach J hooks to wall
Attach curtain to rod
Screw hook and ball into dowel
Hang from hooks in wall
The Details:
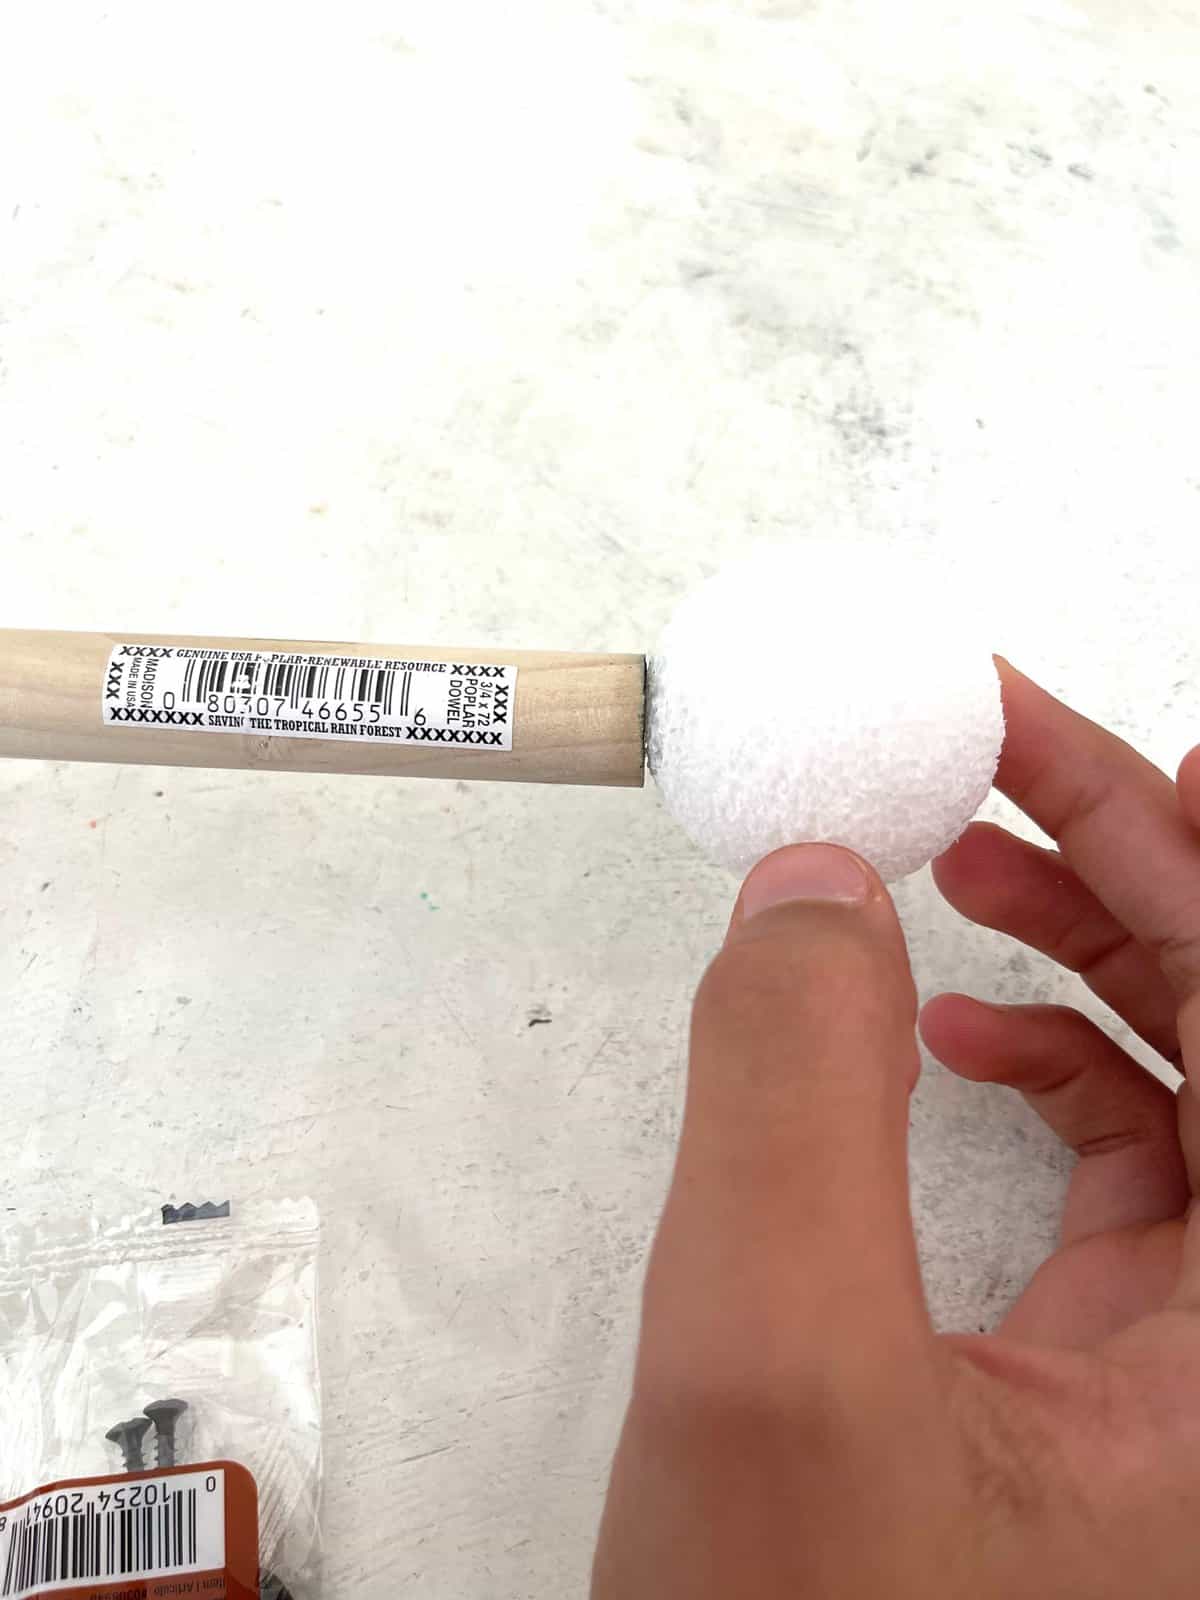
The wood dowel will eventually become the curtain rod and the Styrofoam balls the finial on each end.
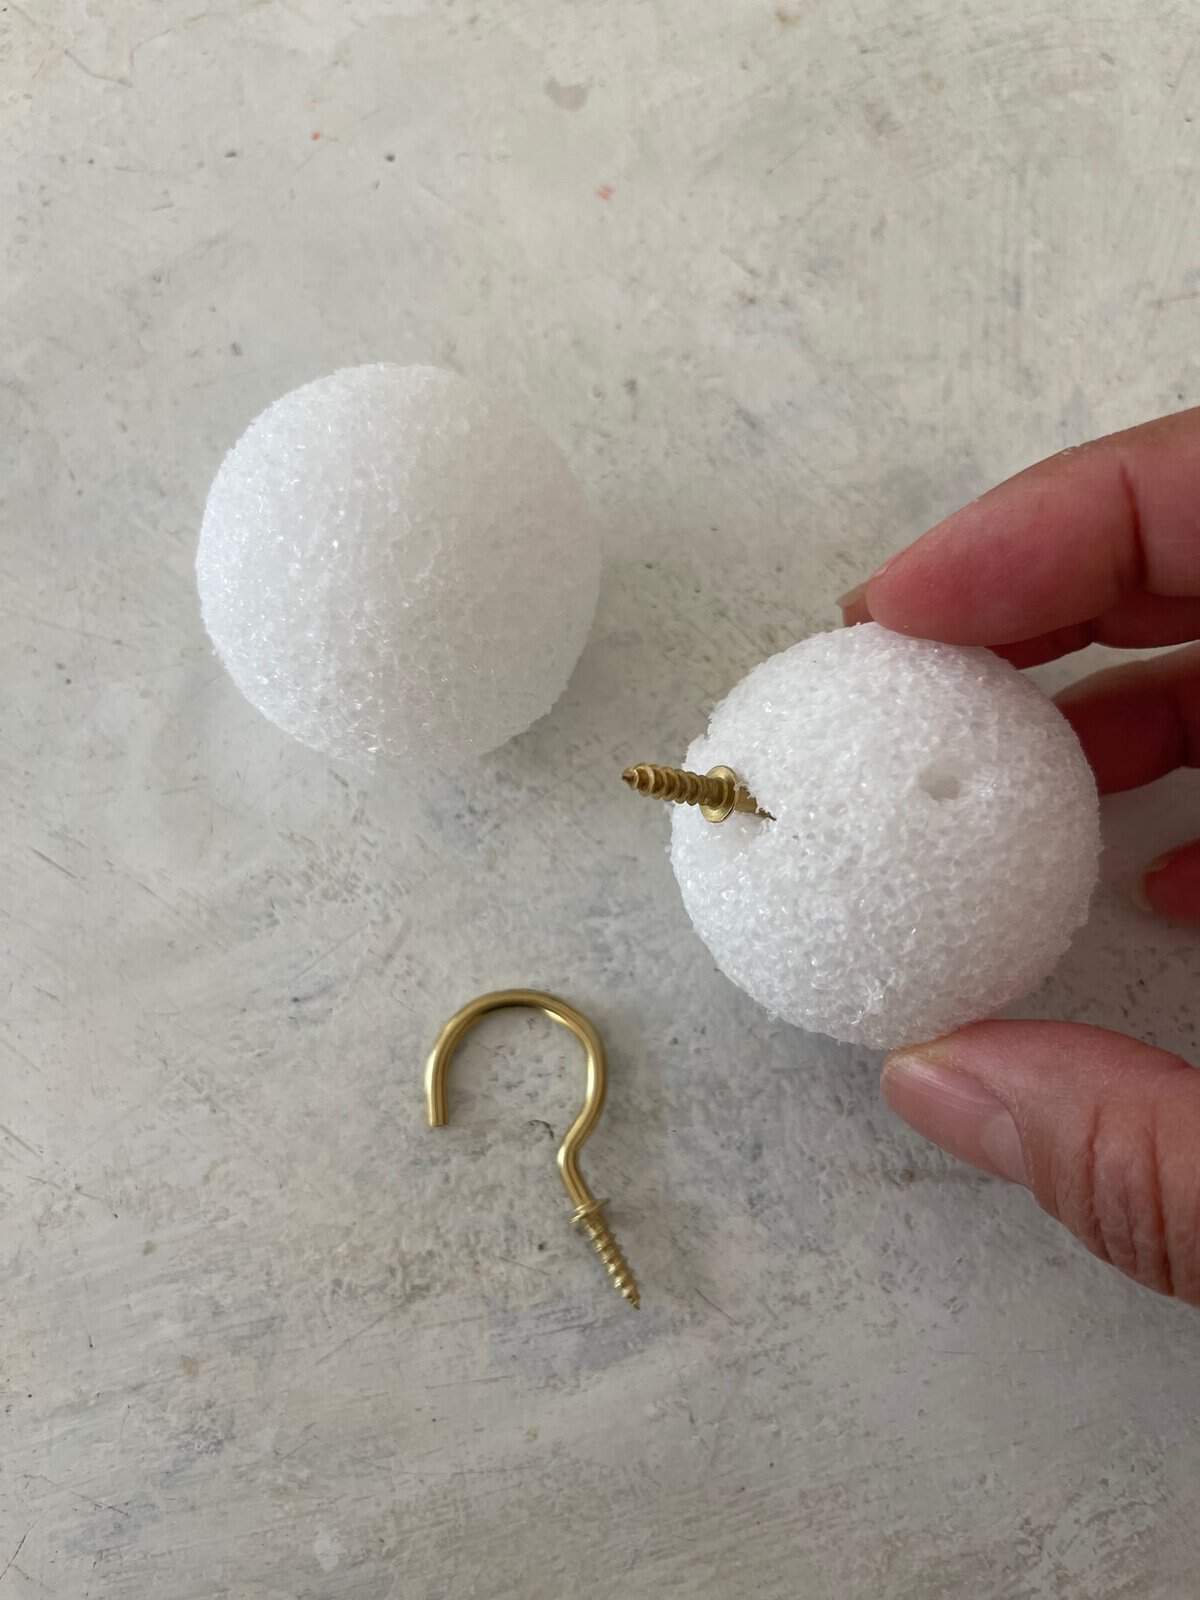
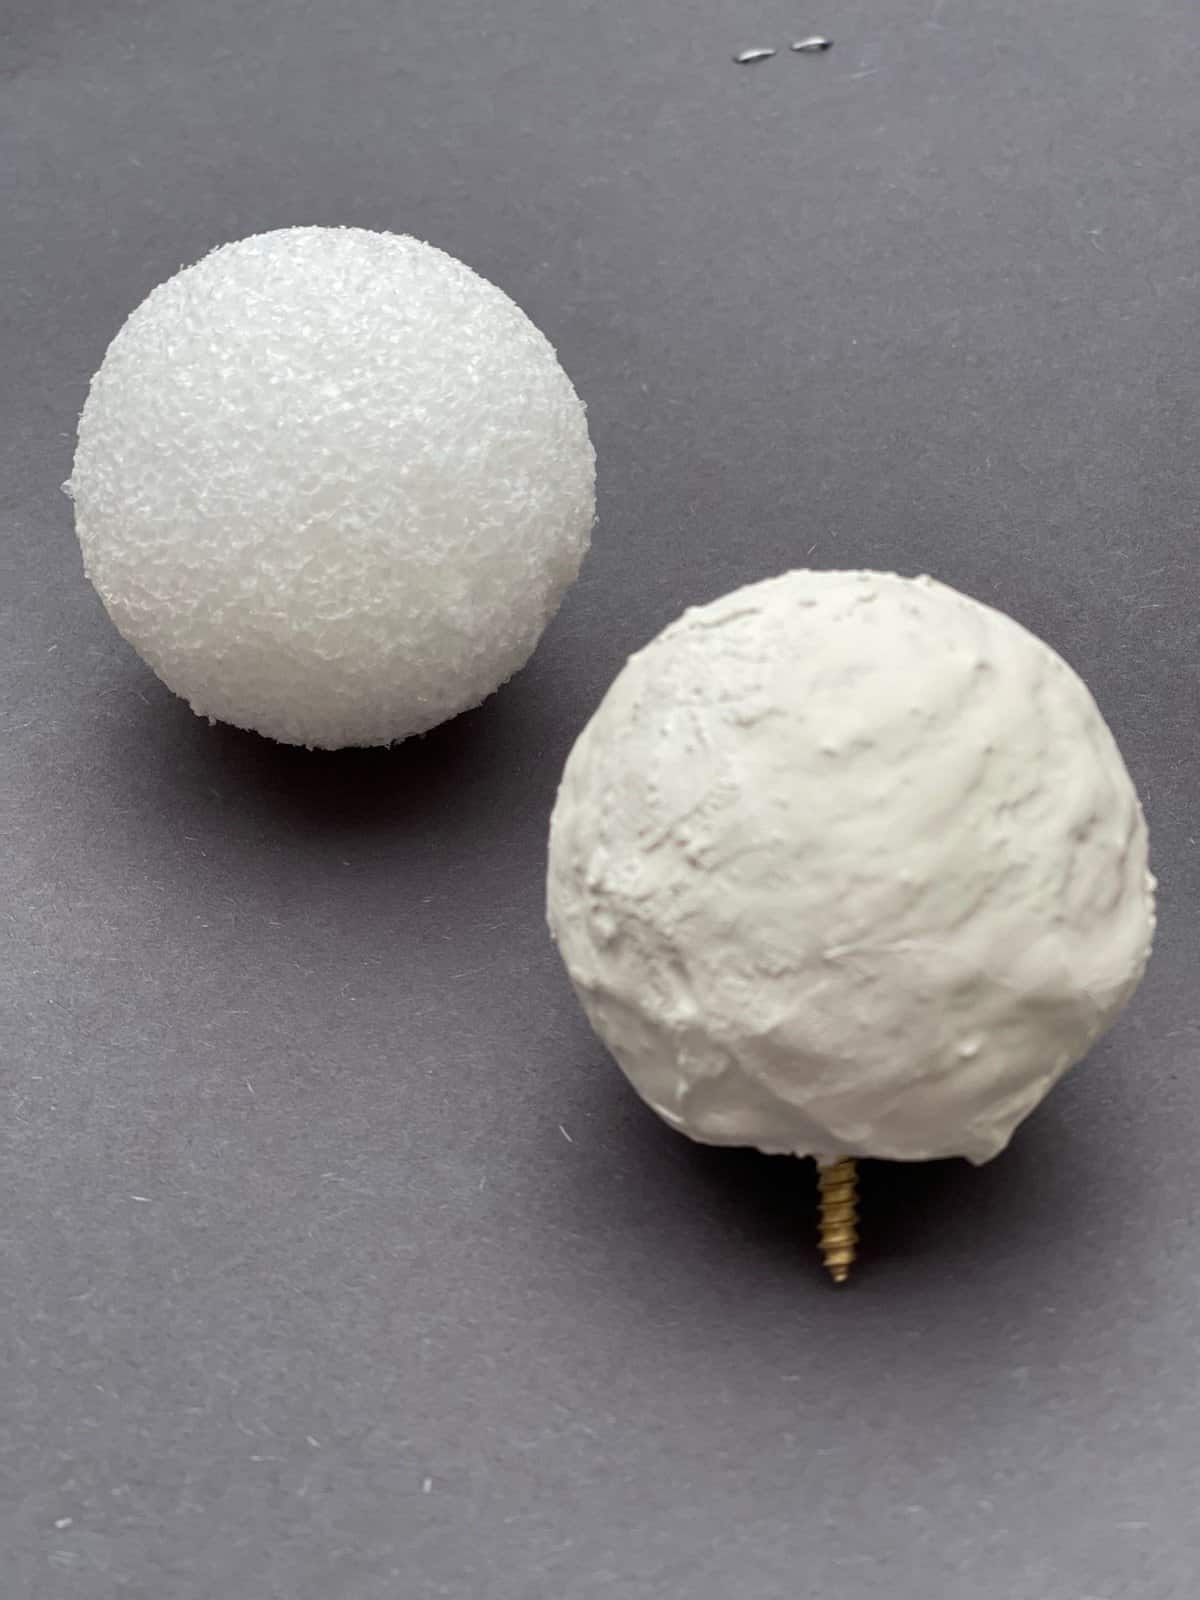
Insert your c hook screws into the Styrofoam ball so that only the screw part is showing.
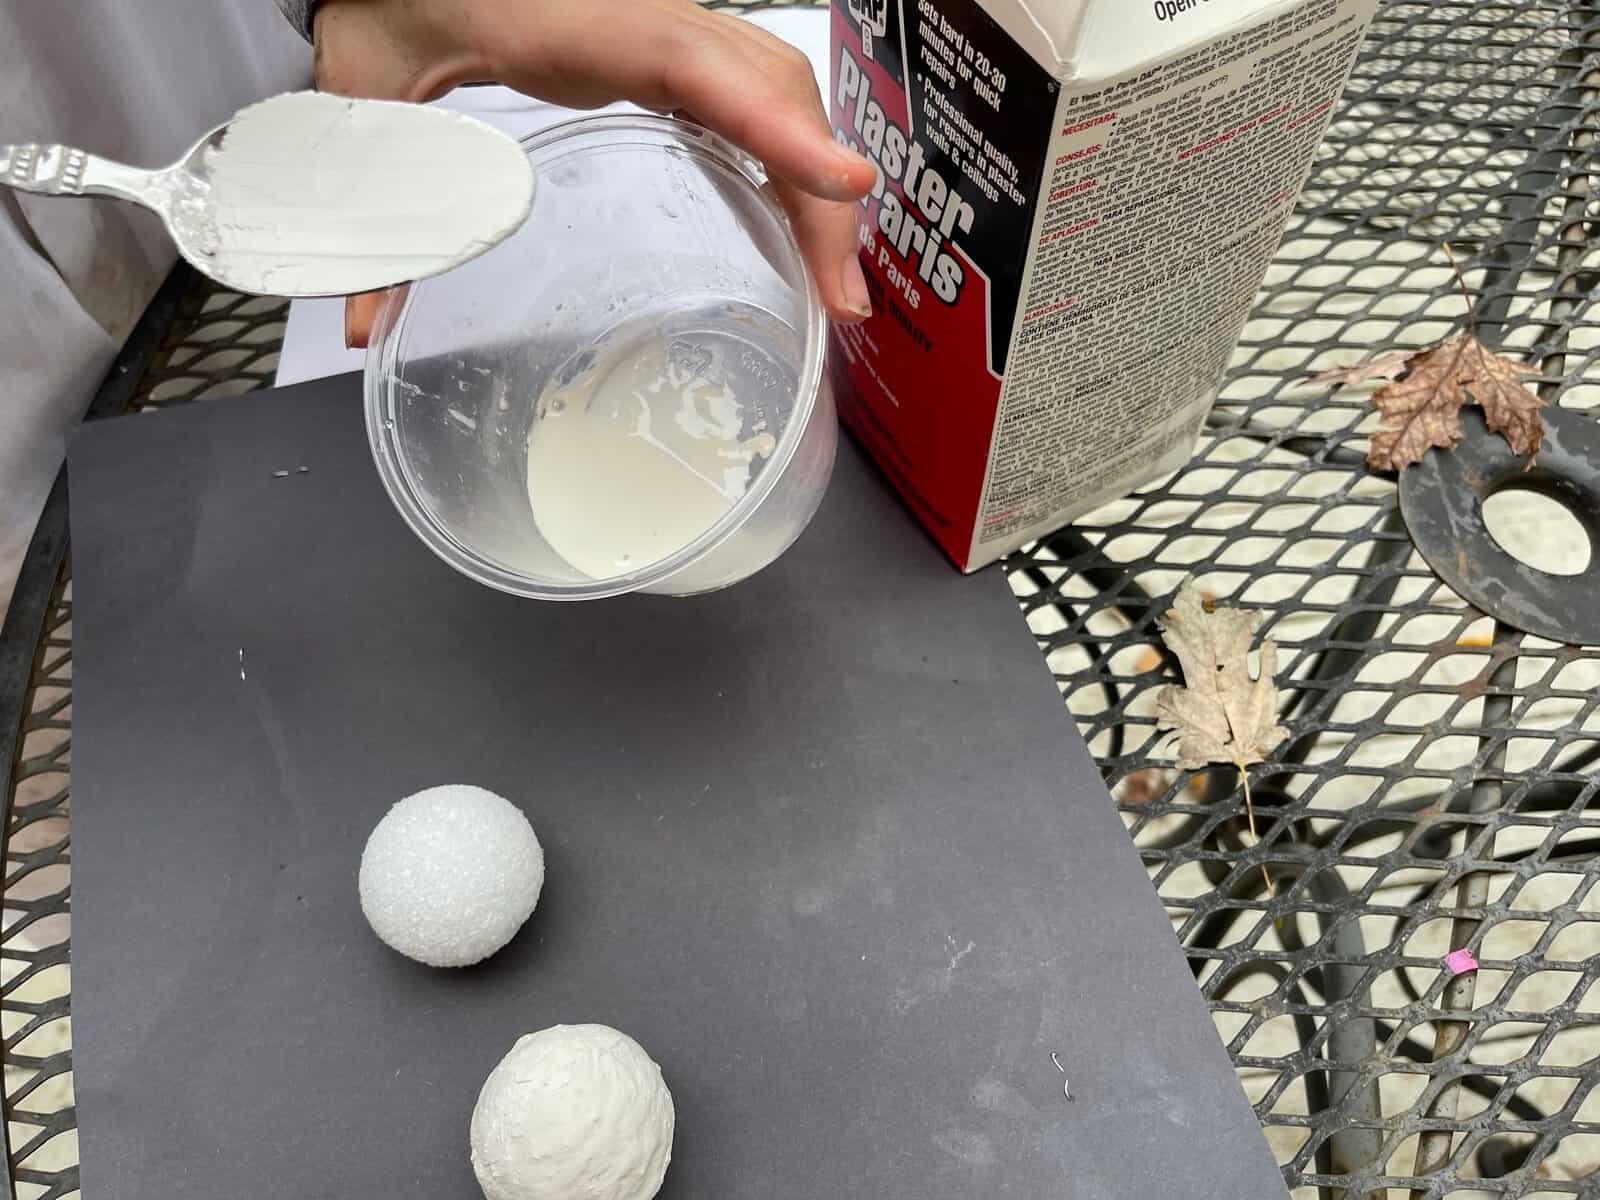
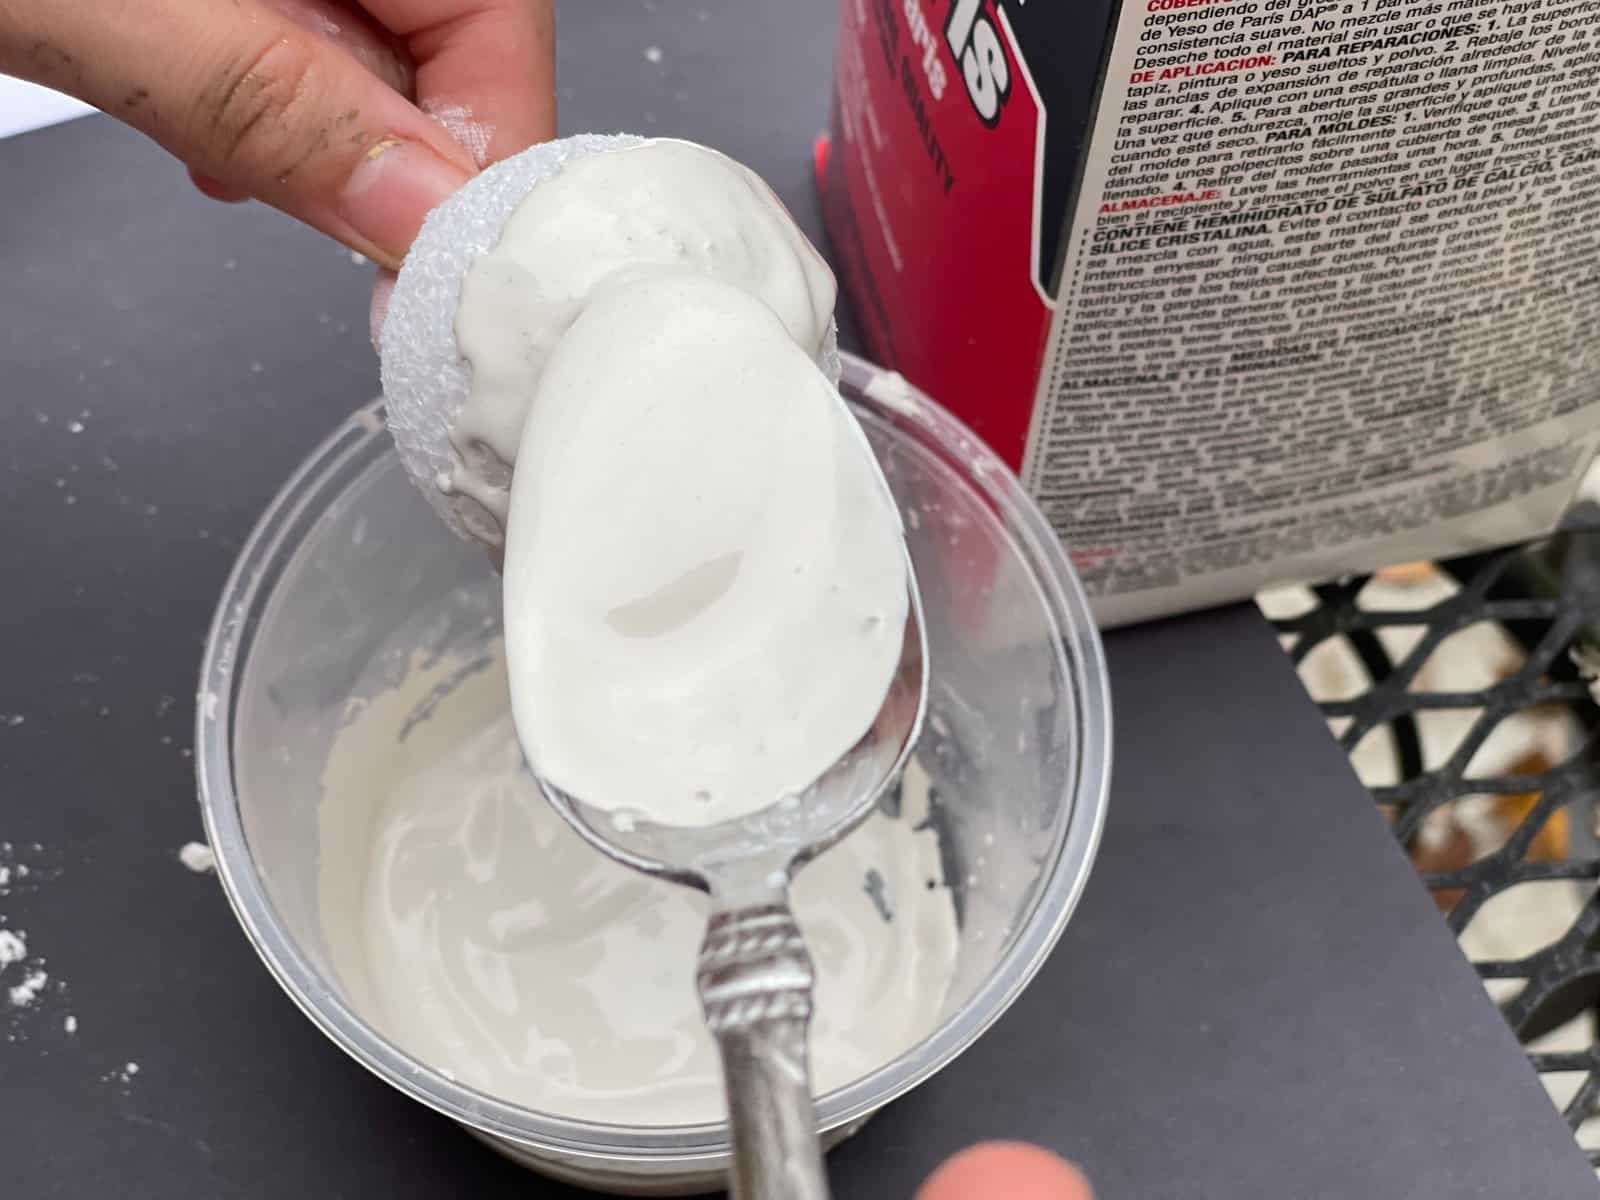
Mix up a small amount of plaster of Paris and spread it over the ball. Allow to dry and repeat two more times sanding in between so the ball does not become lopsided but instead nice and round.
In between layers of plaster of Paris spray paint the wood dowel black. Doing this gives a great base color to the rod and adds depth.
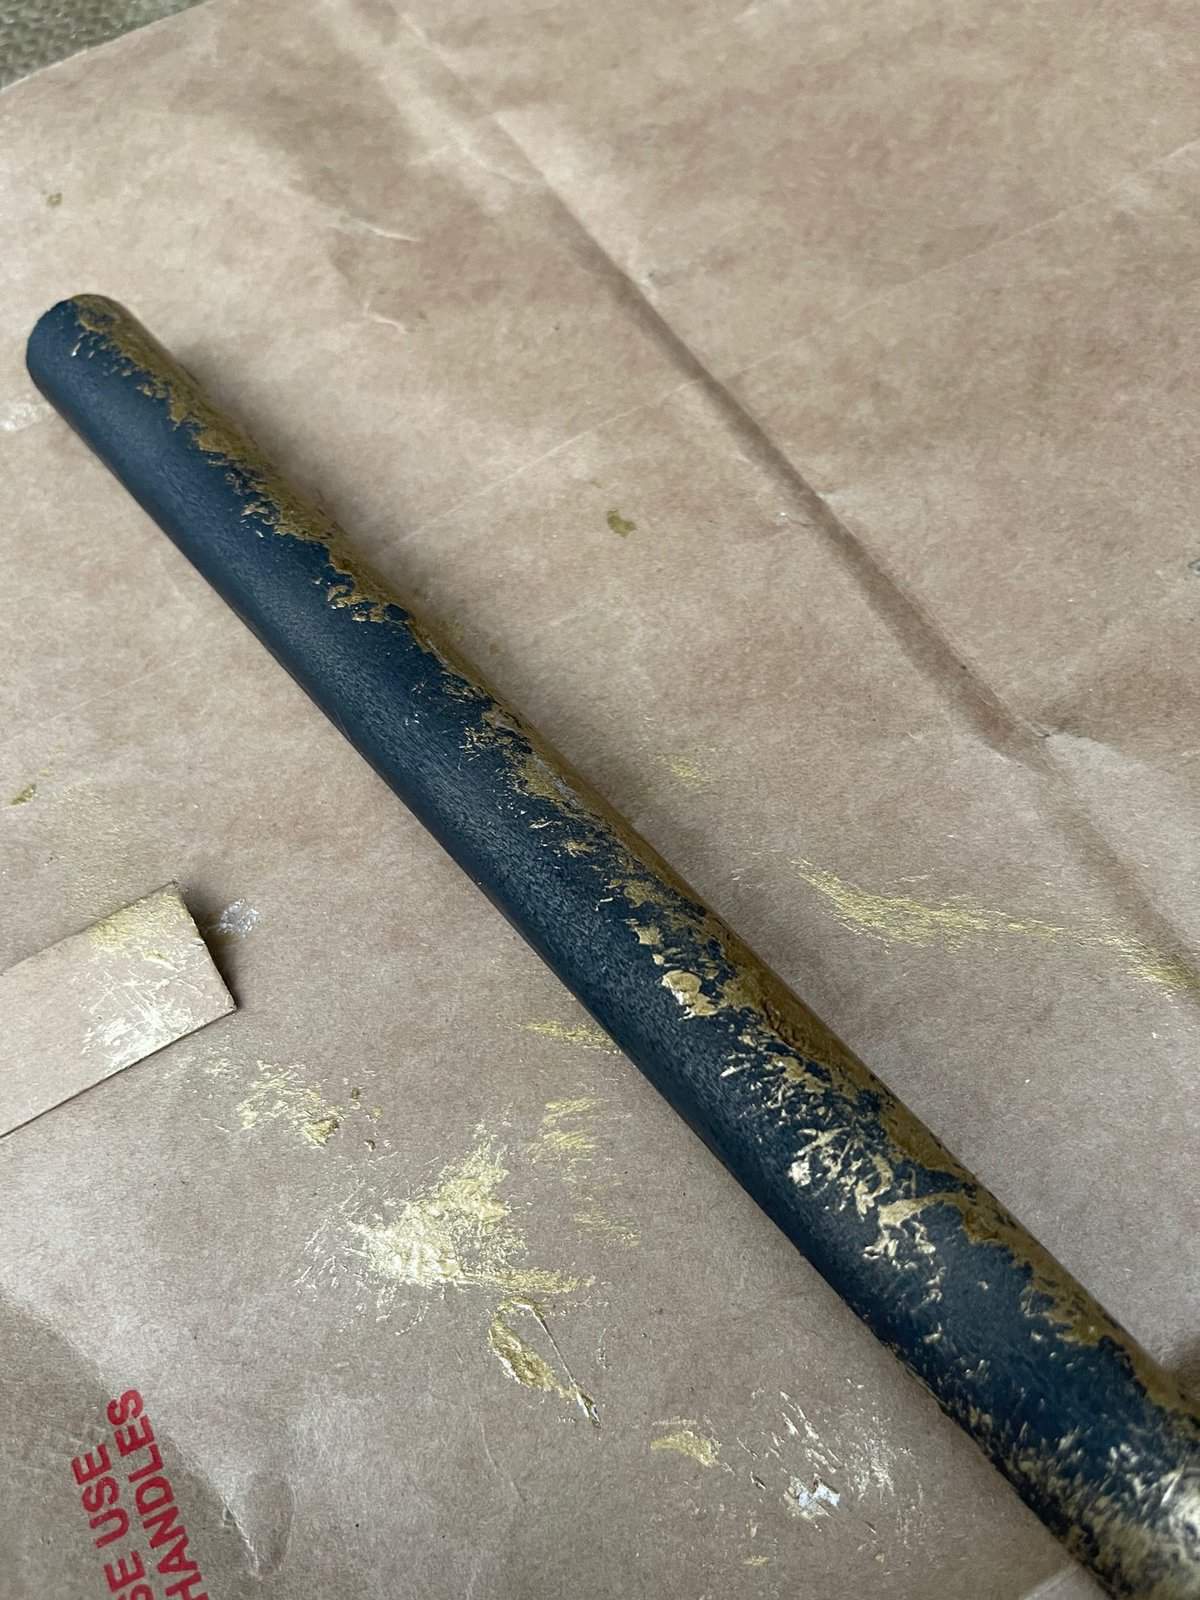
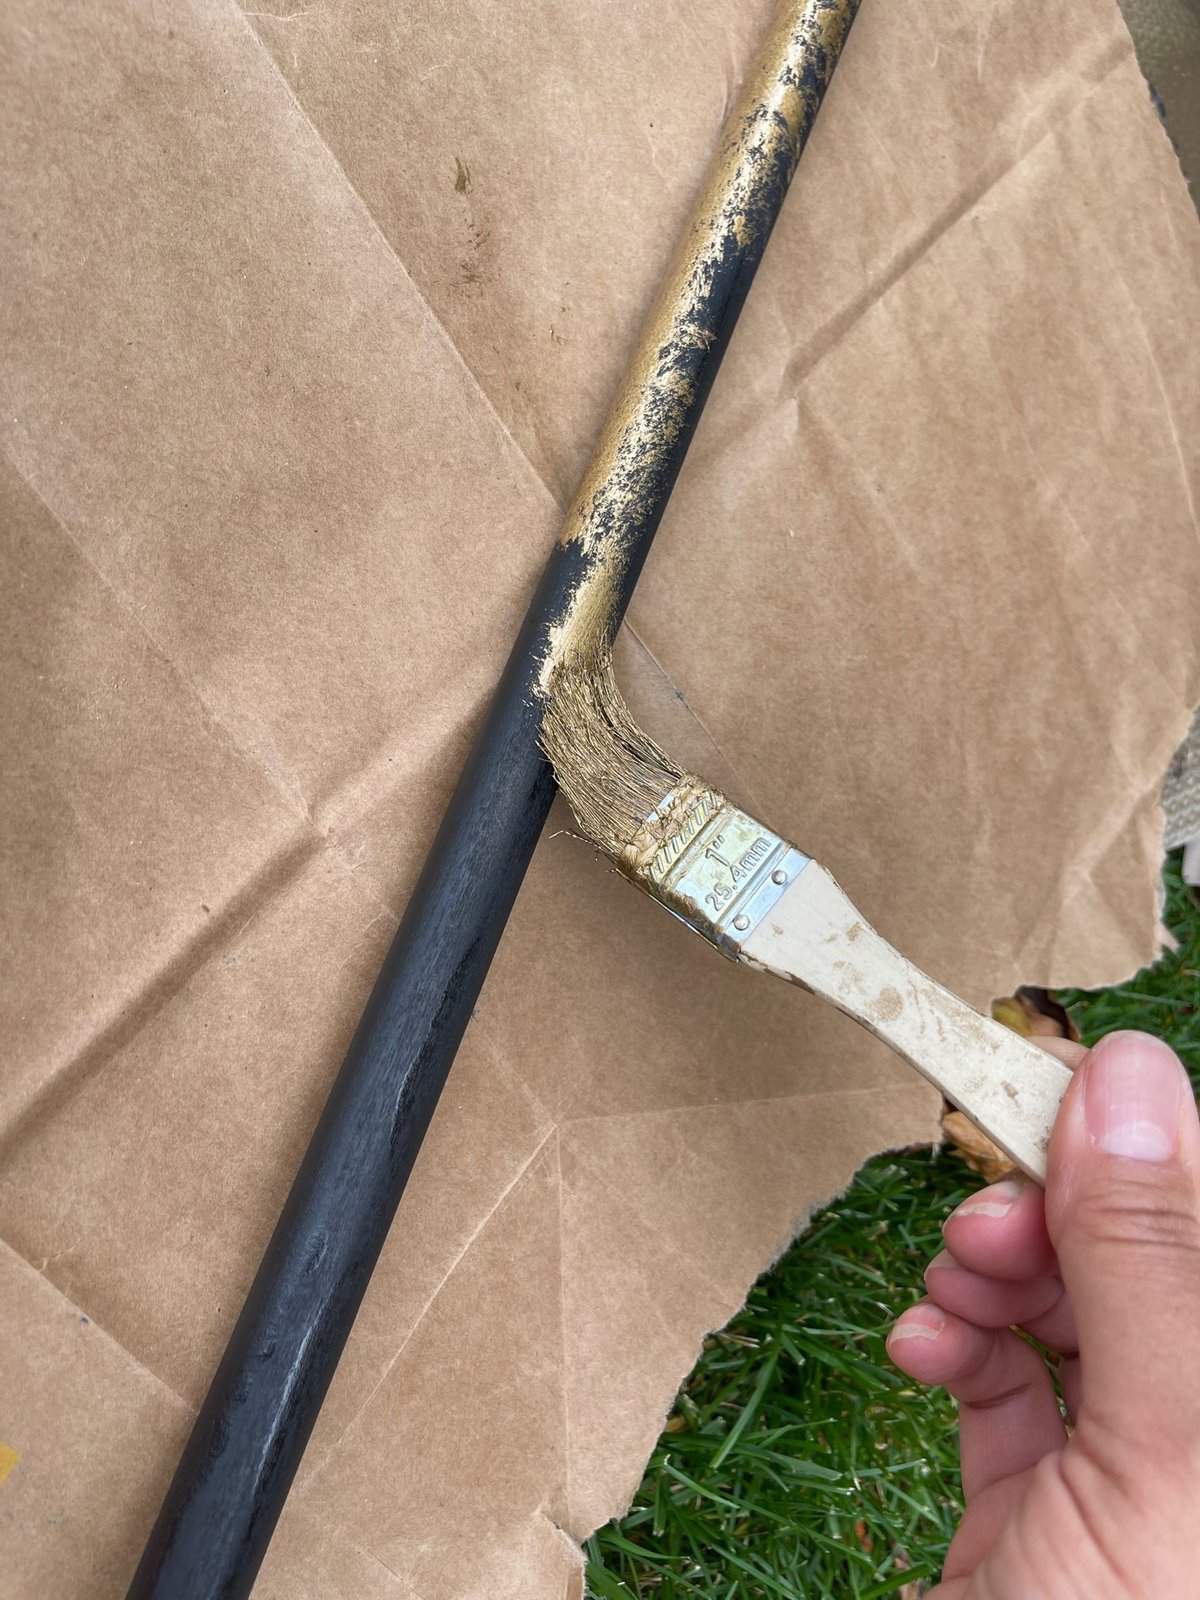
Over the black paint dab on the oil based gold paint. Dabbing it onto the plaster always the texture to stand out. Dab the first layer with a paint brush or even use a scrunched up paper towel for easy cleanup. Allow it to dry then dab or brush on the final layer.
When the plaster has completely dried, cover the metal screws with tape then do the same thing to them as you did the wood dowel
Spray paint them black and follow up with two layers of dabbed on gold paint.


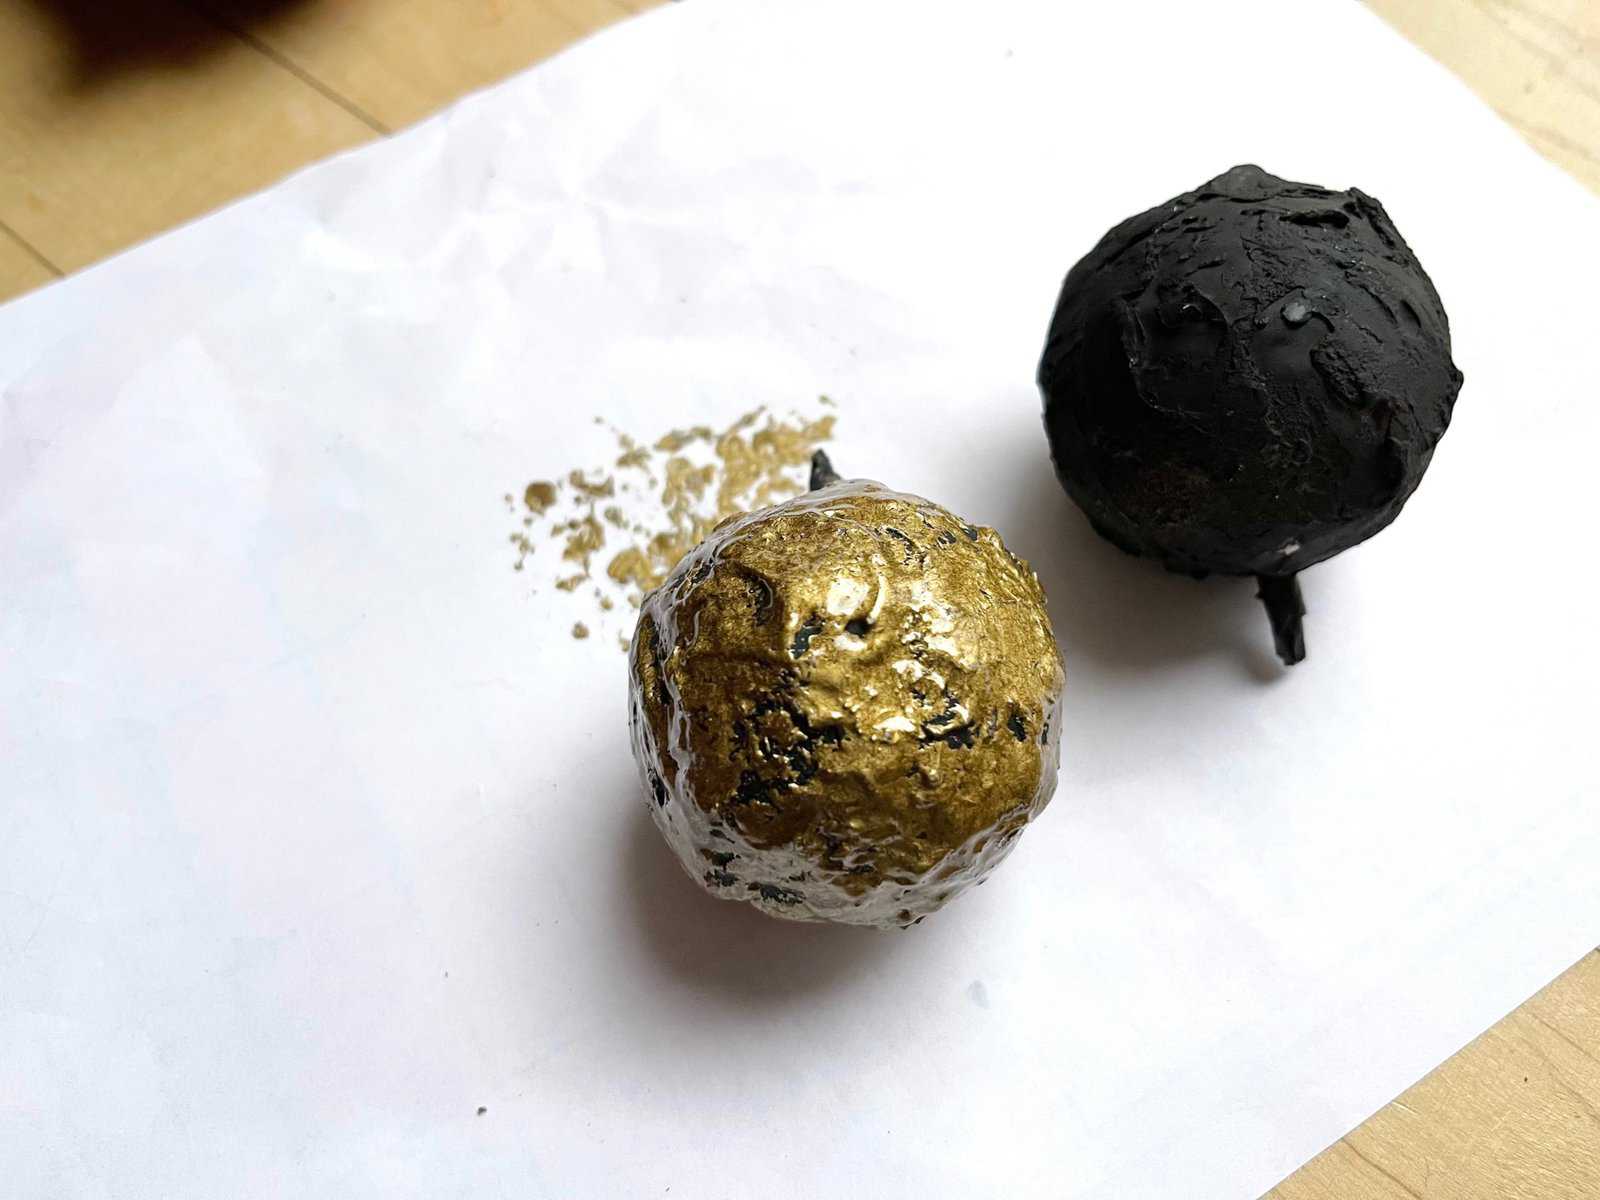
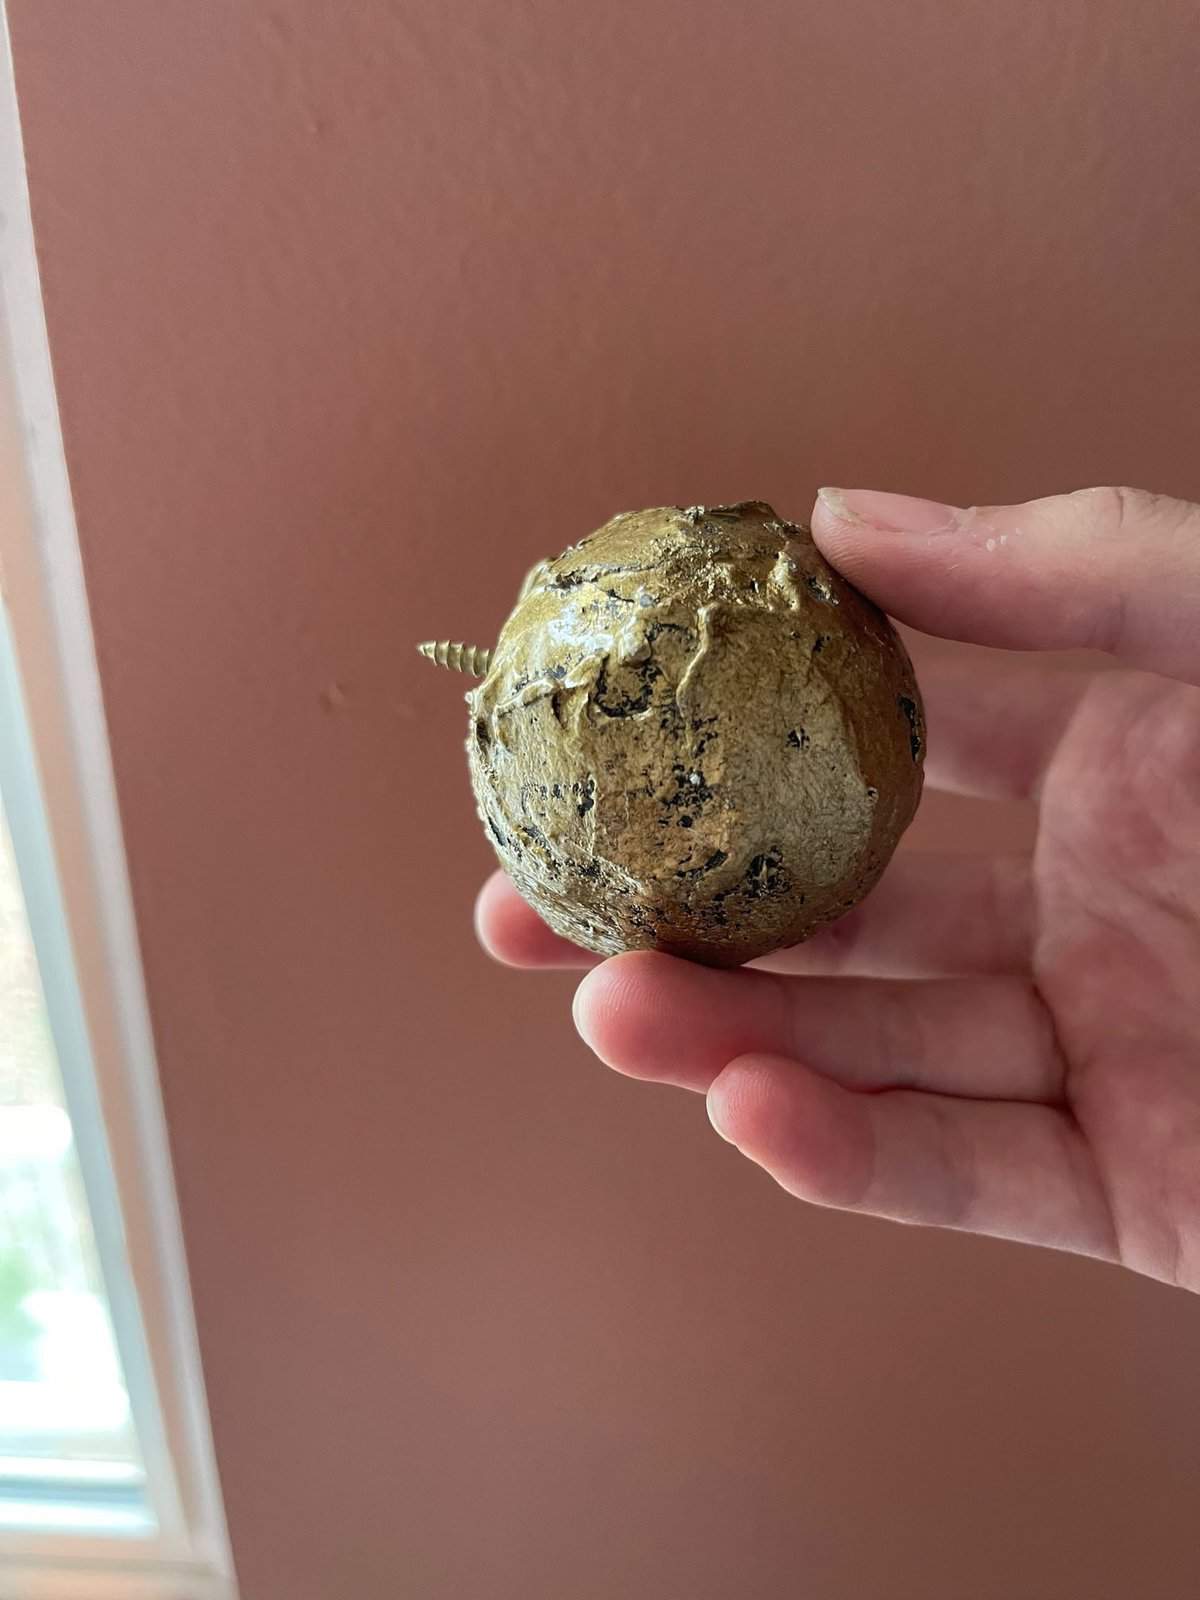
While this is drying drill a hole in both ends of the wood dowel/curtain rod.
Take the two J hooks and place them on either side of your window. 90% of the curtain will be to the center of both J hooks. The other 10% will be to the outside of the J hooks and will be stationary. You will be able to move the larger portion of the curtain across the curtain rod to block out light.
After your finials/styrofoam balls are dried, screw one into the end of the curtain rod then slide on your curtains.
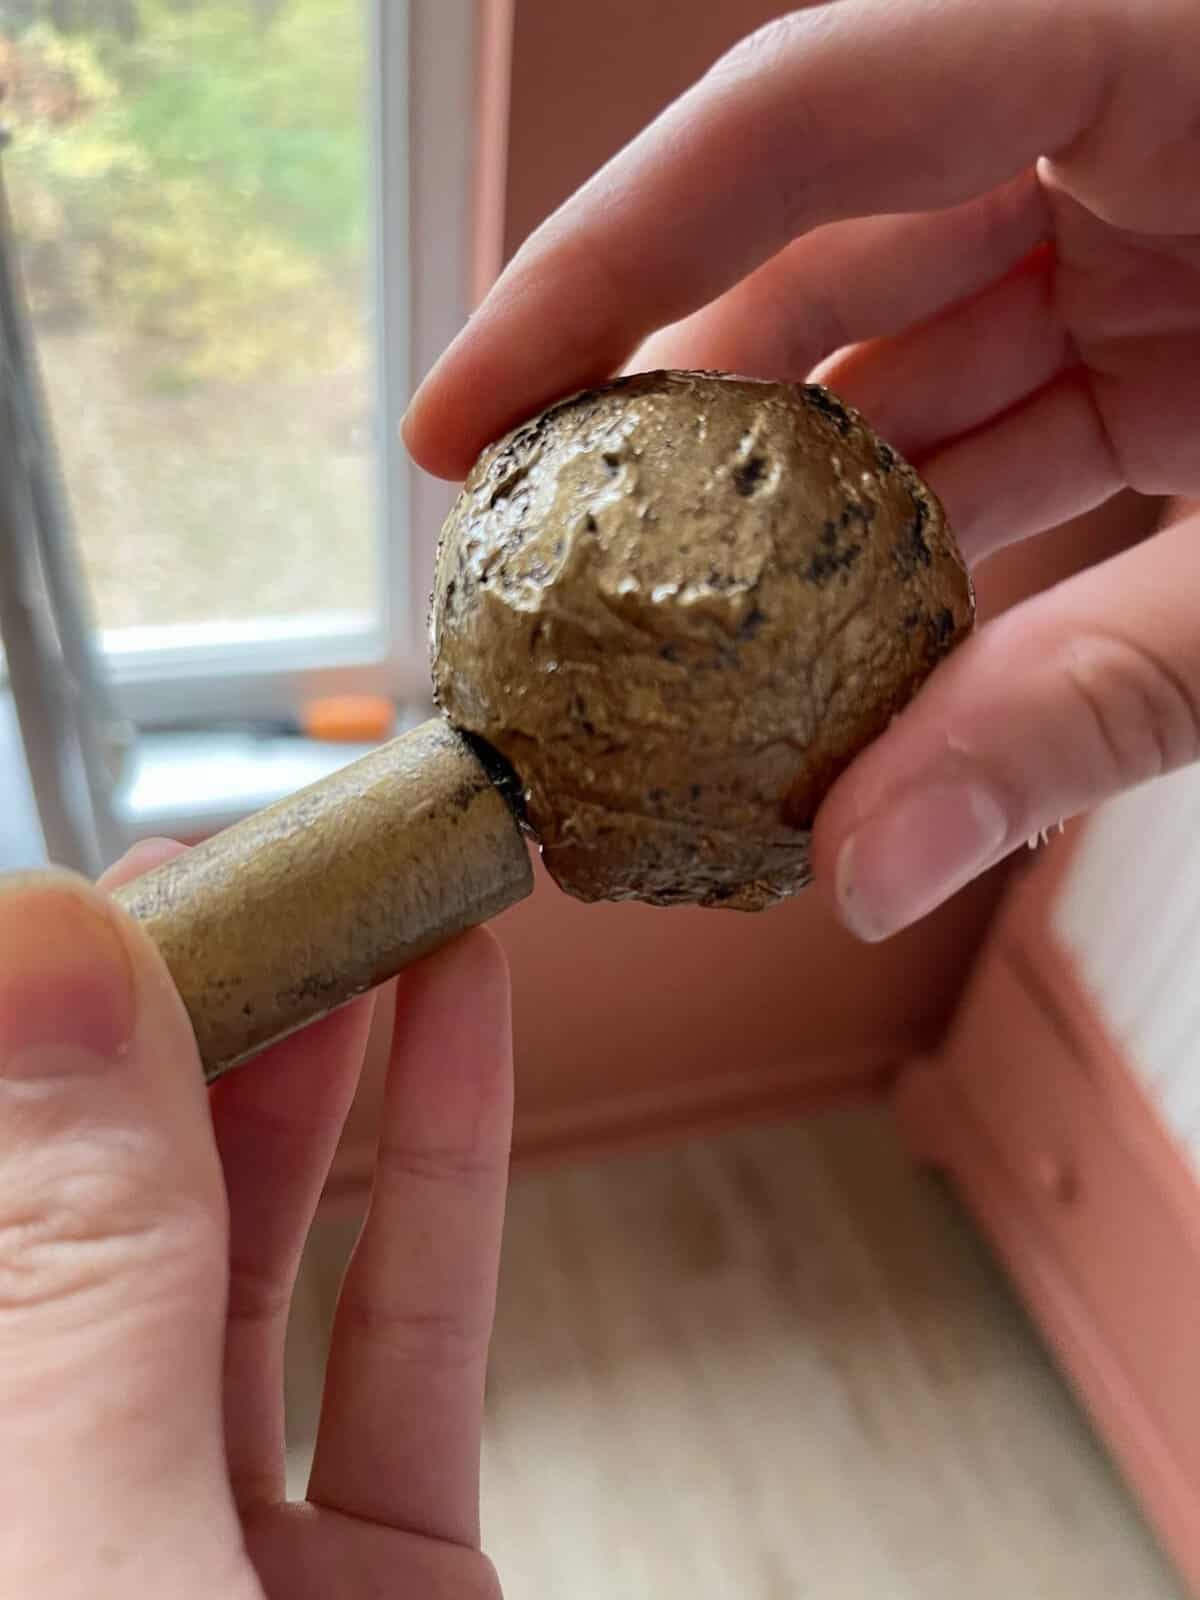
Place the curtain rod above the window into the J hooks. The material of the curtain will be in the J hook and you will need to play with the fabric in order for it to lay nicely
The only thing left to do is screw in the remaining finial and put on the curtains.
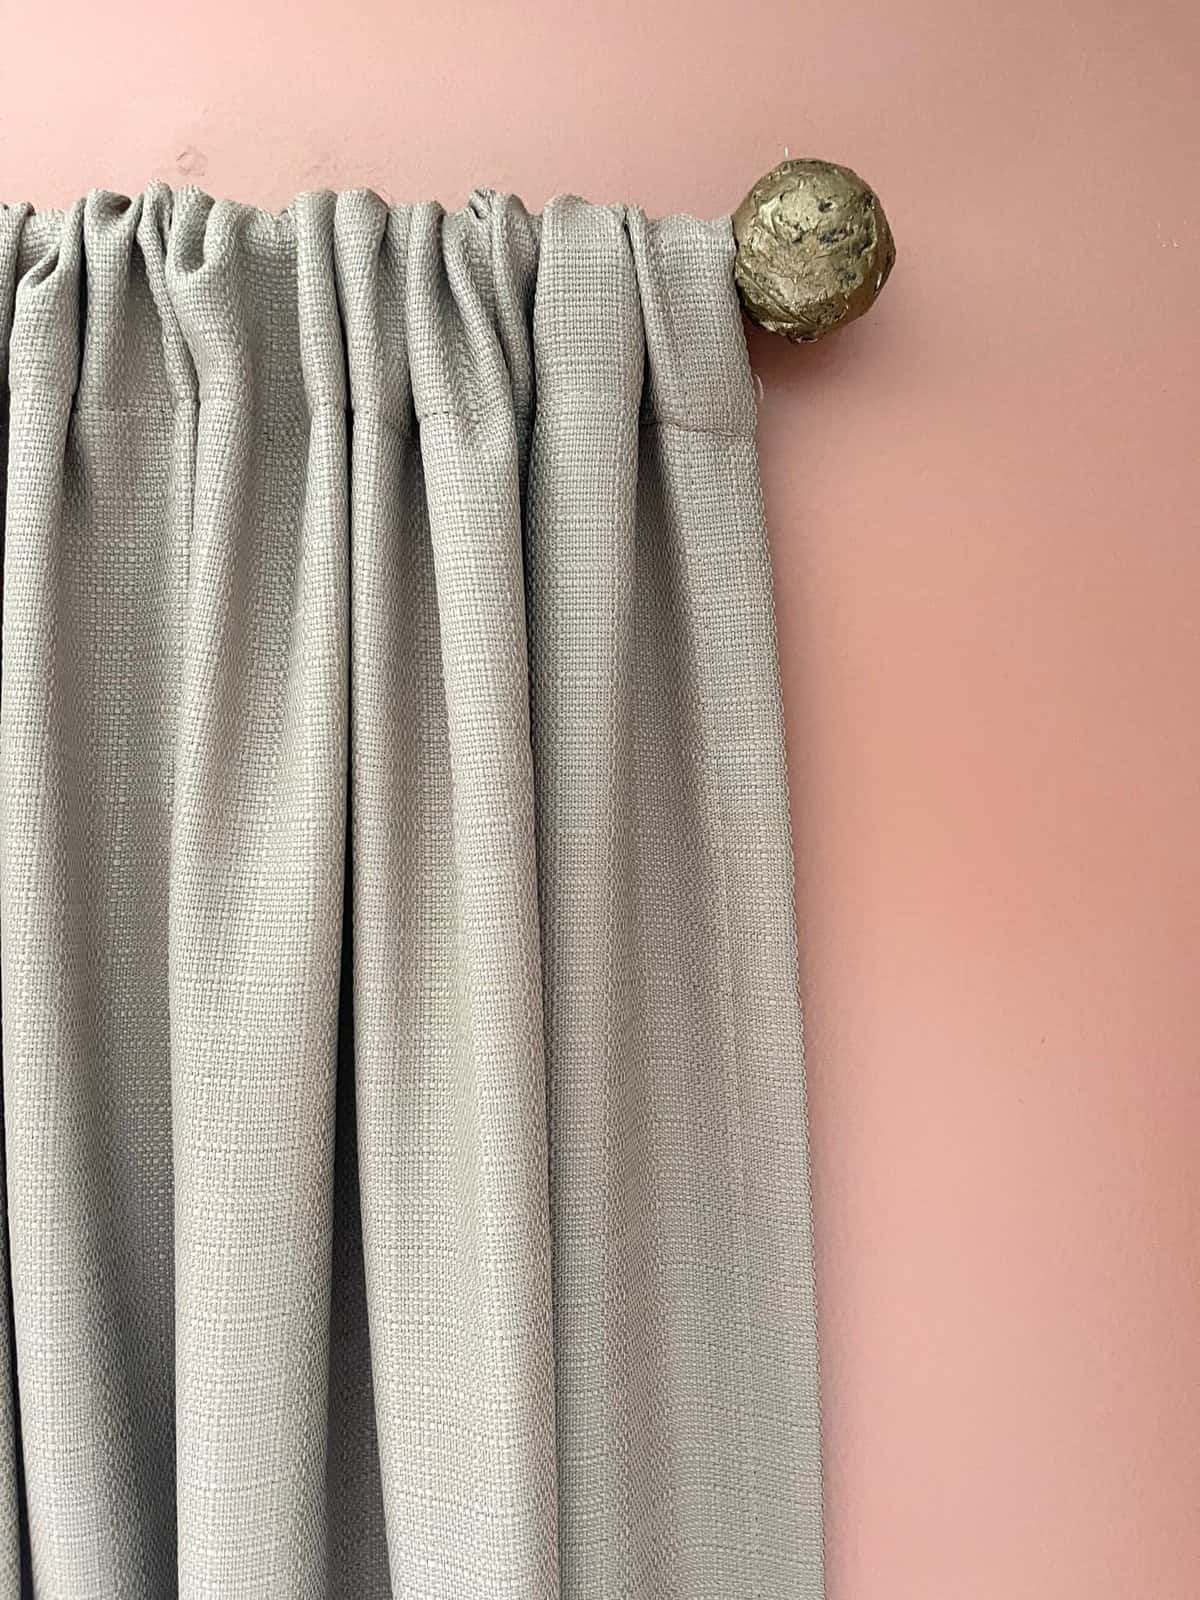
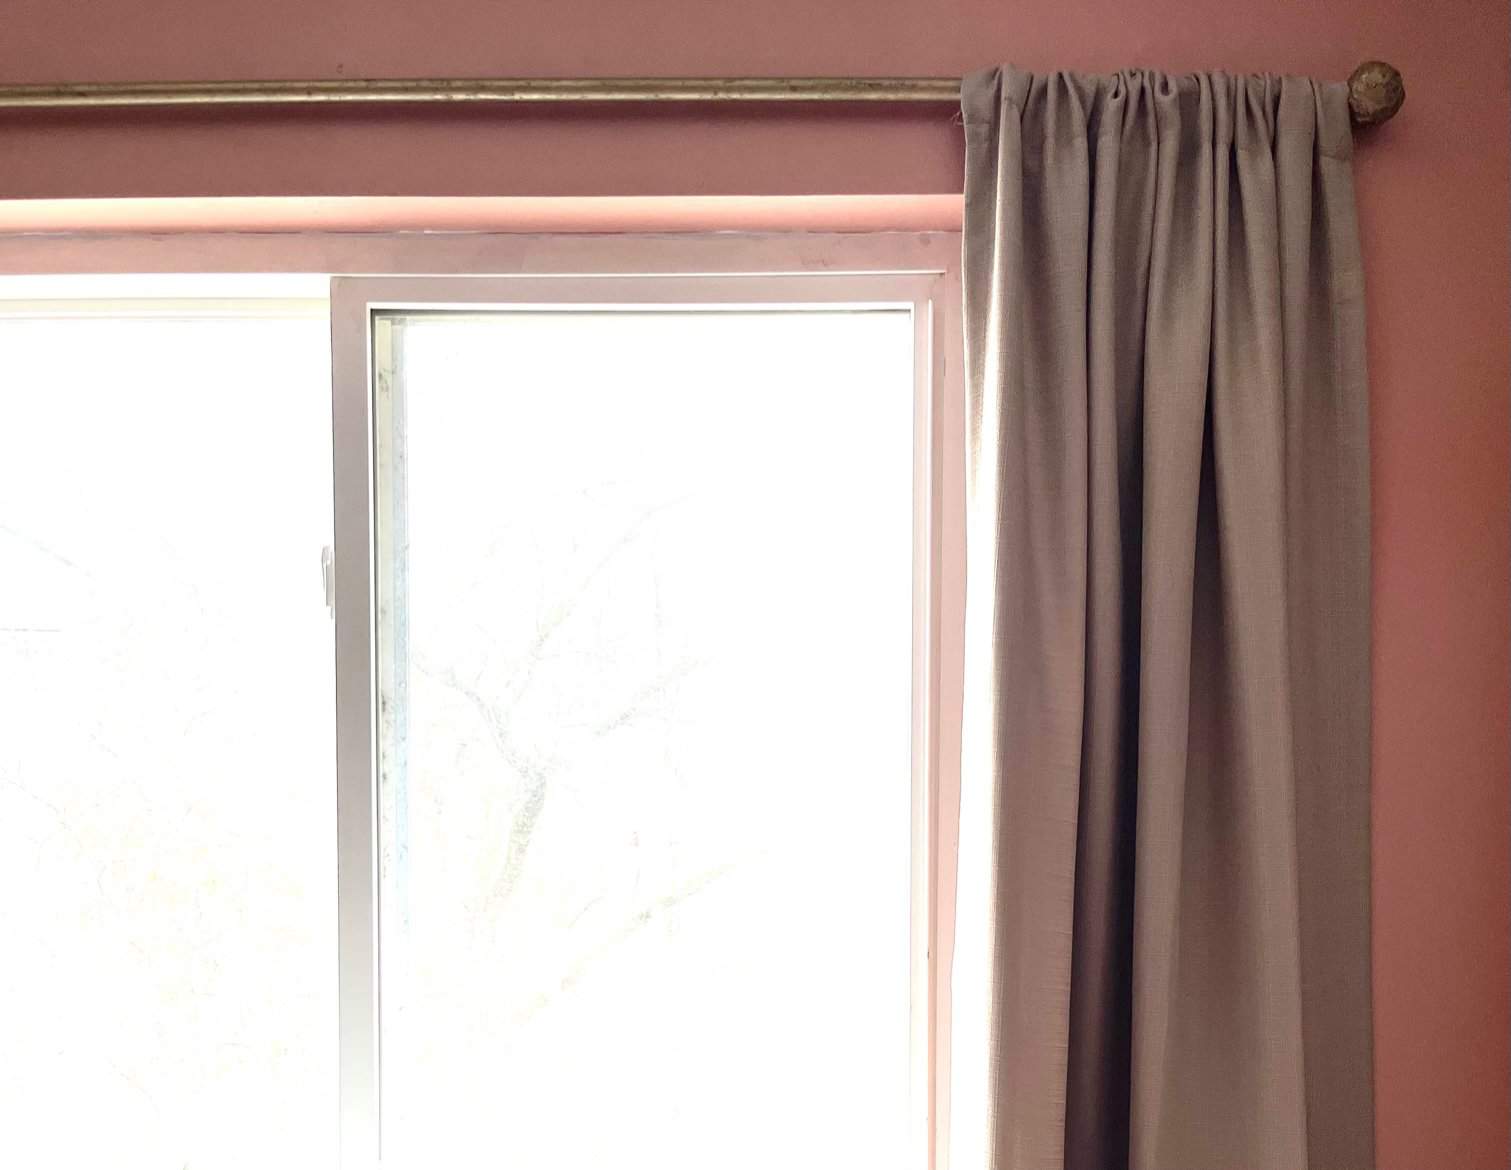
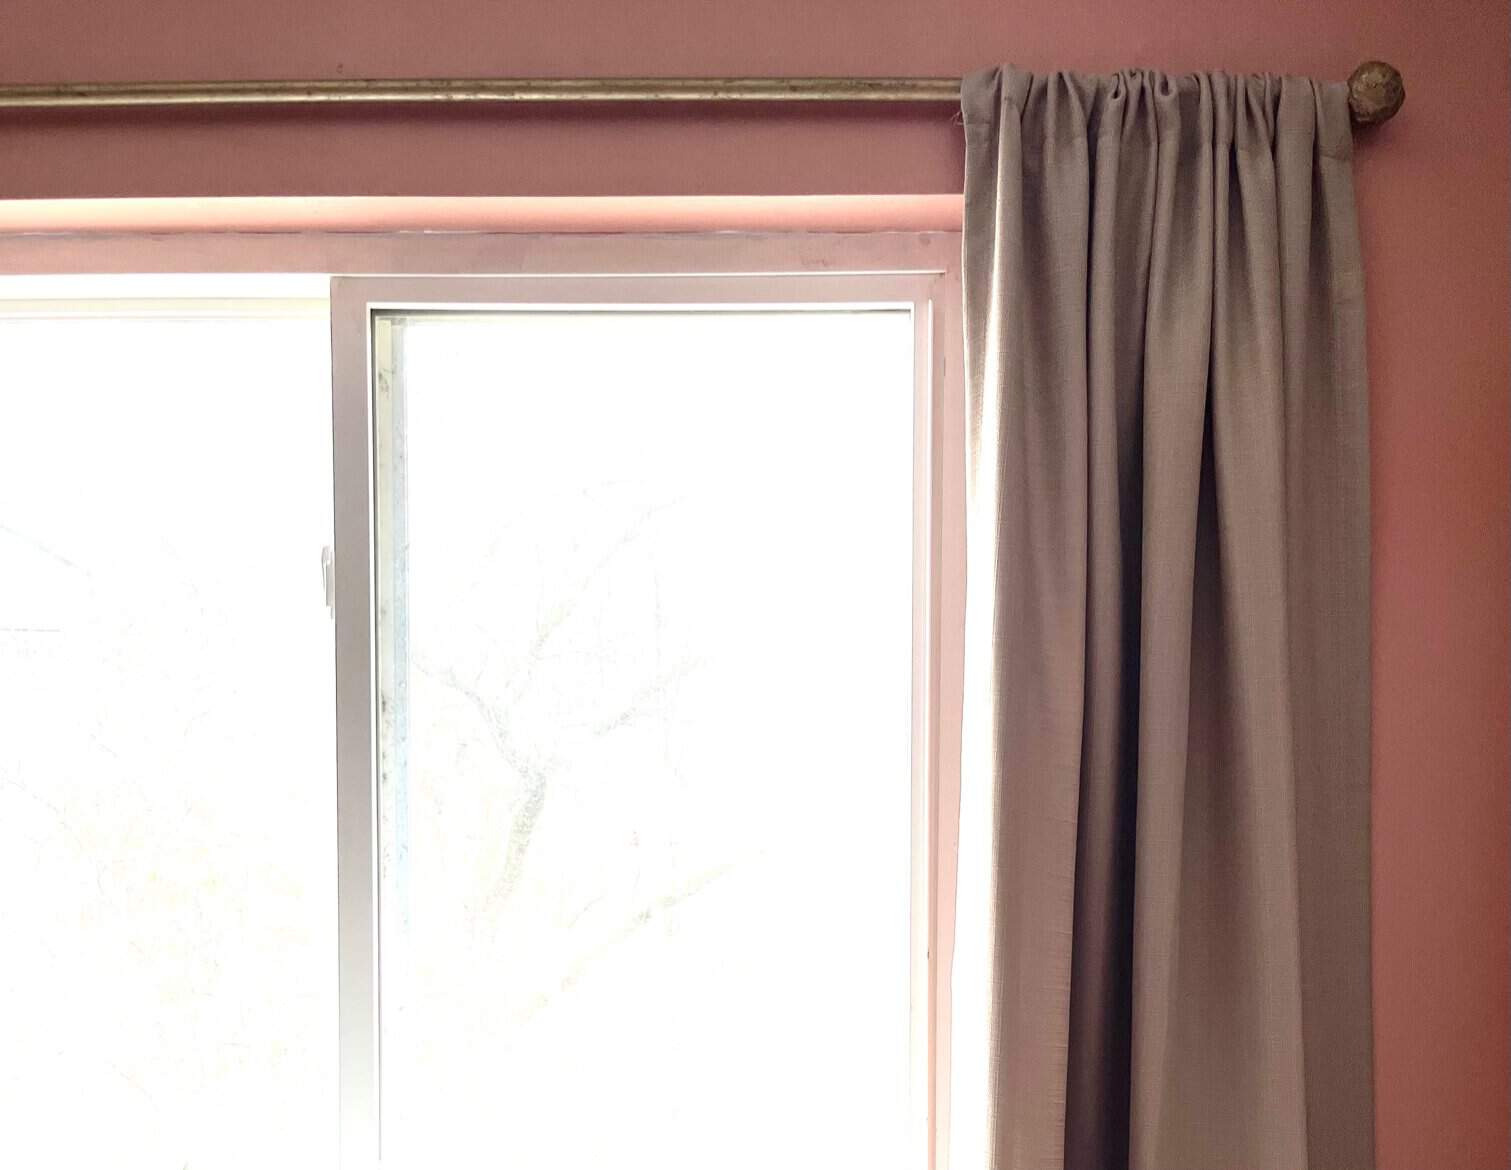 We found these curtains and love the weave and tone. During the day the sun shine through and you can see their pretty texture. They also block out a good amount of light when closed because of their dark color.
Now you have your custom one-of-a-kind DIY window treatments.
In total the whole window treatment curtain rod, hooks and curtains came to less then $35
I used leftover paint so add that into your costs if you need yo purchase paint.
What do you think? Would you try these DIY window treatments?
Let me know in the comments below.

MORE WINDOW TREATMENT IDEAS
- Elsa’s DIY Bedroom Curtain Rods
- Inexpensive Faux Roman Shades
- Upgrading Sliding Glass Doors with Curtains
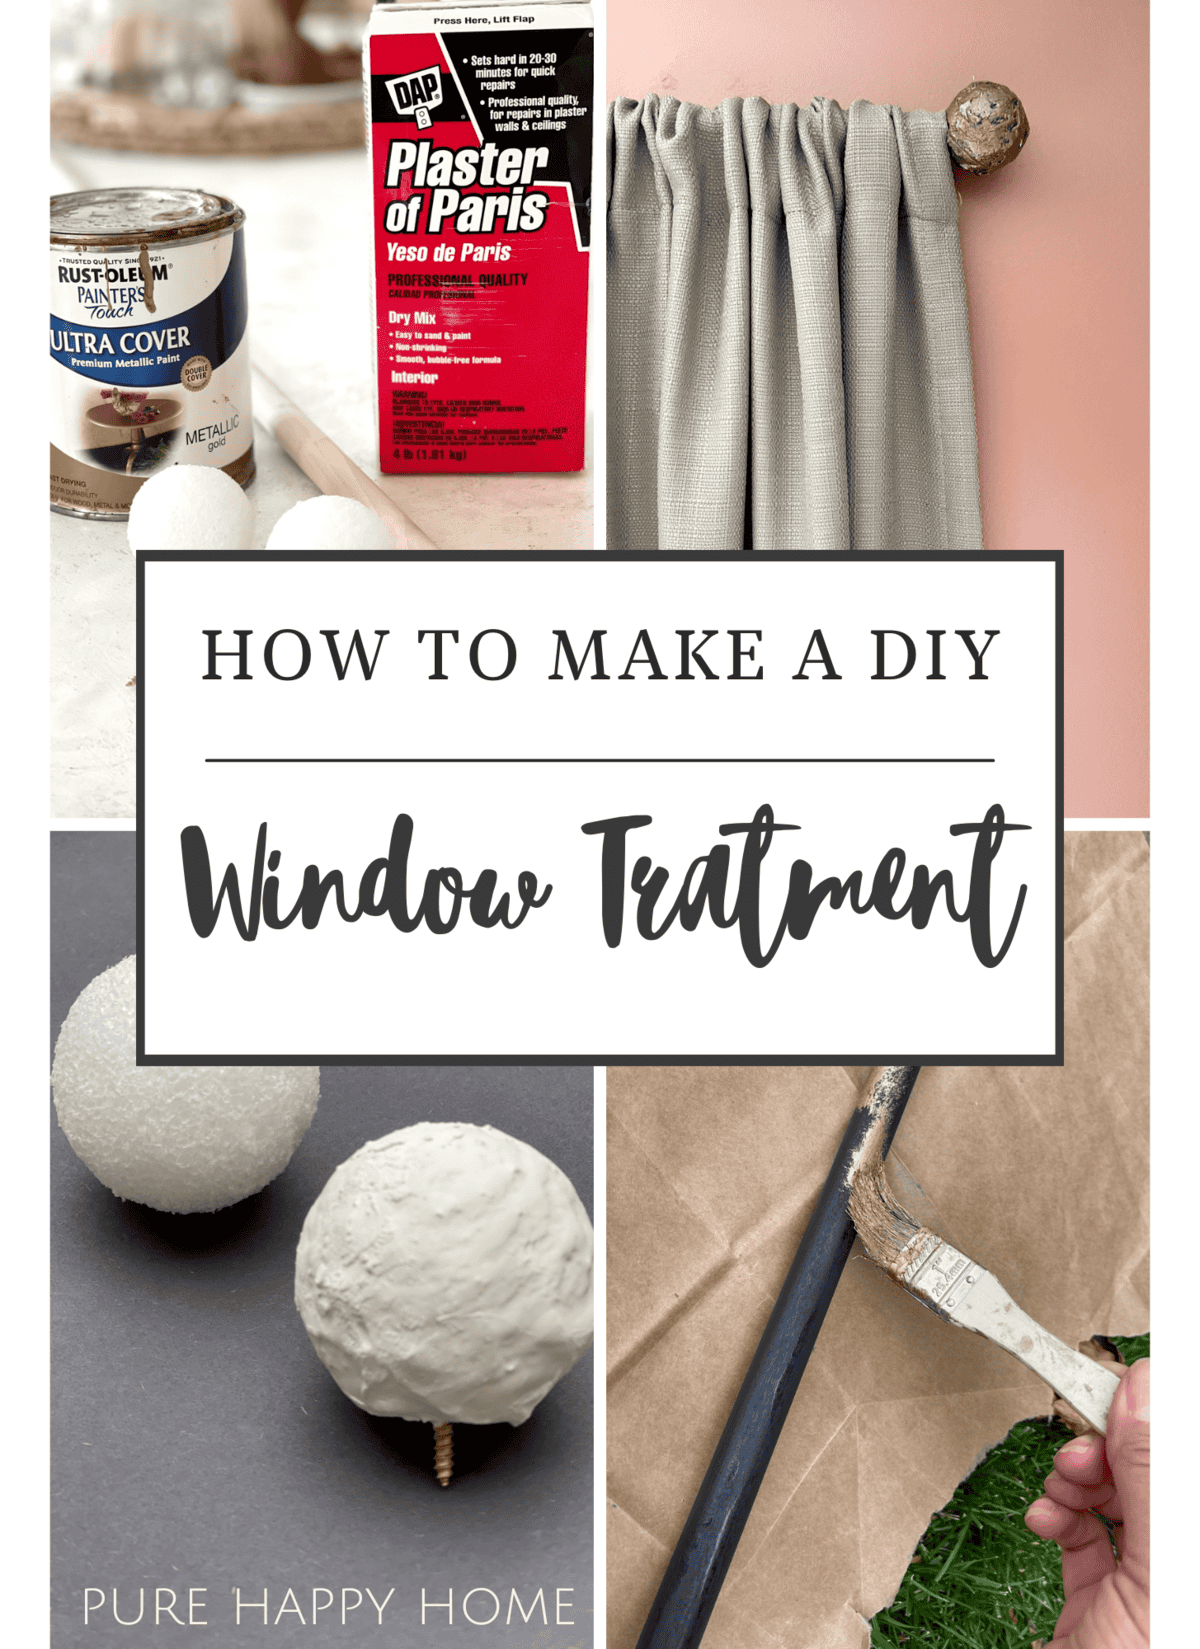
Pin It & Save It

**Some of the links in this post are affiliate links. If you click on the link and purchase the item, at no extra cost to you. we will receive an affiliate commission







I am in awe of your creativity! Love how you faced the problem and found a DIY solution! You would never guess the finial is a styrofoam ball!!! Can’t wait to see the finished room!!
You are so kind Donna, thank you friend!
Can’t believe you came up with this and pulled it off! I would have never thought to DIY a custom curtain rod!
Where there’s a problem, there is a solution. So happy with how it turned out!