

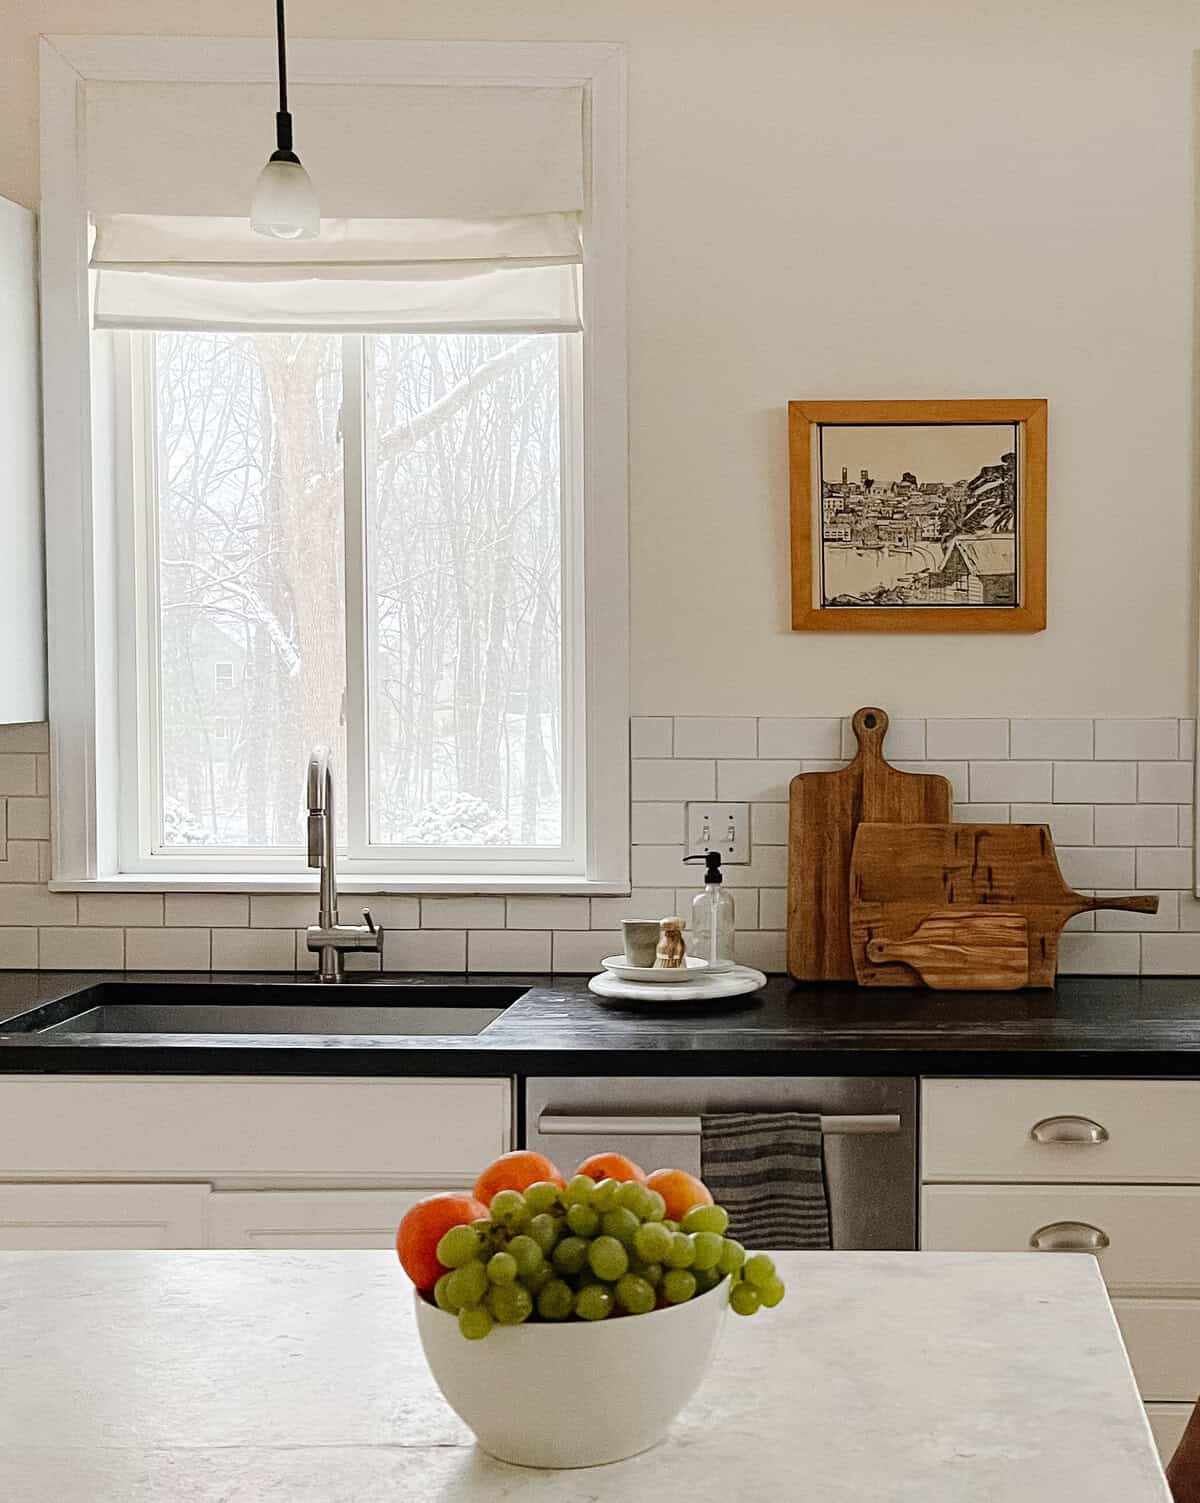
We got new windows! Sort of.
One of the best things about home diy projects is how it gives a fresh, new feeling to our homes. I don’t want to move, but just like a new hair cut, a simple diy home project can keep you from getting bored and make you really feel good. Whenever we finish a home renovation, no matter how small, it makes me appreciate our home more. It’s very empowering to improve your home or change it’s look. You know after getting a new hair cut you can’t stop looking in the mirror? Well I can’t stop looking at our “new” windows.
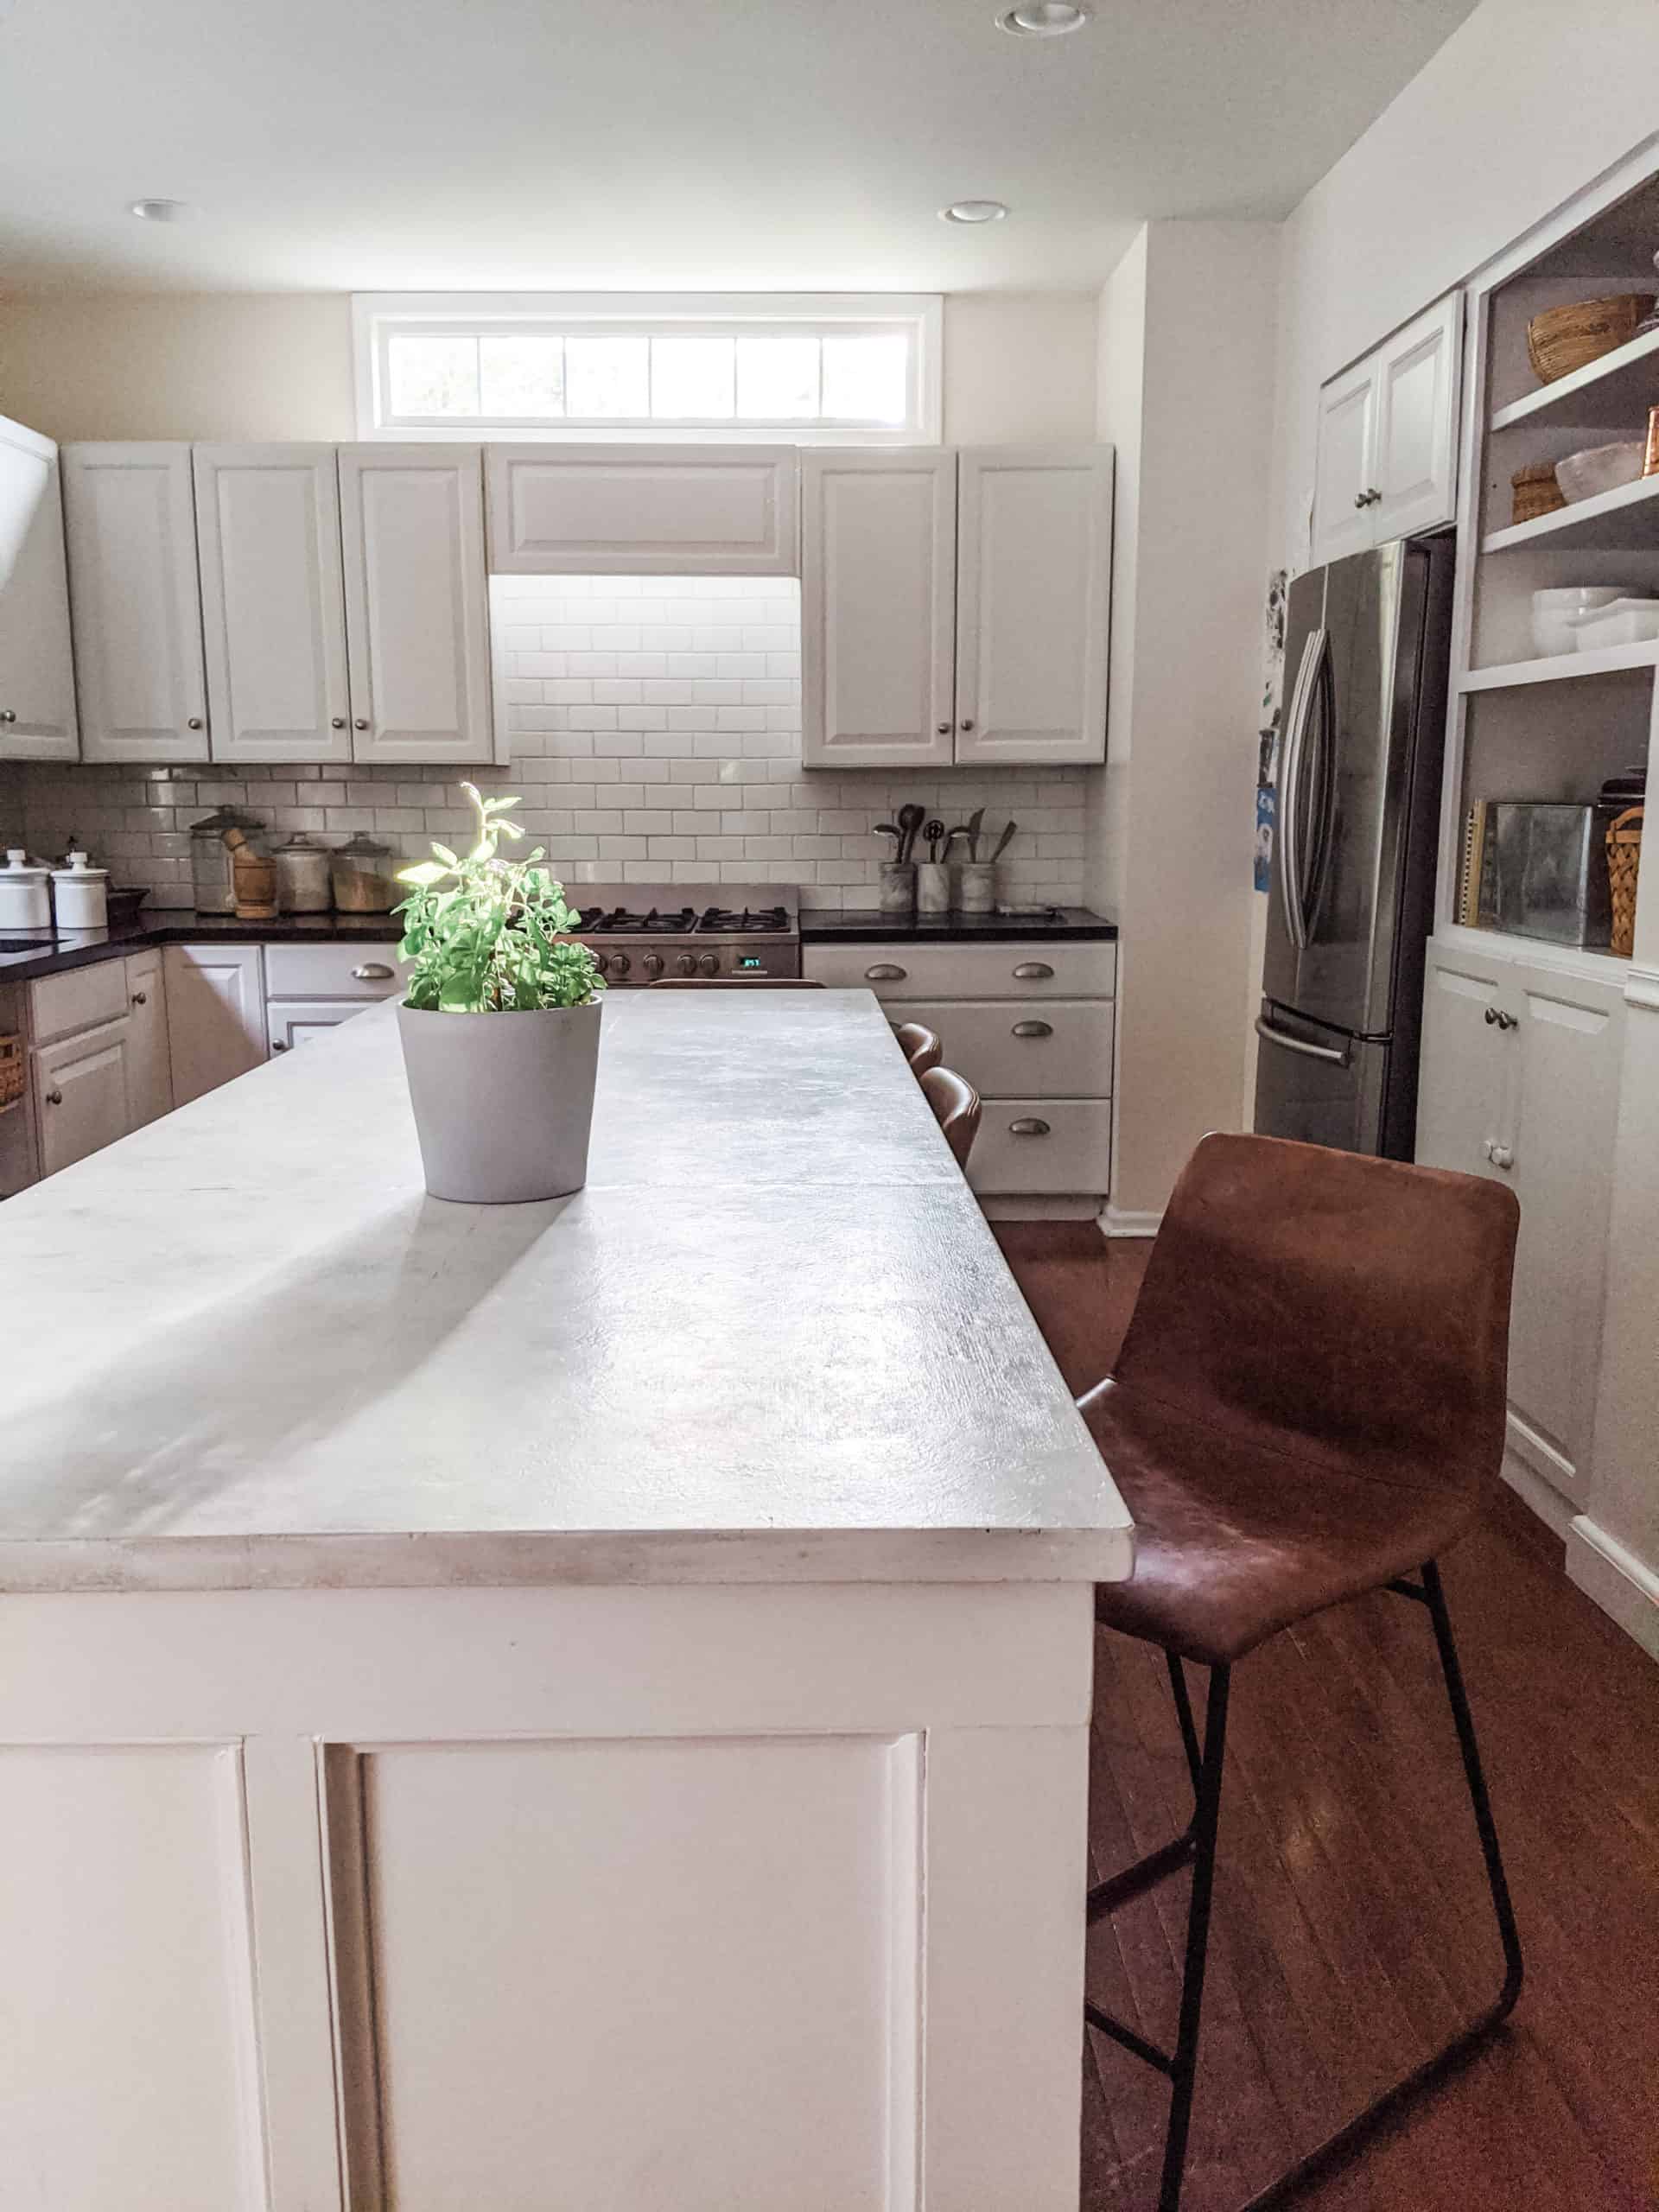
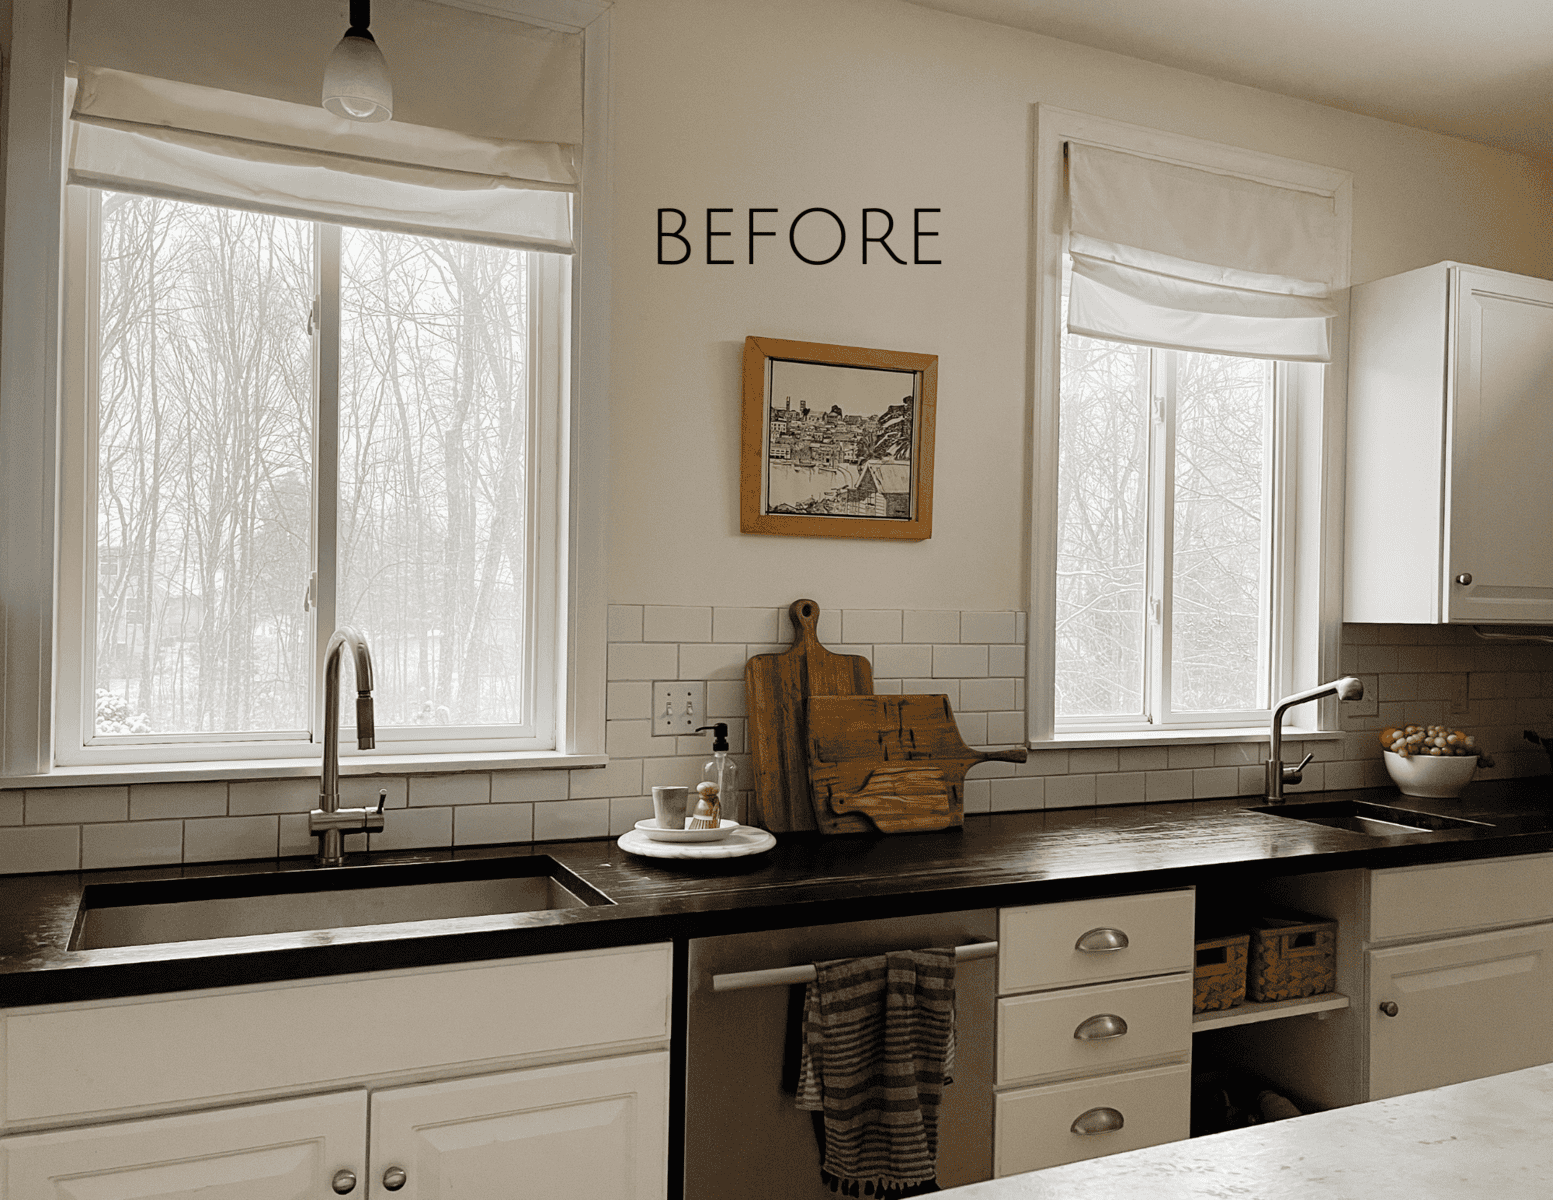
Our house is a basic builder grade. To keep expenses low the builder put mullion on the front windows of the house but not the back windows. Honestly, I never really noticed this before a few years ago. There were so many changes we wanted to make when we first moved in that window consistency wasn’t even a thought. Add to that raising a growing family and mullions or lack of mullions wasn’t on my radar.
The Goal: Adding character to Our Windows
Late last year I was studying some photos on Instagram, you can find me here, and I noticed I was drawn to photos of windows with grids. This led to me researching where to buy these things, but first I had to figure out they’re actually called mullions. After seeing the price of buying mullions I was determined to diy my own custom window mullions. While online I found several good tutorials of how to add window grids/mullions. The basic idea is to get the look of window panes, which were the only way to make windows long ago and add character to your home. What I realized is that whatever way you do it whether through painting like here or tape like here, the most important factor is to make your mullions even and straight.
Easy Window Grids or Mullions
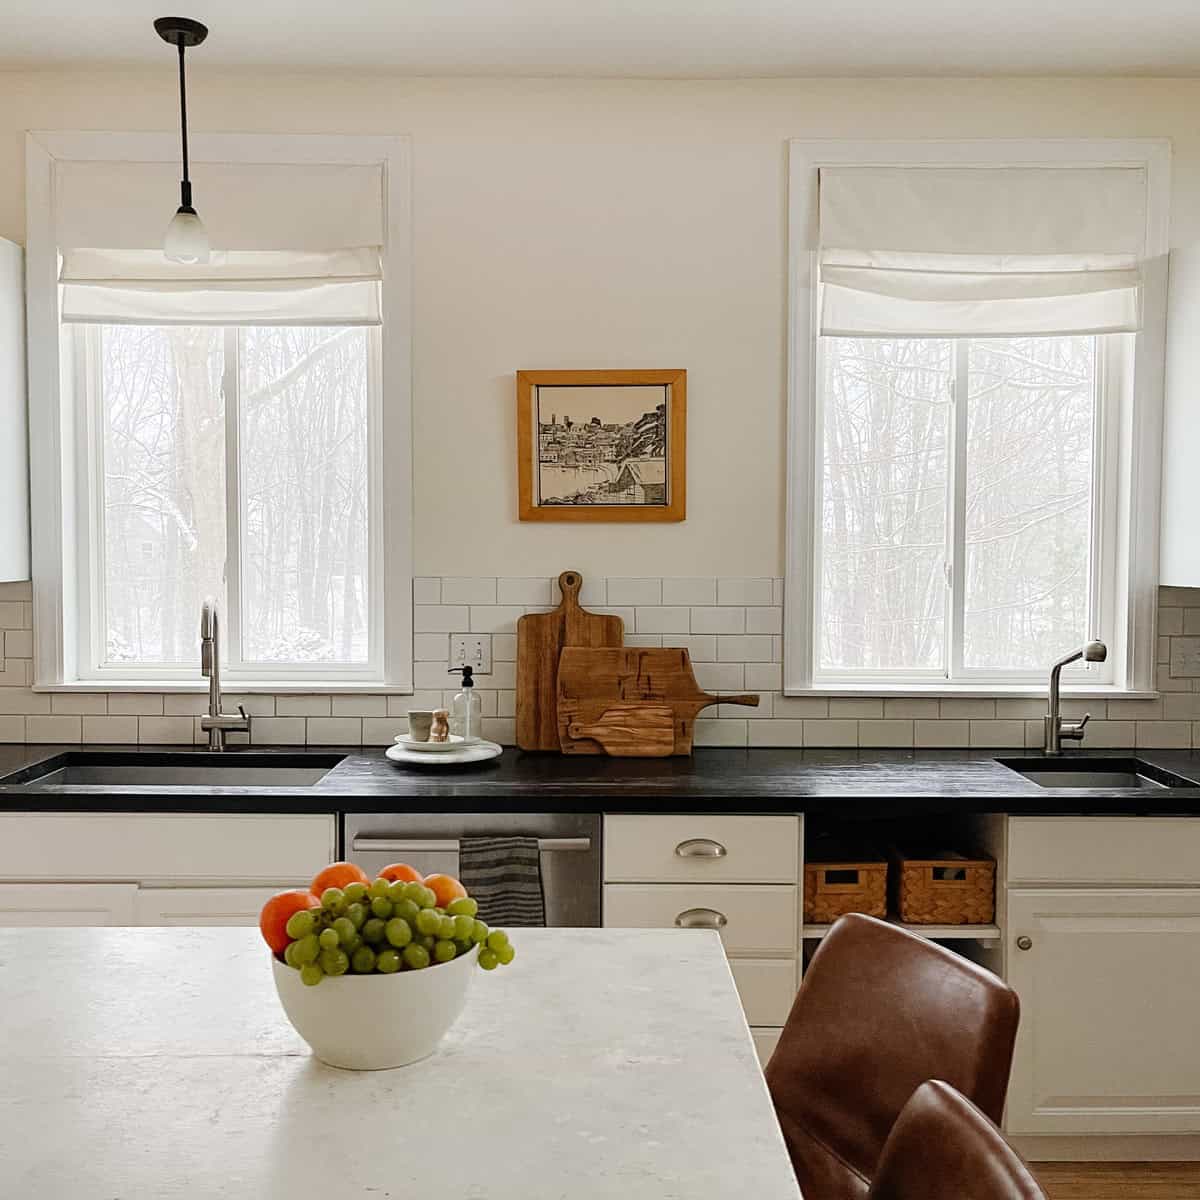
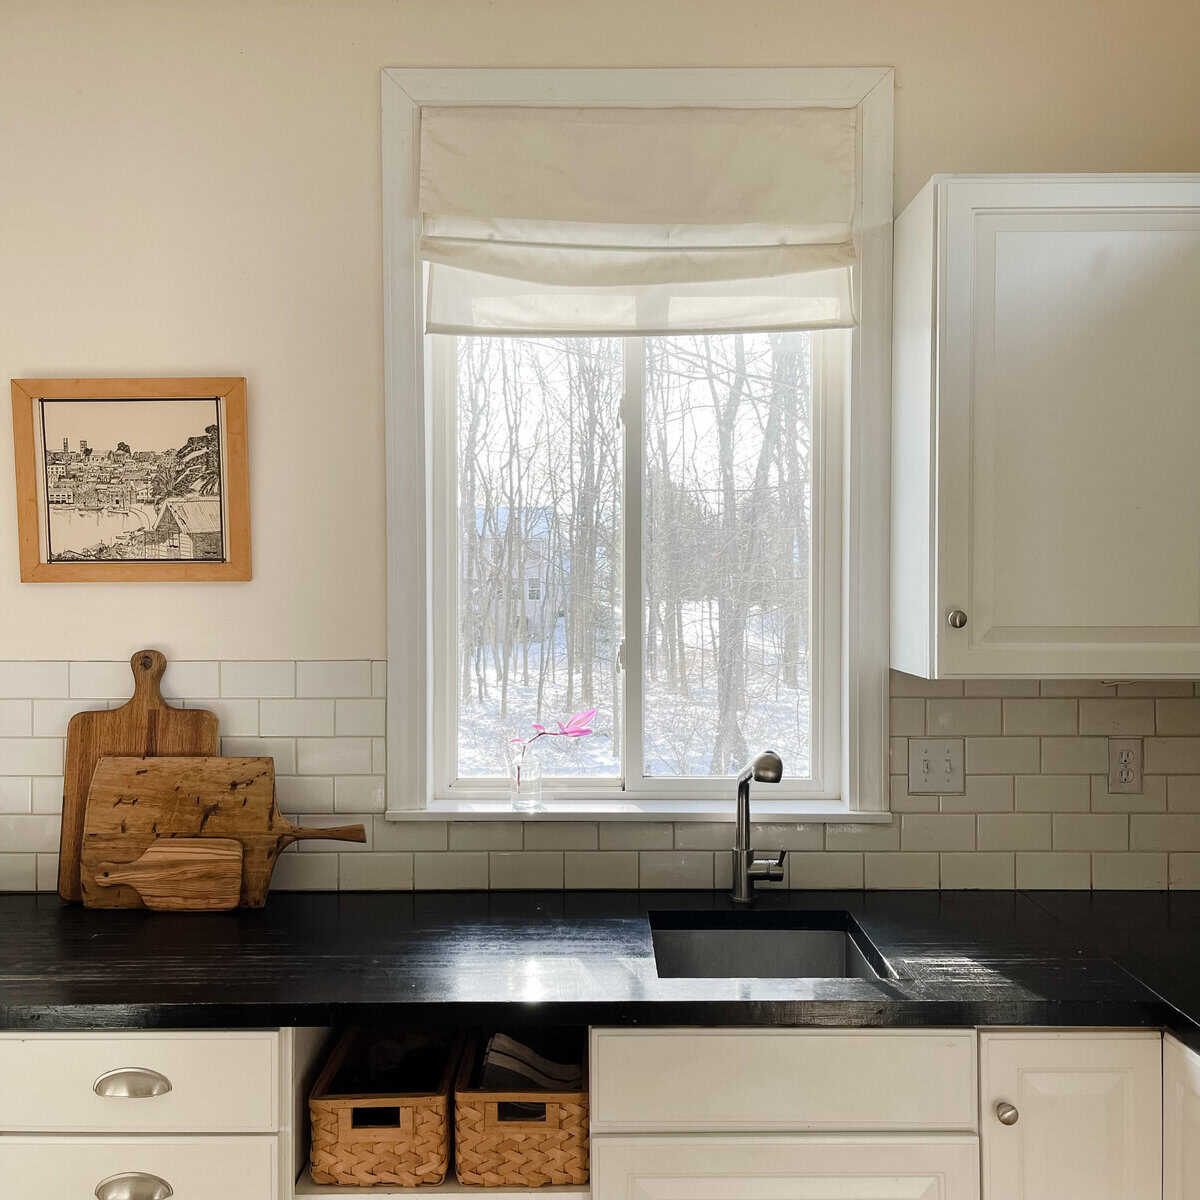
I went with molding I found at Lowes to make my mullions. The two windows on put them in are above our kitchen sinks and I wanted a them to look as real as possible. Here are the steps I took to make that happen.
Clean your windows well.
After you put your diy mullions in it’s take more time to clean each little square so take the opportunity one last time to clean them.
Check how thick your molding can be.
Make sure that you molding is thin enough for your window to open once they are in. Most window have space for molding as mine did, but if not use another variation of wood or wood veneer cut to size, or just go with tape.
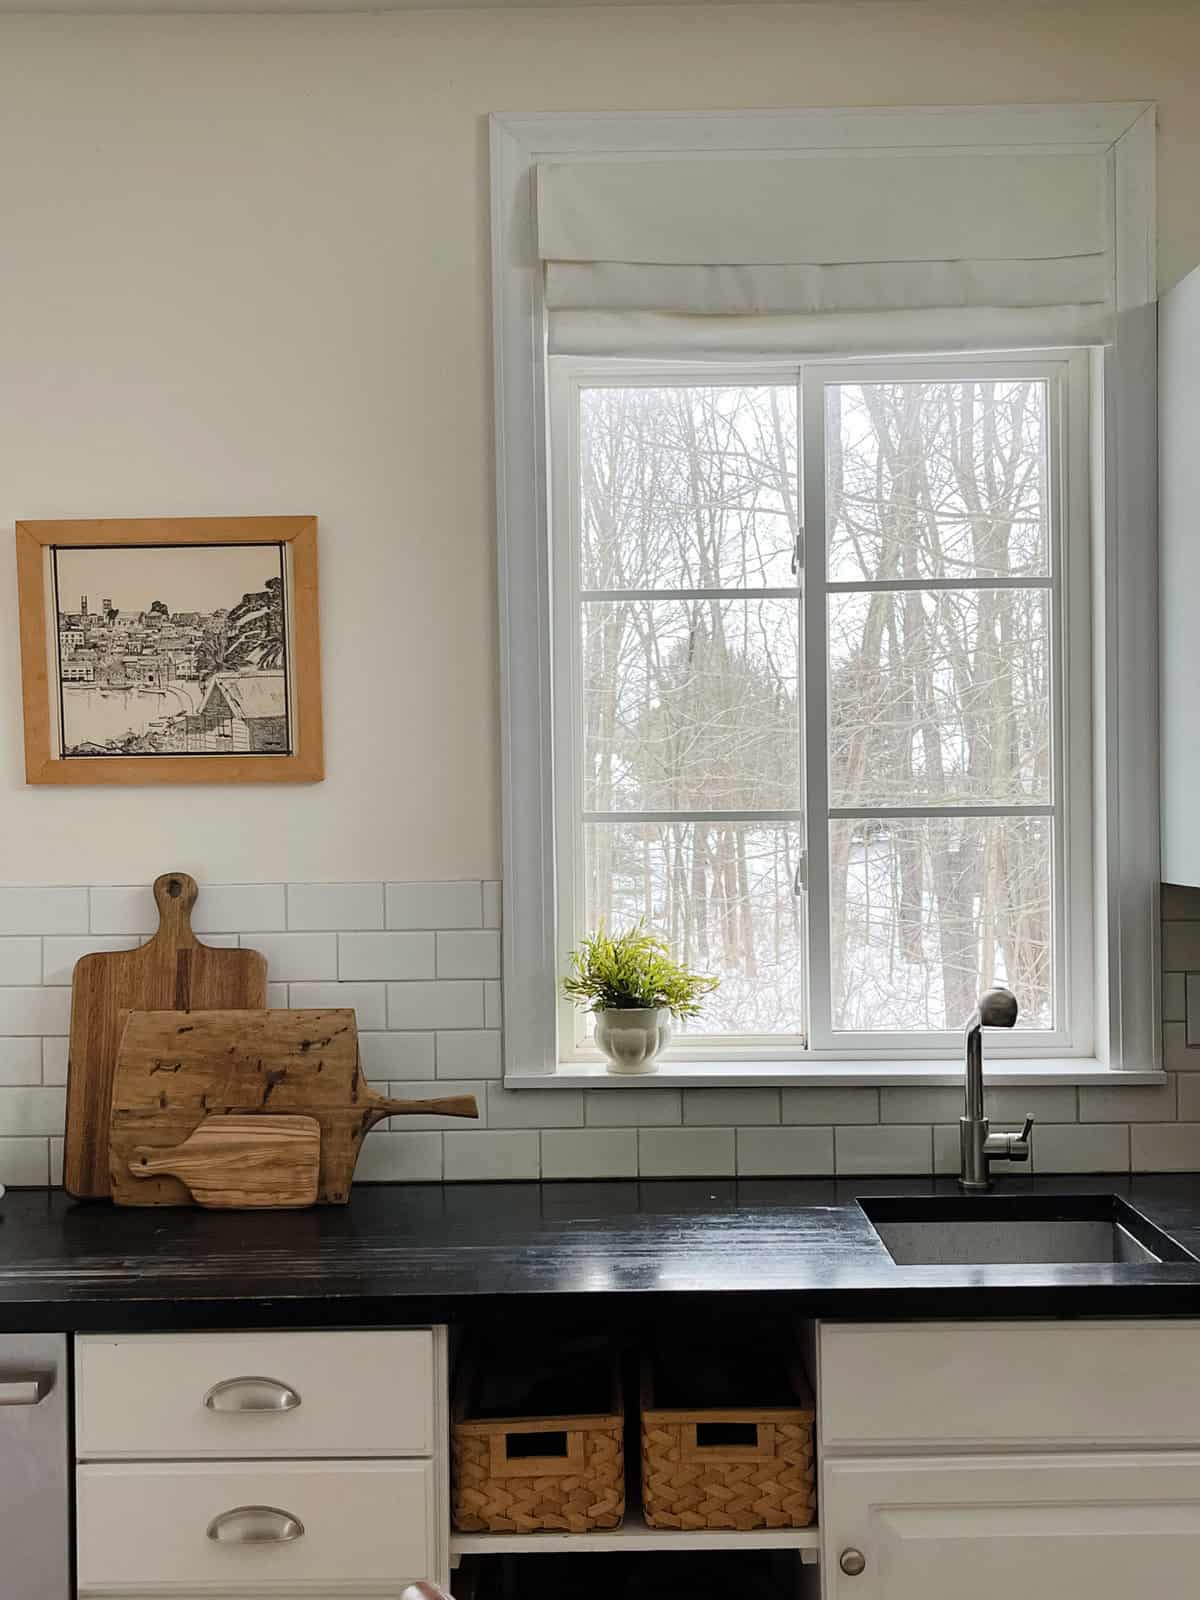
Decide on molding size.
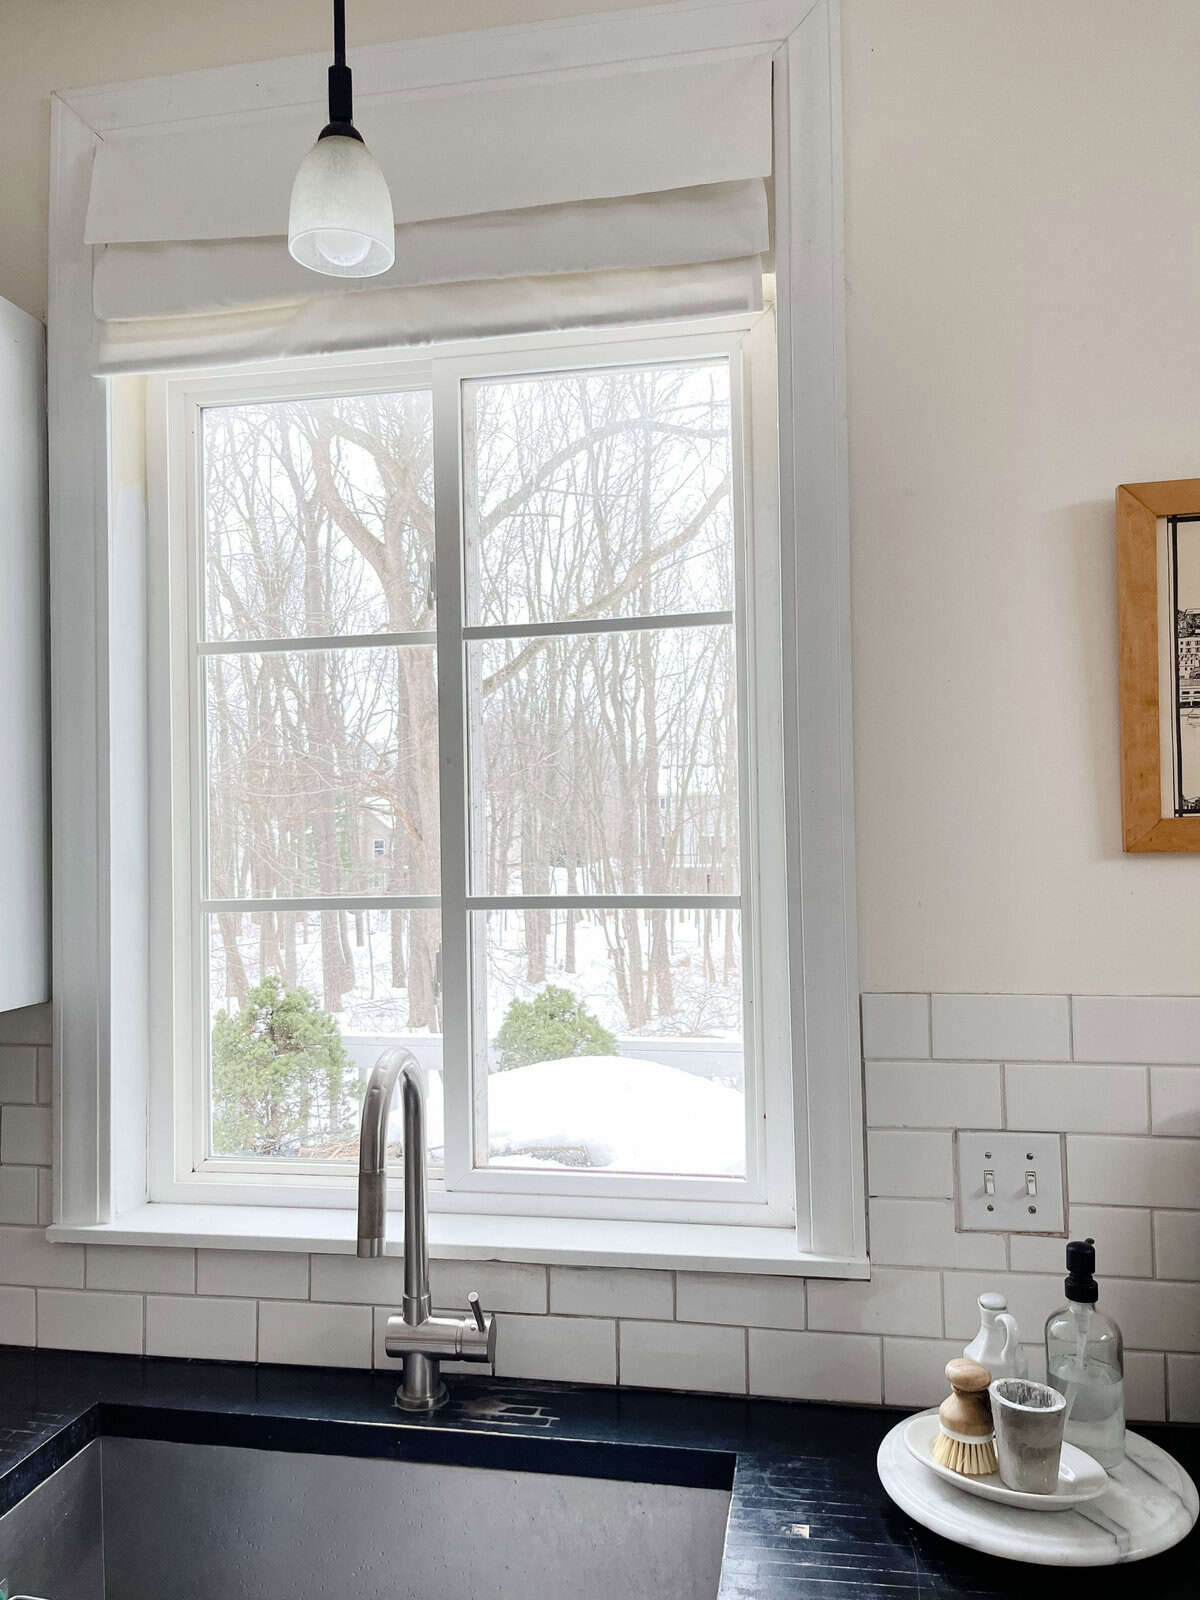
Because of the size of our windows I knew that I would either want four window panes or six. In the end I decided on smaller window panes because of the traditional classic look it brings. During our kitchen renovation years ago I had a window installed over our oven wall which has smaller window panes. We also have smaller panes in the front of the house so six panes made good sense on our two kitchen windows.
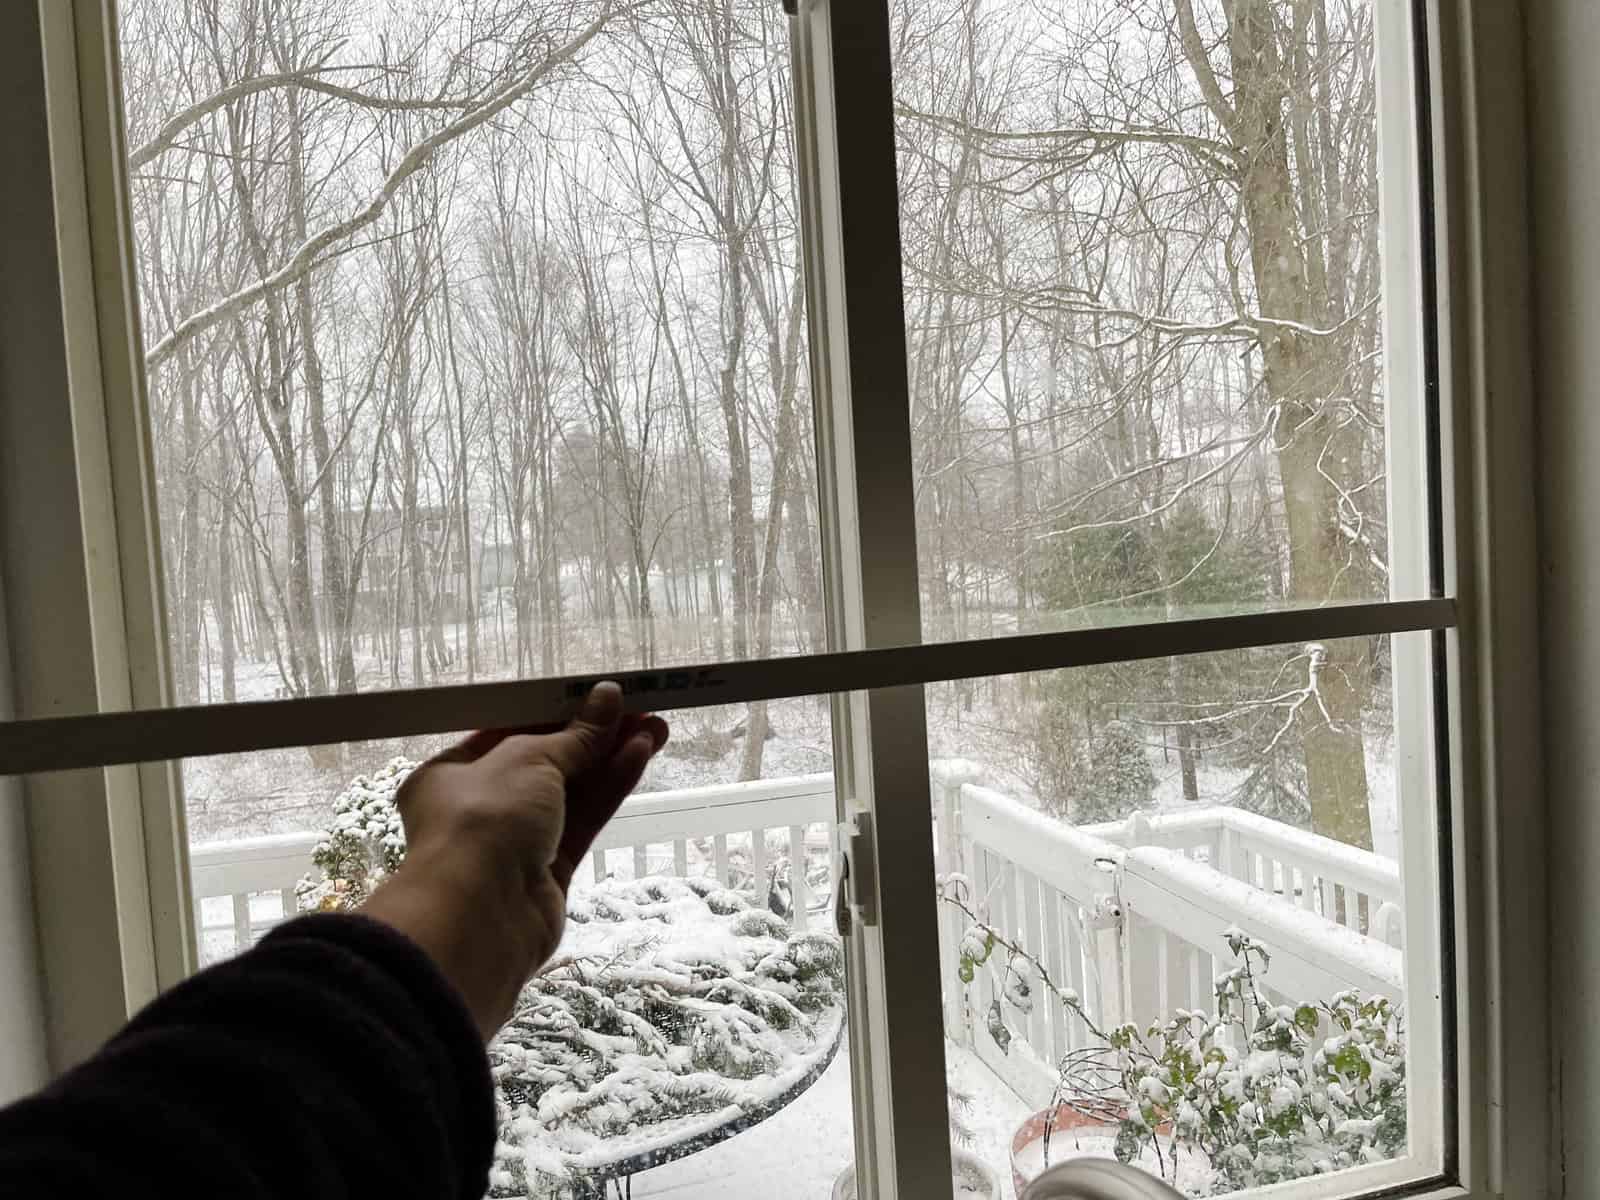
Measure well.
Take your time and with tape as a guide measure out where you’ll be putting your mullions. It’s important to get as even and straight as possible for a nice clean look.
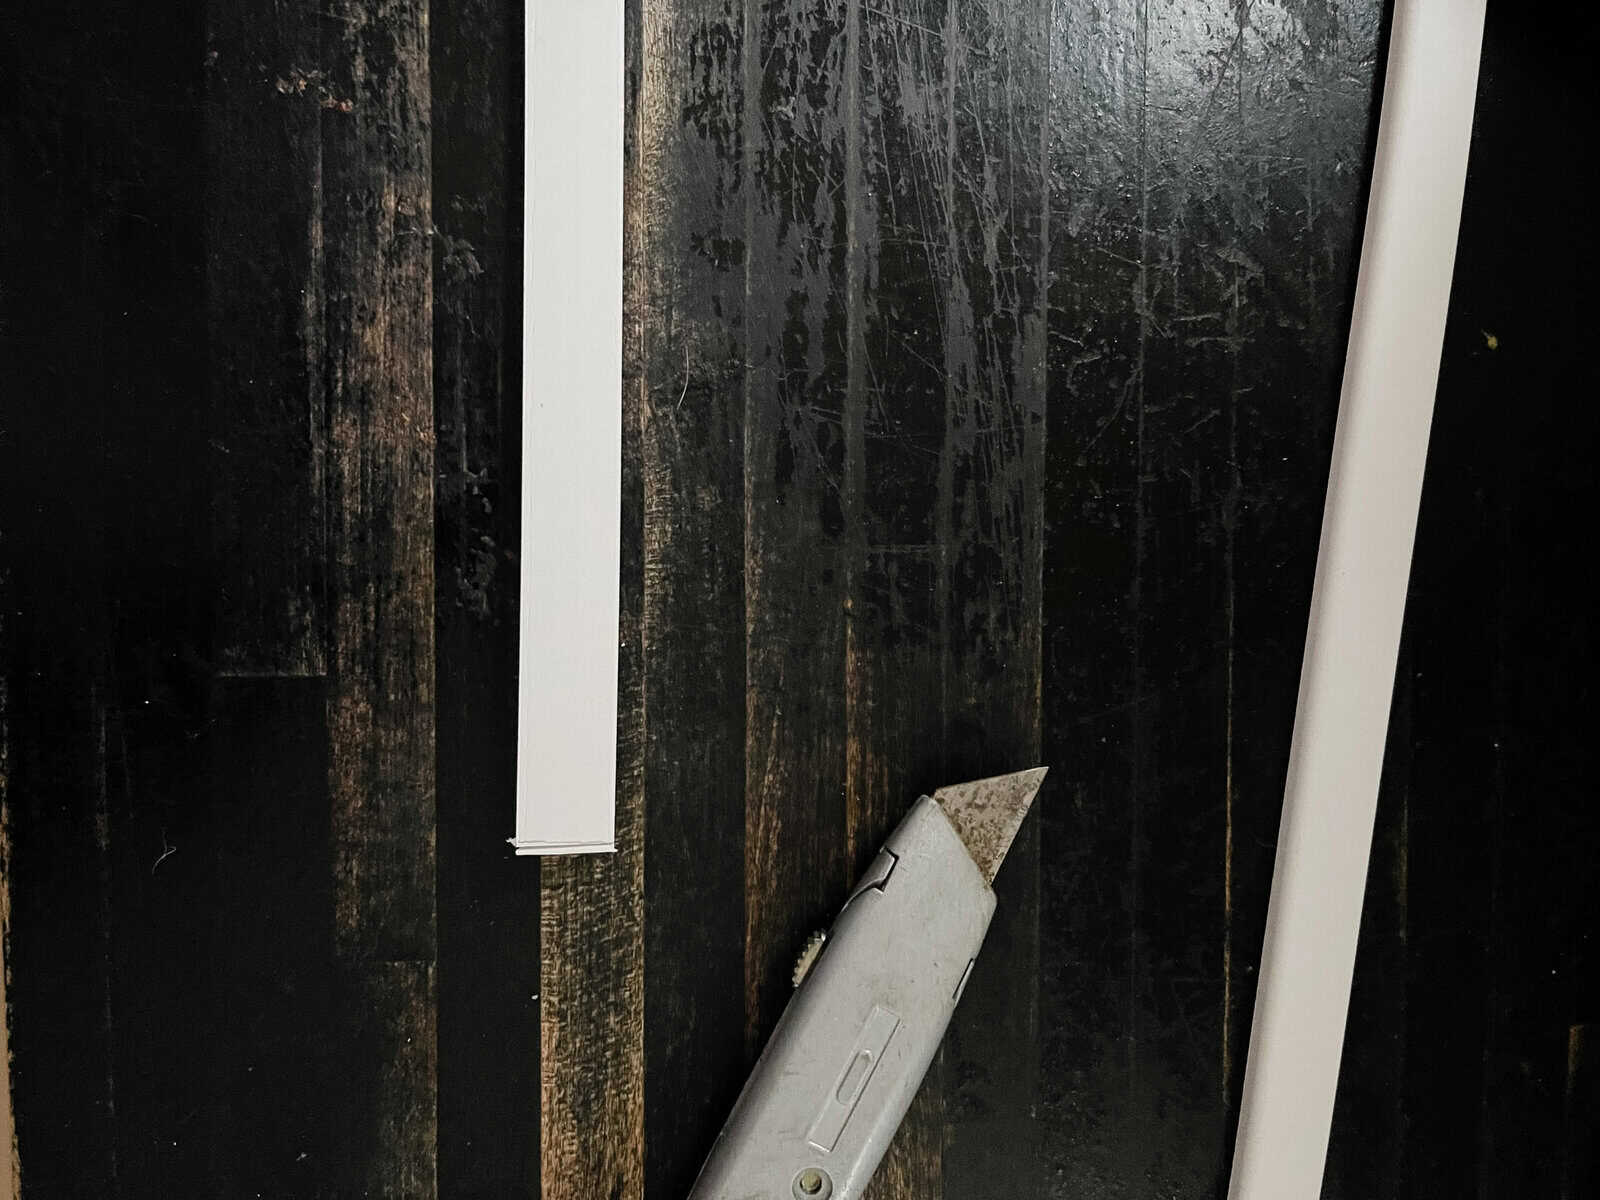
Cut you molding.
The molding I bought was a form of plastic and easy to cut with an X-Acto knife. I scored it first and then pressed deeper which often allowed me to finish the cut by snapping the molding. If my cut was off and too small, which did happen twice, I just cut another and gave the scrap to my girls. They love using stuff like this for their Barbie house. Yep, they’re doing their own home projects at 6 and 8.
Attach your diy molding/mullions.
Use double sided tape to easily attach your light weight molding to the window glass. To make sure it will withstand heat and cold year round I used this foam tape here. Foam tape gives a little more strength to hold the molding as well as the ability to be flexible if you make a mistake when applying it to the window. Several times I started over right after applying my molding to straighten it, and the tape just popped right off allowing me to try again. Loved that because it’s part of why this project very easy to complete.
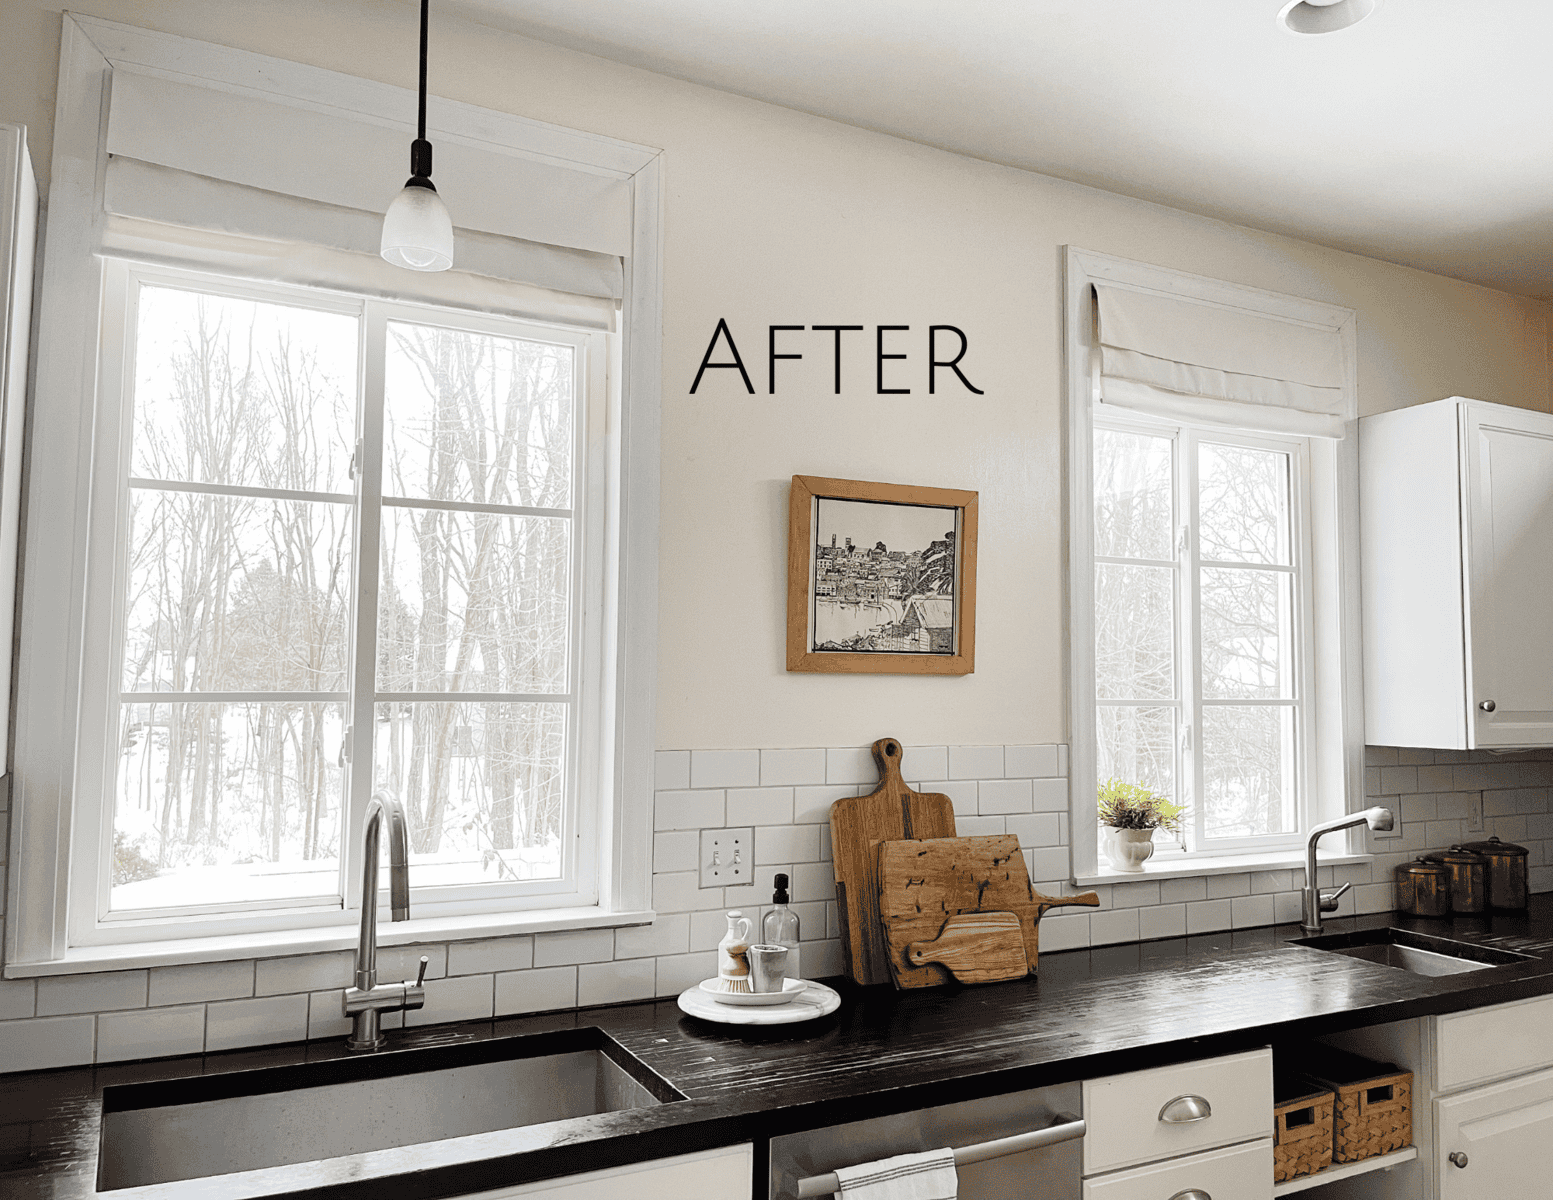
The end result is exactly as I had hoped! The total cost for molding and adhesive foam tape was under $10.
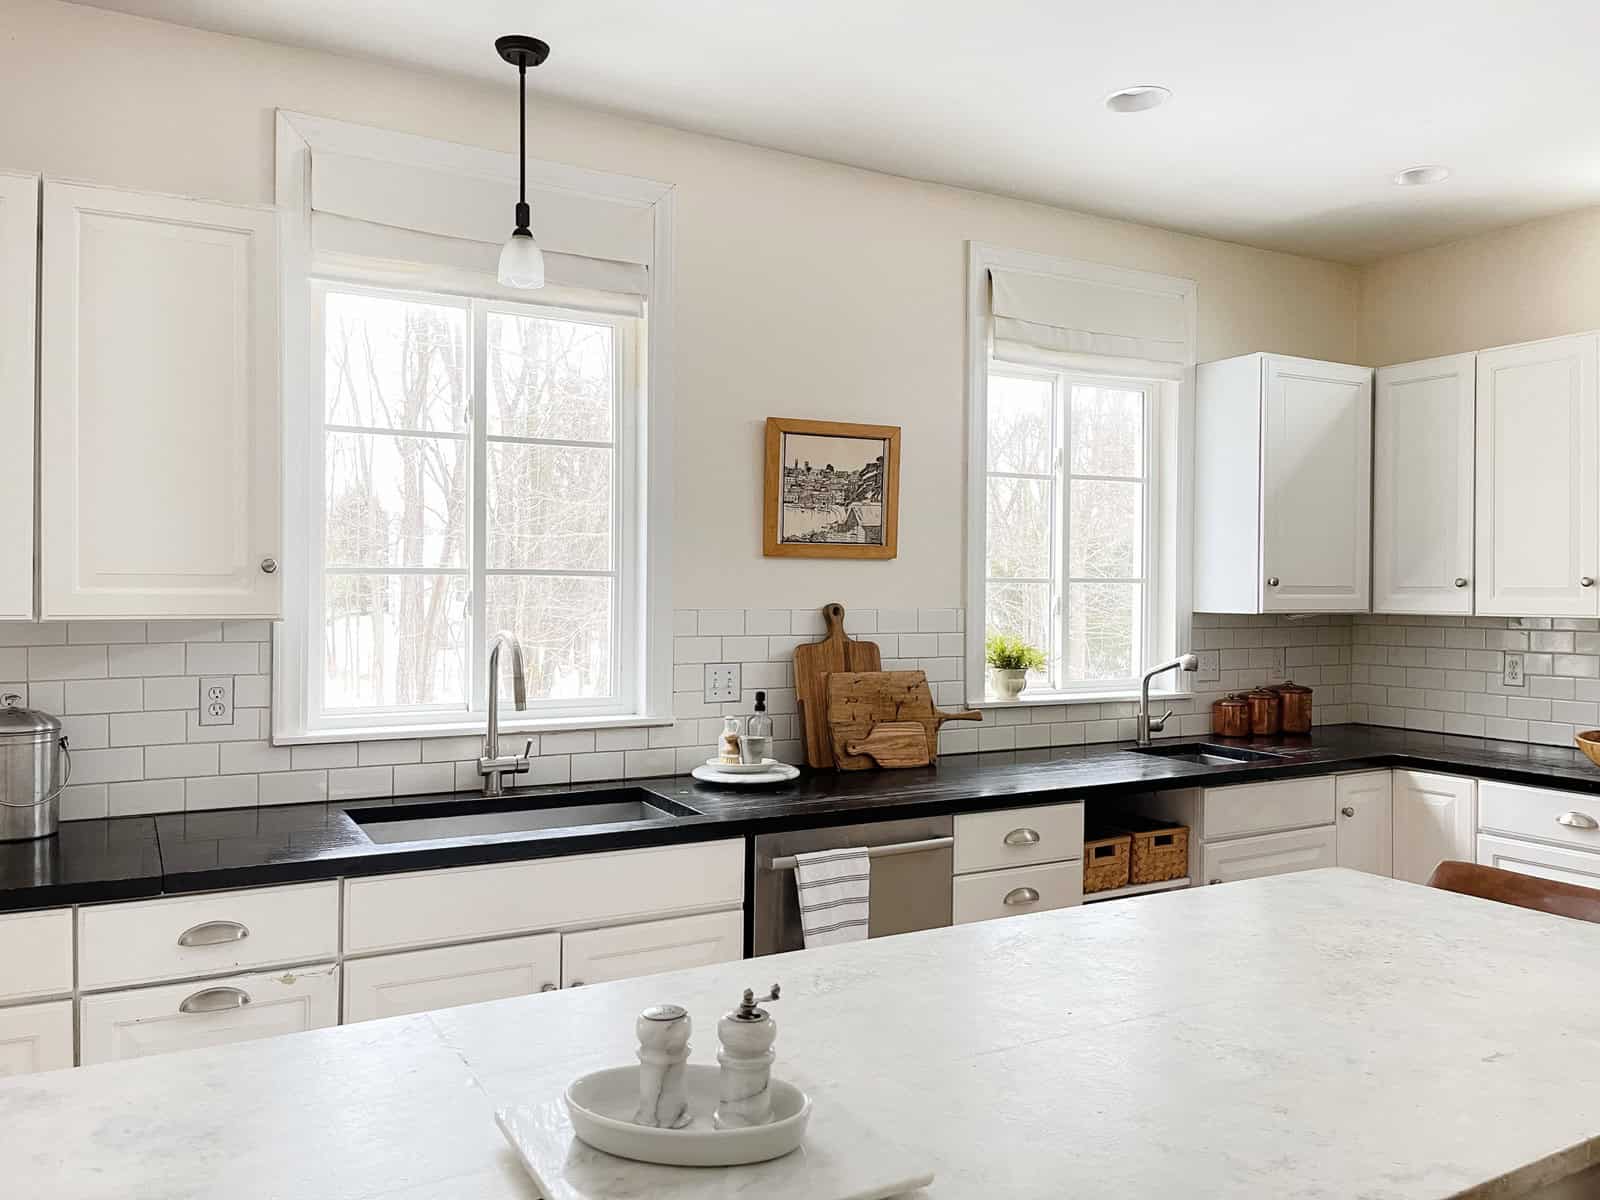
Now that this project is complete I’m so glad I added diy custom window mullions. In fact, I have plans for other windows in our home where I could do the same. If you’re looking for an easy and very inexpensive way to change the look of your home this is a great project. This is also the perfect diy for renters because you can take down the molding with no damage to your windows. Any tape residue can be scrapped off with a razor blade.
Do you have a window that could use a change or architectural character? Would you try adding diy window mullions?


Hi Maria, I love your Roman shades you have in the kitchen windows – I am hoping you could share the brand/where you got them? Looking for something very similar for my kitchen windows. Thanks so much!
Thank you so much Michelle! I love Roman shades. Here is the link to the fabric ones you asked about. https://www.shopltk.com/explore/PureHappyHome/posts/df704747-7040-11ee-a389-0242ac110004
Hey Maria,
This looks great! I used a company called New Panes (www.newpanes.com) for my window grids. They were super easy to do. You should check them out.
Thank you! Yes, I have seen companies who do this. My DIY option was about 80% less than that option. I really wanted to keep costs low, it was a budget friendly choice.