

If you’re looking to add some character to your kitchen, try decorating a kitchen wall with cutting boards.
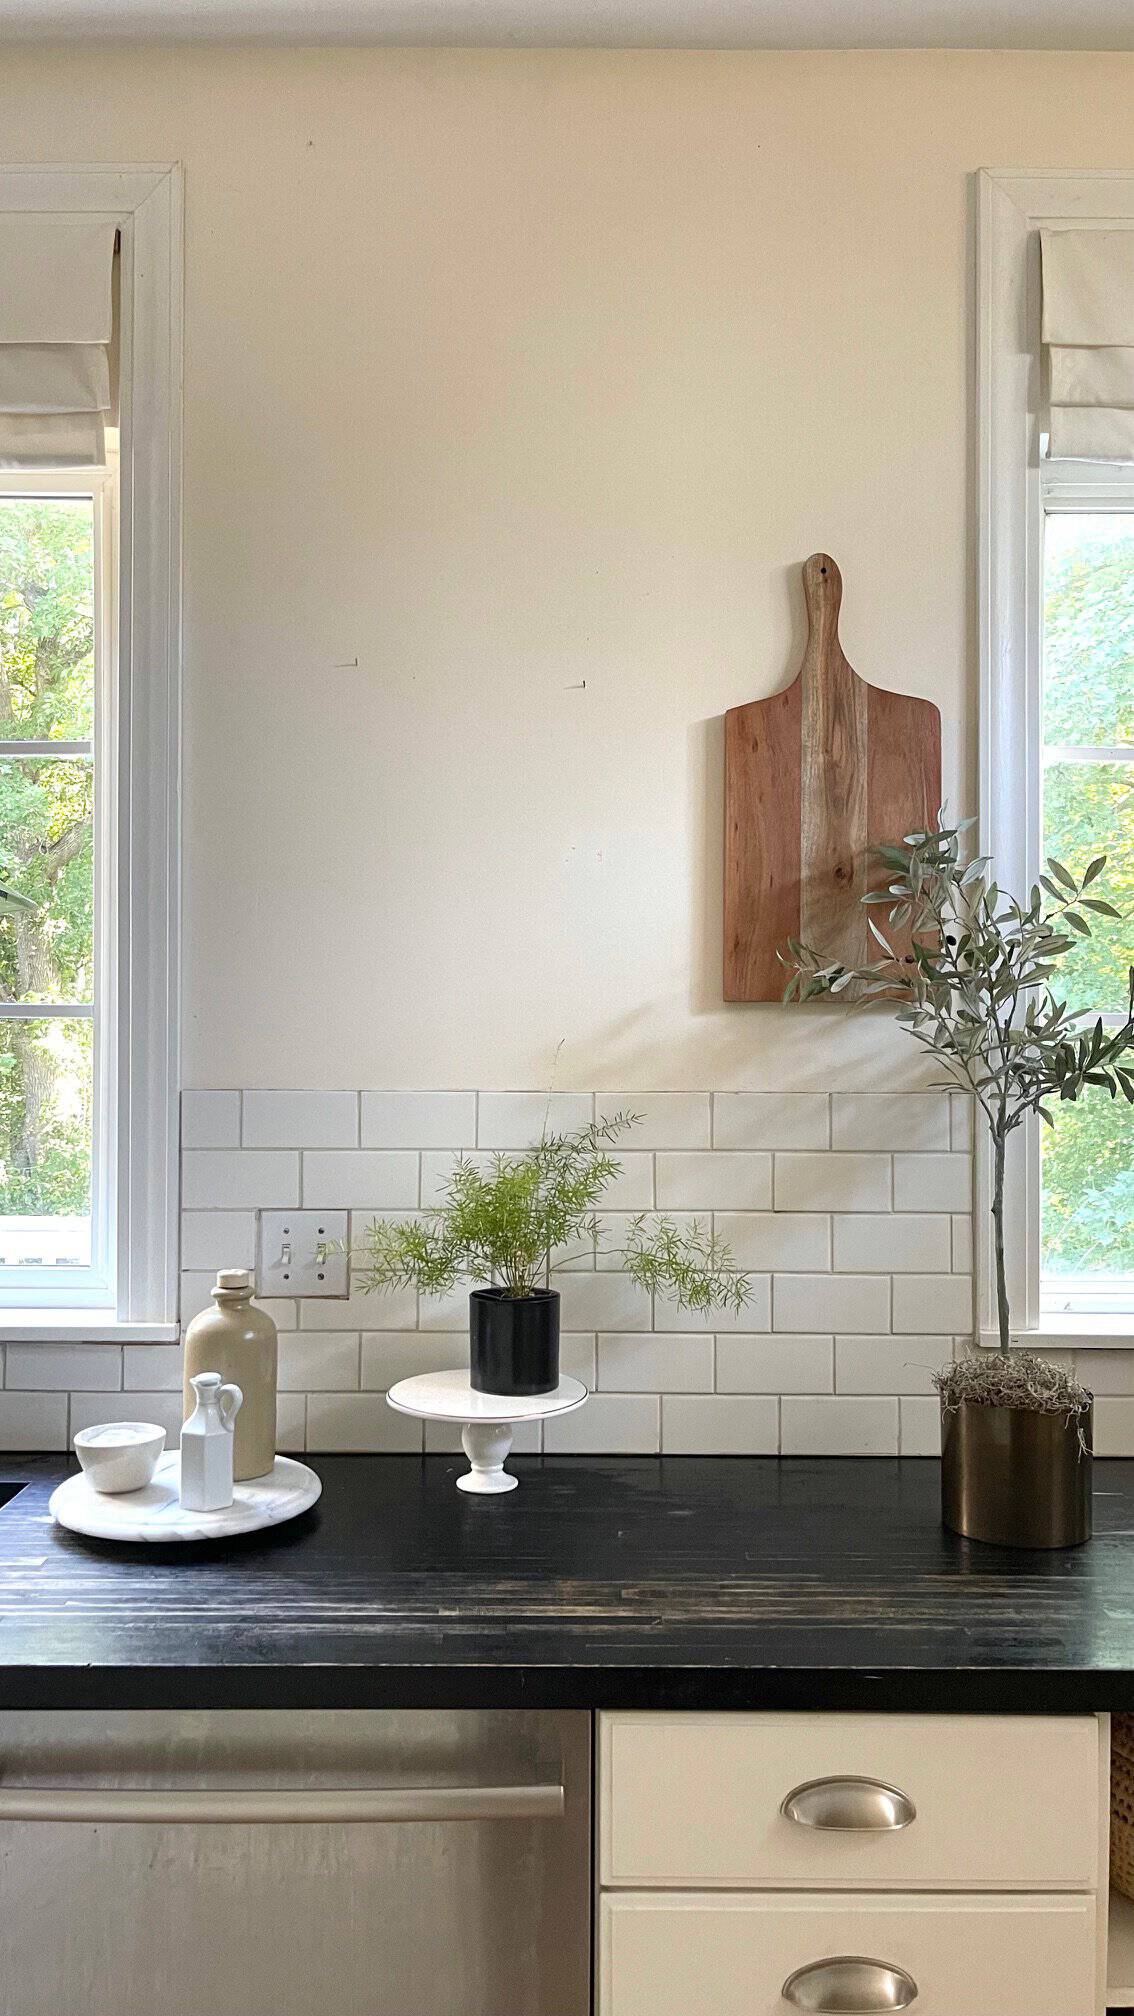
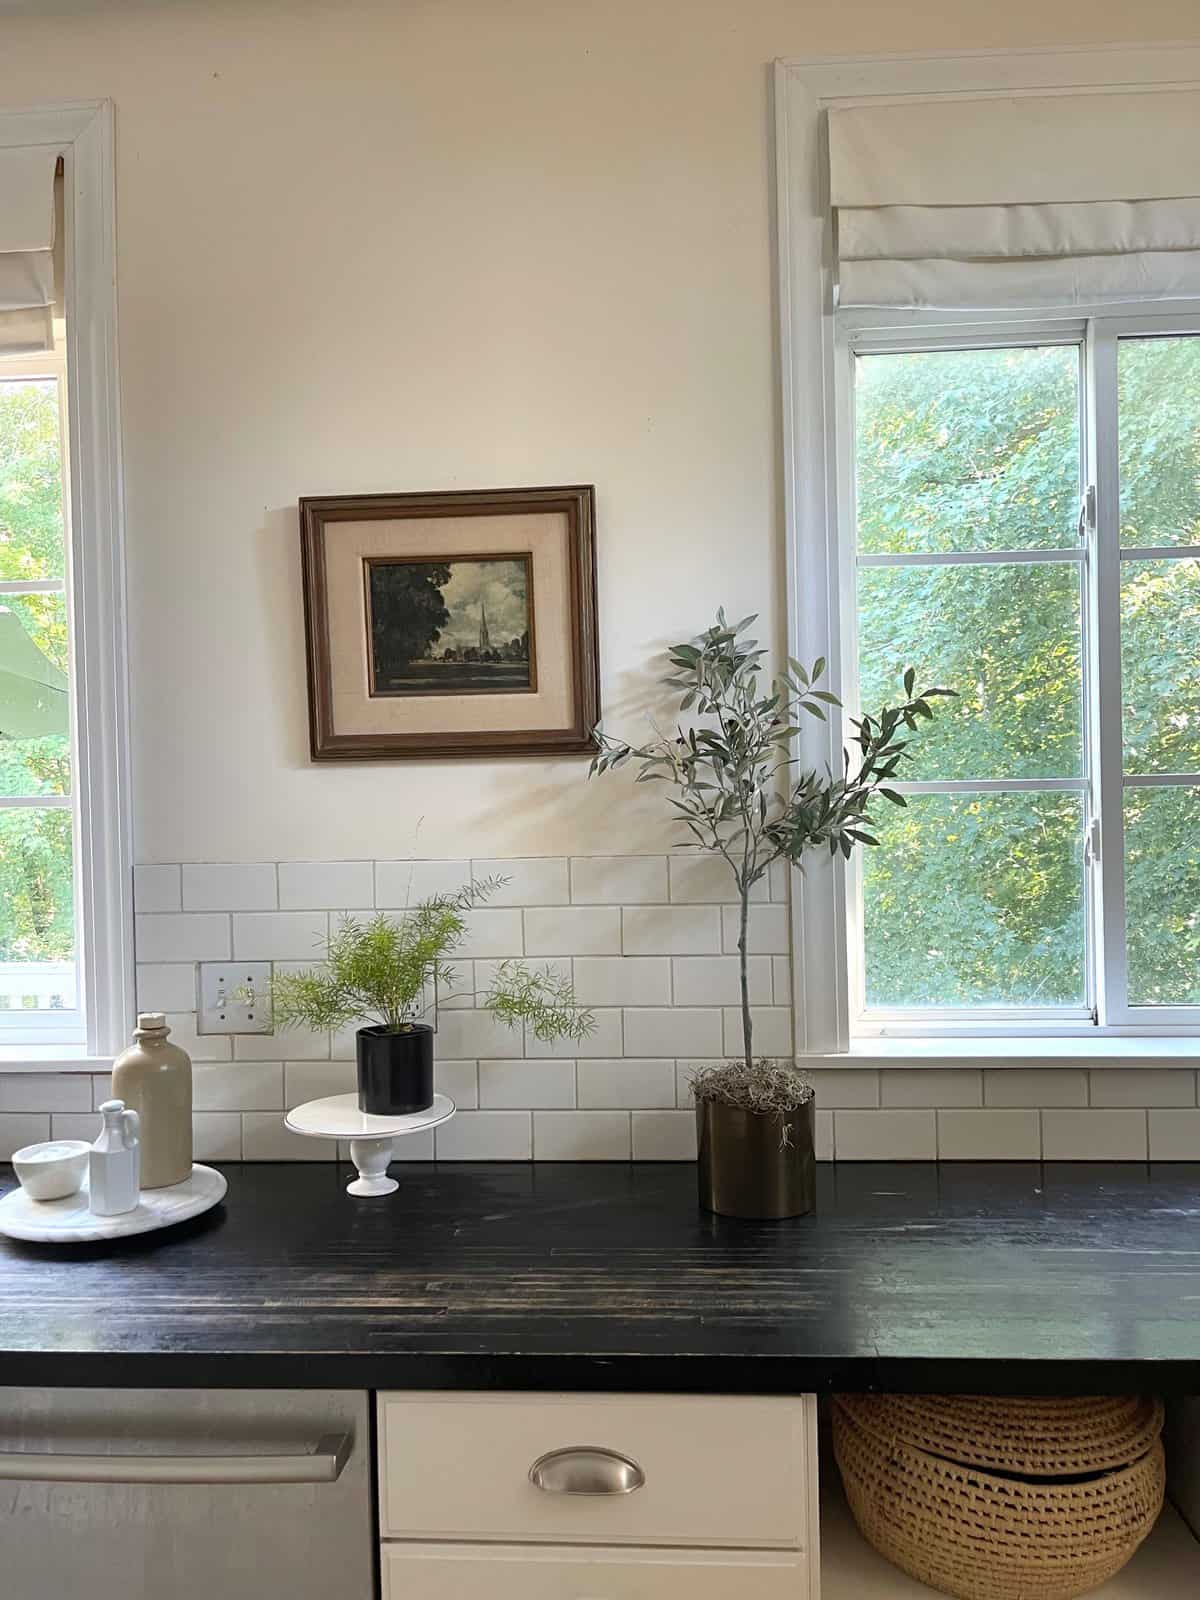
The art on the wall between our two kitchen windows was fine, but I really wanted something kitchen related there.
Decorating a Kitchen Wall with Cutting Boards

We make a lot of salads, and soups, so cutting boards are always a necessity when creating most of our meals. I love a good solid wood cutting board, but plastic cutting boards have their place as well. I use my plastic cutting board when trimming cut flowers.
As an avid thrifter, I keep a list of what I’m looking for at thrift stores and cutting boards are at the top of this list. Sadly, I’ve only found a a few cutting boards throughout my many years of thrifting. I guess just like my family, most family’s cutting boards are used well and often so they don’t want to part with them.
This hasn’t stopped me from continuing to look though. Hope springs eternaI that I’ll someday find an incredible used cutting board at an incredible price of course. This scenario goes like this, I see it from across the aisle just waiting for me to rub it down with oil and make it mine. Yeah, that sounded far more graphic than I intended it to be.
Recently, I bought a couple beautiful and budget friendly cutting boards that I’m very happy with. I knew it was time to create a cutting board wall after, I had purchased this last cutting board. Here is how I did it. Super easy cutting board wall.
Create a Stunning Cutting Board Wall in Just 15 Minutes
Welcome to a fun, quick DIY project that will add a touch of rustic charm to your kitchen – creating a cutting board wall! In just 15 minutes, you can transform ordinary cutting boards into a stylish and functional wall display. Whether you’re a DIY enthusiast or a beginner, this project is incredibly easy and satisfying. Let’s dive into how you can create this unique kitchen feature with minimal effort and maximum impact.
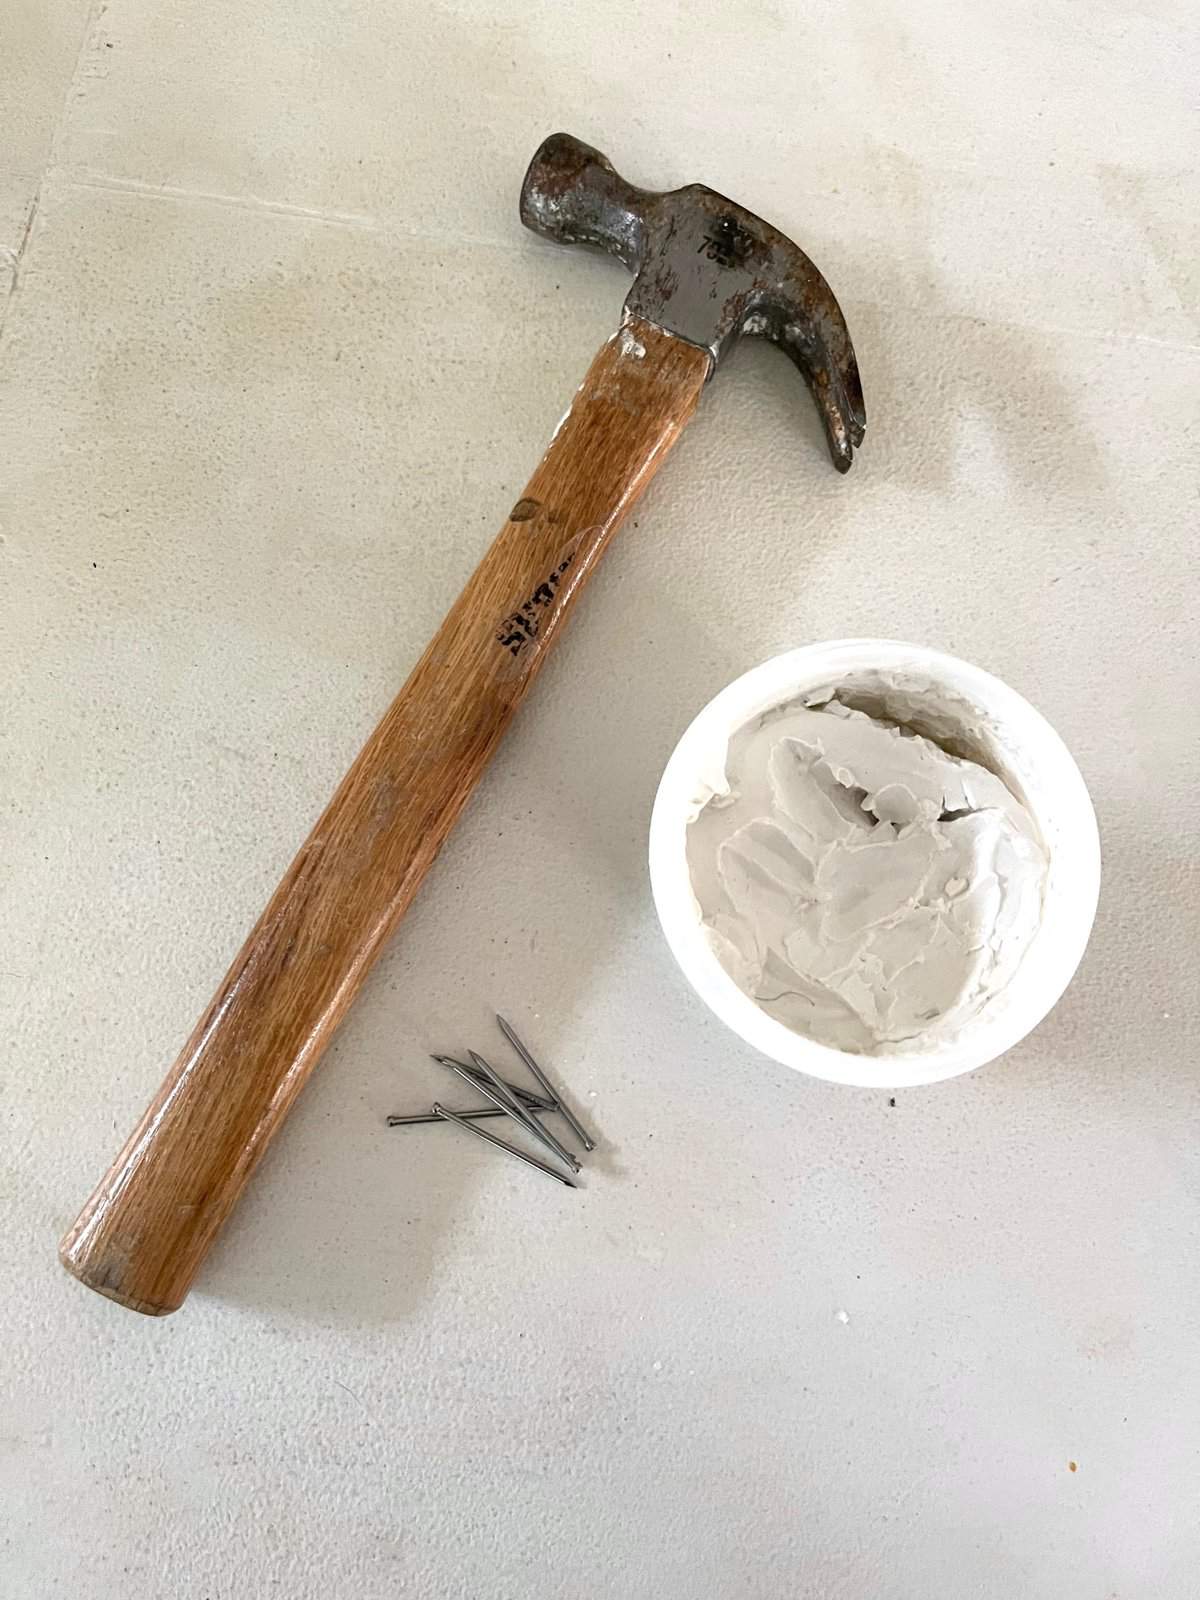
What You’ll Need:
– Cutting boards with holes in the handle
– Nails
– Hammer
– Pencil
– Caulk
Cutting Board Wall Step-by-Step Guide
**1. Choose Your Cutting Boards:** The beauty of this project lies in its simplicity. For my cutting board wall, I selected three boards with holes in the handles. This is a crucial feature for easy hanging.
**2. Mark the Nail Positions:** Hold each cutting board against the wall where you want it to hang. With a pencil, mark through each handle hole onto the wall. This will ensure precise nail placement.
**3. Secure the Nails:** Hammer a nail into each marked spot. For a cleaner look, angle the nails upward slightly – this ensures they remain hidden behind the boards.
**4. Add Extra Stability:** For a more secure hold, I recommend caulking around each nail. This not only adds stability but also prevents the boards from wobbling.
**5. Let It Dry:** Patience is key here. Allow the caulk to dry for about an hour to ensure everything is set in place.
**6. Hang the Cutting Boards:** Once the caulk is dry, hang each board on its respective nail. This should be a snug fit, thanks to your precise measurements.
**7. Address Any Wobbliness:** If any board feels unstable, a simple trick with duct tape can fix it. Form a circle with the tape and place it under the board for additional support and balance.

Final Touches for Your Cutting Board Wall
Voilà! In just 15 minutes, you’ve created a charming and practical cutting board wall. It’s not only a great way to organize your boards but also adds a decorative element to your kitchen. Feel free to mix and match different sizes and styles of cutting boards for a more eclectic look.
This project is perfect for those who love quick and easy home improvements. It’s also a great way to showcase your cutting boards, especially if you have custom or artisanal pieces.
**Remember:** A cutting board wall isn’t just about functionality; it’s about adding a personal touch to your kitchen. So, get creative, and let your culinary sanctuary reflect your style!
BEFORE
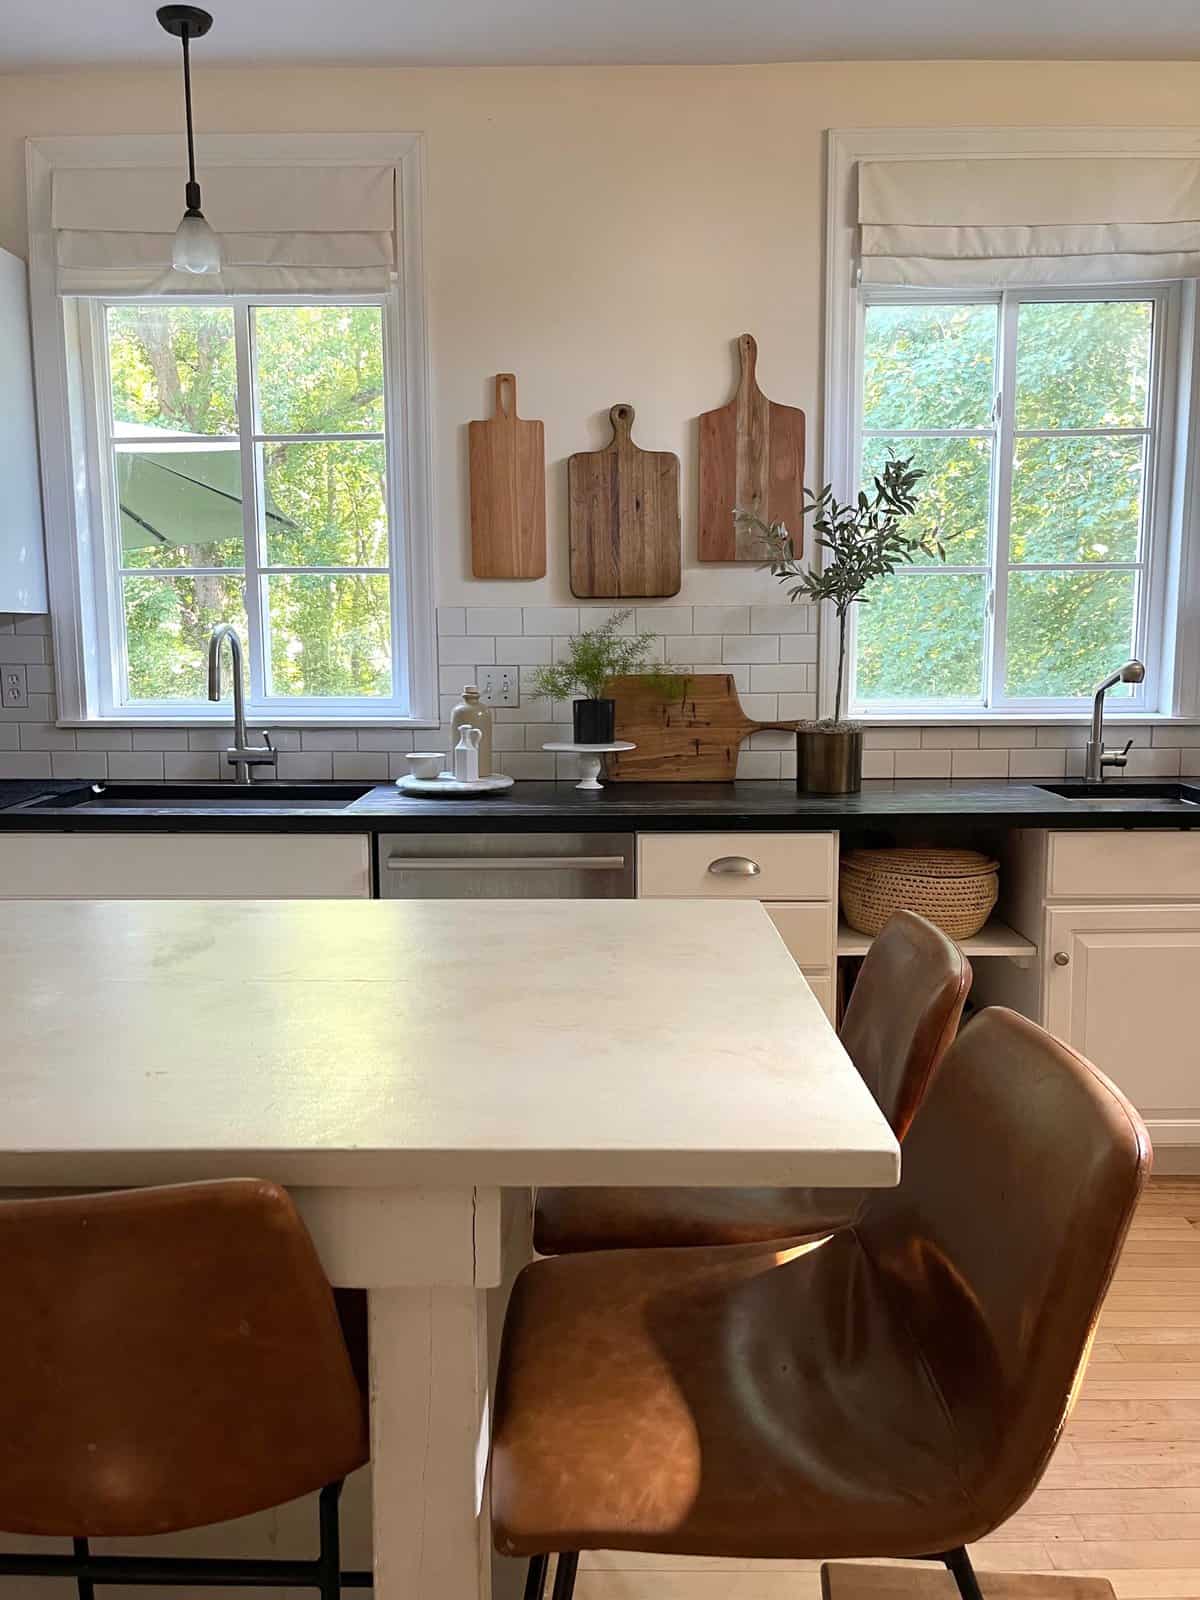
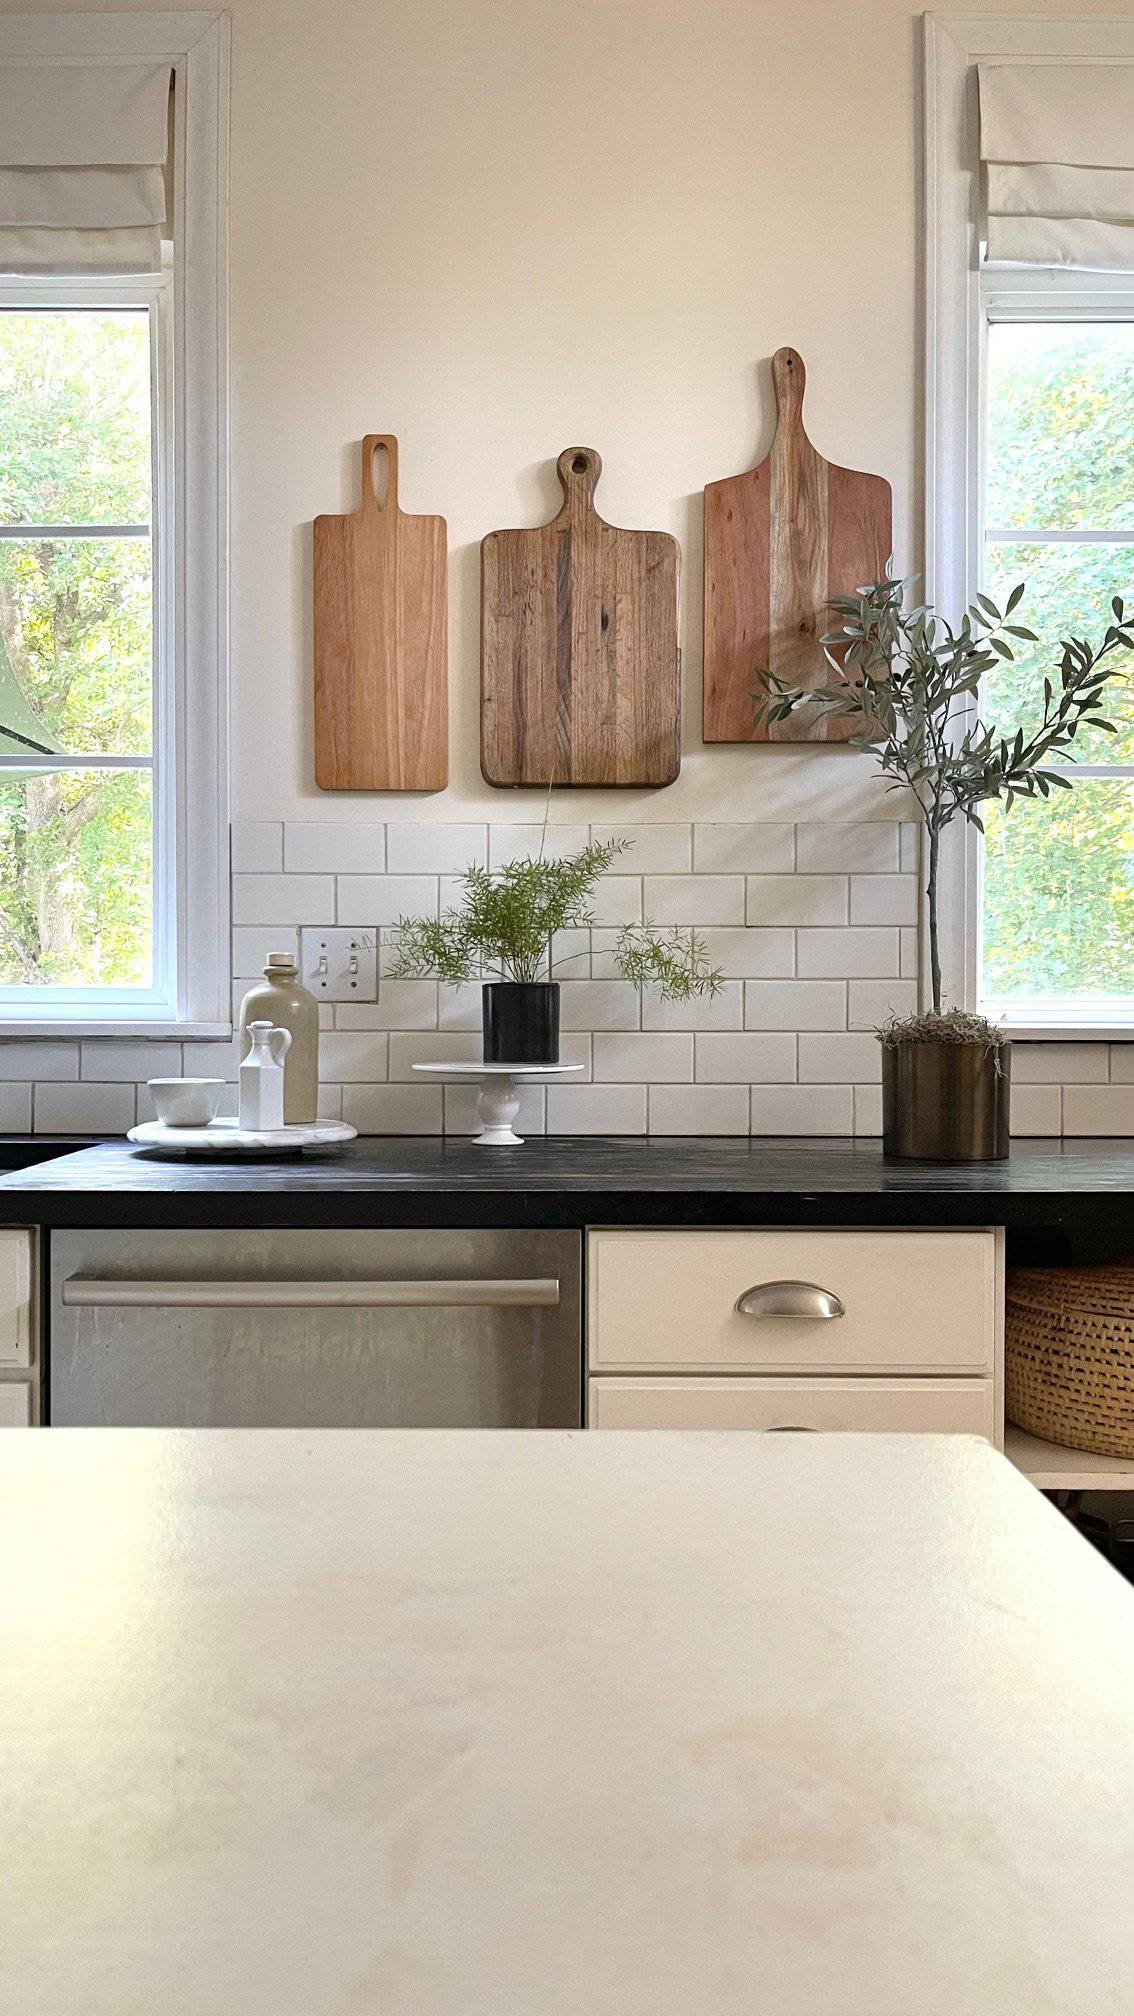
AFTER
Now our cutting boards are close at hand when any of us are in the kitchen working on a meal. It’s functional decor that I love.
When we’re finished using them, we just return them to the wall to be displayed. Such a quick kitchen DIY!
If you have a wall area above your kitchen counter this is a perfect place for a cutting board display. Much better than just having all the cutting boards on that pile on the kitchen counter, and convenient as well.
I hope this cutting board wall project has inspired you. Let me know what you think!
Below I’ve collected several beautiful, cutting boards of varying prices for you to check out.

MORE DECORATING BLOG POSTS


**Some of the links in this post are affiliate links. If you click on the link and purchase the item, we will receive an affiliate commission at no extra cost to you.


0 Comments