Today let’s talk about how to use sandpaper in thrift flip projects to update old wood home decor and furniture.
You can save so much money by doing this you guys!
Don’t let the boring look of sandpaper trick you. It’s cool, cool stuff, and will help make your DIY dreams come true.
Yes, that sounds dramatic, but I’m not wrong!
How to Use Sandpaper In Thrift Flip Projects
Remove the Dated Finish of Wood Home Decor and Wood Furniture
How many times have you walked the aisles at your local thrift store and found a piece with great shape, but a dated worn down finish?
This happens to me all the time.
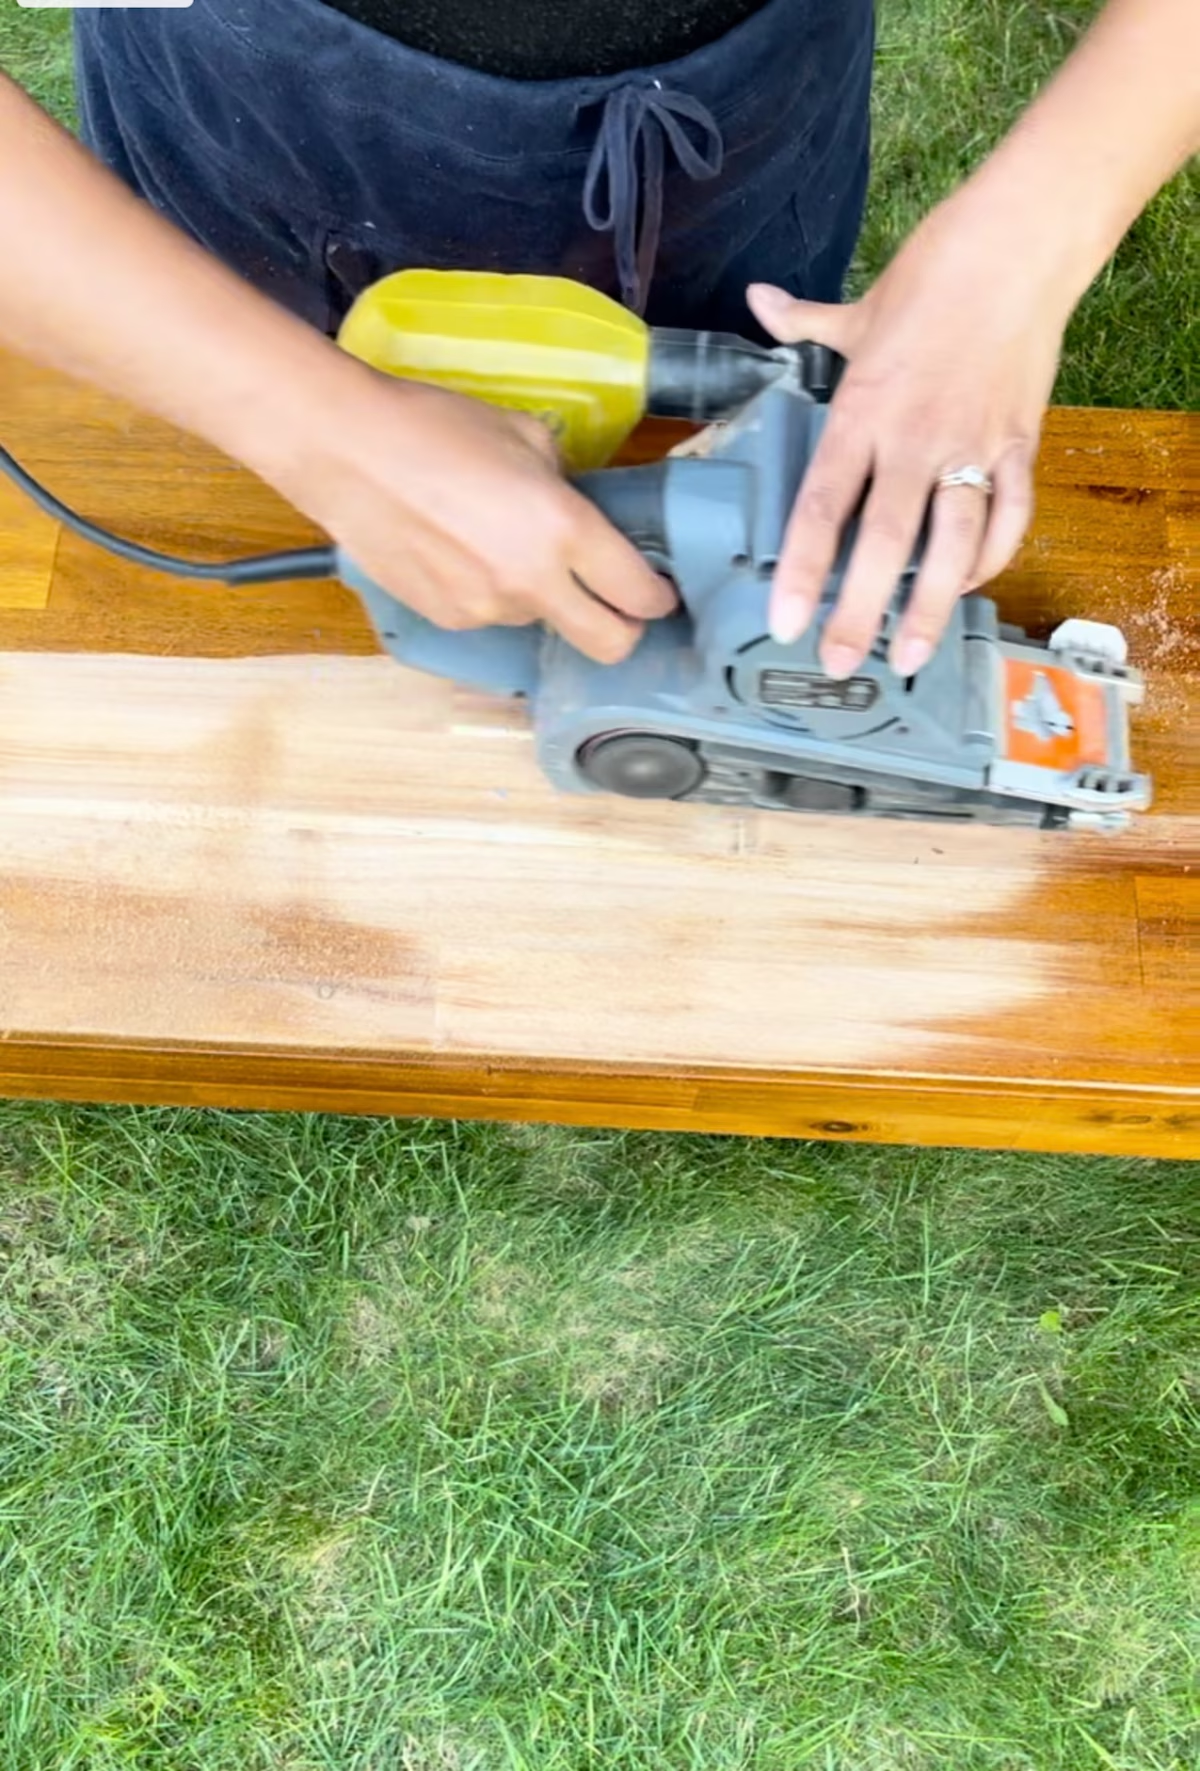
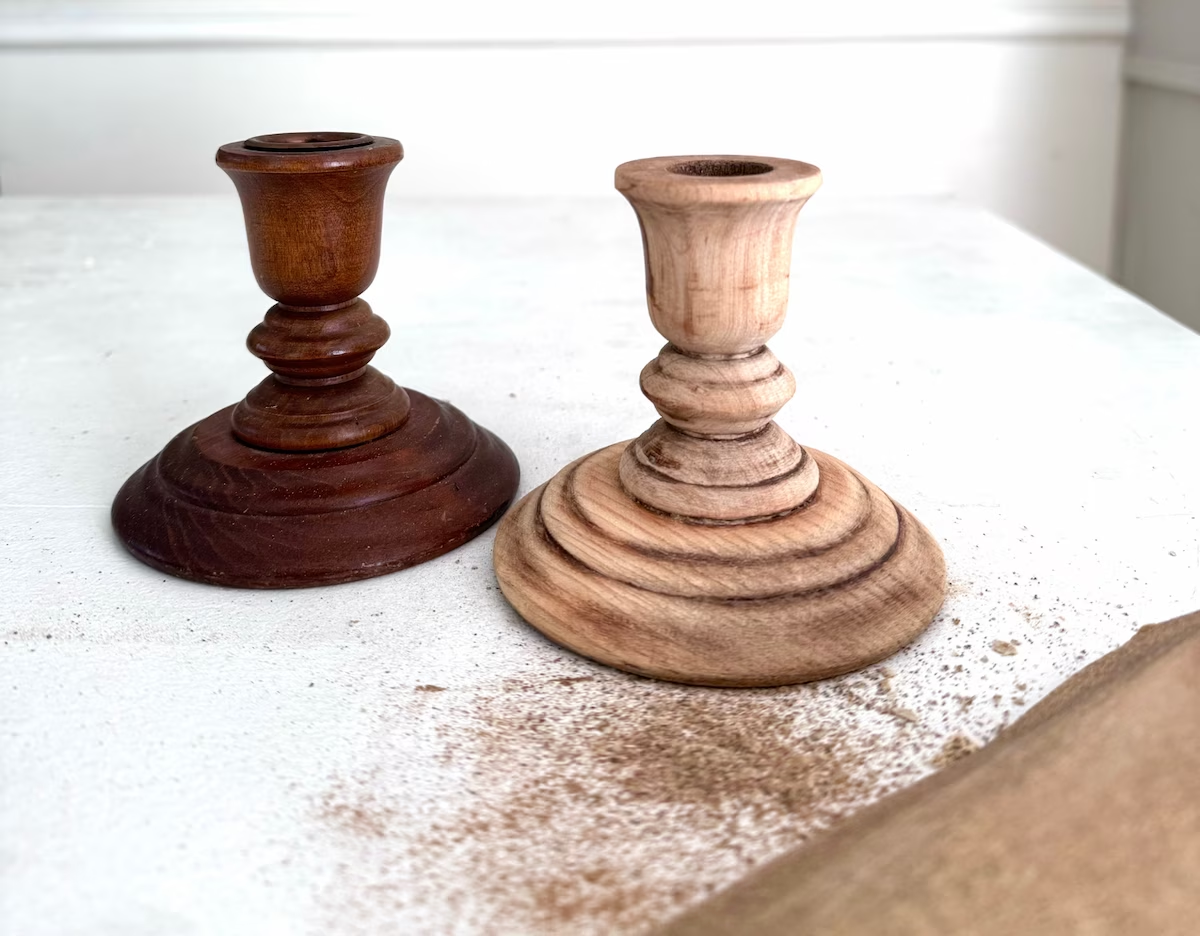
Sanding these pieces down to the raw wood can update the look of anything.
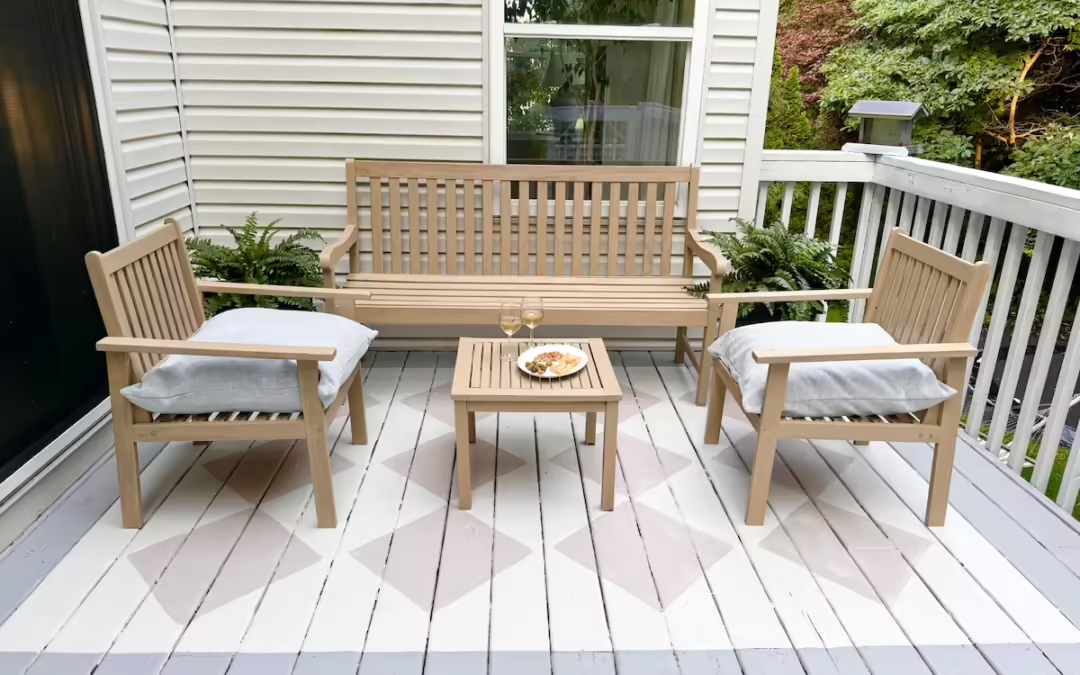
You can see how I did updated this old bench by sanding it here.
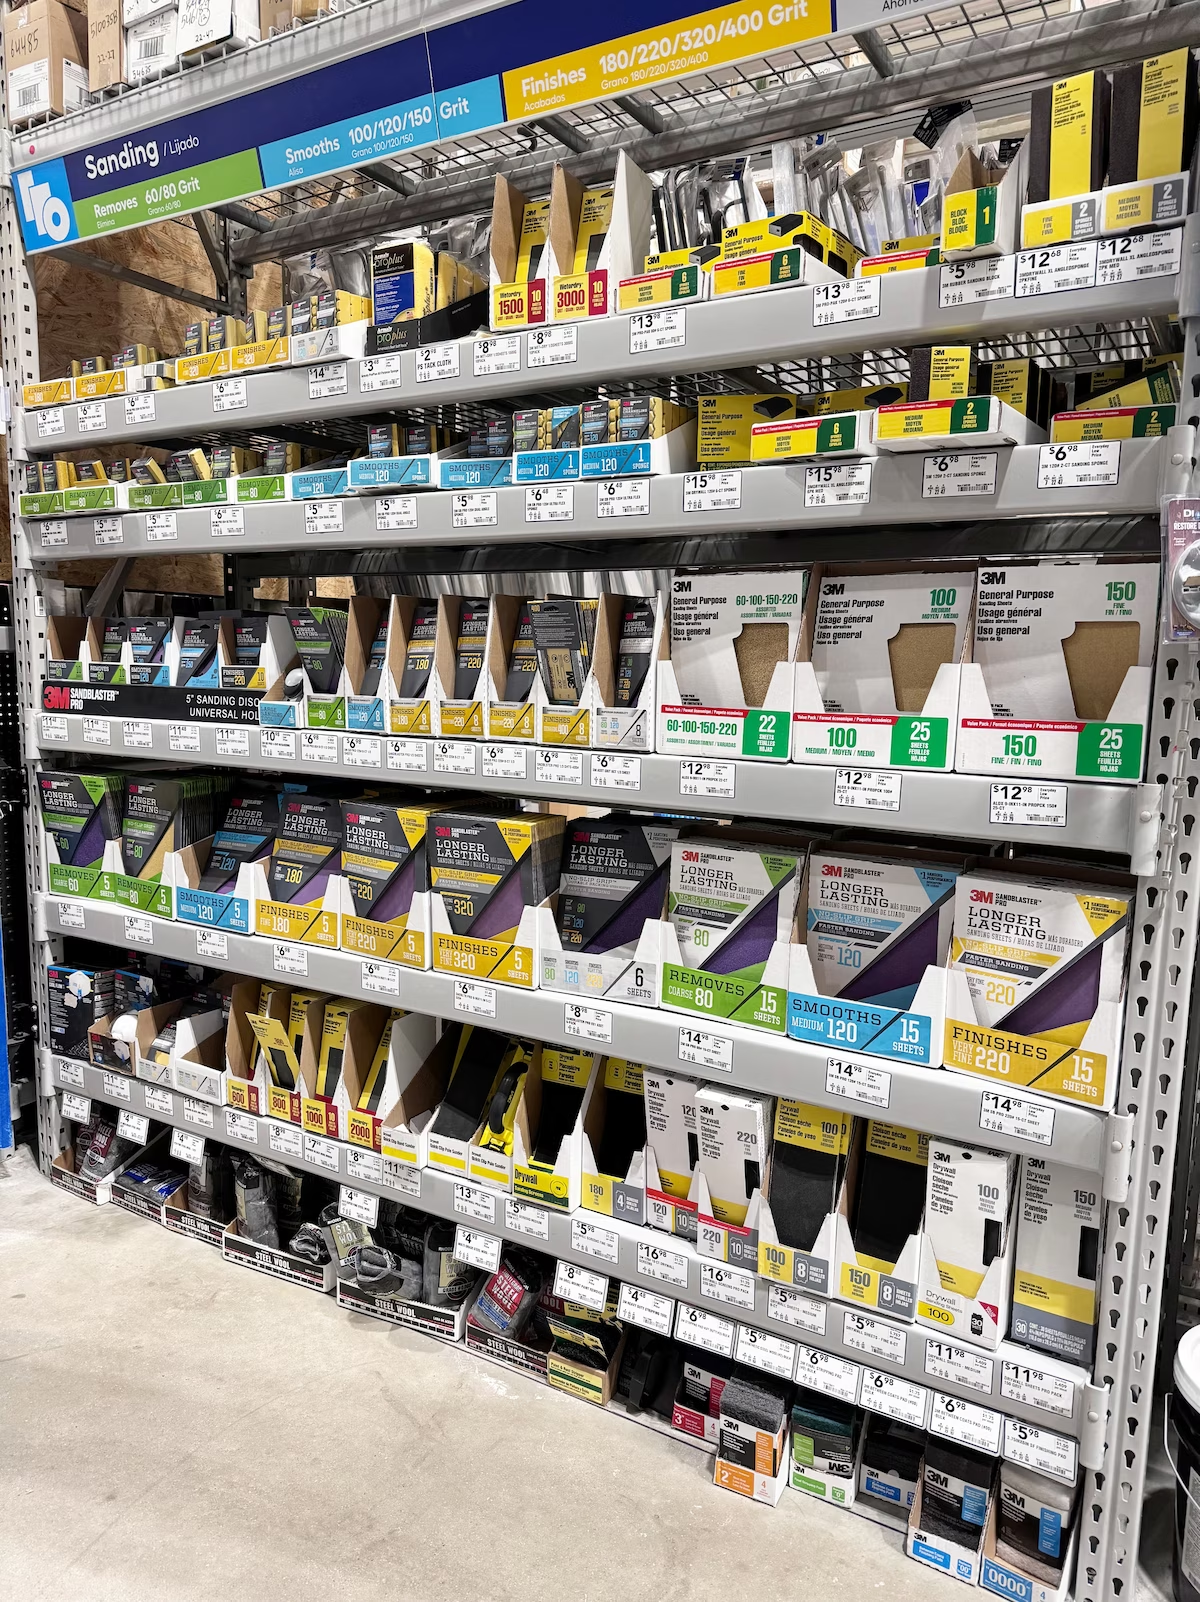
At any given time at our house you’ll find a vast assortment of sandpaper at the ready.
Not only that, but you’ll also see tools that help to sand things and make sanding easier.
It just seems that most of the DIY projects we take on need sandpaper to complete them.
Sandpaper is a versatile DIY supply that can change the whole look and feel of a piece.
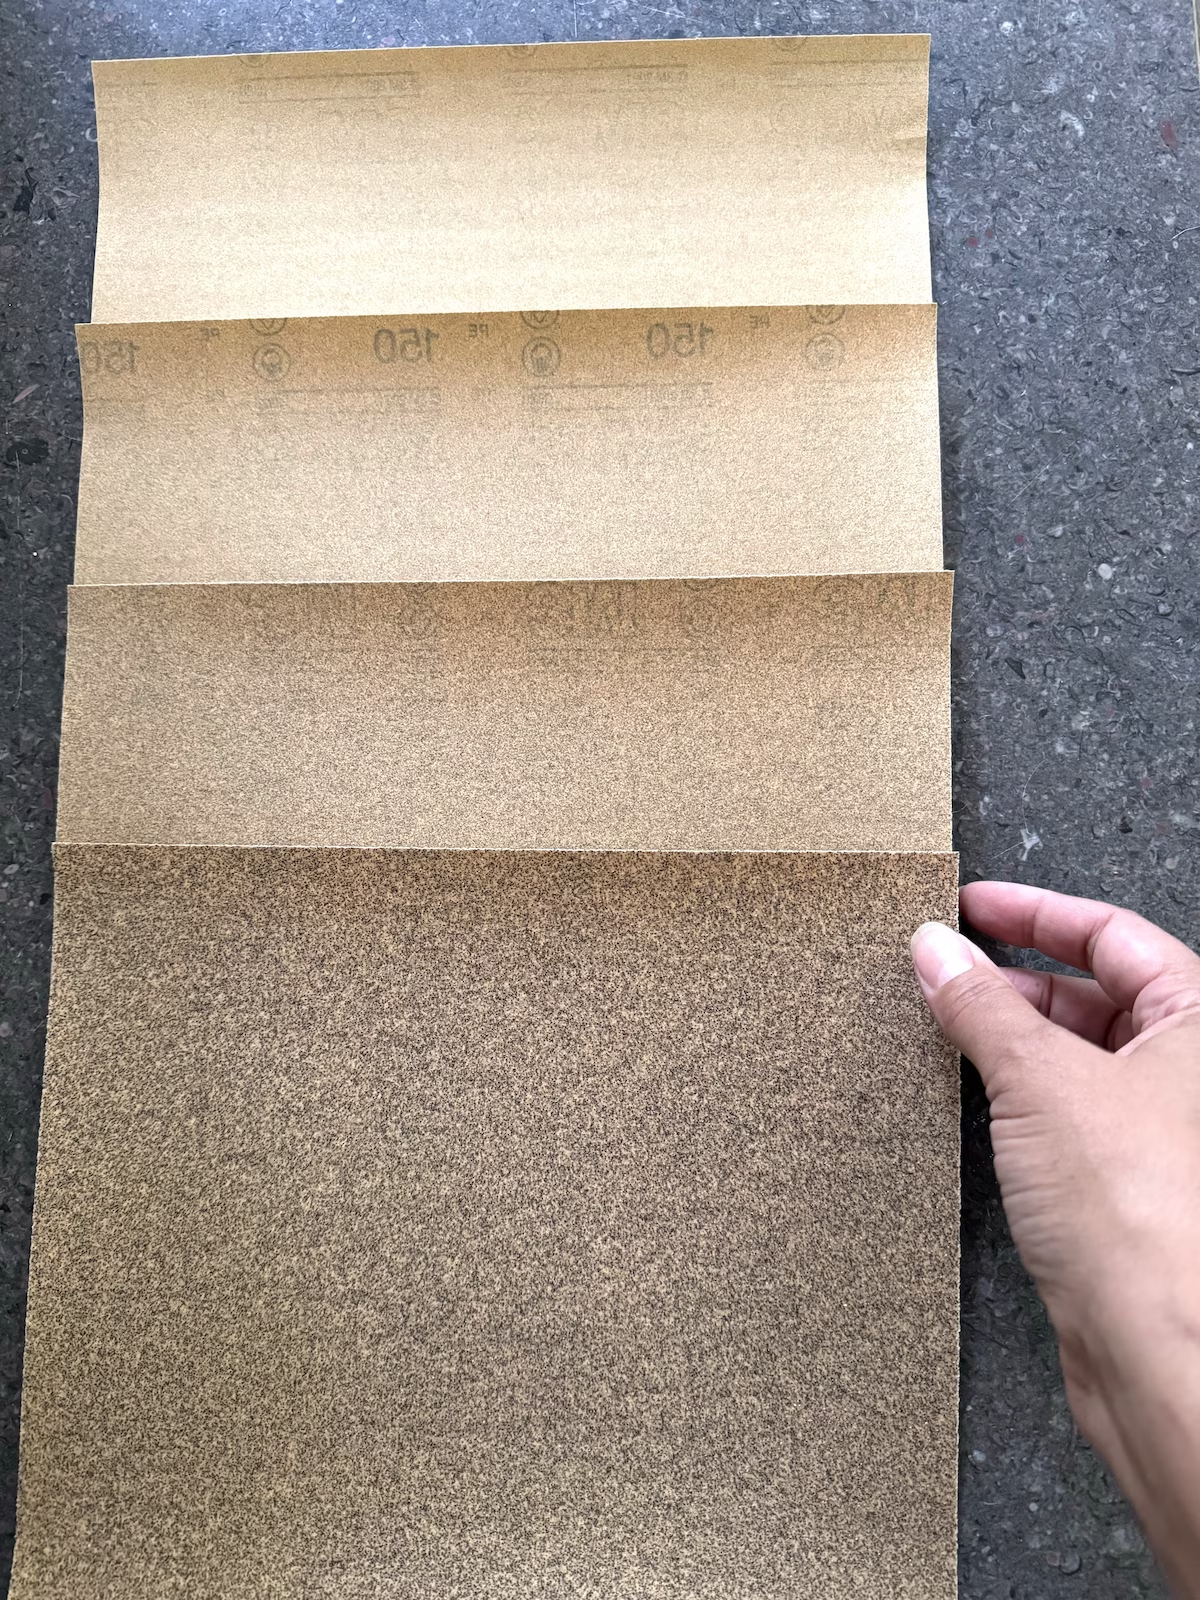
As you can see by the photo below there are many different kinds of sandpaper and it can get overwhelming.
How to Update Wood Home Decor and Furniture By Sanding It Down
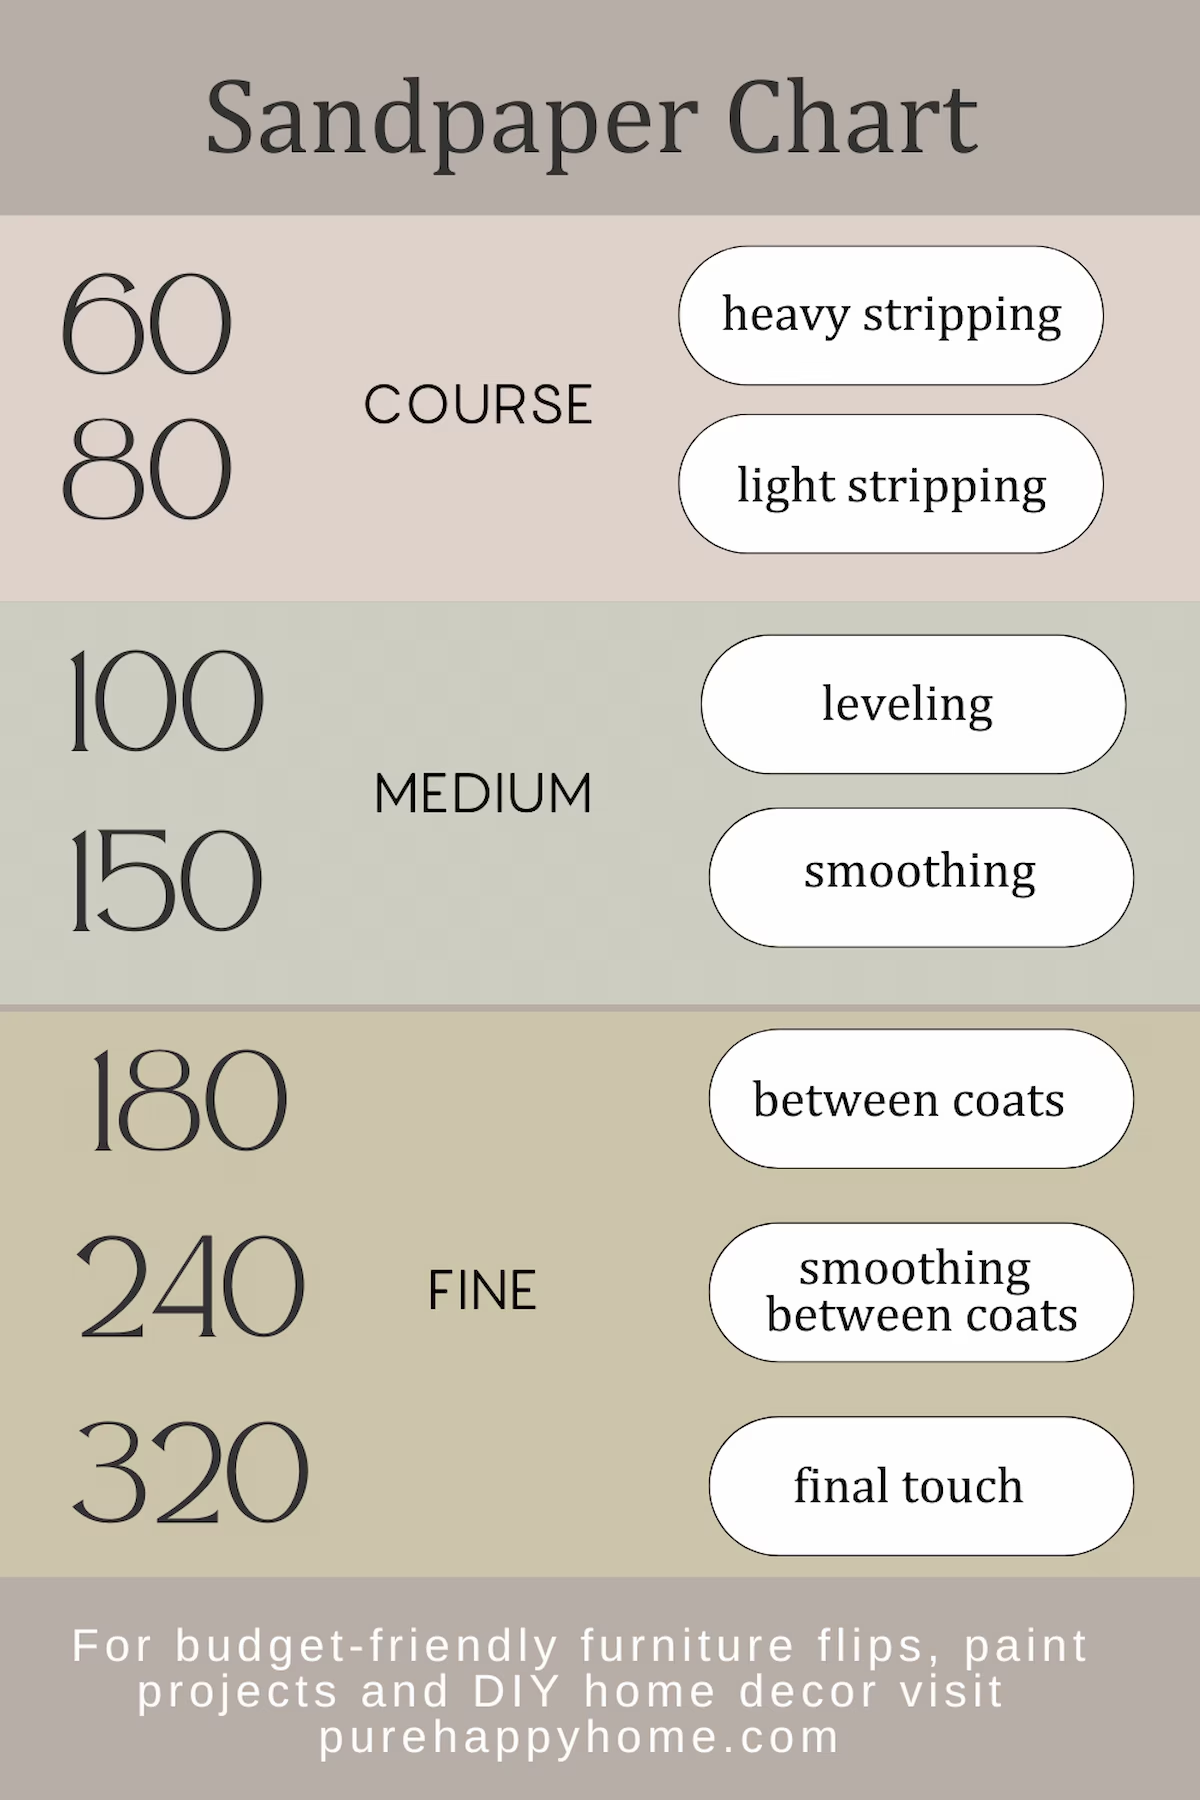
1. Decide what grit sandpaper you need.
Sandpaper comes in different grits which are used for specific outcomes. I made a chart to give you a visual and make deciding easier for you.
Hover over the chart below and click the red Save button. This will save it to your Pinterest for later.
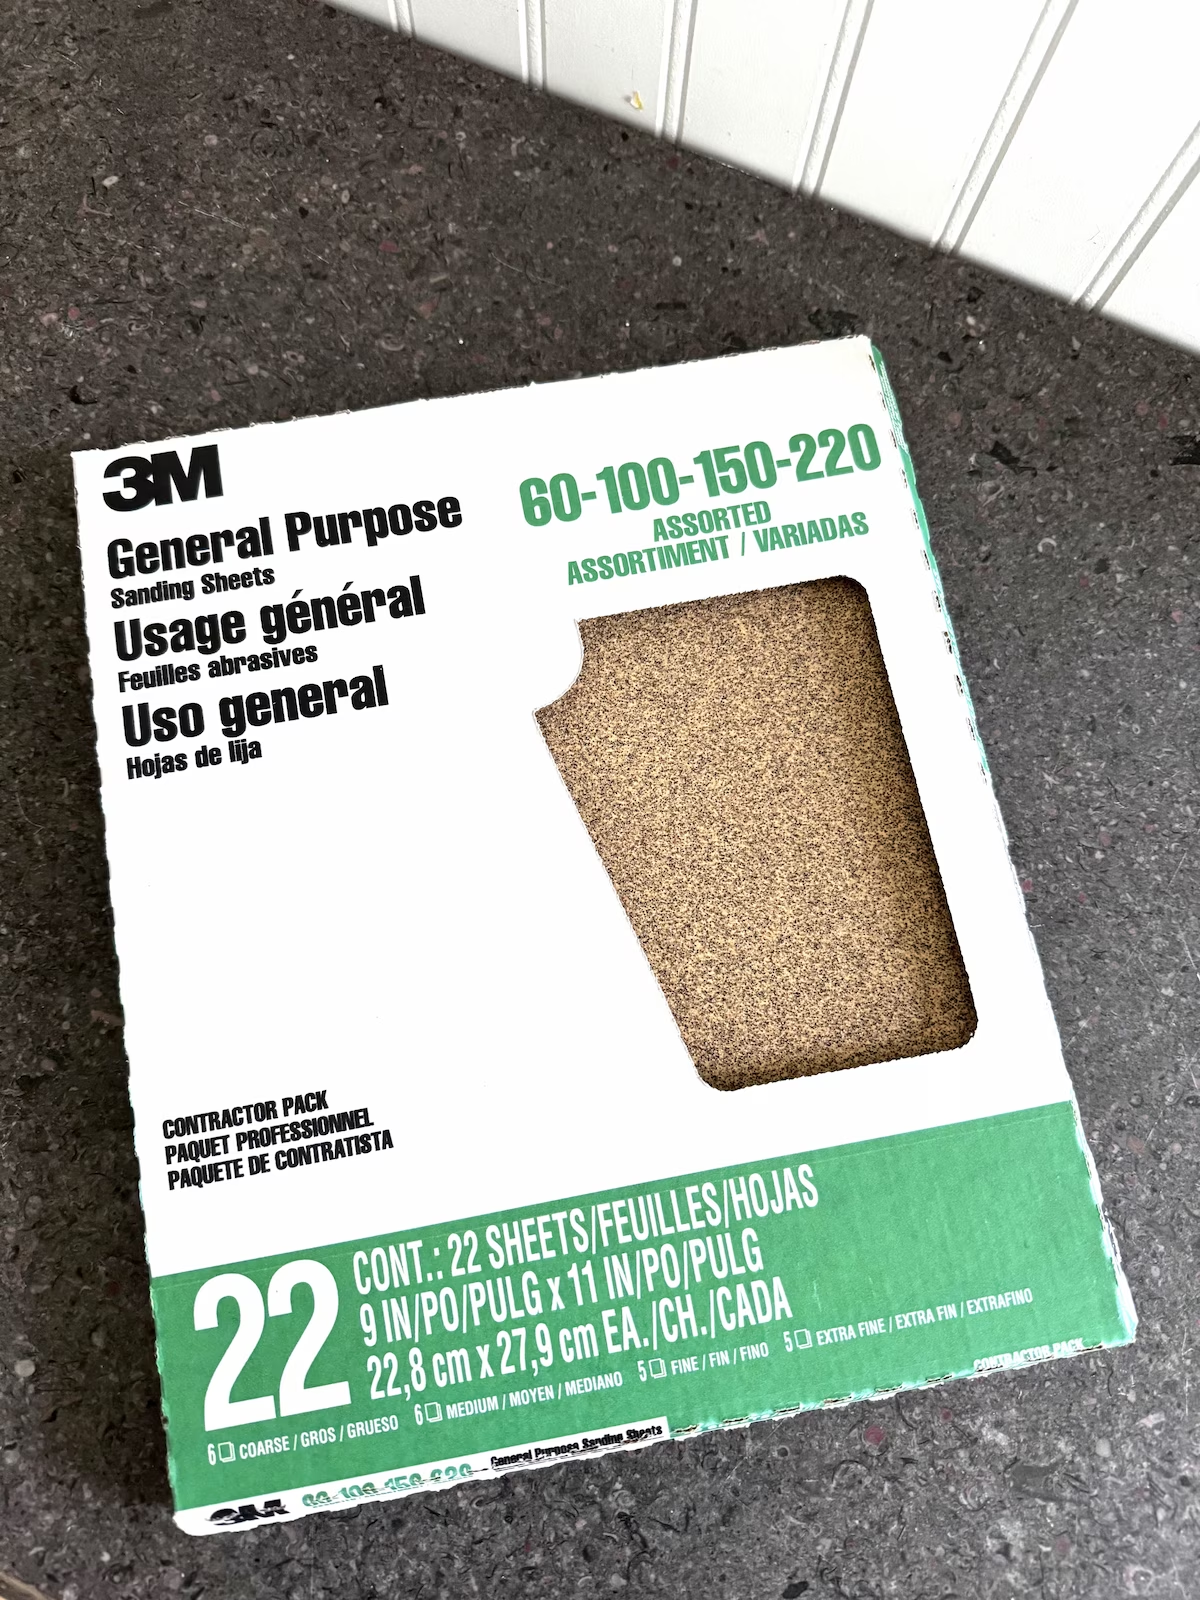
By picking up an assortment of sandpaper you can be ready for any project you decide to tackle.
There has never been a furniture flip project where I didn’t use sandpaper!
Even when painting raw wood I do a light sanding between paint layers.
2. Begin sanding by hand or with a sander.
Whether you sand your piece by hand or with a sander usually depends on how big the piece is.
Start with a small section and work your way over the piece.
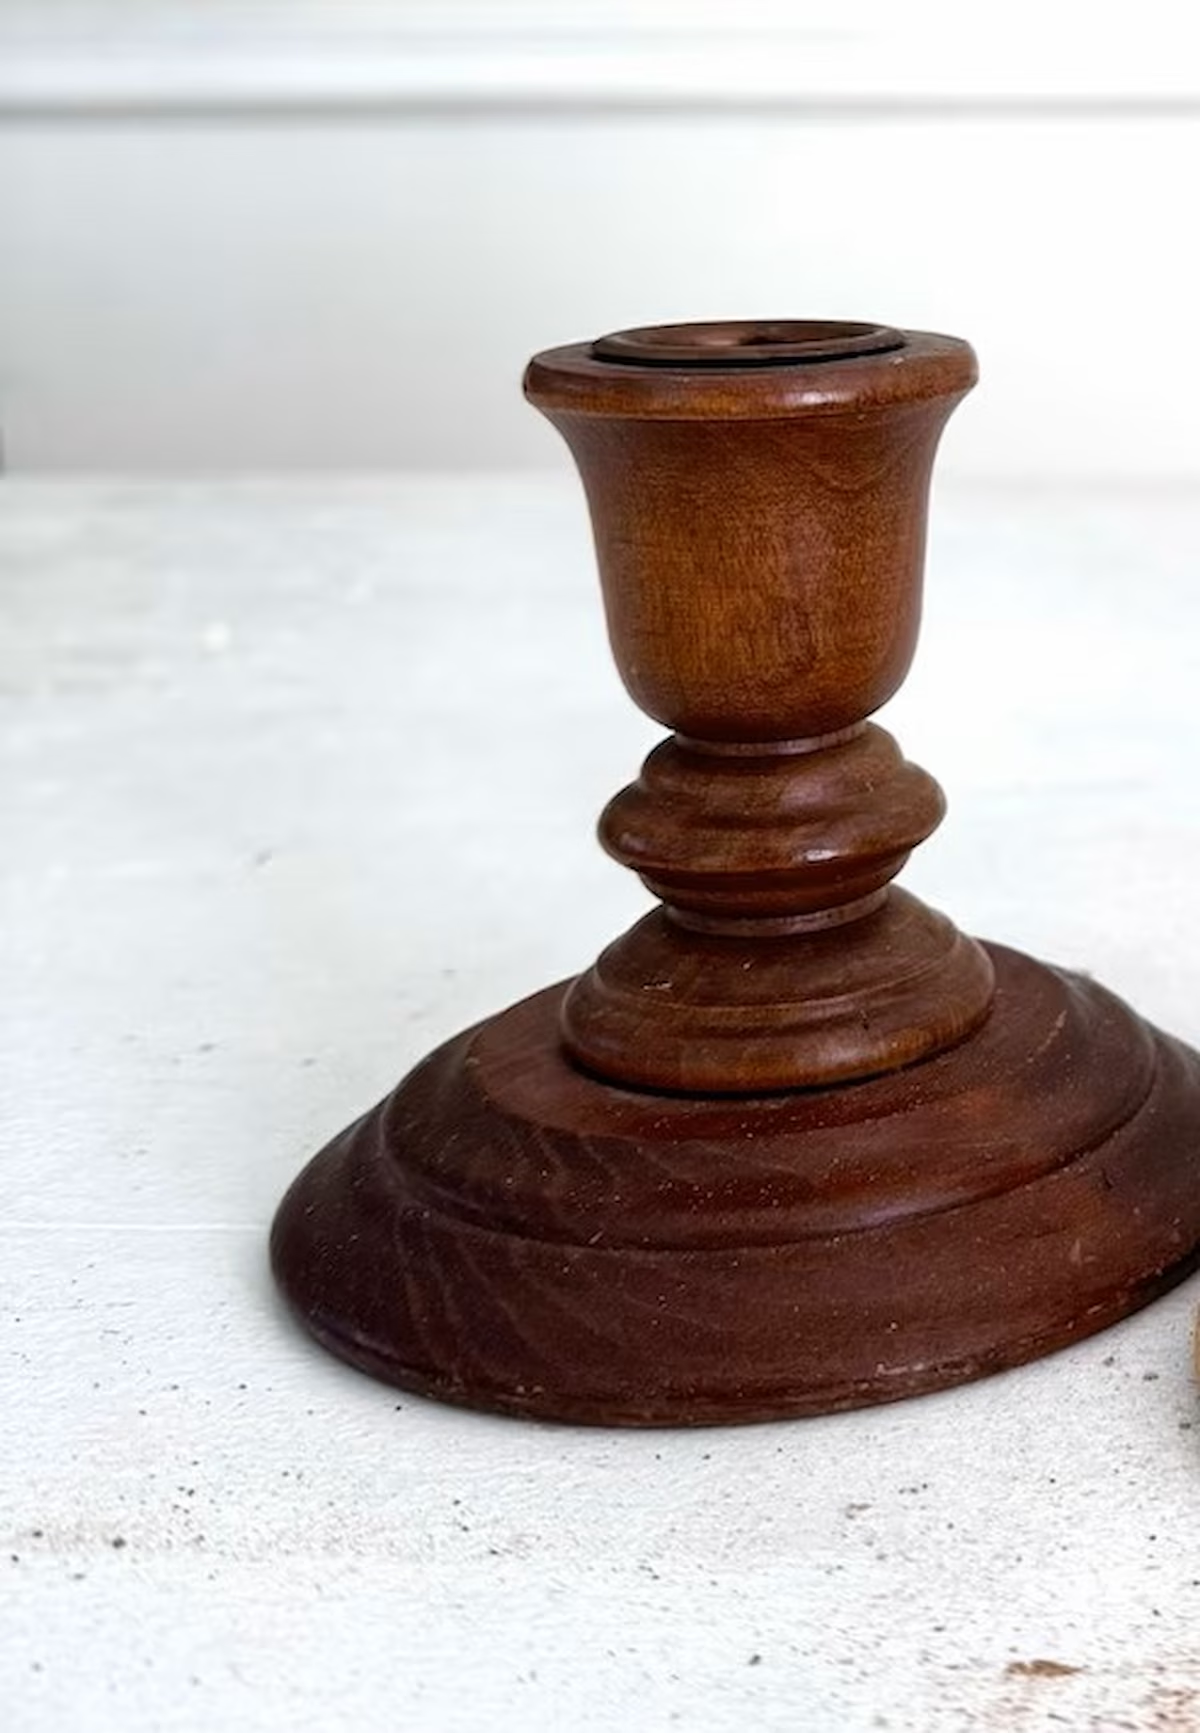
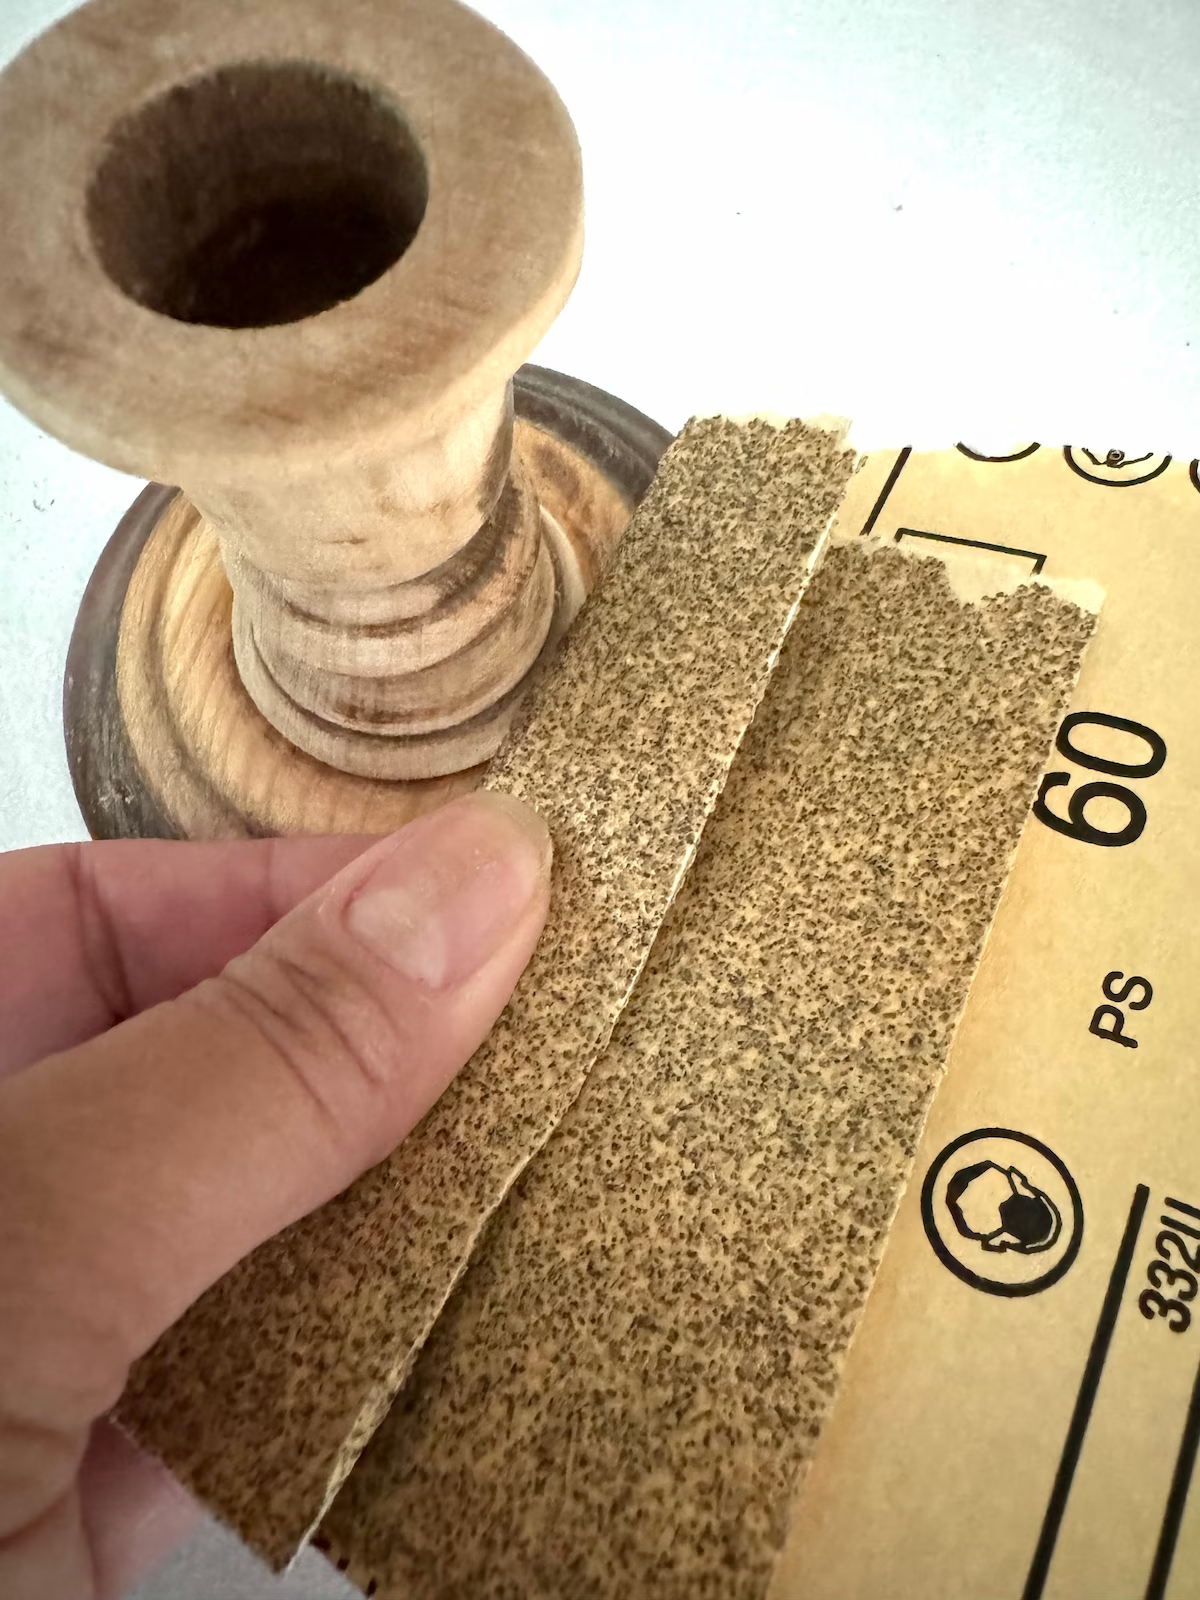
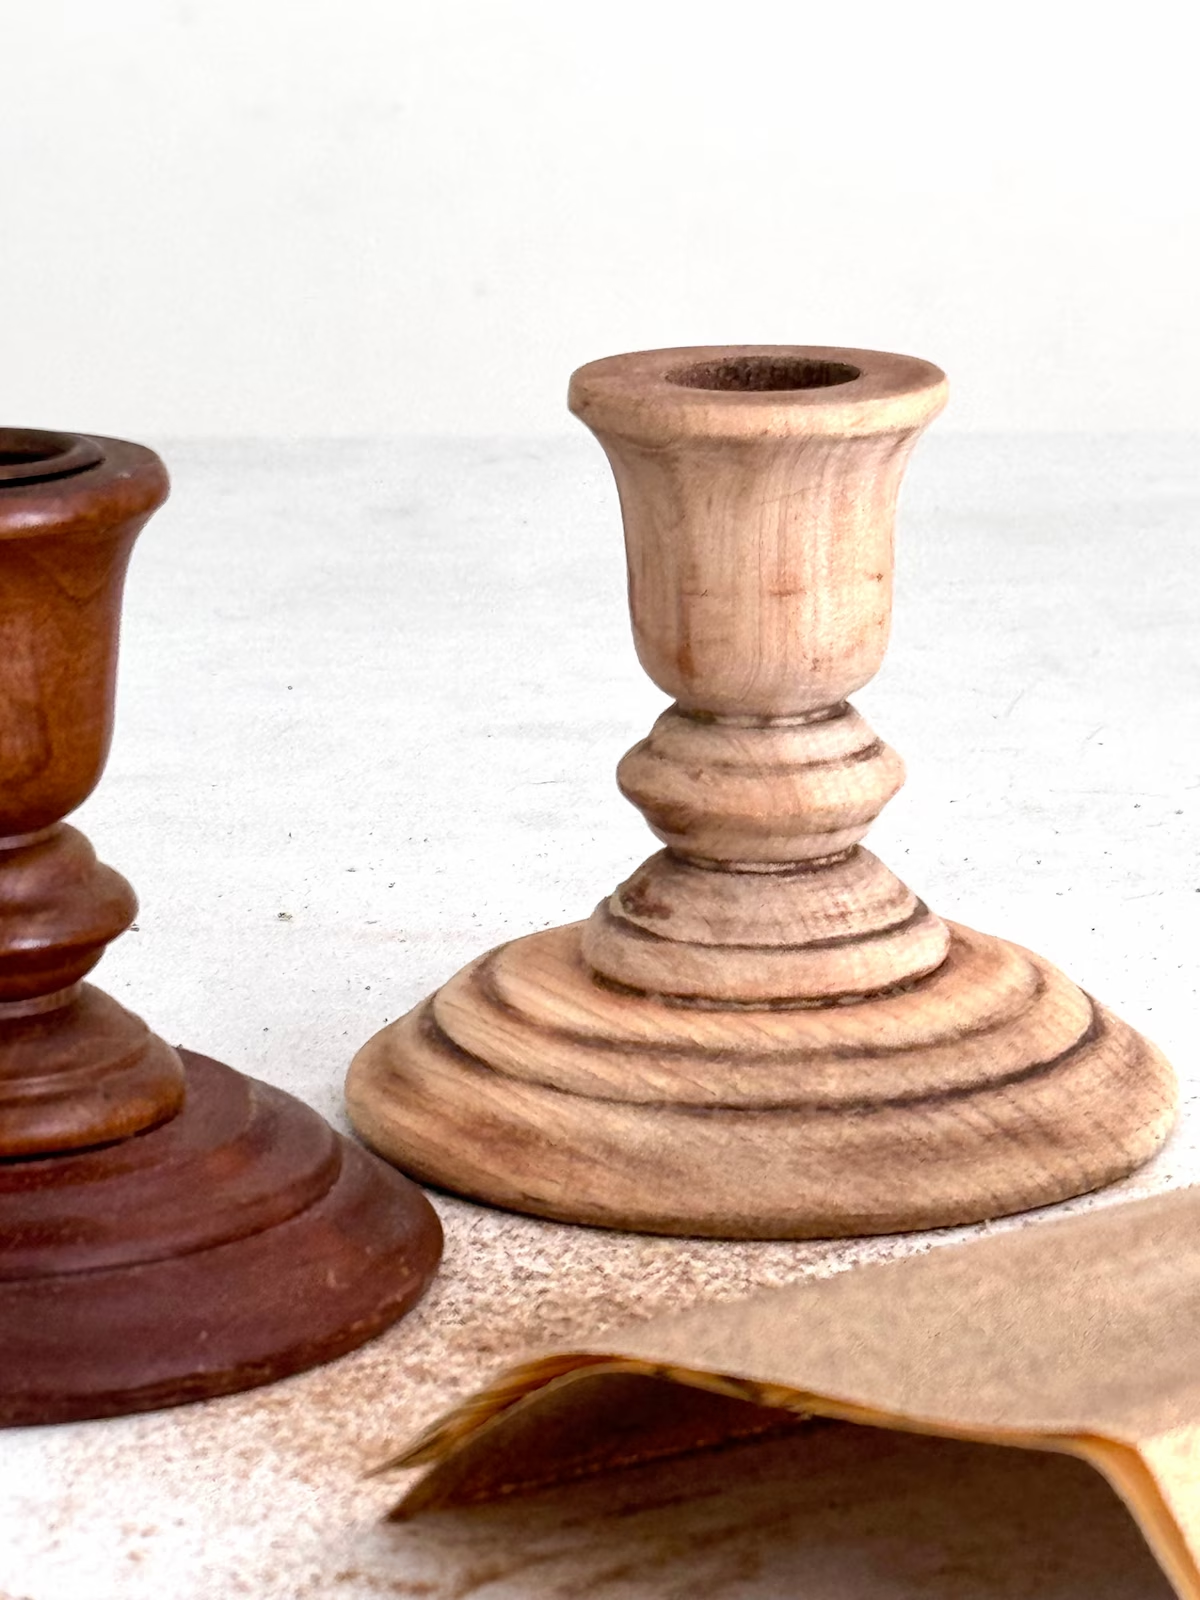
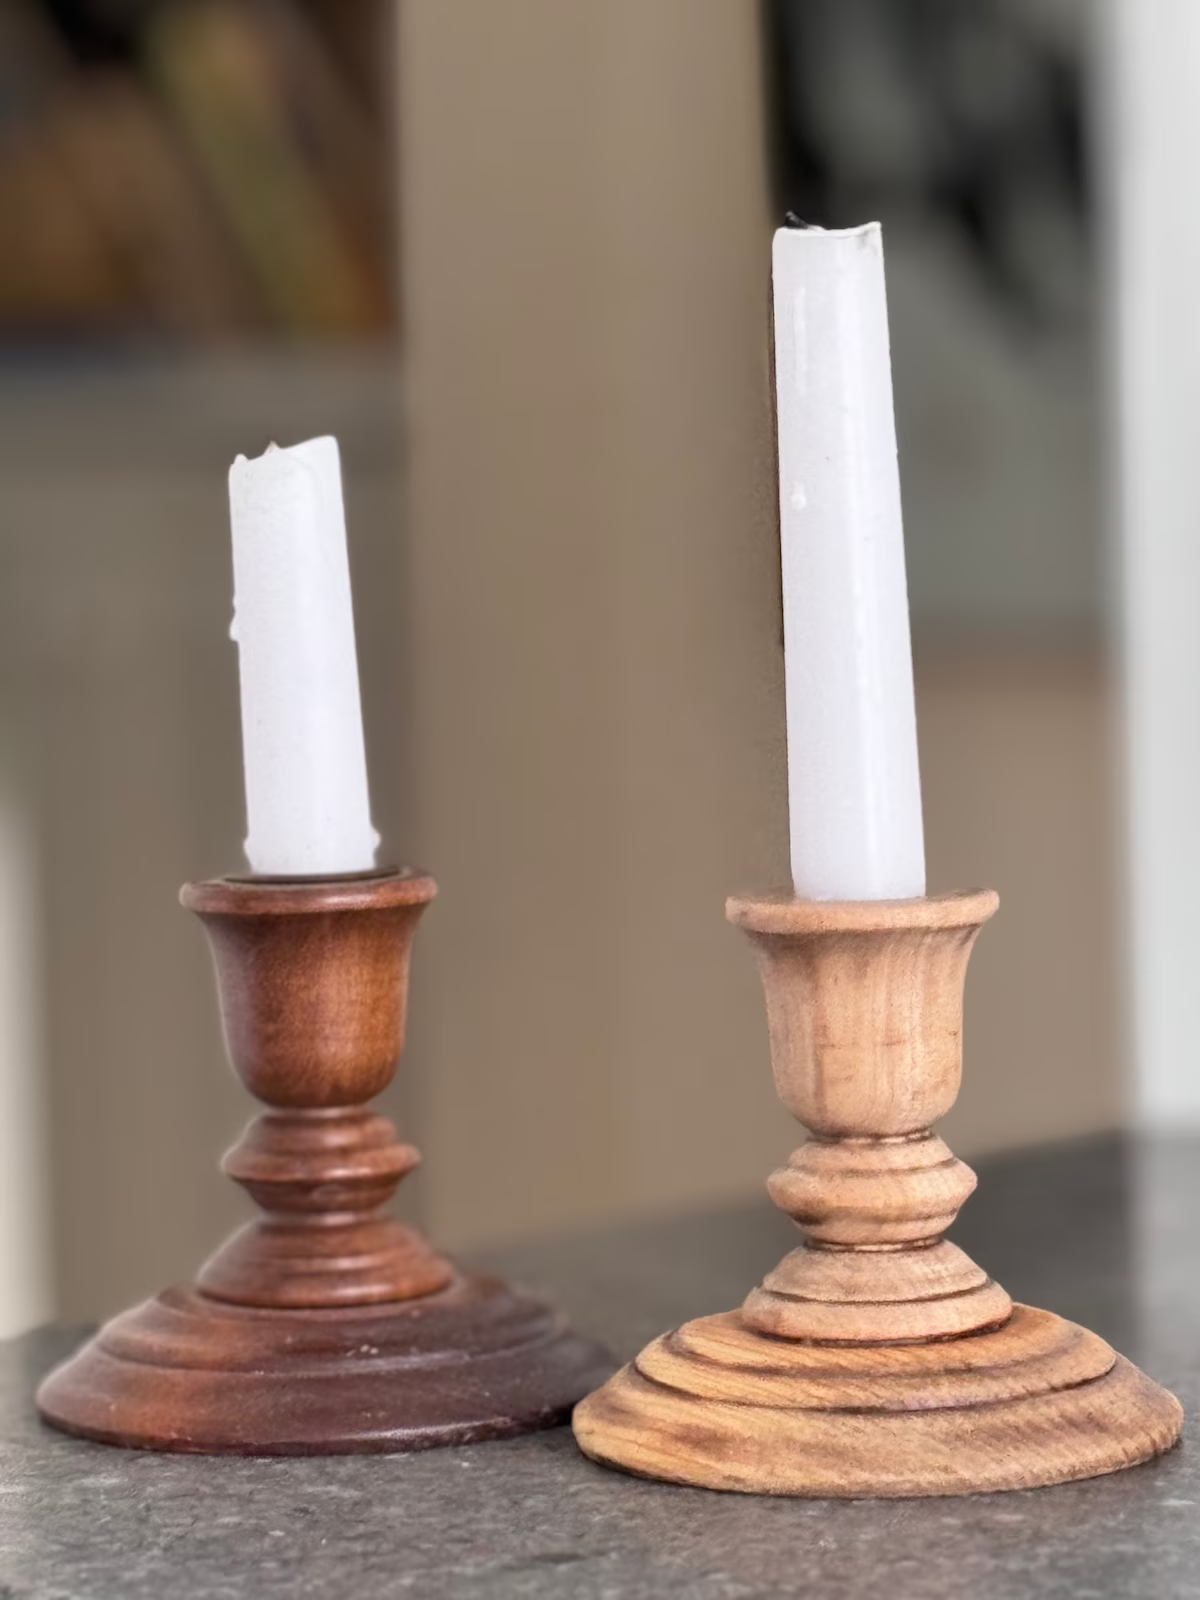
With this small candle holder I sanded by hand. If you fold the sandpaper you can get in hard to reach crevices.
3. Smooth the finished piece.
After you’ve removed the wood finish you want a nice smooth to the touch piece. To get this take your time and go over the raw wood with a fine grit sandpaper of 60.
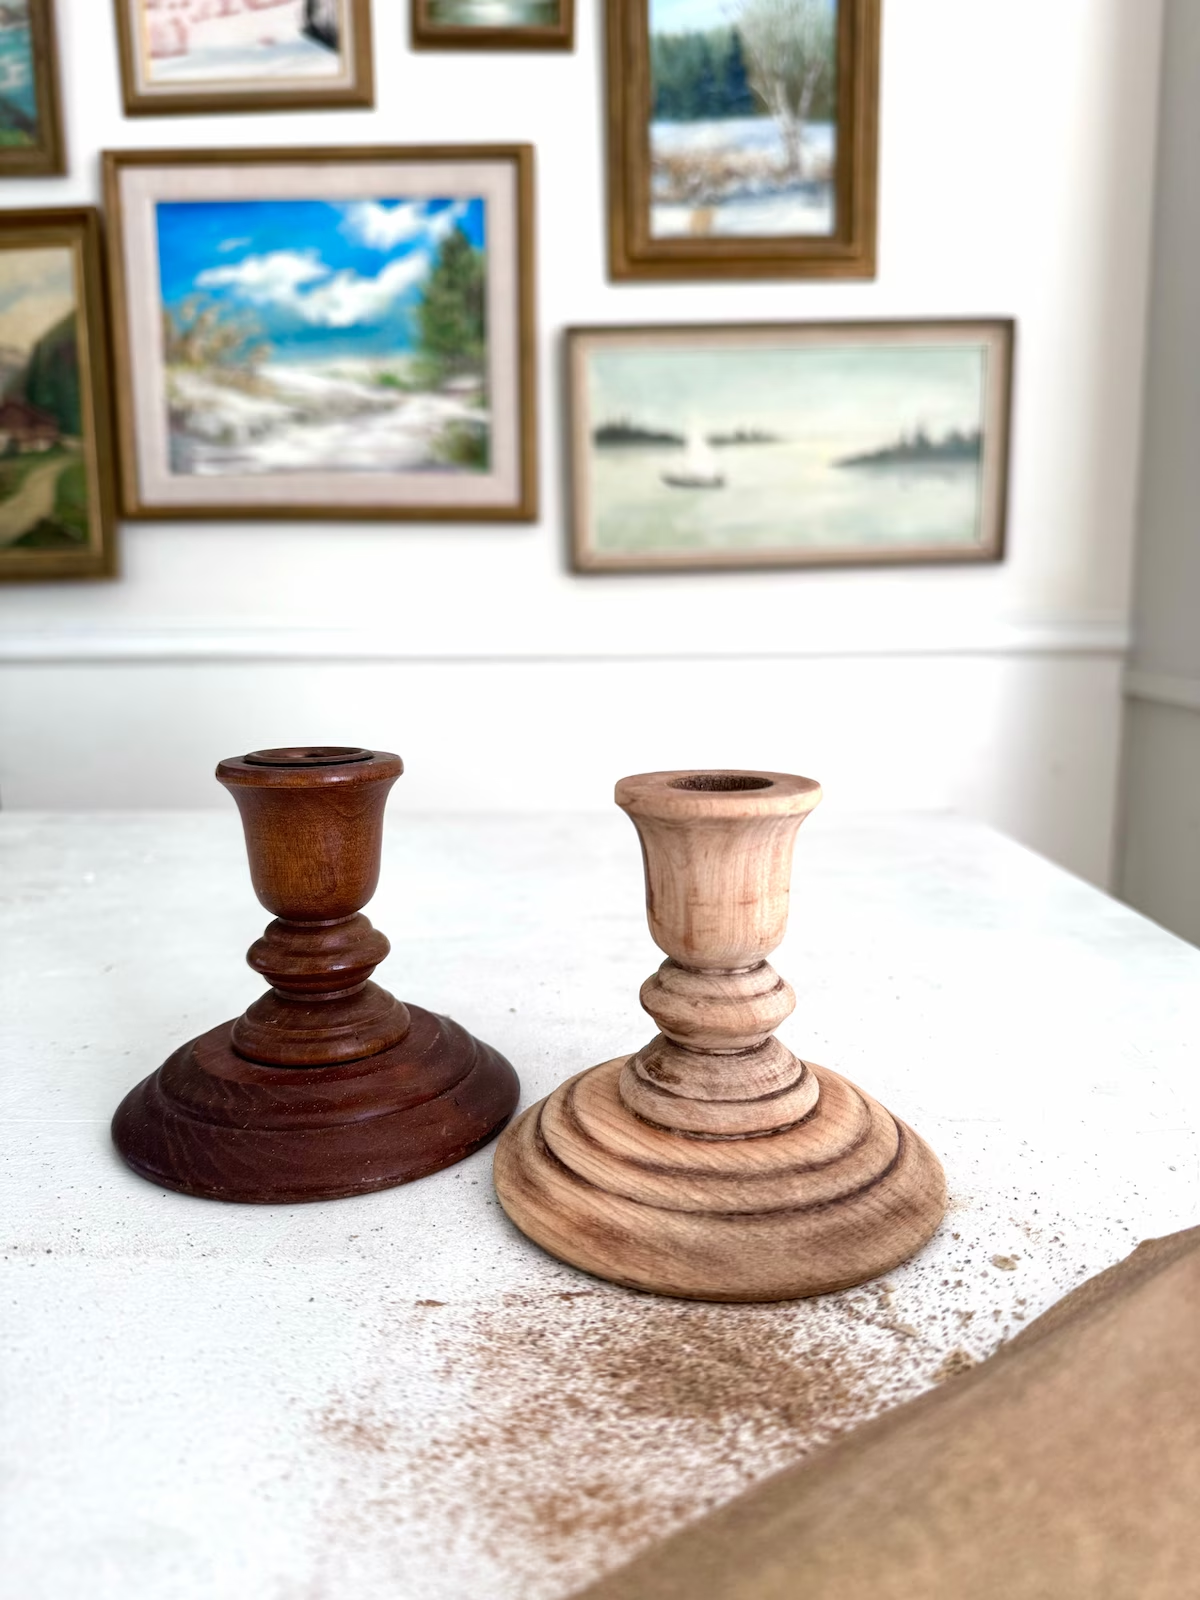
4. Finish the wood piece with a clear sealant.
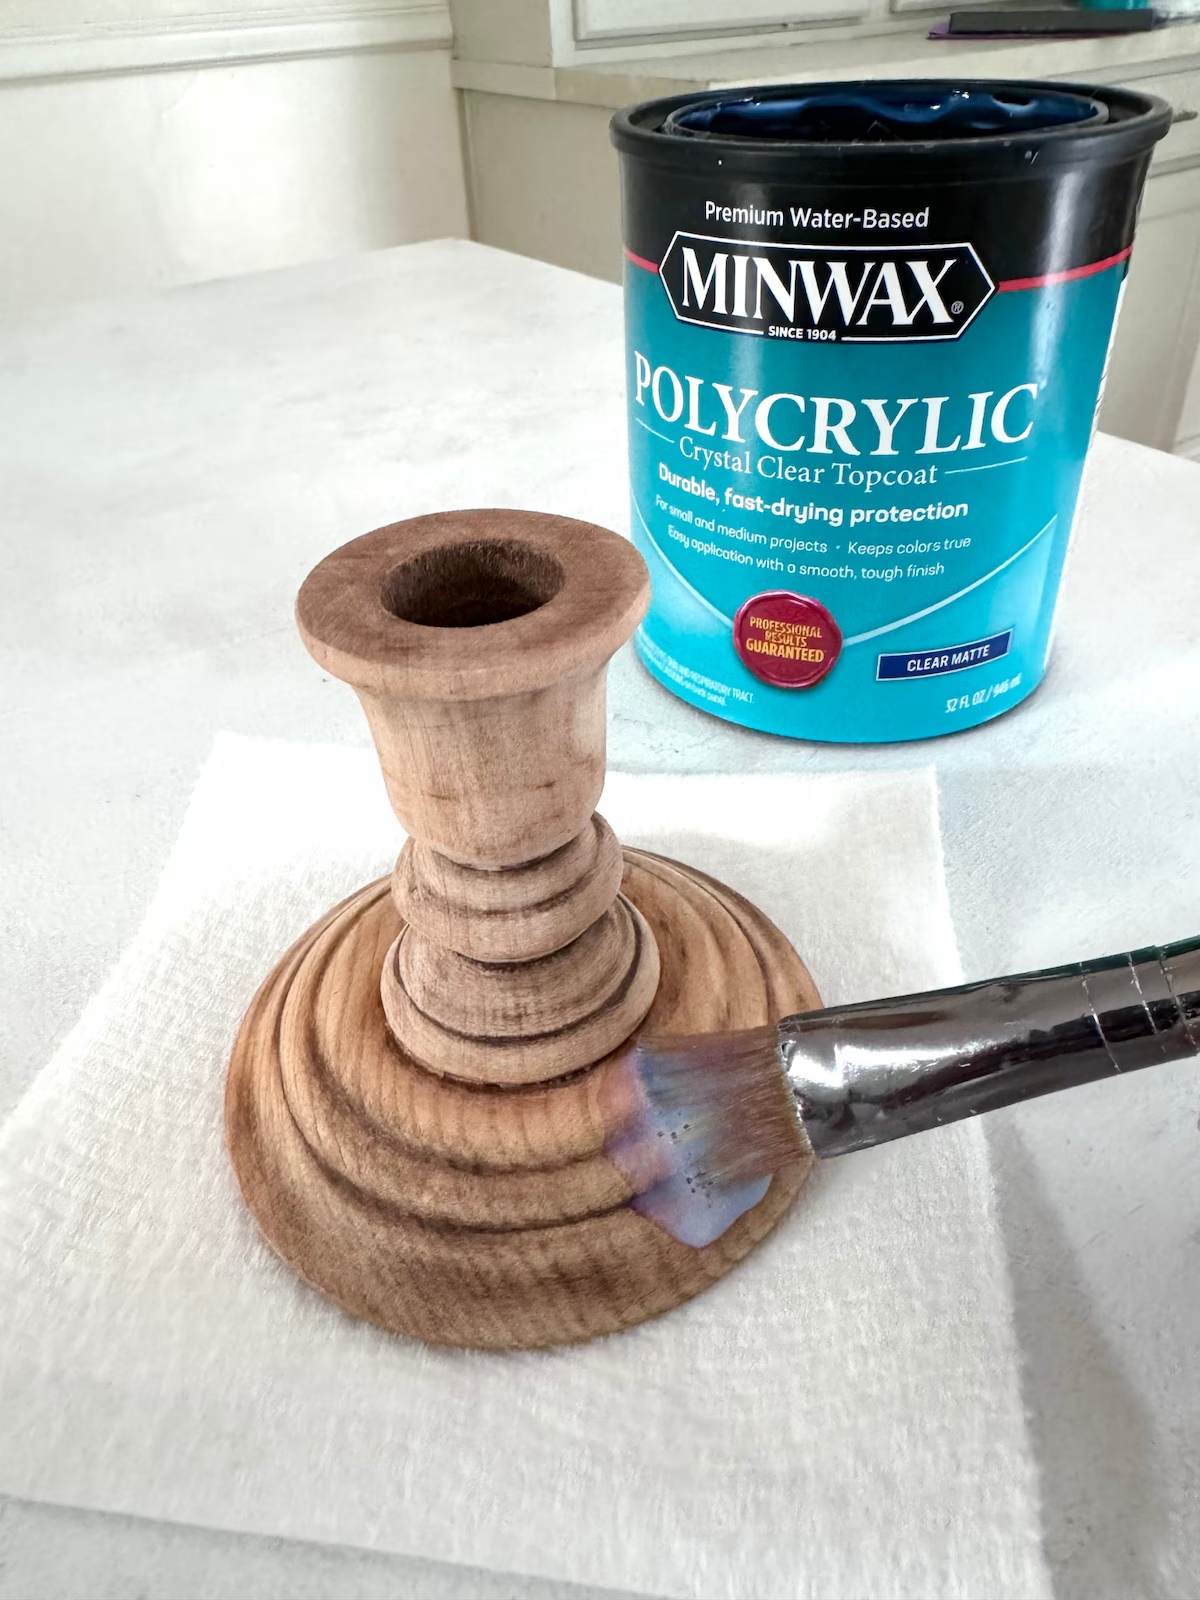
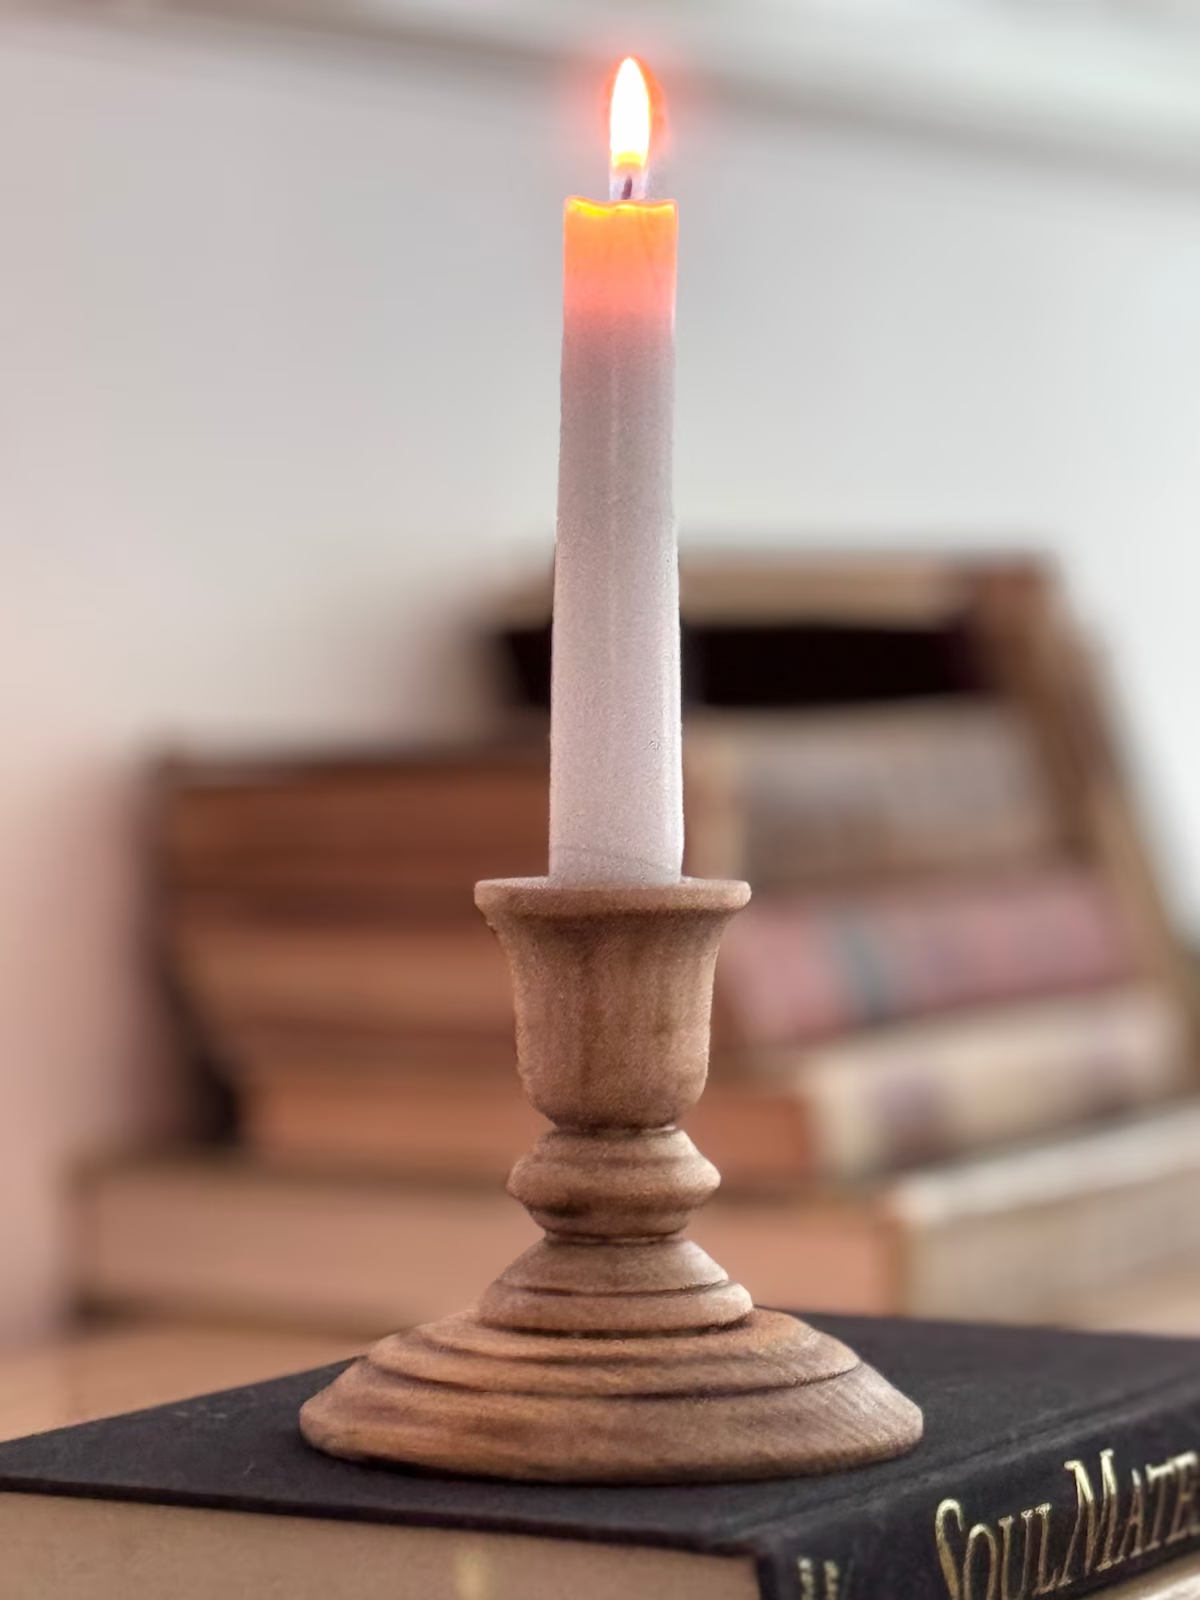
Make sure to cover the whole piece with a protective clear finish. You can choose between matte, satin or glossy. One of my favorite clear water based top coats is this one here. It comes in all of the previously mentioned finishes. This protective coat will help keep the wood from getting stained by water or grime. Now you can enjoy the beauty of the natural wood of your thrift flip!
What Is Sandpaper Really?
Sandpaper is an abrasive material made from paper or cloth with various grit sizes of embedded particles such as aluminum. These particles provide the rough surface needed for sanding tasks, making it easier to remove materials and achieve a smooth finish.
Sandpaper comes in different forms such as sheets, rolls, discs, and belts, each designed for specific sanding applications.
How to Use Sandpaper?
Sanding by hand.
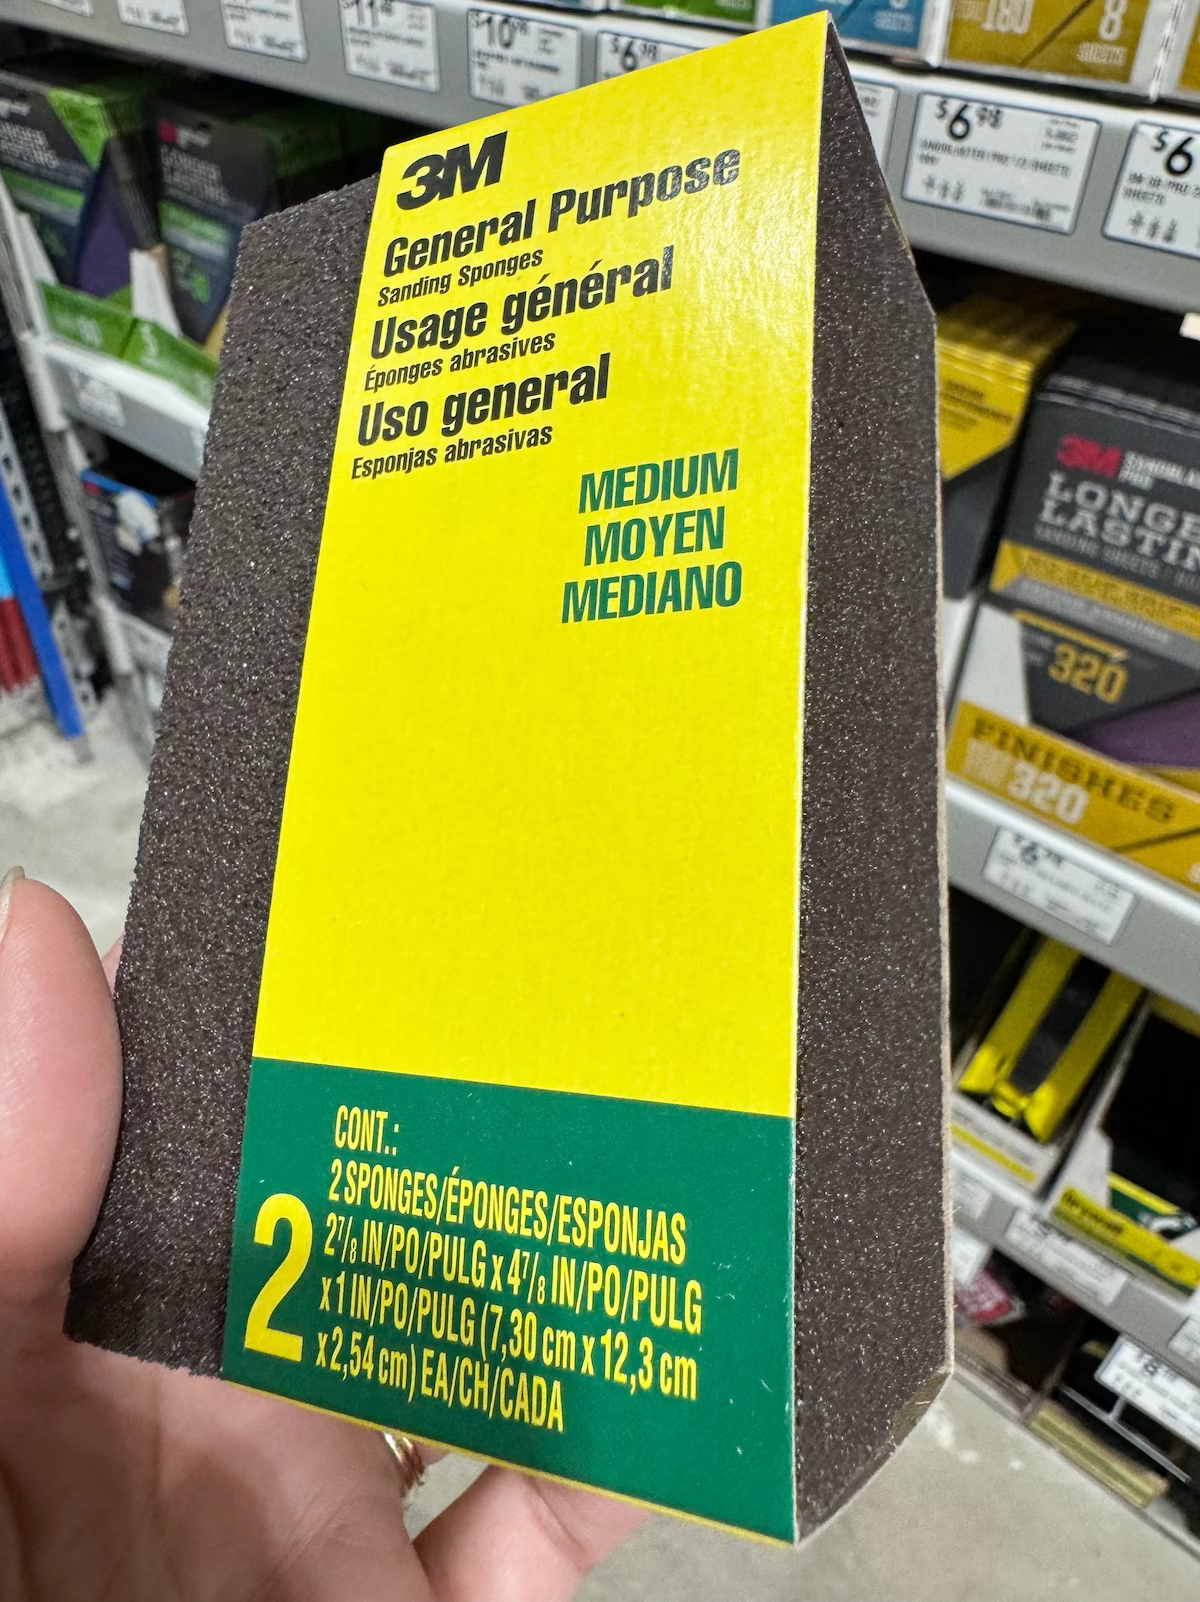
This simple sanding tool here makes sanding by hand much easier.
You wrap the sandpaper around the sanding sponge and it helps move any thrift flip project along faster.
Sanding with power tools.
Power tools make sanding go so much faster. They’re an investment, but one you should make if you love improving your home and DIY home decor.
Do you want to save thousands of dollars over the next few years fixing and creating things yourself? If yes, get yourself one of these here.
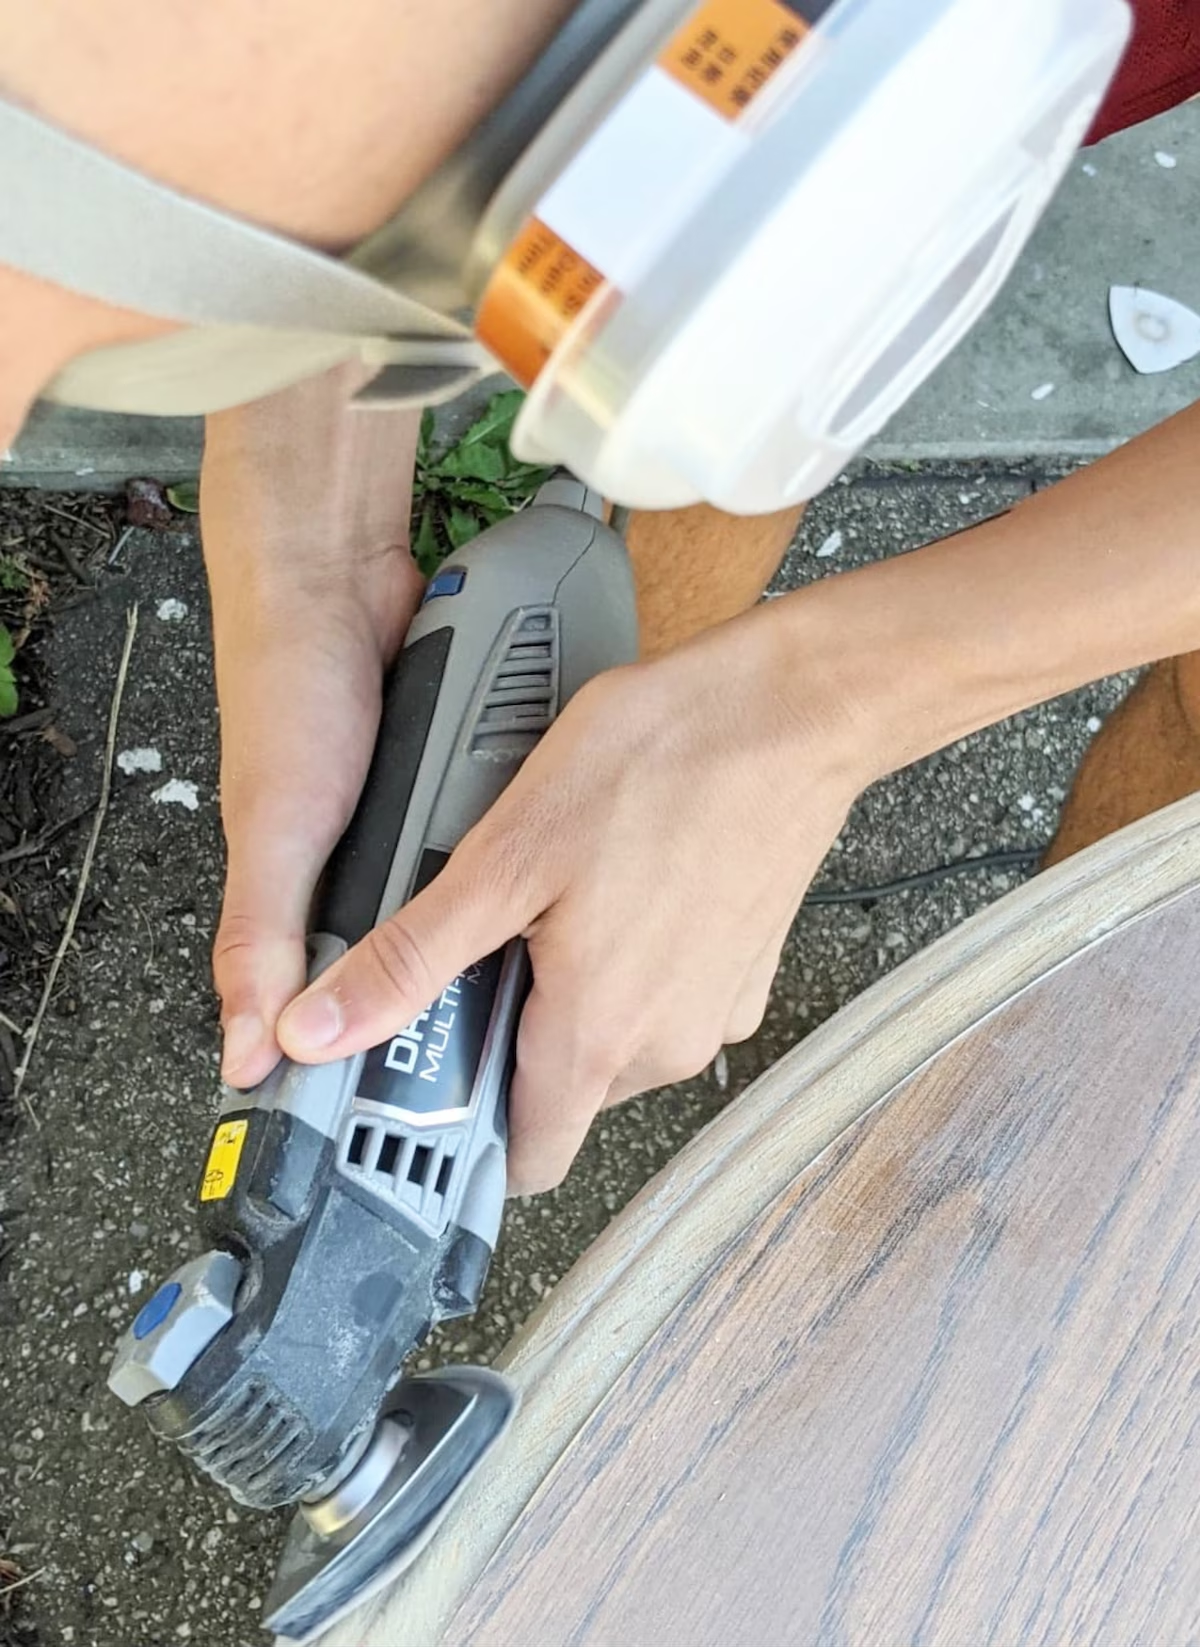
Whether your sanding off furniture finish or smoothing out wood for a piece your building, a good palm sander will help you get your project done in record time.
No more headache from hand sanding large projects.
Even with a small hand sander you’ll take hours and hours of work off your plate.
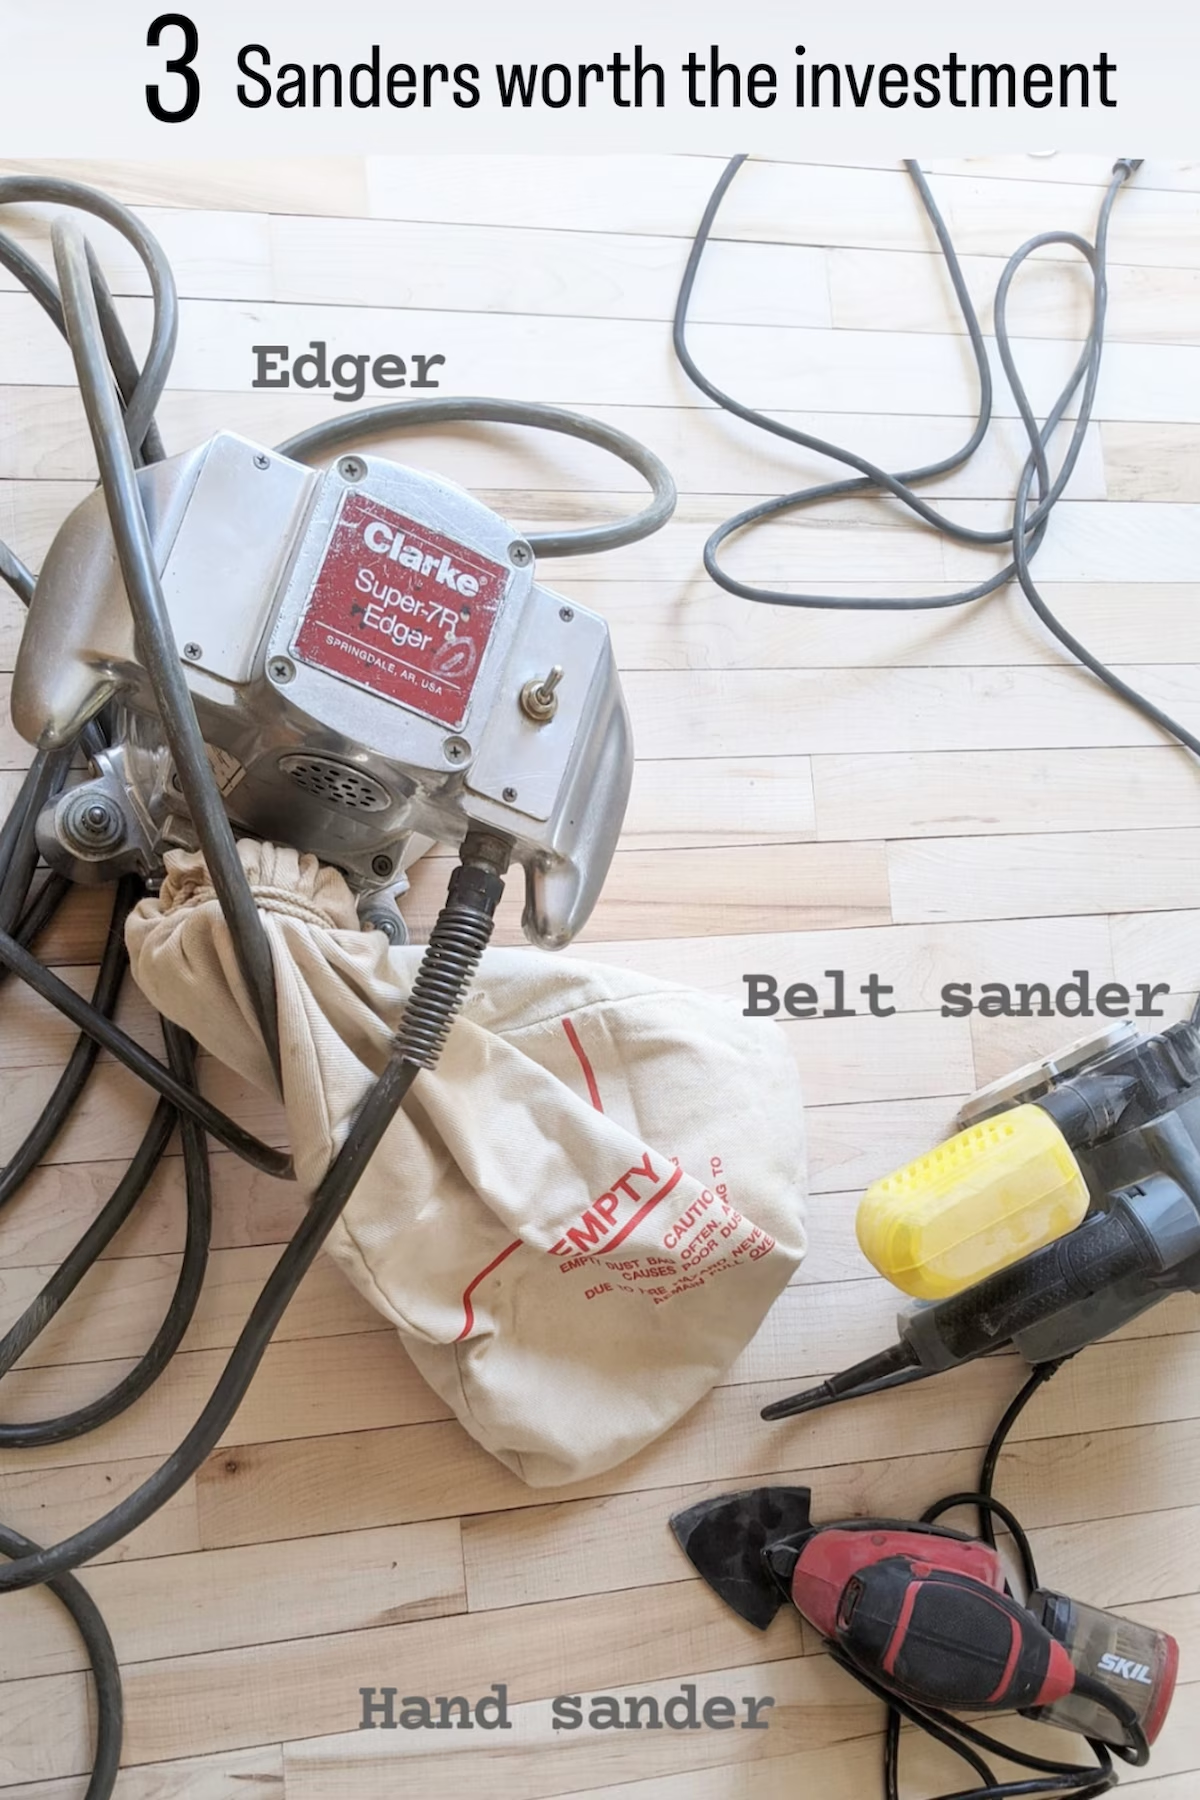
Our Belt Sander is an old Dewalt we invested in years ago. It is worth it’s weight in gold if you are sanding floors or large furniture. Sanding done so quickly with this tool.
A good, small Hand Sander is probably what I would advise to purchase if you are getting into DIY and sanding small objects like thrift flips and wood home decor. The Skil brand is amazing, and I love ours.
The Edger we rented. Do not buy it, the price will shock you! Just rent it and get the big jobs done.
What DIY Projects to Use Sandpaper On?
Use sandpaper on anything you want to take the finish off or smooth out.
I’ve used it on wood furniture, wood molding, doors, floors and cabinets.
You can also use it on ceramics and plastic.
If you’re painting a piece, sandpapering it first will help rough up the surface so the paint sticks better.

Tips On Using Sandpaper in DIY Projects
- Always start with a coarser grit and work your way up to finer grits for the best results.
- When hand sanding, use a block or sanding sponge to evenly distribute pressure and prevent uneven surfaces.
- Change the sandpaper regularly as it can become clogged with material, reducing its effectiveness.
- Use a light touch when sanding to avoid damaging the material or creating dips and valleys in the surface.
- Wear protective equipment such as goggles or respirator, a mask, and gloves to prevent inhaling particles or coming into contact with chemicals.

MORE HOME IMPROVEMENT
- 4 Simple Home Improvements in a Small Space
- How to Install a Ceiling Fan
- Budget Friendly Fireplace Refresh with DIY Bricks
Pin It & Save It!







0 Comments