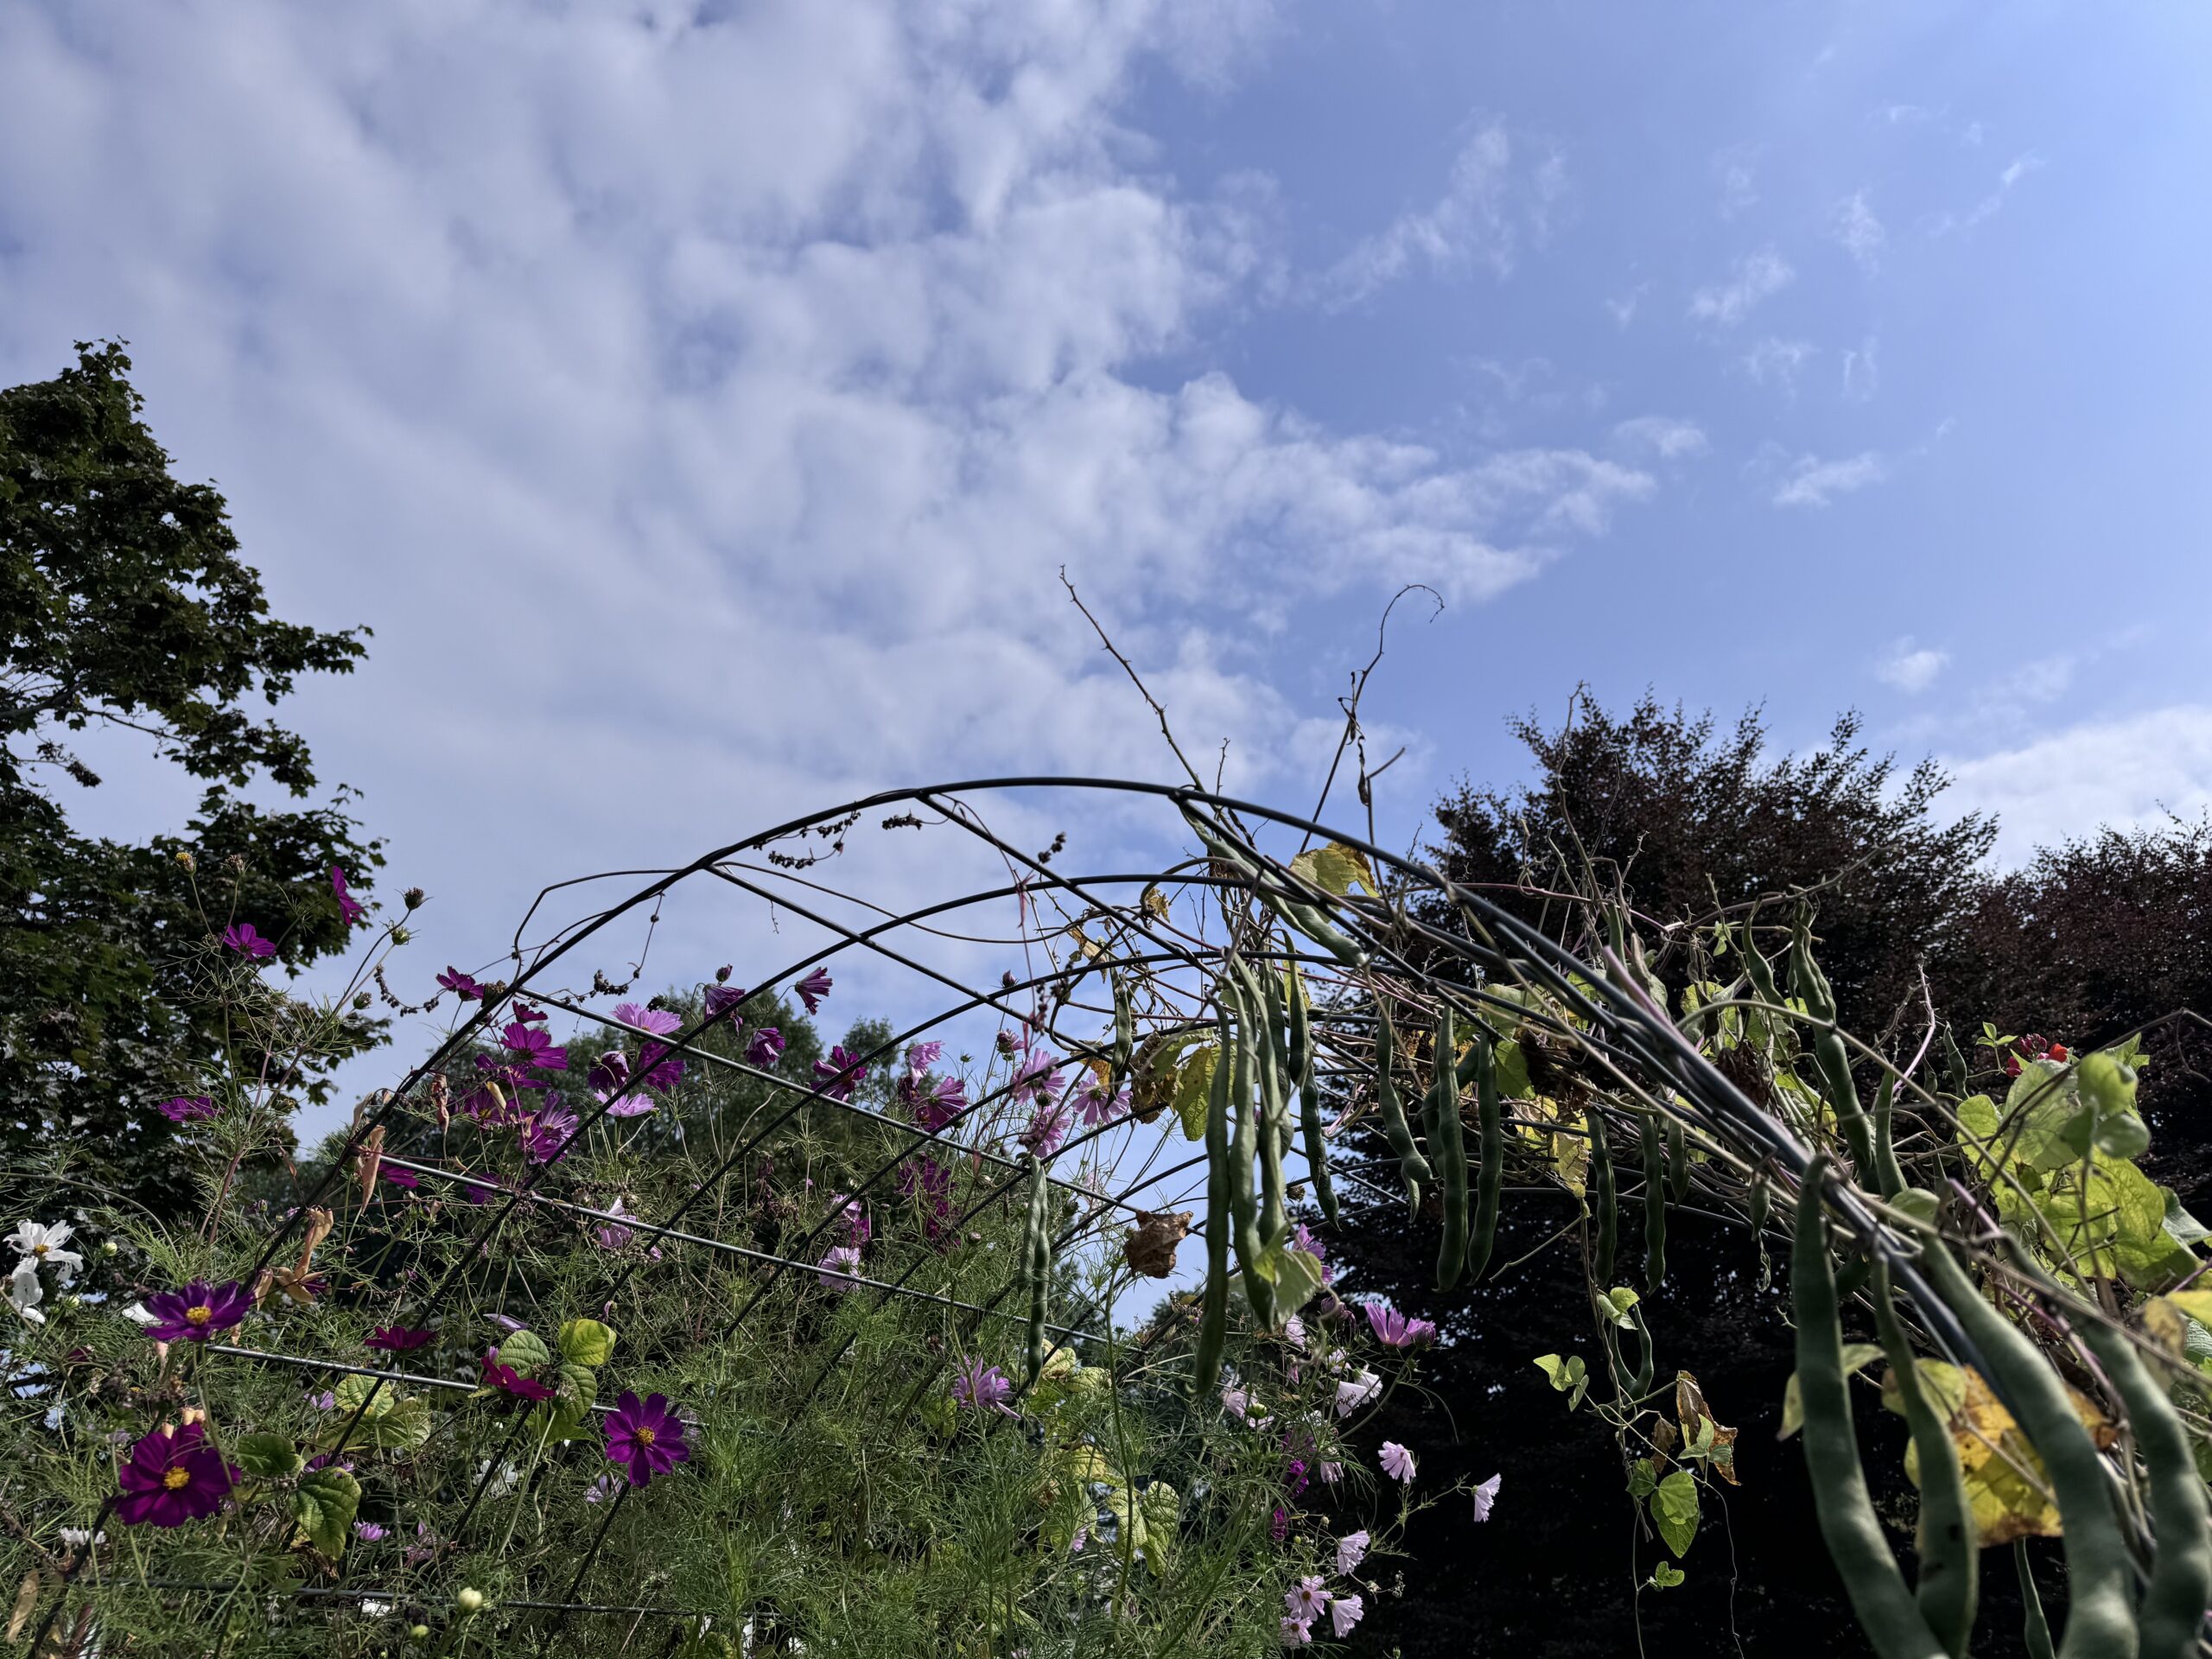
Never did I ever think it could be so easy to install a DIY garden arch with cattle panel trellis.
I mean, I didn’t even know what a cattle panel was until a little while ago.
Now that I do I want to install another one of these cool garden fixture asap!
DIY Garden Arch with Cattle Panel Trellis
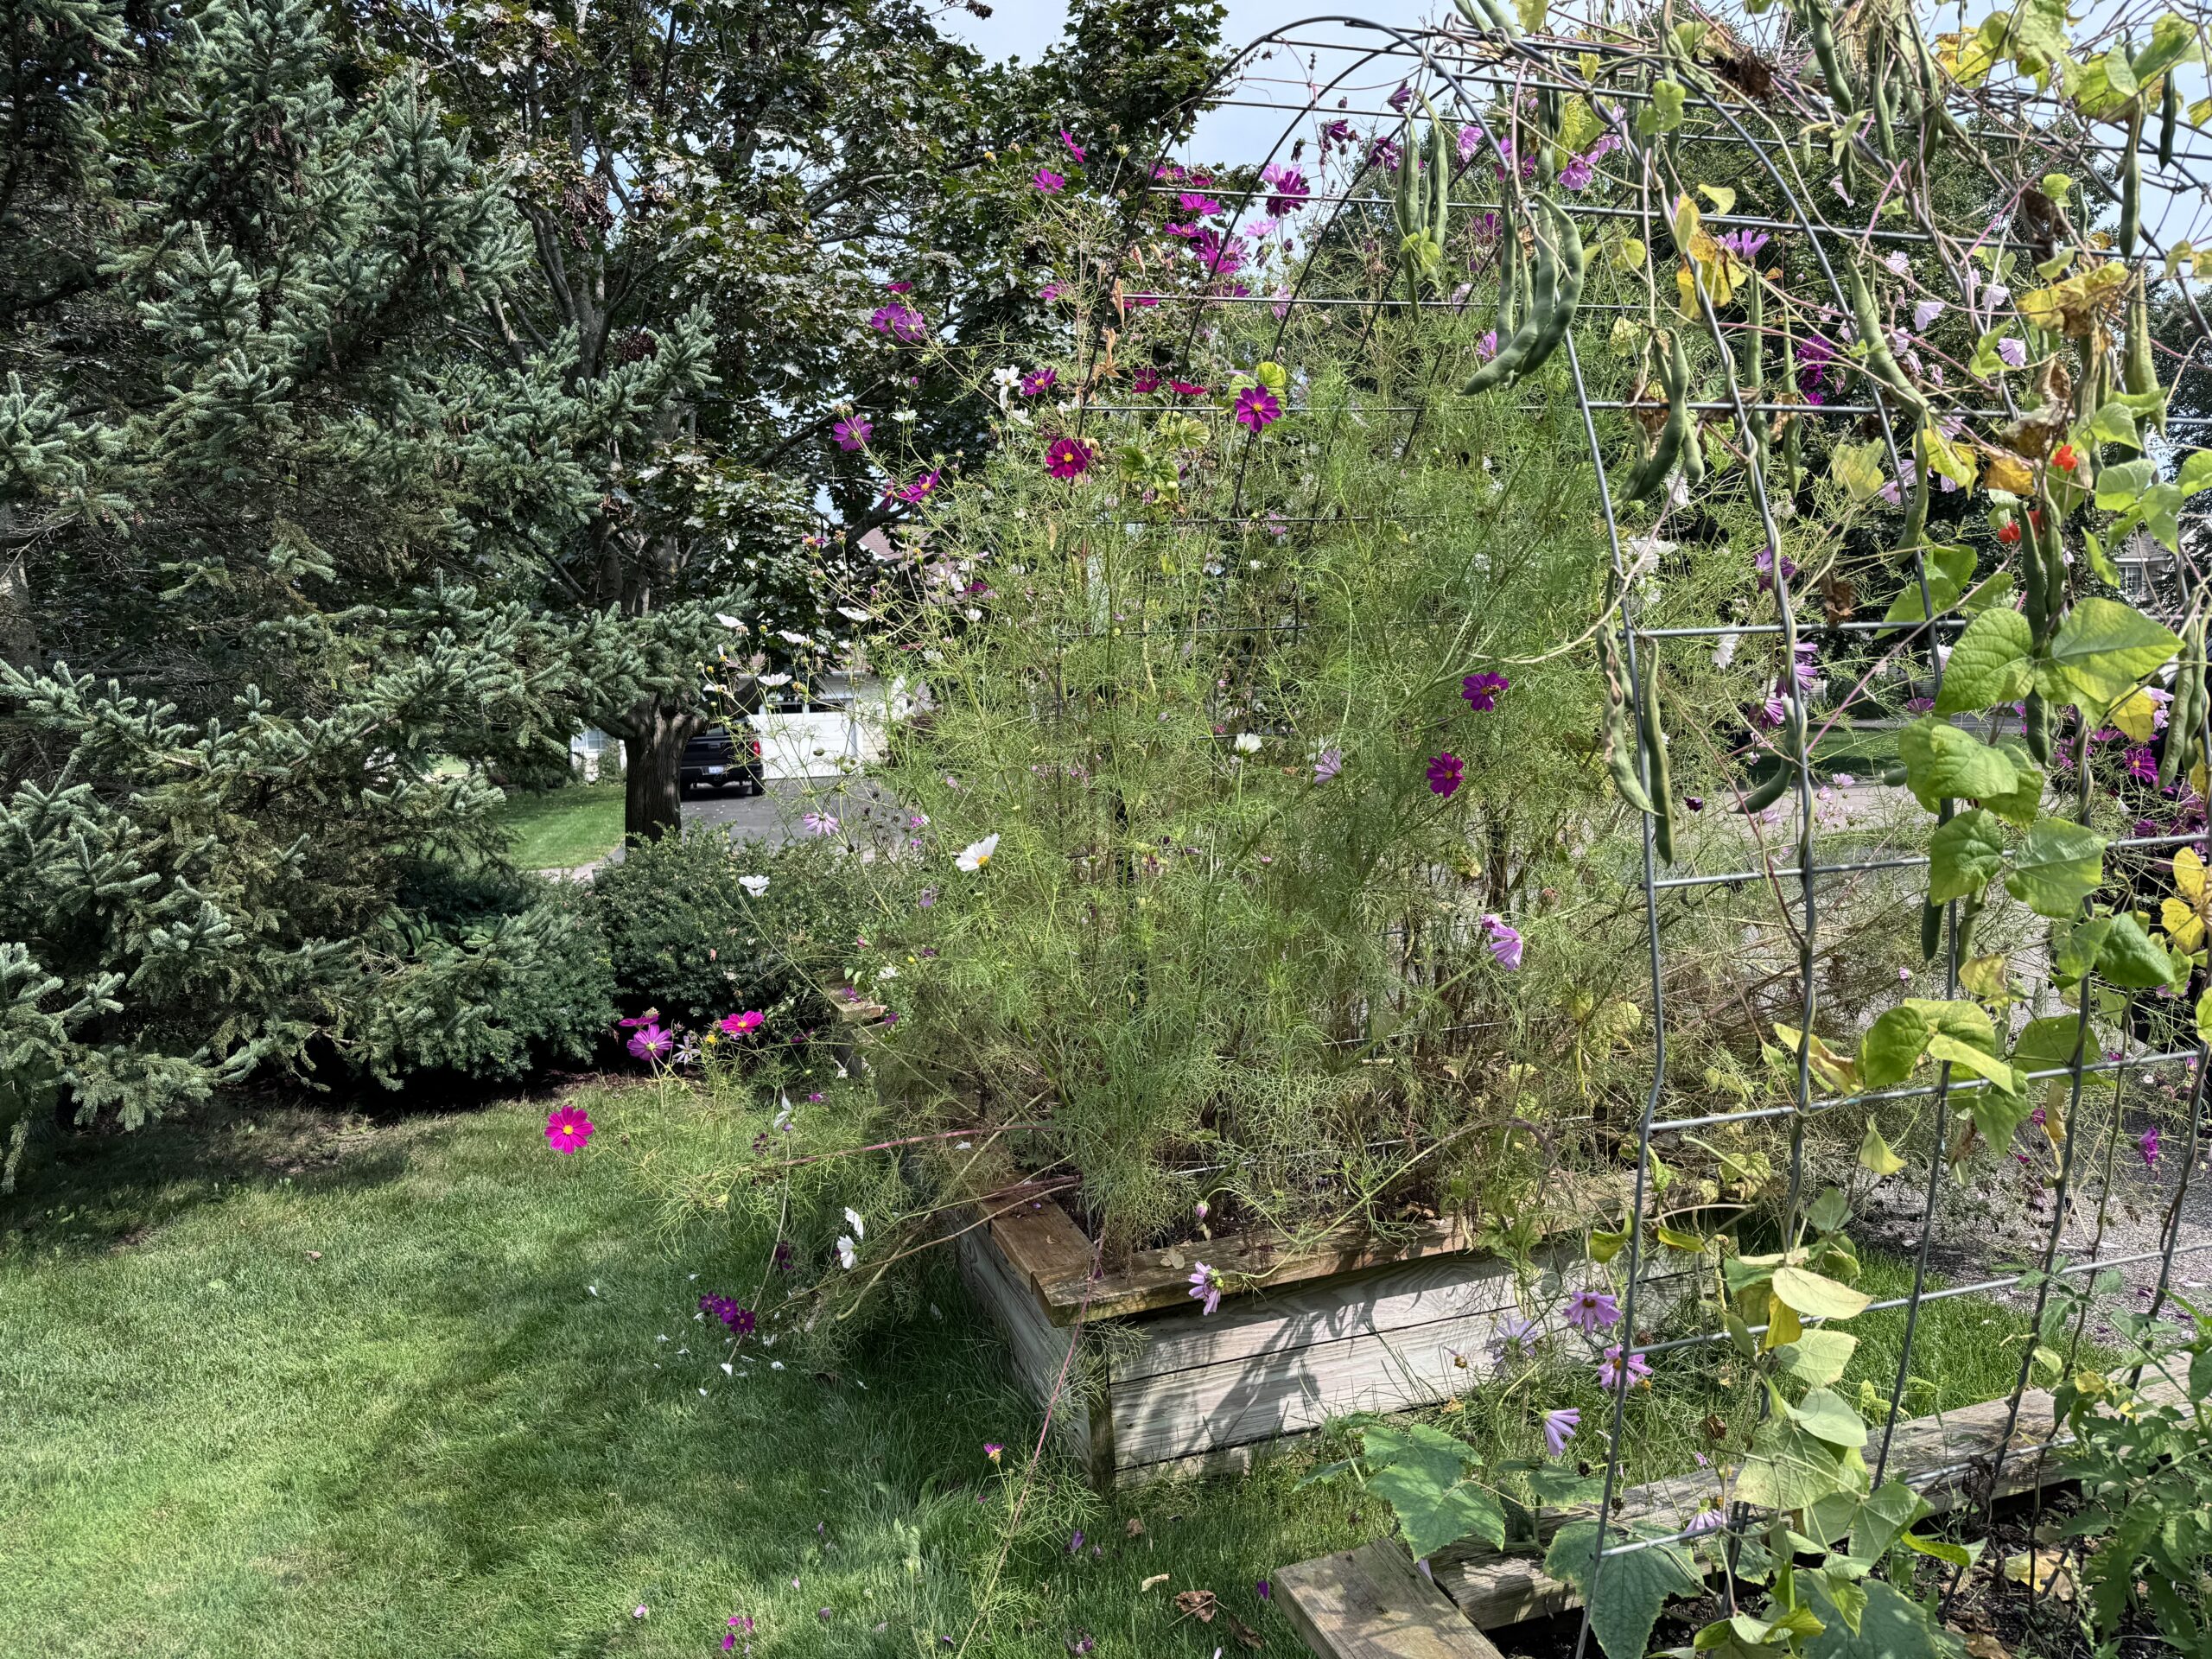
Location & Spacing for your Cattle Panel Trellis
Picking a location for your new cattle panel trellis can be harder than building it sometimes. You should consider a few things before placing your garden trellis arch.
Where & What are you planting?
Will you have raised beds on both sides?
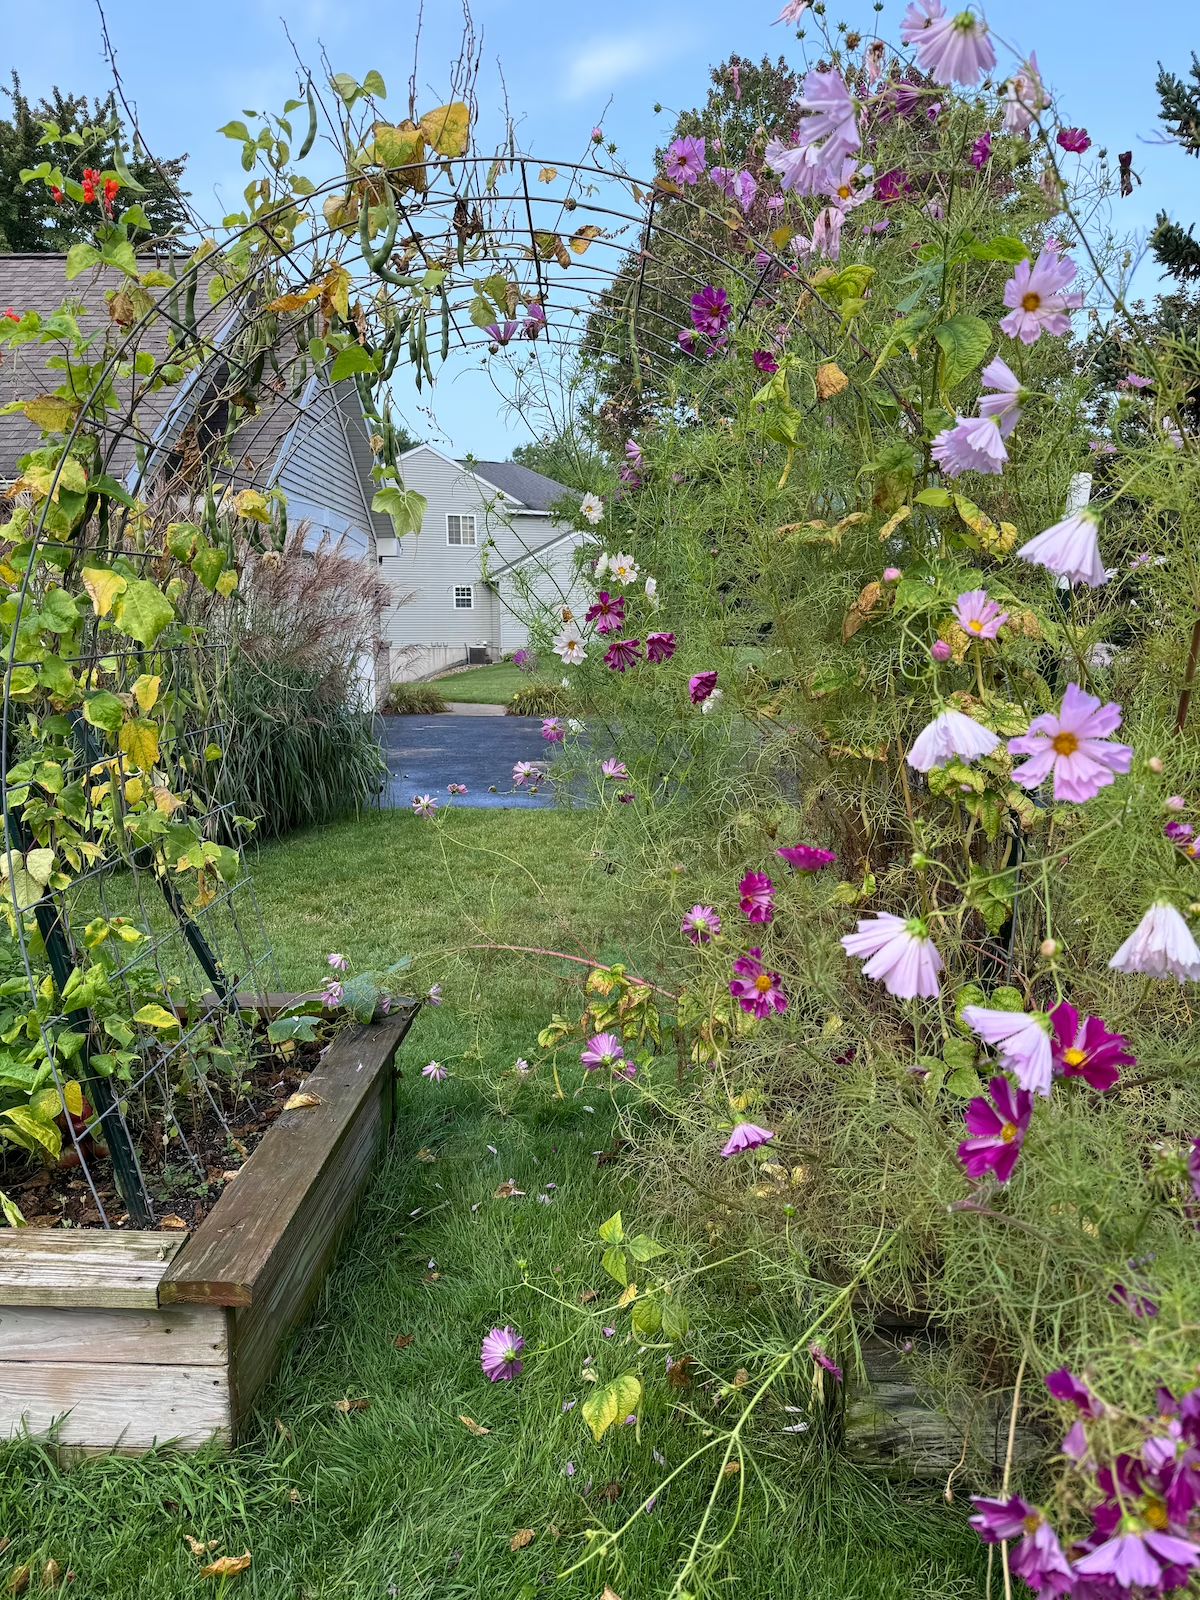
We definitely like the idea of connecting two of our raised with an arch. You can choose to beds on either the inside or the outside of the tunnel, but be aware of walking space.
How high do you want your garden arch?
You want your cattle panel trellis to be tall enough that you can walk through without bumping your head.
The height of the trellis will be determined by how far apart you place the stakes—more on that calculation below.
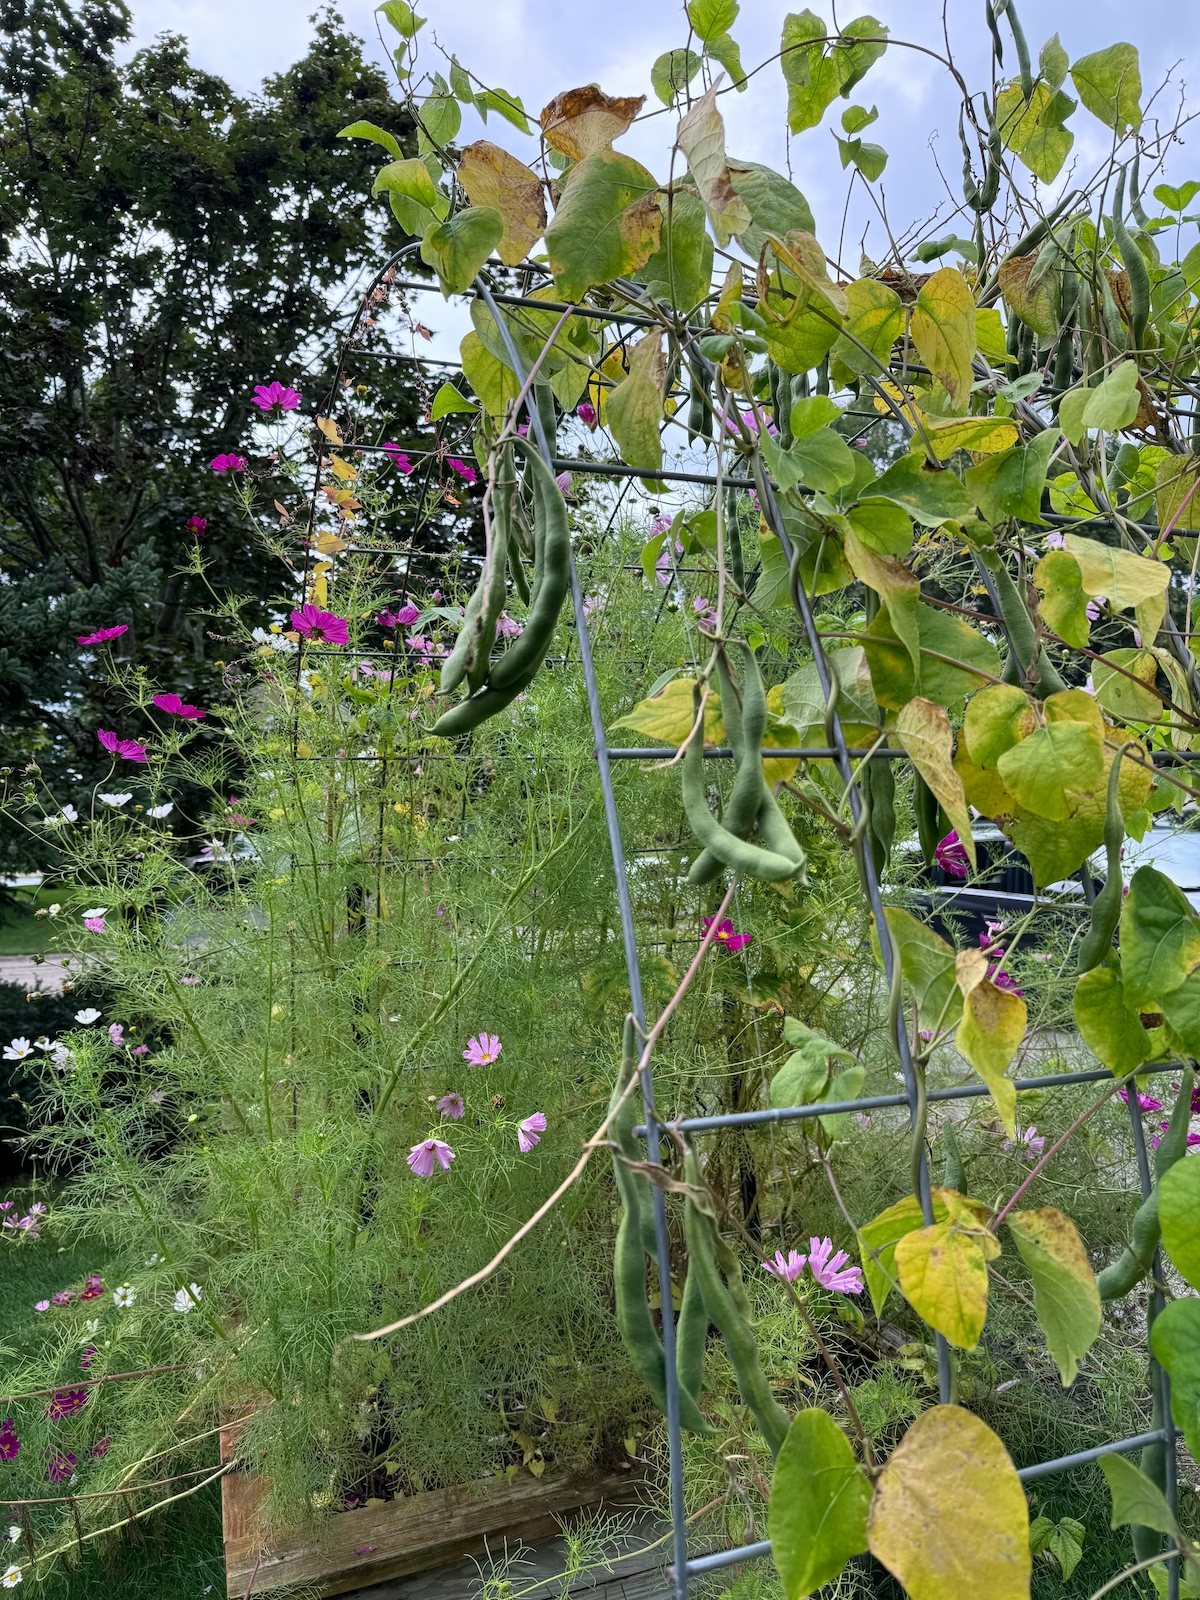
Will the arch be protected enough by the wind?
Do you live in a windy climate? The elements can do great damage to garden structures over Winters here in Michigan.
You might want to position your trellis against a wall or structure where your plants won’t be demolished by rough winds.
Our cattle panel trellises are bent from North to South. We chose this configuration so as the sun travels from East to West during the day, both sides of our trellis gets full sun
Supplies Needed for DIY Garden Arch
- cattle panel (I found mine at my local Farm and Fleet store)
- metal garden stakes
- Dremel (for cutting the cattle panel)
- fishing wire
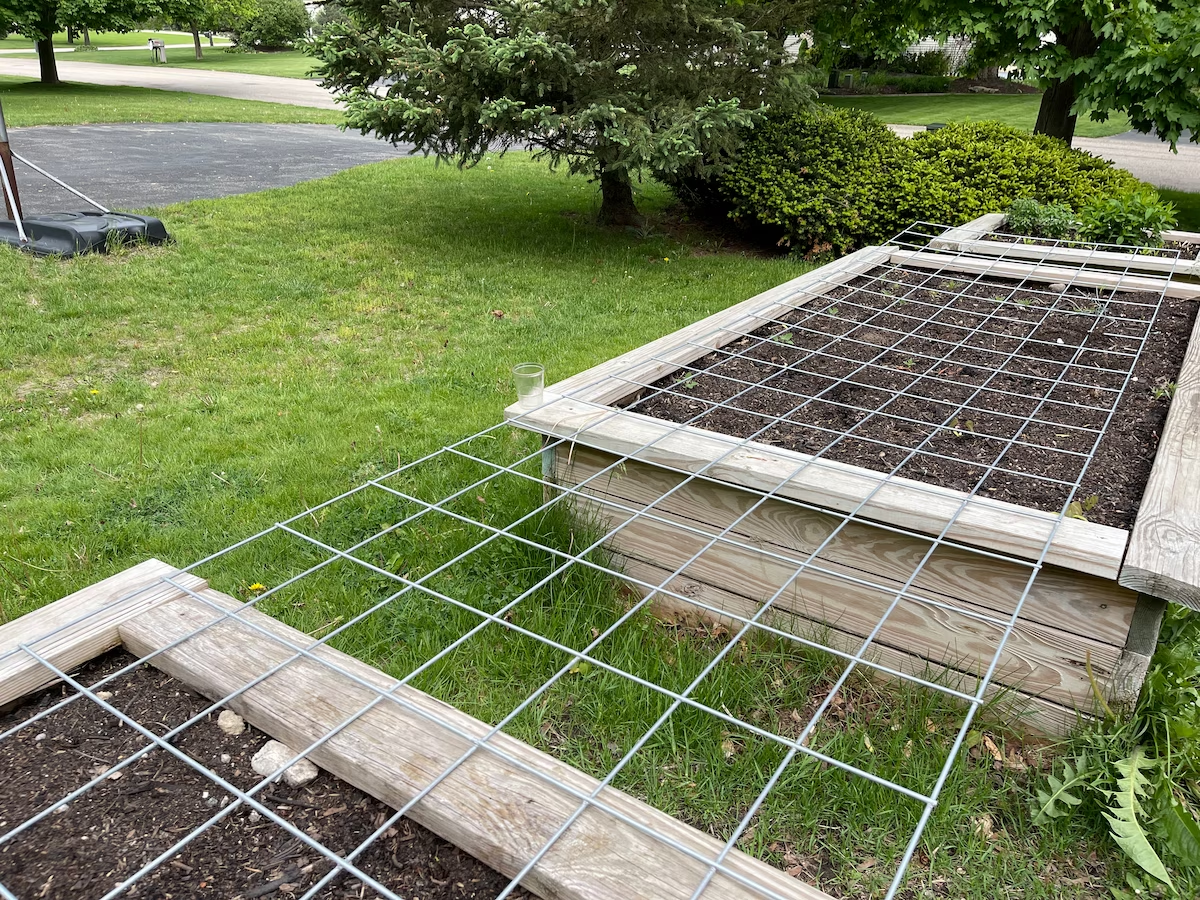
How to Install the Cattle Panel Trellis
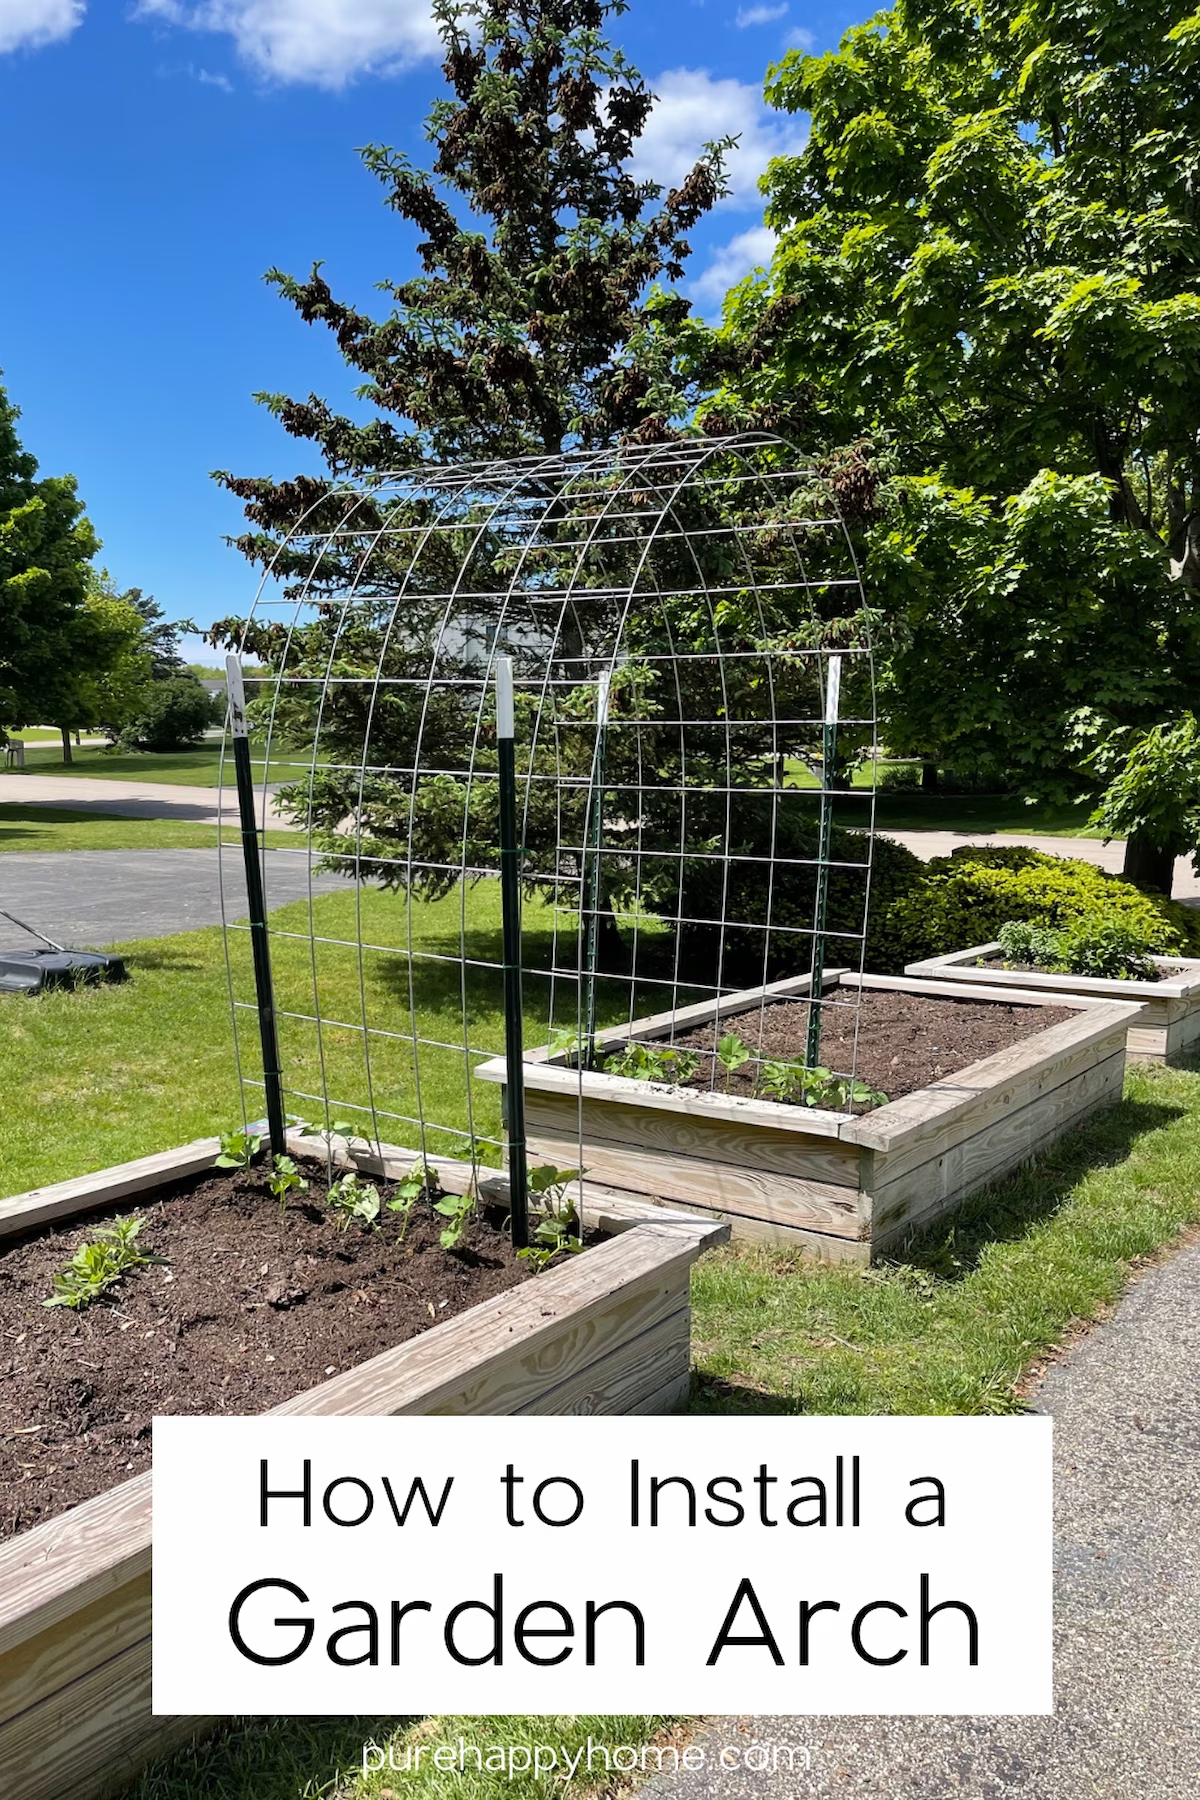
Install the metal garden posts in the ground about a foot deep.
Cut off the ends of each cattle panel so you make a stake from the metal you can insert into the ground.
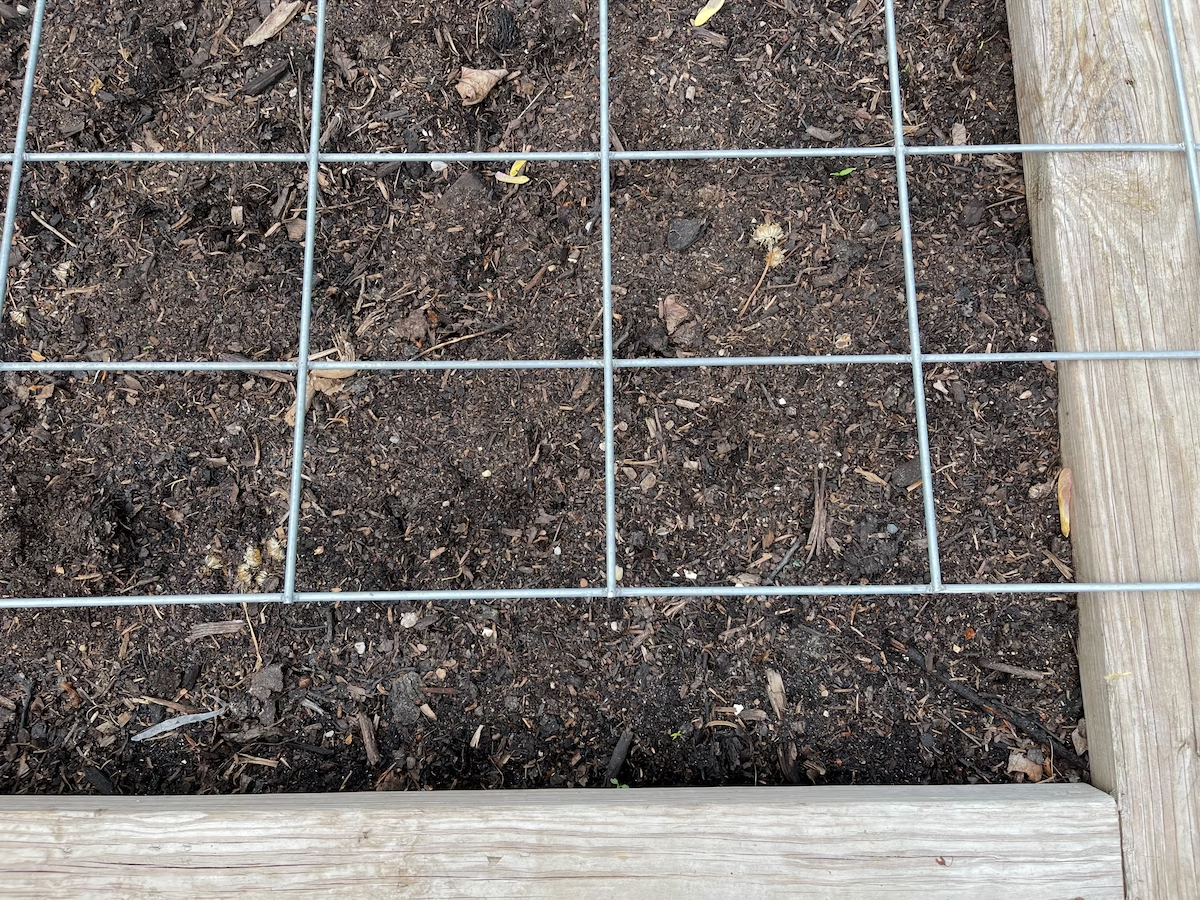
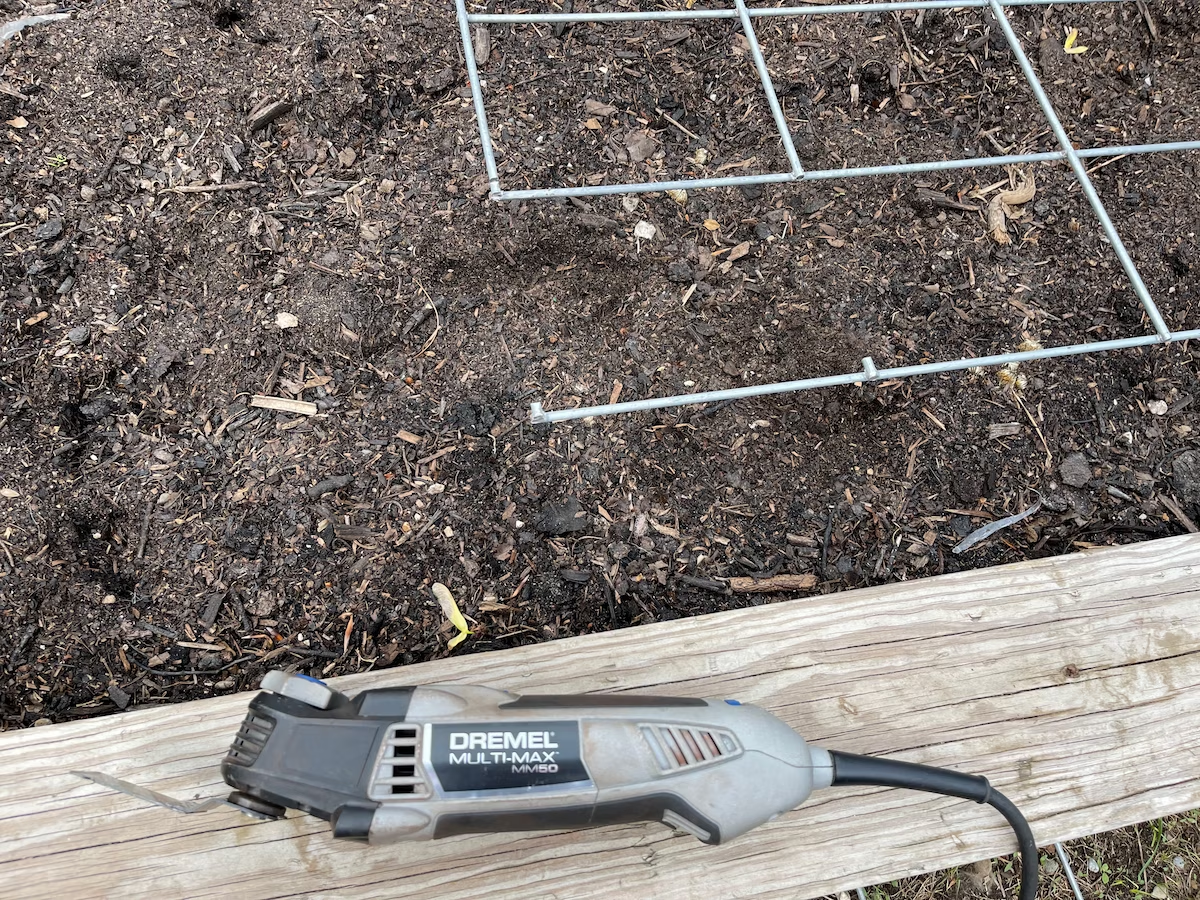
Once your cattle panel has been cut and you have a single piece of metal. This Dremel here is such an incredible tool. We use it a lot and it has paid for itself very quickly.
With a metal stake of about a foot long press the end of the arch into the ground on one side of the arch.
Gently bent it over and stake the other end into the ground as well.
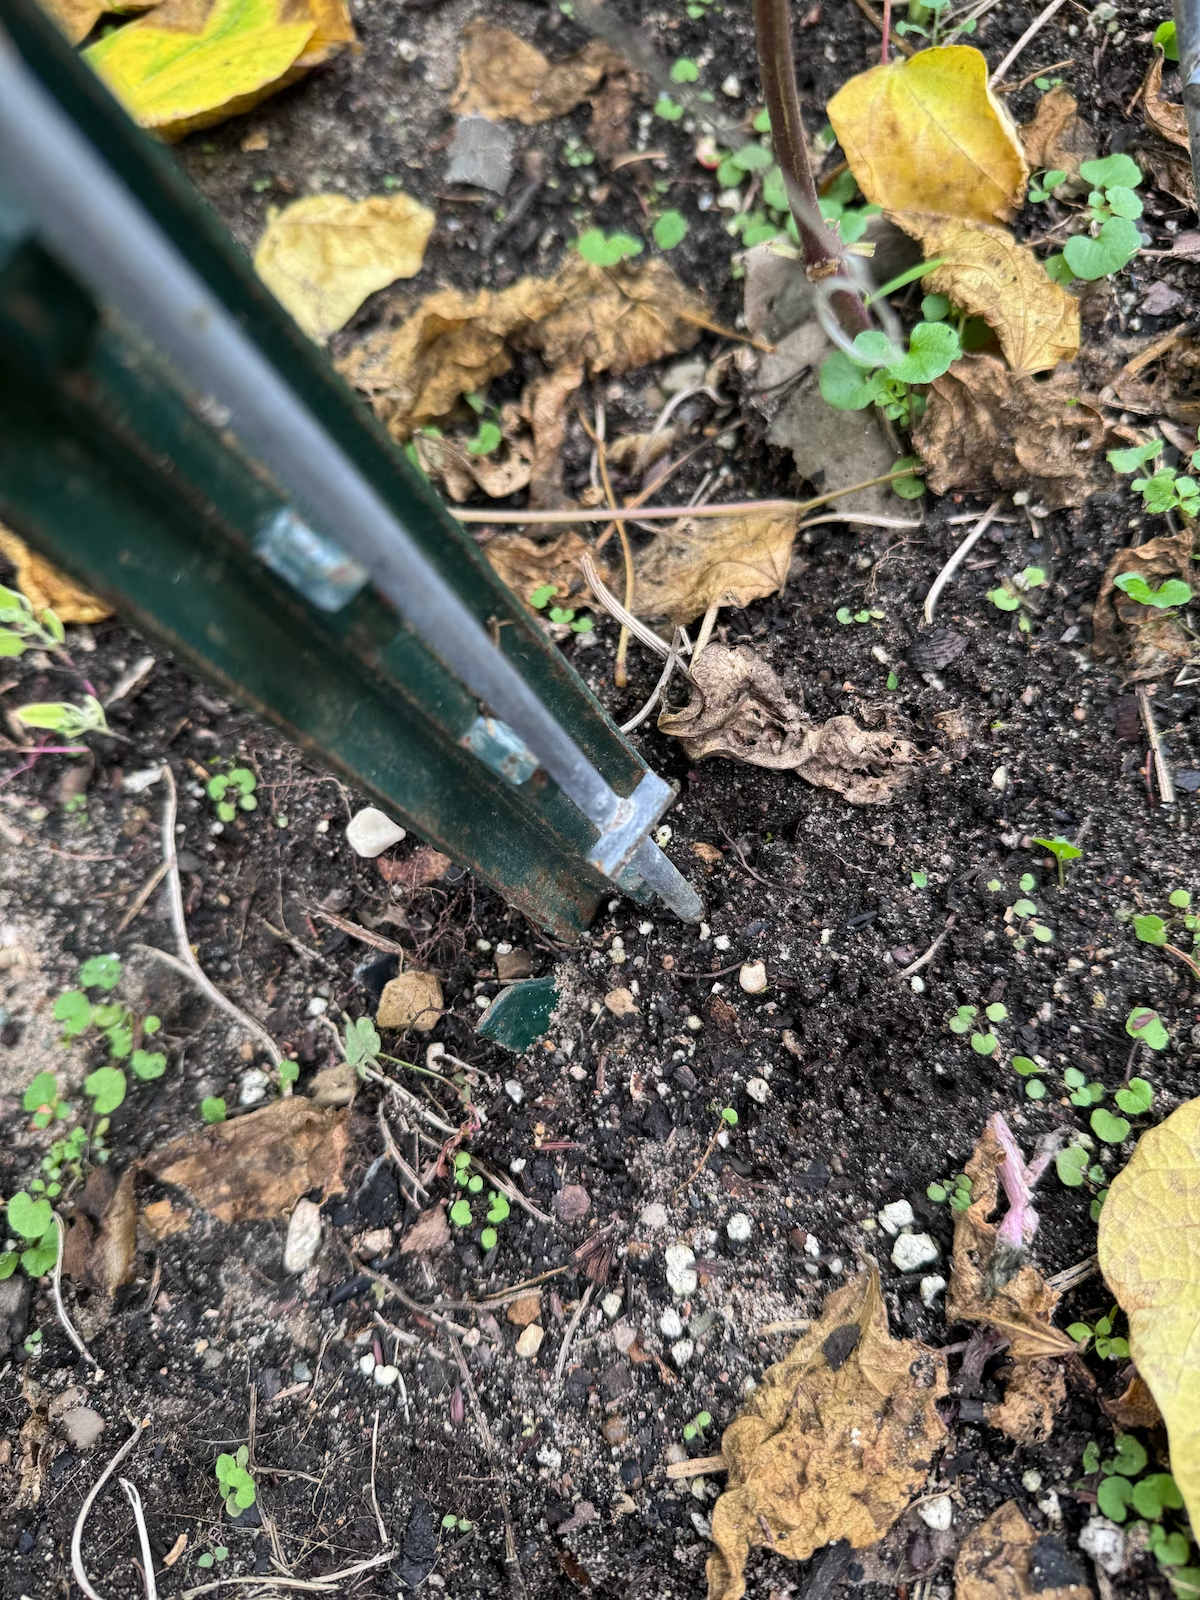
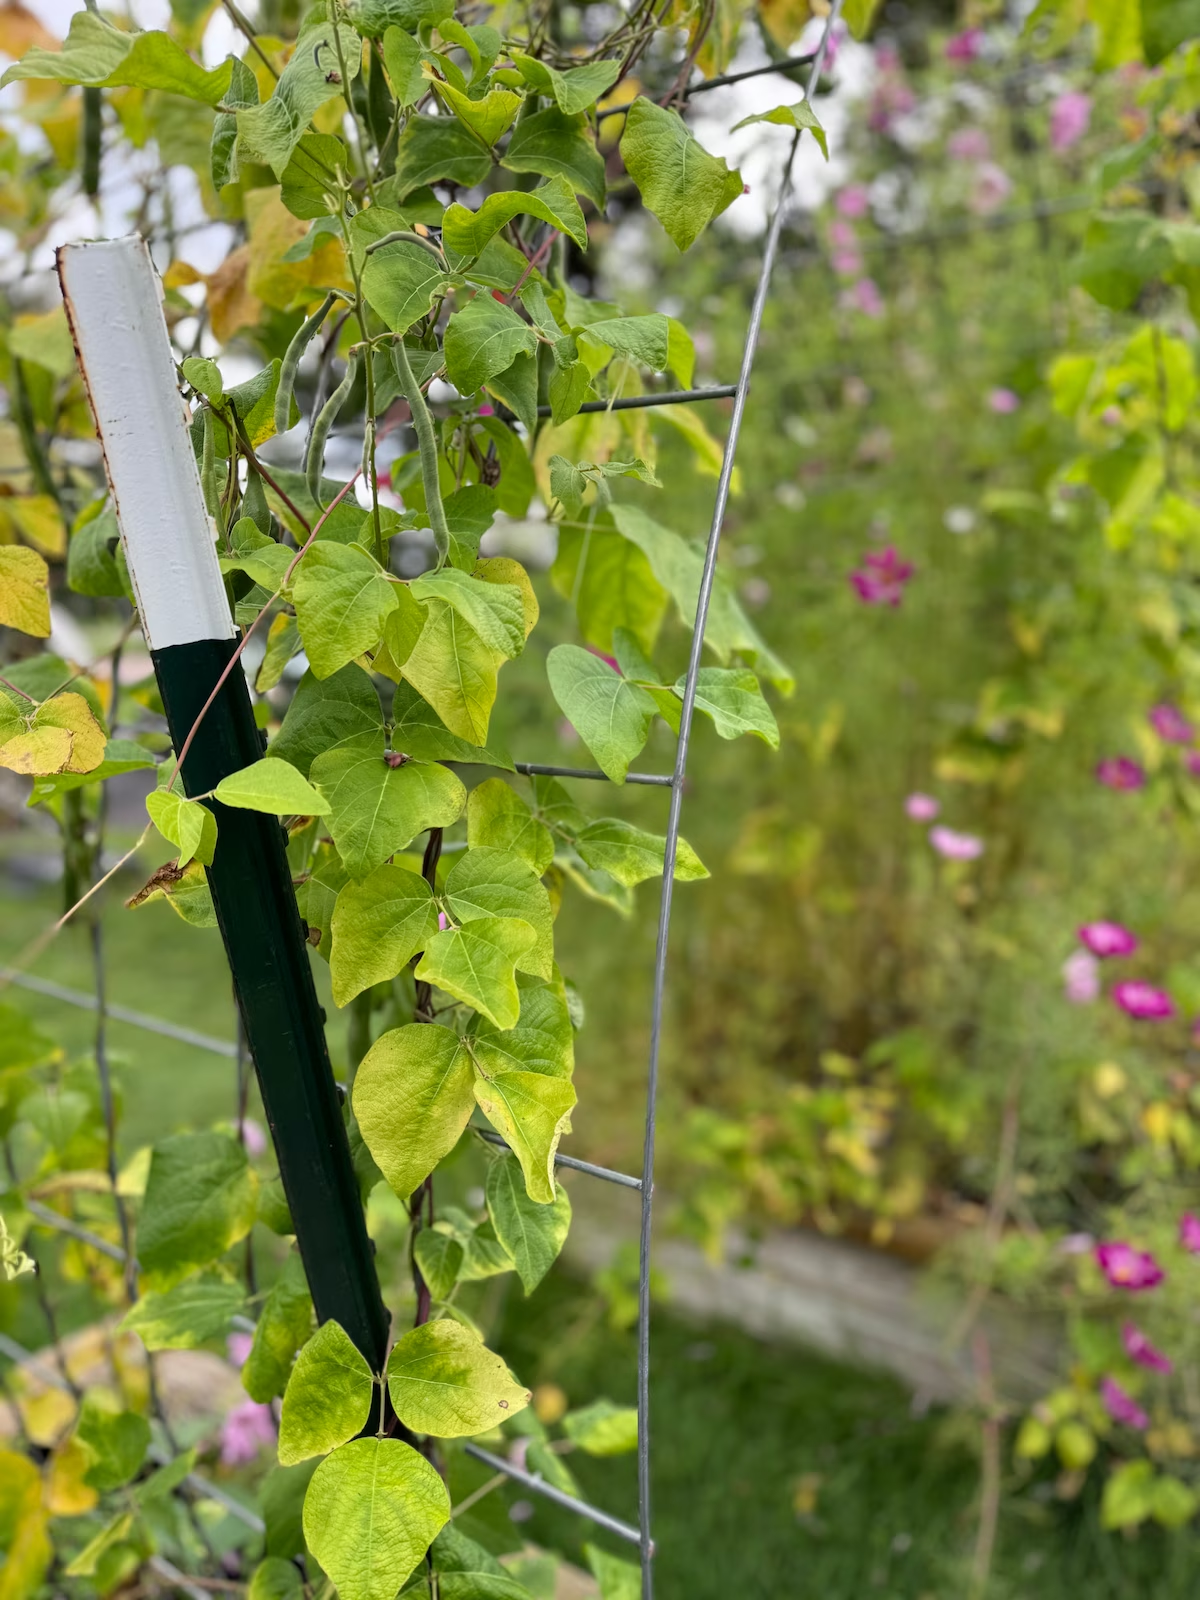
This forms your arch!
With a clear plastic zip tie attach the garden post to the cattle panel for longevity and stability.
Take fishing line and tie it along the length of the trellis to allow your plants to climb and grow.
You’re done!

You should plant your seedlings close to the arch but far enough away that they are able to establish their roots without obstruction from the metal stakes in the ground,
As the growing season continues your plants will naturally begin to climb the arch more and more.
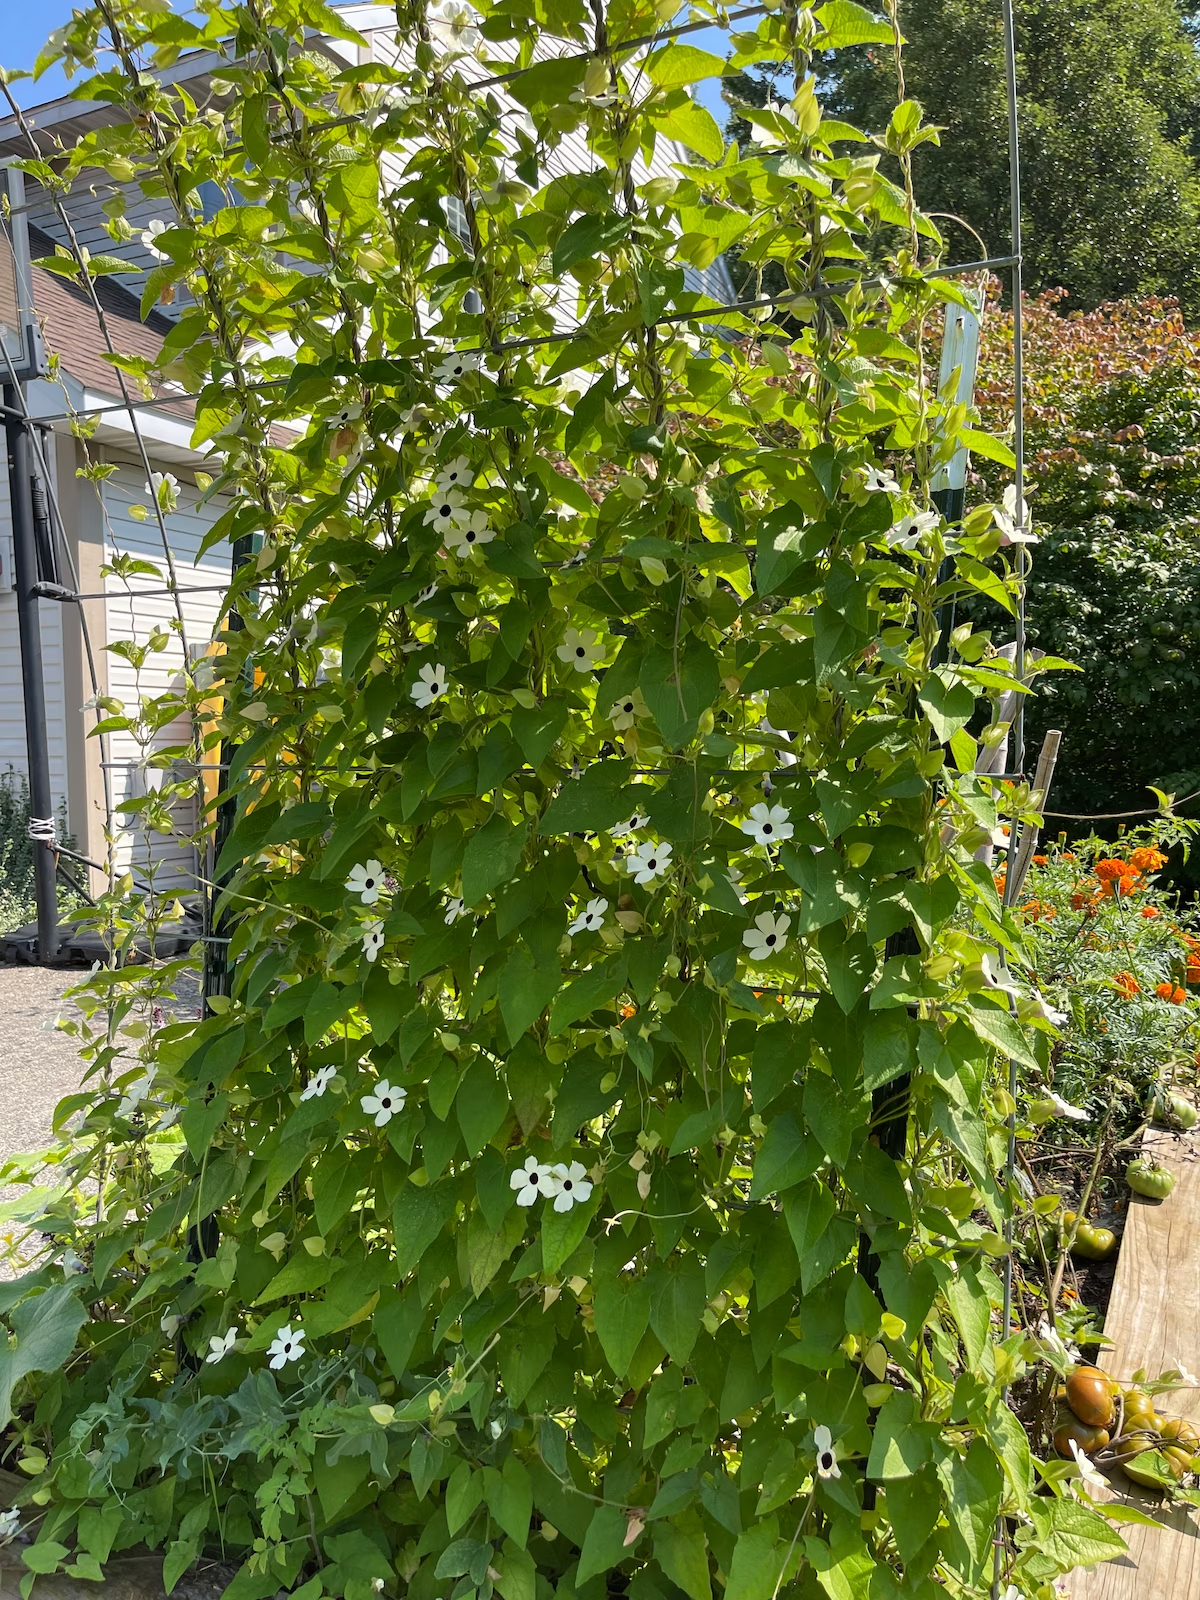
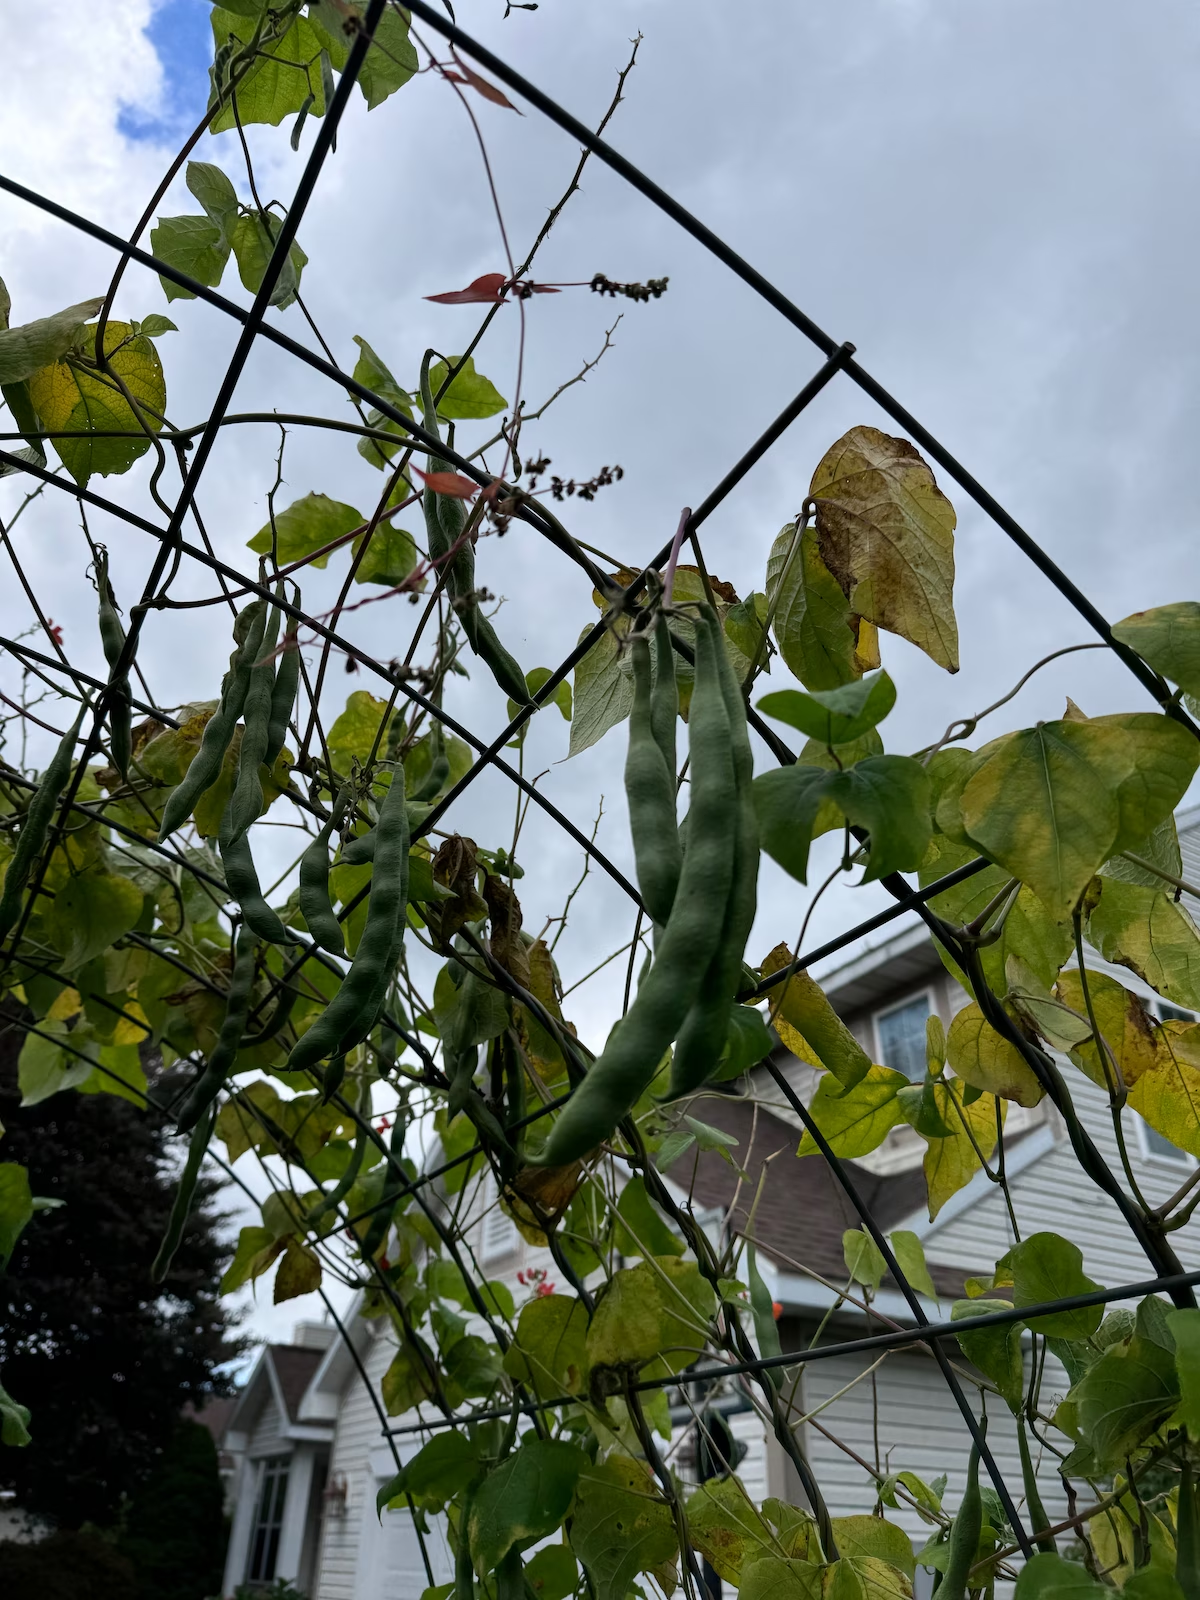
I’ve planted beans this Summer, but last Summer we planted a climbing annual flower that did very well.
Each year you will need to cut down the vines so not to interfere with next years plantings.
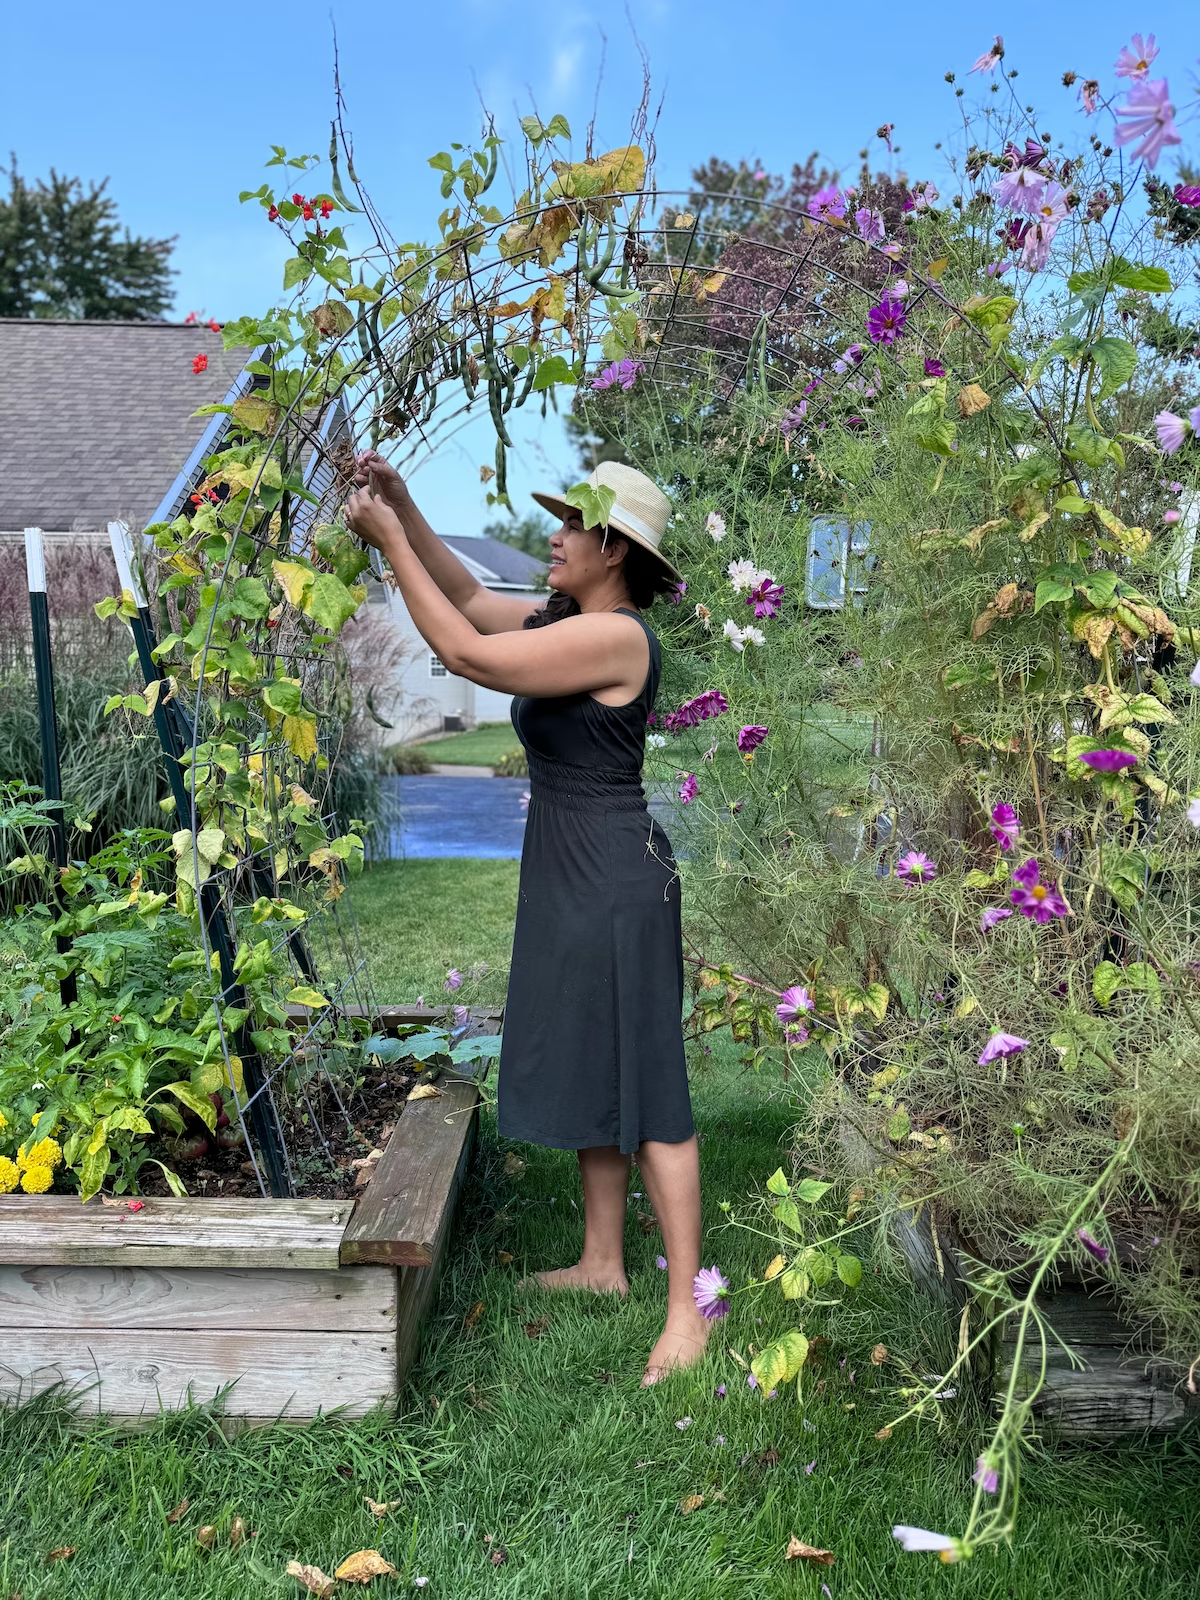
I hope this has inspired you to add character and charm to your raised beds or garden.
If you like my content please subscribe to my newsletter so we can keep in touch.
Until next time you can find me on Instagram, YouTube and Facebook.

MORE GARDEN PROJECTS
- Save Money with Summer Garden Bouquets
- Planting a Garden Bed Late in the Season
- How to Successfully Replant a Ficus Tree
Pin It & Save It







0 Comments