How To Make a DIY Picture Frame Without Using Power Tools
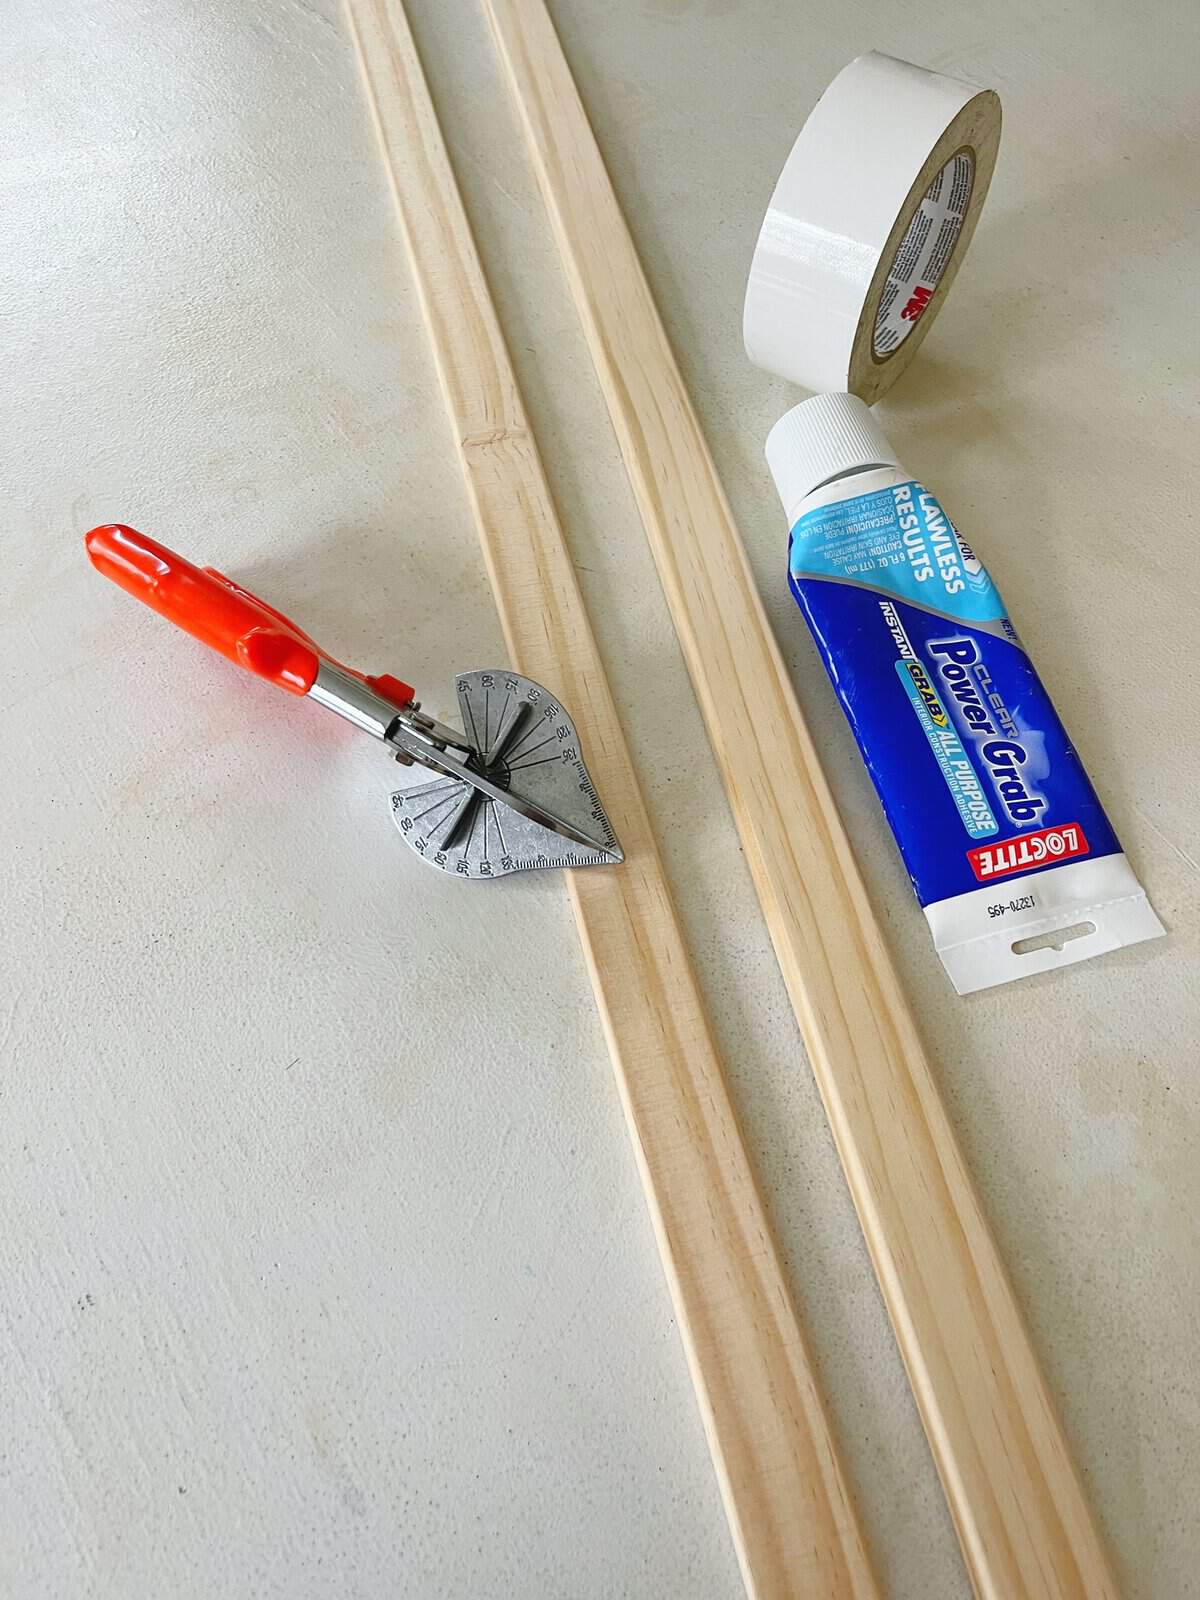
Materials Needed for Your DIY Wood Frame
Before diving into the crafting process, let’s look at the supplies you’ll need.
- – Print and Matt for display
- – Foam board for backing
- – Wood molding for the frame itself
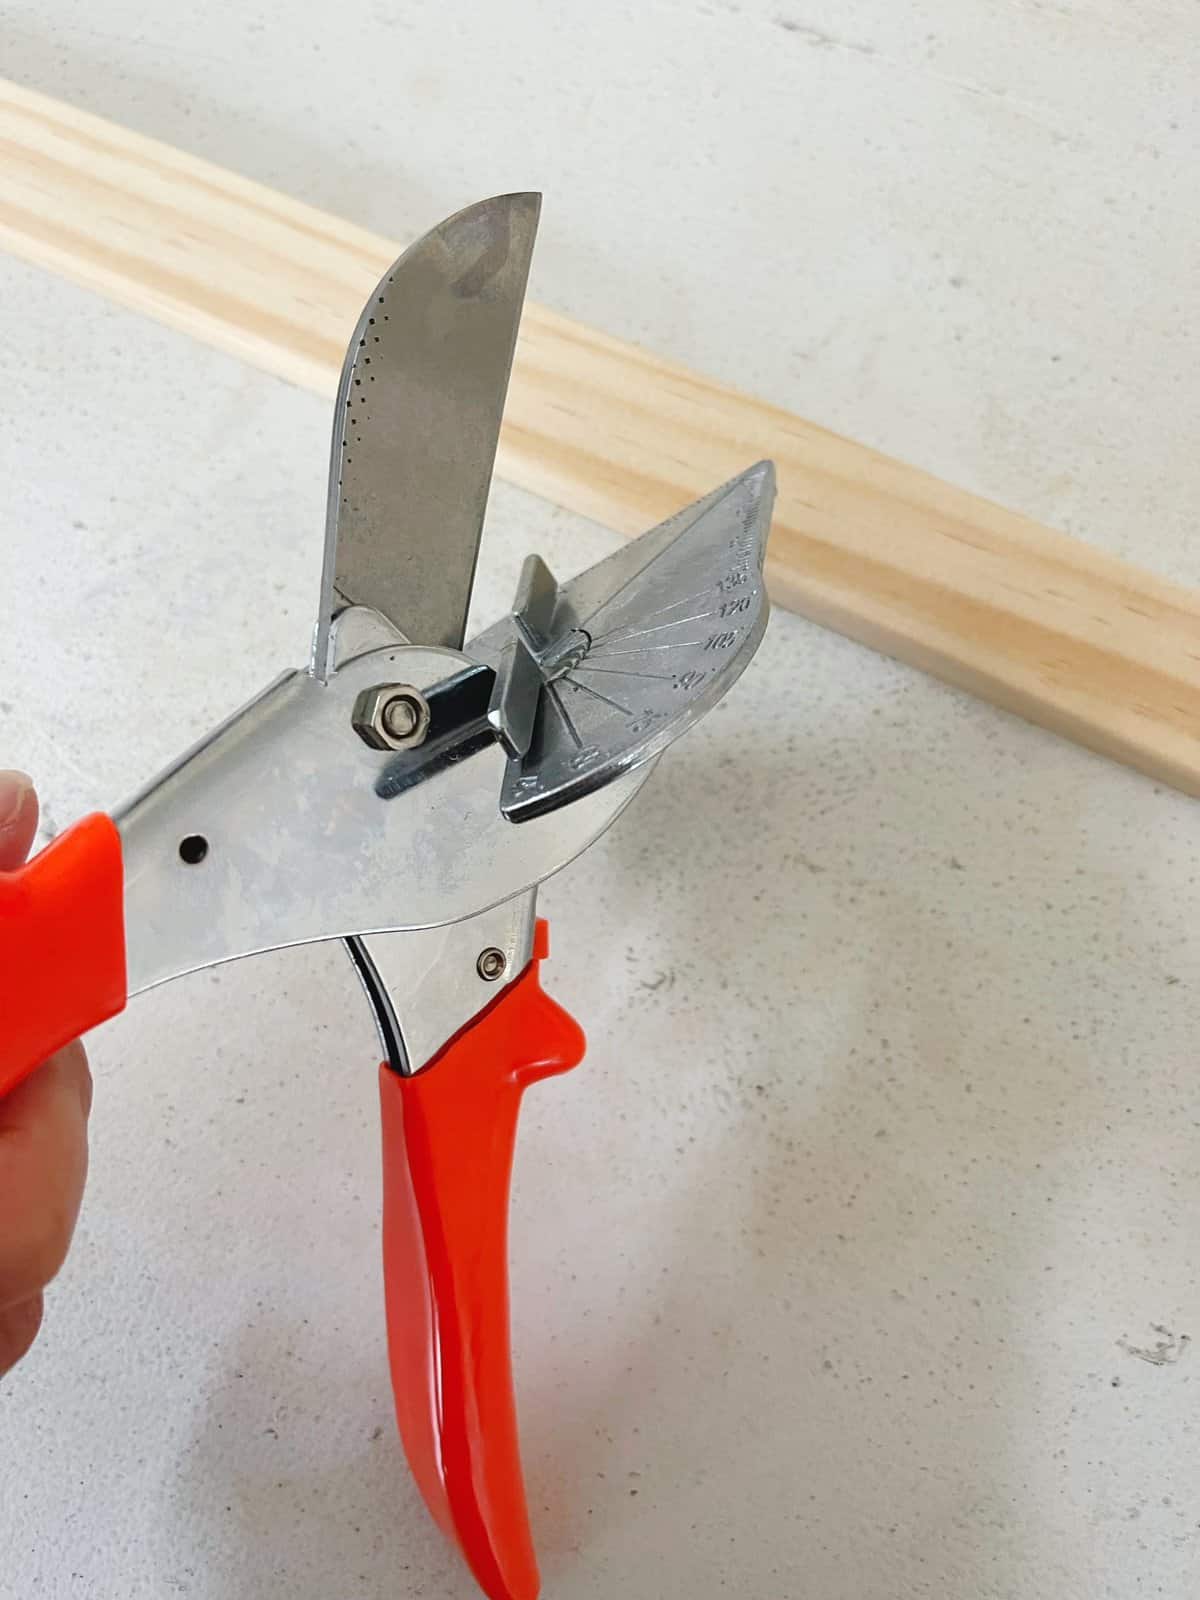
- – Miter cutter or saw for precise cutting
- – Brown paint and water for staining
- – Paper towel for application
- – Clear mat varnish for protection
- – Liquid nails (or another heavy-duty adhesive) for assembly
- – Heavy objects (like ceramic bowls or books) to secure the frame while drying
- – Picture hook and hammer for hanging
Many of these supplies I already had on hand.
Once you start doing DIY projects, the supplies you have on hand will make it so easy to complete more projects.
You’ll end up saving even more money by using what you have!
Step-by-Step Guide to Crafting Your Wood Picture Frame
1. Measuring and Cutting:
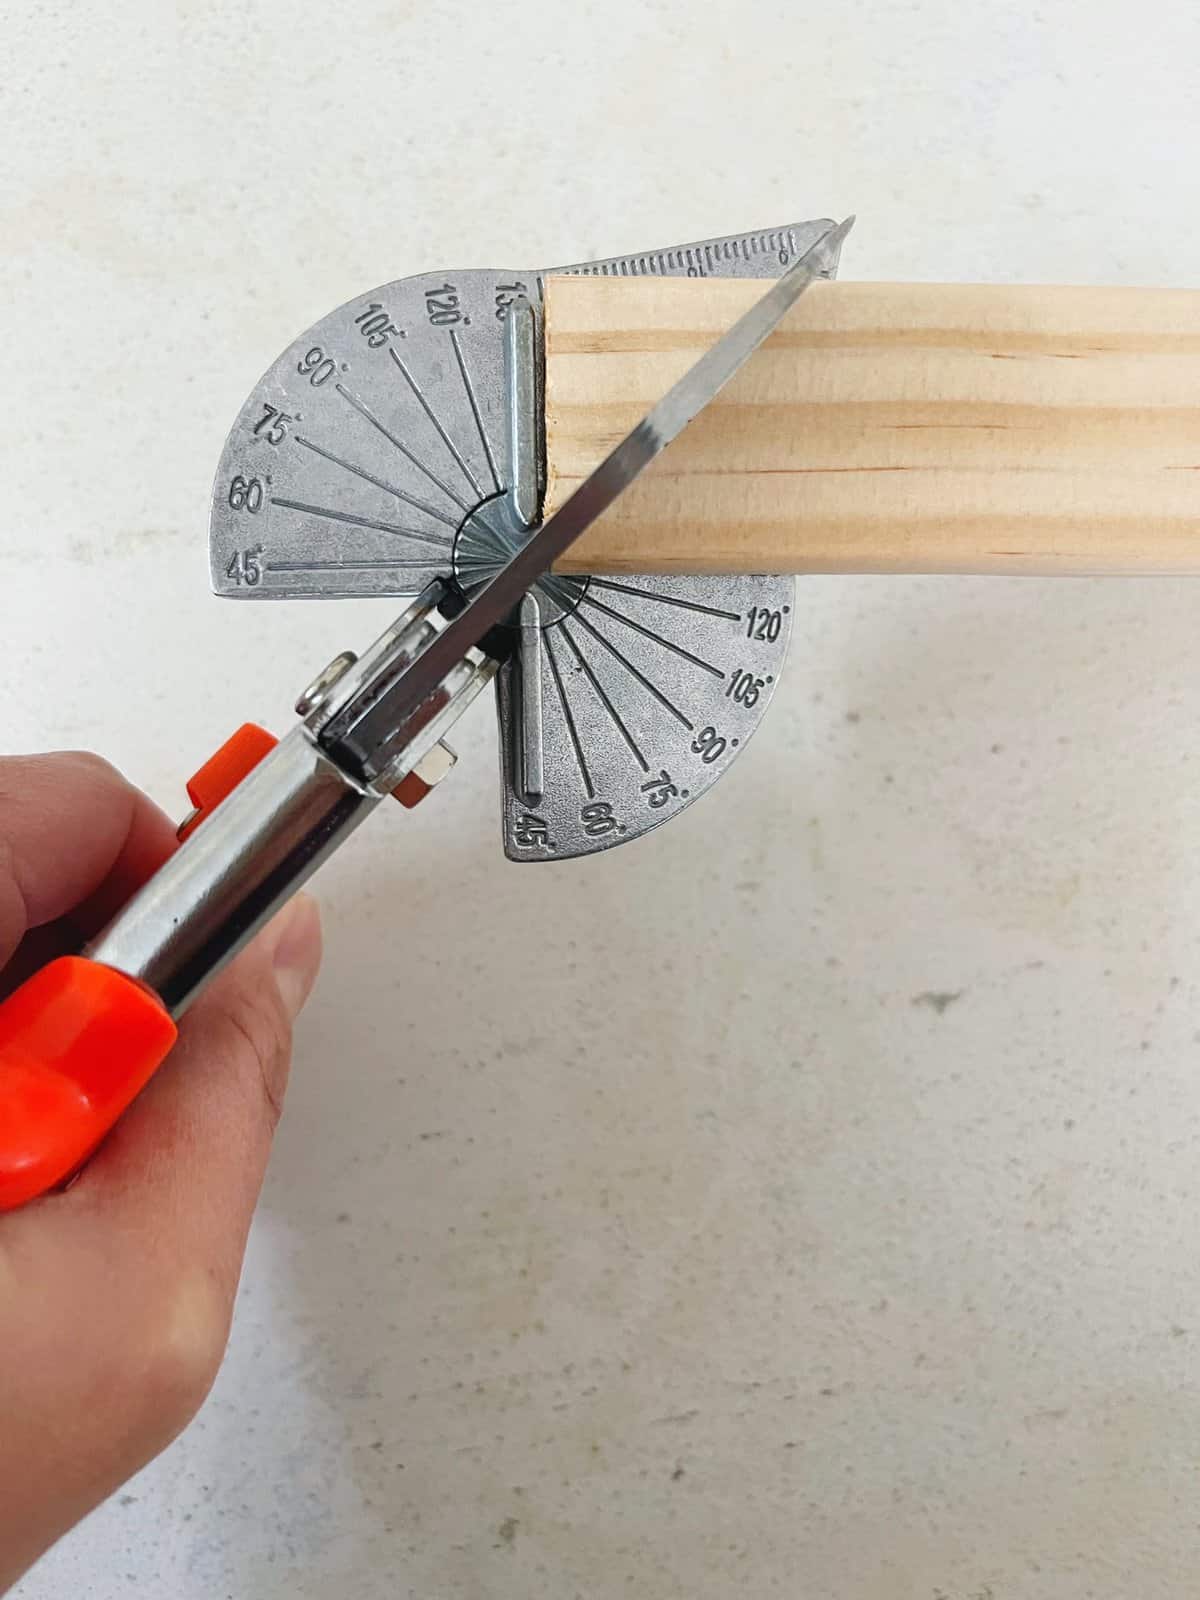
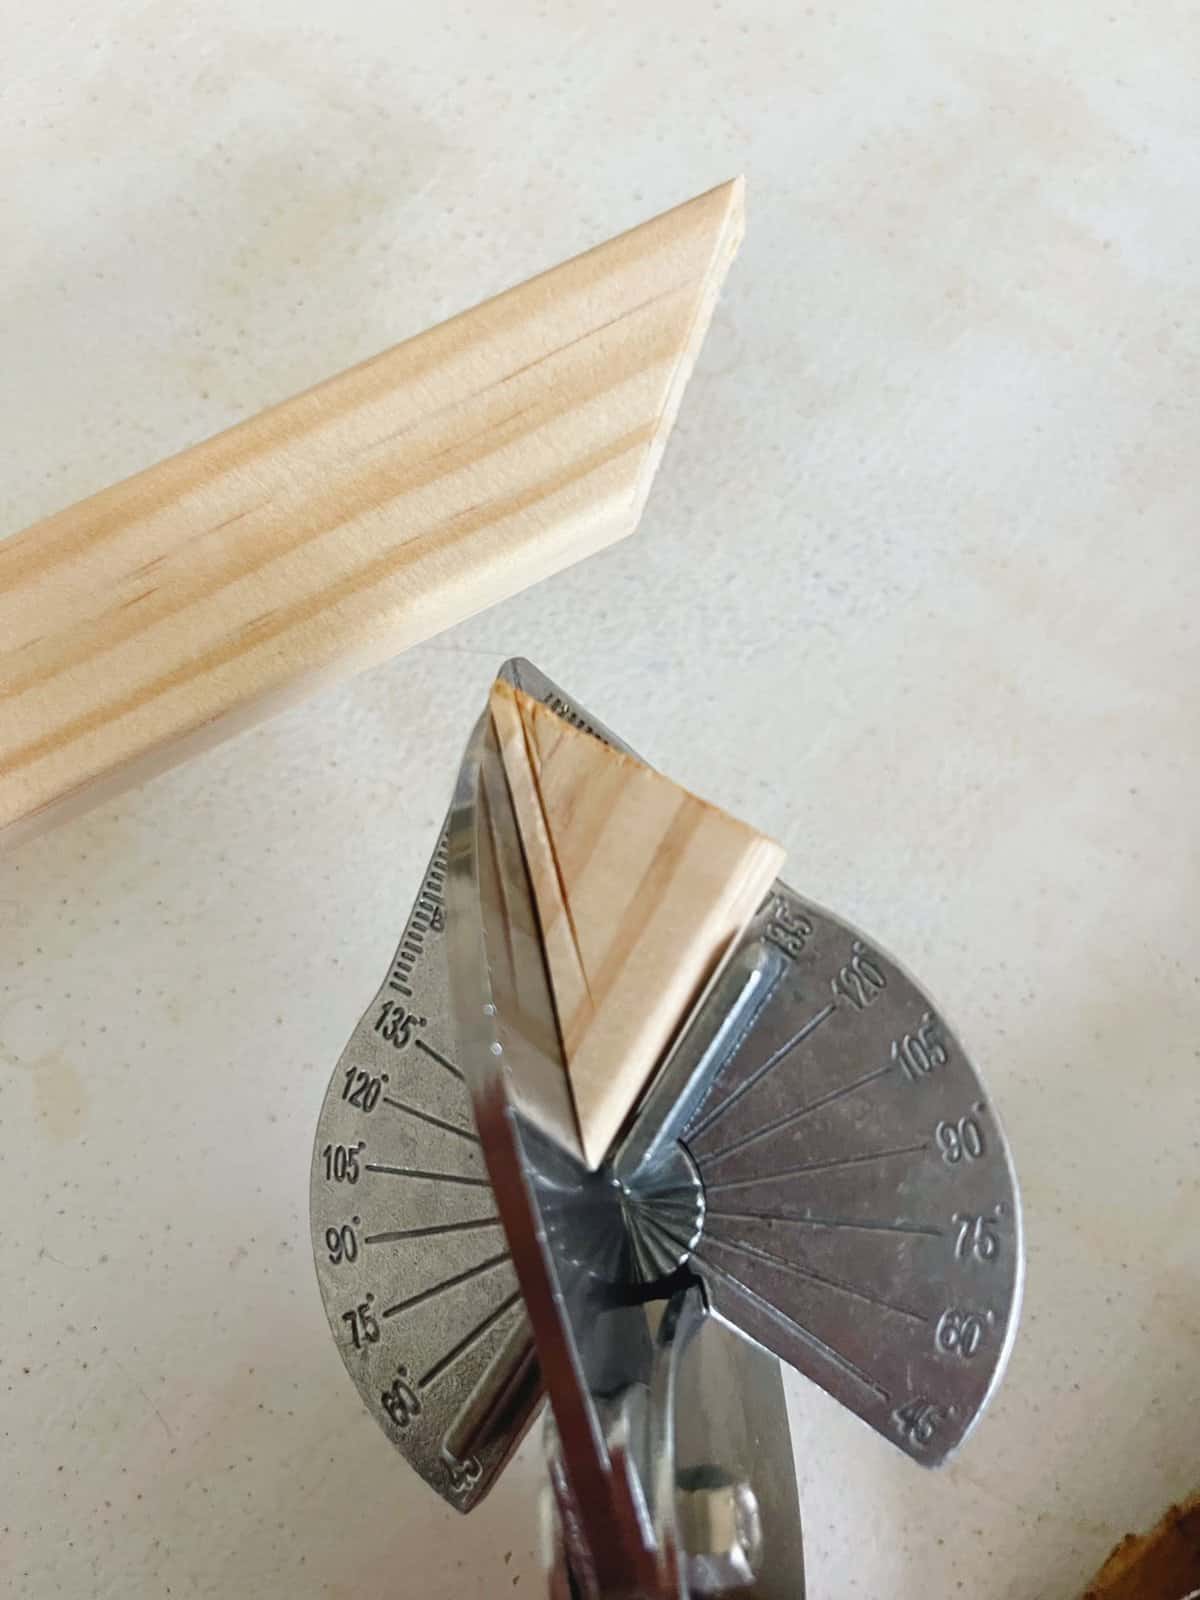
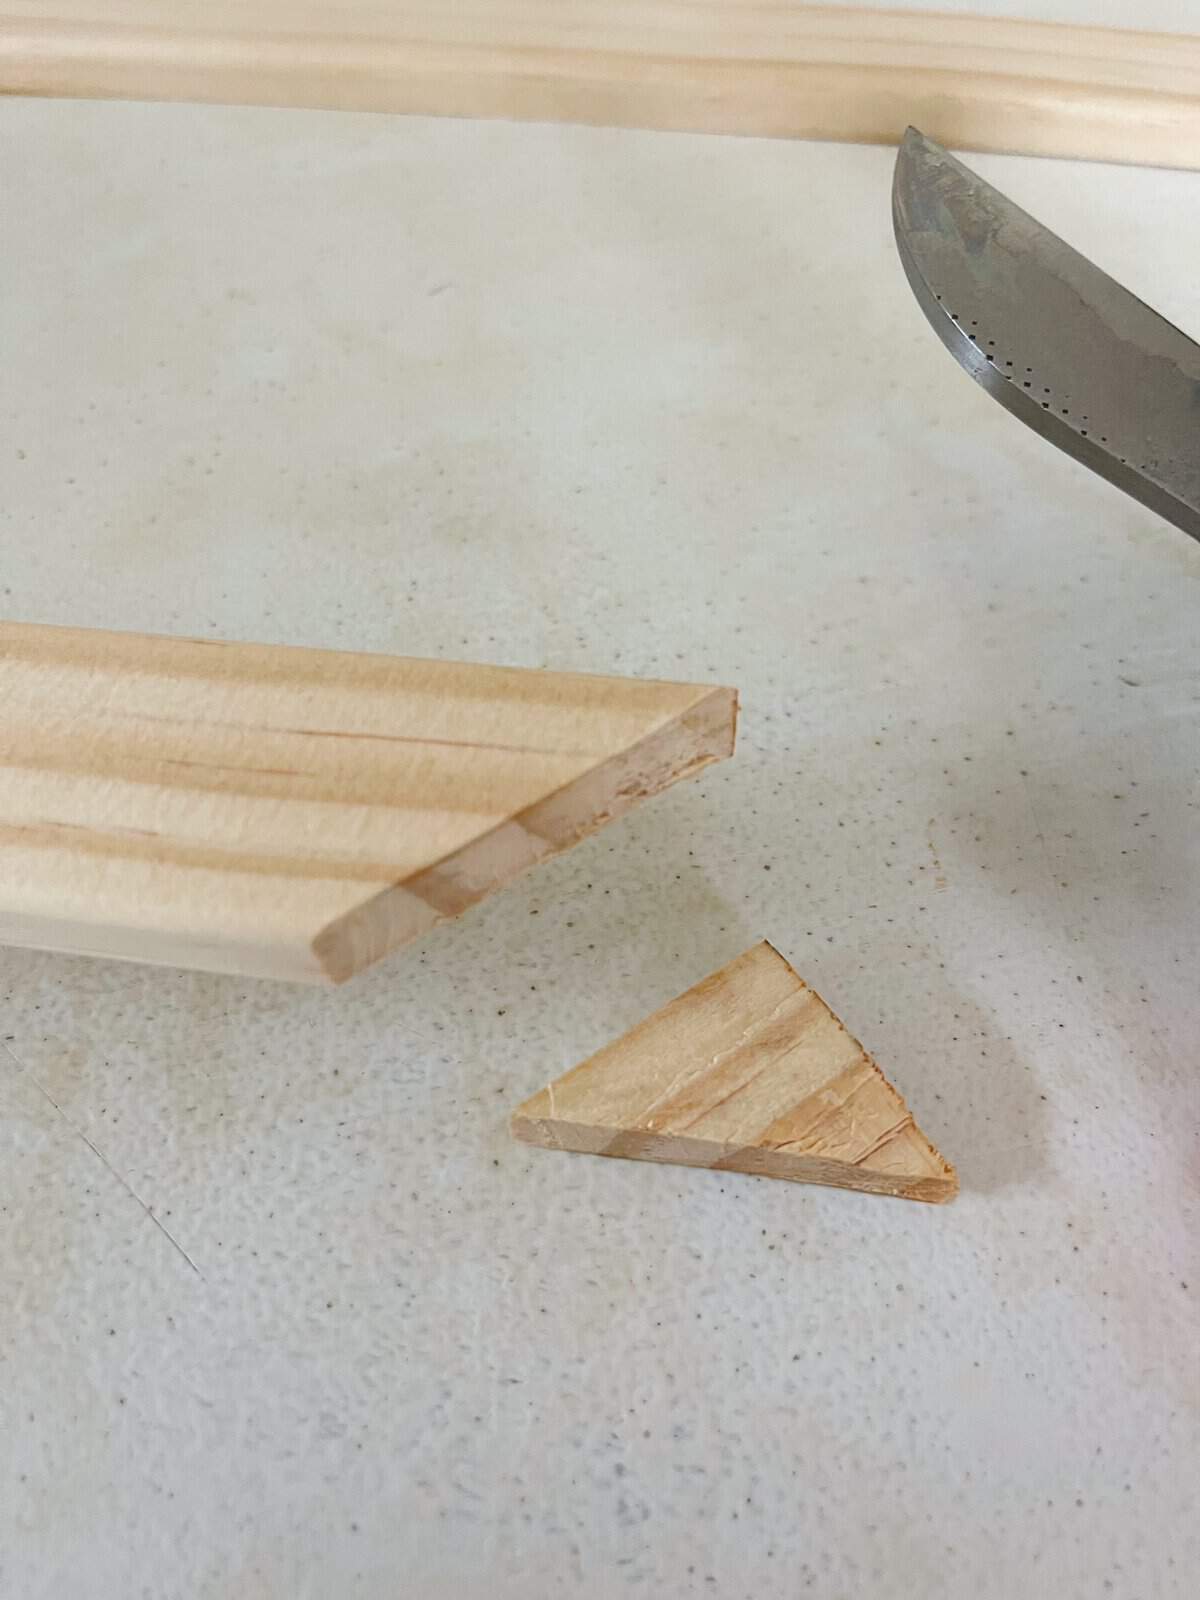
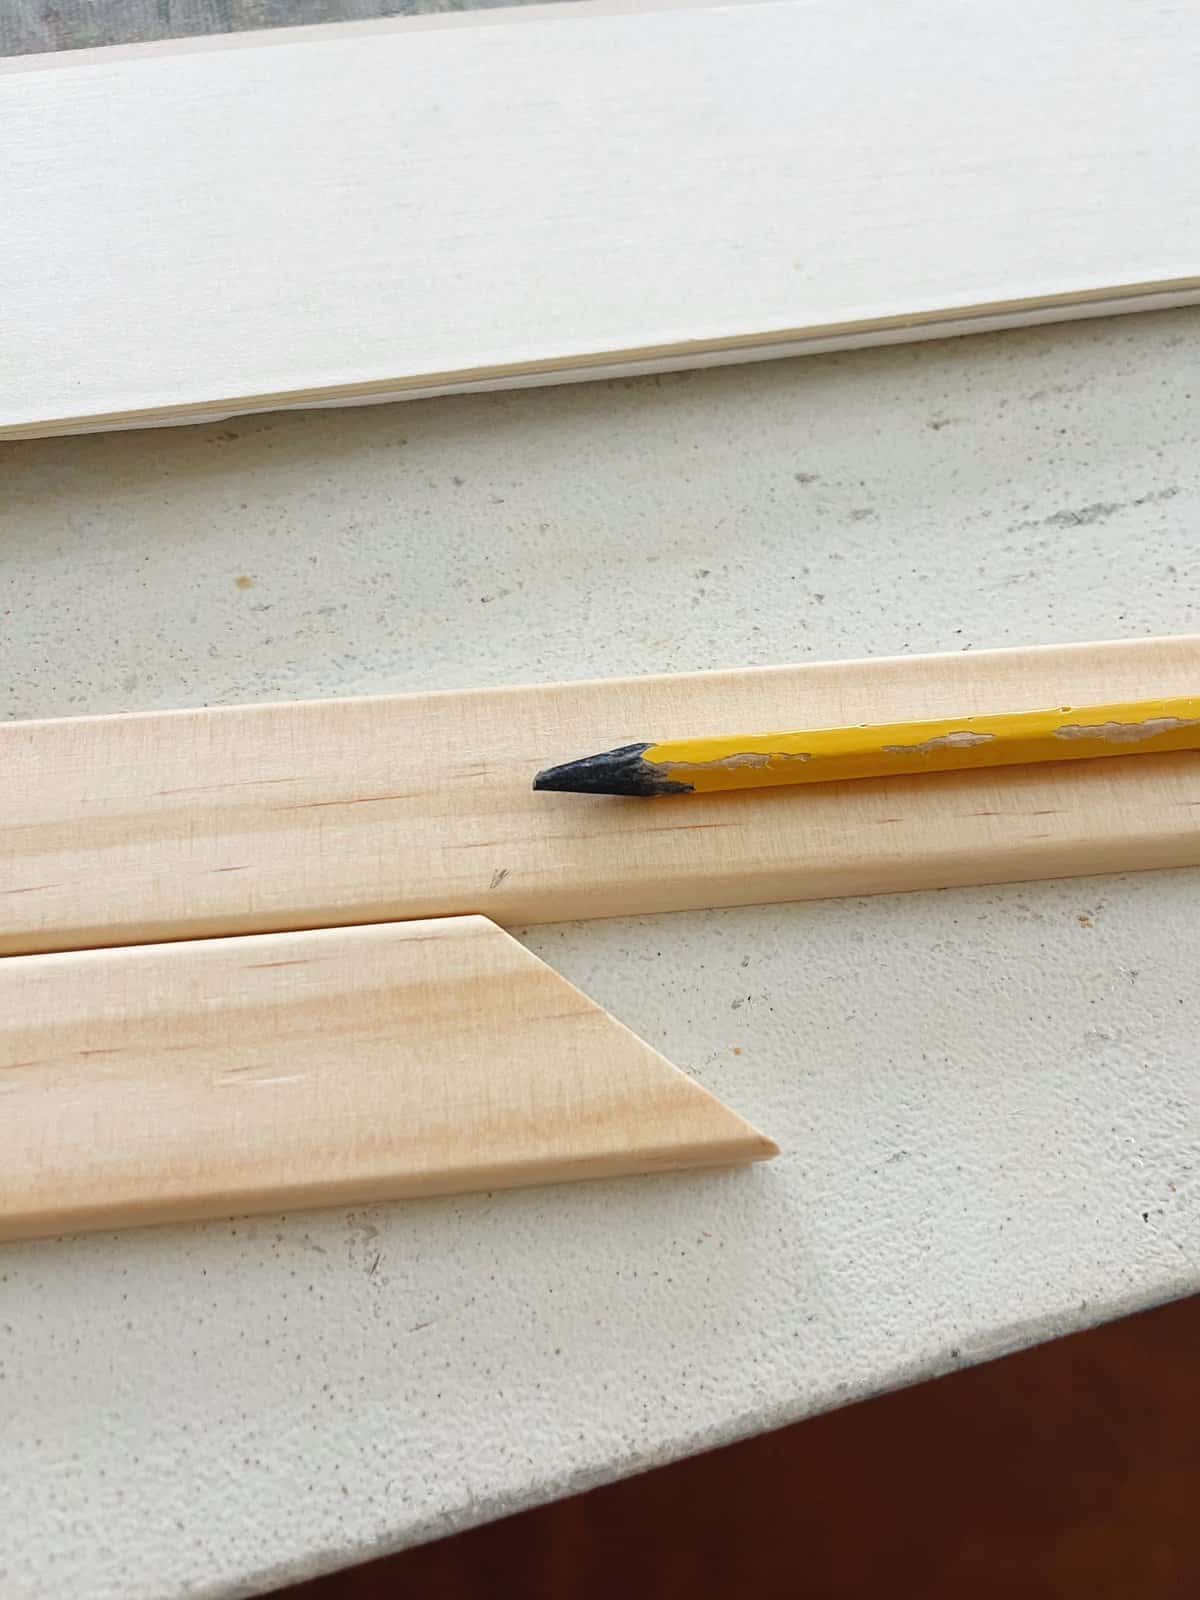
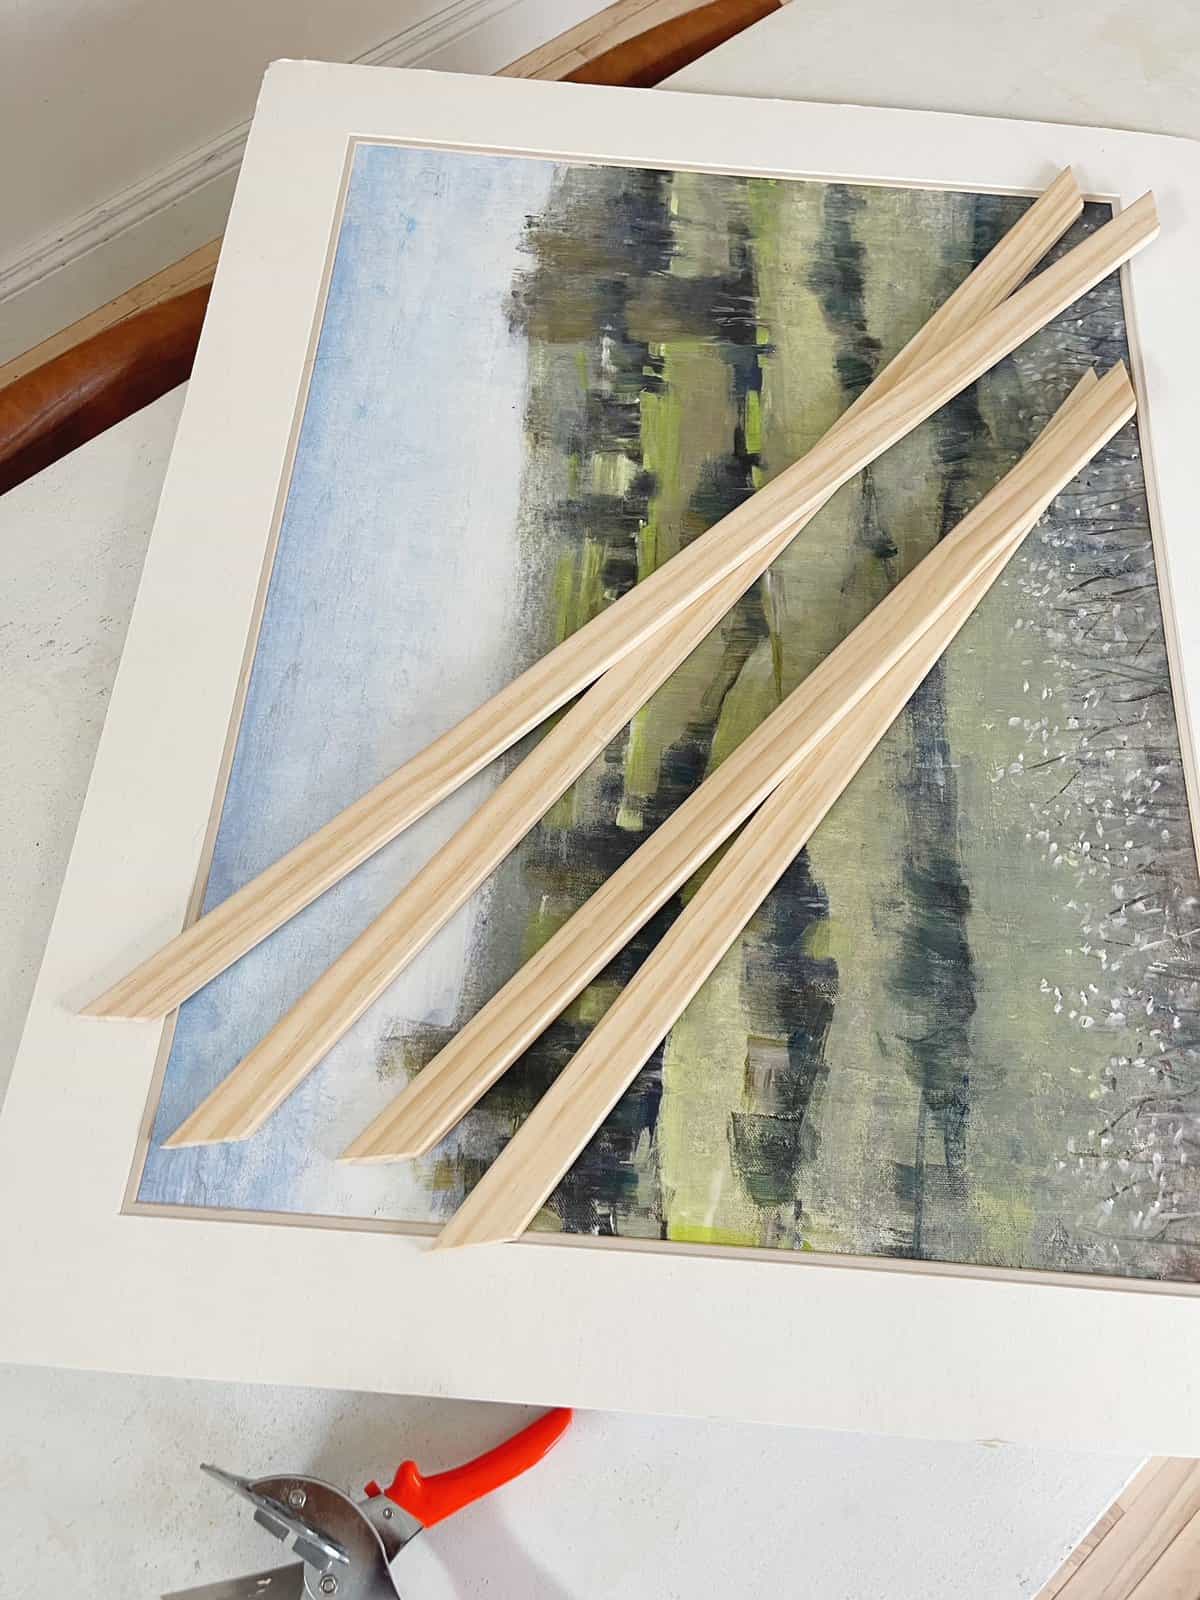
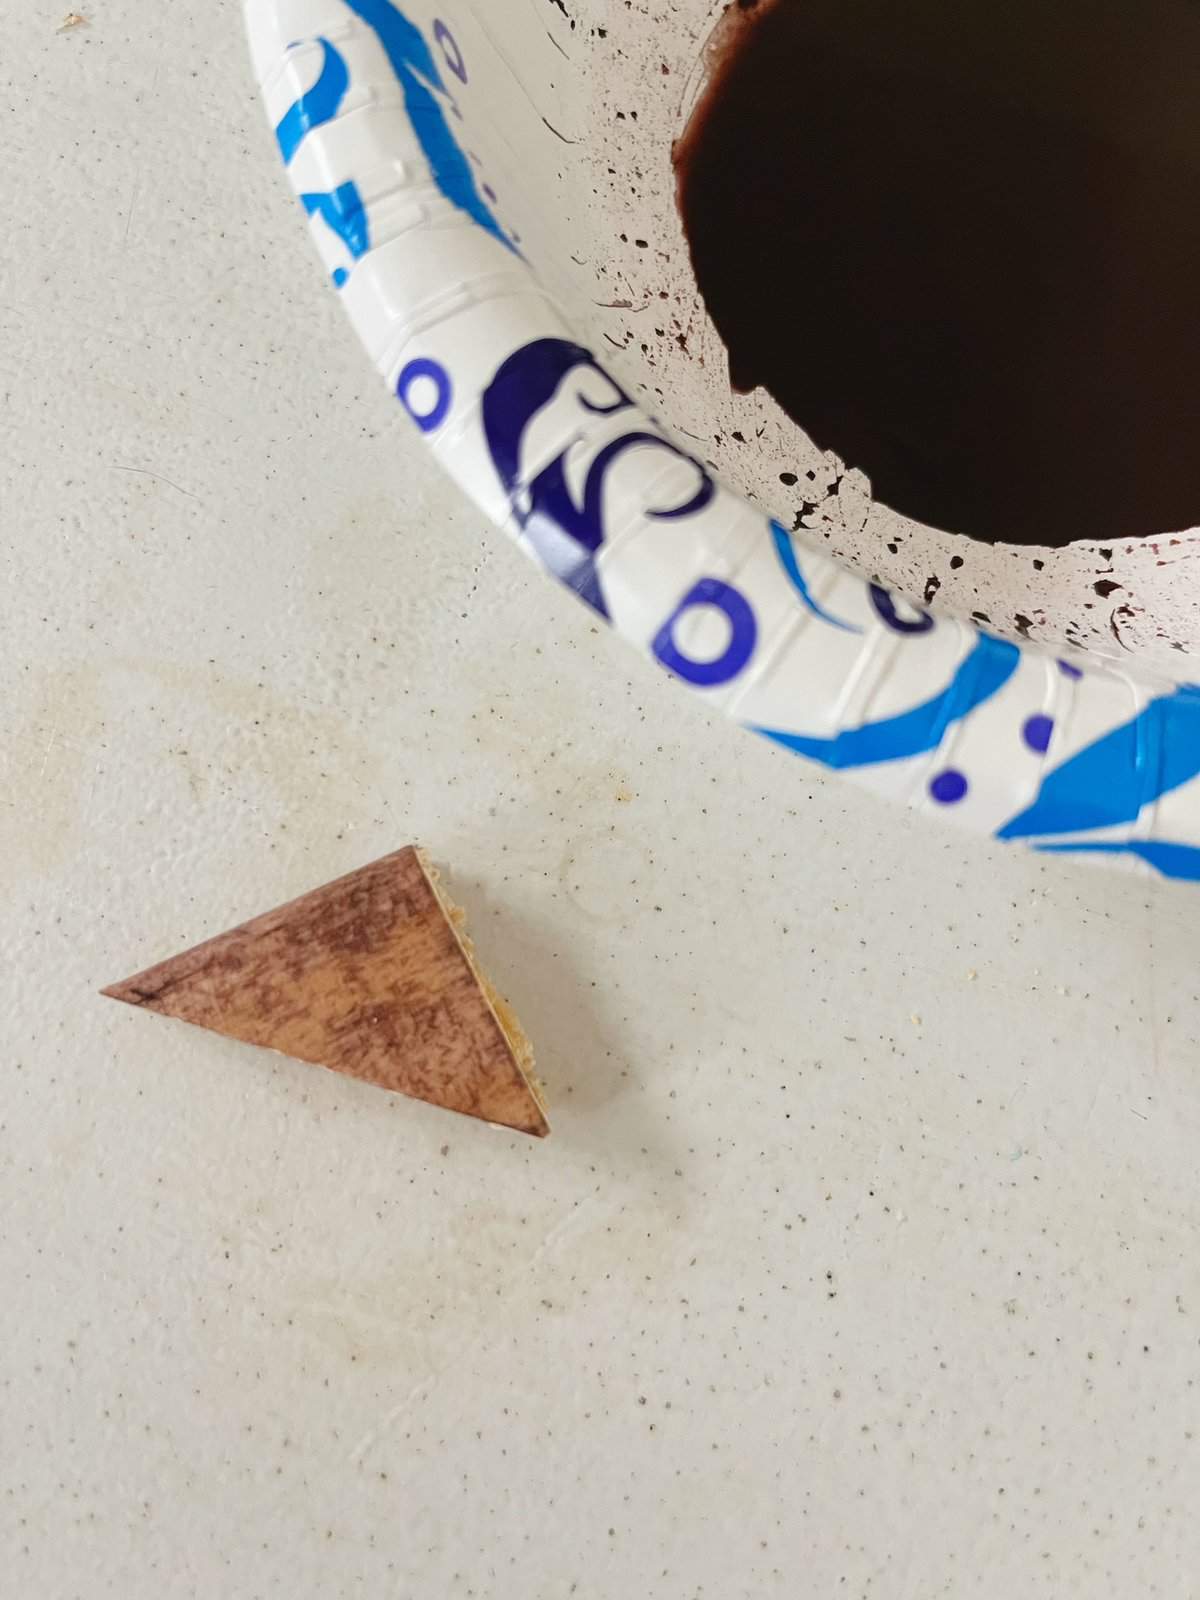
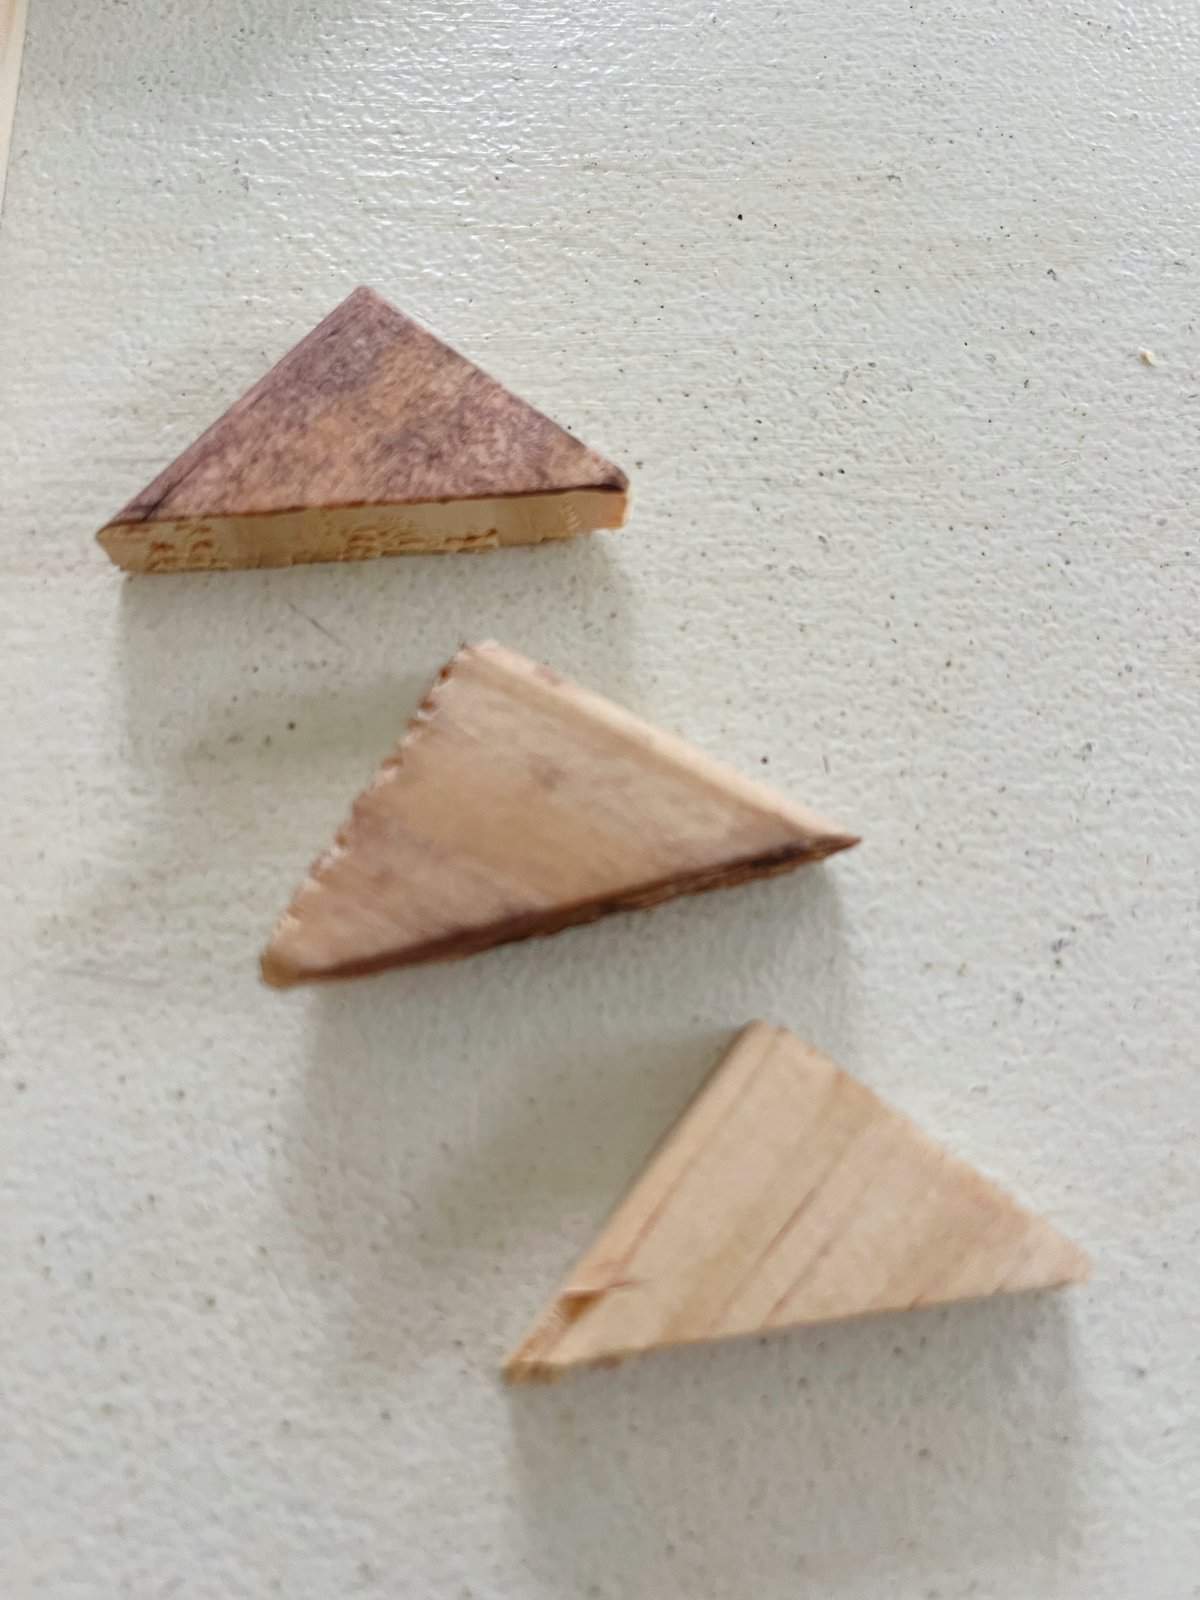
I began by purchasing two 8-foot pine molding pieces, cutting them into four pieces with a miter cutter to fit around my print. The miter cutter was a convenient choice for those without access to a miter saw, offering
precision and ease of use.
Large Art Print As Design Element
The Inspiration Behind the Project
2. Staining the Wood:
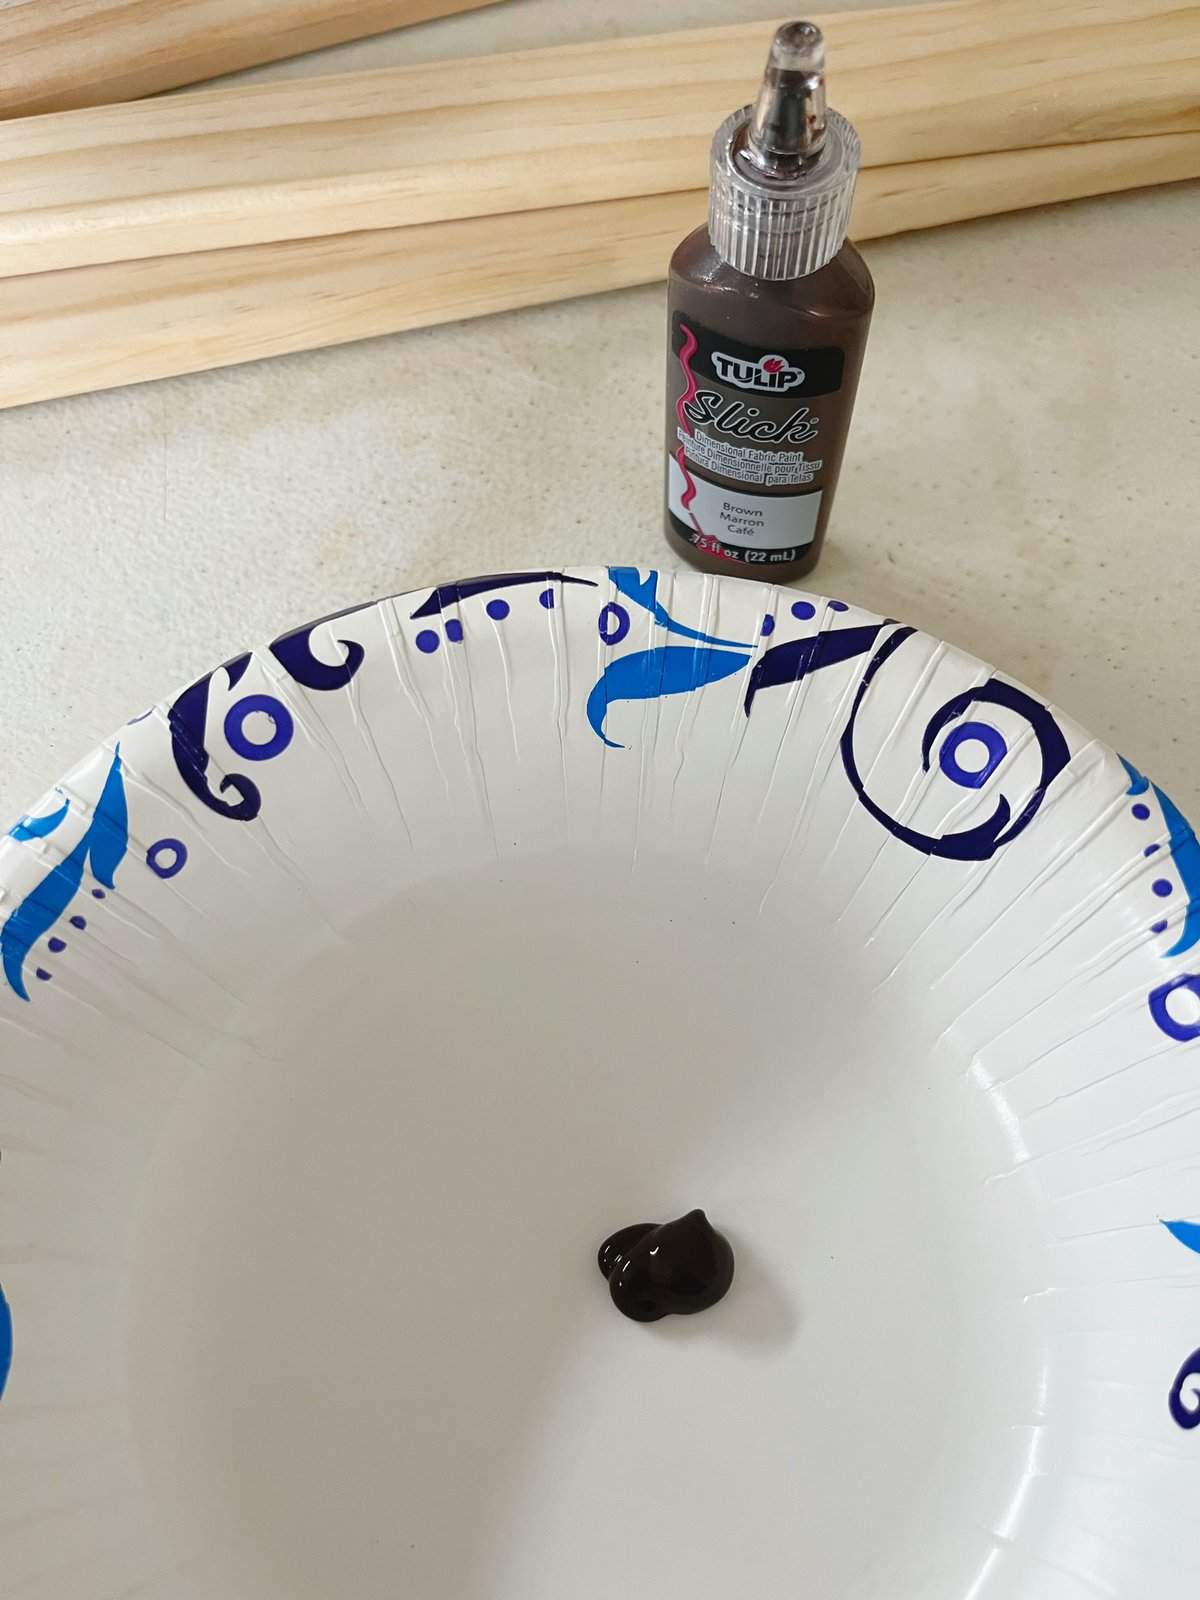
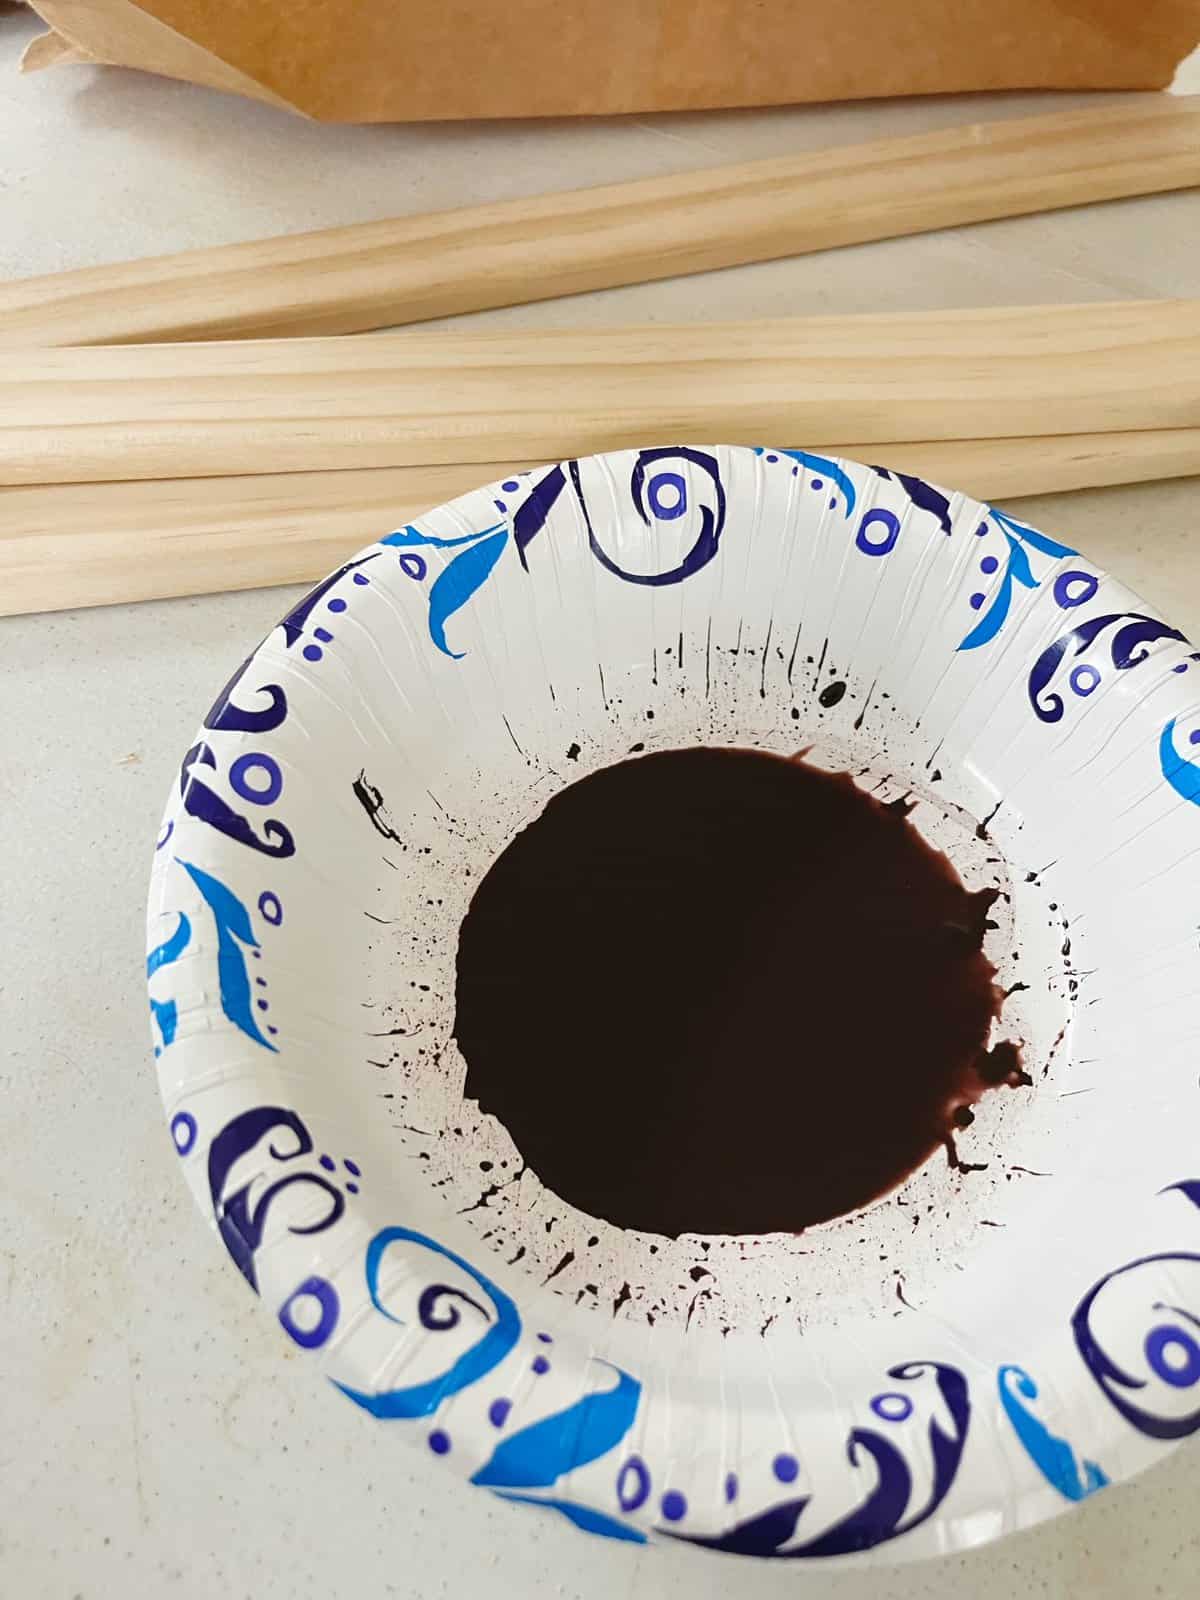
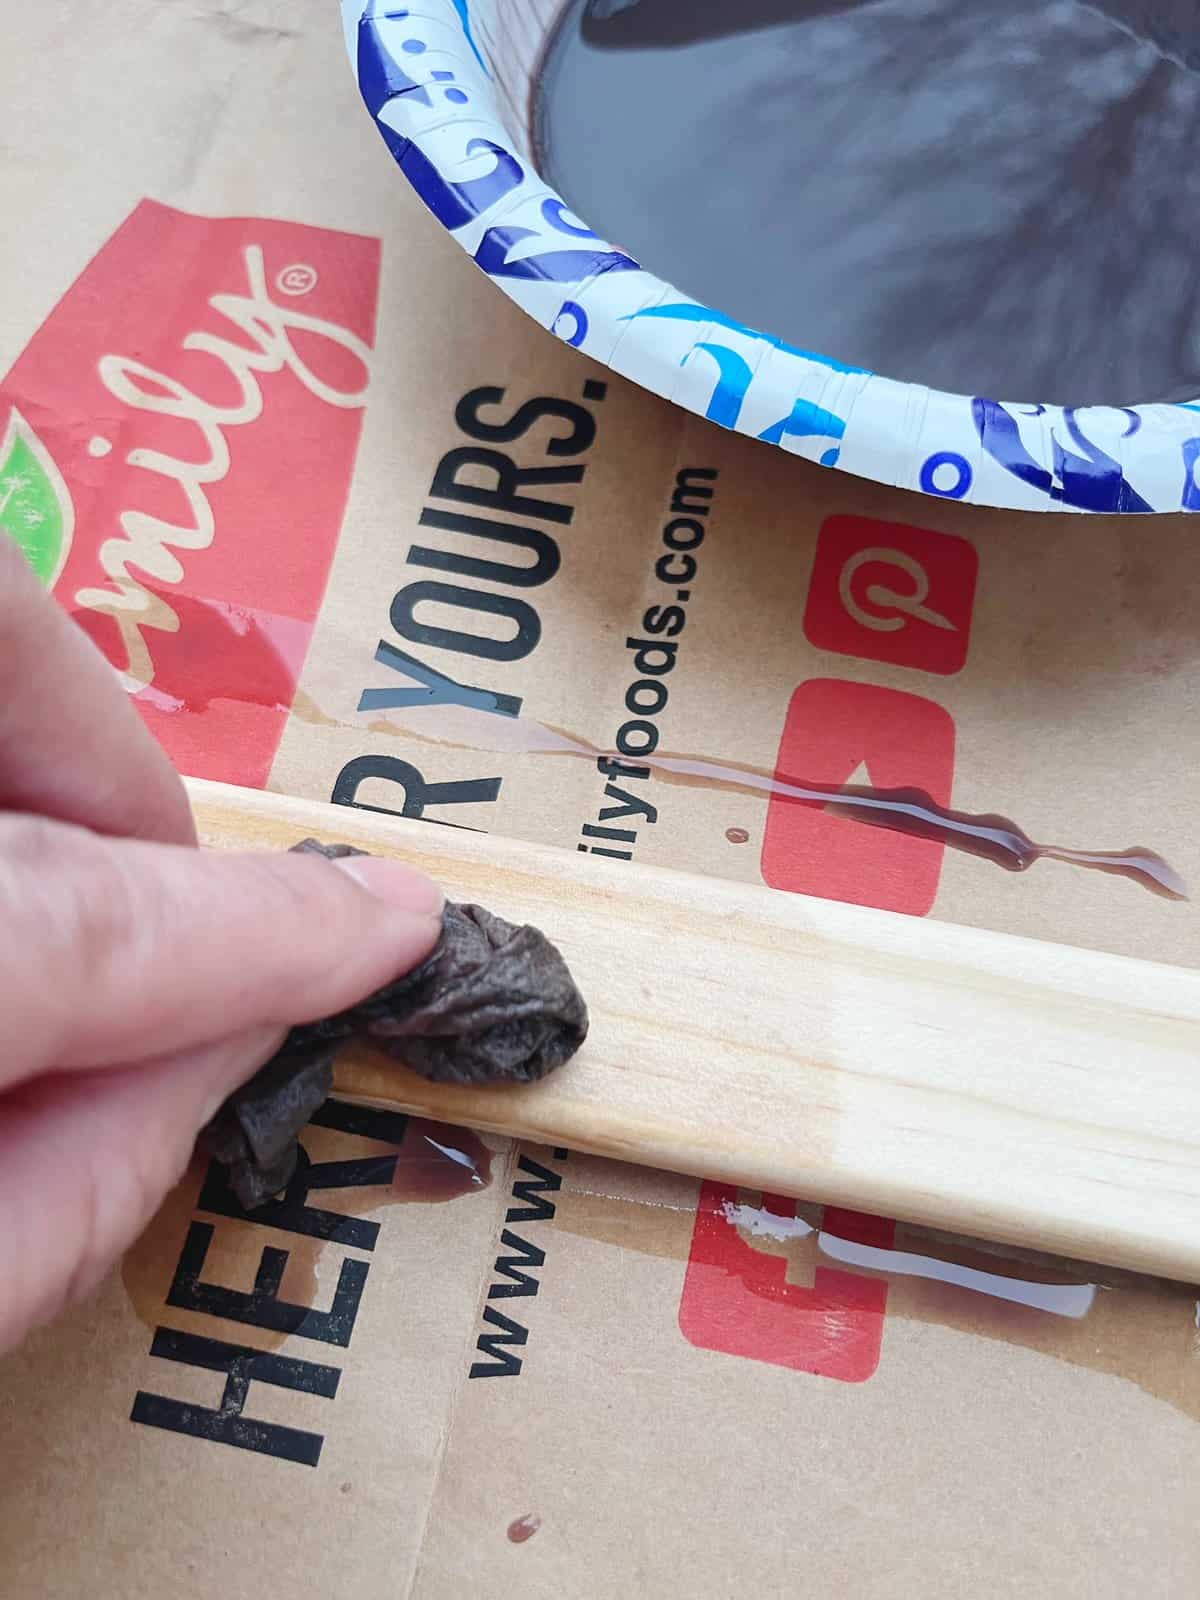
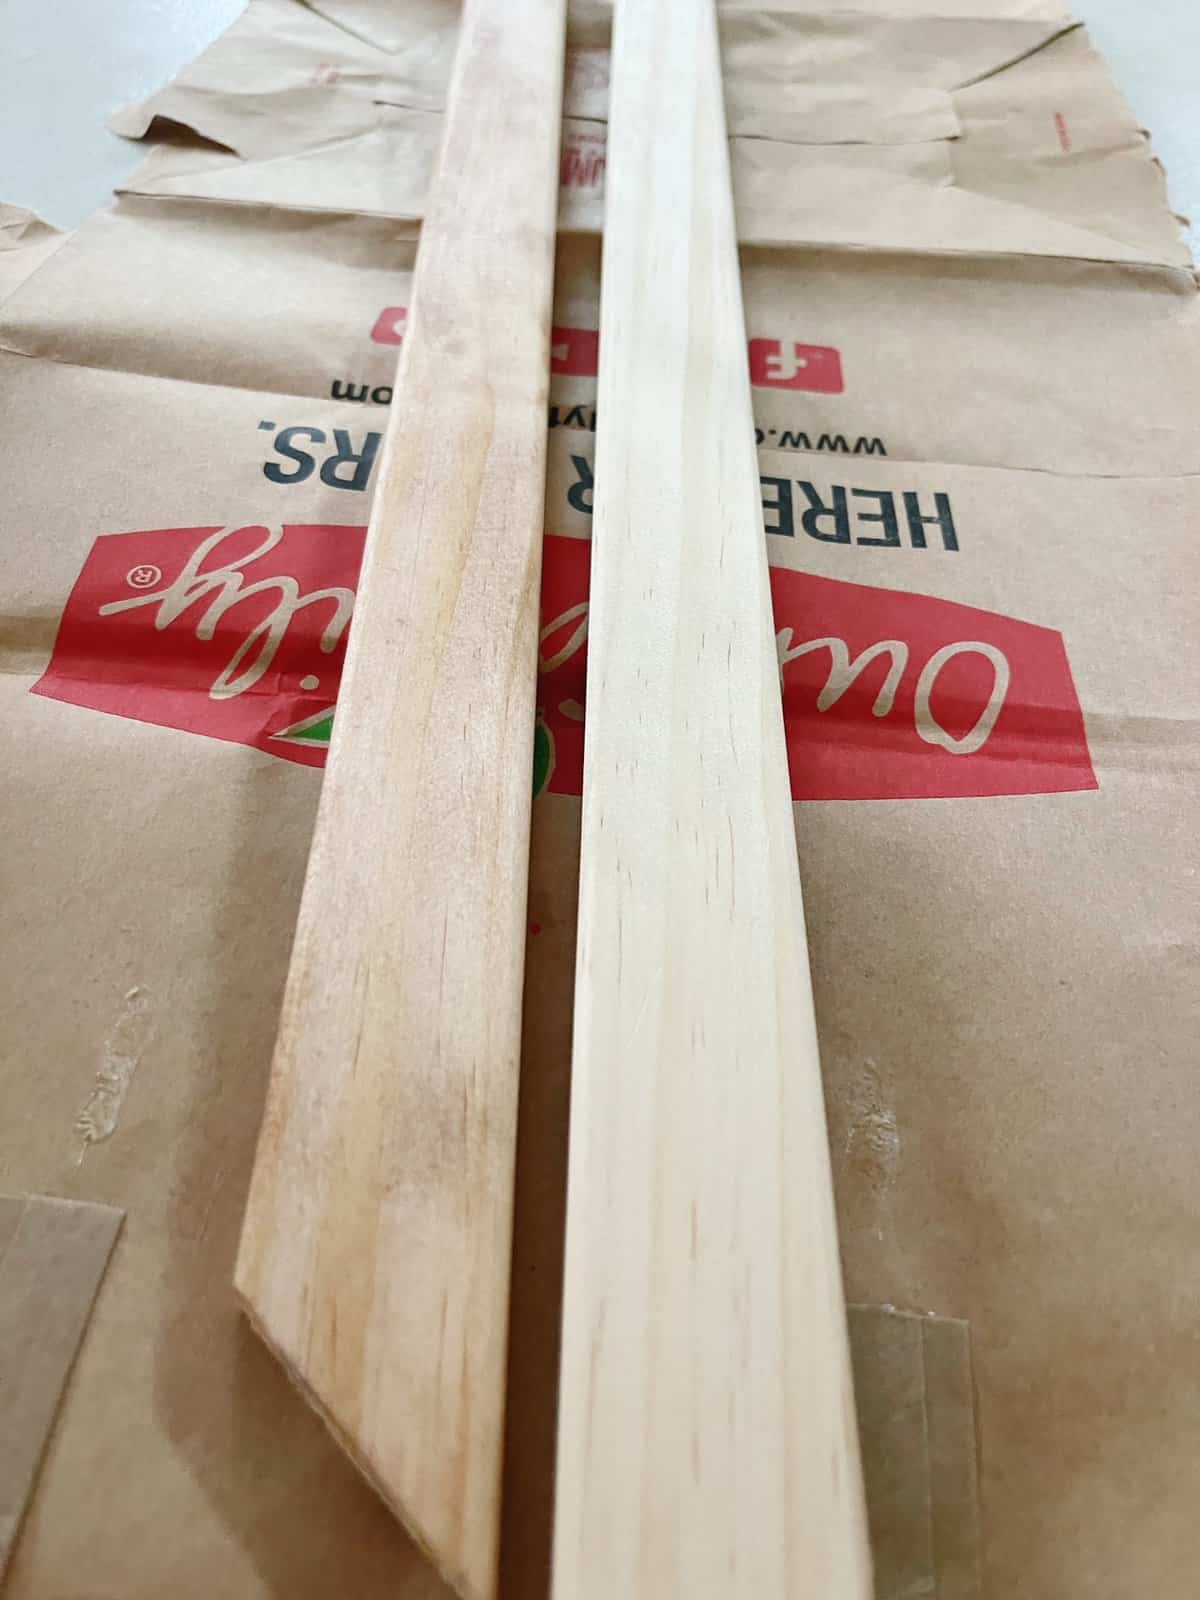
To achieve a natural wood look on a budget, I mixed brown paint with water to create a thin, stain-like consistency.
Applying this mixture with a paper towel, I gradually built up the color to my desired shade.
This method is a fantastic, cost-effective alternative to buying traditional wood stain.
3. Sealing the Frame:
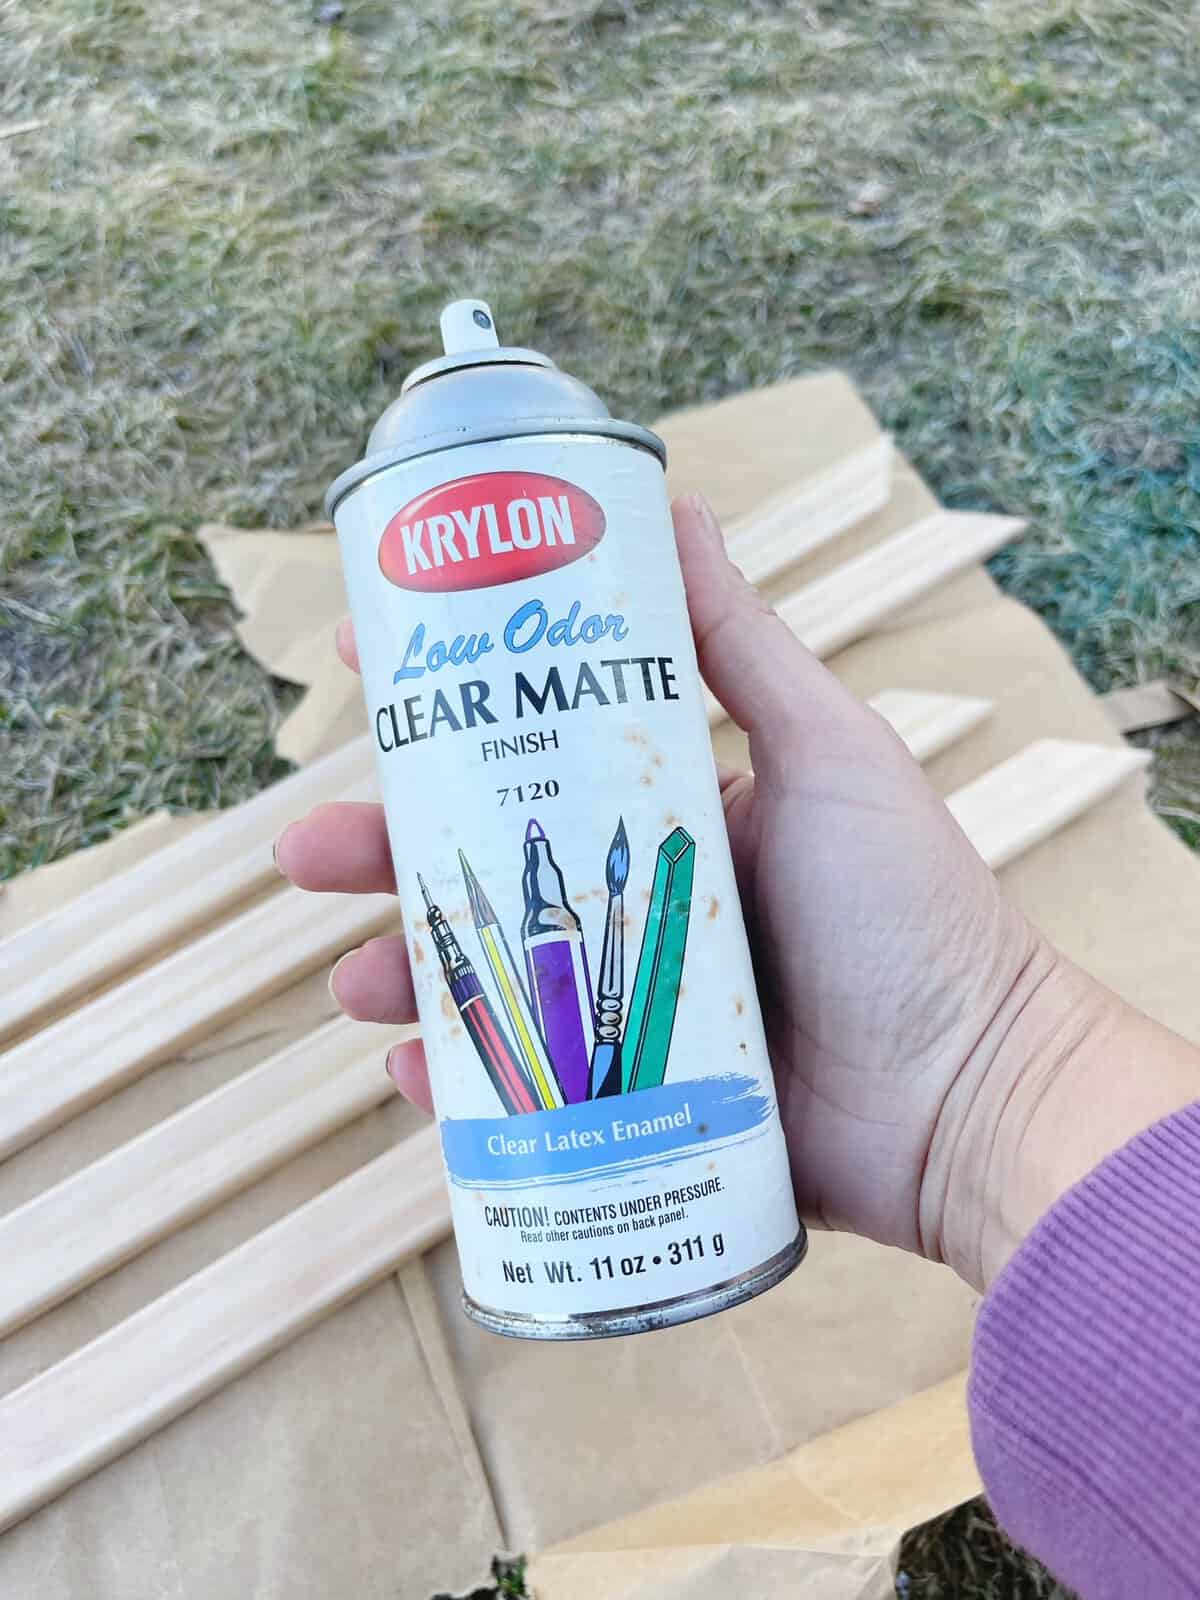
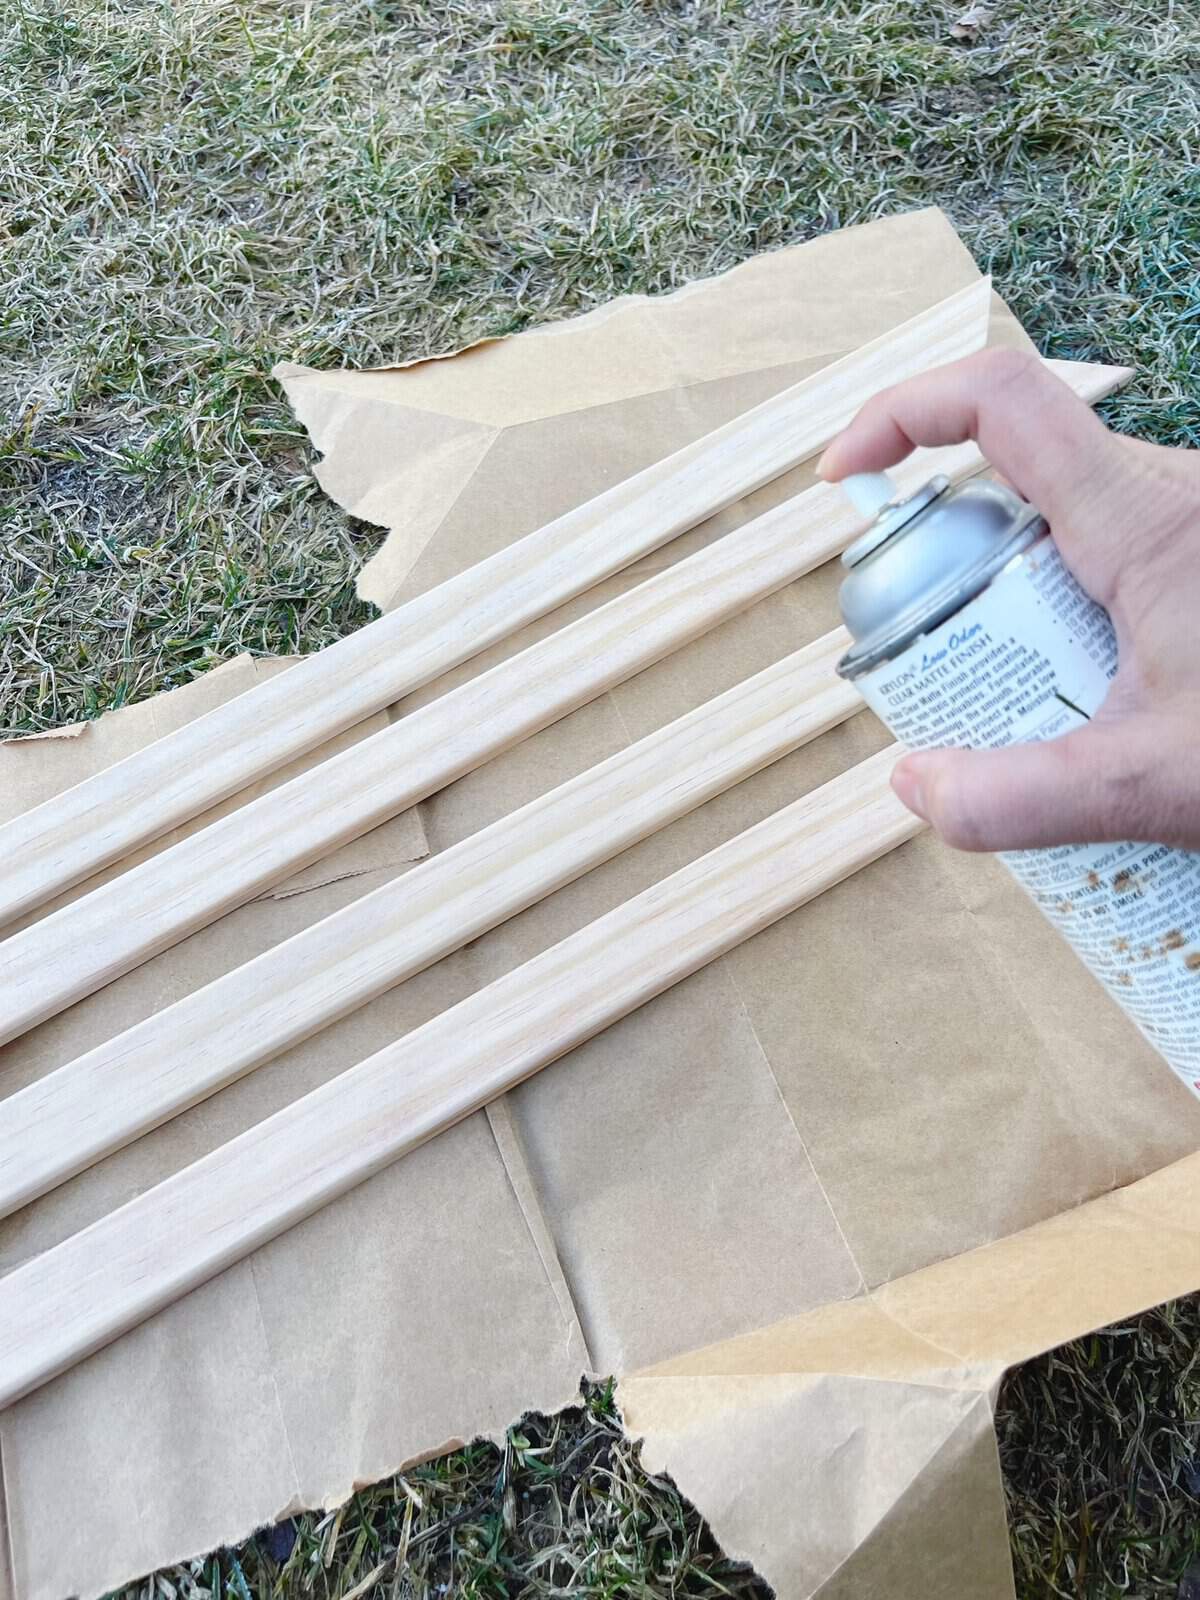
After letting the stain dry overnight, I applied a clear mat varnish to protect the wood and ensure the frame’s longevity.
Make sure do your spray painting outside away from people so no one breaths in the fumes.
4. Assembling the Frame:
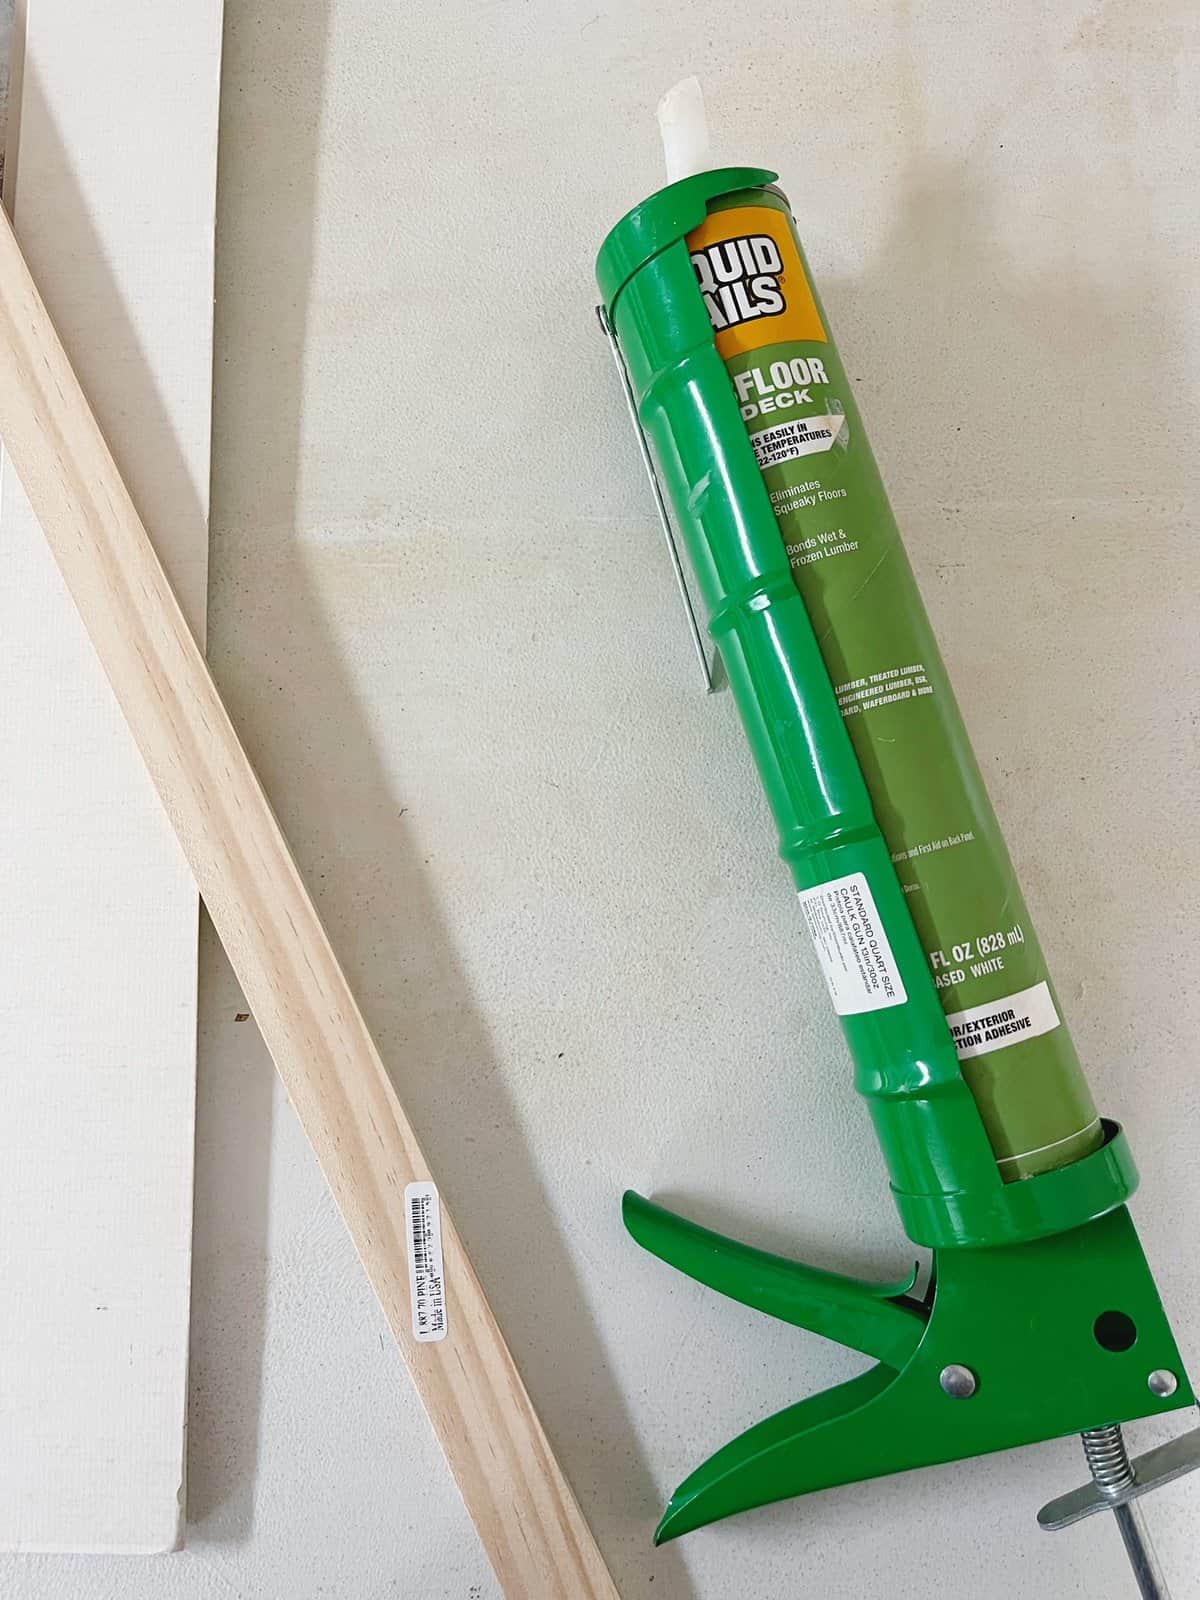
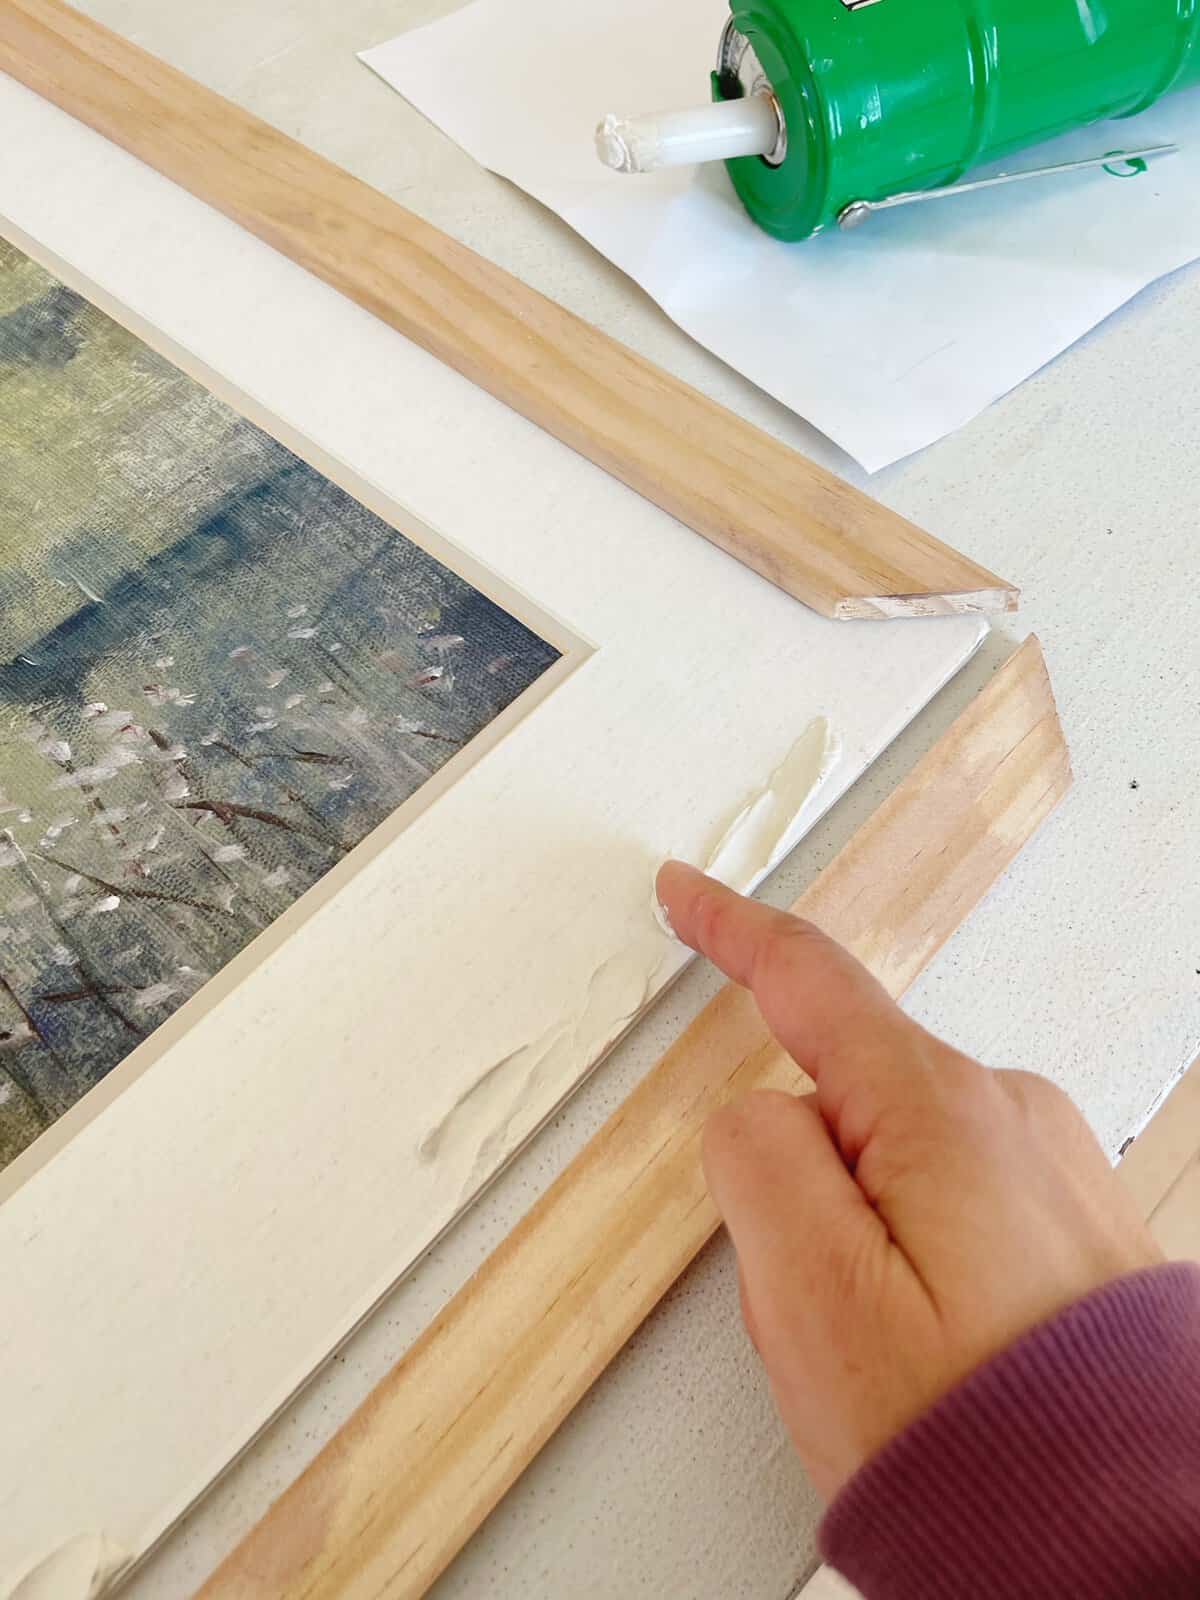
With my print and mat ready, I used liquid nails to adhere the wood pieces to the edges of the mat.
I ended up finding that applying it with my fingers got me the exact amount I needed because I was able to control the amount I used better than with a caulk gun.
Any thick adhesive will work, feel free to try another glue if you don’t have liquid glue in the house.
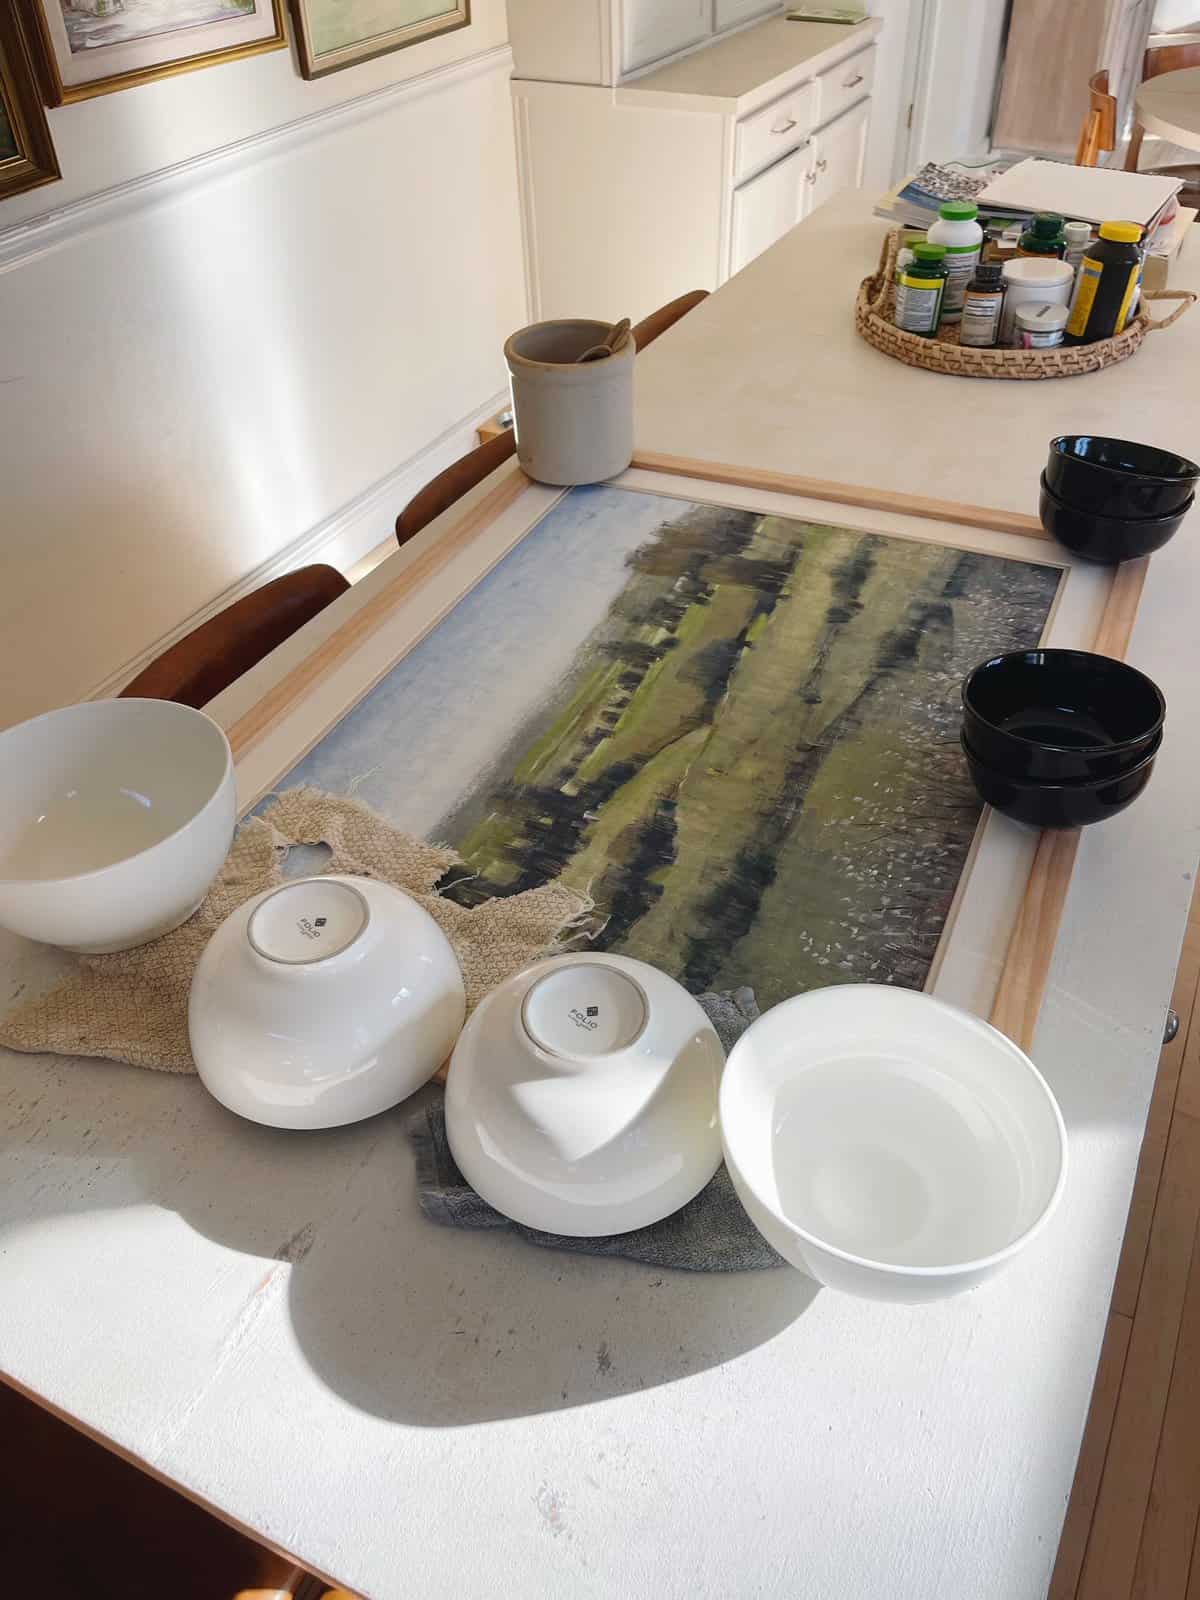
Heavy ceramic bowls served as weights to secure everything in place during drying, a step where books or other heavy objects could also be used.
5. Finishing Touches:
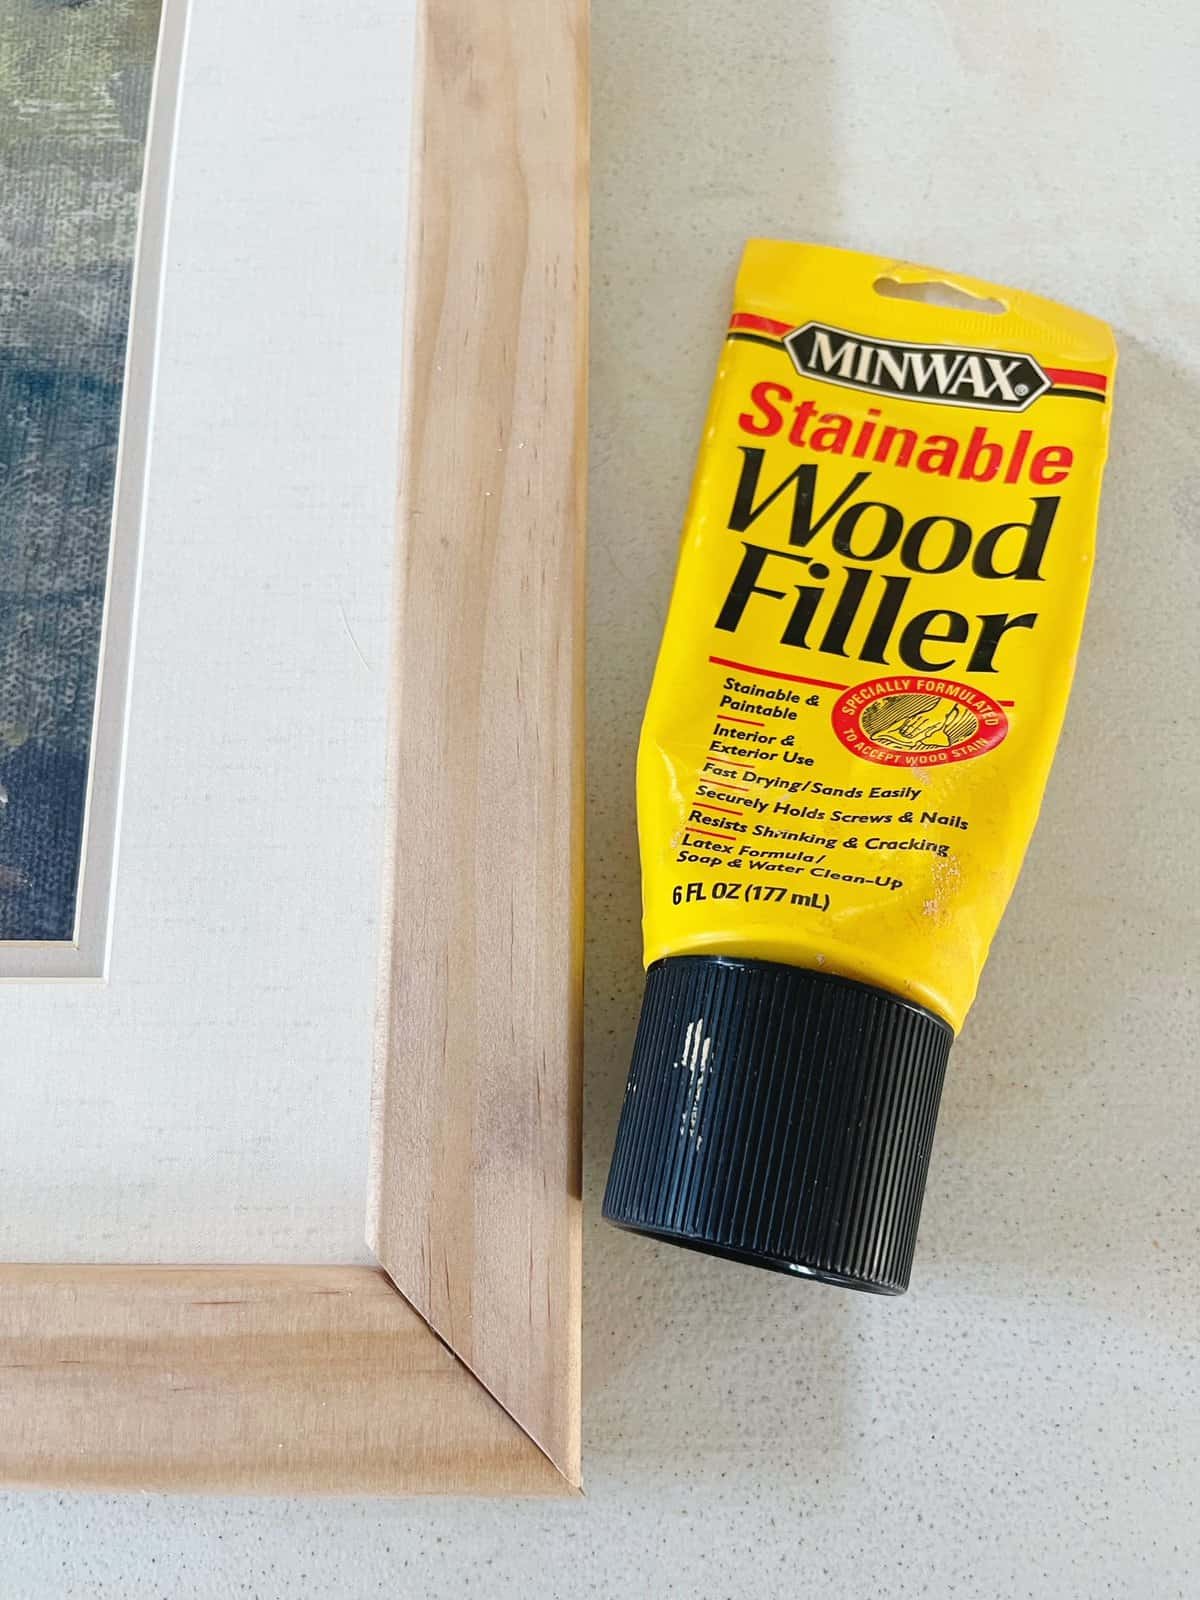
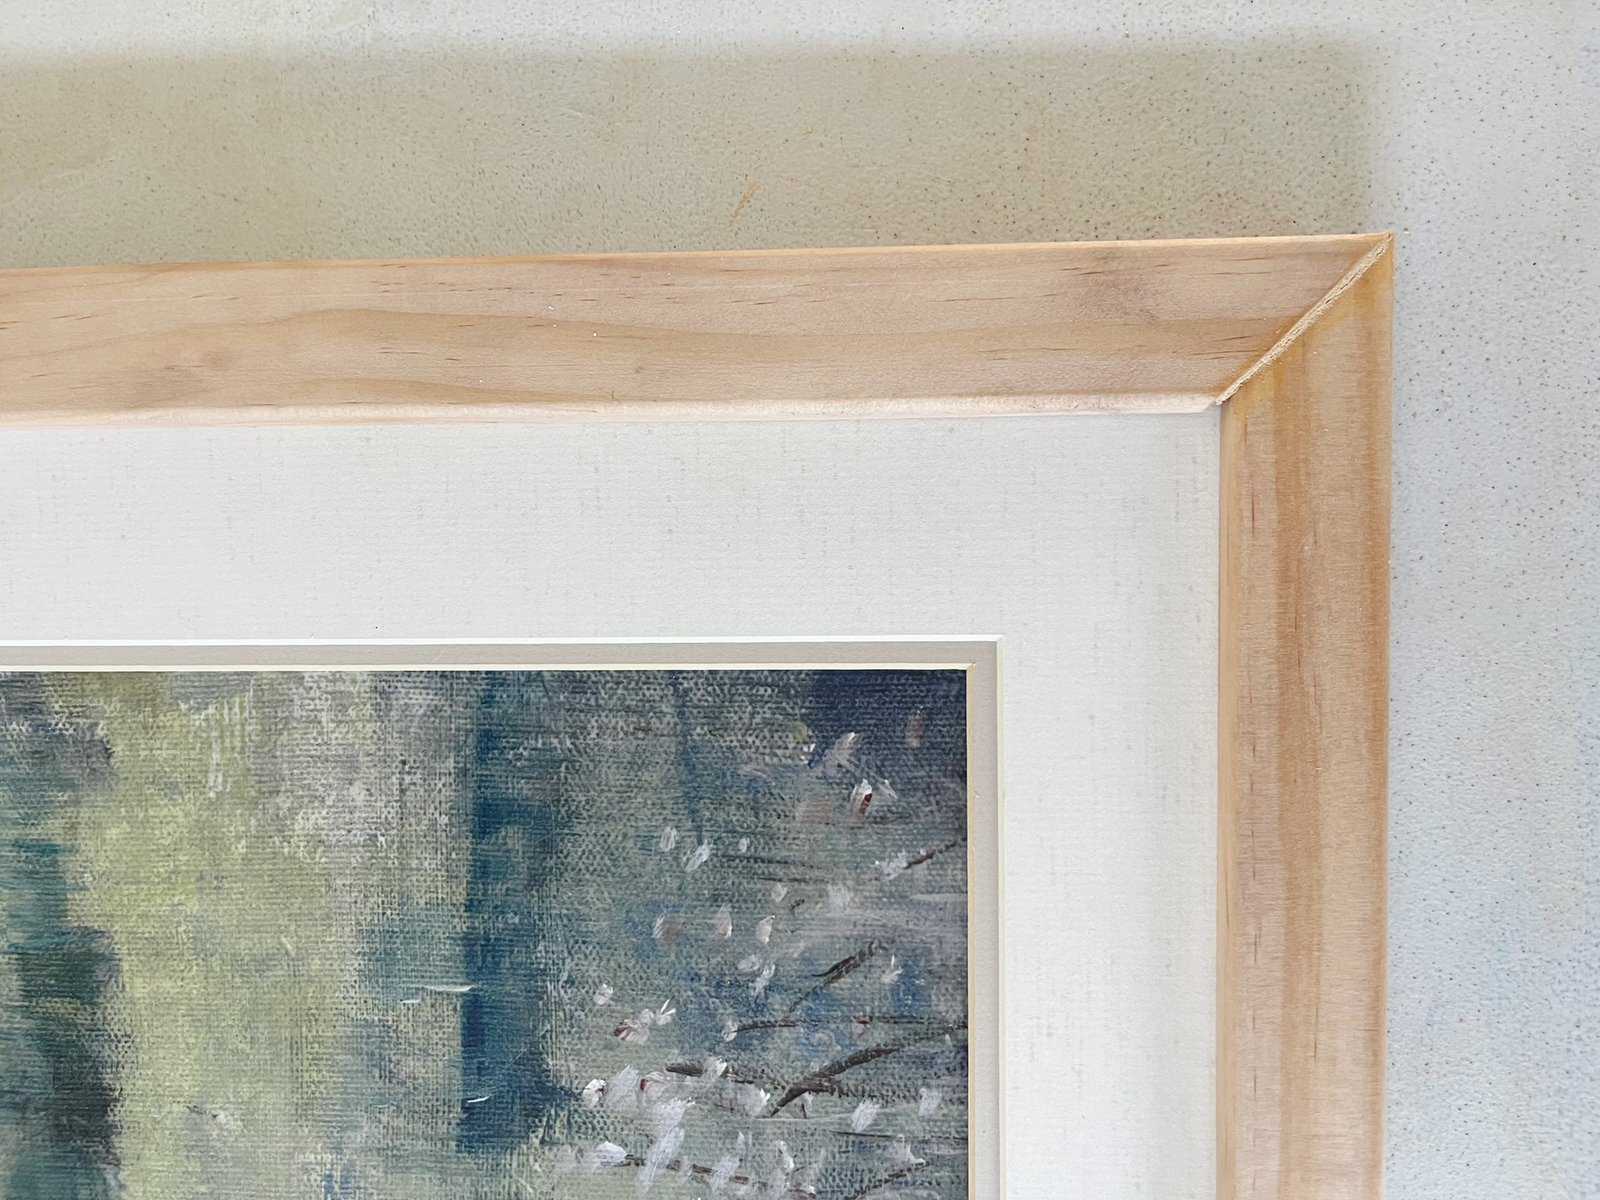
Once the glue dried, I filled the mitered corners’ seams with wood filler matching my frame’s color.
You can buy stainable wood filler like I used here in case you the filler color needs a better match to your wood picture frame.
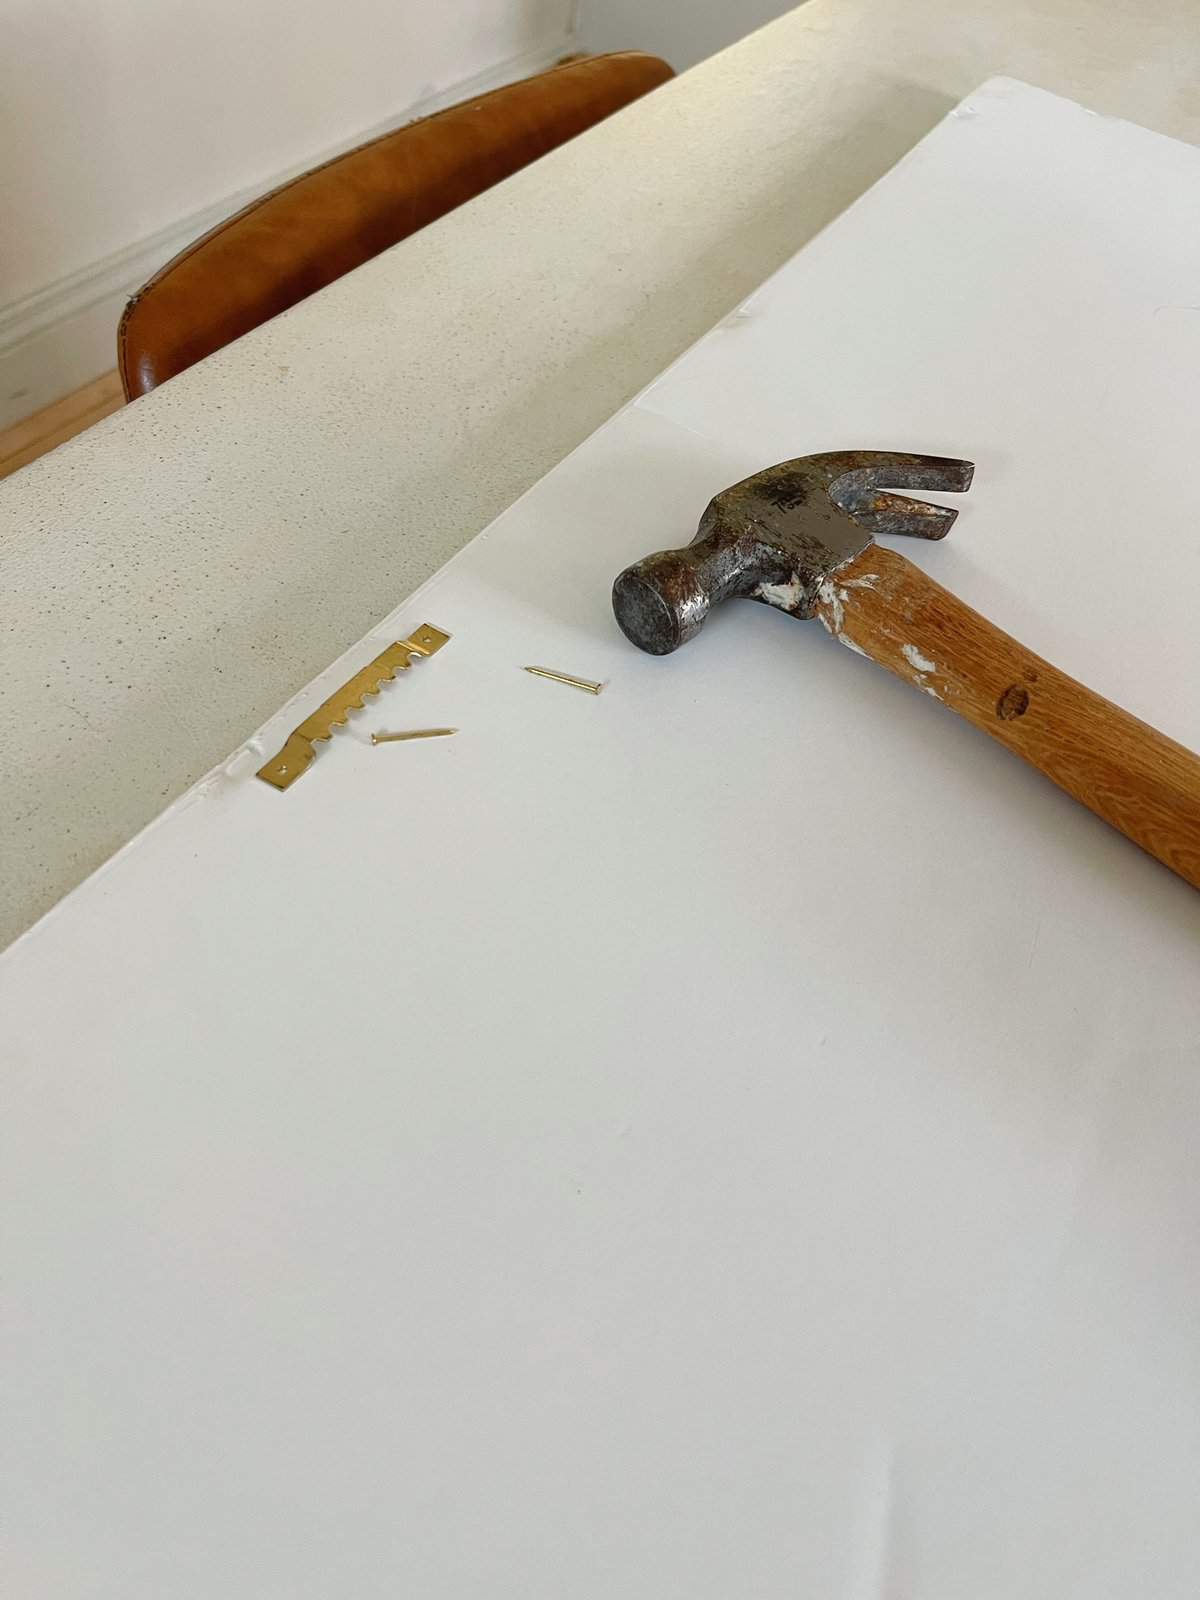
To prepare for hanging, I attached a metal picture hook to the frame’s top back.
6. The Final Reveal:
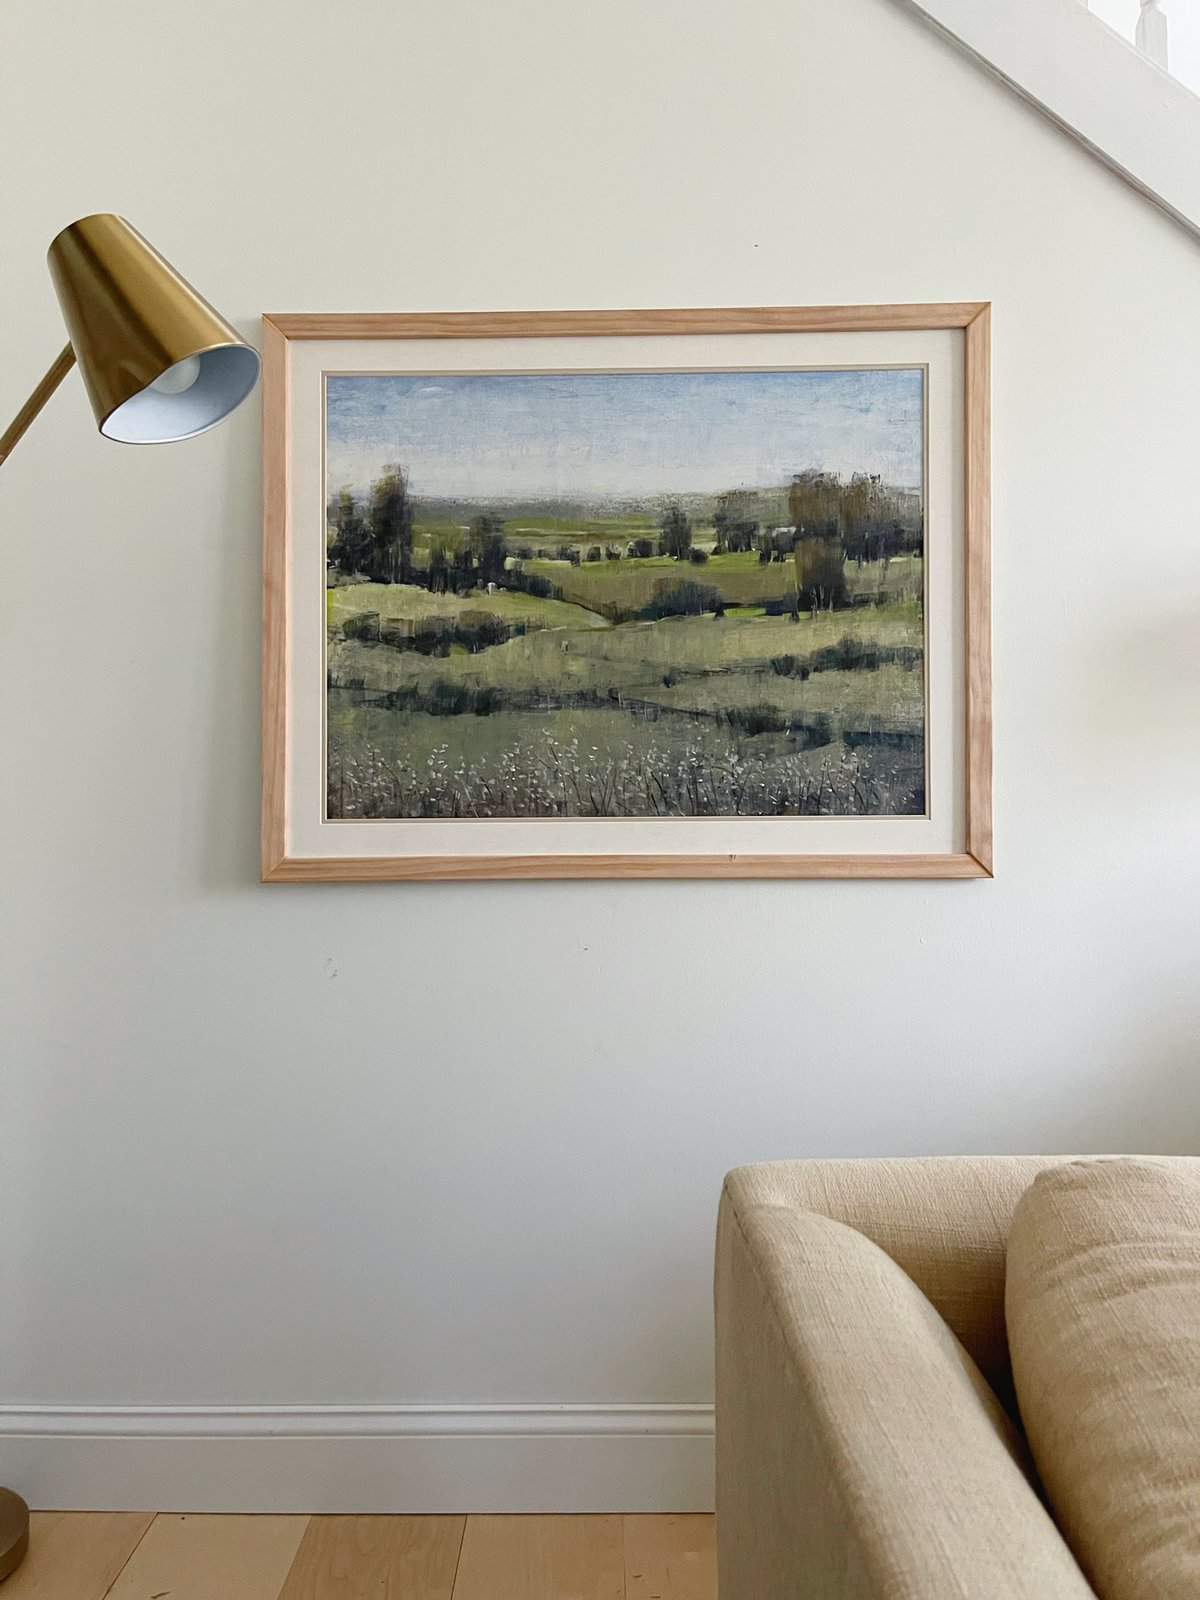
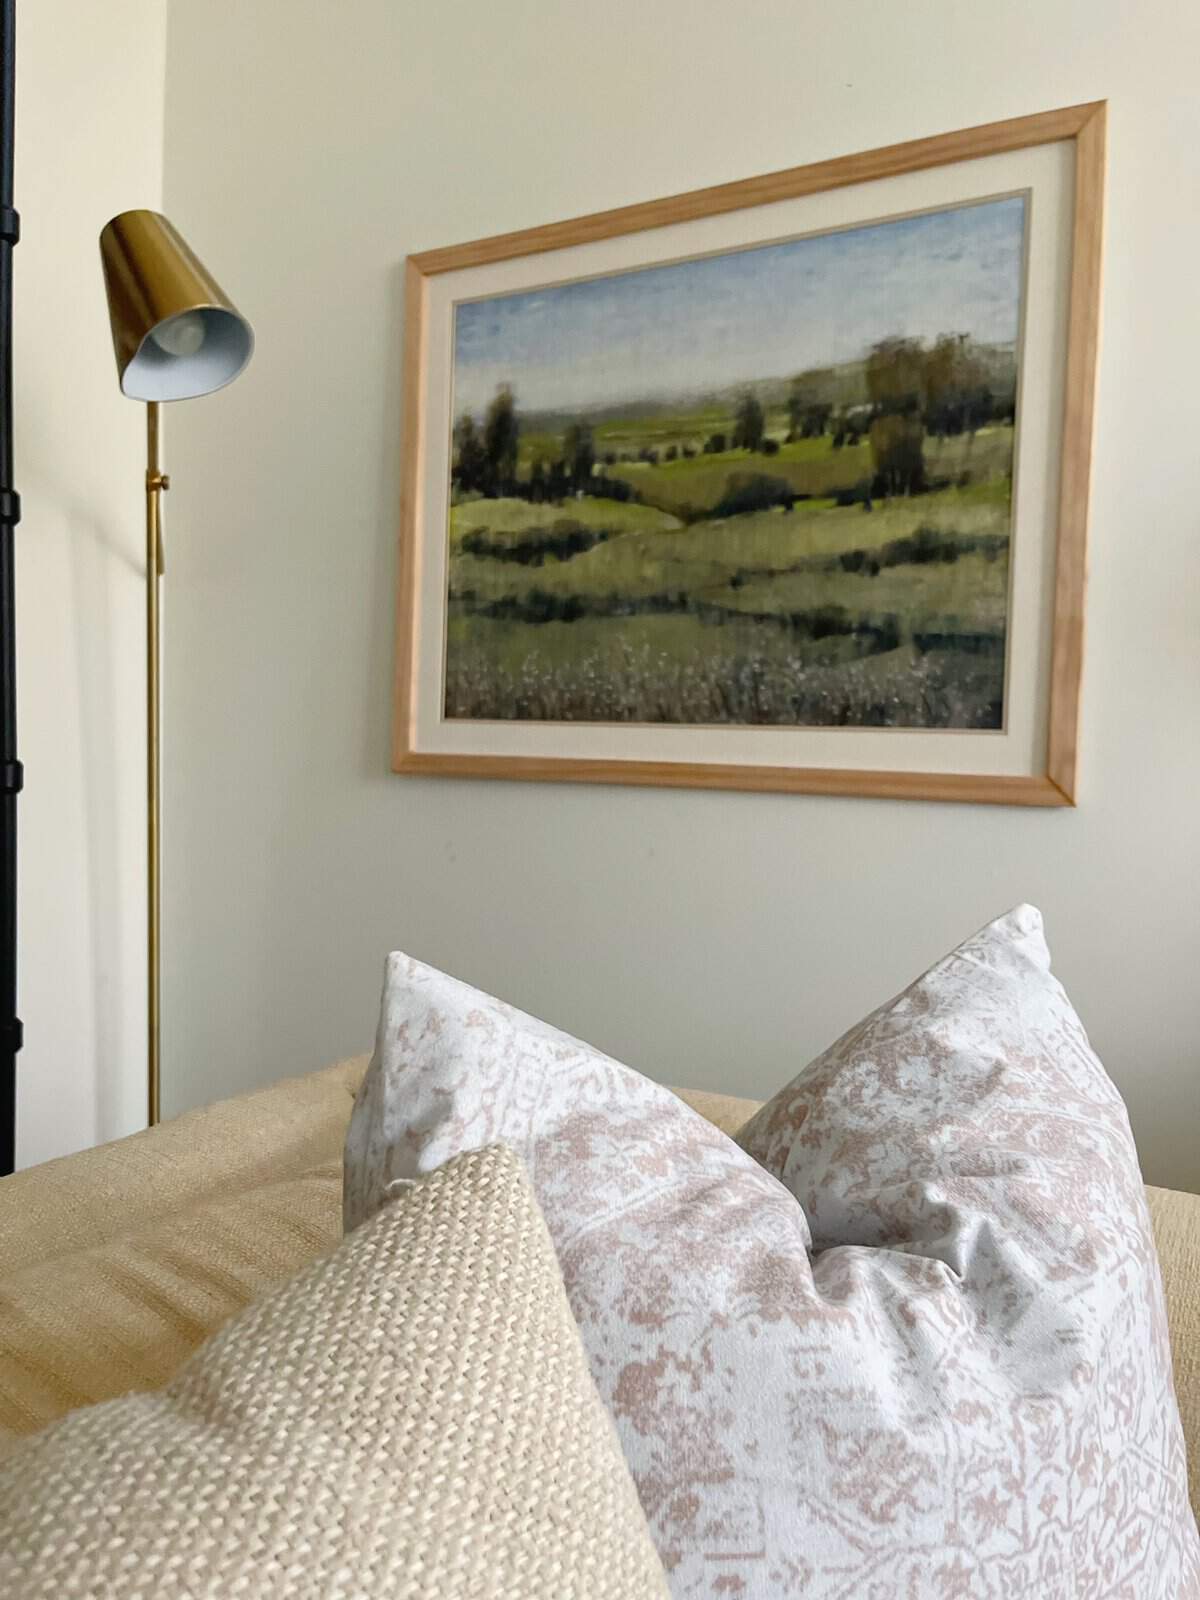
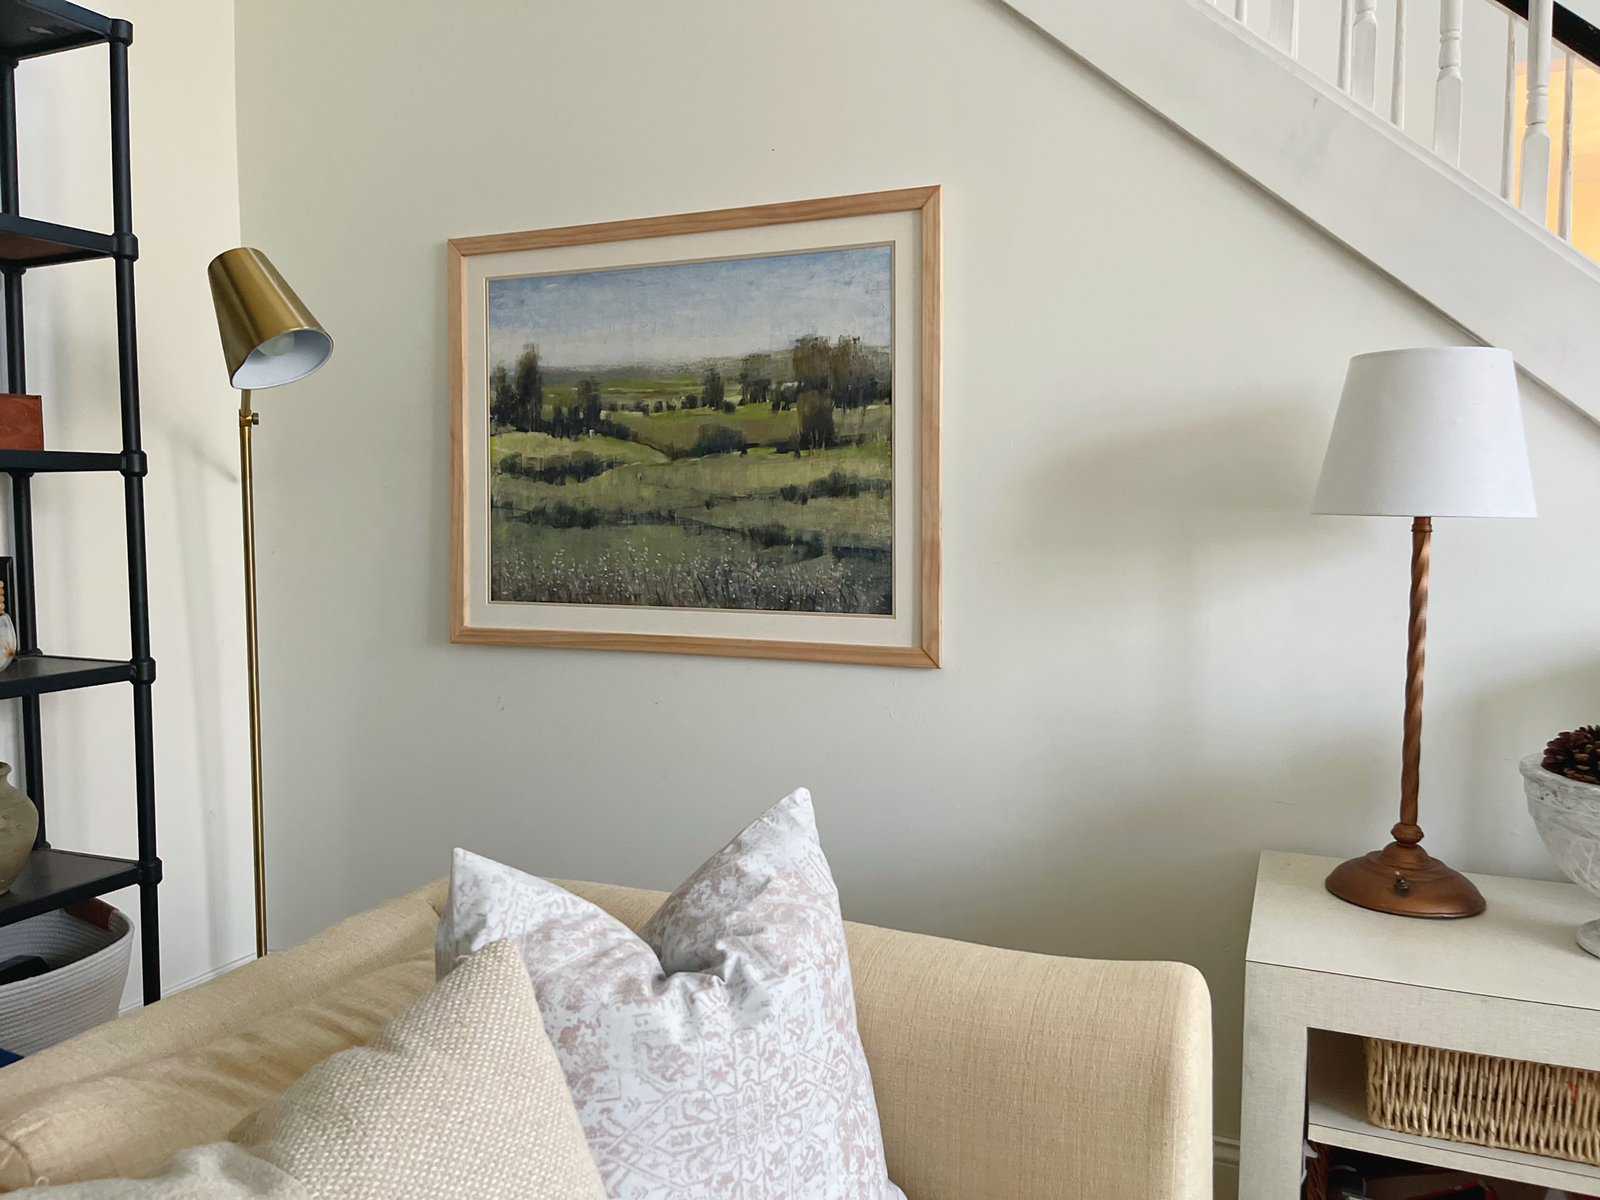
Hanging the frame and stepping back to admire my work was the crowning moment of this project. Not only had I created a personalized piece for my home, but I had also done so within a remarkably modest budget.
This DIY wood picture frame project saved me lots of money. I’m shocked at the pricing of some of the low quality frames out there.
This project is not only budget-friendly but also customizable to fit any size print or decor style:
This project came in around $30.
- $18 wood molding
- $7 thrifted print and mat
- Approximately $5 worth of paint, wood filler and metal hook I had on hand
I was able to transform a thrift store print into a piece of art that adds warmth and character to my home.
In case you can’t find a thrifted landscape print, I’ve gathered a few stunning landscape art prints for you to check out below.
This project proves that with a little ingenuity and effort, creating beautiful, budget-friendly home decor is entirely within reach. Whether you’re an experienced diyer or just beginning this wood frame project is a rewarding venture that can be tailored to suit any style or need.
If you don’t want the hassle of a miter saw, the miter cutter is a great cost saving investment.
I hope you give this a try if you need a custom frame a try!

MORE CLEVER & AFFORDABLE DIY PROJECTS







Hi Maria
This frame turned out great! I don’t touch power tools either. That’s my husband’s domain
Thank you Cindy! It was empowering not to use power tools and still get what I wanted. LOL