What do you do when you have a very large piece of wood furniture in a smallish room? You turn it into an amazing cabinet makeover with fabric!
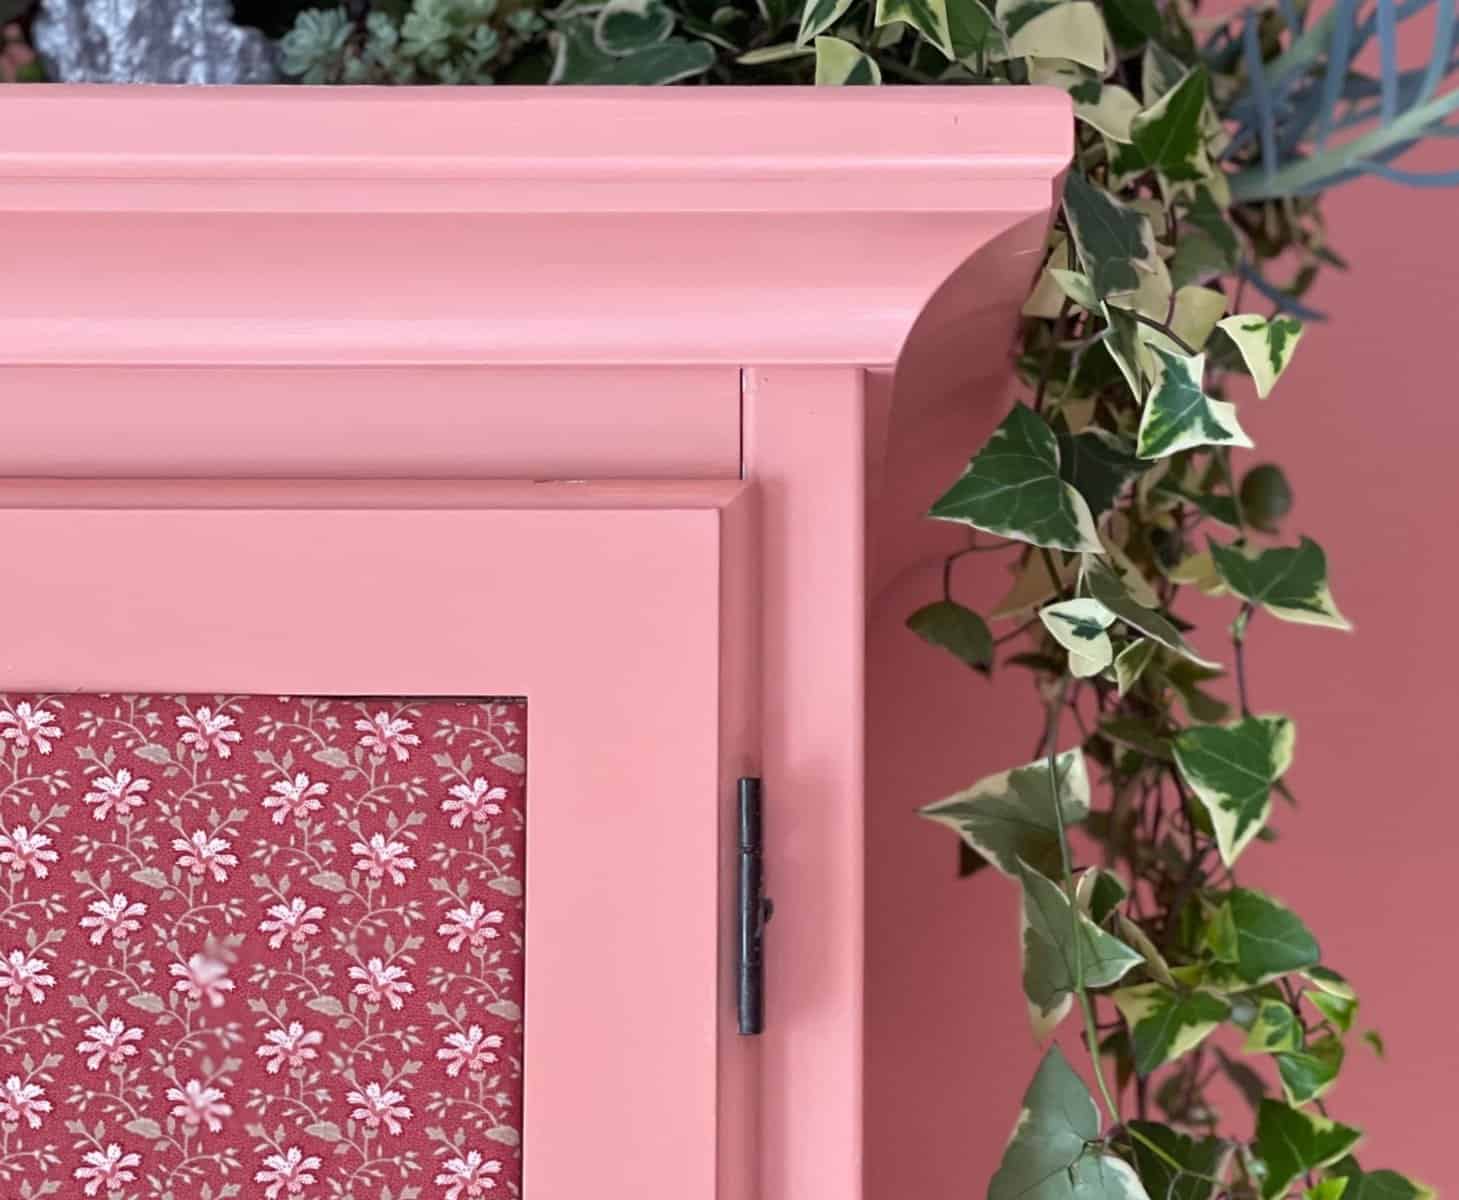
You also paint it the same color as the room’s walls.
Even if you have brightly colored walls, you ask? Trust me, you still paint it and guess what?
It almost disappears.
How to create an amazing cabinet makeover with fabric.
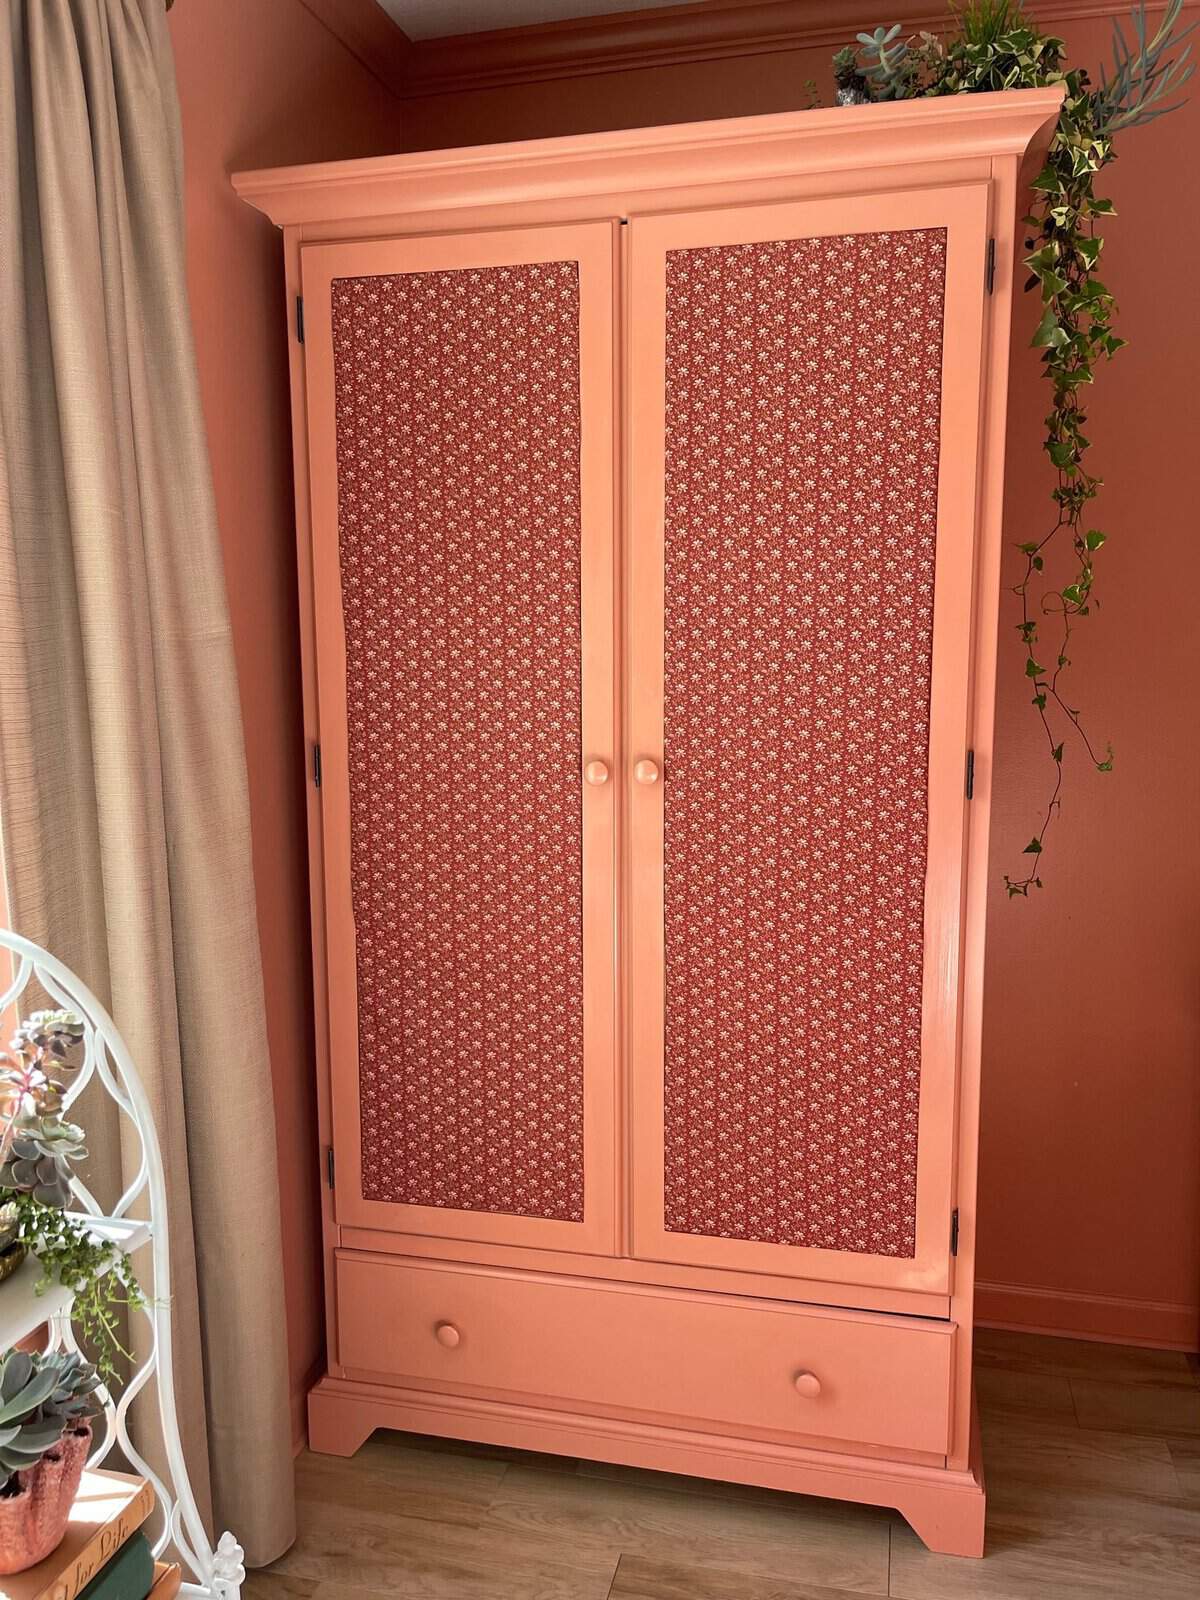
We did this with the cabinet/armoire in Mary’s bedroom this week, and are delighted with the results.
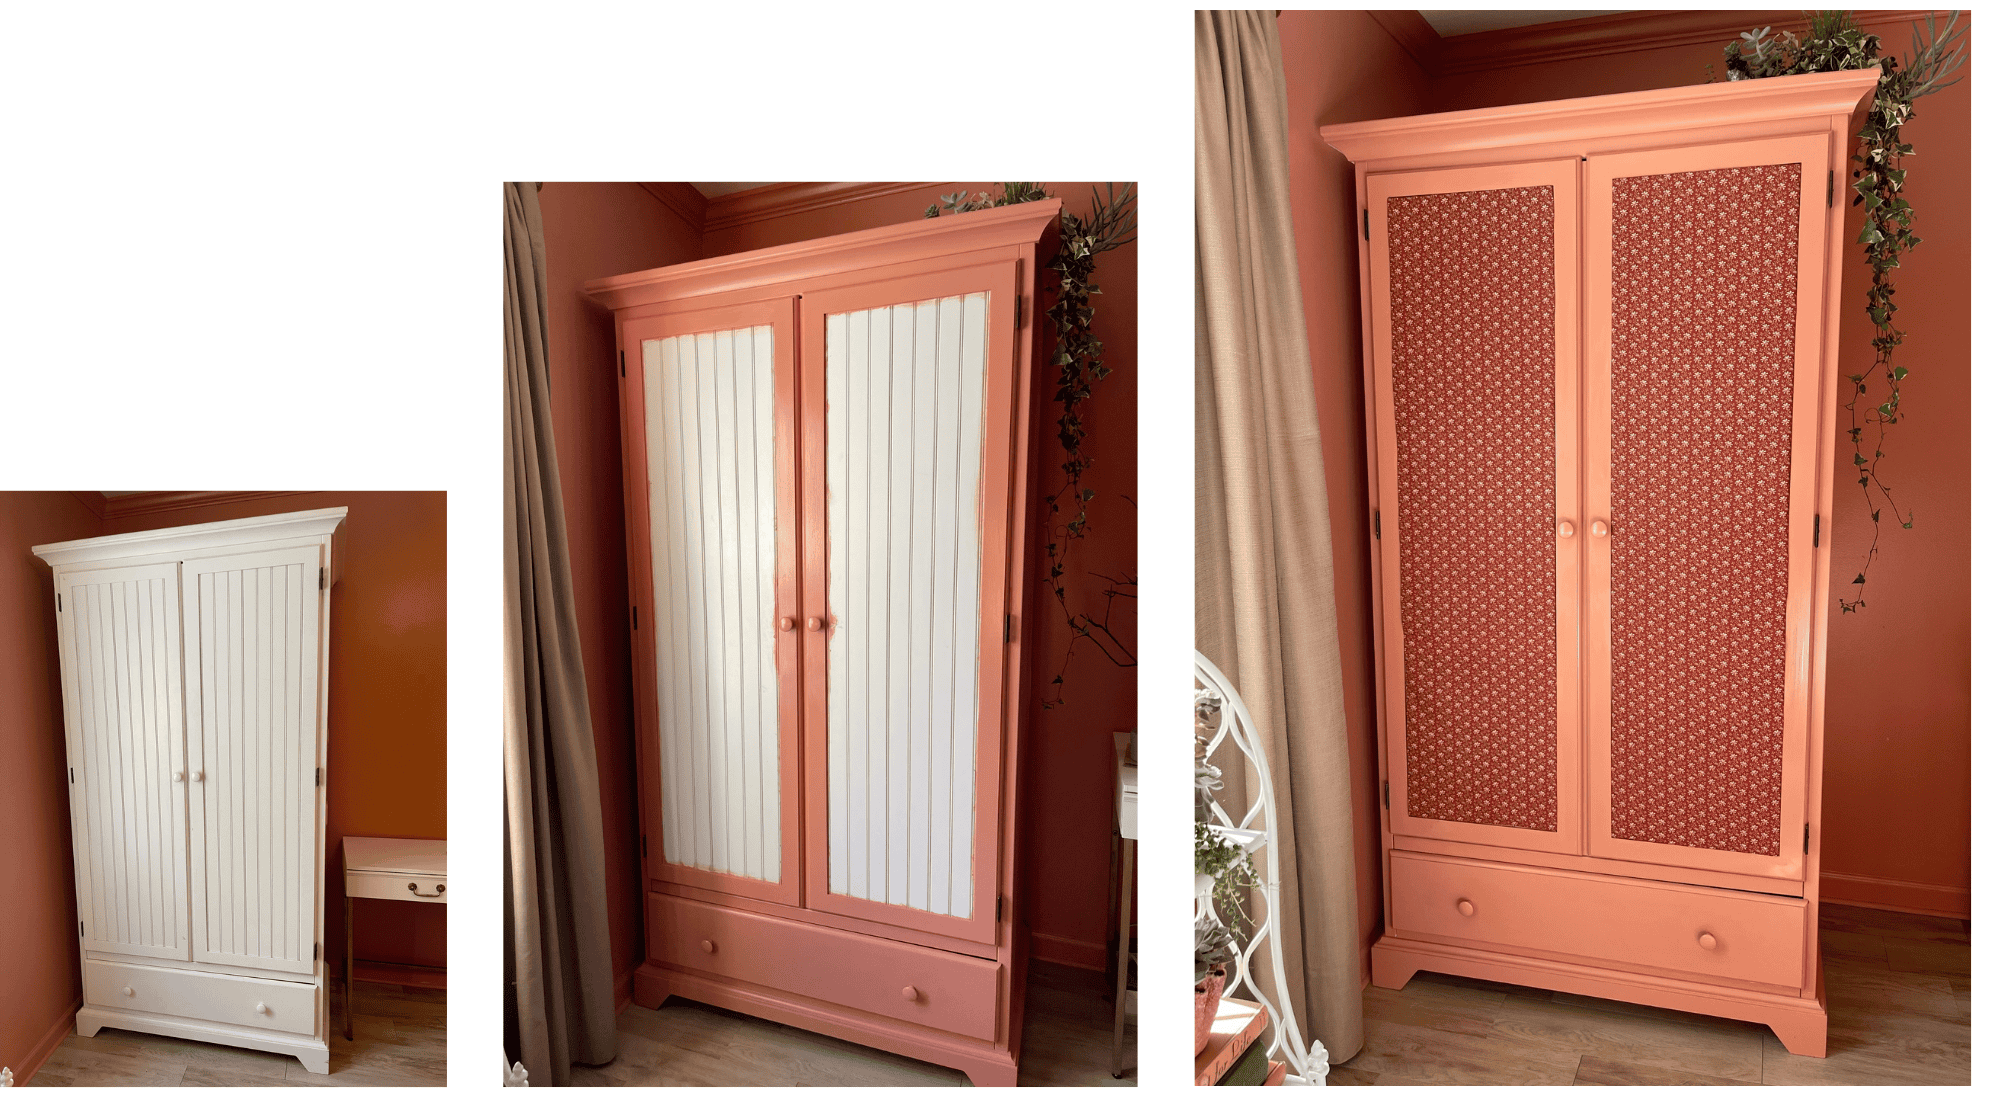
Not only did we paint it though, we also gave the front panels a pretty glow up with some fabric that Mary found. The fabric was the only cost and it turned out to be an amazing cabinet makeover.
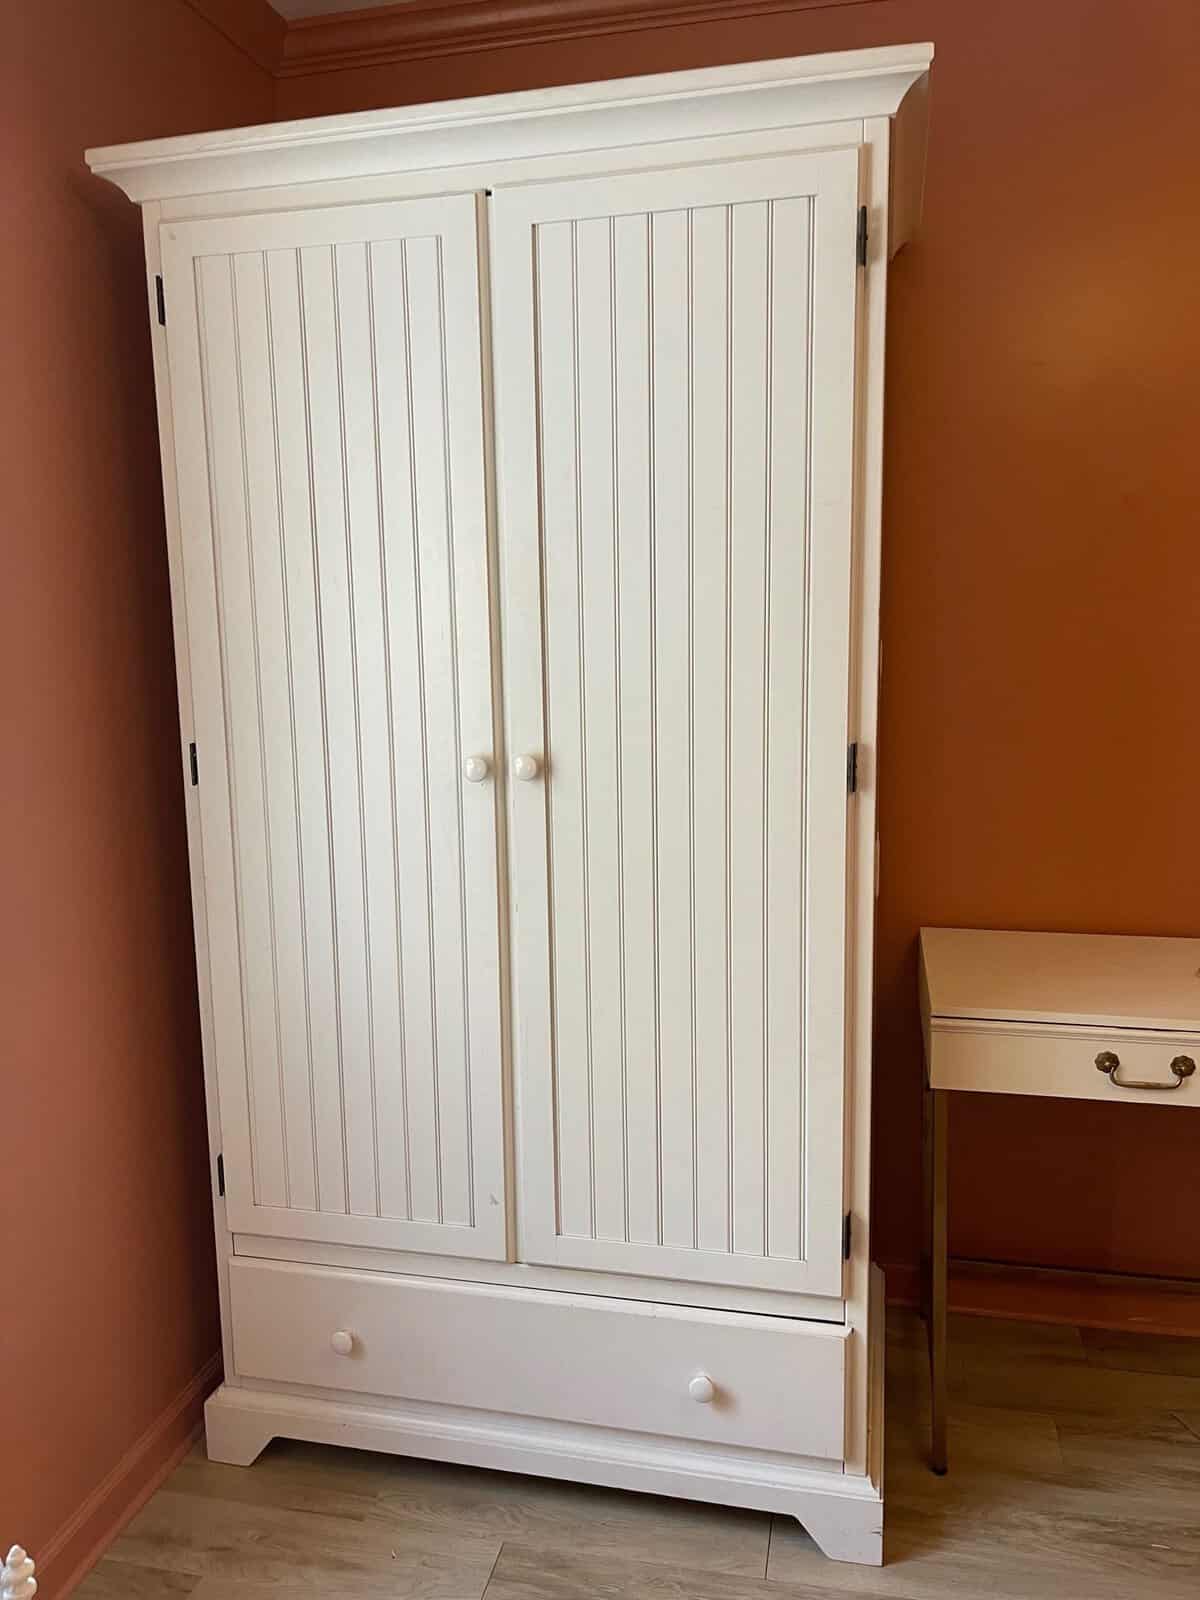
This cabinet/armoire is one of my first great thrift finds, but it wasn’t a hard choice to paint. Due to it’s large size it really stuck out after we painted the bedroom wall terra cotta. Painting it allowed it to blend into the background and almost become the wall.
It’s a much more spacious look now and we love the character and charm the new armoire brings.
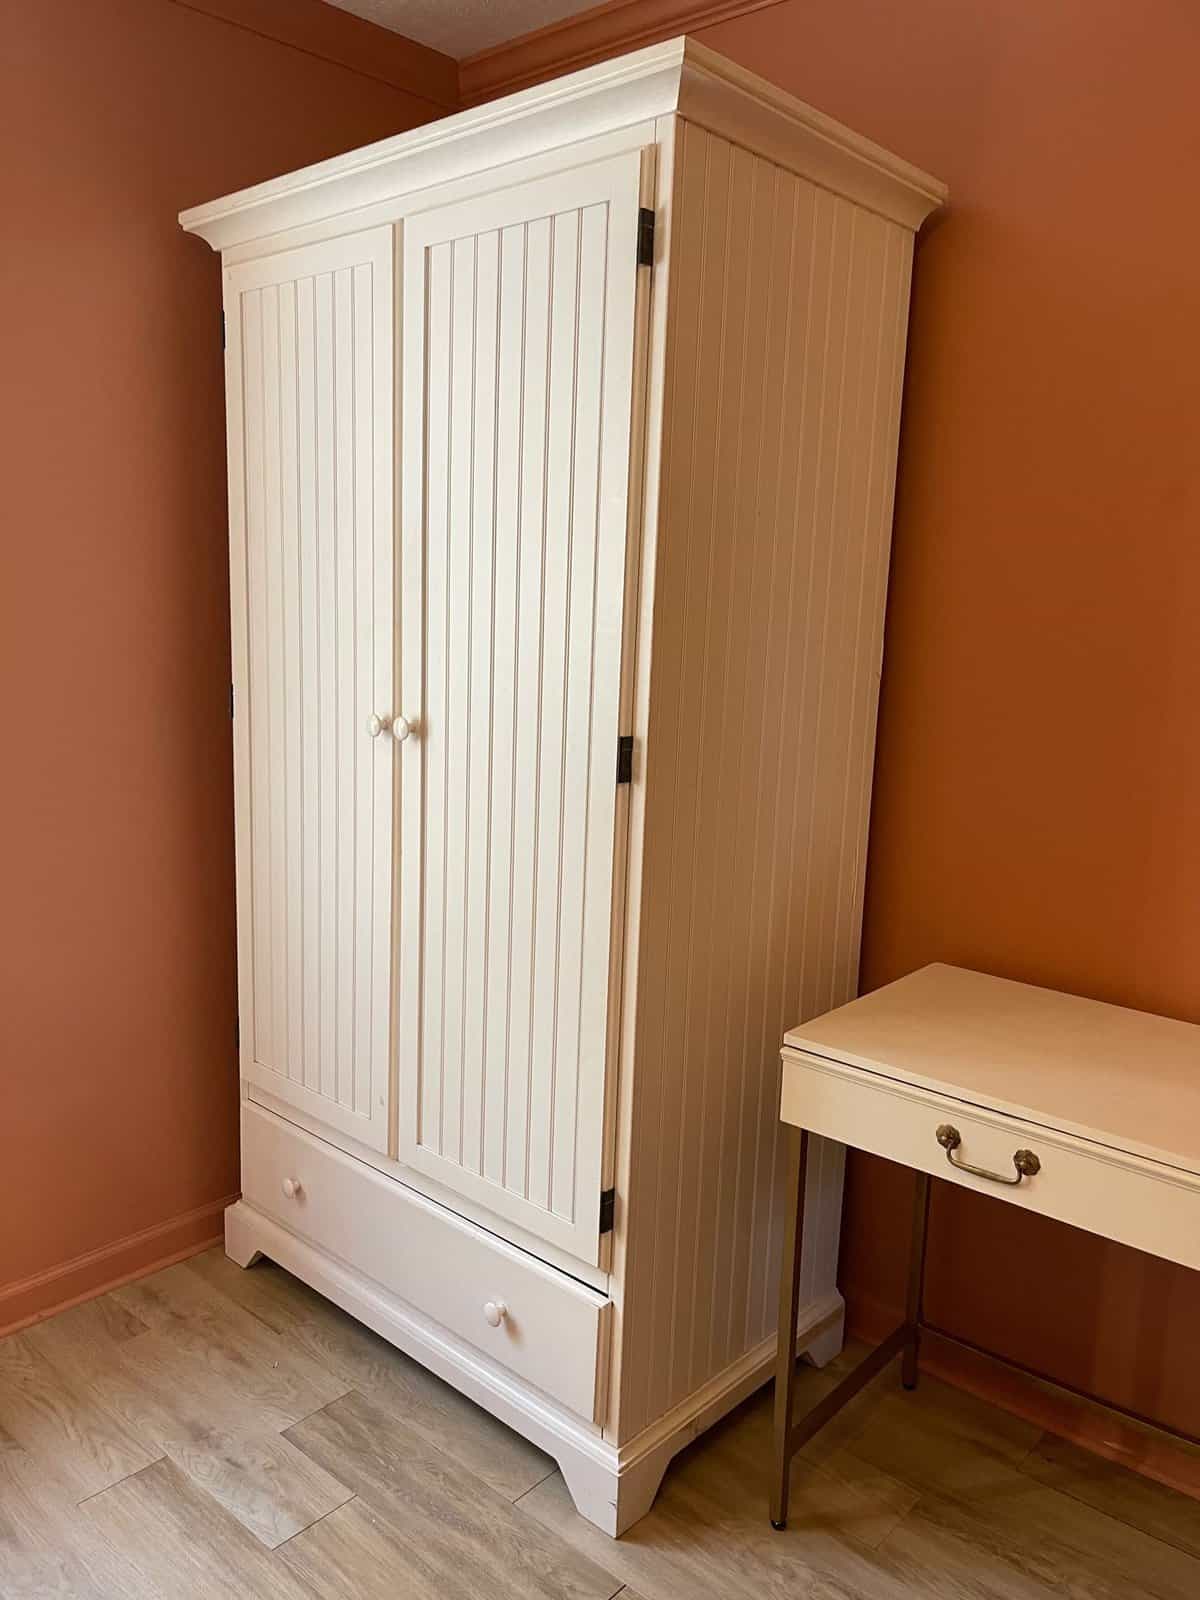
It was nice, but it just stuck out like a soar thumb.
We didn’t want that. We were looking for old French elegance.
So we got out the cardboard.
Isn’t that what everybody does when they want old French elegance. No?
Well, we do….
and we had to duct tape together some of our cardboard to make it long enough.
Use inexpensive materials to add drama.
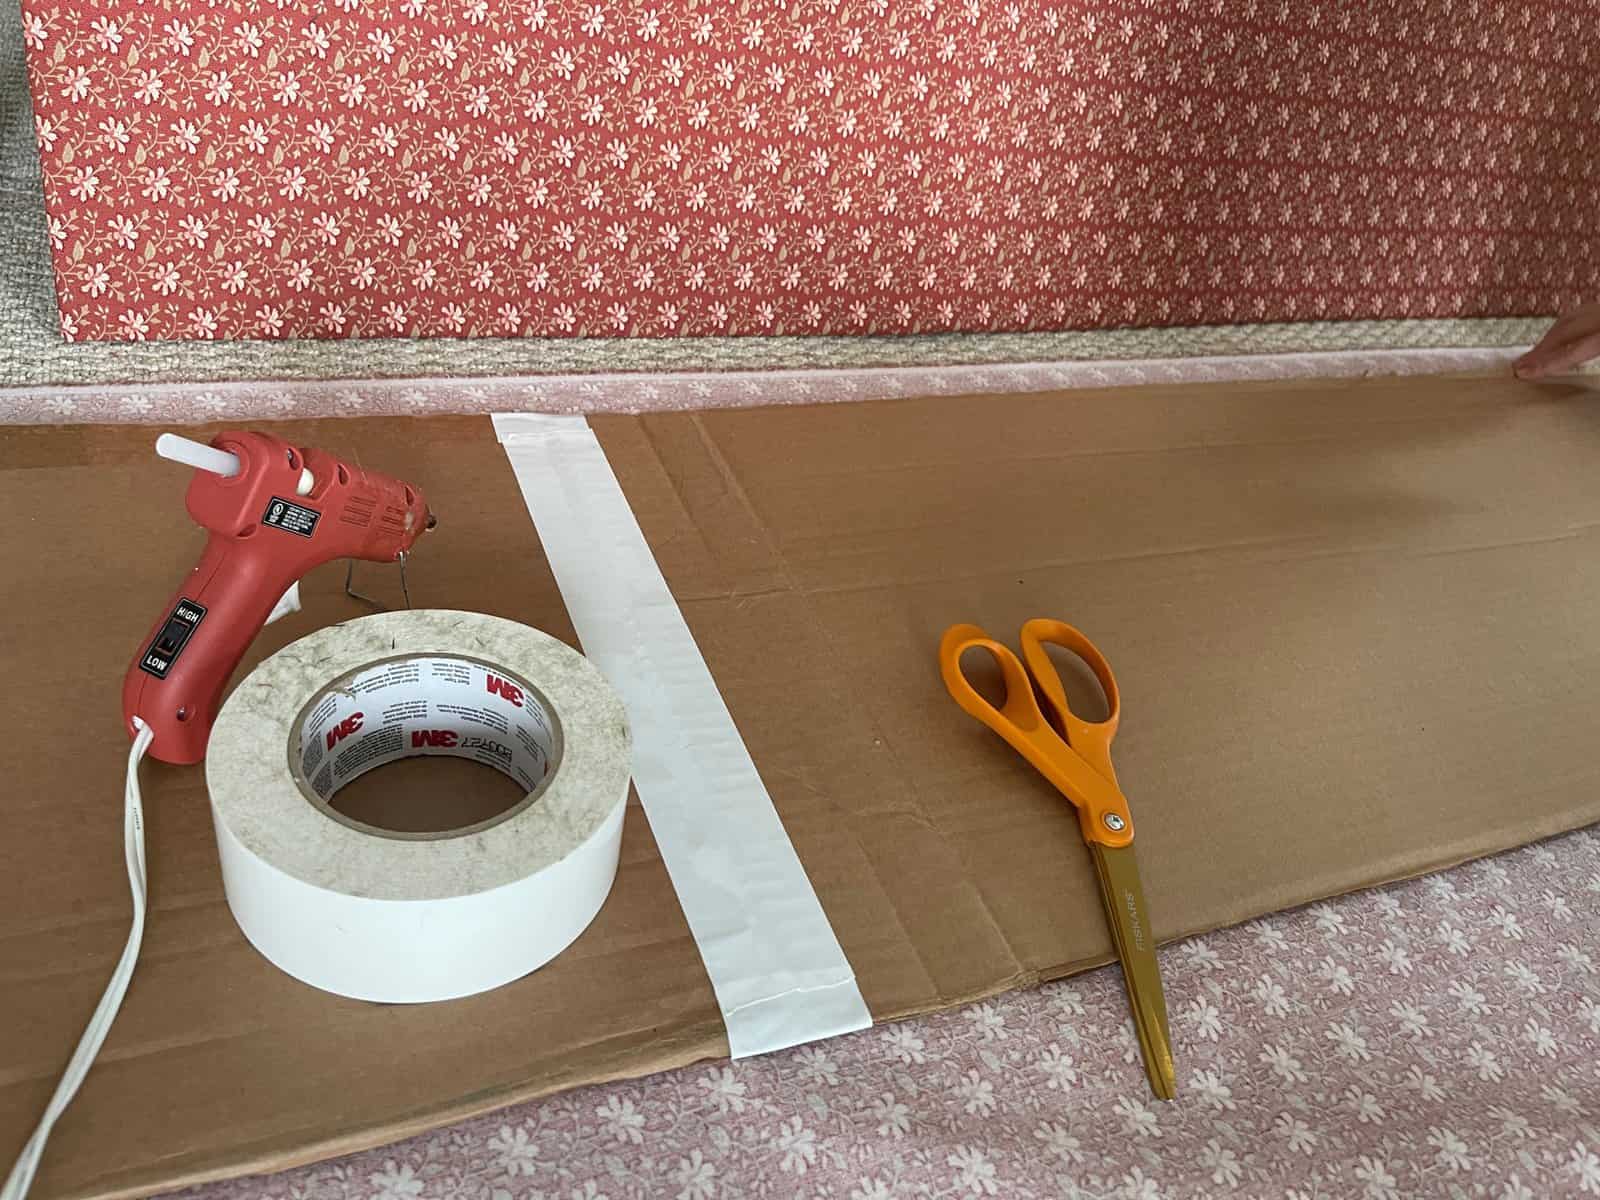
Materials used:
- Cardboard
- Duct Tape (if you want to be ready for anything life throws your way, own a roll of duct tapes)
- Scissors (by far the best bang for your buck)
- Fabric
- Hot glue gun and hot glue sticks (very happy with this price)
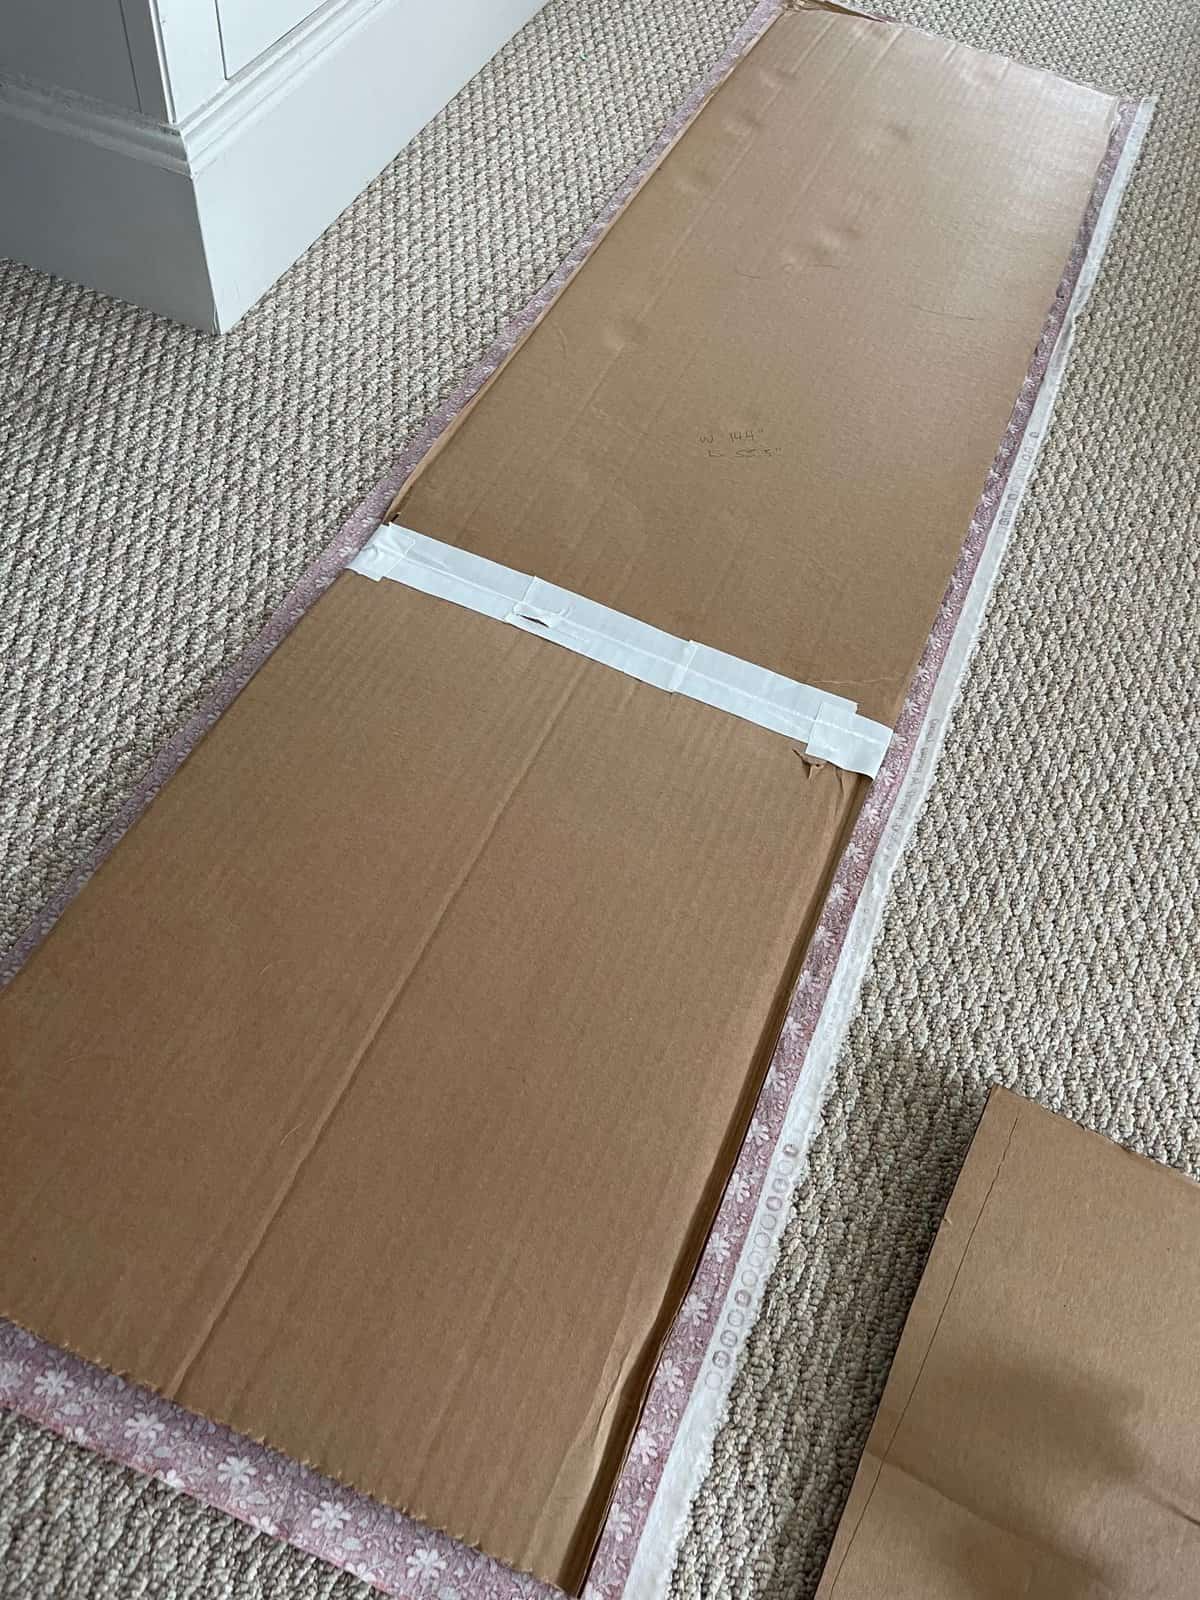
Cut the cardboard to the exact size of the panel it will fit into.
Cut fabric two inches larger all around so you can wrap it and secure it well.
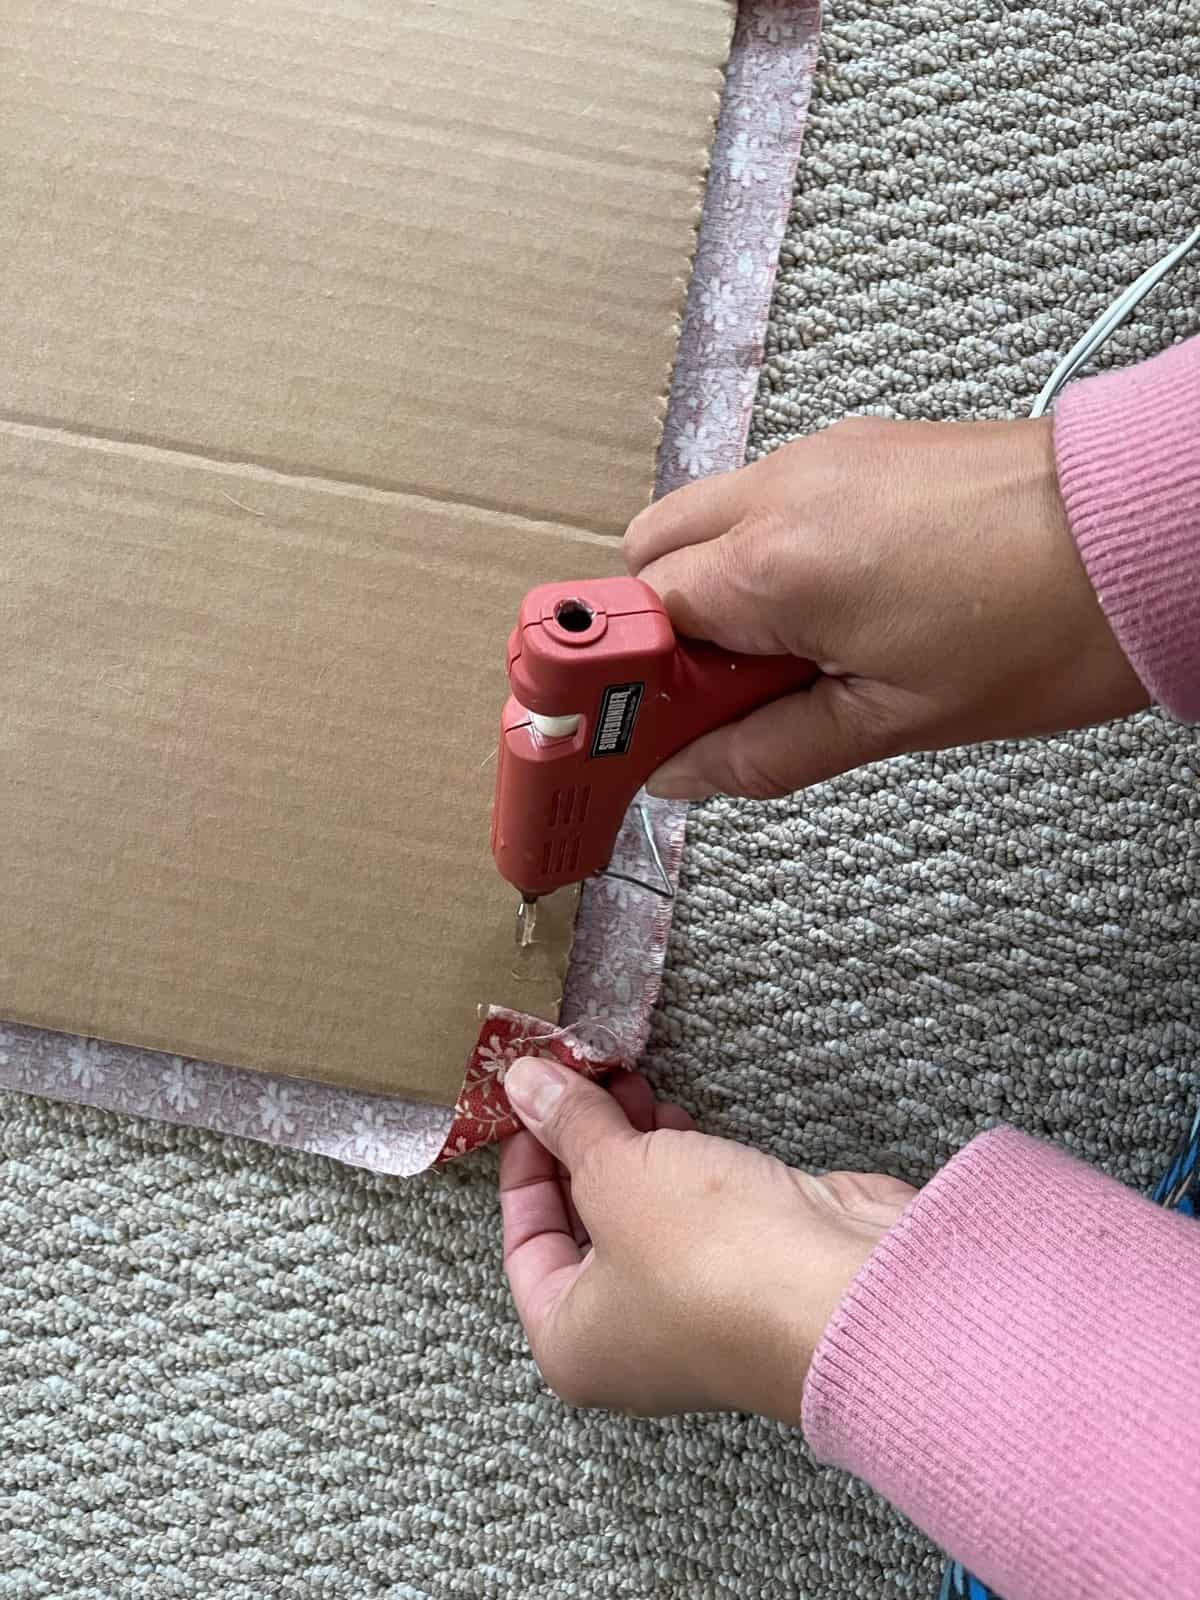
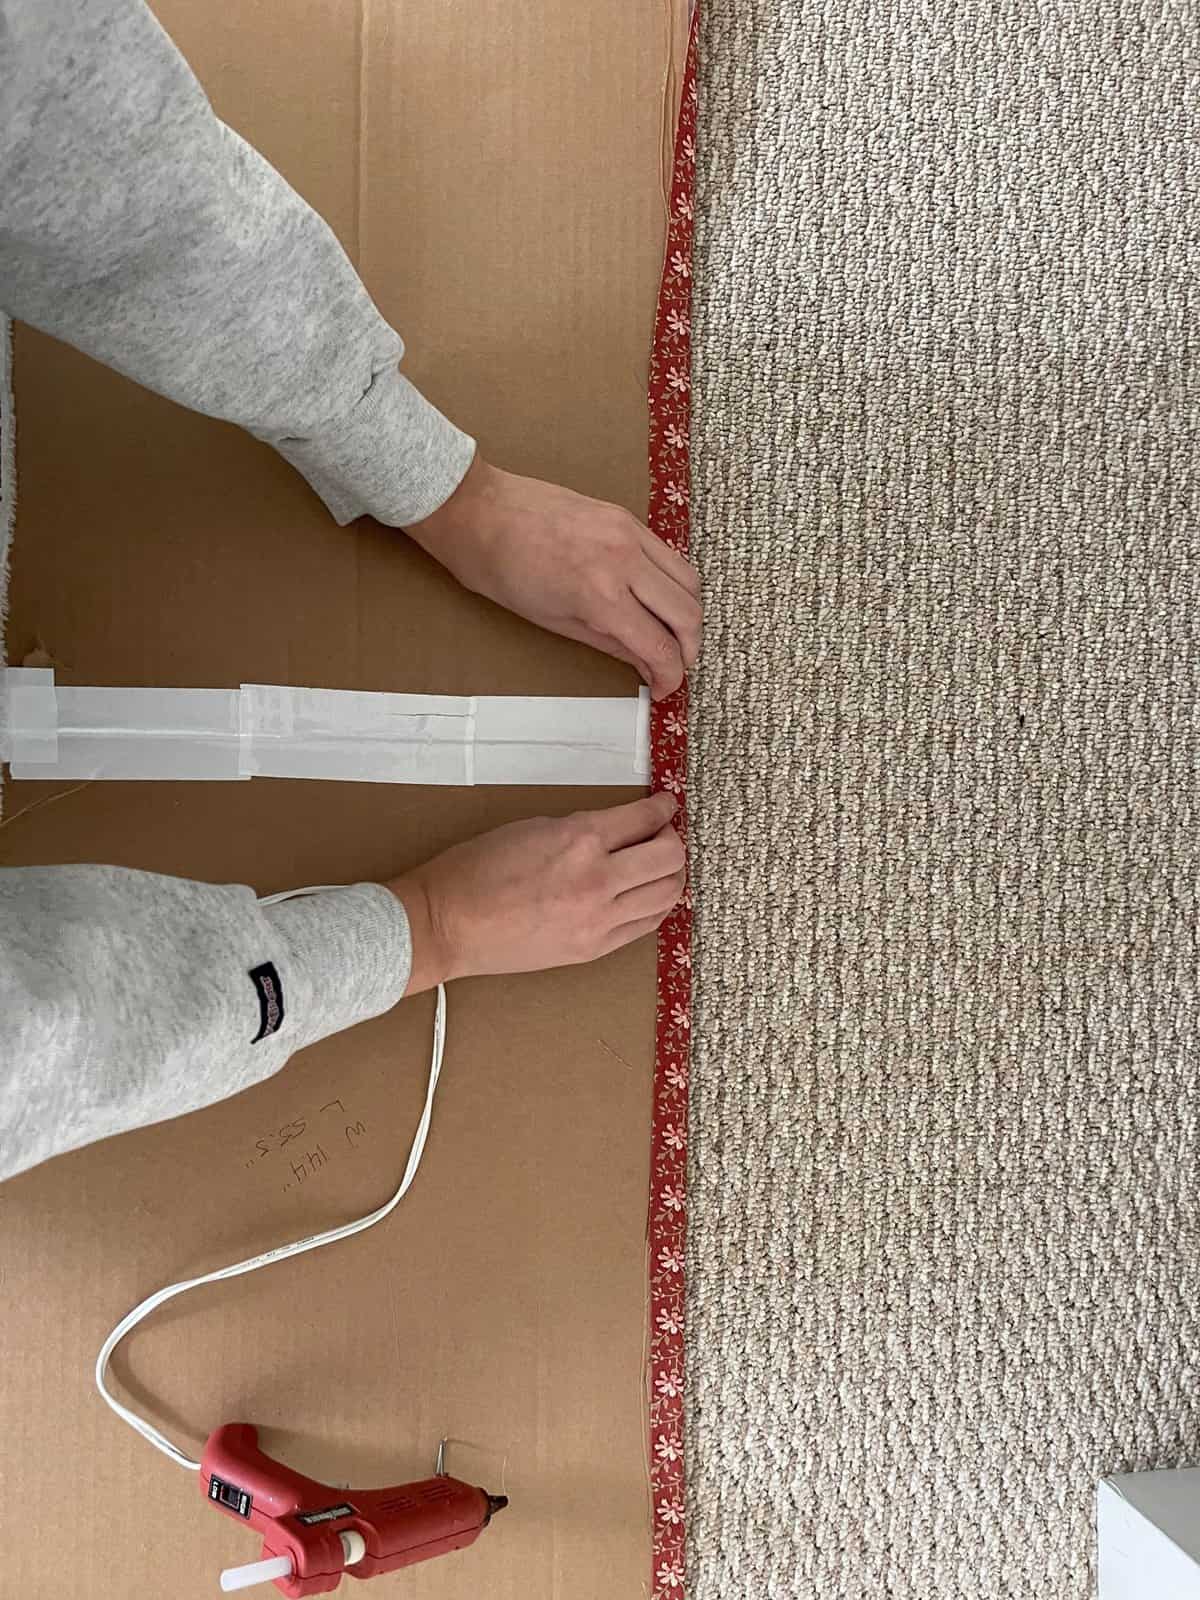
Wrap your fabric around the front of your cardboard and glue it in place.
If you have a print like we did, be very careful to line it up so it is even in the front and not slanted.
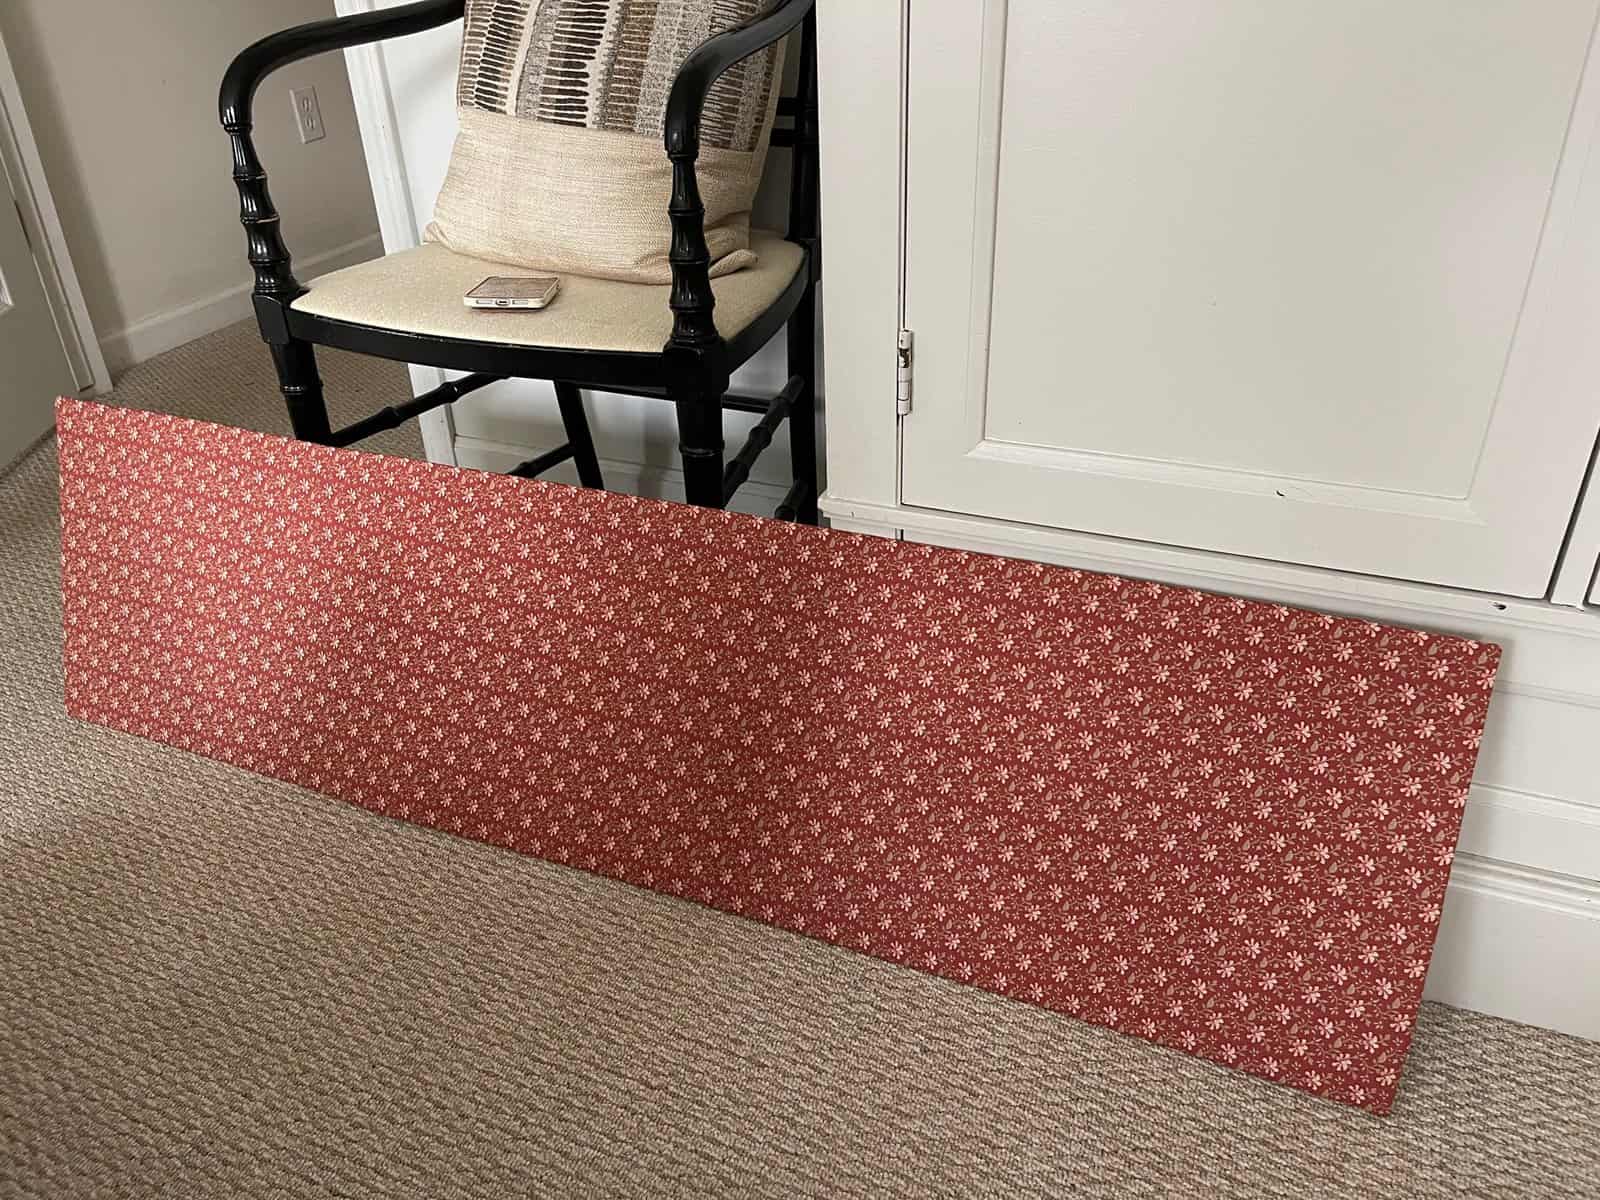
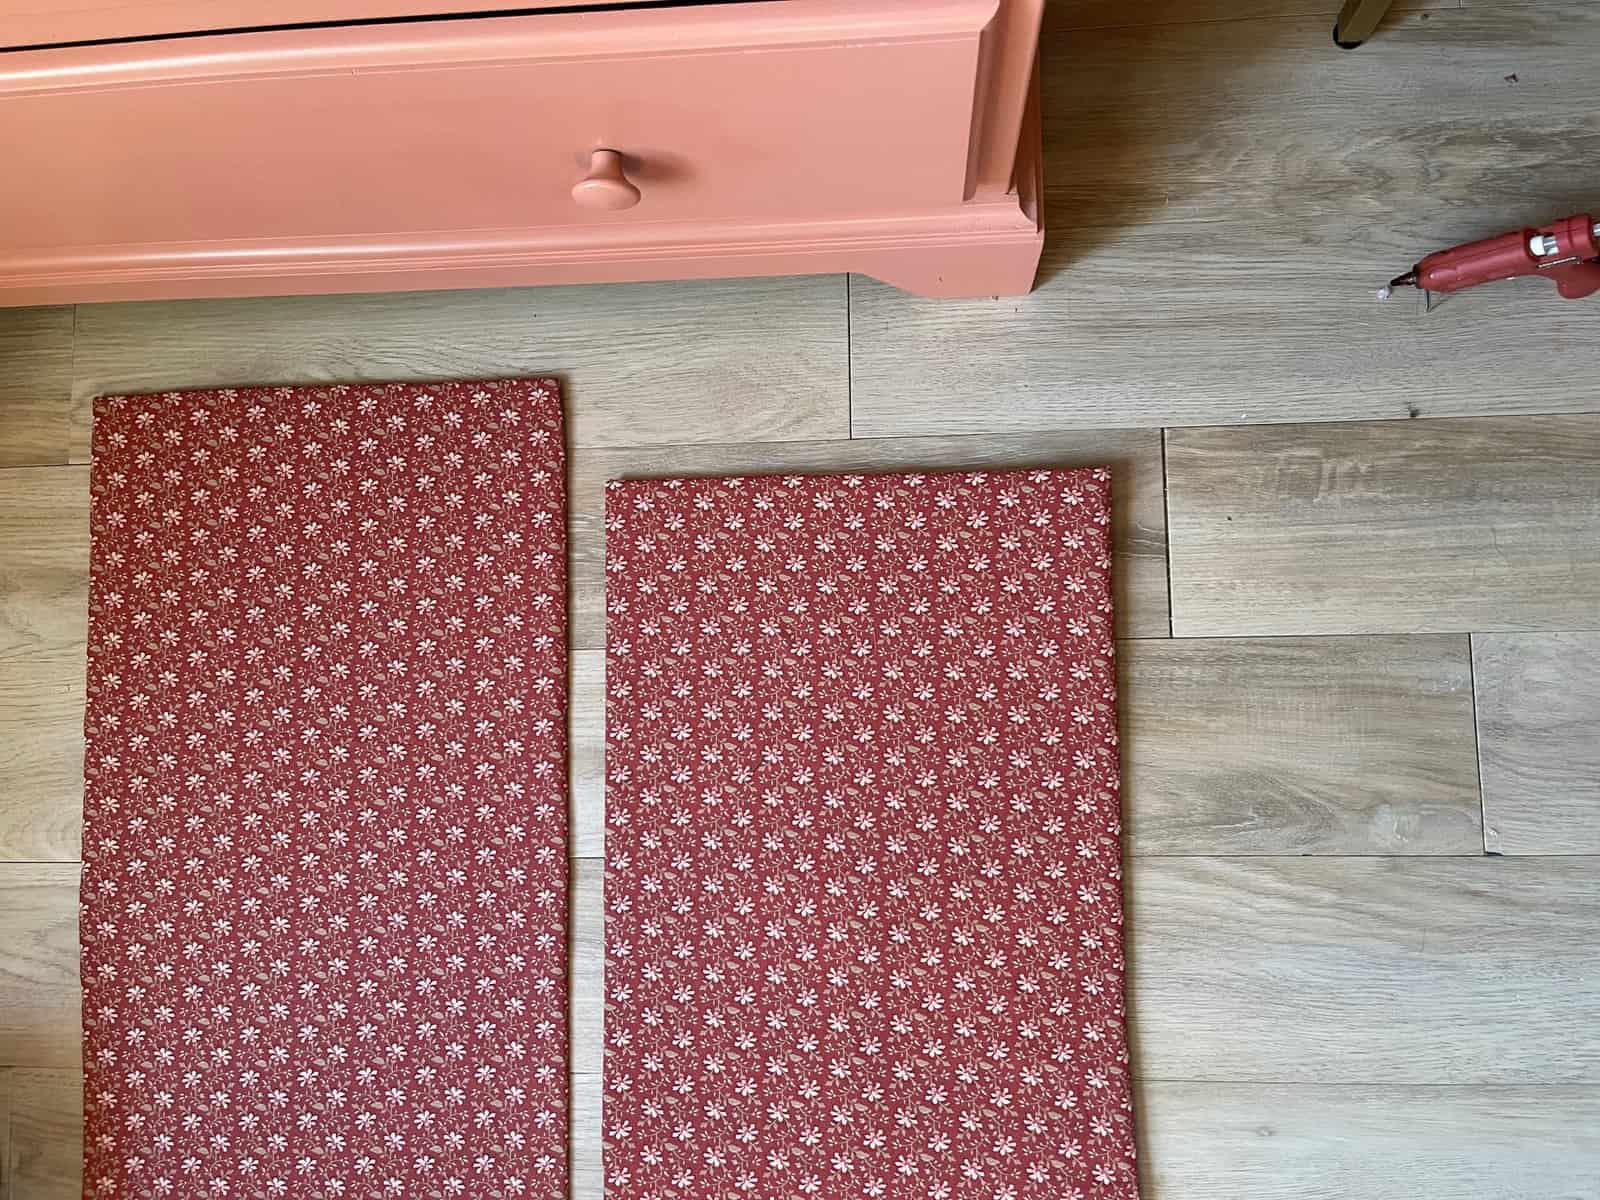
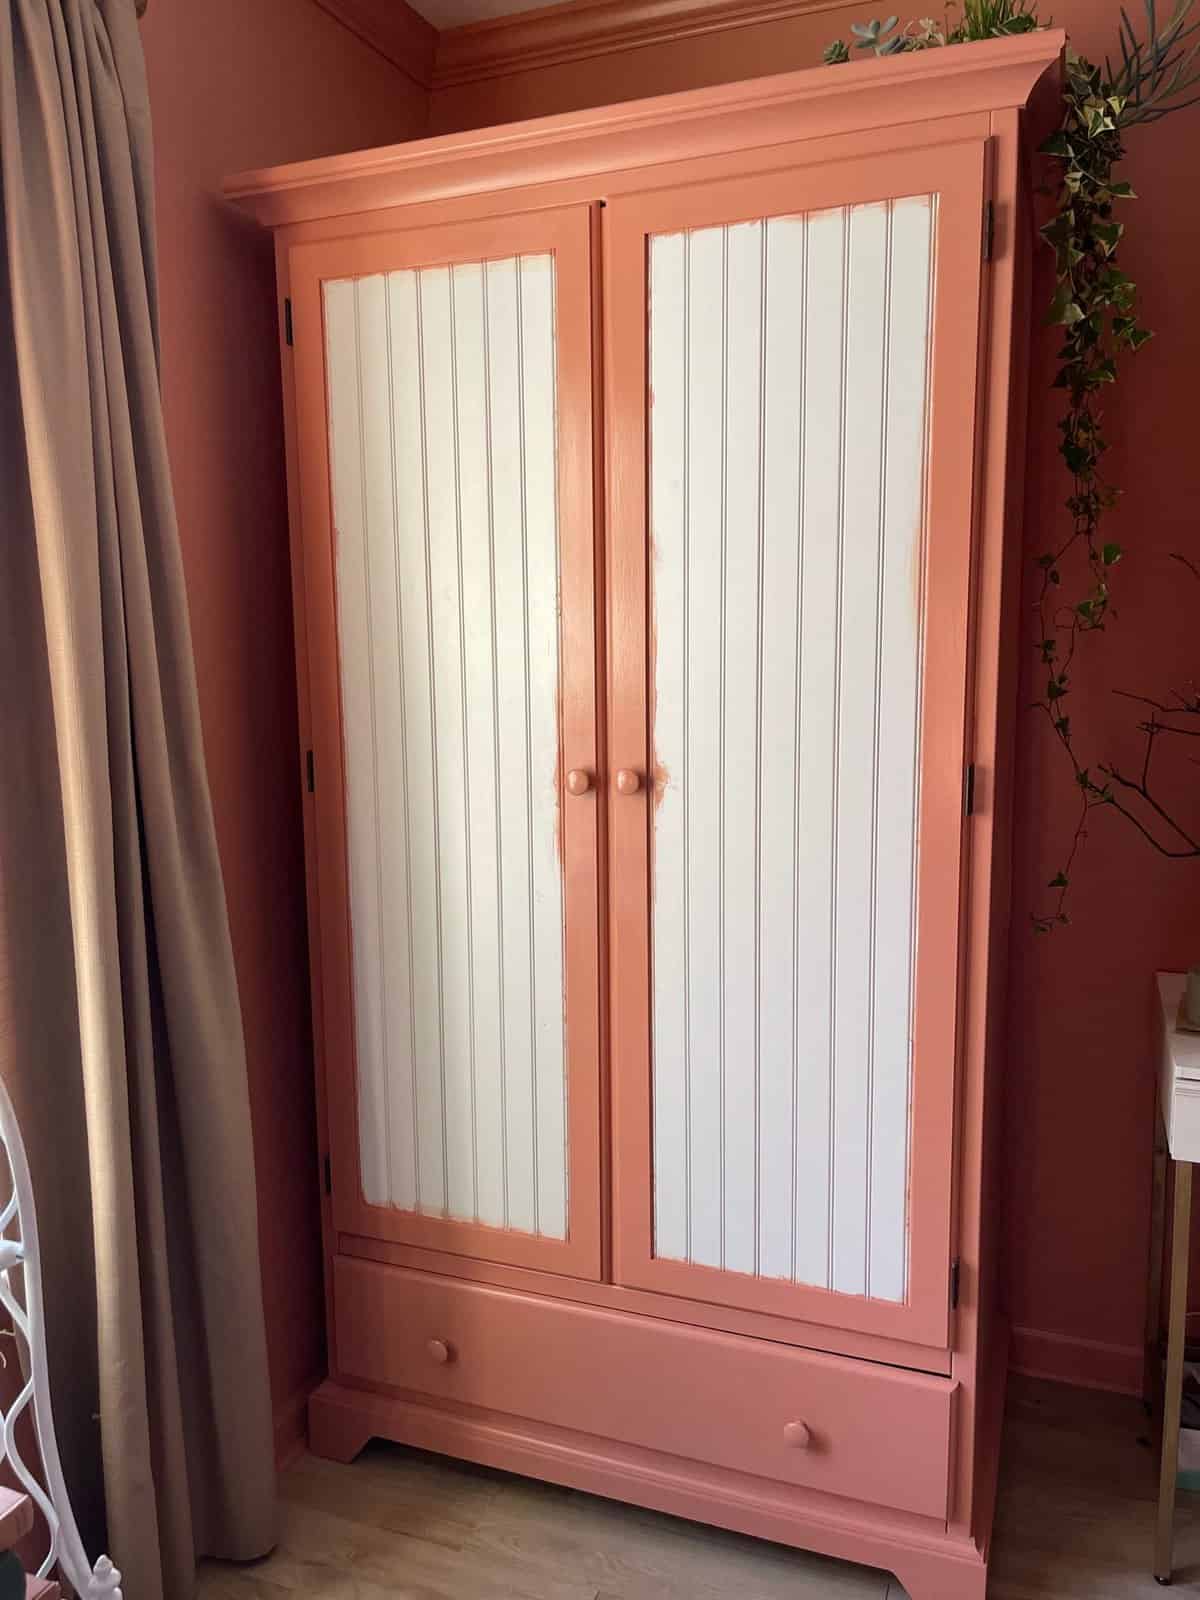
After you’ve got your panels set just glue them in. This was a two person, two hot glue gun job because the hot glue cools off so quickly.
DIY Tip: Apply the hot glue to the cardboard not the furniture. We tried both and it was much easier to install when we applied it directly to the cardboard panel.
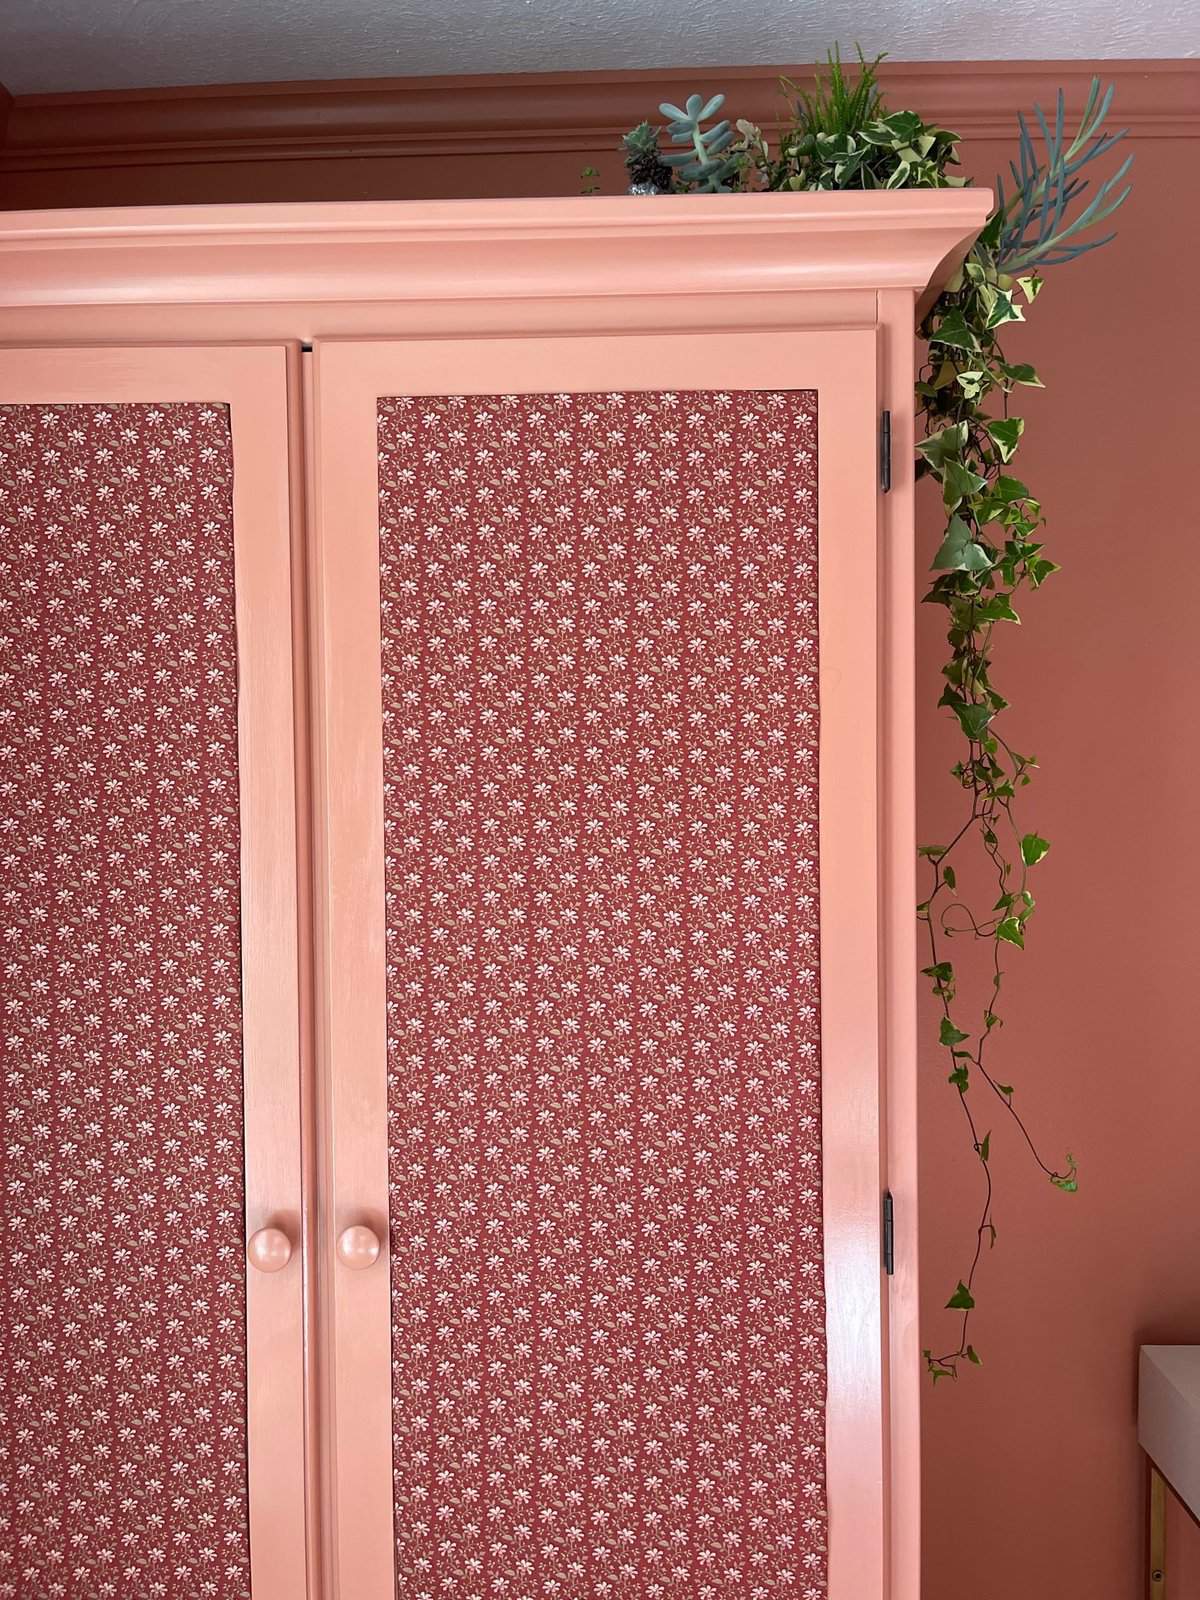
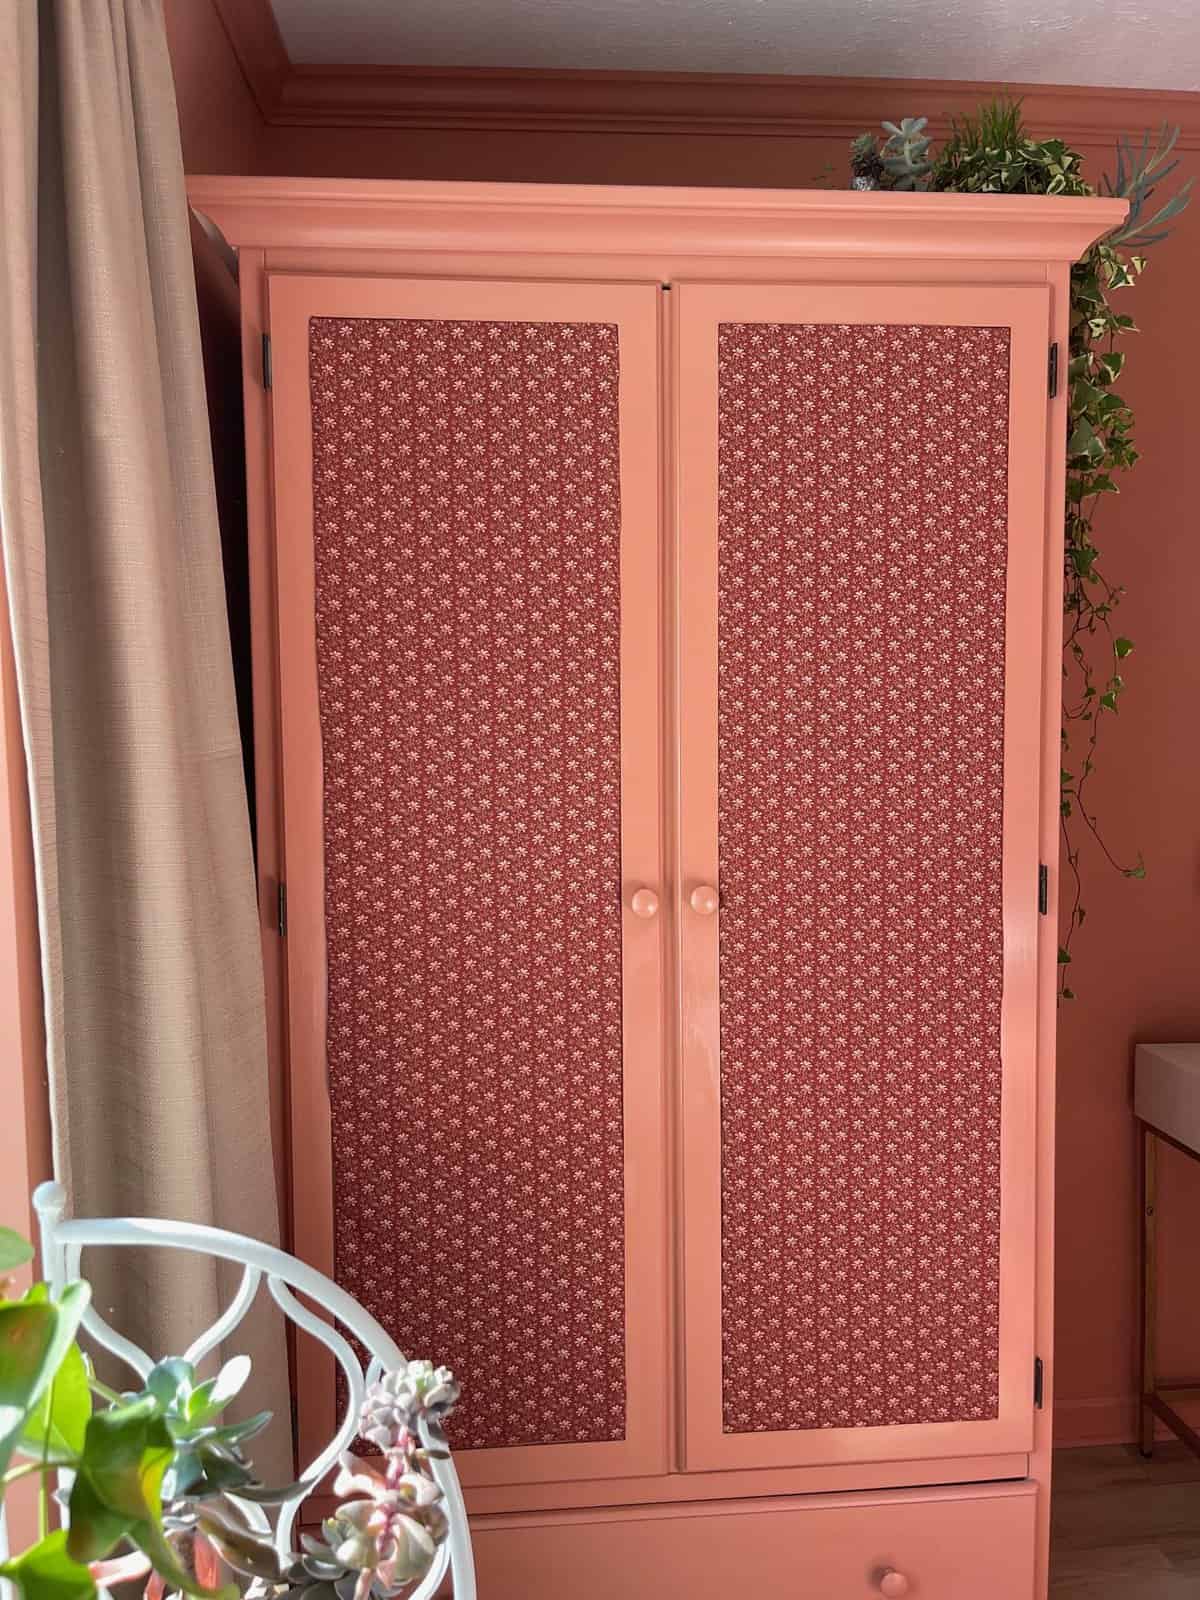
Ta-Da!
We are thrilled with this amazing cabinet makeover with fabric. So glad we took a chance and tried something different.
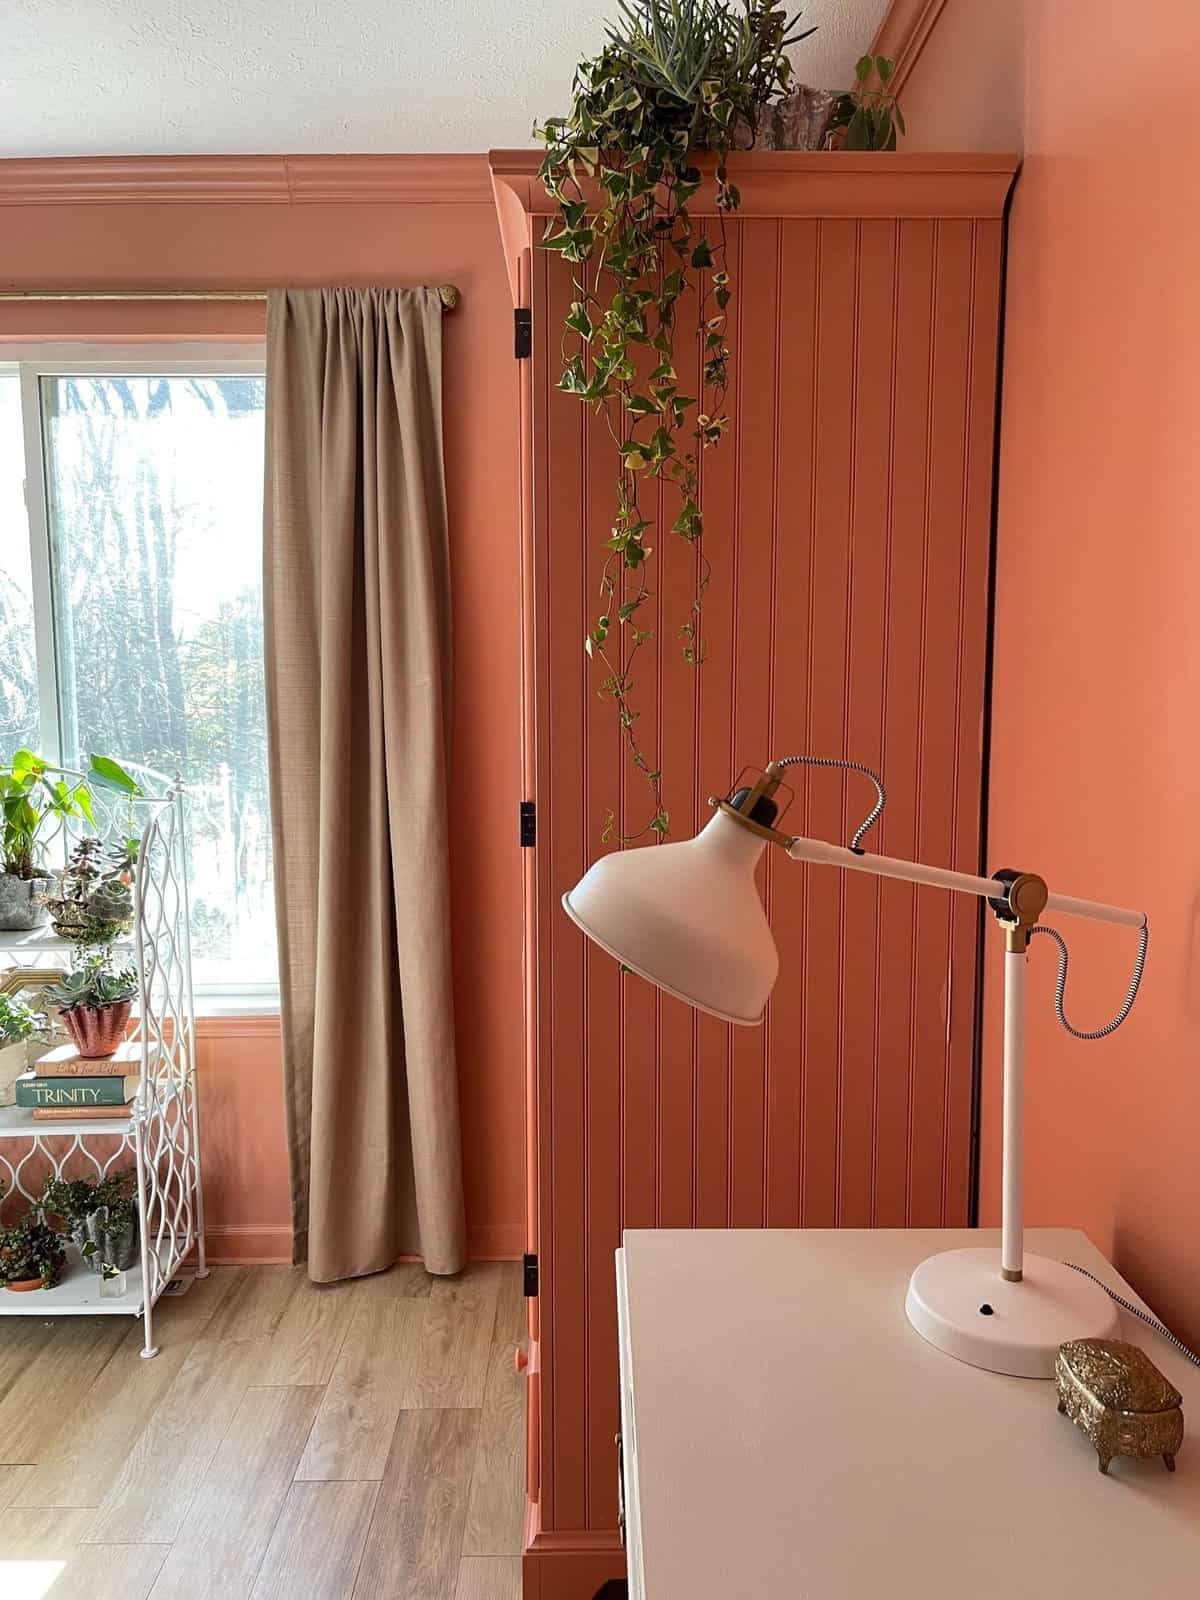
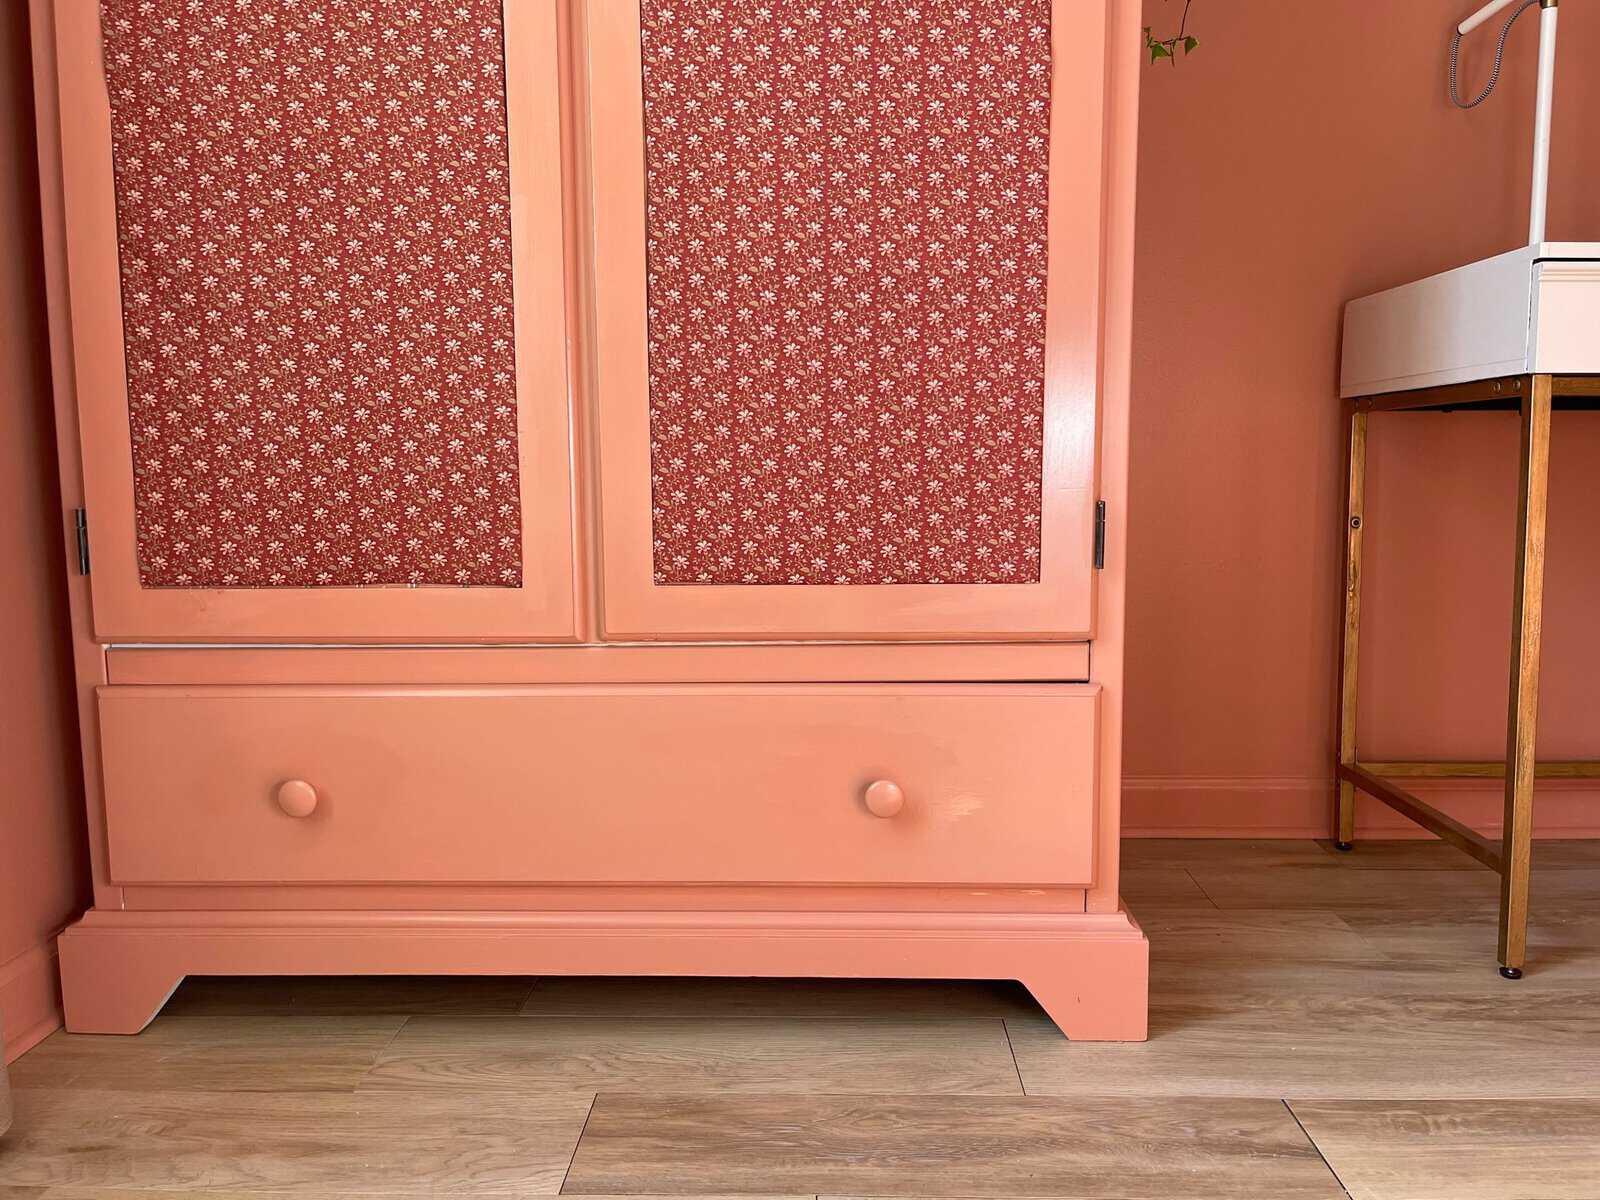
From this angle you can really see what I mean about camouflaging into the wall. Painting the armoire/cabinet the same color as the wall makes it seem less huge and more a part of the room.
Come back tomorrow to see the desk we gave a makeover to in this space.
Also I’m showing the chair we found to go along with the desk. Spoiler alert, it’s in a French style and works perfectly.
What do you think of the room makeover so far. I love hearing your comments.

MORE AMAZING FURNITURE MAKEOVERS
Pin It & Save It
(Hover over an image and save it to Pinterest)






OMG!! I LOVE this!! I am a lover of deep rich color and have painted my walls in my house with it!! This looks great! Love the addition of fabric!!~ Thanks for sharing!! I hope you have a great weekend!!
Hugs,
Deb
I love the way you showed how it kind of disappears into the wall when you look at it from certain angles. That is a very darling makeover. So pretty.
Thank you for your sweet comment Andrea, I appreciate it!
WOW! This looks fabulous. Brave but so worth it. And I love your sense of humour too.
Wow! Another amazing transformation! It does not look anything like the before picture! I love how you painted it the same color as the walls! The fabric was the perfect touch to soften up the front of the cabinet! I bet your daughter is thrilled!
Wow such a great transformation. Love it! Pinned
I appreciate it Cindy. We love the new look!
Is the fabric put on the front of the door or did you cut out the middle part? I love how it turned out. I will have to try it on a similar cabinet. Thank you for the great instructions. Very pretty make over .
Thank you! Yes, we placed the fabric on cardboard and then glued it to the cabinet door.
Absolutely gorgeous, it looks stunning & such a simple upgrade.
Thank you so much Pearl!