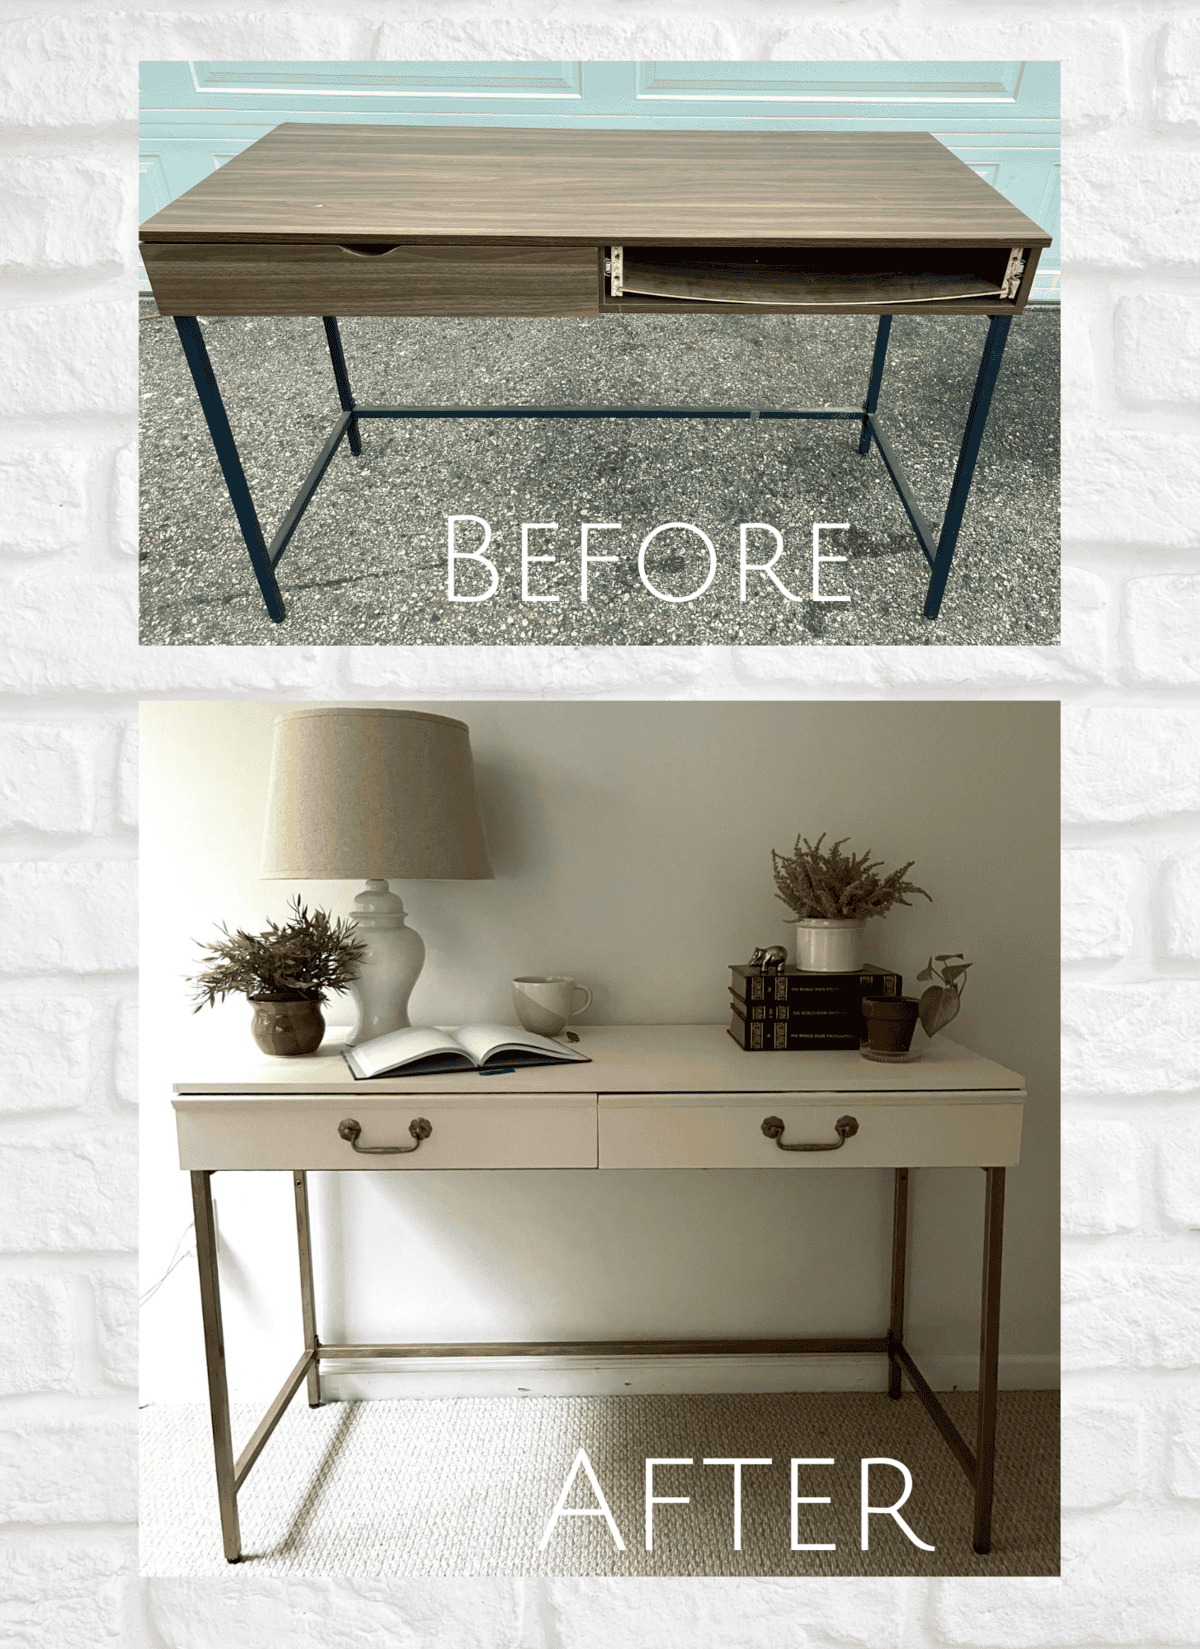
Guess where this writing desk was found? If you saw the broken drawer and guessed the garbage you would be right.
Instead of buying a new desk, we decided to give this one a big makeover.
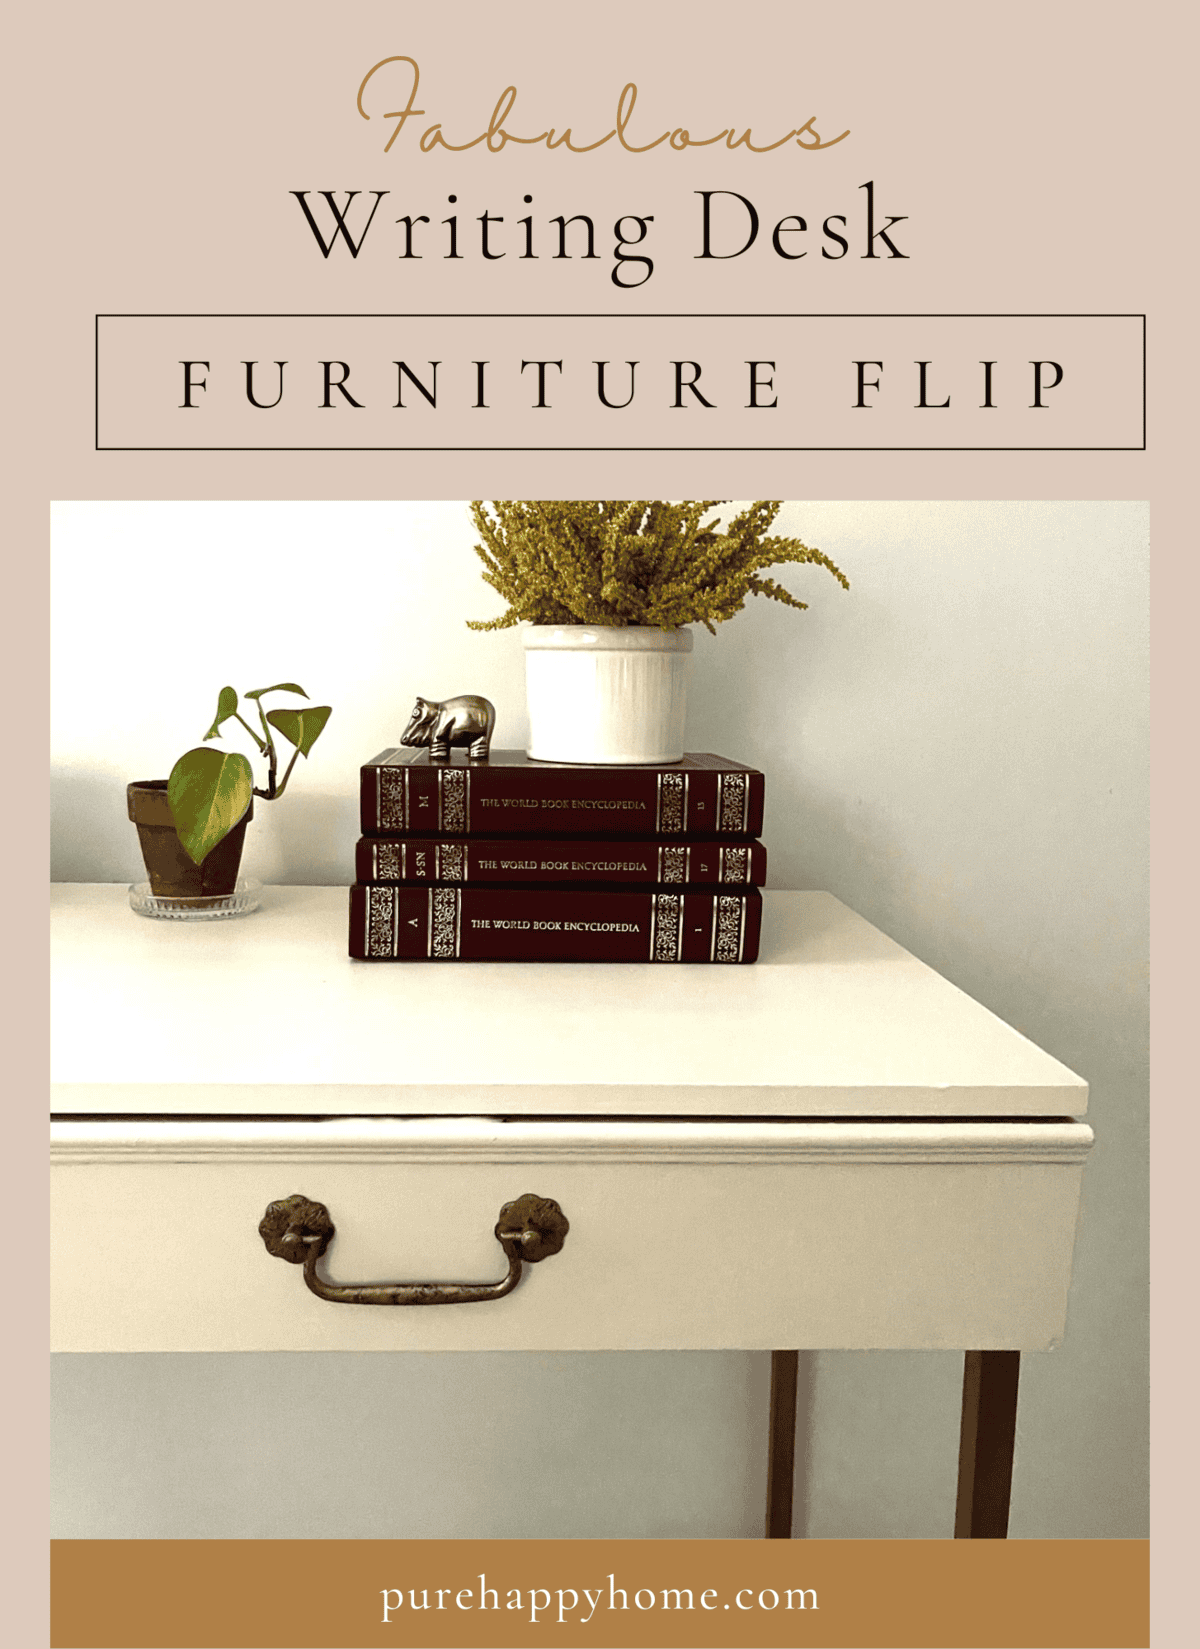
Writing Desk Furniture Flip
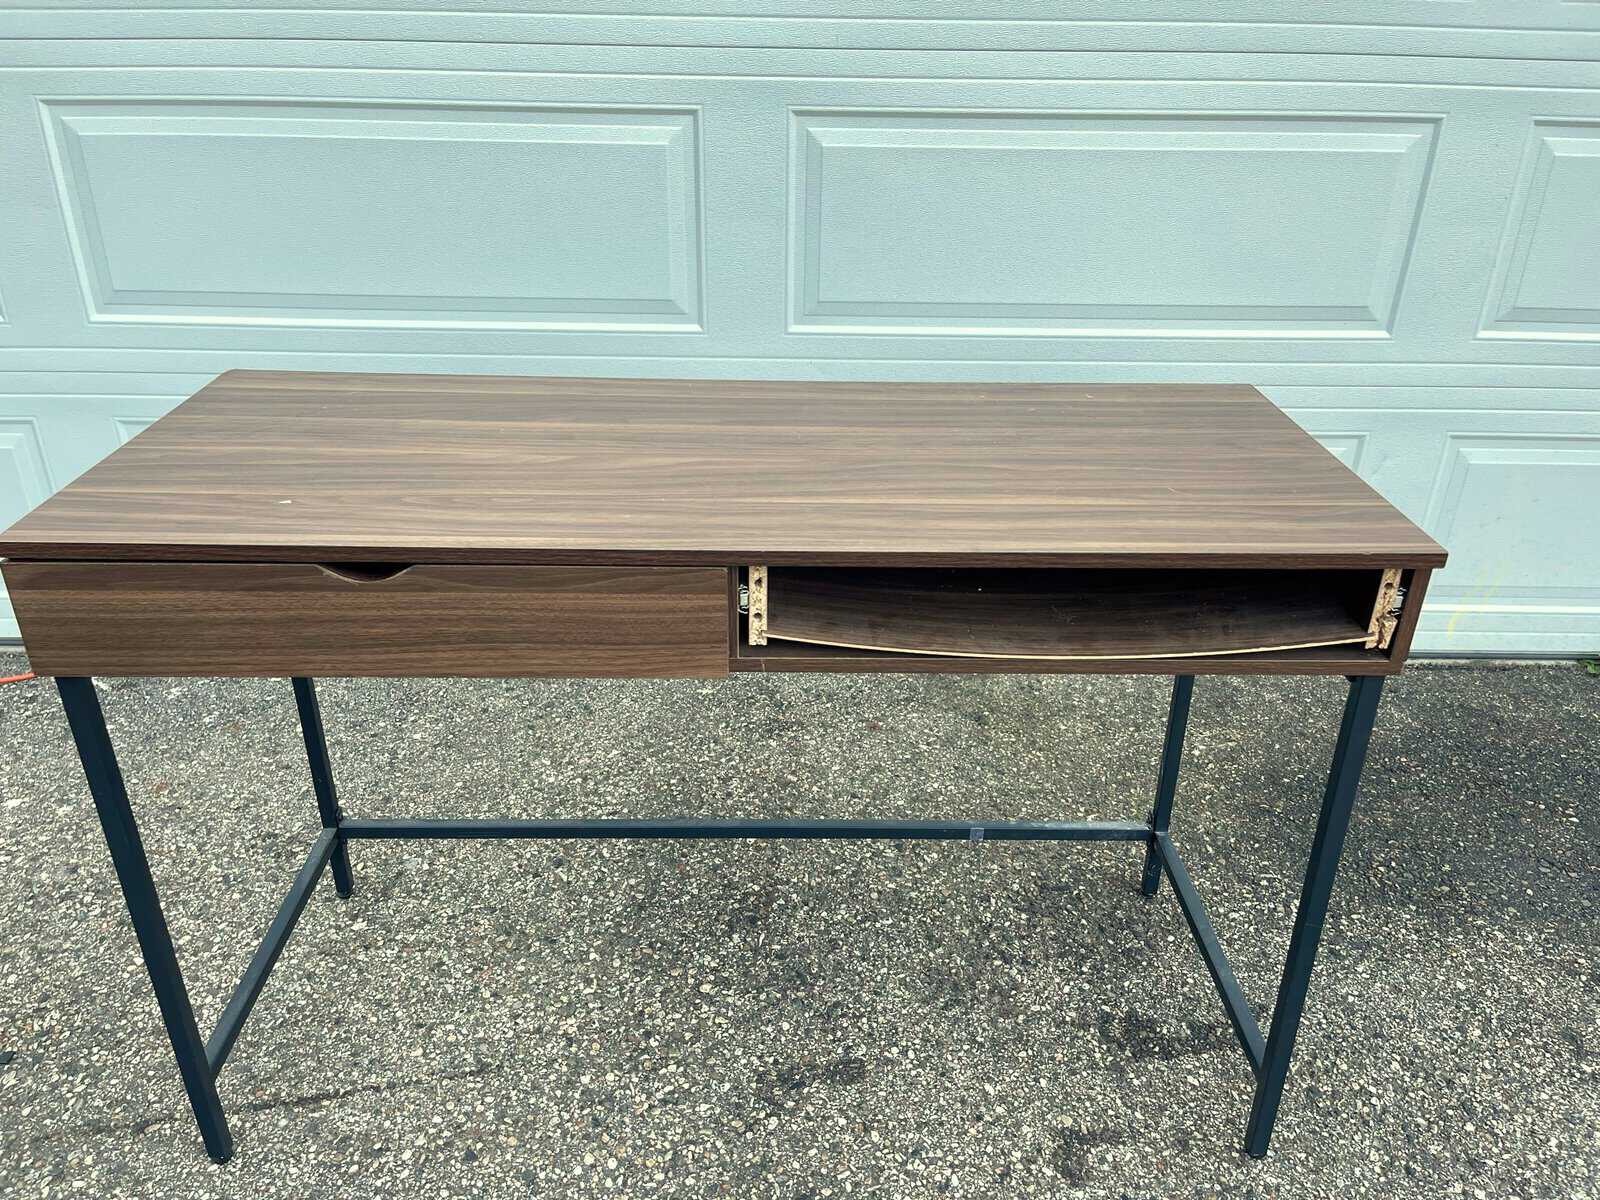
Can you believe someone gave up on it and dumped it? Thankfully it only took some wood glue to repair the drawer and it was in working condition again.
We decided this would be the perfect desk for Mary’s Parisian Boho bedroom makeover. Of course we wanted to tweak it a bit, so tweak it we did!
Here are the steps we took to transform this writing desk from meh, to yeah!
Writing Desk Furniture Flip
- Sand down the laminate finish just a little. This allows the paint to stick better.
- Wipe the desk down very well so there is no dusk left on the surface. If dusk is left paint won’t adhere well.
- Prime with a sponge roller. Because this desk has a laminate surface, I used this primer here
- Coat with one thin layer of paint. Let dry for at least three hours.
- Use an oil base paint for the metal legs. I love this gold paint color and the oil paint wears really well which I felt I needed on metal.
- Second coat of paint, let dry over night.
- Lightly sand the second coat for a smoother finish.
- Third and last coat
- Add molding to the top of drawer to cover the cut out drawer pull. We chose ot to frame the whole drawer because we wanted a lighter look.
- Add drawer handles
First sand down the laminate finish just a little. This allows the paint to stick better.

Wipe the desk down very well so there is no dusk left on the surface. If dusk is left paint won’t adhere well.
Prime with a sponge roller. .
All it took to repair the drawer front was some wood glue.
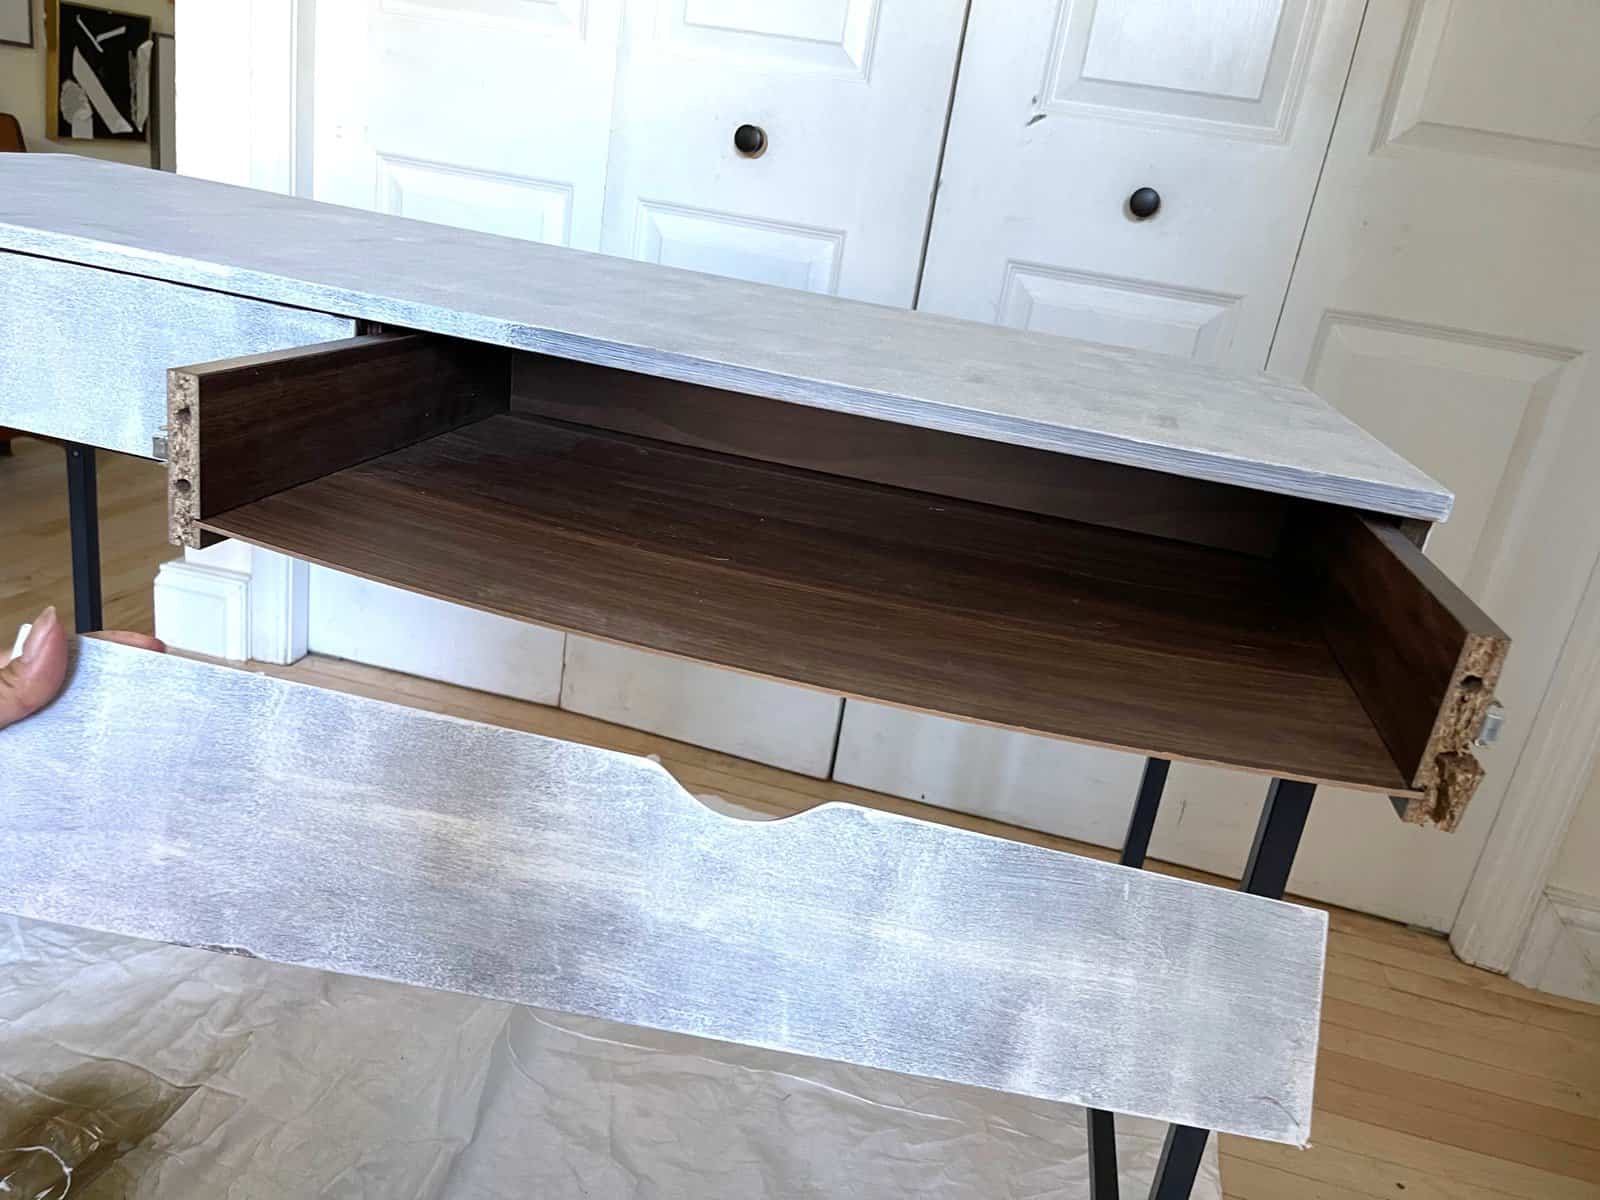
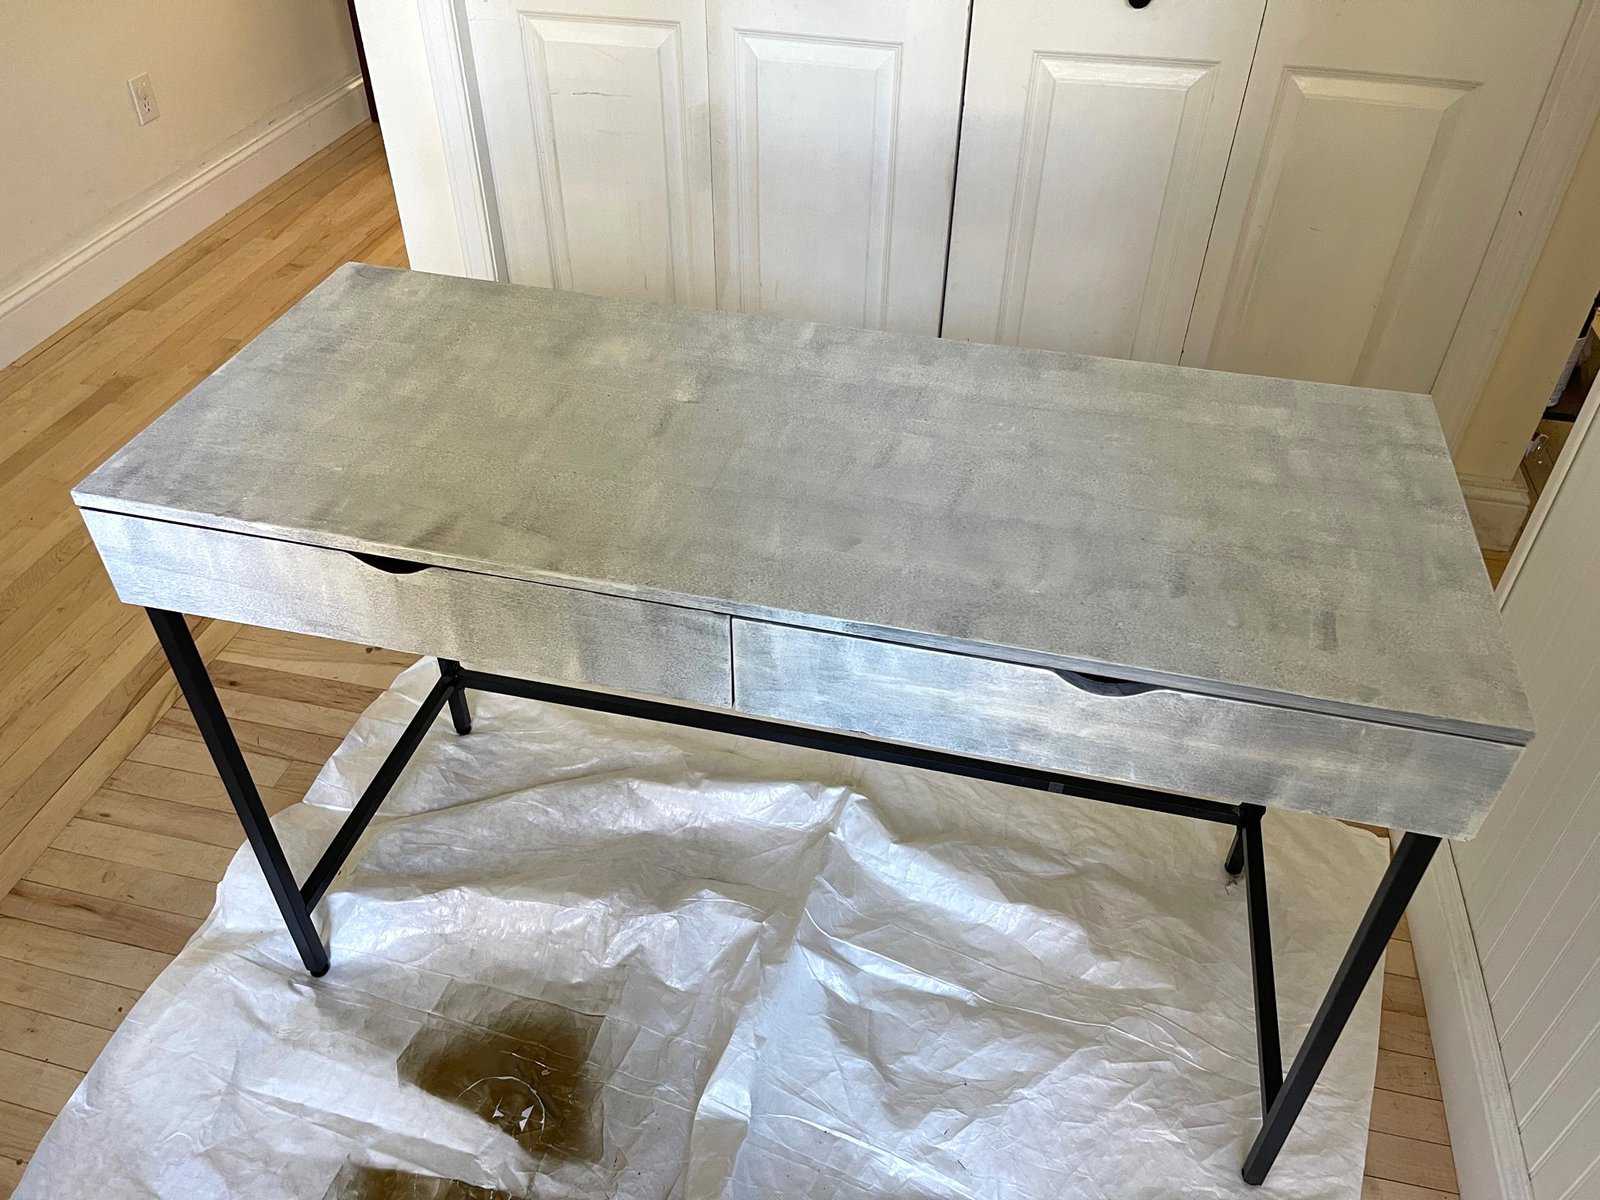
Coat with one thin layer of paint. Let dry for at least three hours. Use an oil base paint for the metal legs. I love this gold paint color and the oil paint wears really well which I felt I needed on metal.

Second coat of paint, let dry over night.
Lightly sand the second coat for a smoother finish.
Third and last coat
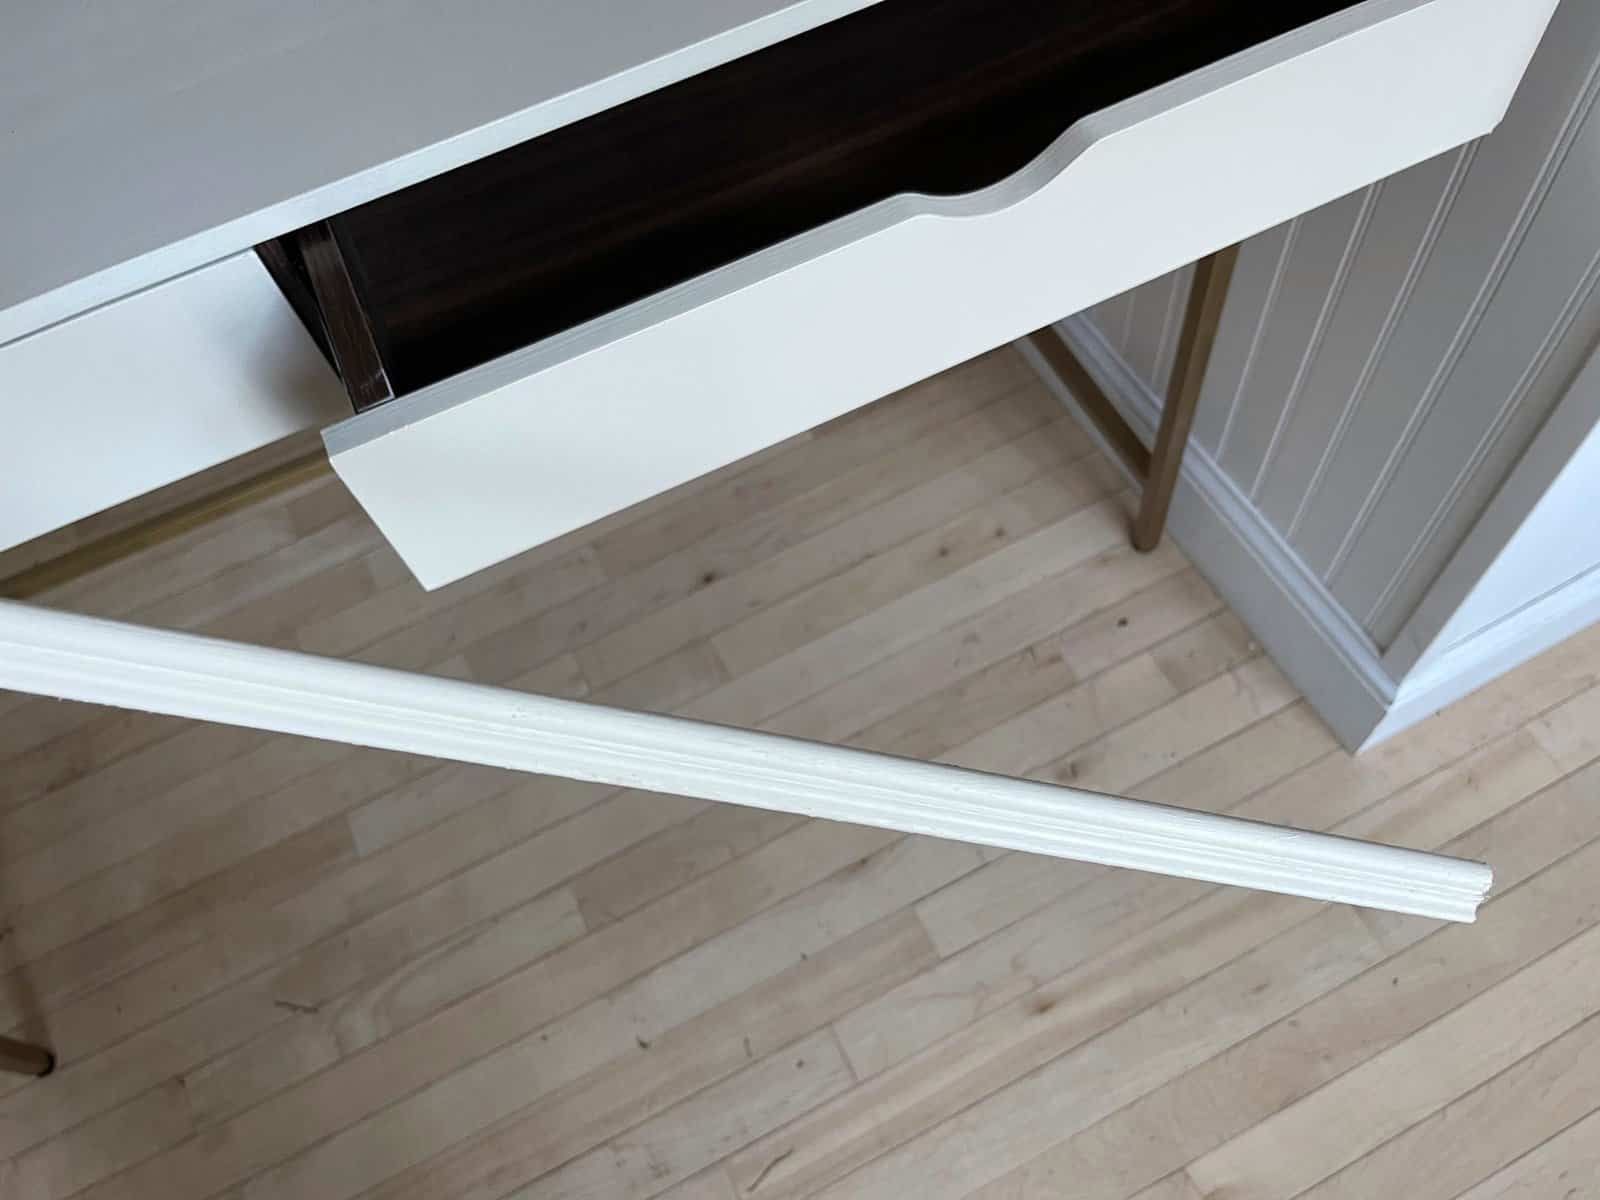
Add molding to the top of drawer to cover the cut out drawer pull. We chose not to frame the whole drawer because we wanted a lighter look.
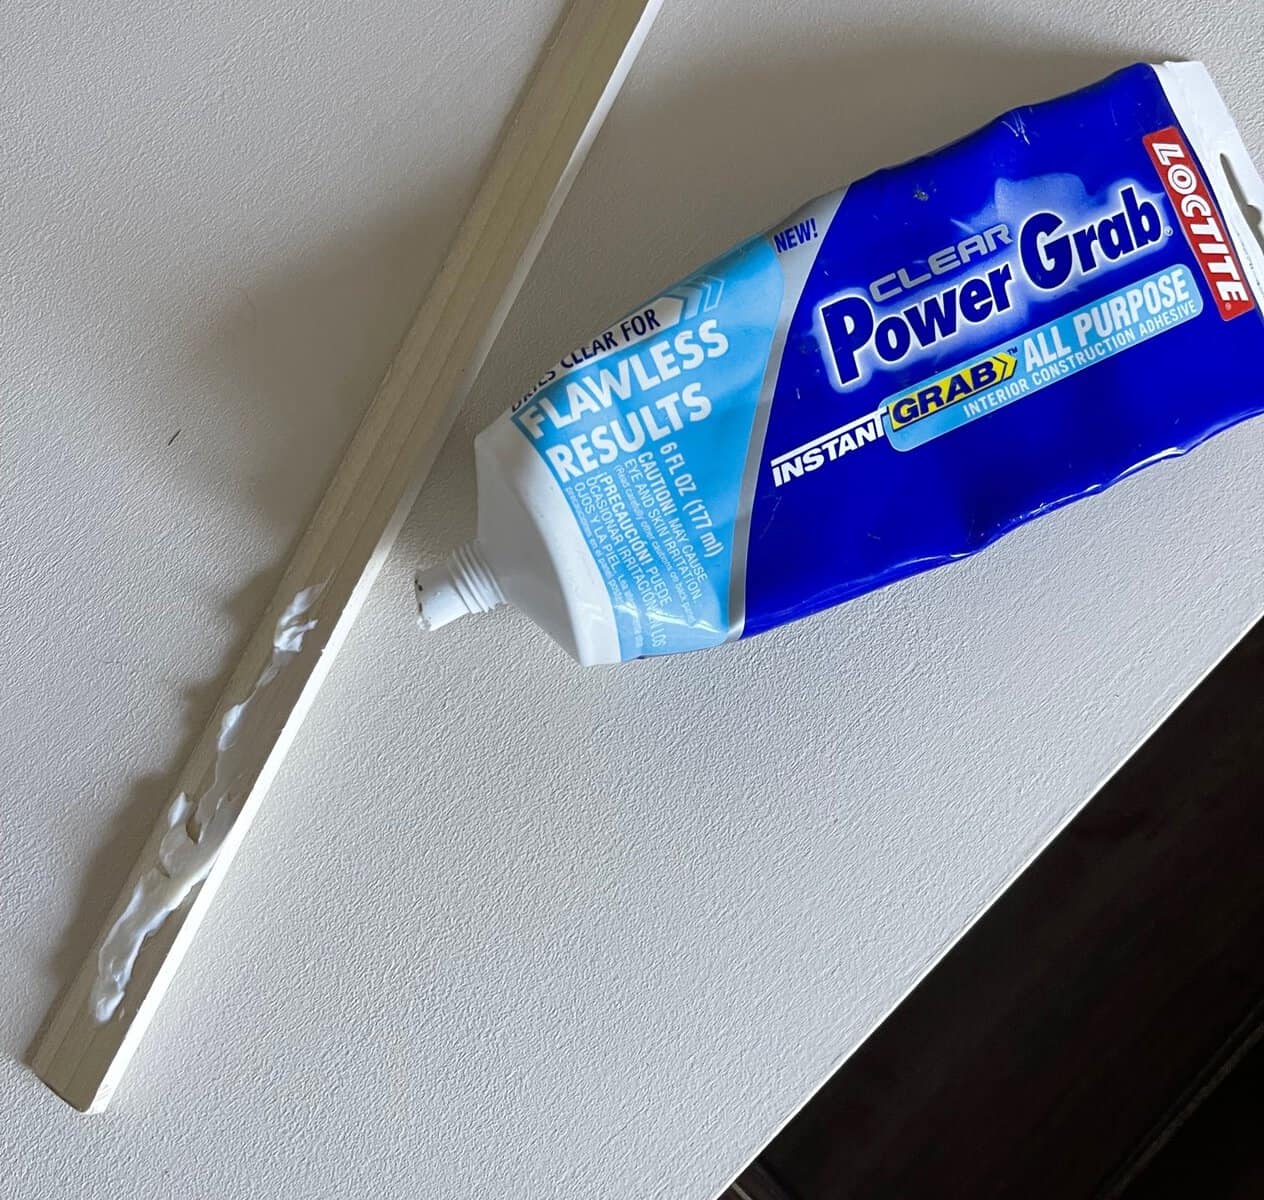
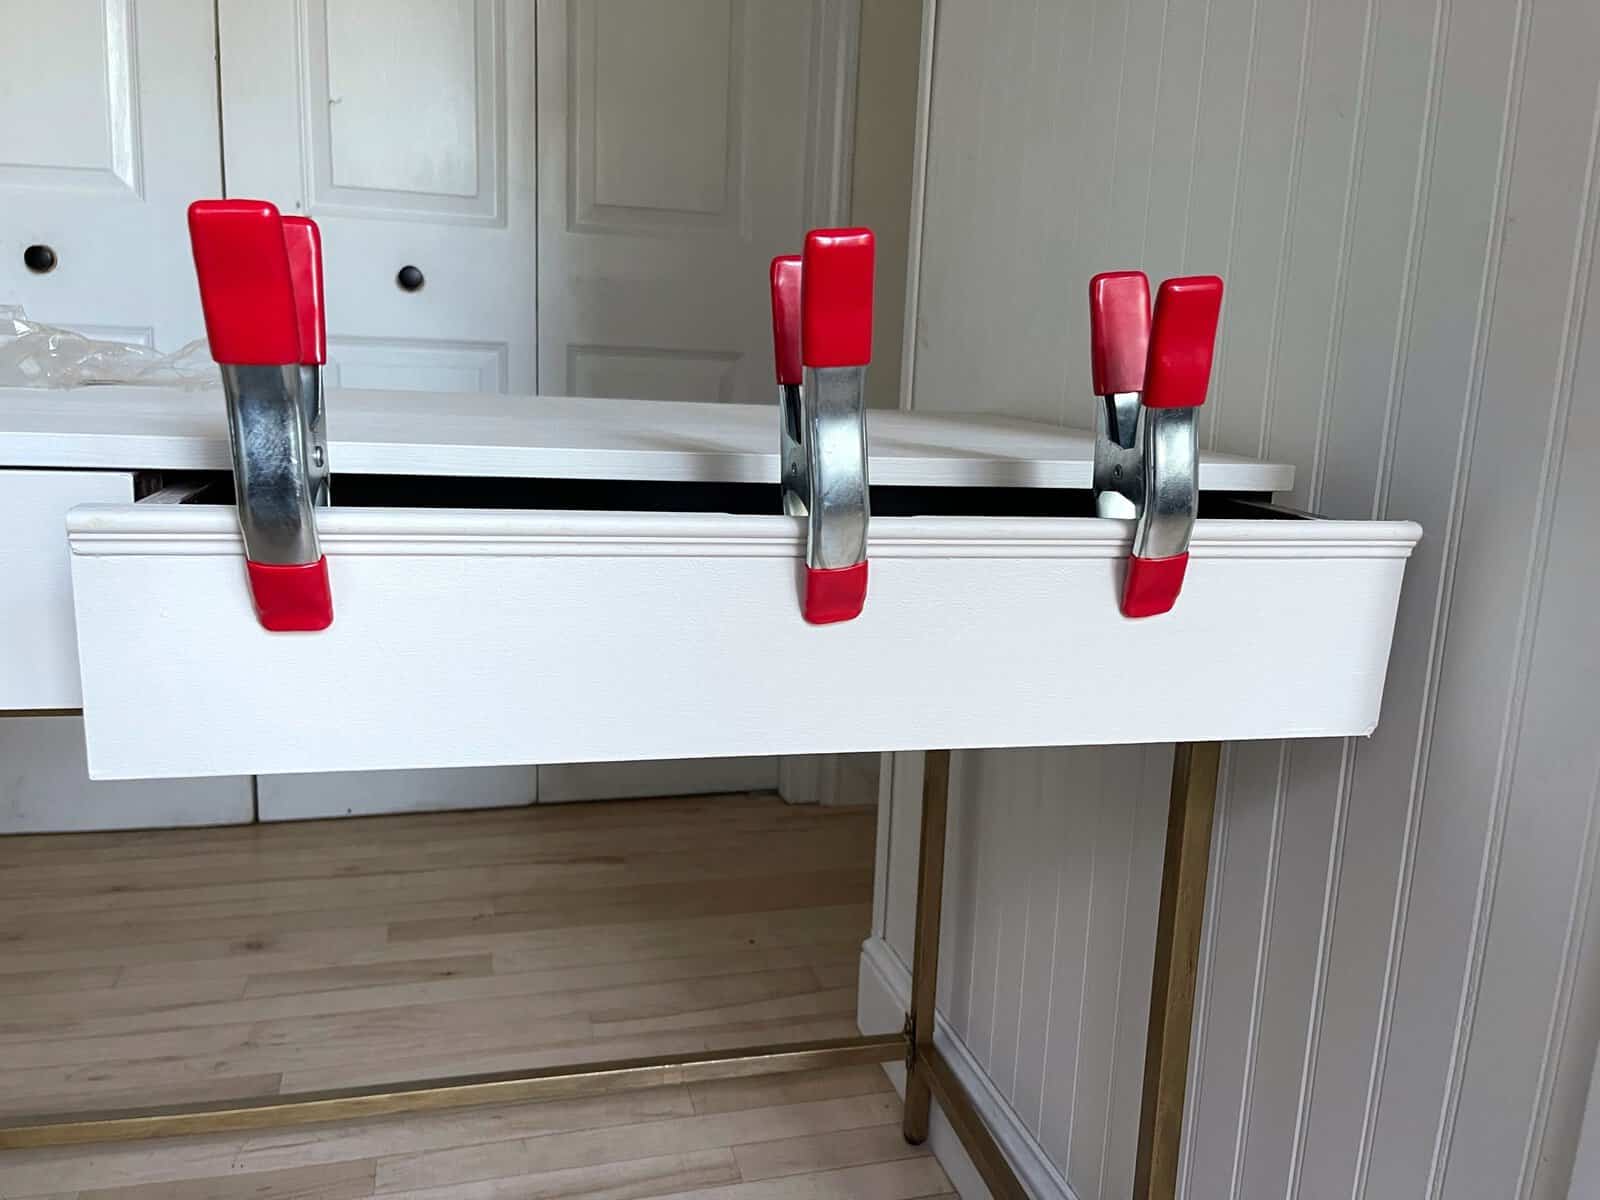
We clamped the molding onto the drawer fronts as the glue dried.
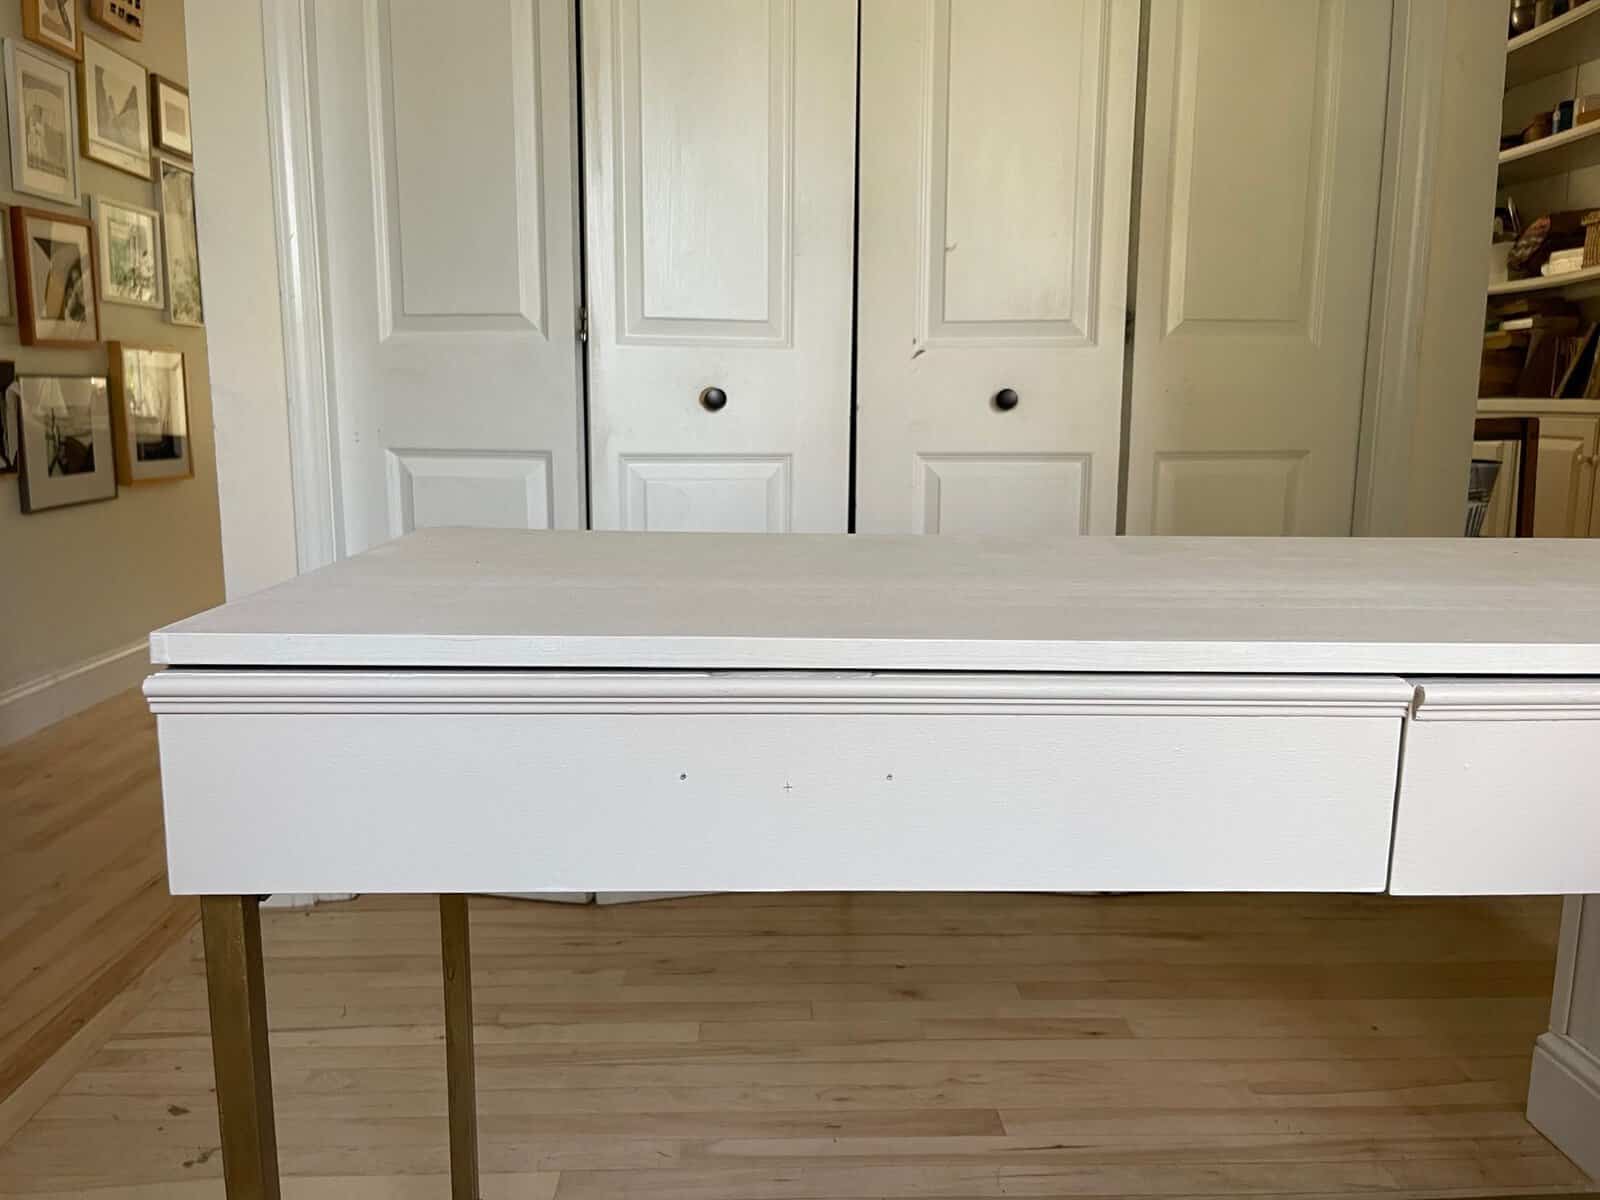
Add drawer handles. We measured several times to get the drawer hardware centered exactly where we wanted it to go. Then we took a deep breath and drilled the holes. Thankfully it was perfect!
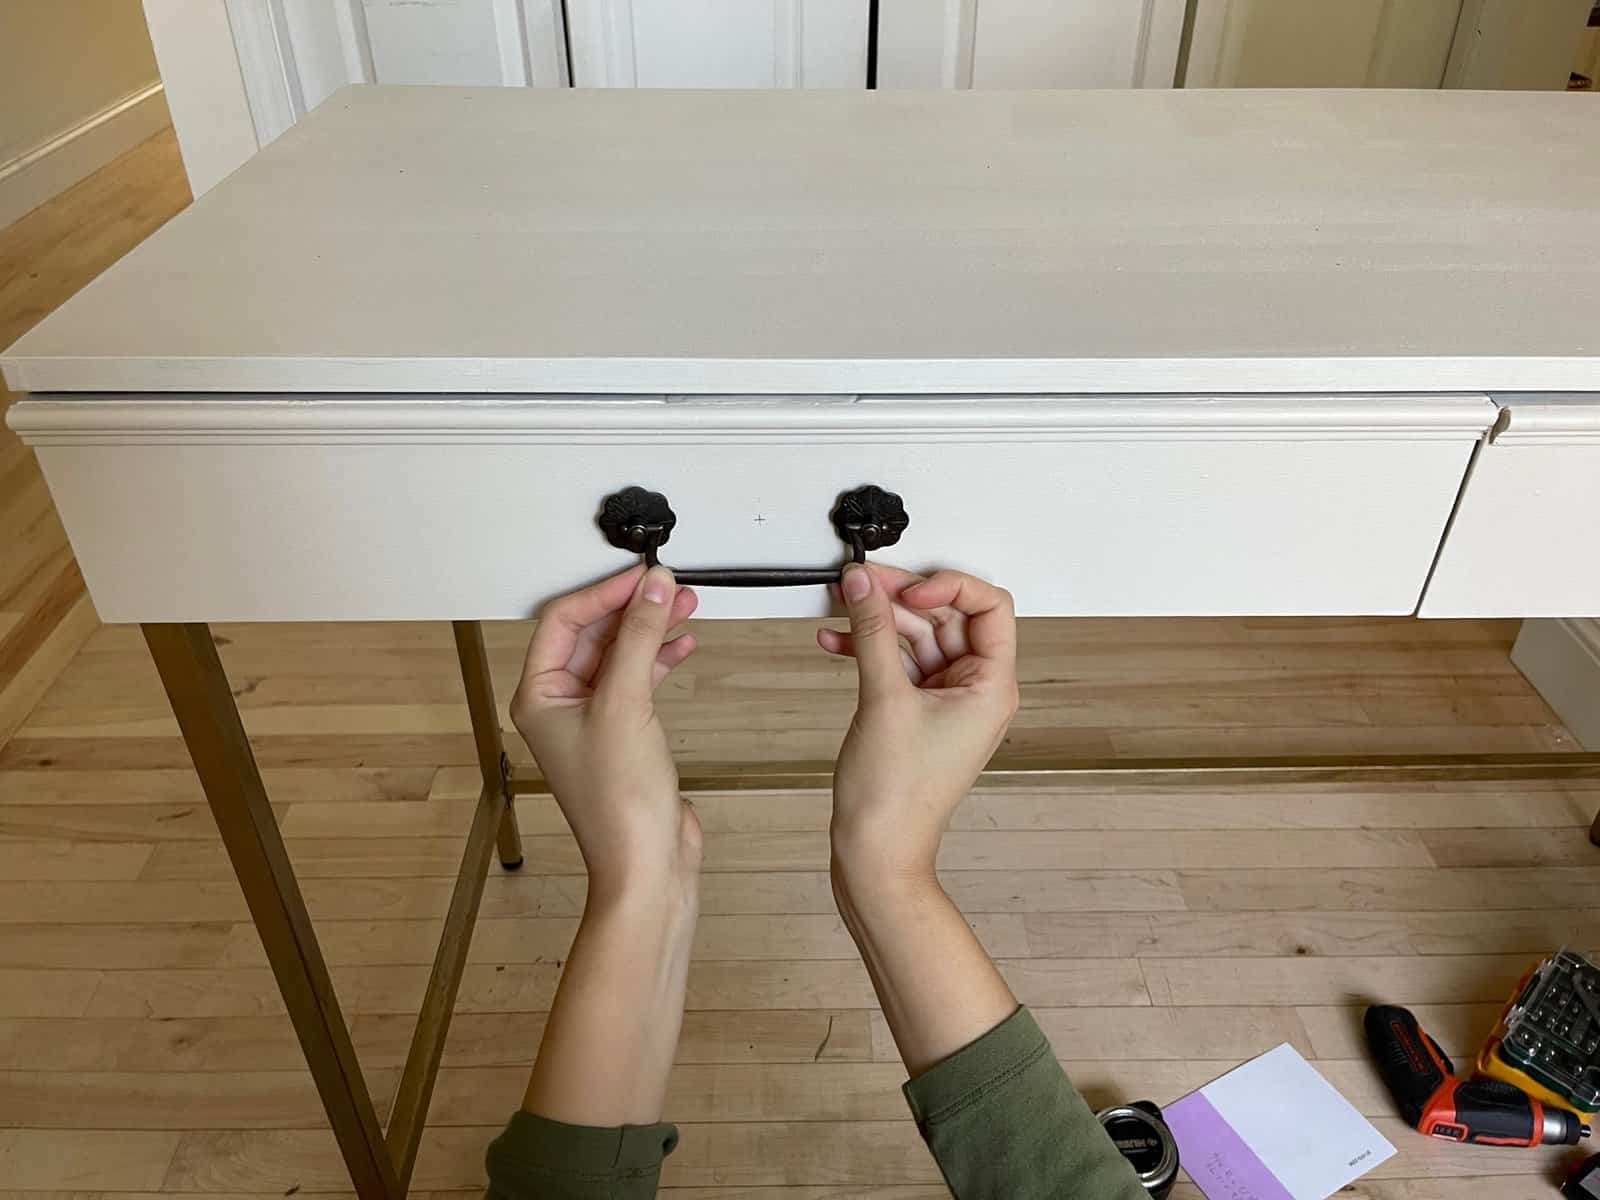
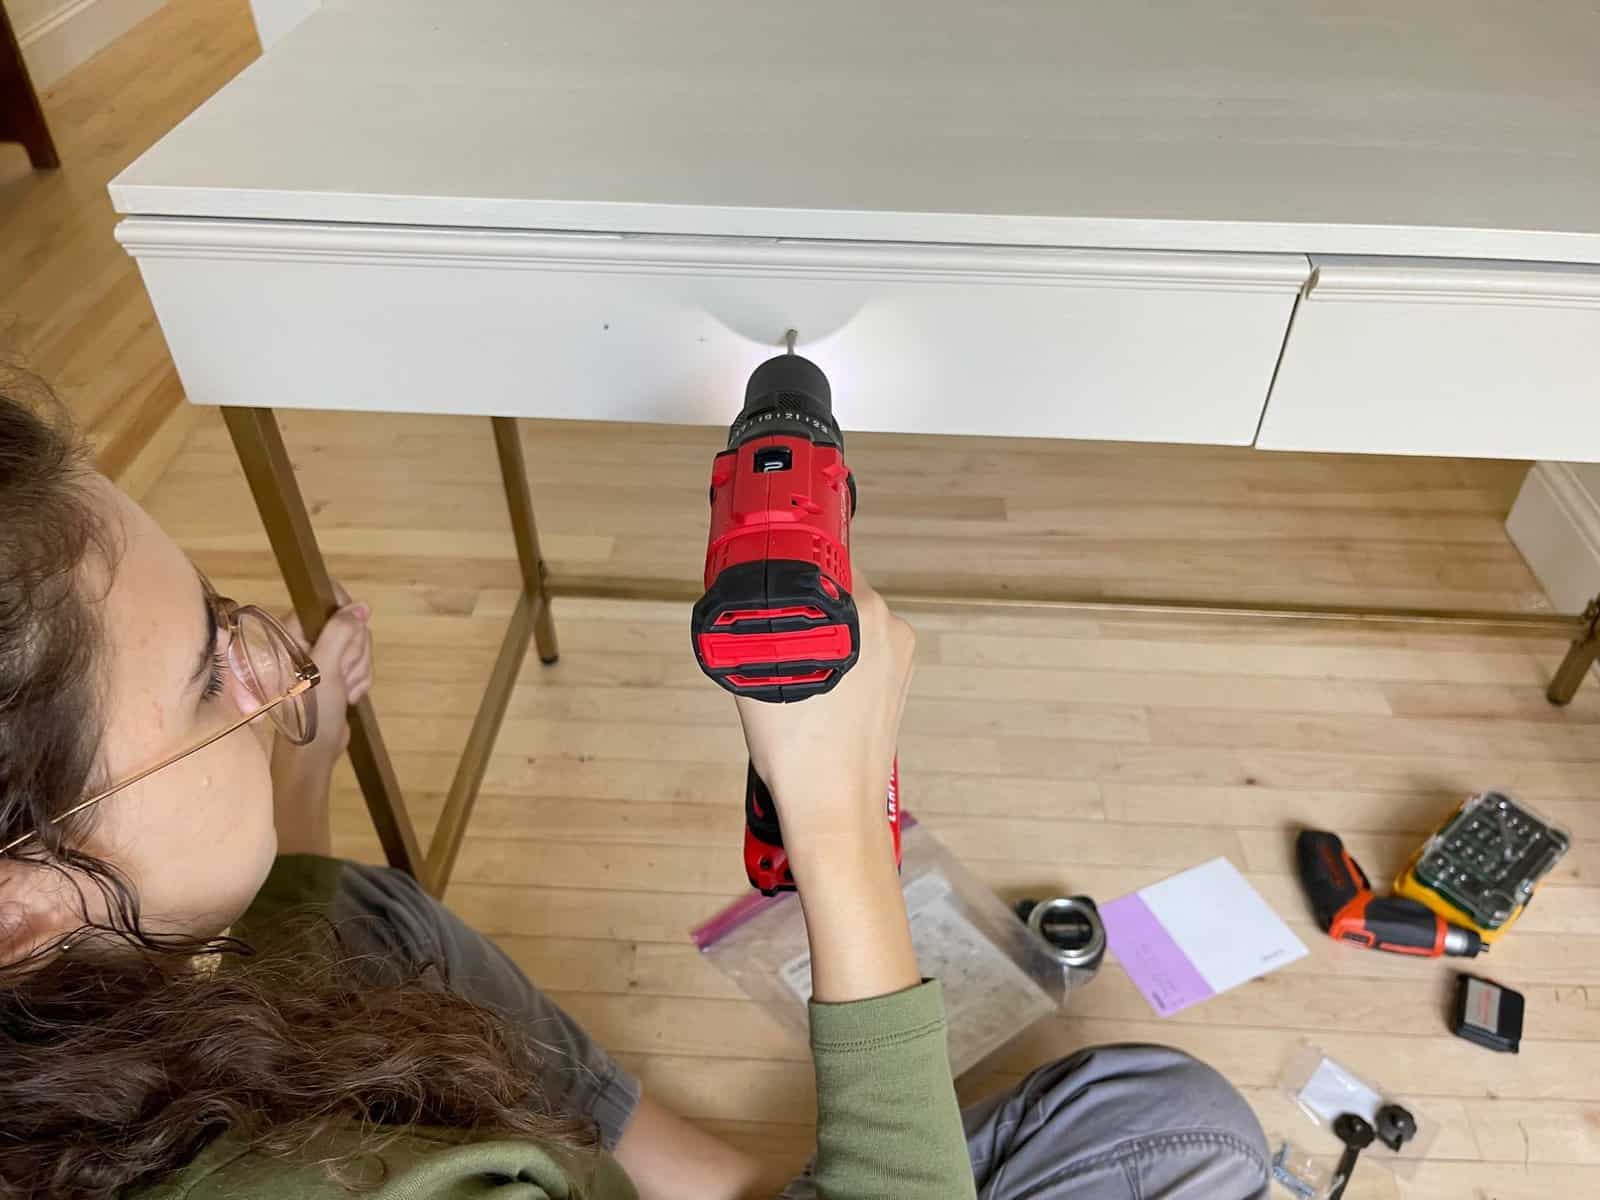
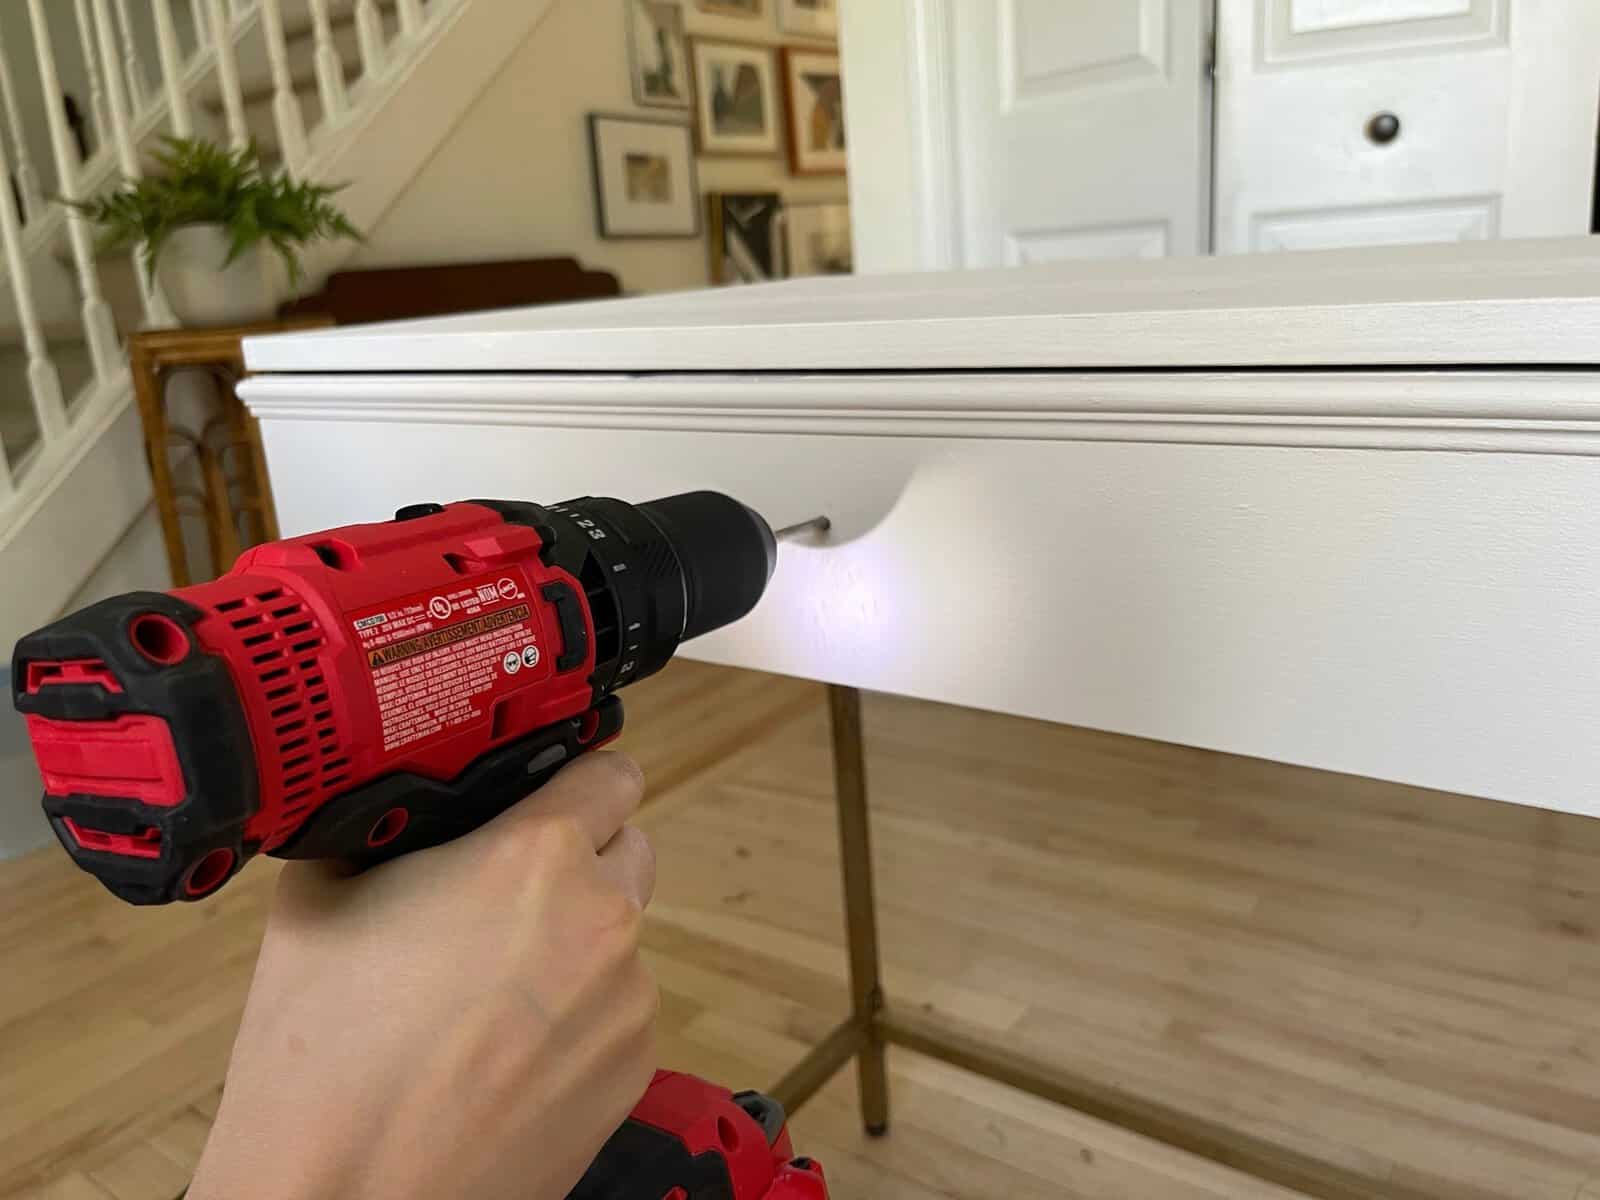
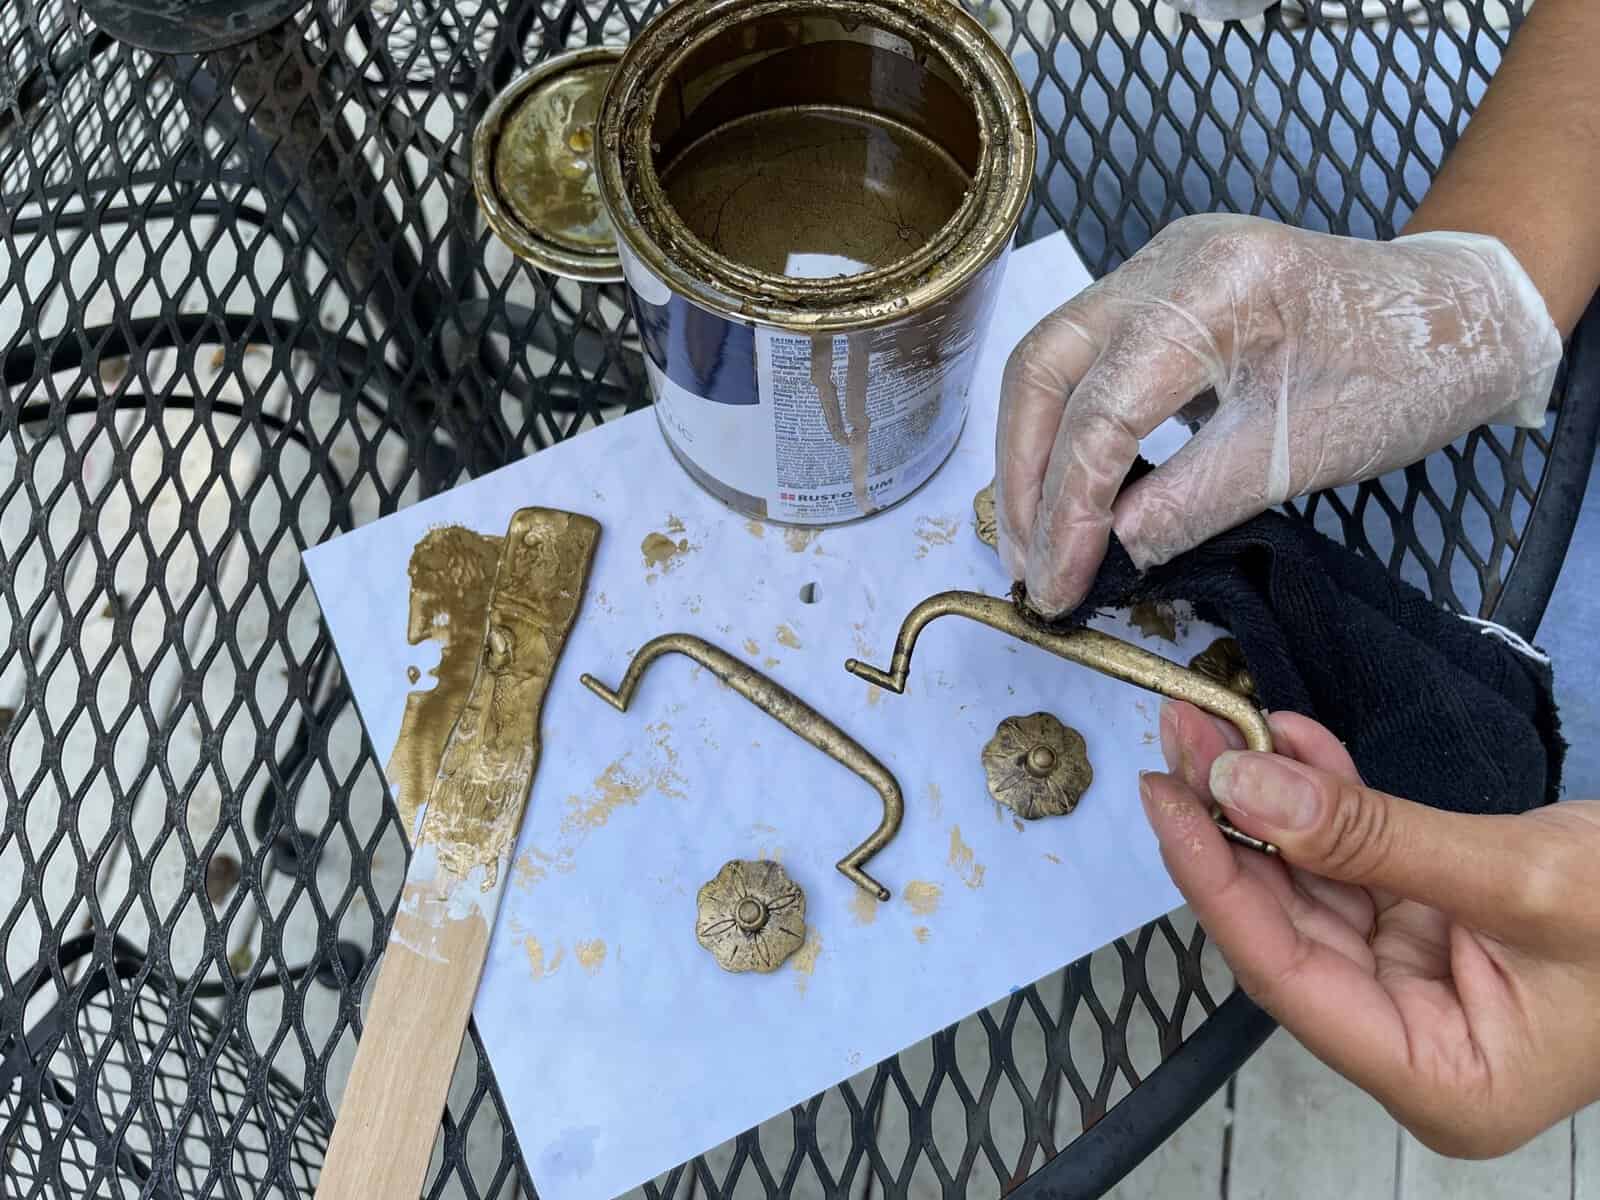
We gave our drawer handles an antique look by dabbing on oil based gold paint. I’ve had this paint for over a year now and just love using it in projects. It lasts forever and a little goes a long way.

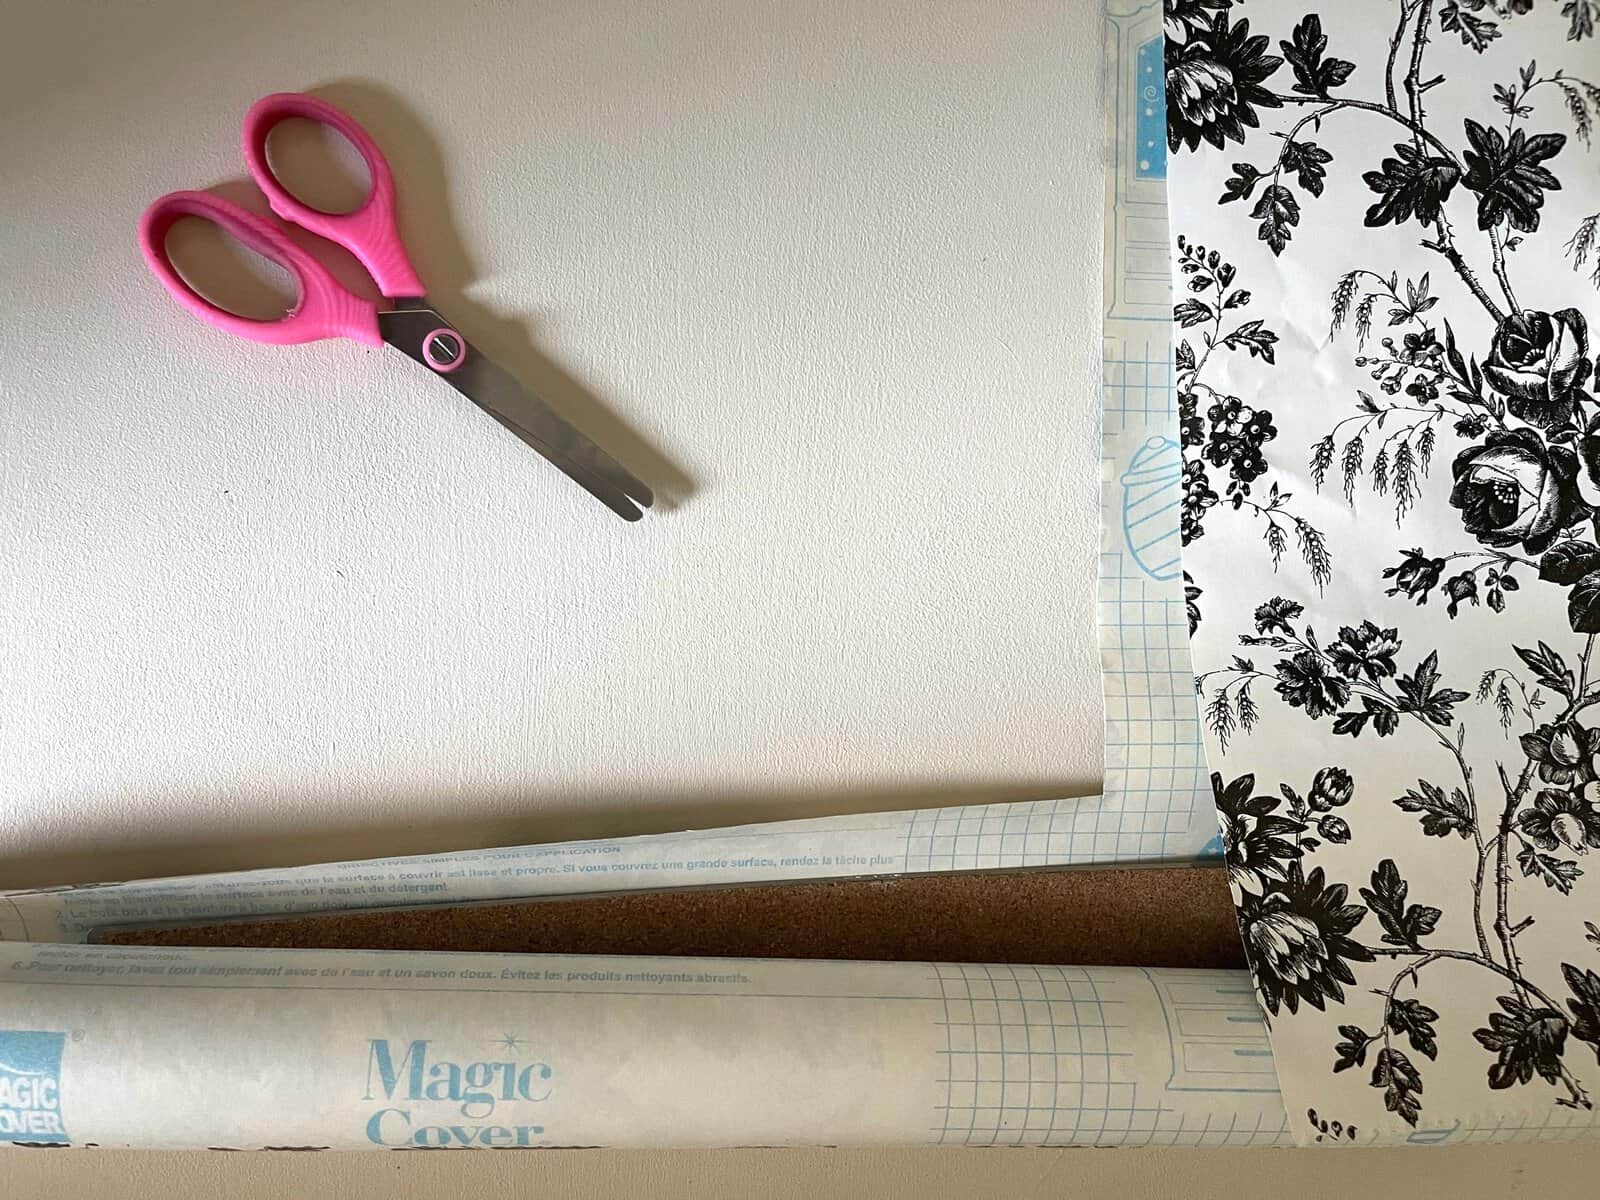
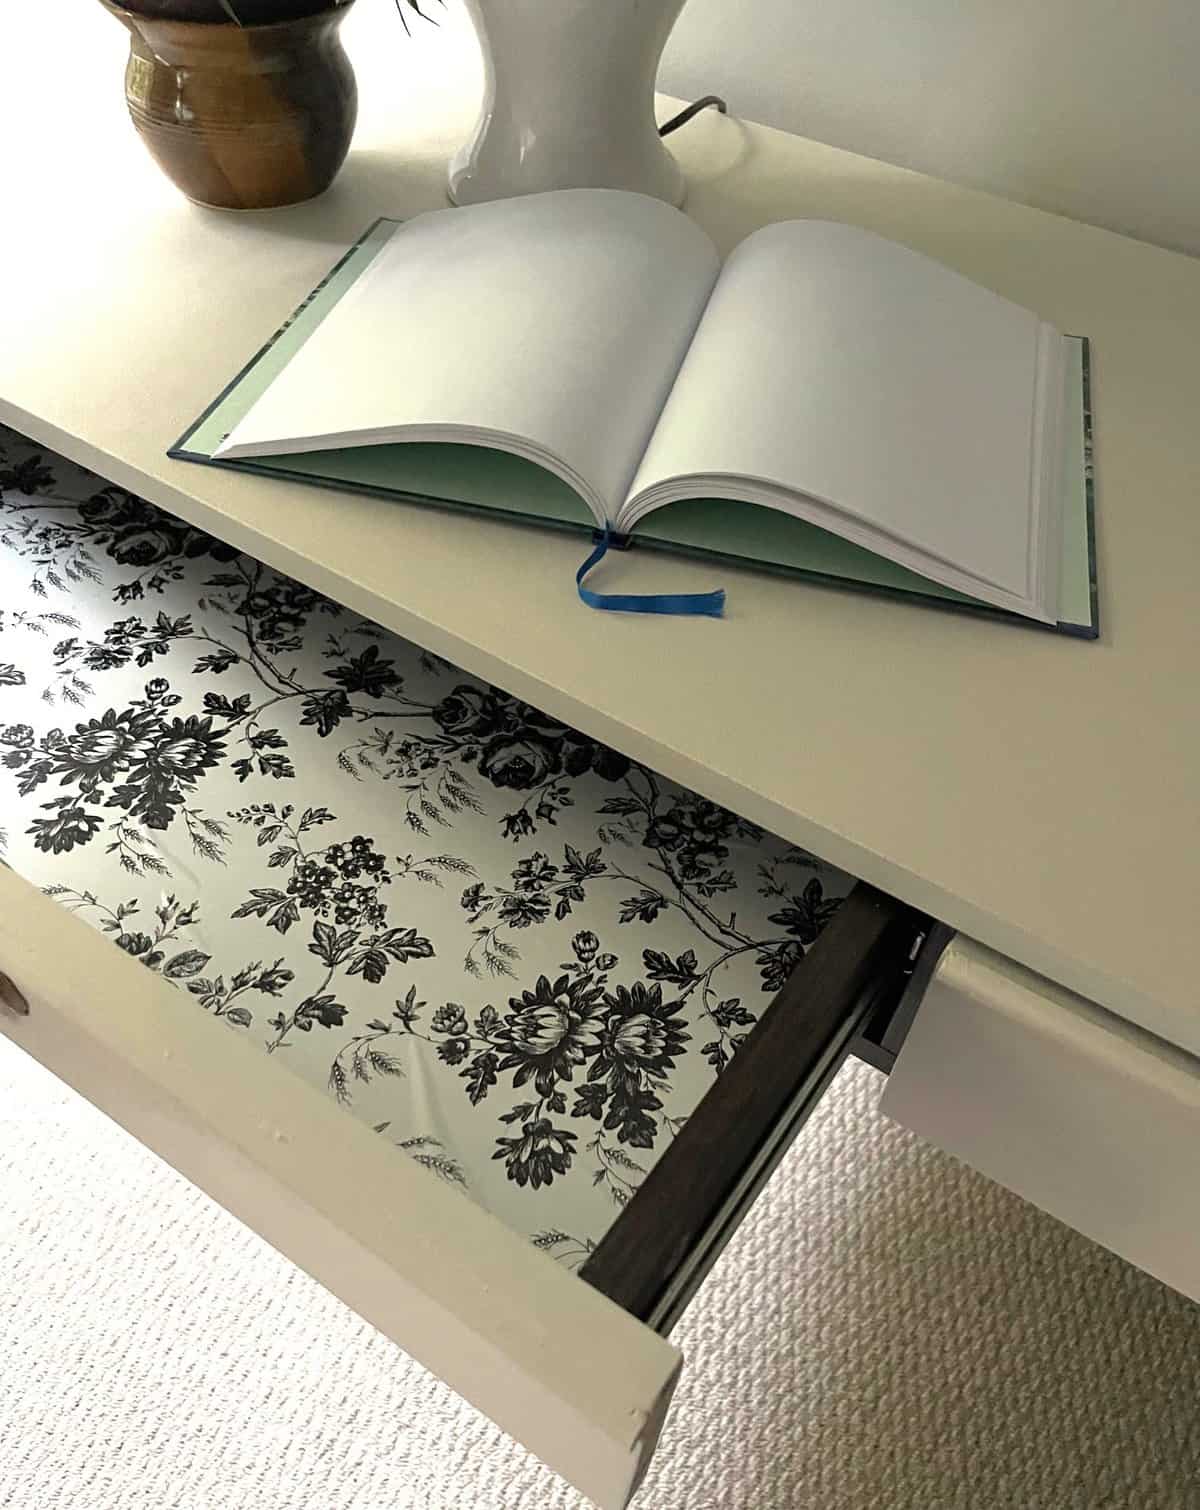
The last addition to this sweet little desk was adding lining to the inside of drawers.
This project turned out better than I had expected. So happy with this writing desk furniture flip!
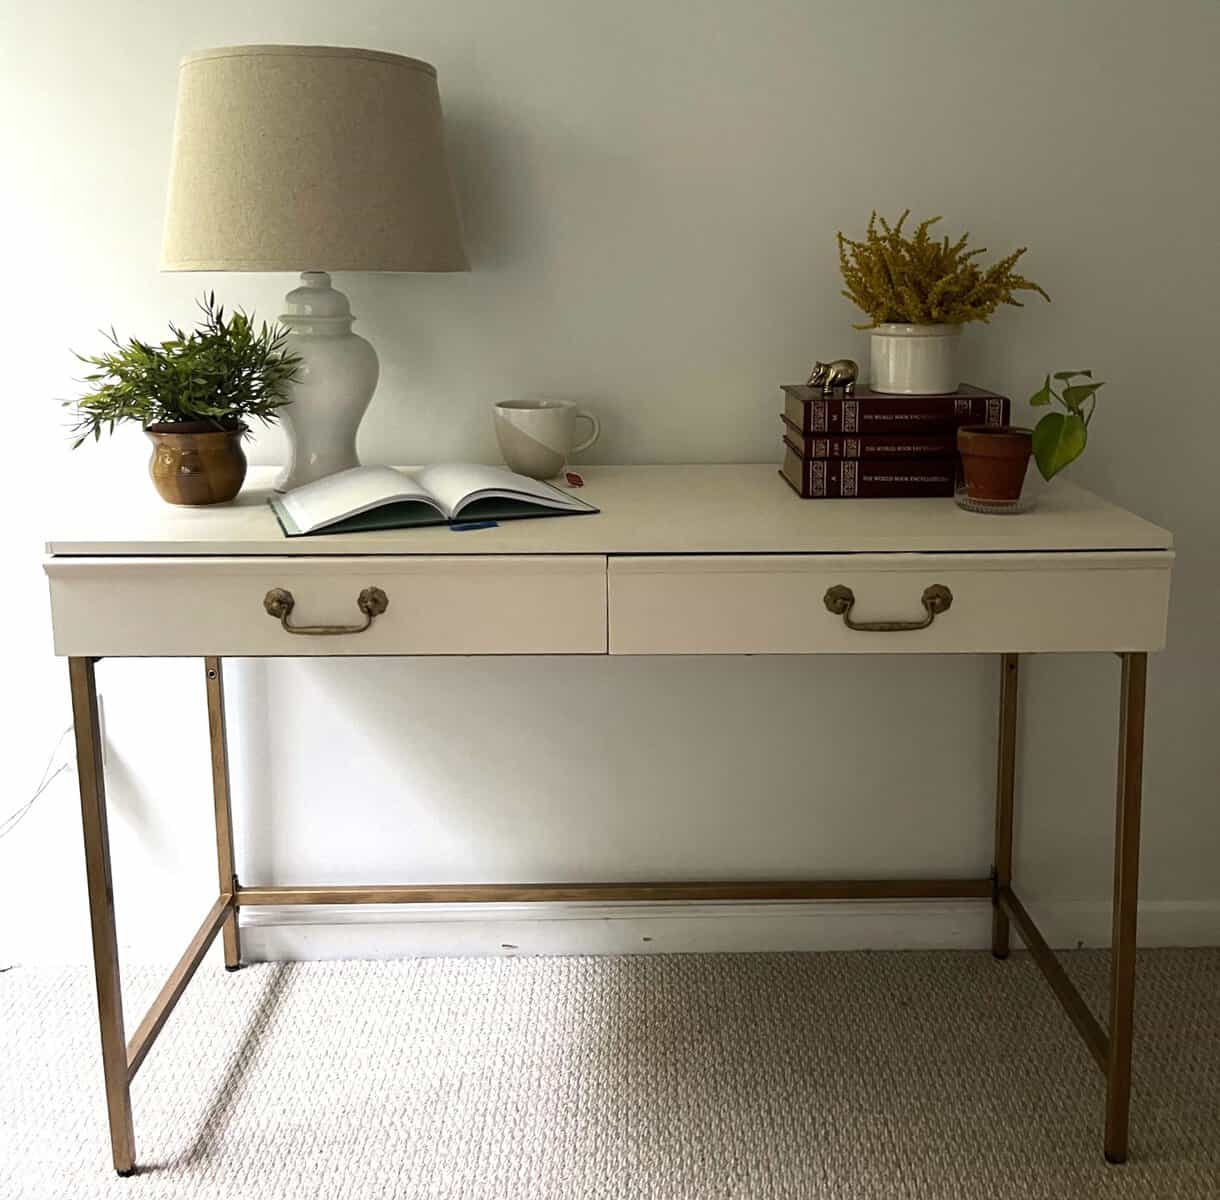
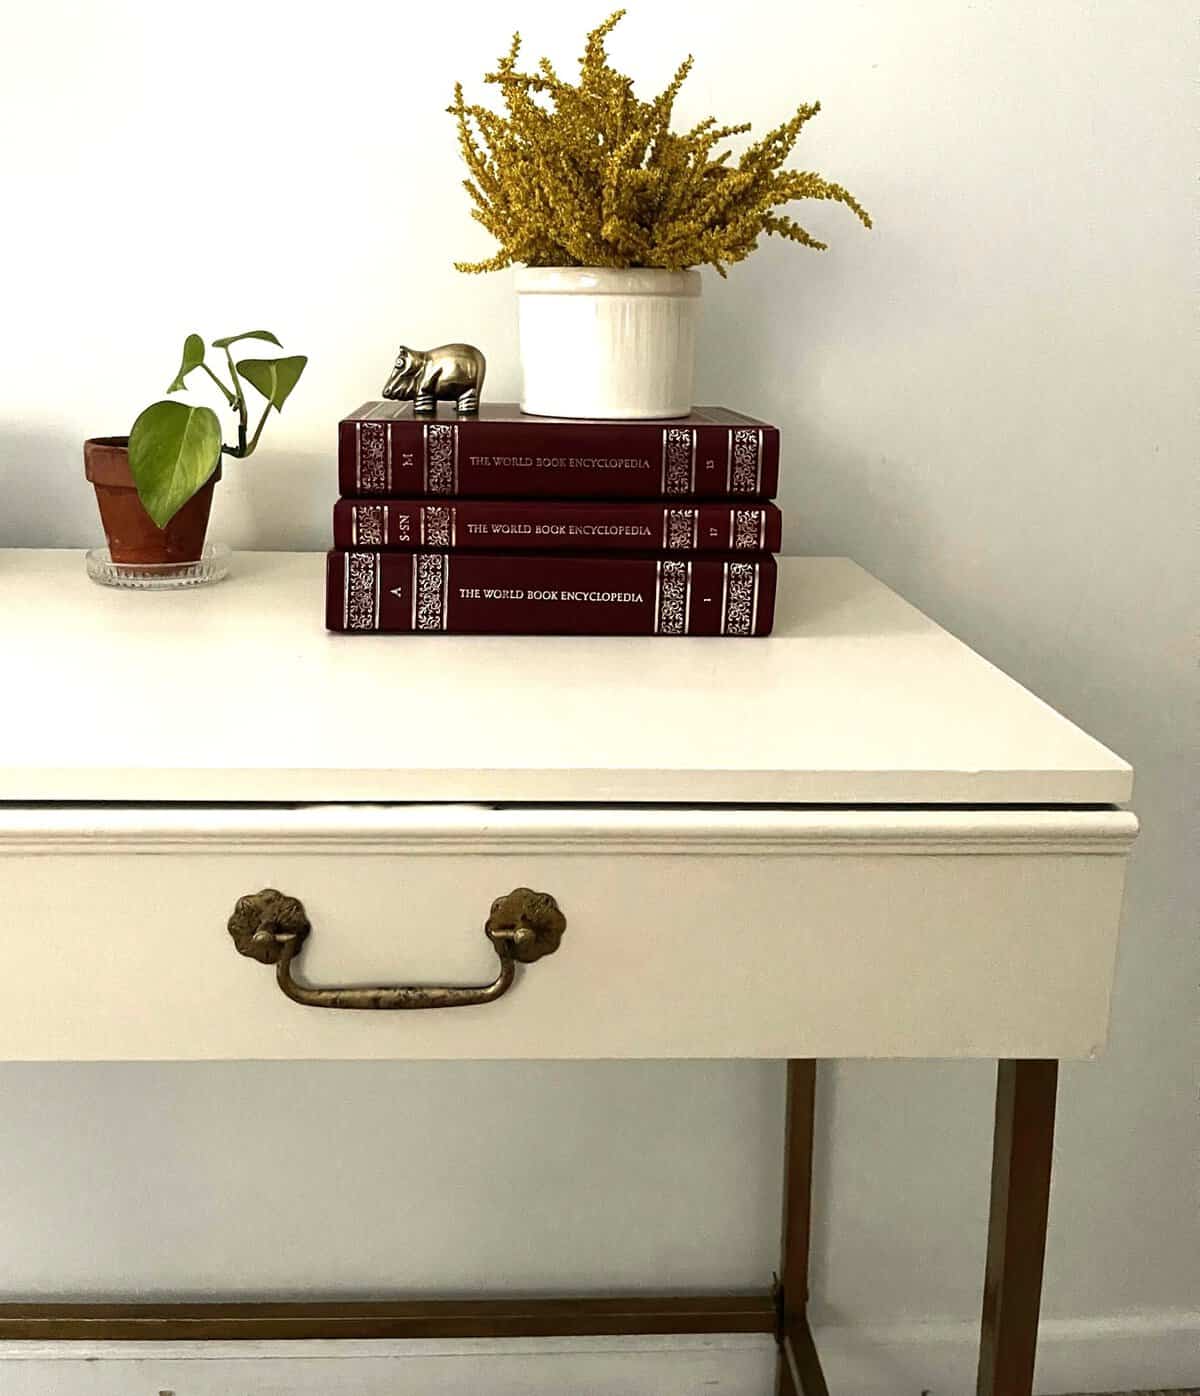

Since we got this desk for free and I used leftover paints the cost to transform this piece was very little.
- Molding $5
- Drawer hardware $10
- Drawer liner $2
Total $15. Not bad!
Who doesn’t love a great budget furniture flip?
Here’s a great Before and After to celebrate keeping furniture out of our landfills. Being able to envision what a piece can be is important to being a
1 / 2 / 3 / 4 / 5 / 6 / 7 / 8 /
What do you think about the makeover this little desk got? Let me know in the comments!

SAVE IT & PIN IT
(Hover over the image and save to Pinterest)






Great makeover and isn’t it great to open the drawers and see pretty paper? Pinned!
Wow! What an amazing transformation! Most people would have left that desk out on the curb for trash pick-up, but you saw the beauty in it! I love the new look! It is perfect for your daughter’s new bedroom!
You have a great eye! Such a pretty, elegant desk. I love those handles!! I had wanted to use similar in our kitchen.
Thanks Marie, we found them at Menards!