Today I’m so happy to join some talented blogger friends for the 14 Days of Christmas Blog Hop. We’re all sharing Christmas cheer and inspiration!
I knew exactly what I wanted to try when I heard about this Christmas blog hop. Orange slice ornaments!
Simple Dried Orange Slice Ornament Craft
Dried orange slices have been around for a long time, but recently they’ve been popping up everywhere. I love seeing this old tradition find new legs.
Last year we gave it a try, but our oven runs hot and I forgot this fact. Needless to say, the oranges didn’t make the decor cut that year. This year I set the timer and doted on those little darlings. They turned out perfectly.
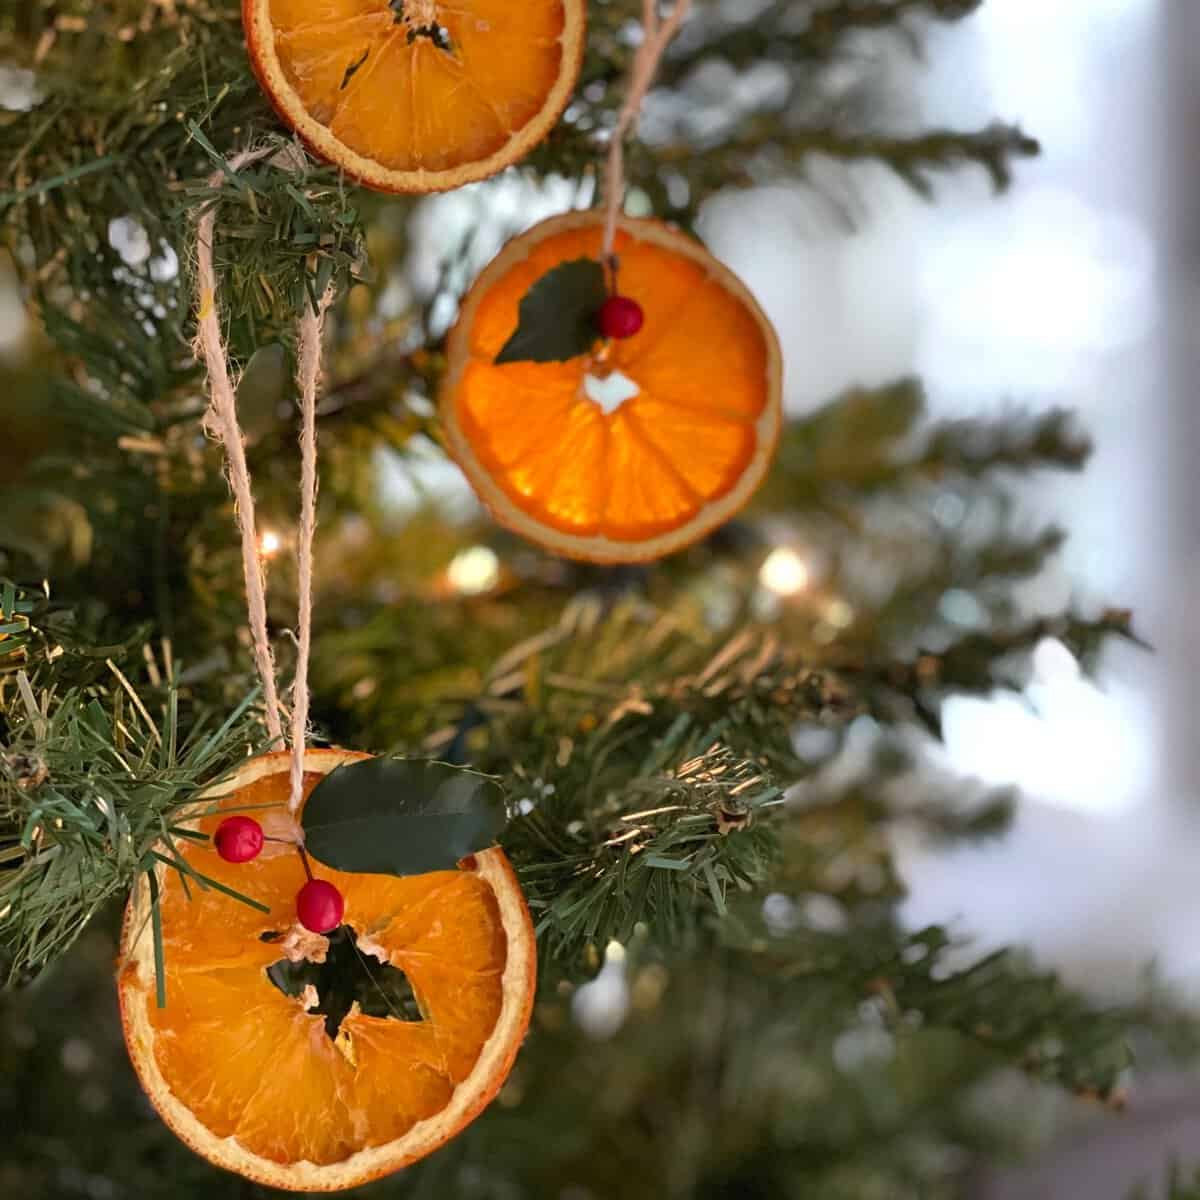
Here’s How I Made the Dried Orange Slice Ornaments
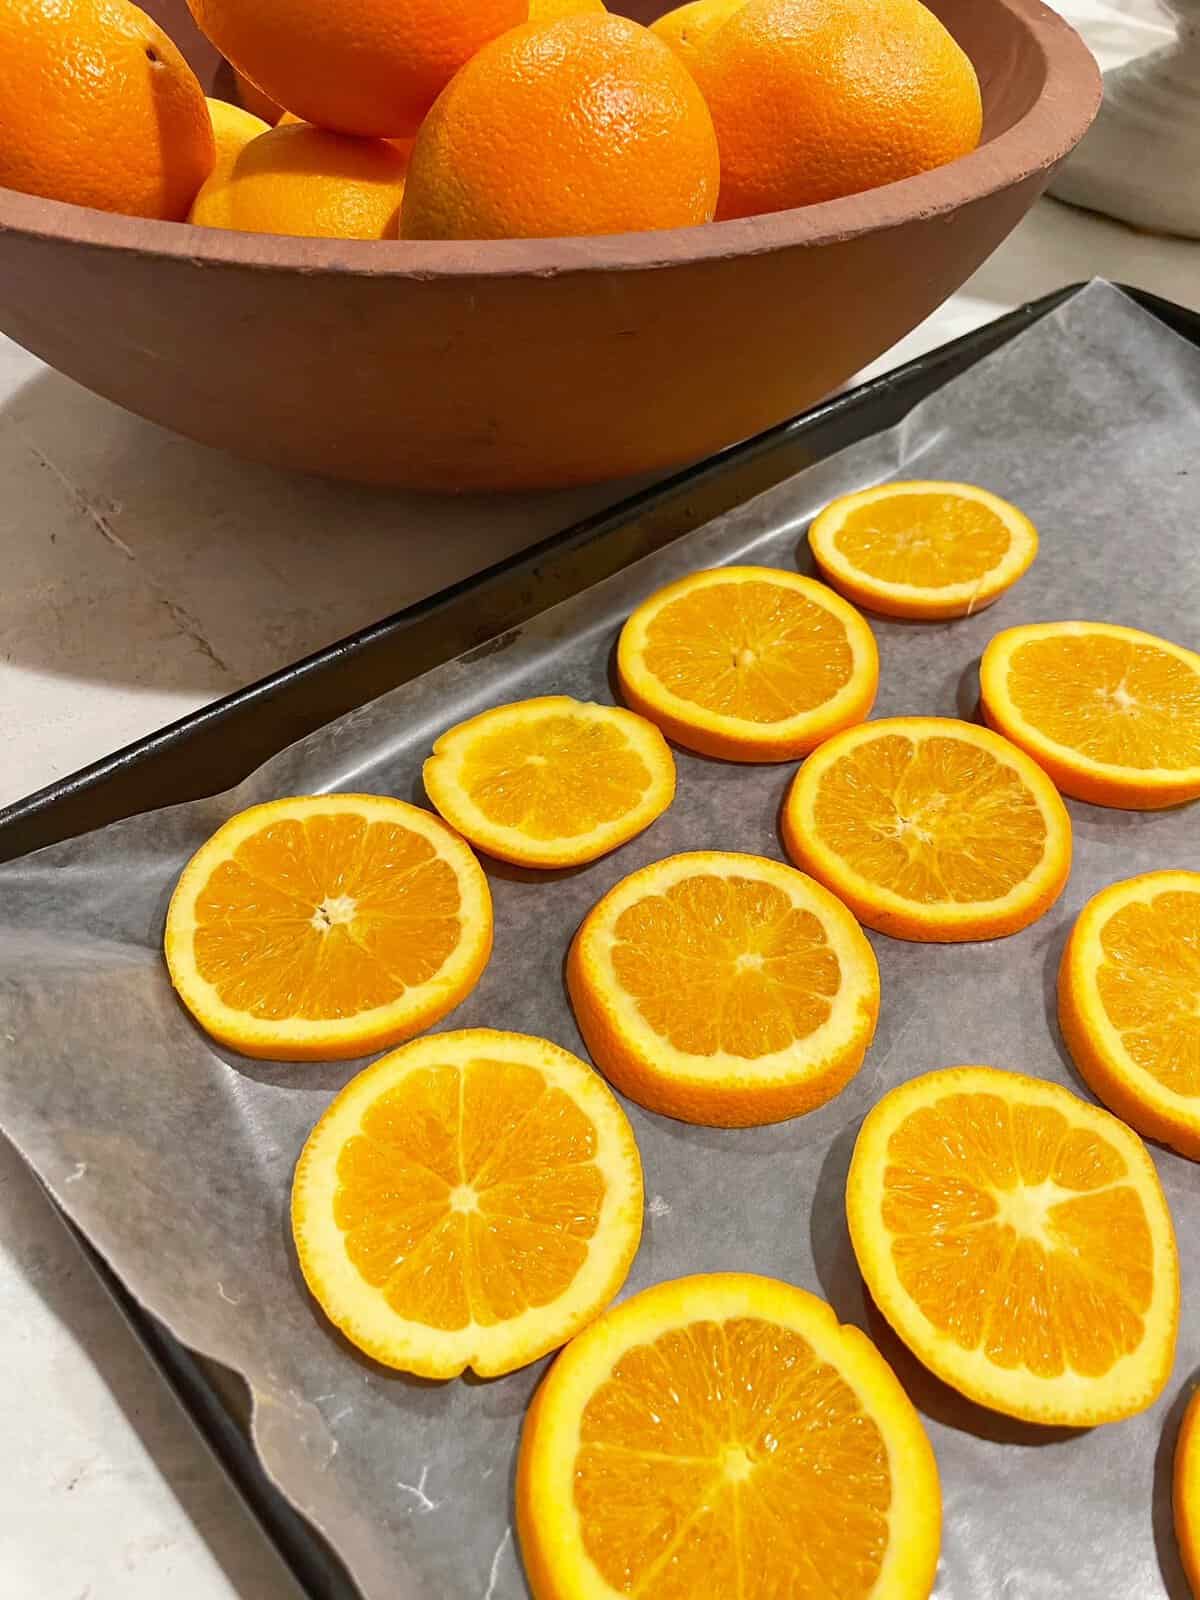
Slice oranges into 1/8″ -1/4″ slices.
Take a rag or paper towel and dab the oranges to remove their juices and speed up the drying process.
Place the orange slices on a cookie sheet with wax paper. If you put them on a wire rack the metal may heat too much and leave marks on your oranges.
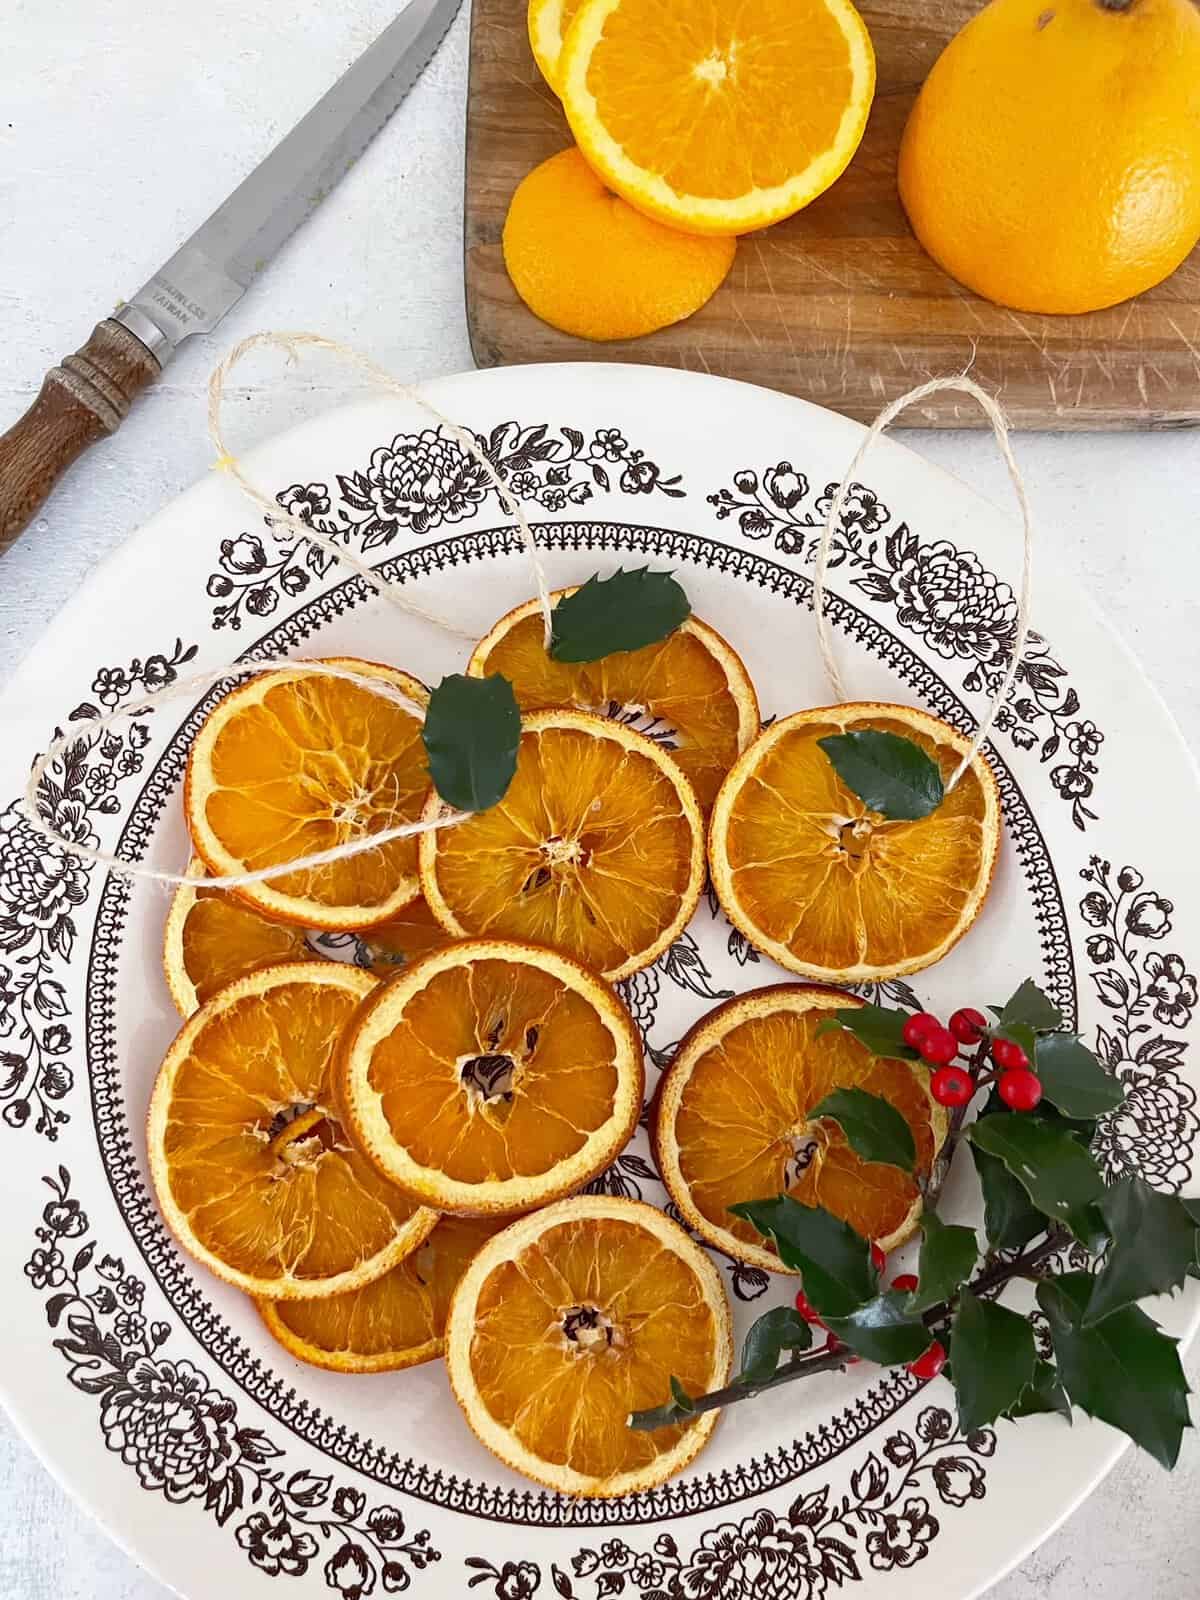
I baked our orange slices at 200 degrees for about 4 and a half hours. Turning them over every half hour or so helps to keep the peel from burning. The smaller the orange slice the faster it dries out so I took the tiny ones out before the larger slices.
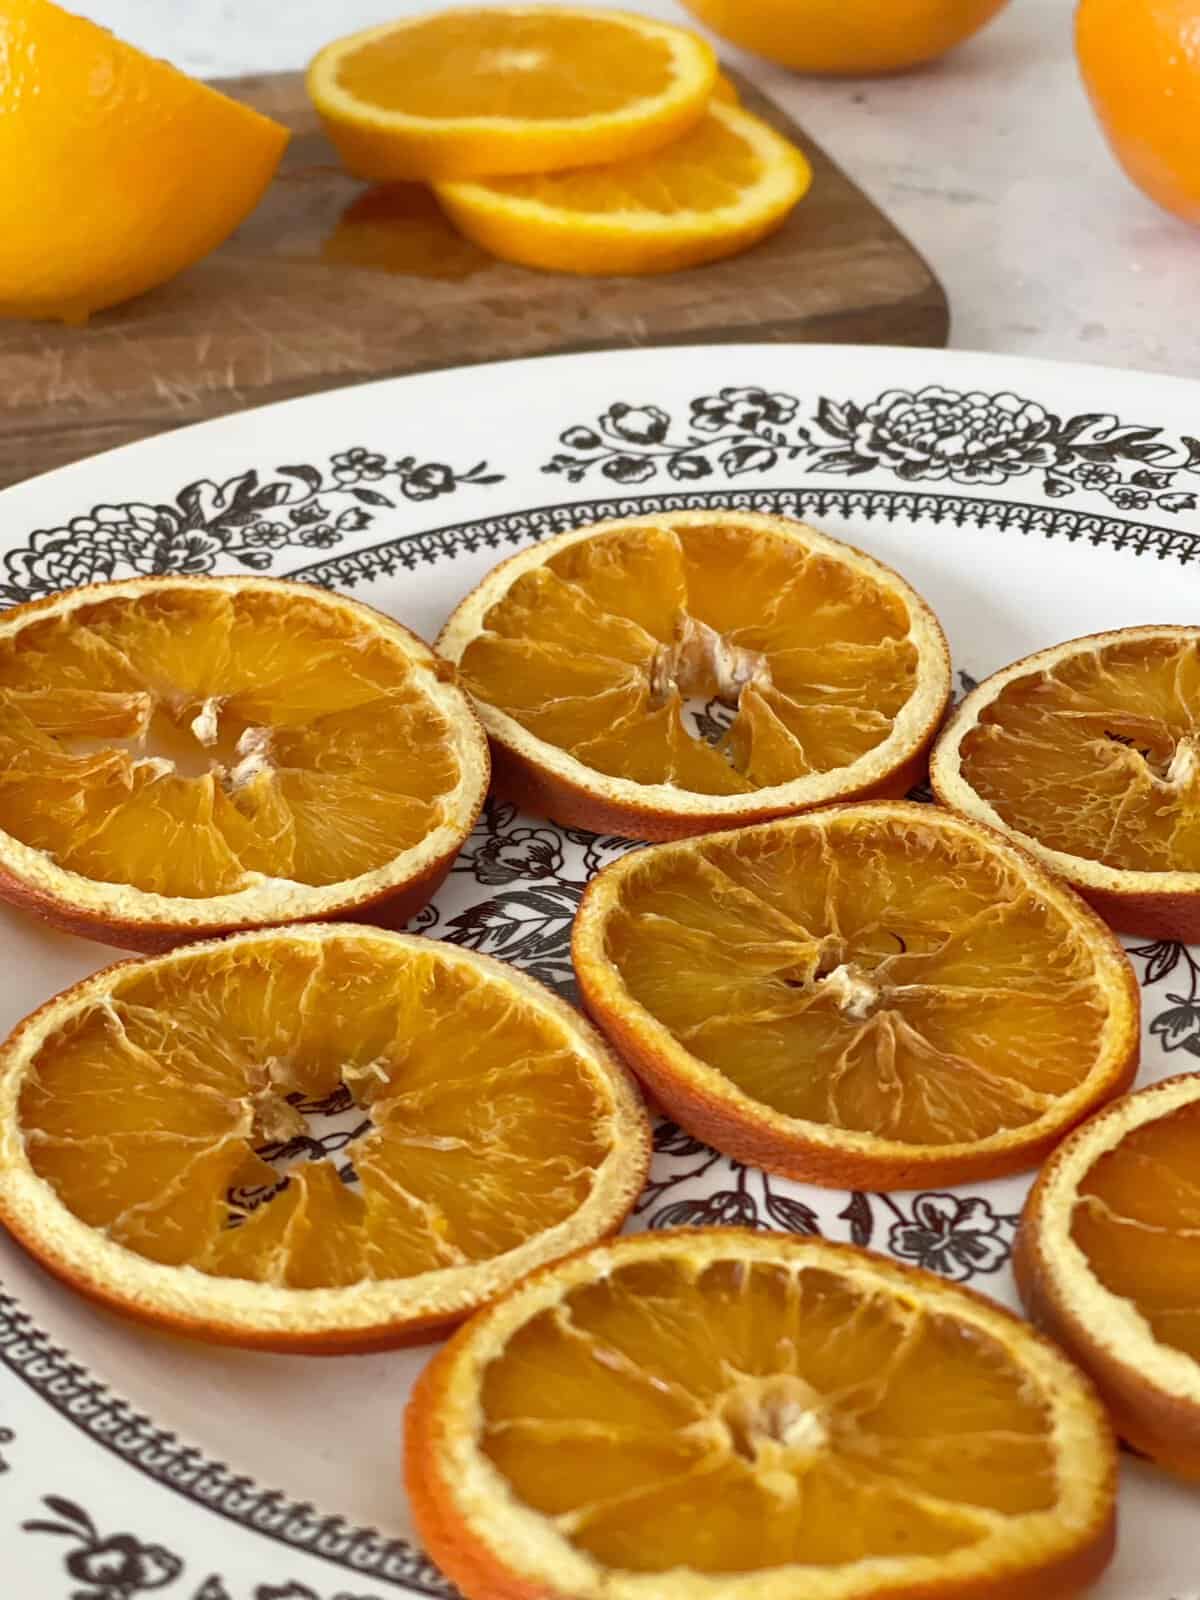

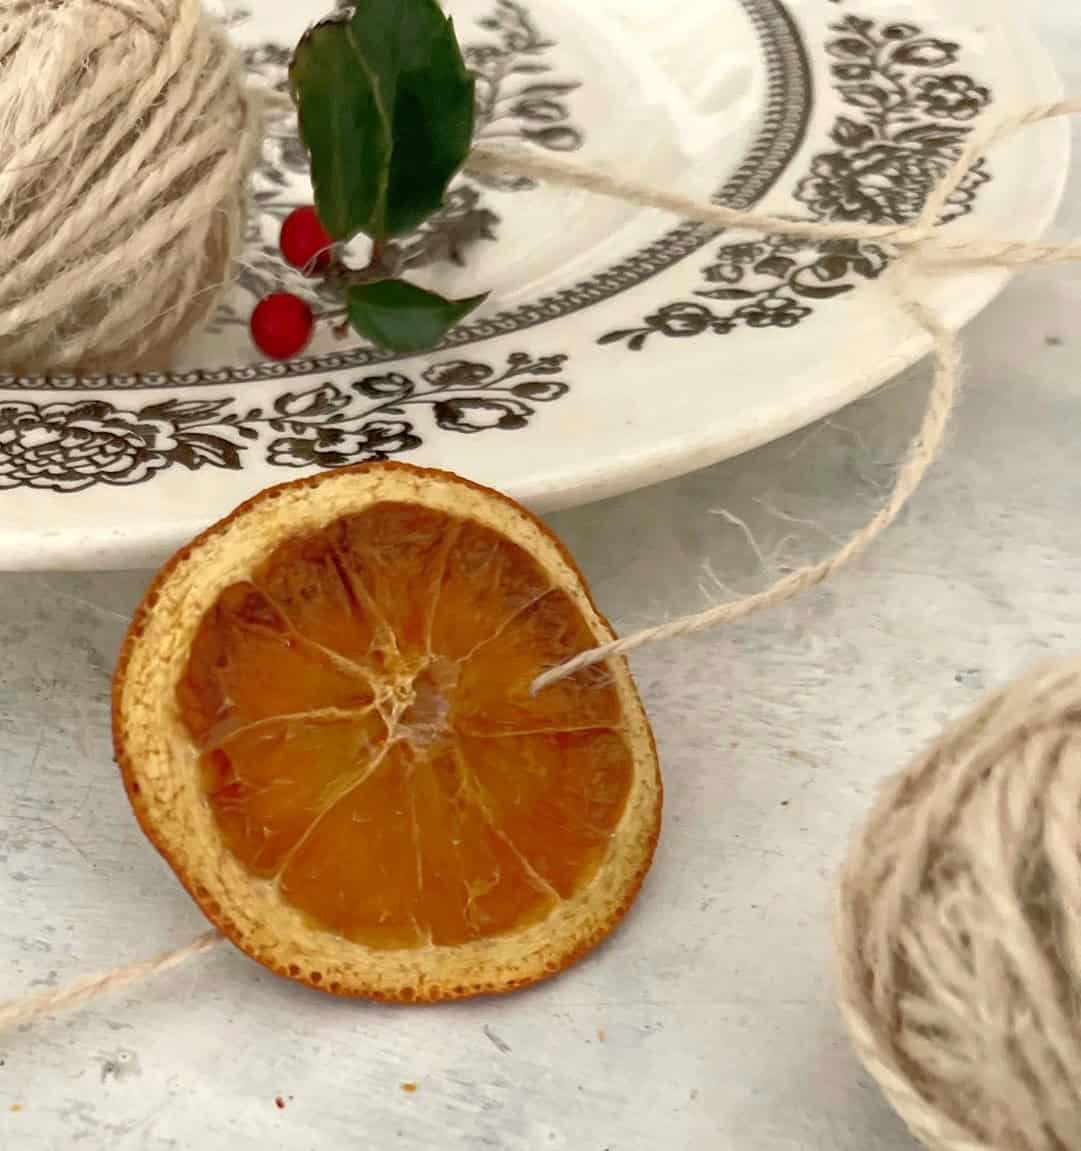
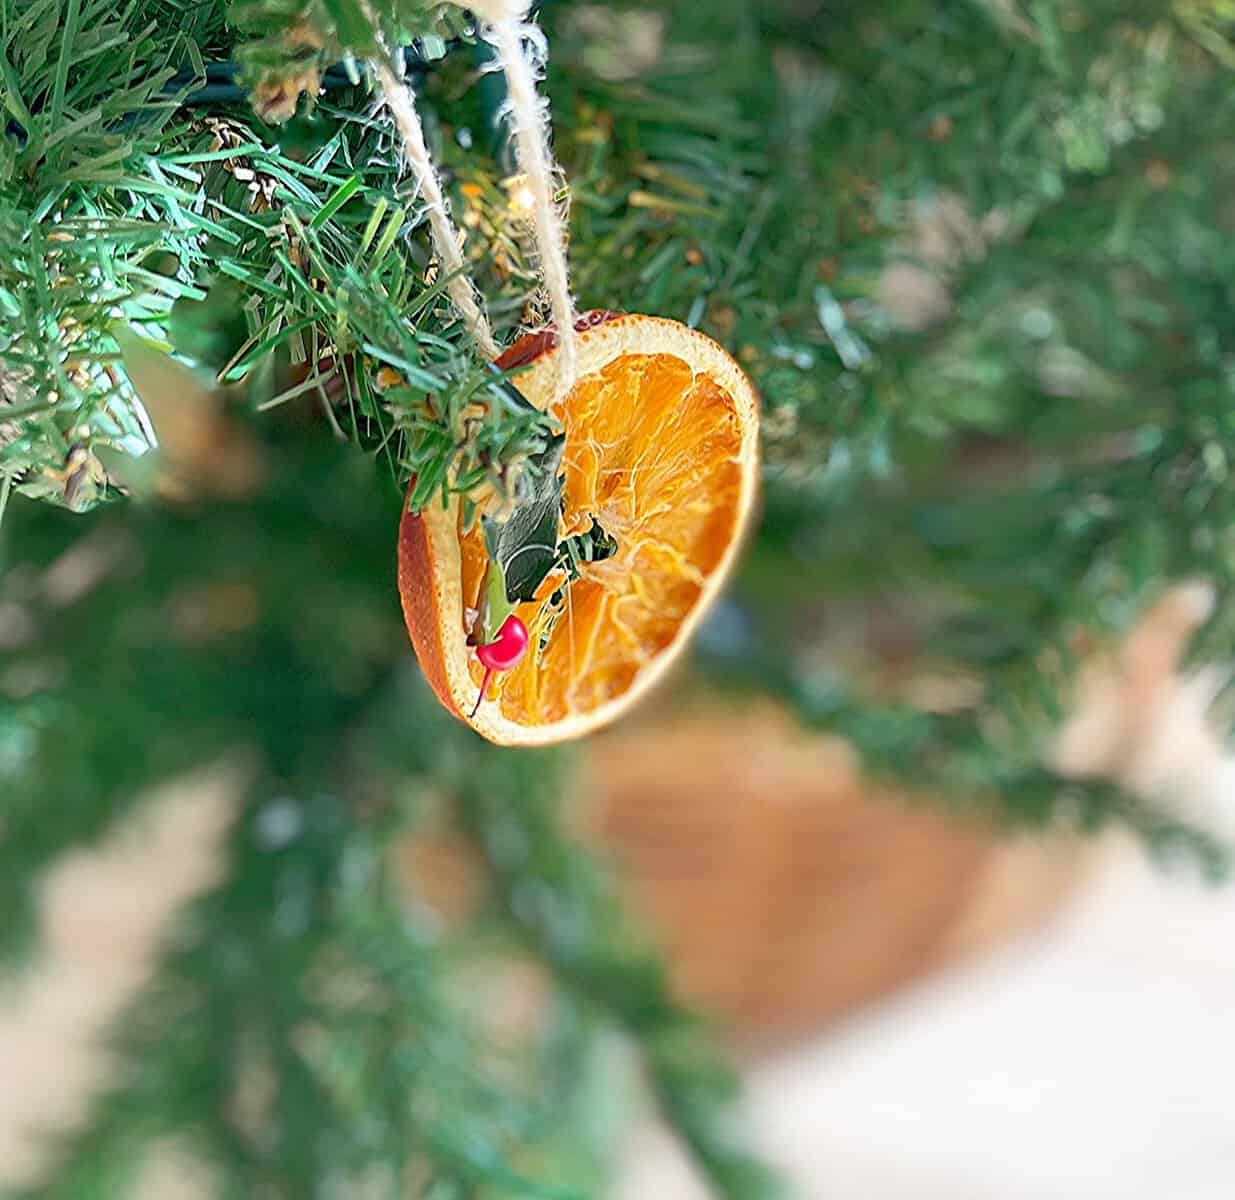
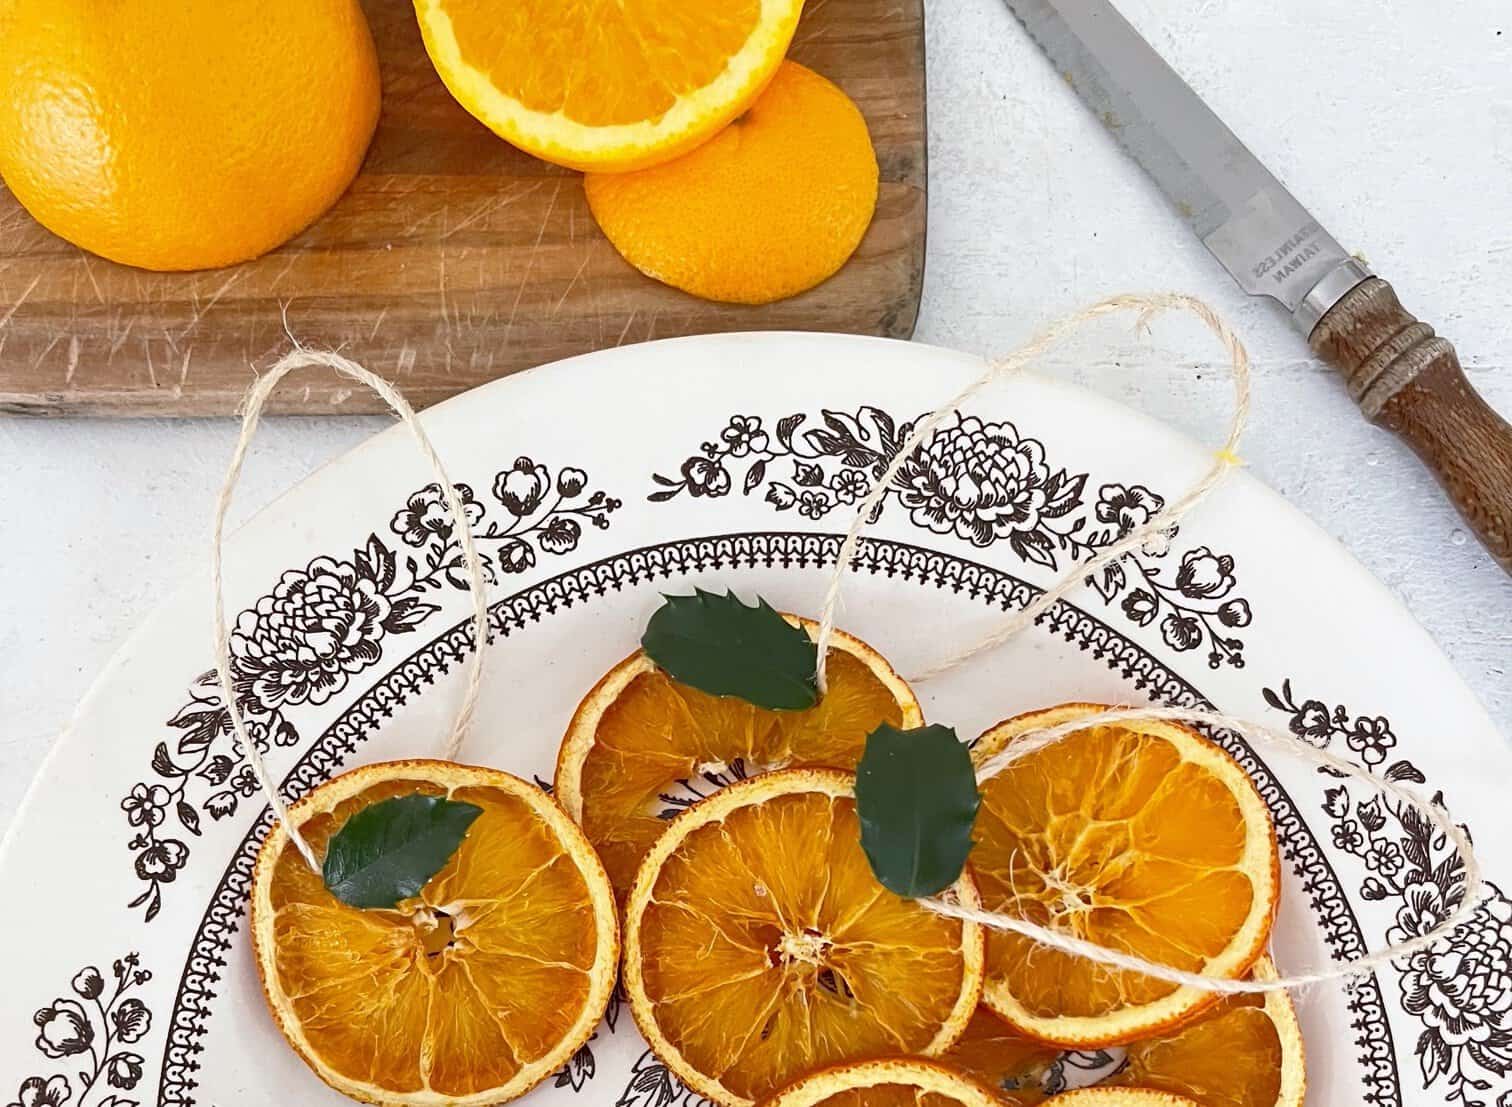
Once dried, take the tip of a knife or scissors and poke a hole in the orange so you can slide a string through it to hang your dried orange slice ornament.
I used twine and then pushed it into the hole with the tip of the knife.
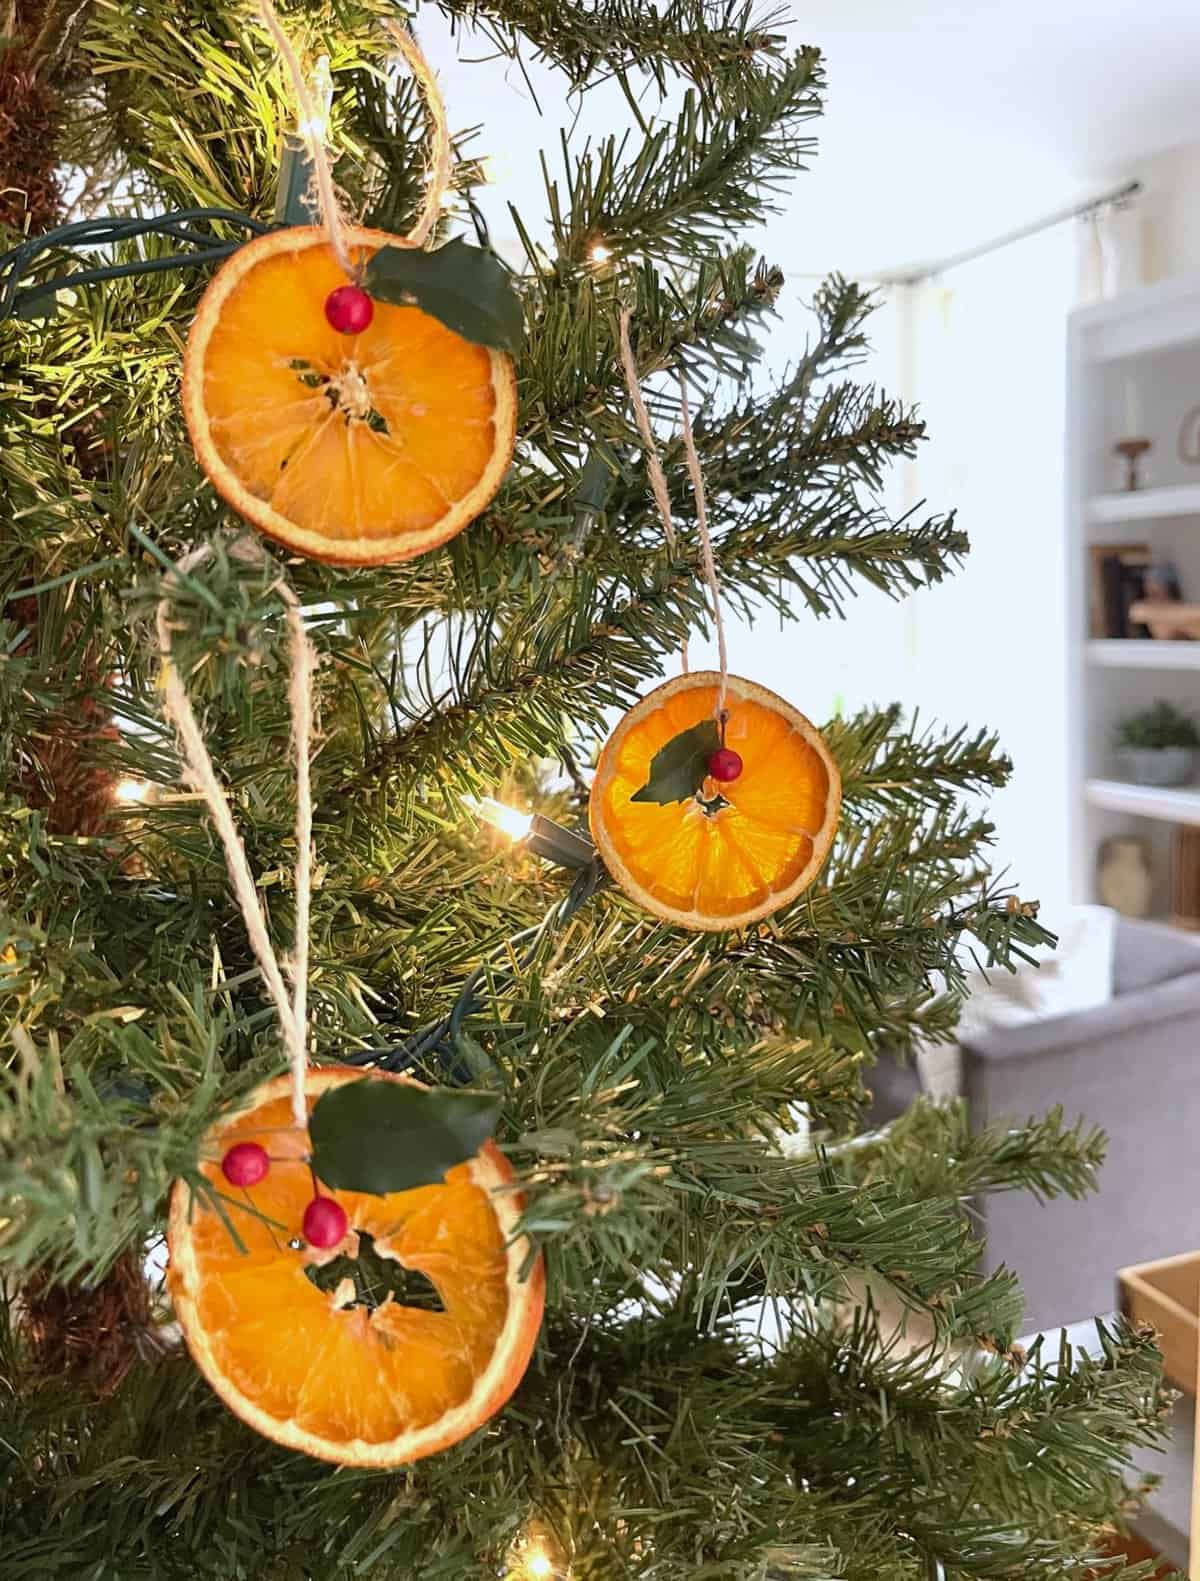
We got a little extra and hot glued some fresh holly on a few of the orange slices. The bright orange against the green is so beautiful, I just love it.
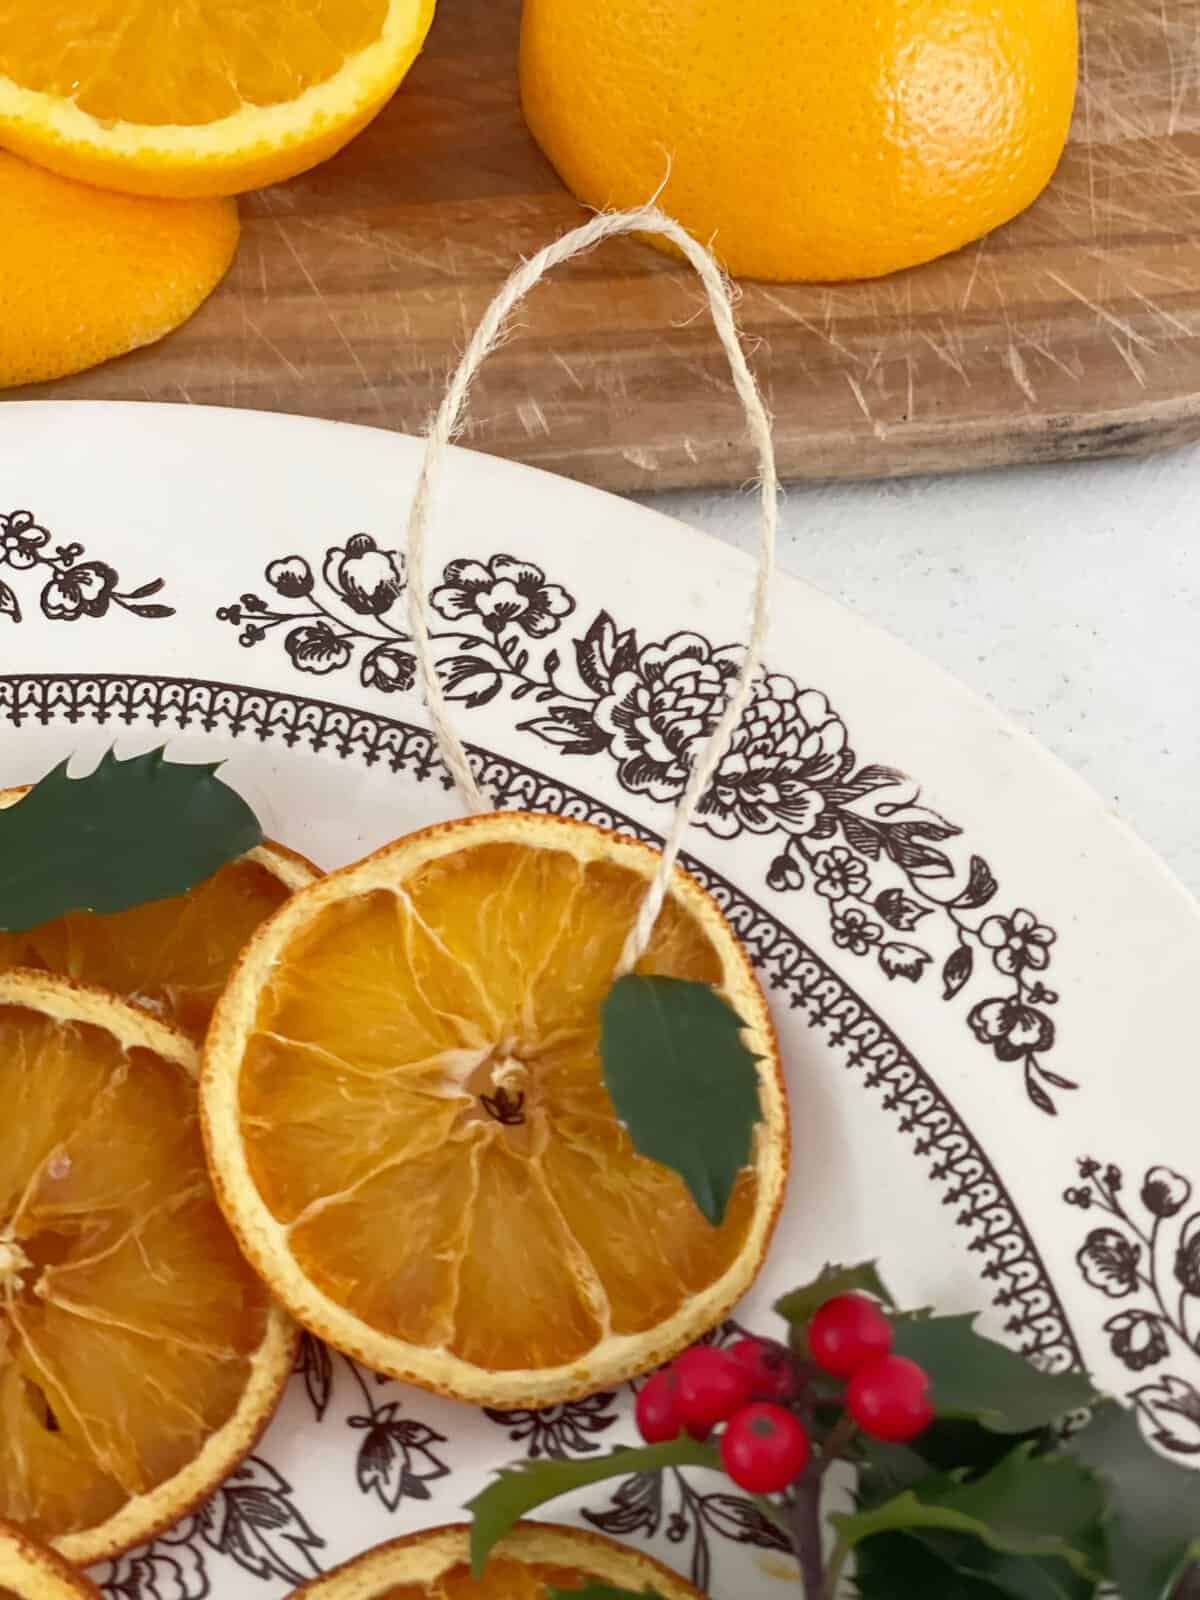
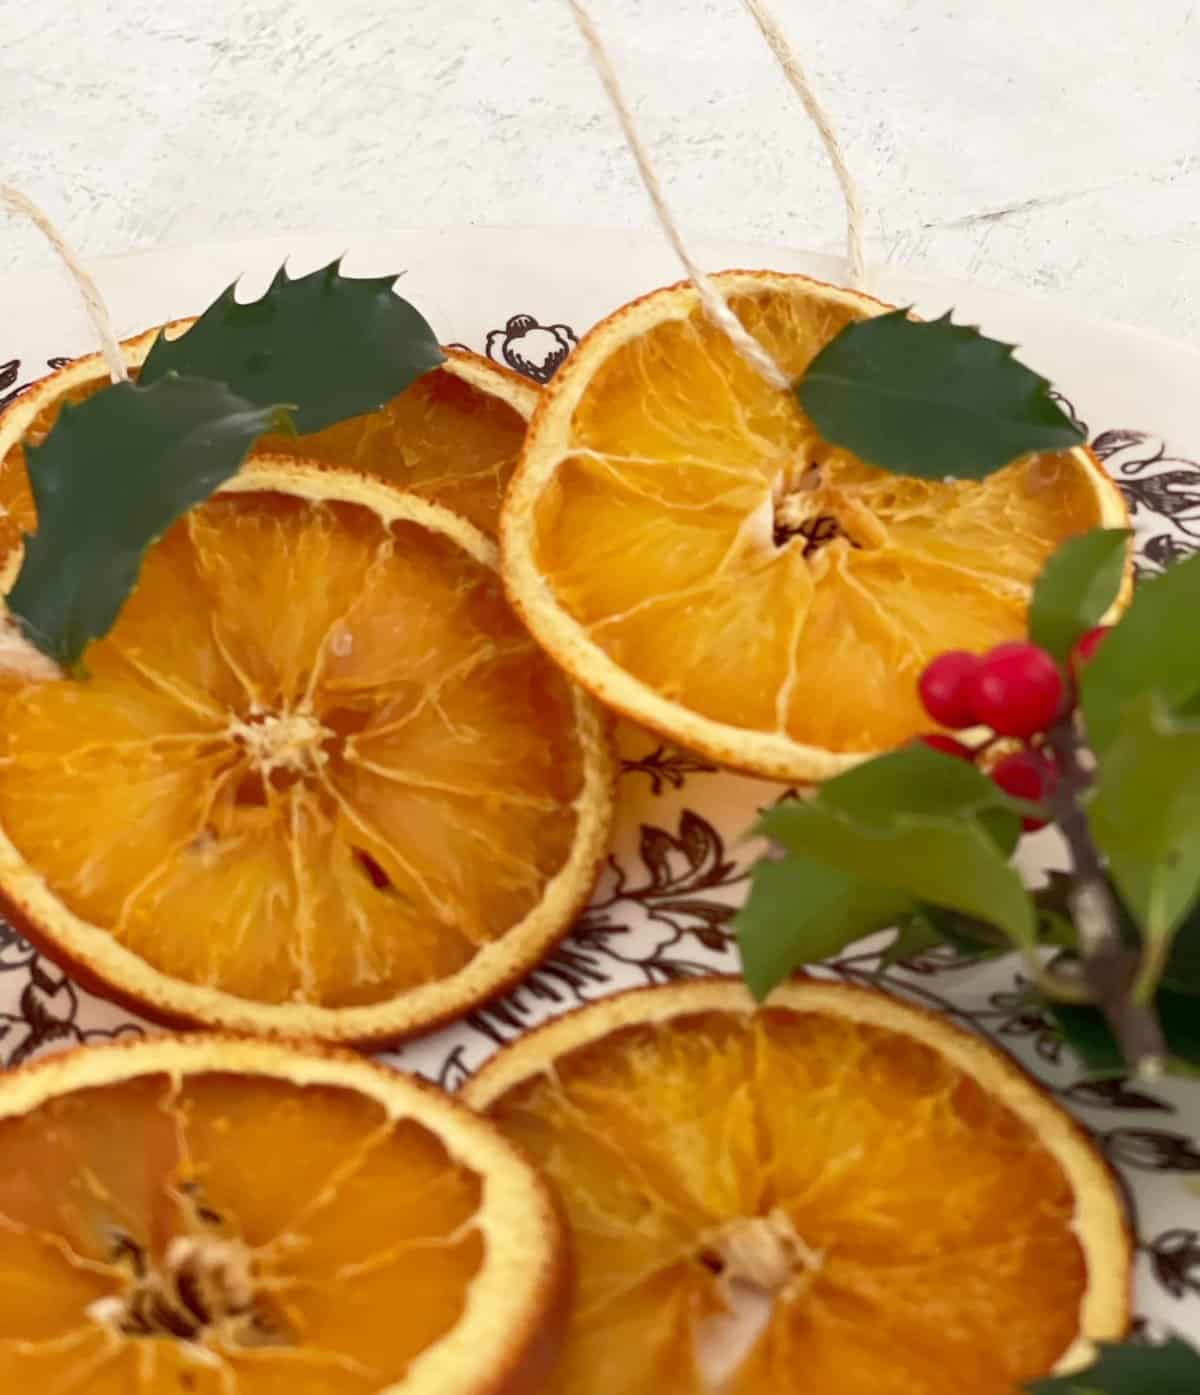
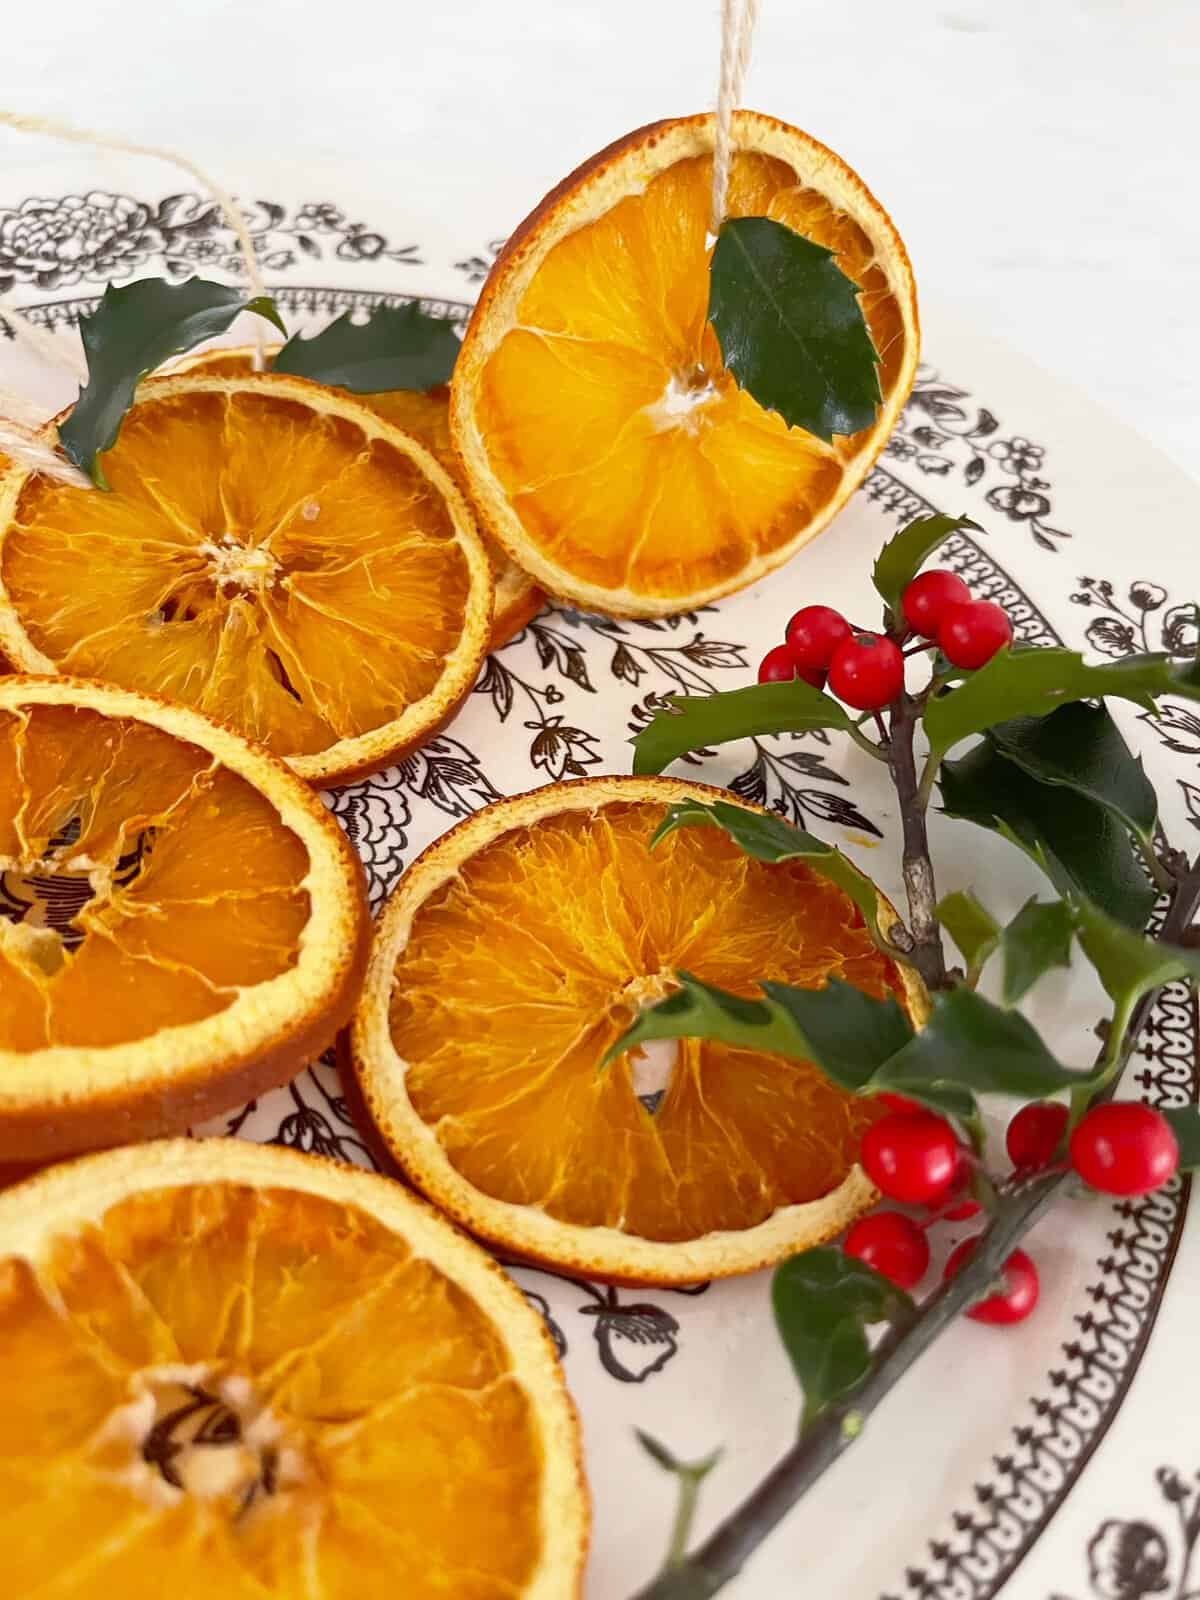
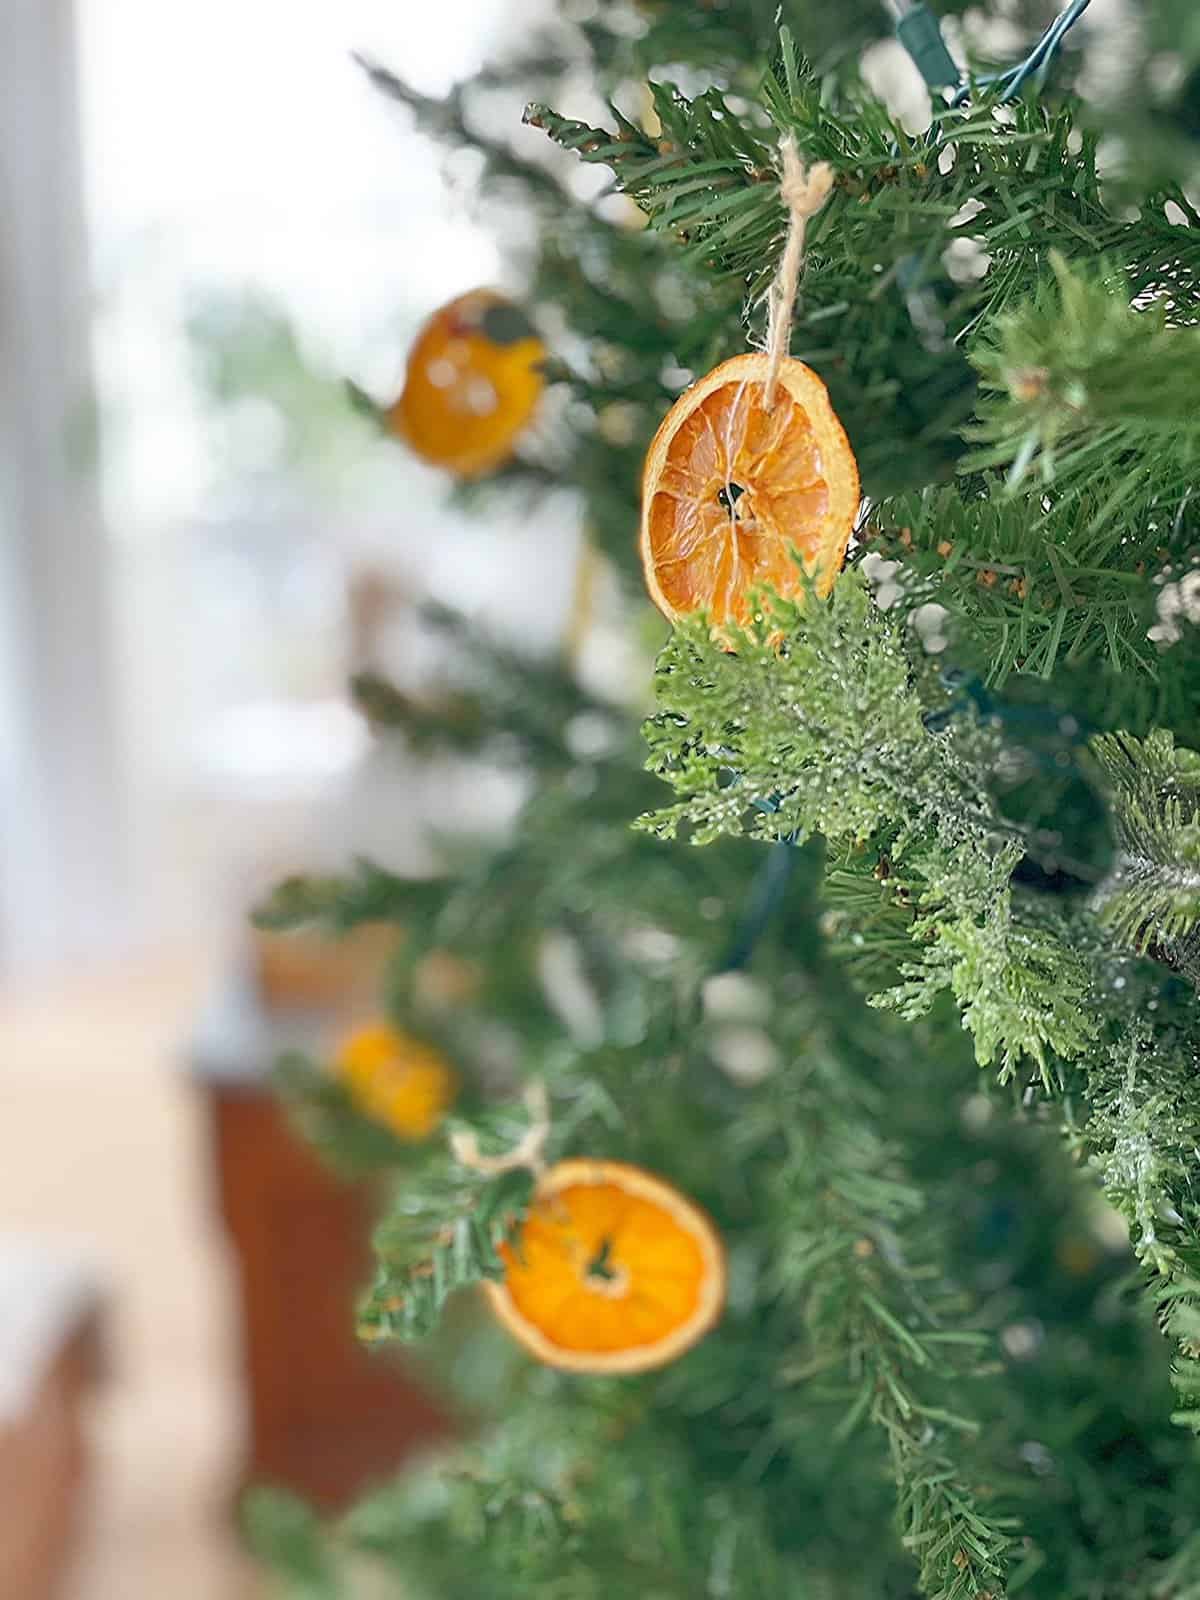
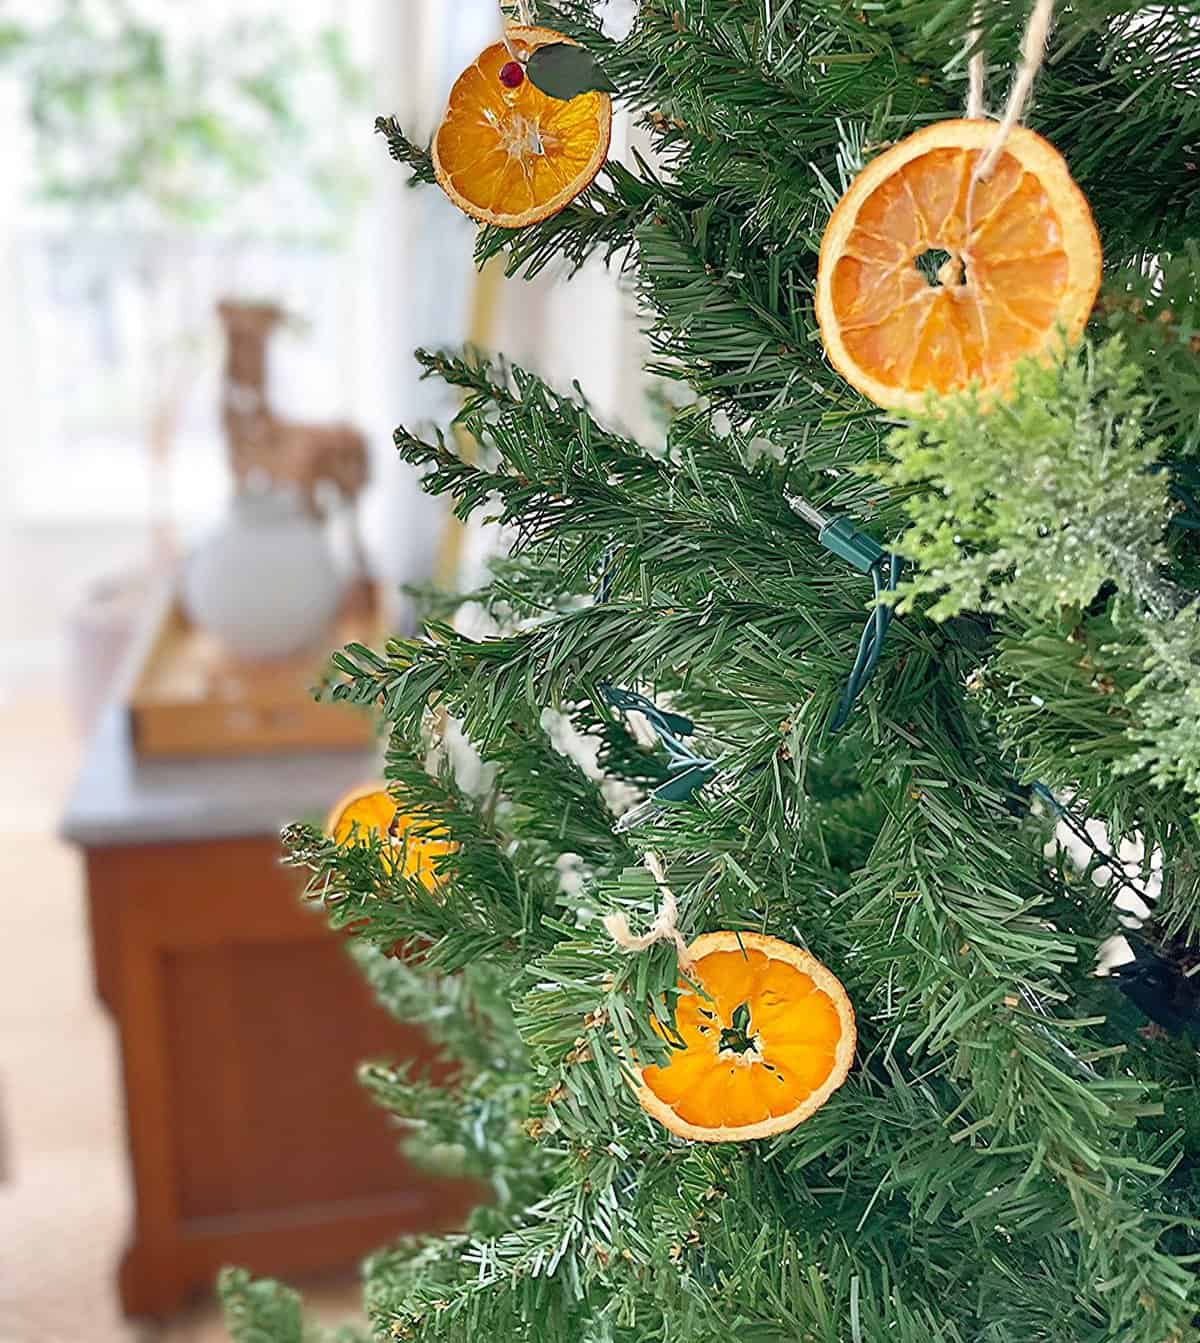
Dried Orange Slice Ornaments make a gorgeous, nature inspired tree.
When you use dried orange slice’s it makes a beautiful natural look on a Christmas tree. they also cost you so little you can afford to make a whole slew of them.
I think our tree needed double what I made and so I’ll be adding more.
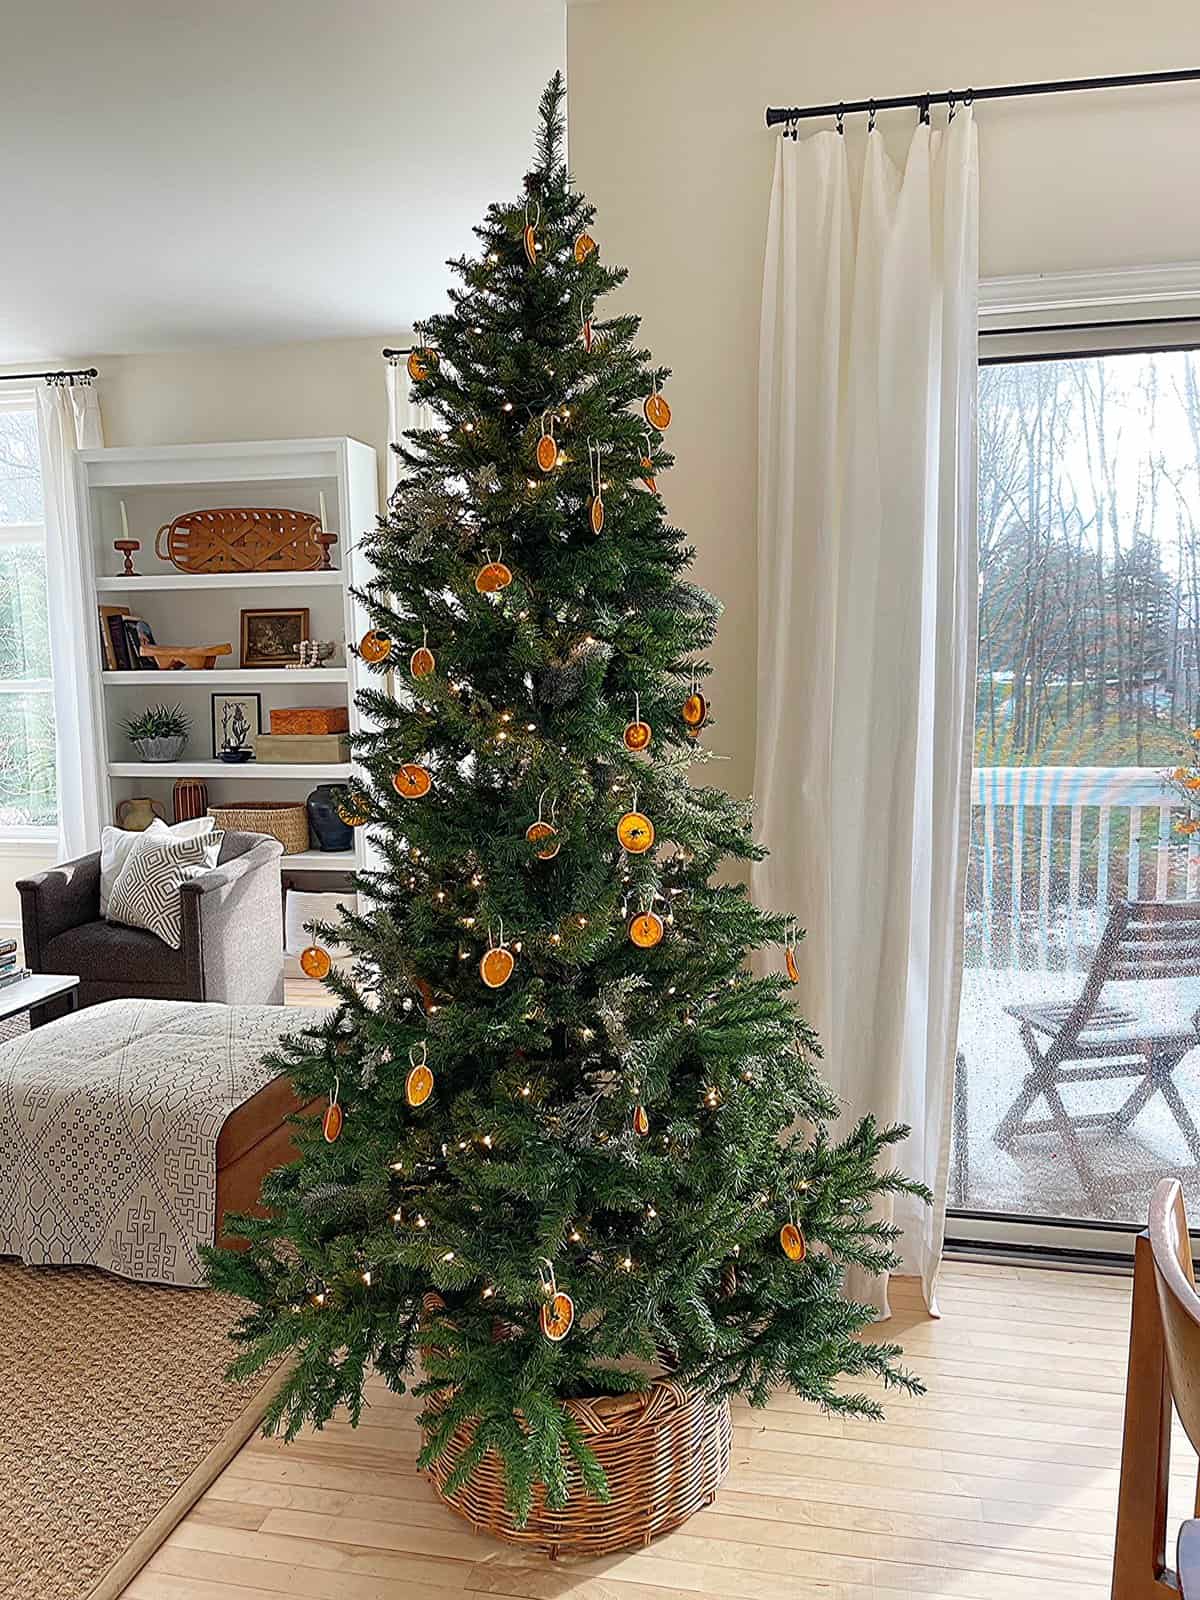
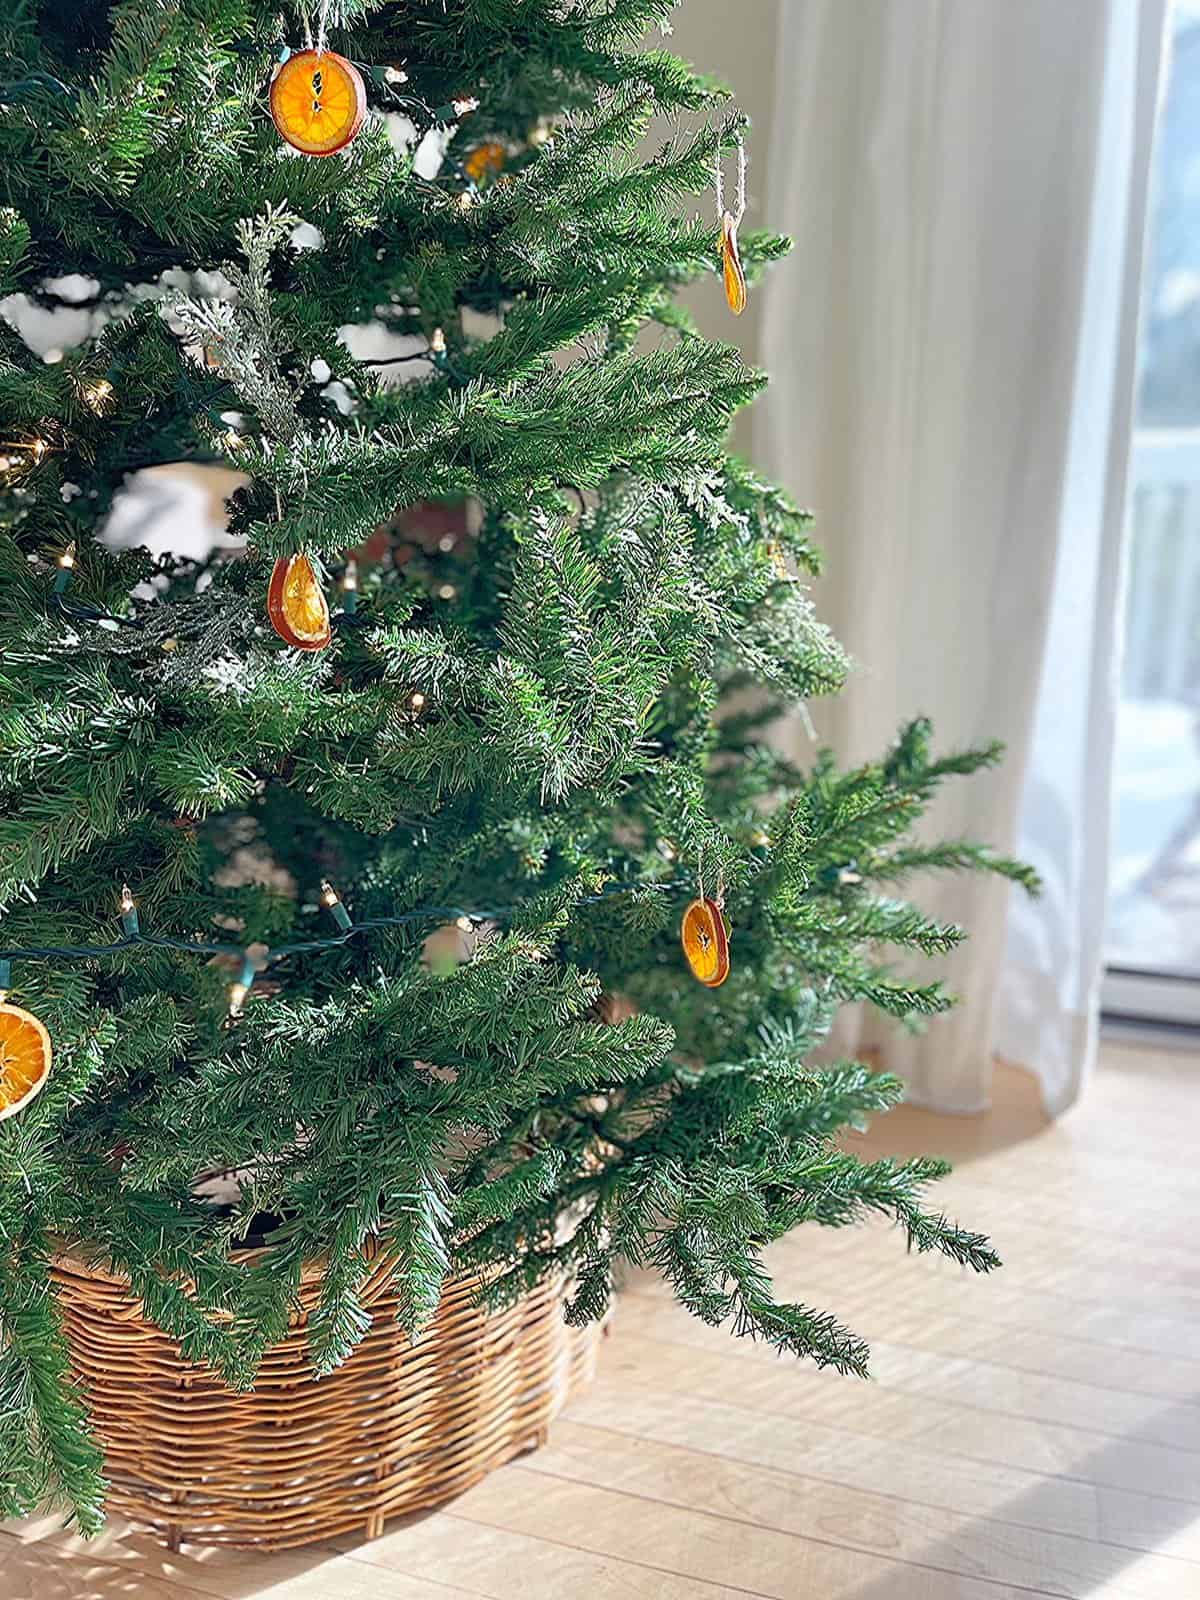
 This was a really satisfying and relaxing project.
My nine year old and fourteen year old really got into it which made this mama’s heart swell. We had fun visiting and working together. This and the wonderful aroma of the oranges in the oven make this a craft I’ll definitely try again with the kids, or even alone. Is there such a thing as Christmas craft meditation? If so, I think I’ve found it.

Pin It & Save It

A big hanks to Juliet from It’s a Loverly Life for hosting 14 Days of Christmas blog hop! You can’t have too much Holiday inspiration!
My friend Marie from This Dear Casa is up next on the list. I hope you head over there and see her beautiful pampas grass Christmas tree!
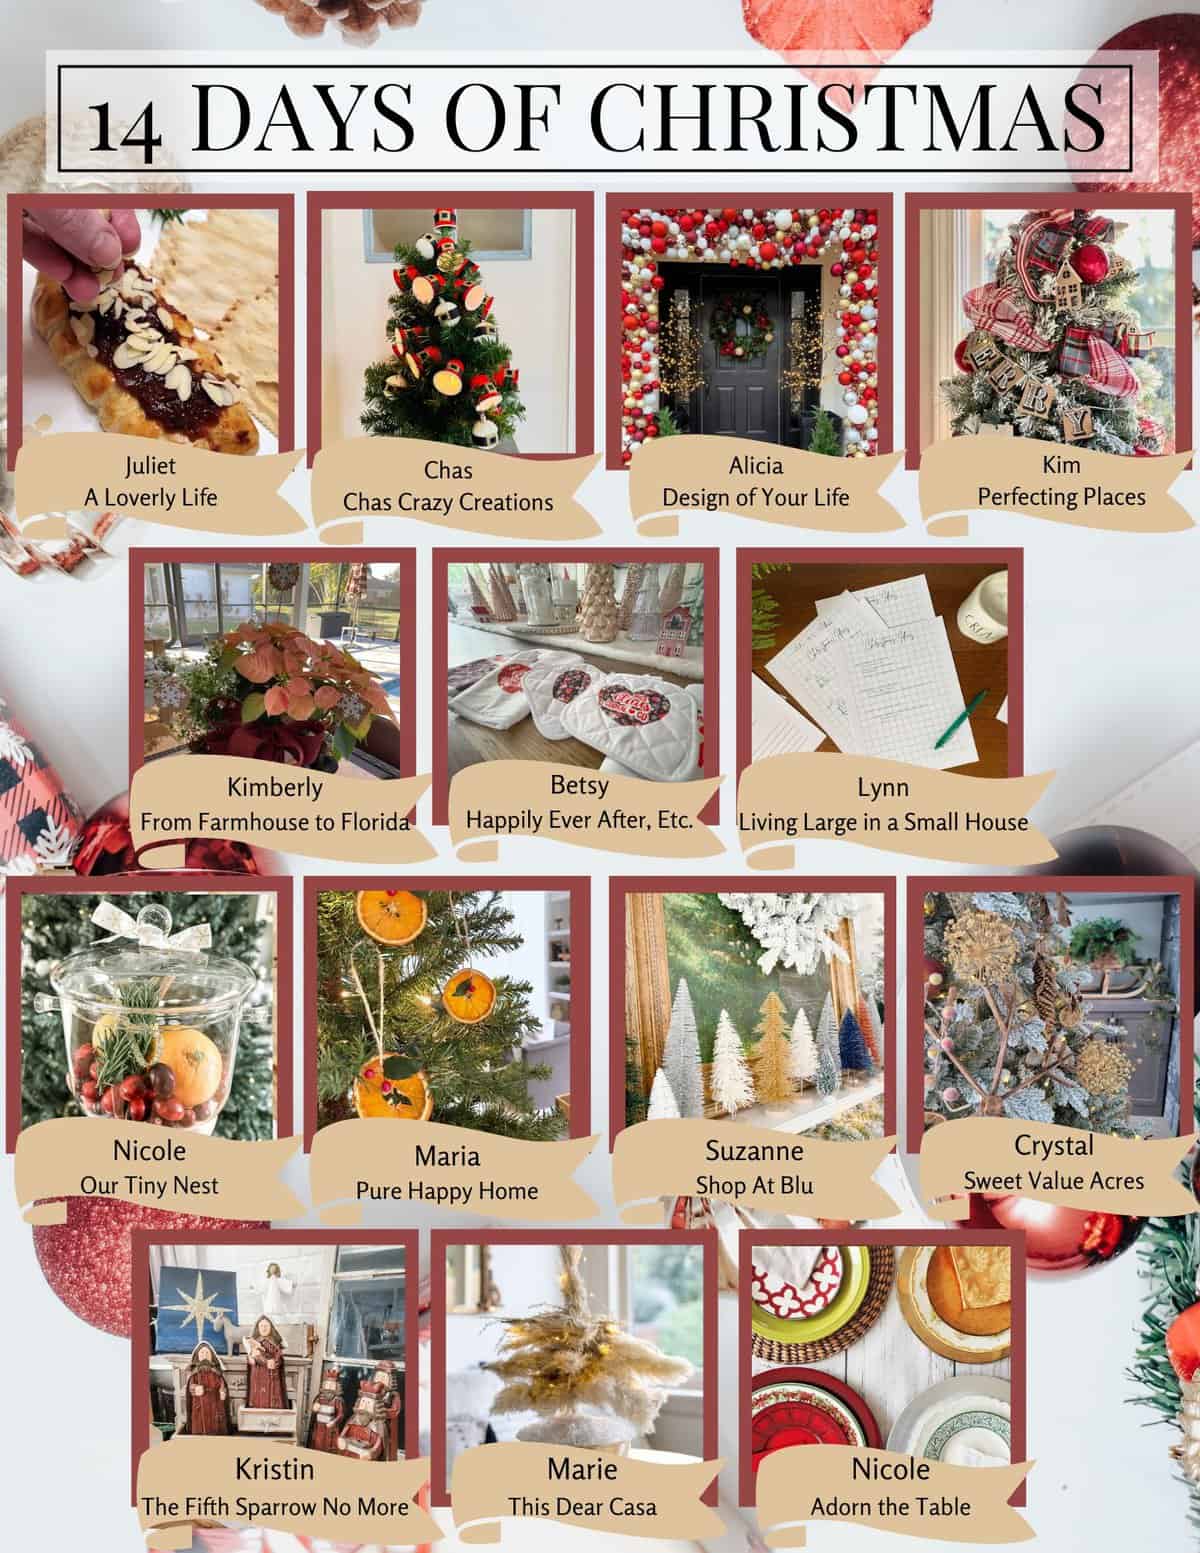
Check out all the incredible things these talented women are up to this Holiday season.
Choose an idea and try it yourself!






I love dried oranges and your tree looks pretty. I still have to make some dried slices. I did whole ones with cloves in them so far. Pinned!
Thanks Cindy! Yes, I want to try what you did as well.
Wow those are so beautiful. I am going to have to try those in our home this year. Thanks for sharing.
Thanks Chas! Super fun and easy!
This is so pretty – what a great idea for a rustic Christmas!
Mmmmmm and I bet these smell amazing! I love to use these for ornaments, gift toppers or making garlands!
Thanks Nicolle! We had a really good time making them together. So many fun projects to do at Christmas.
Such a great project! Love how you added the little holly leaves for the perfect finishing touch. So happy to hop along with you!
Thanks Crystal. The kids and I want to make some more!
I bet these smell soooo good… I would love to make a garland out of them! They look so cute on the tree!
Yes, we want to make a garland as well! It was so much fun working with the kids on it!
Sweet and simple! I think you coined a new term with the Christmas crafting meditation and I’m here for it!
Hi Maria –
Love the idea of dried fruit for the holidays. I need to make something natural for my tree. So simple and so pretty!
Thank Lynn! I really like adding items from nature to the Christmas tree, it’s a good feeling.