Sanding Our Maple Wood Floors Part 1

by

Ten years ago Jeremy and I installed solid wood floors on our first level. I call it the Summer of blood, sweat and tears. The tears were all mine.  It was an incredibly hard DIY project. We were able to accomplish it because a kind flooring expert allowing us to borrow his tools while he drove his son out East to college.

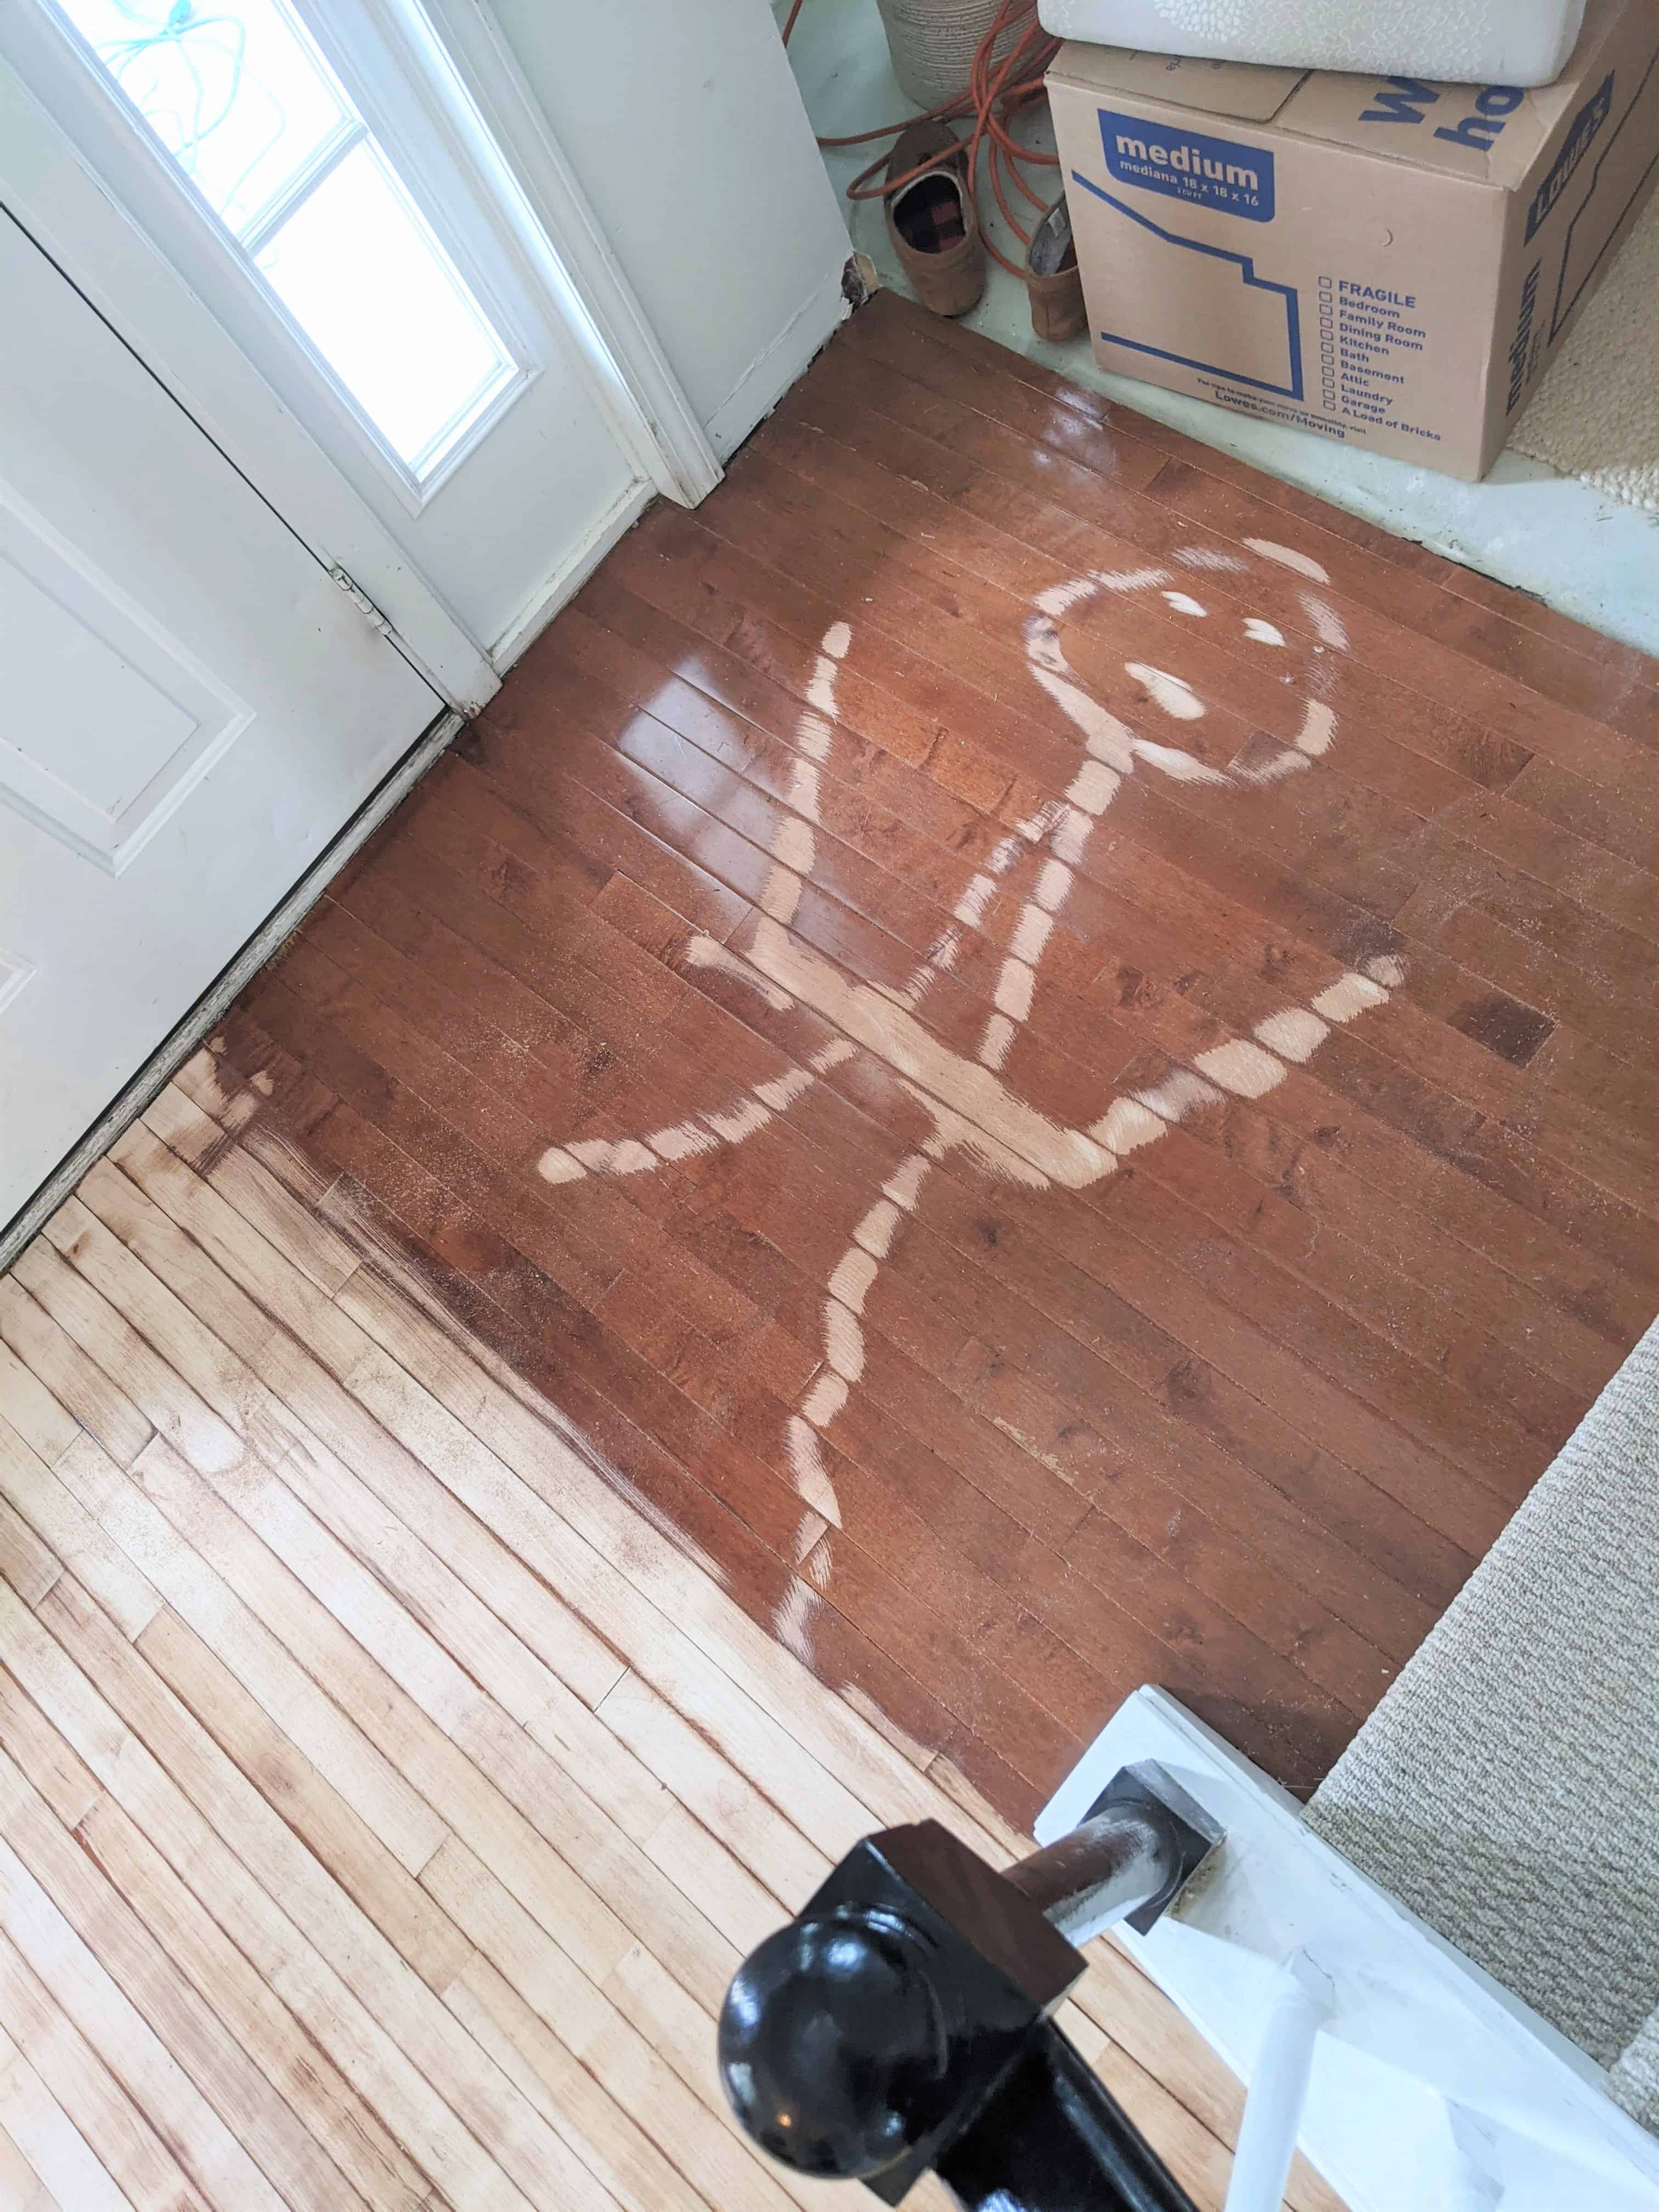
Our contractor told us to go with solid hardwood even though the cost was more, The durability of wood and the flexibility to sand it down and refinish it when needed made it a good investment. The floors finish had worn in several areas, but mostly we were ready for a design change. All these years later the kids had grown and some of them could even help us. We made it a family affair.

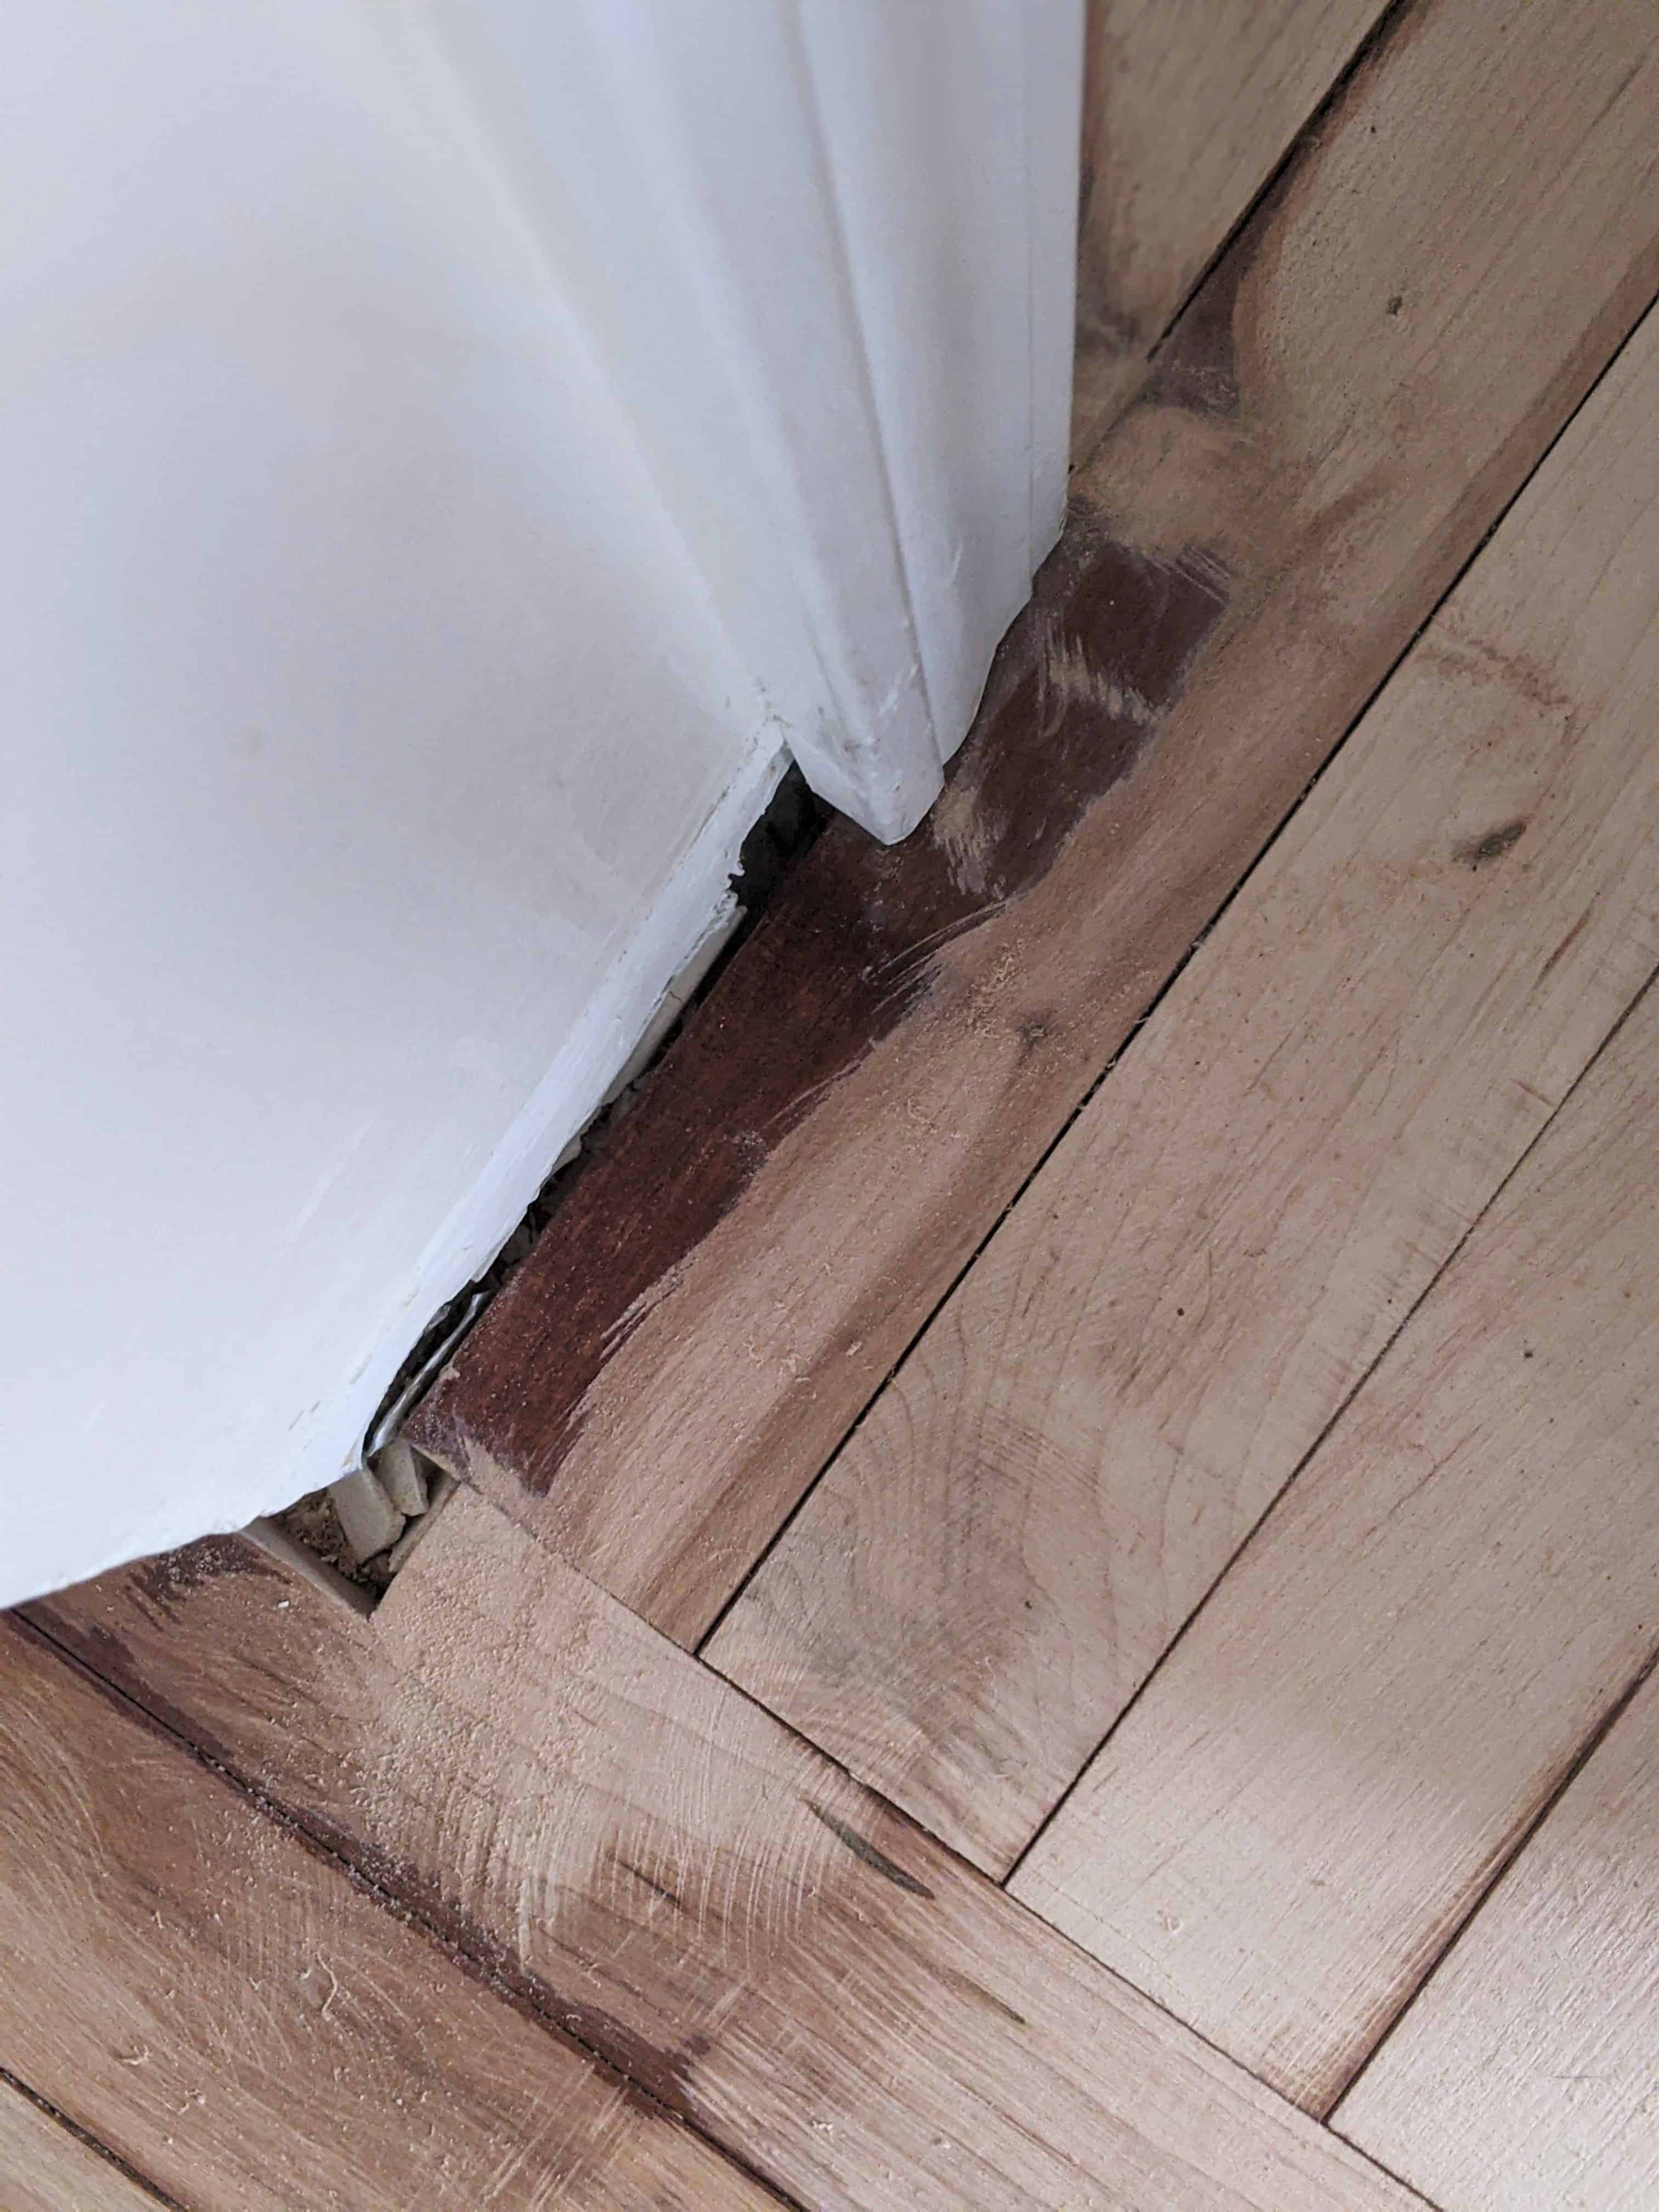
Keeping it as stress free as possible was the main objective and we took our time. The details are the slowest parts of the job.  Little corners, around door moldings, and under kitchen cabinets have tested us, but we shall prevail.

I hope we’re teaching our kids they can do new, and hard things with optimism and fun, always fun.

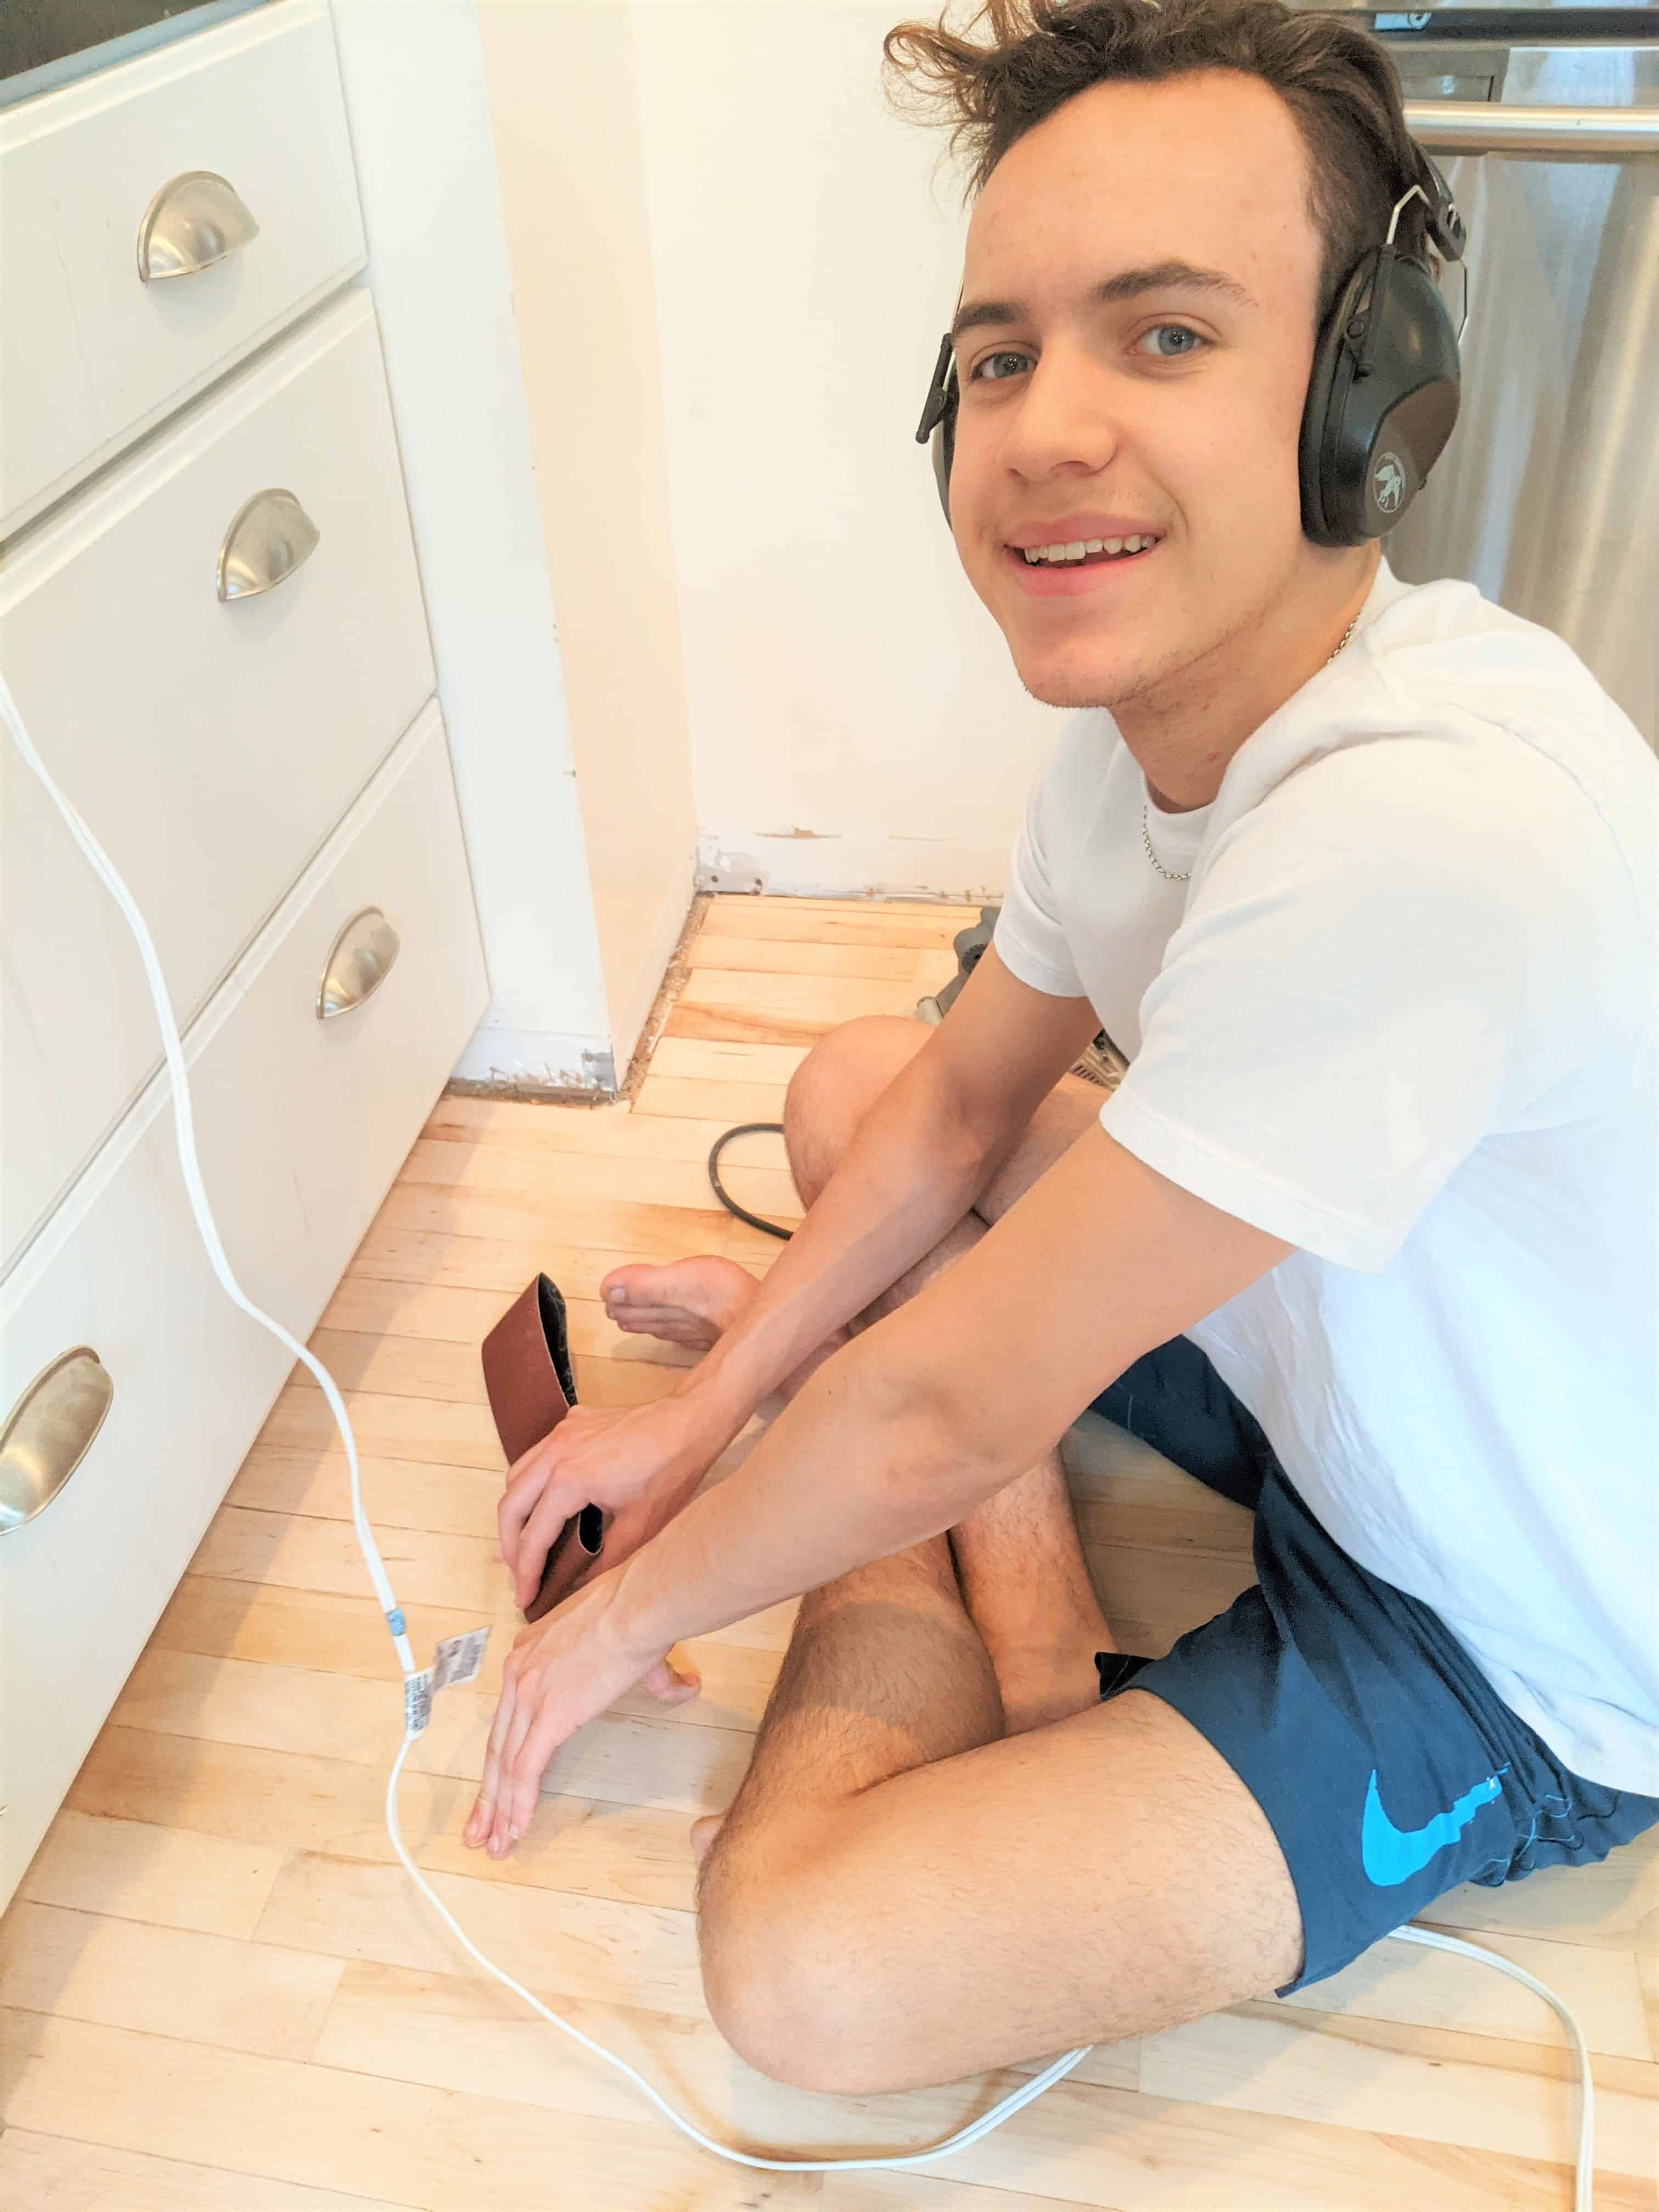
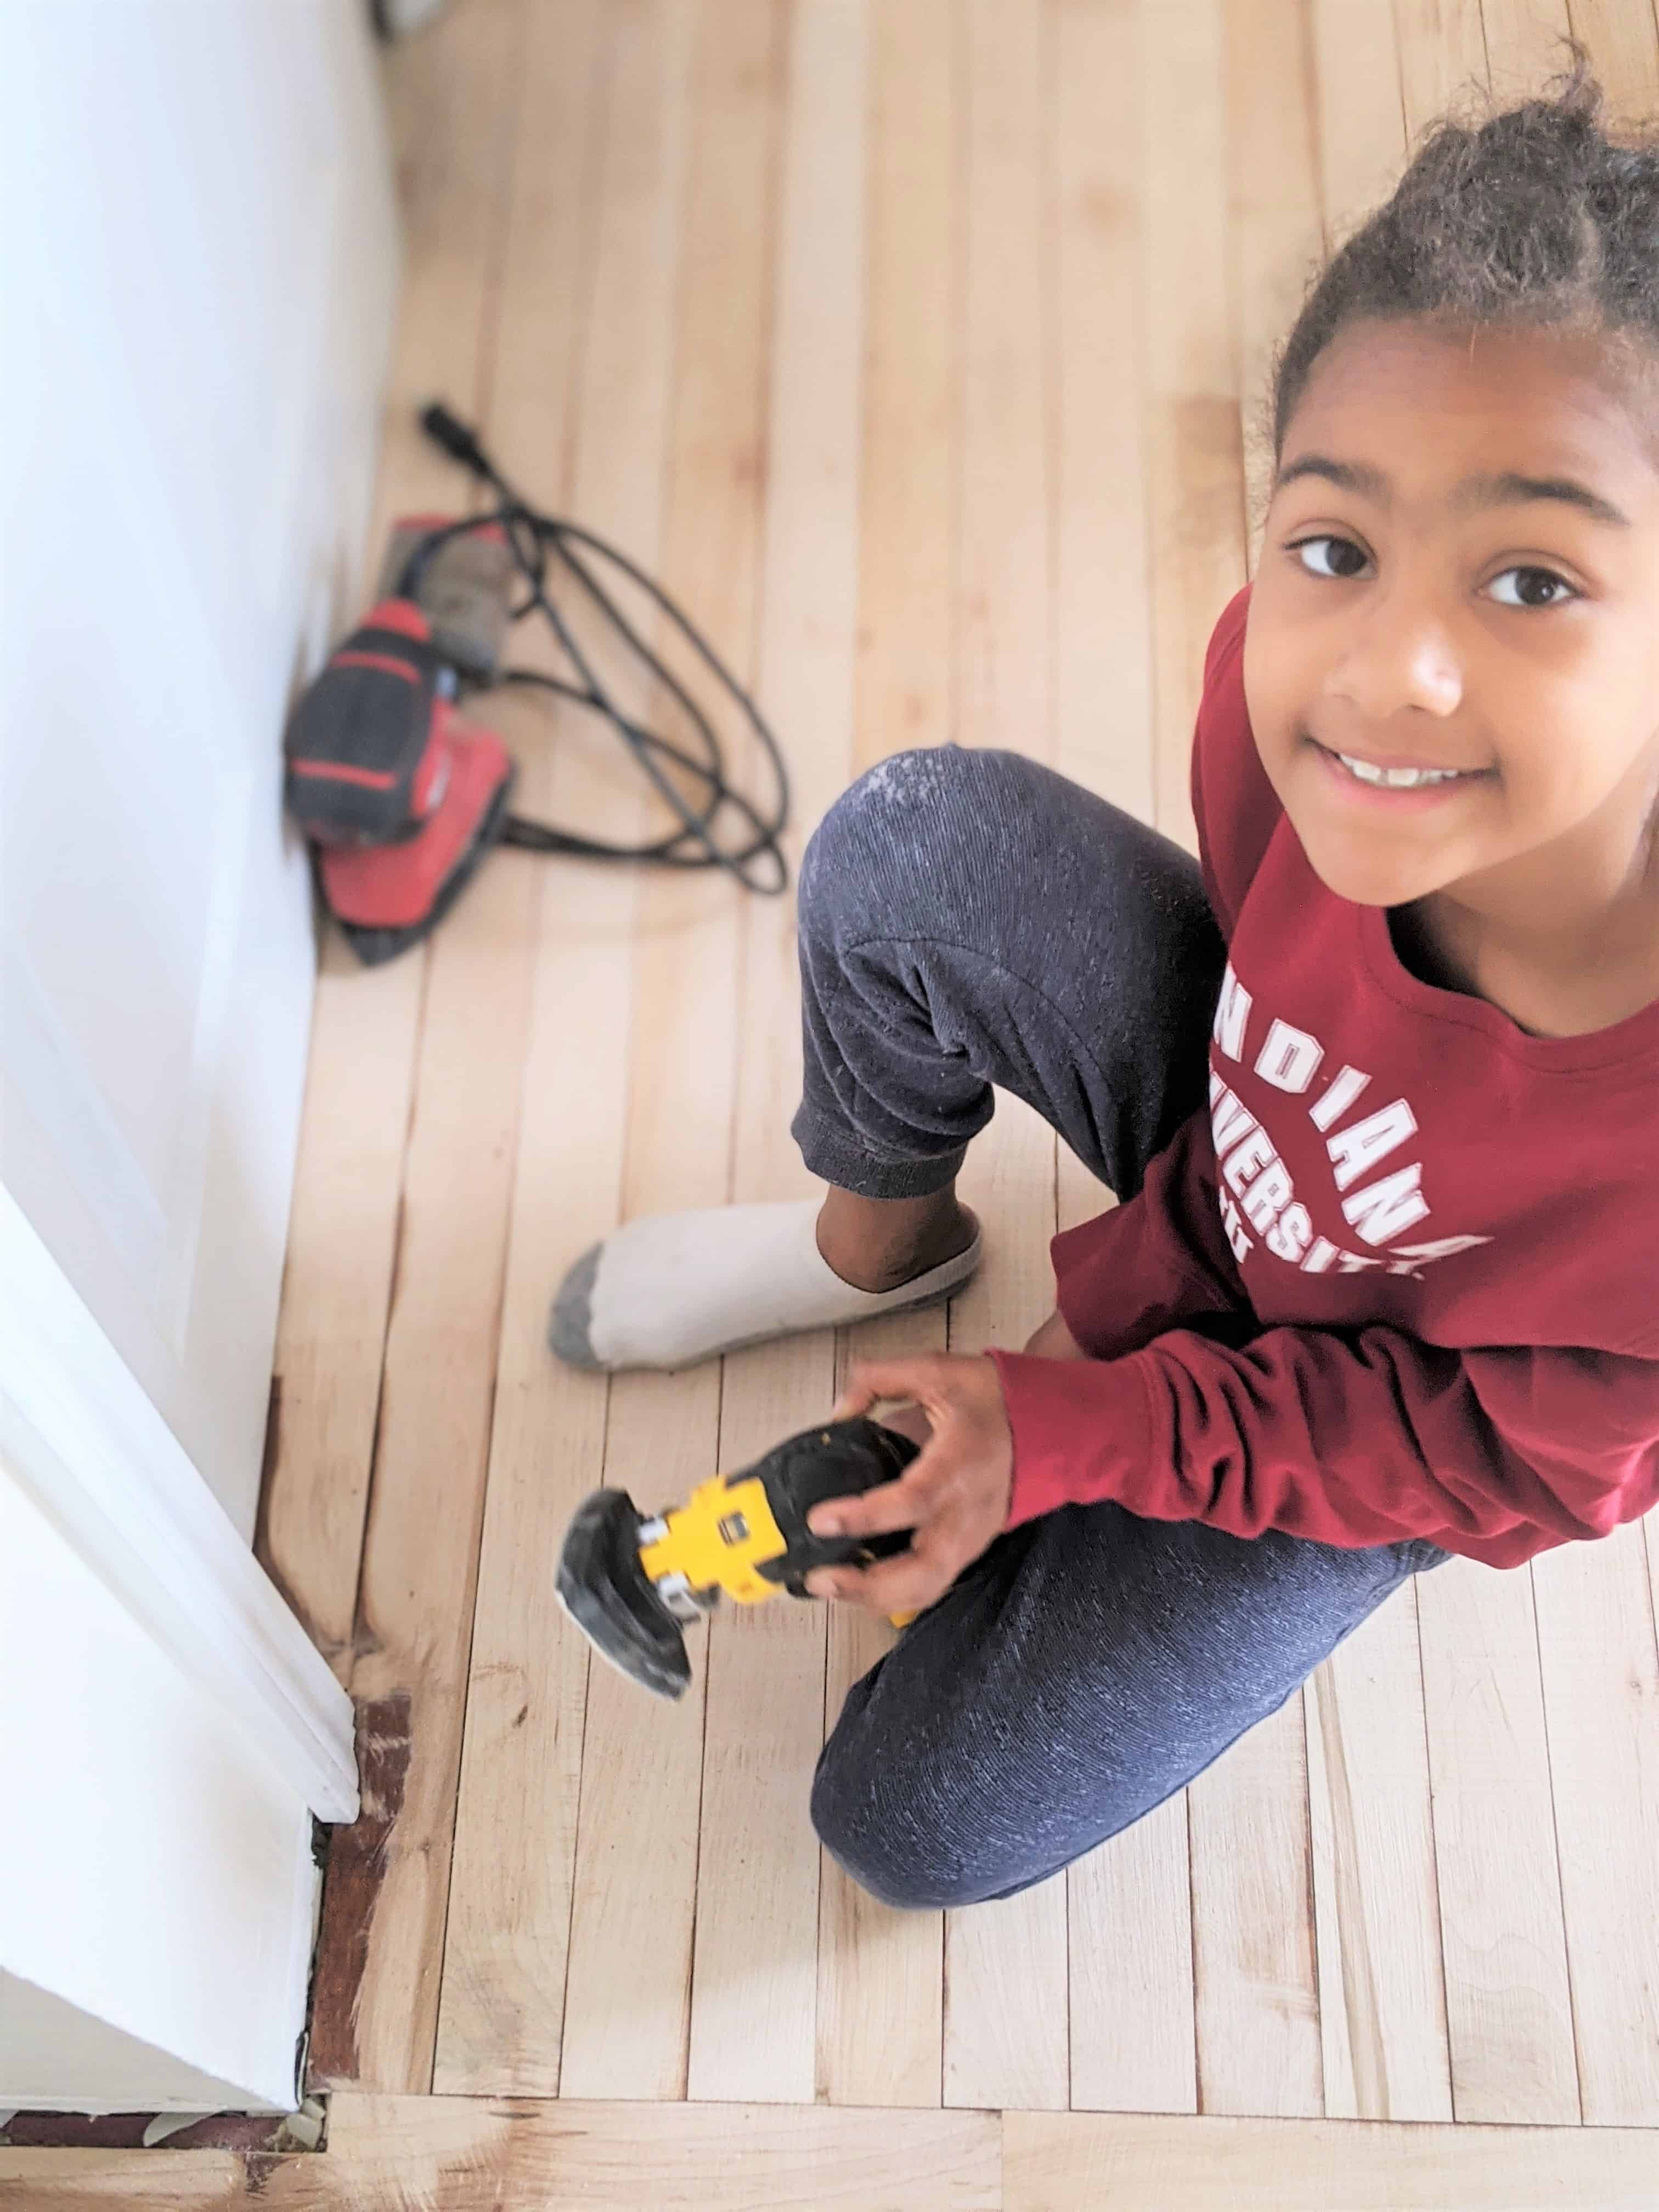
There were several areas where we just had to sand by hand in order to accomplish our goal. The kids were excited to start this project as well as excited to finish.

WATCH OUR FLOOR SANDING VIDEO HERE:

https://www.youtube.com/watch?v=H5CdzgImAfI

When we ran the numbers for them and showed them how much money we could save by doing it ourselves, they were on board. The cost to sand 1200 sq. ft. was $3,000 with an additional cost to have it sealed. Instead we’re renting our equipment and saving thousands.

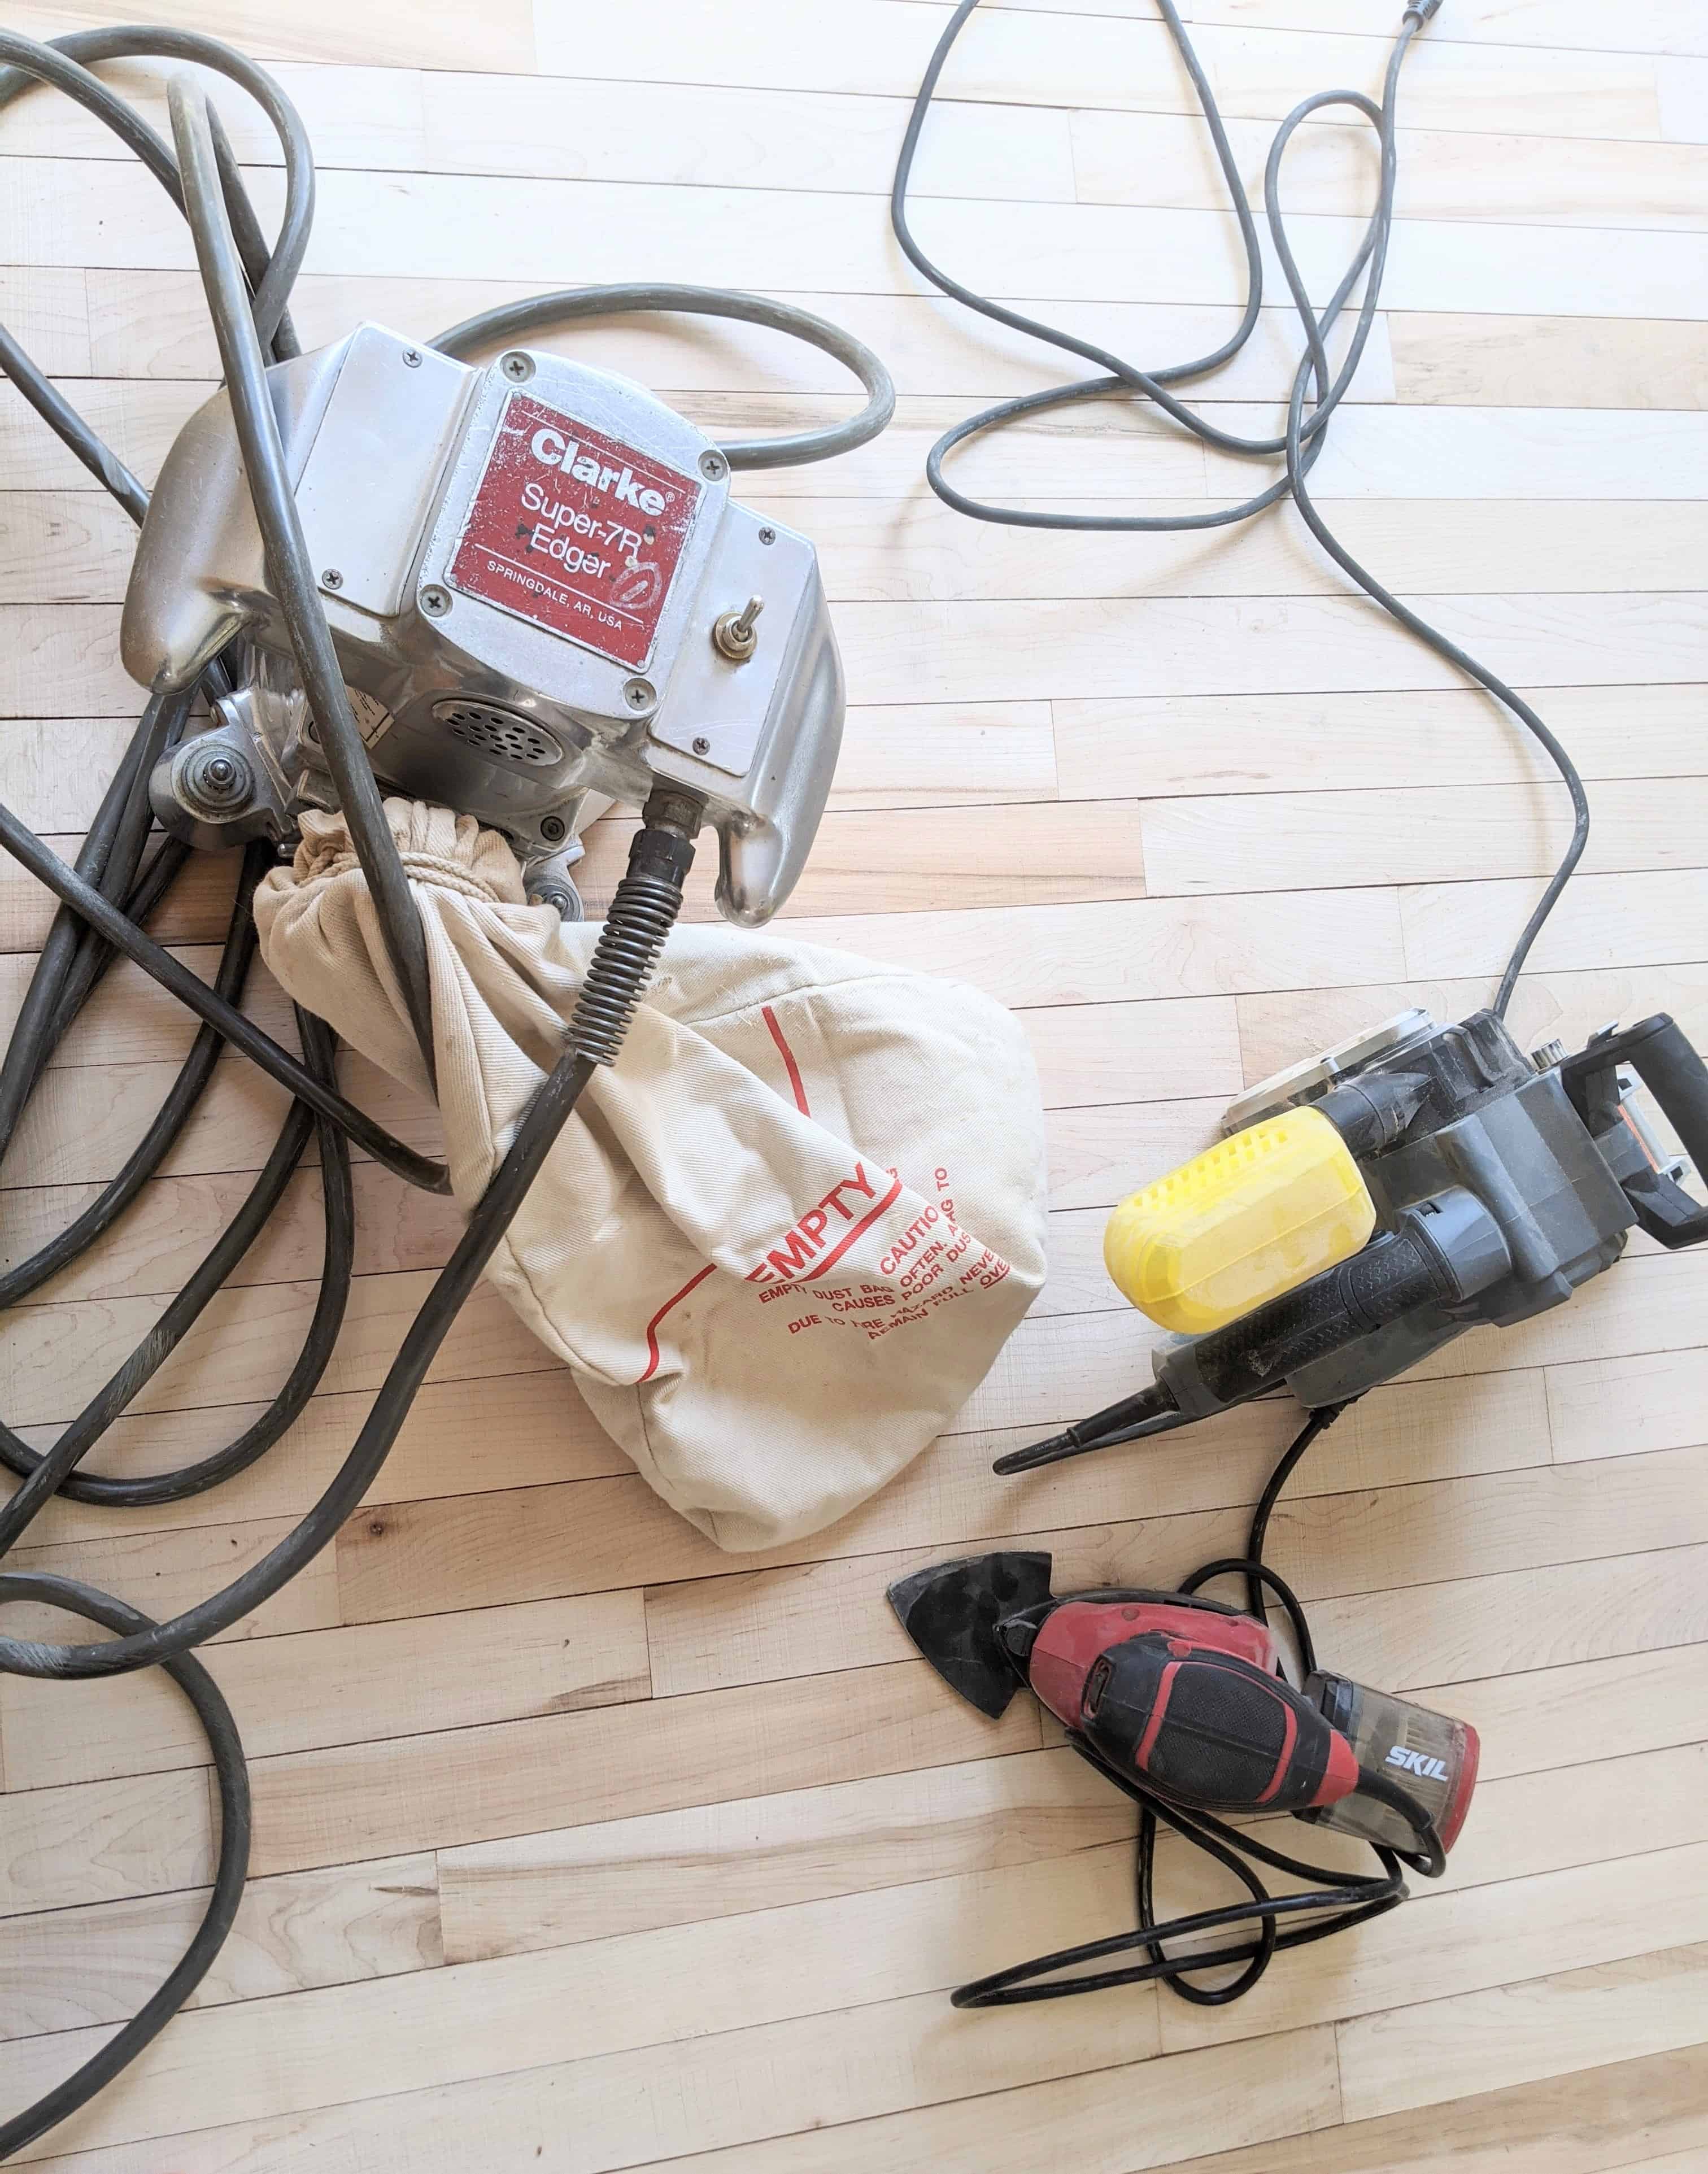
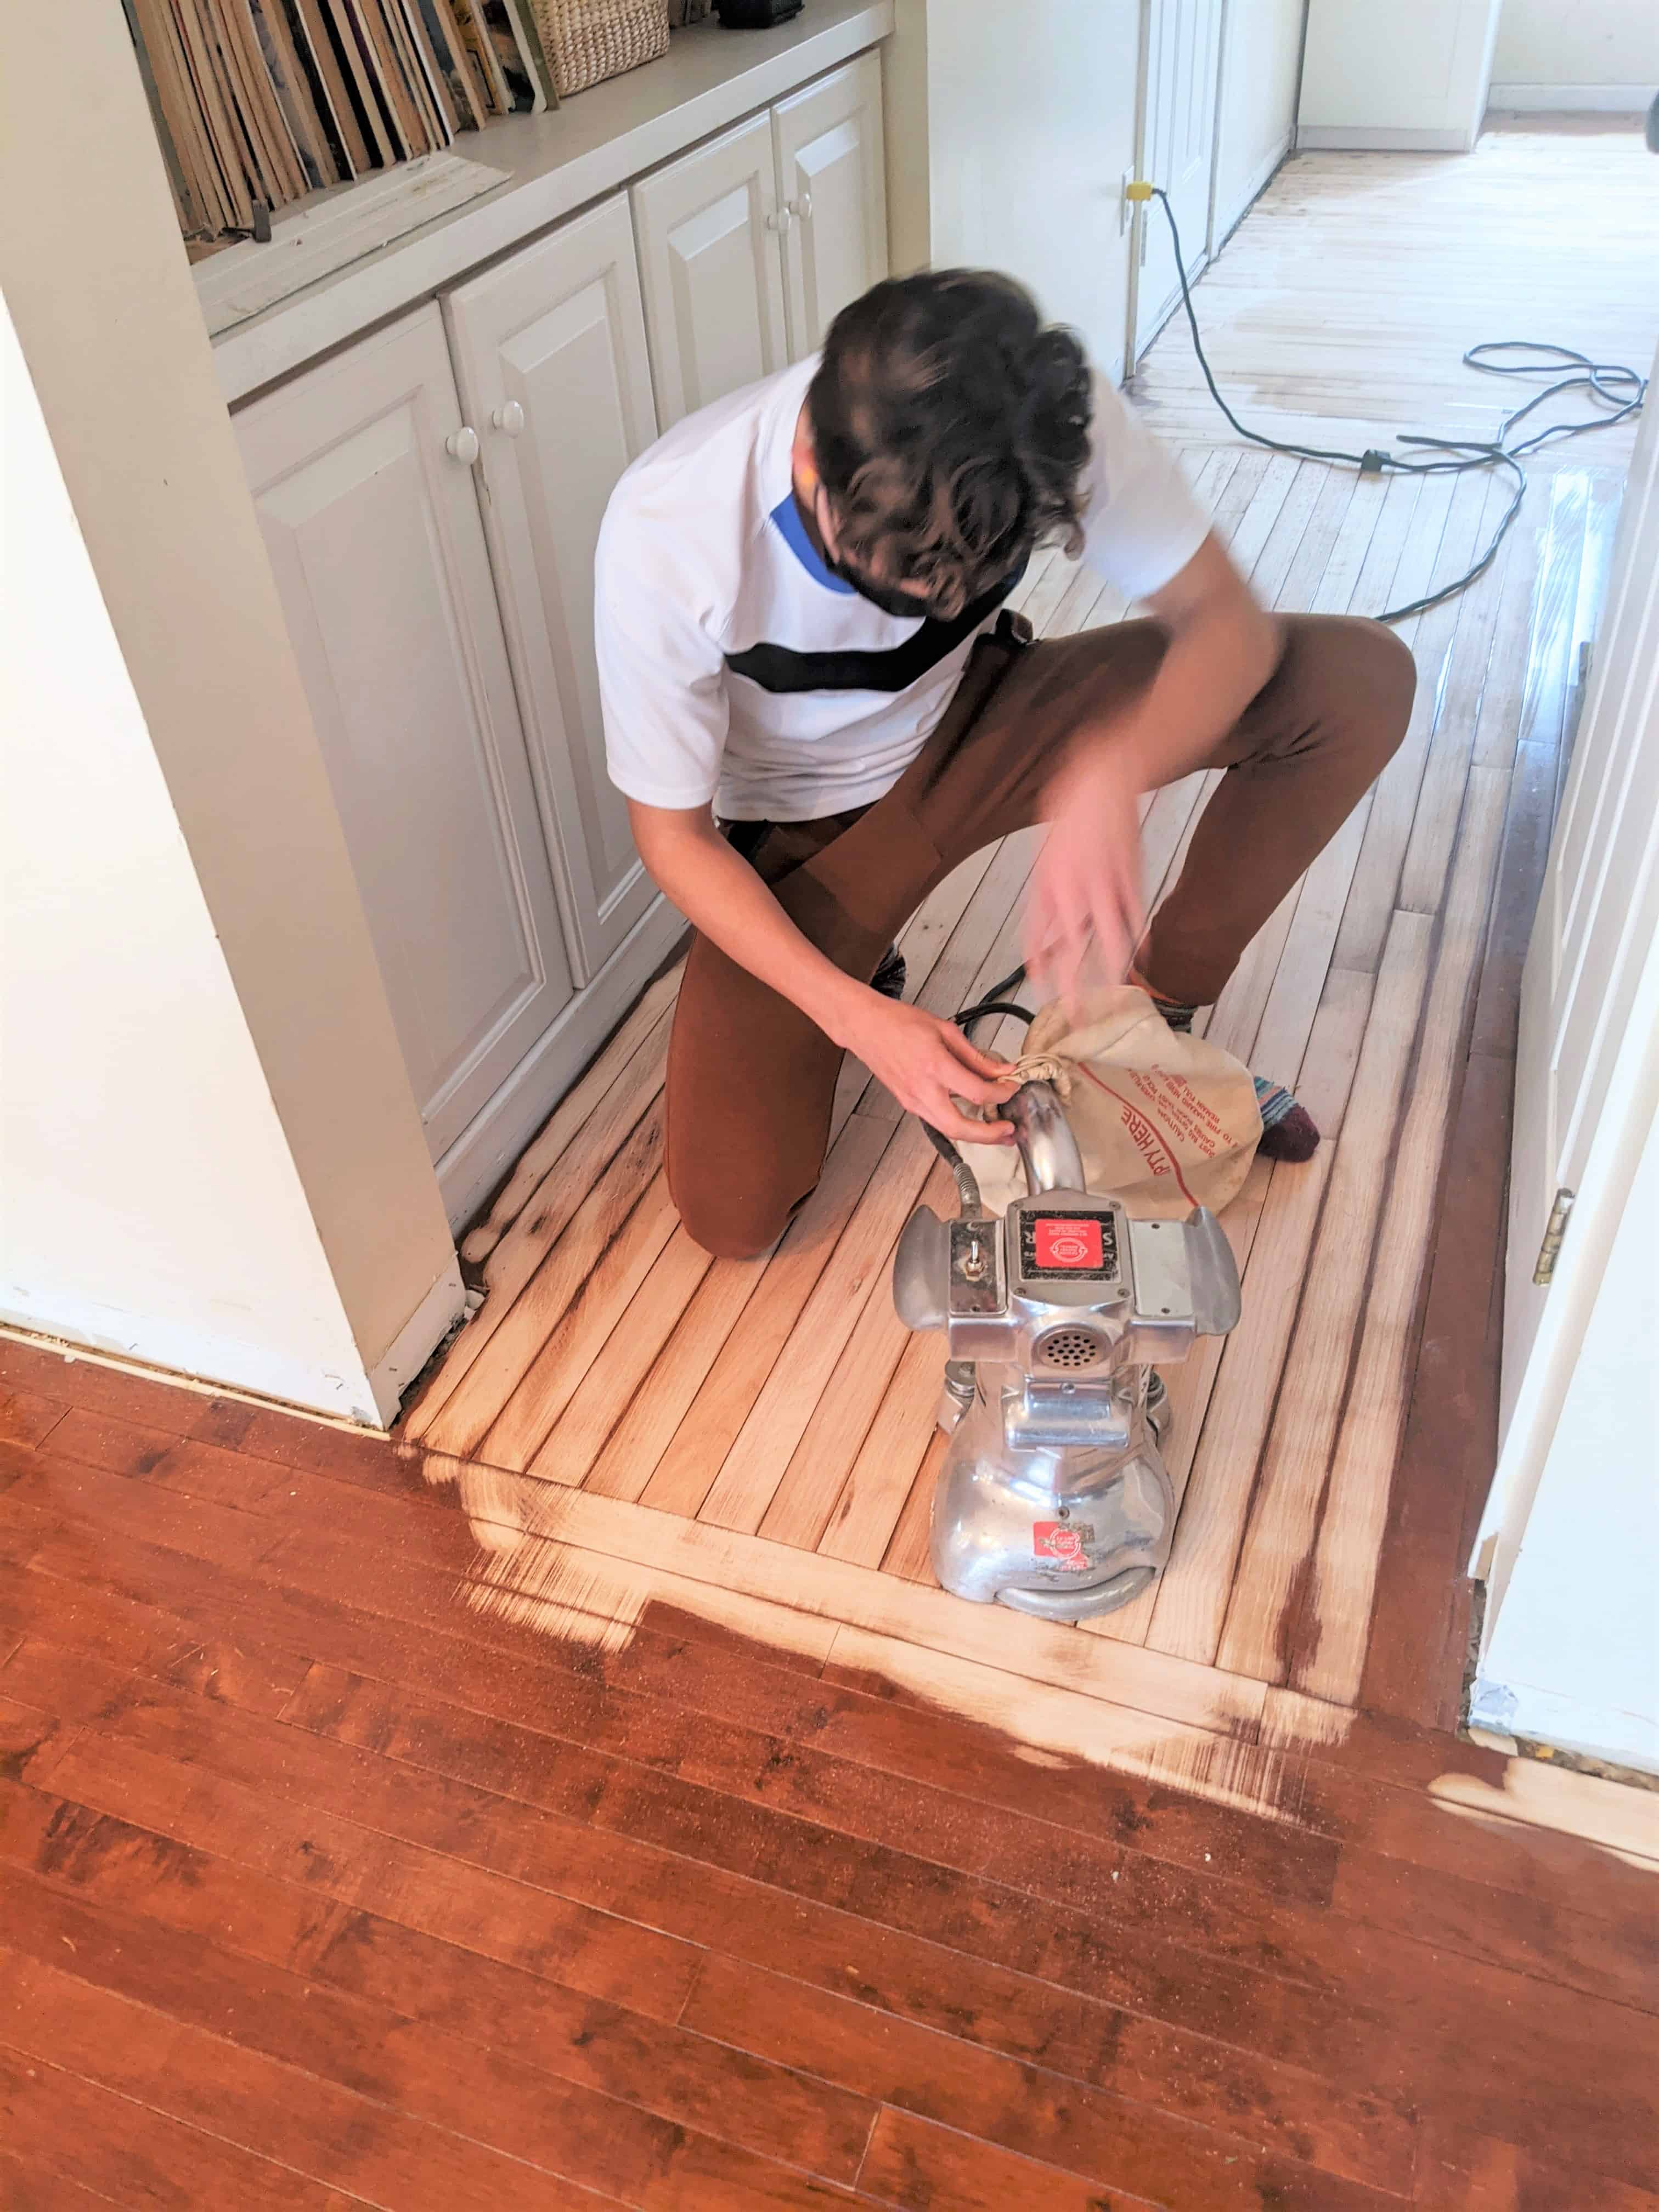
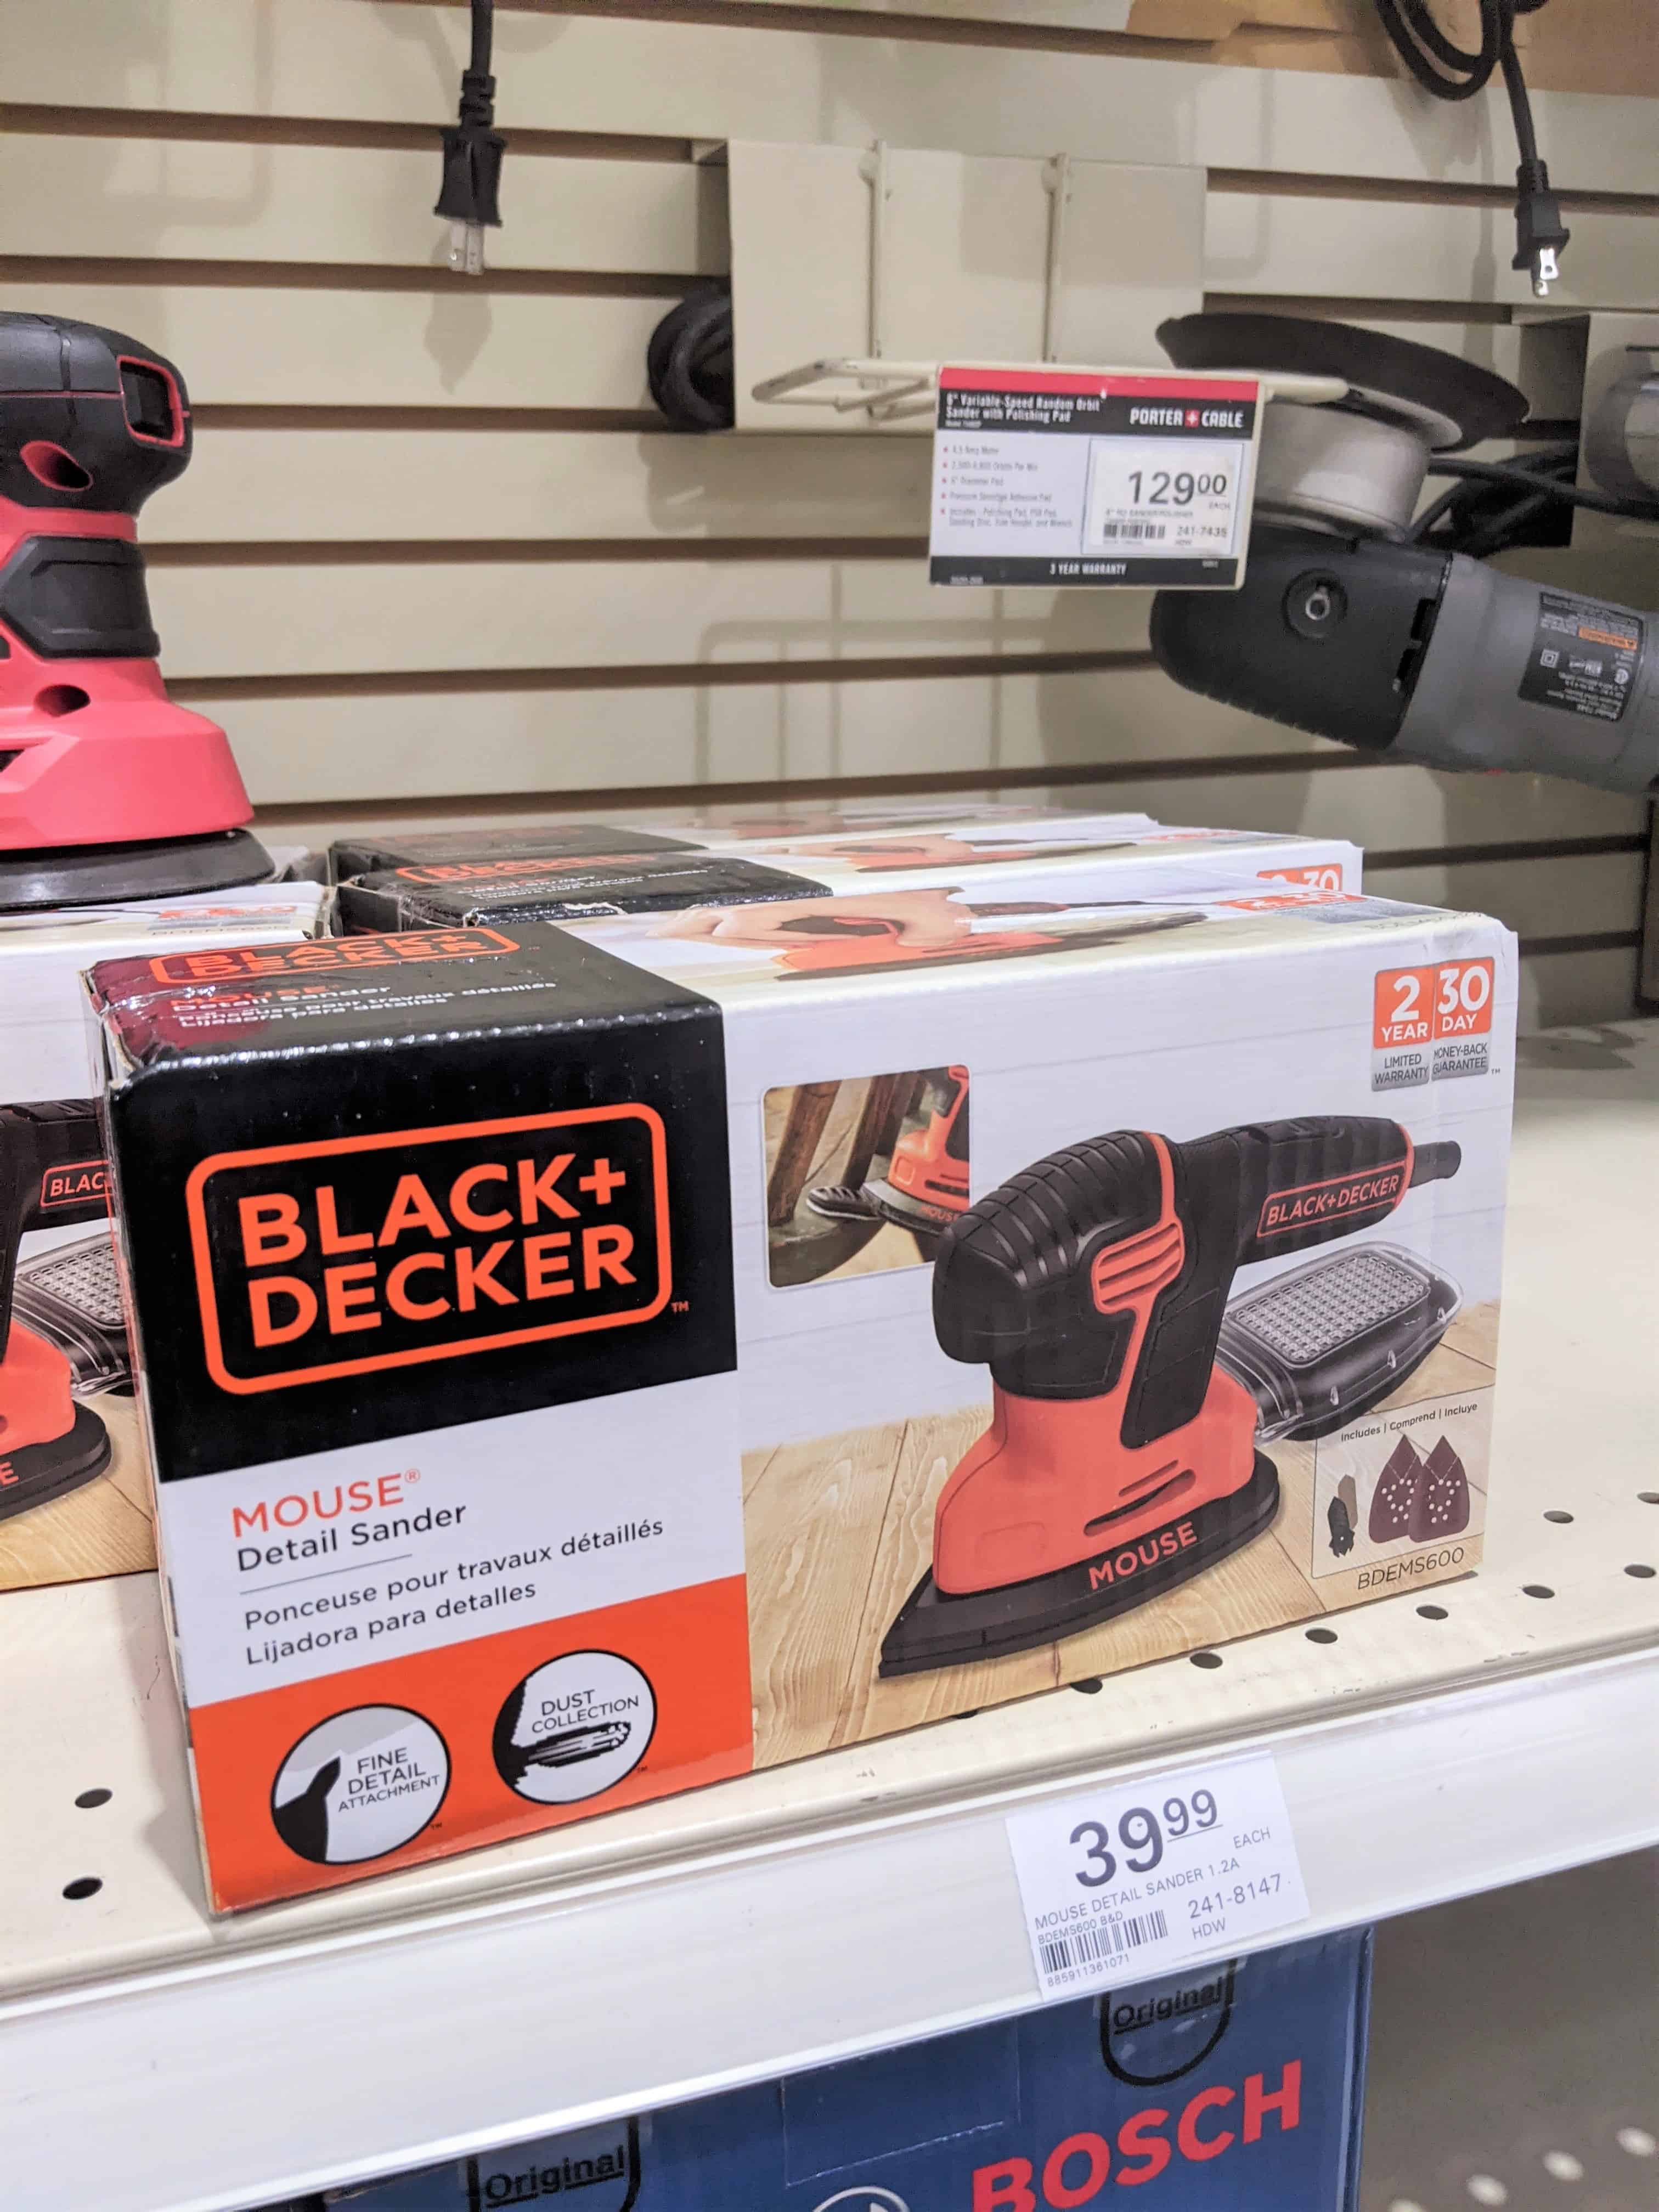
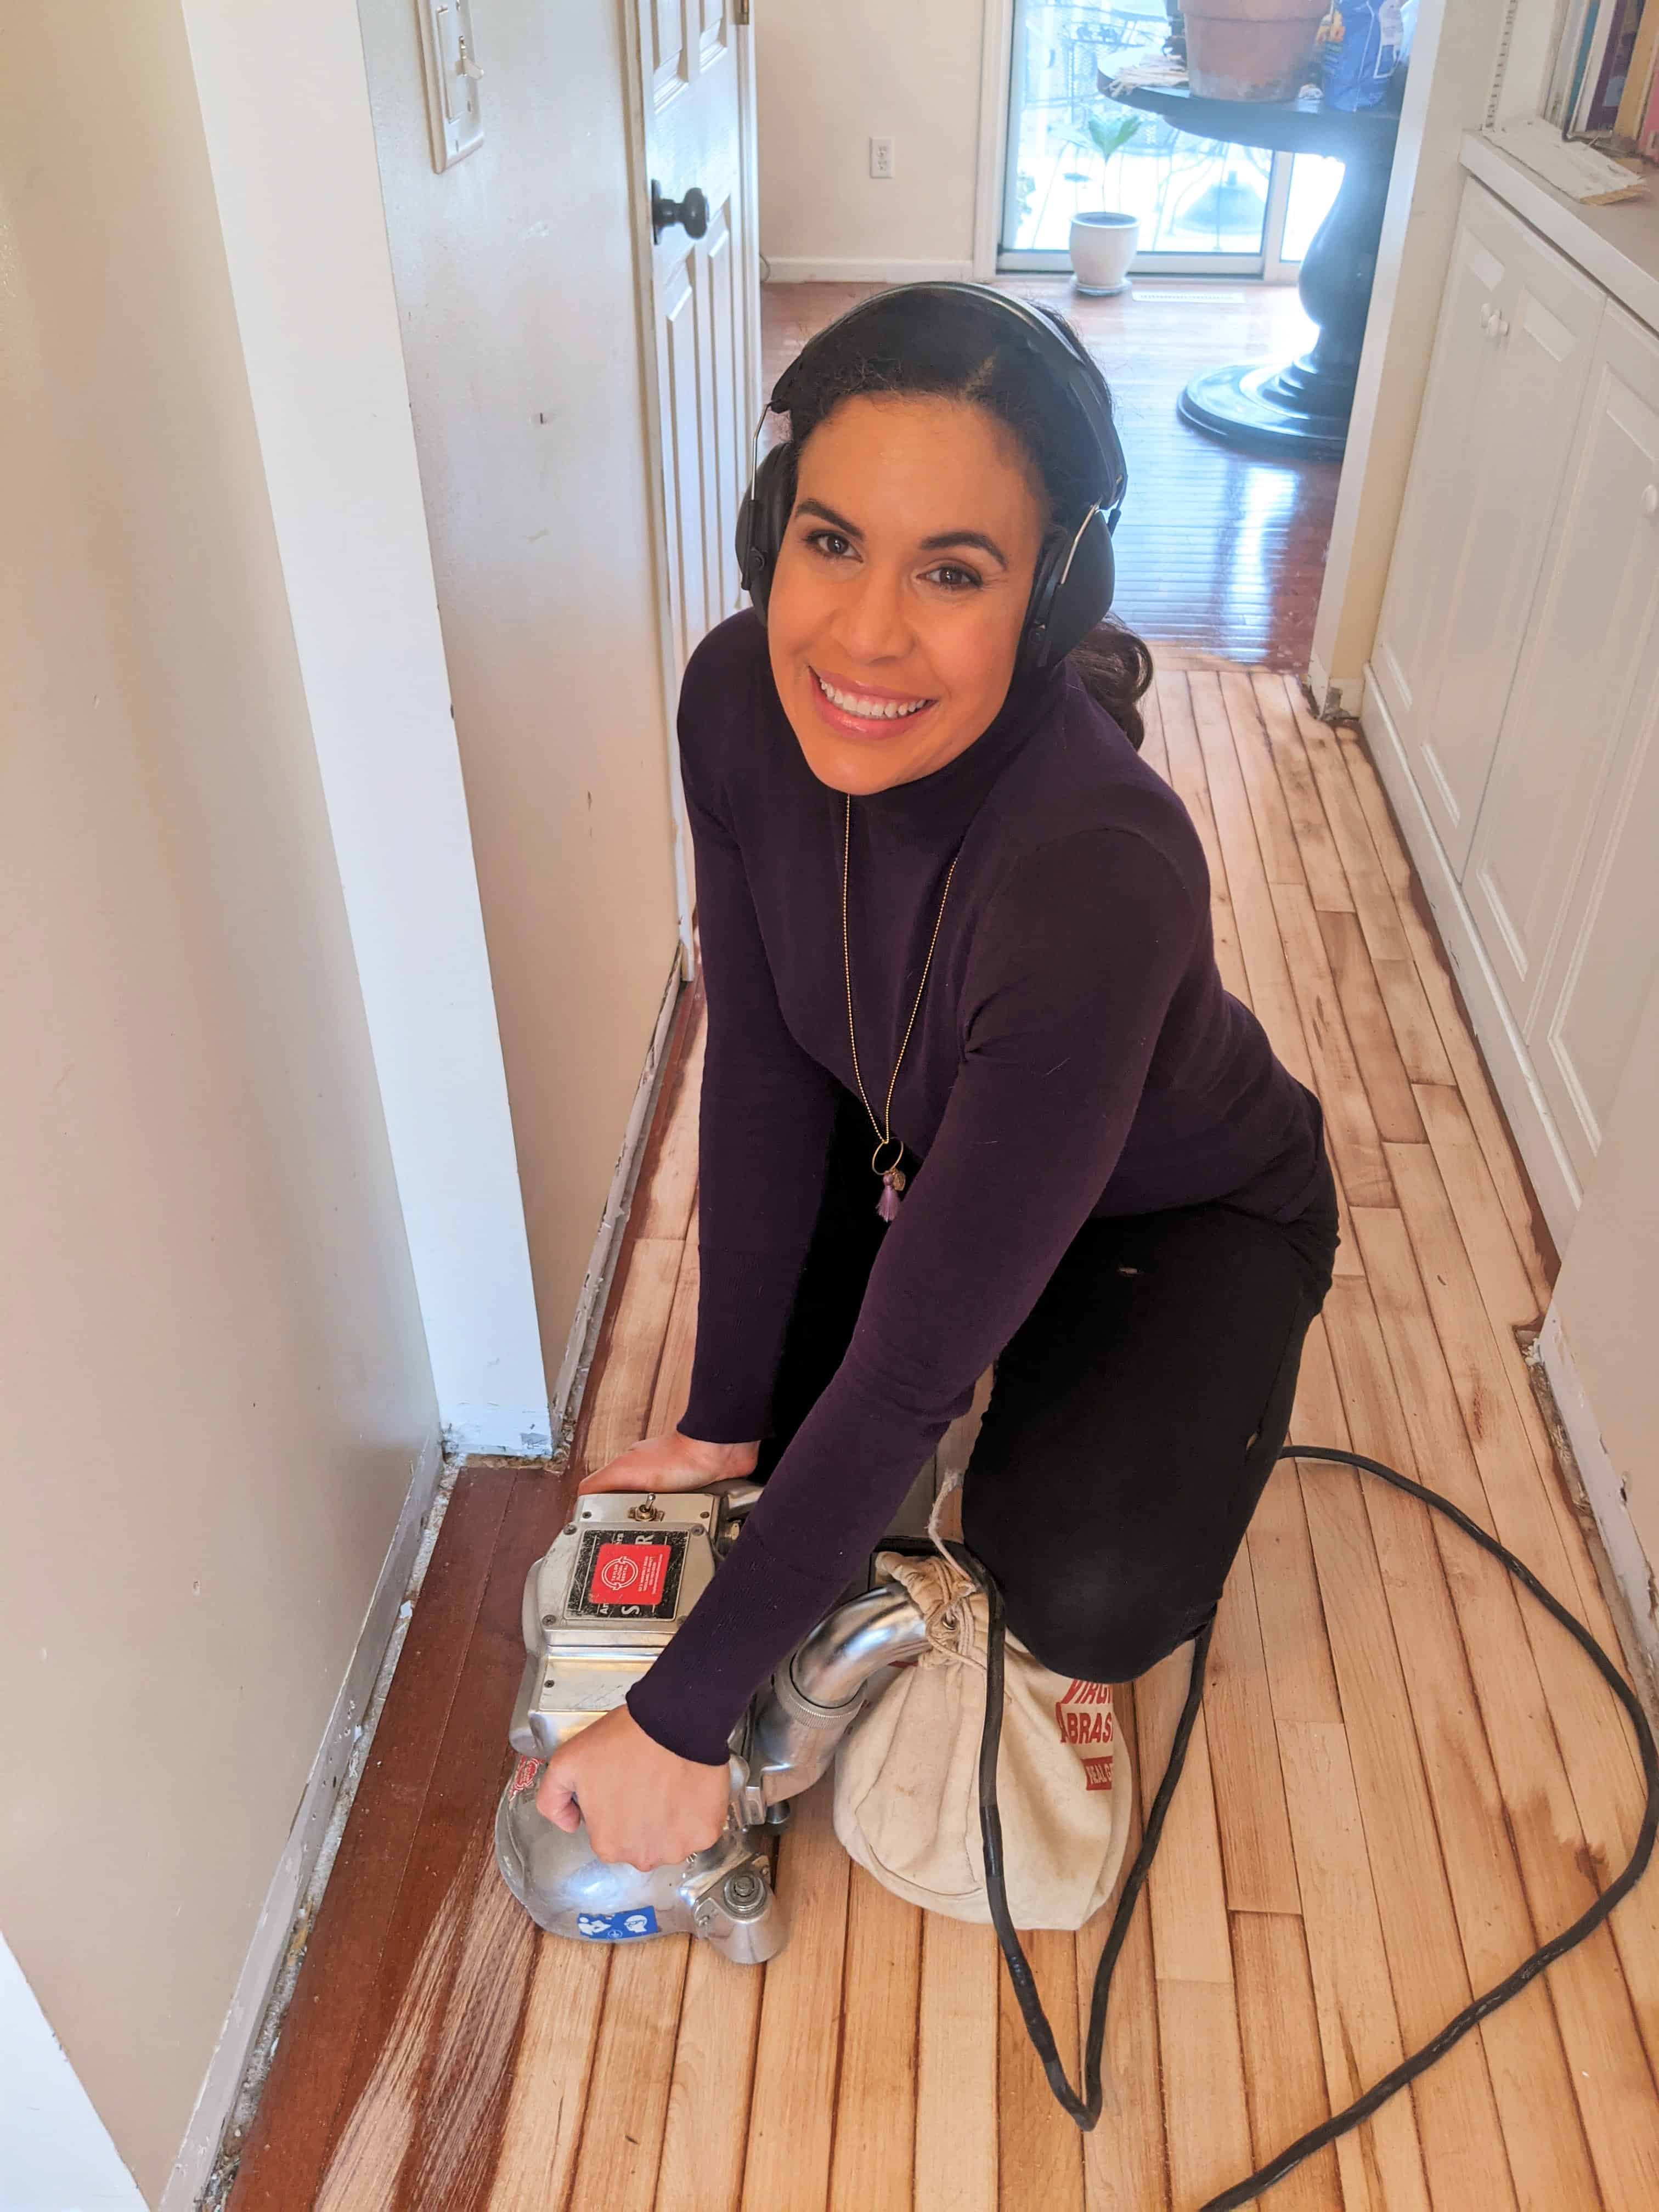
To get this huge job done we rented a floor sander and a edging sander (which because it takes some upper body strength was the most difficult for me to operate) for a total of 4 days.  We also invested in a great belt sander that has worked well at touching up areas, and have used our hand sander that we purchased years ago to get to odd or small spaces of flooring. Jeremy has always been the hardest worker I know.

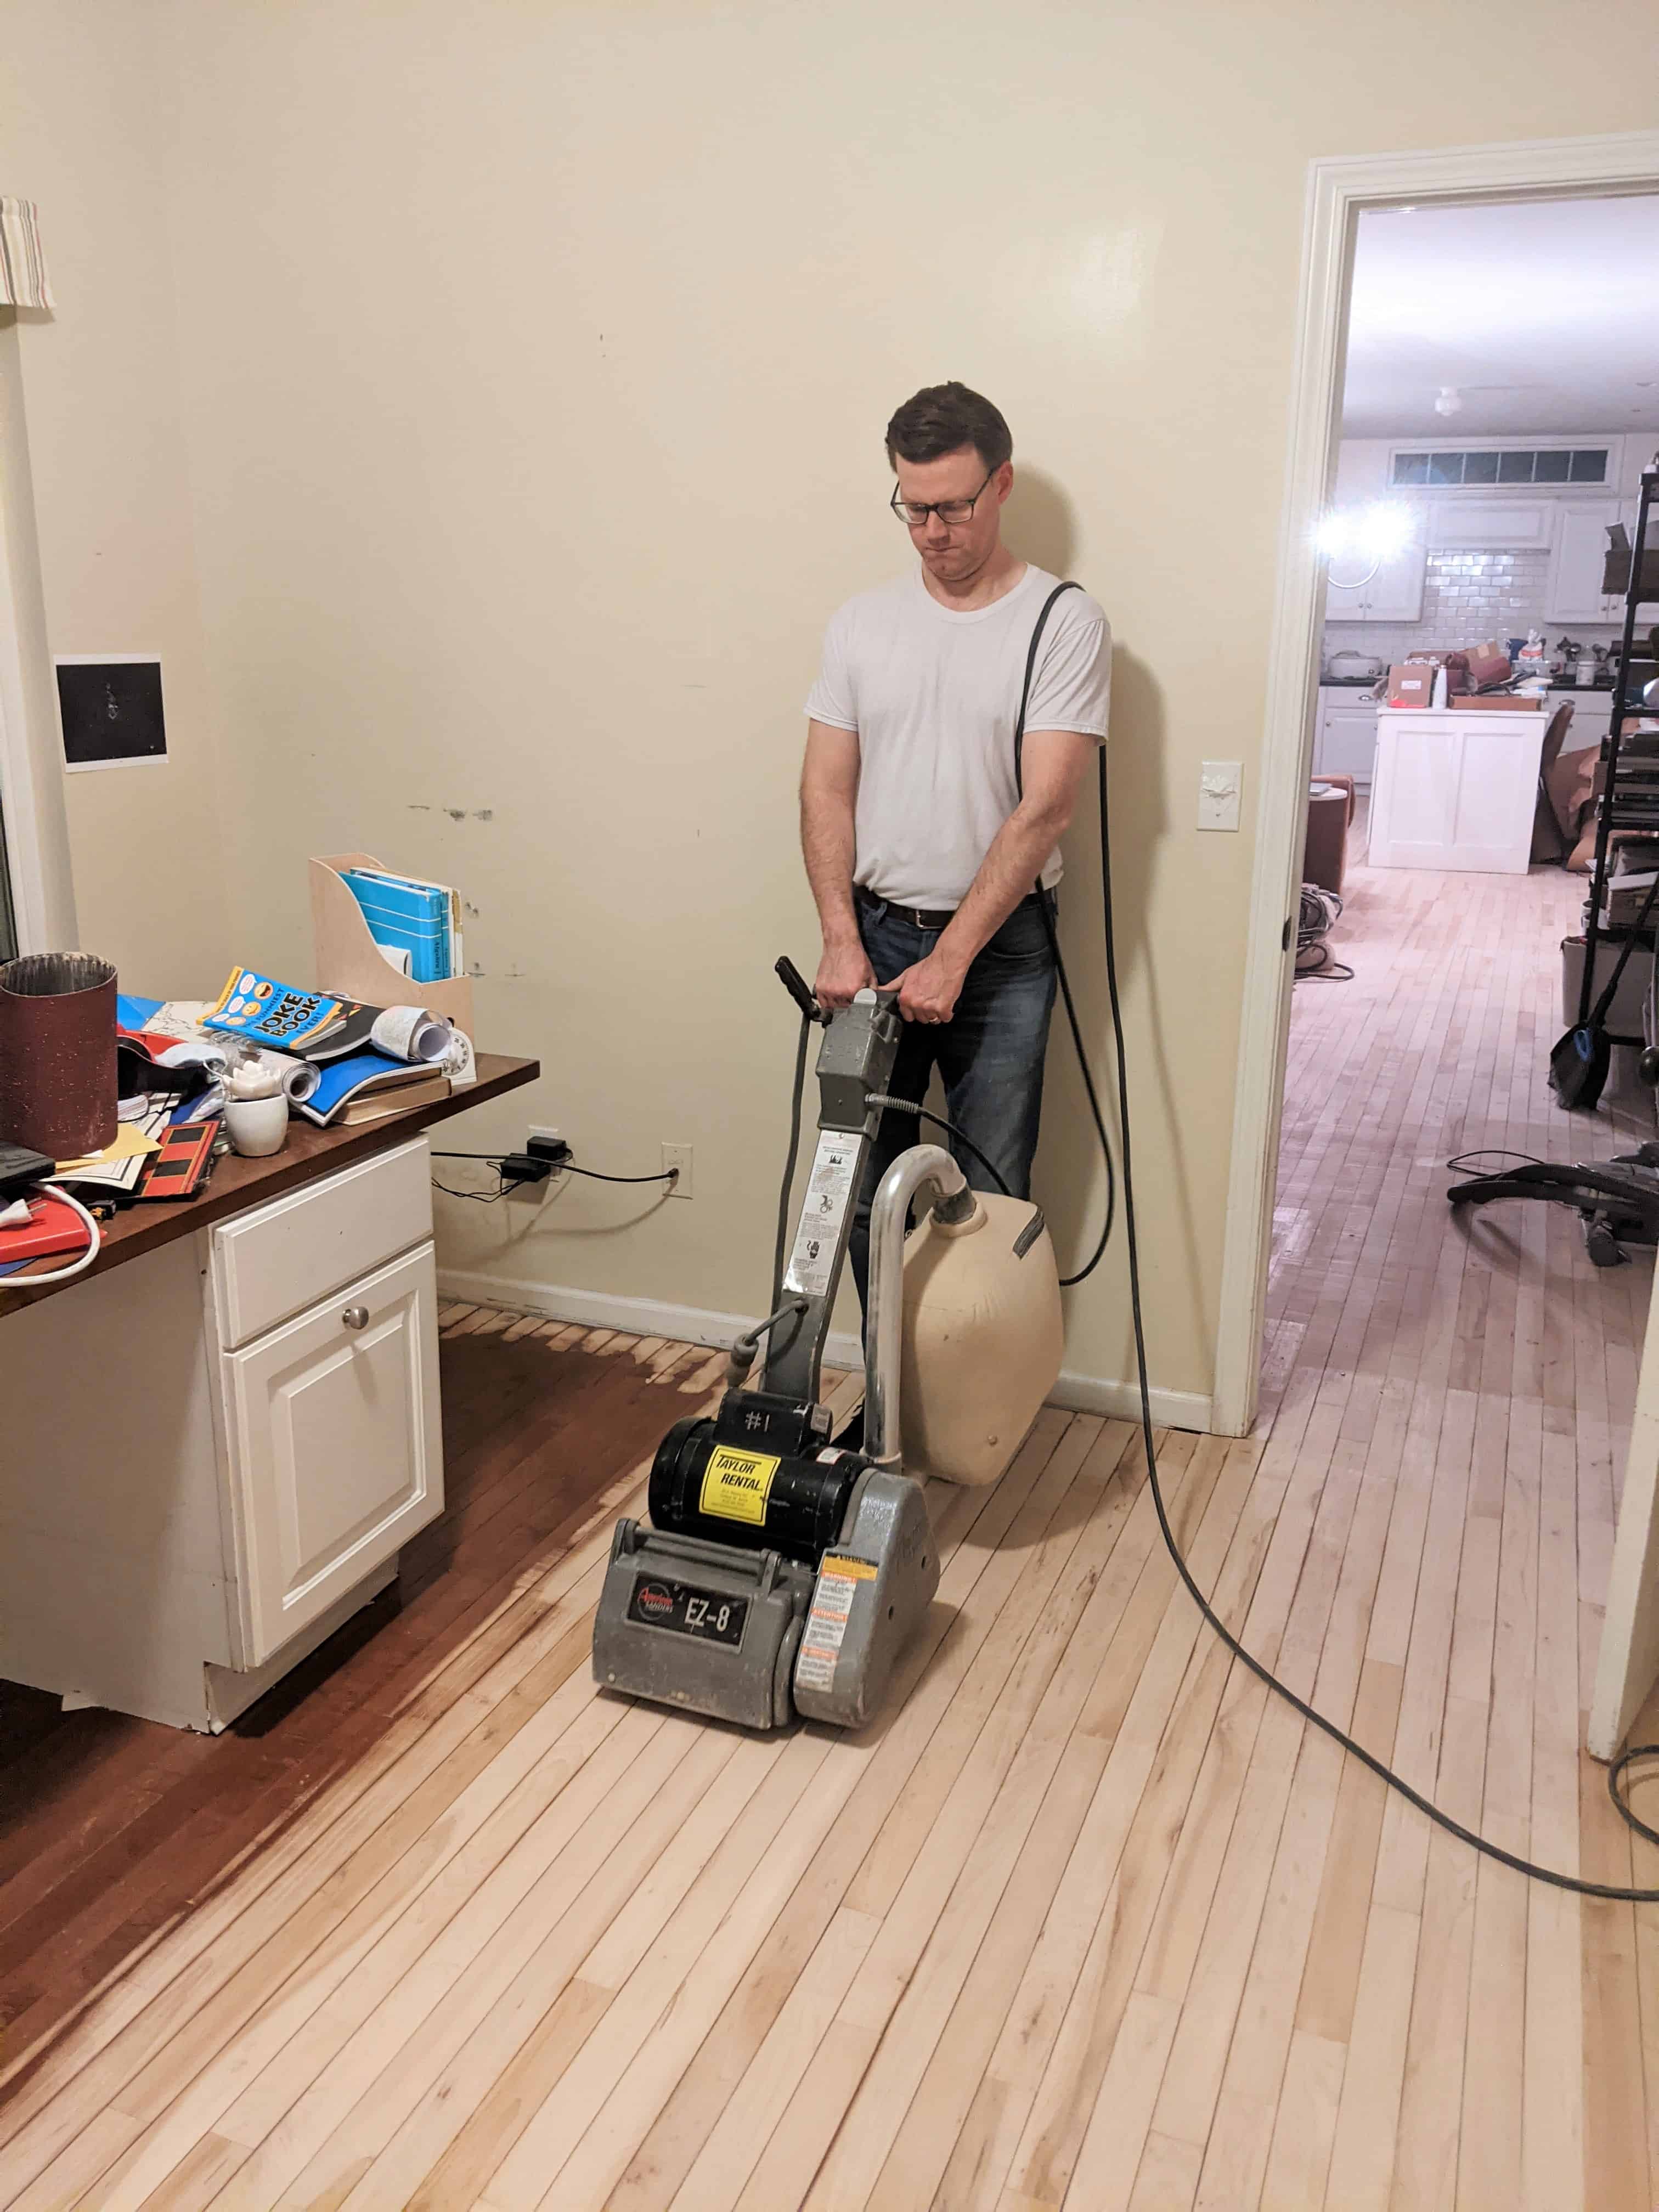
We bought a second sander while doing this job and countless packages of sand paper.

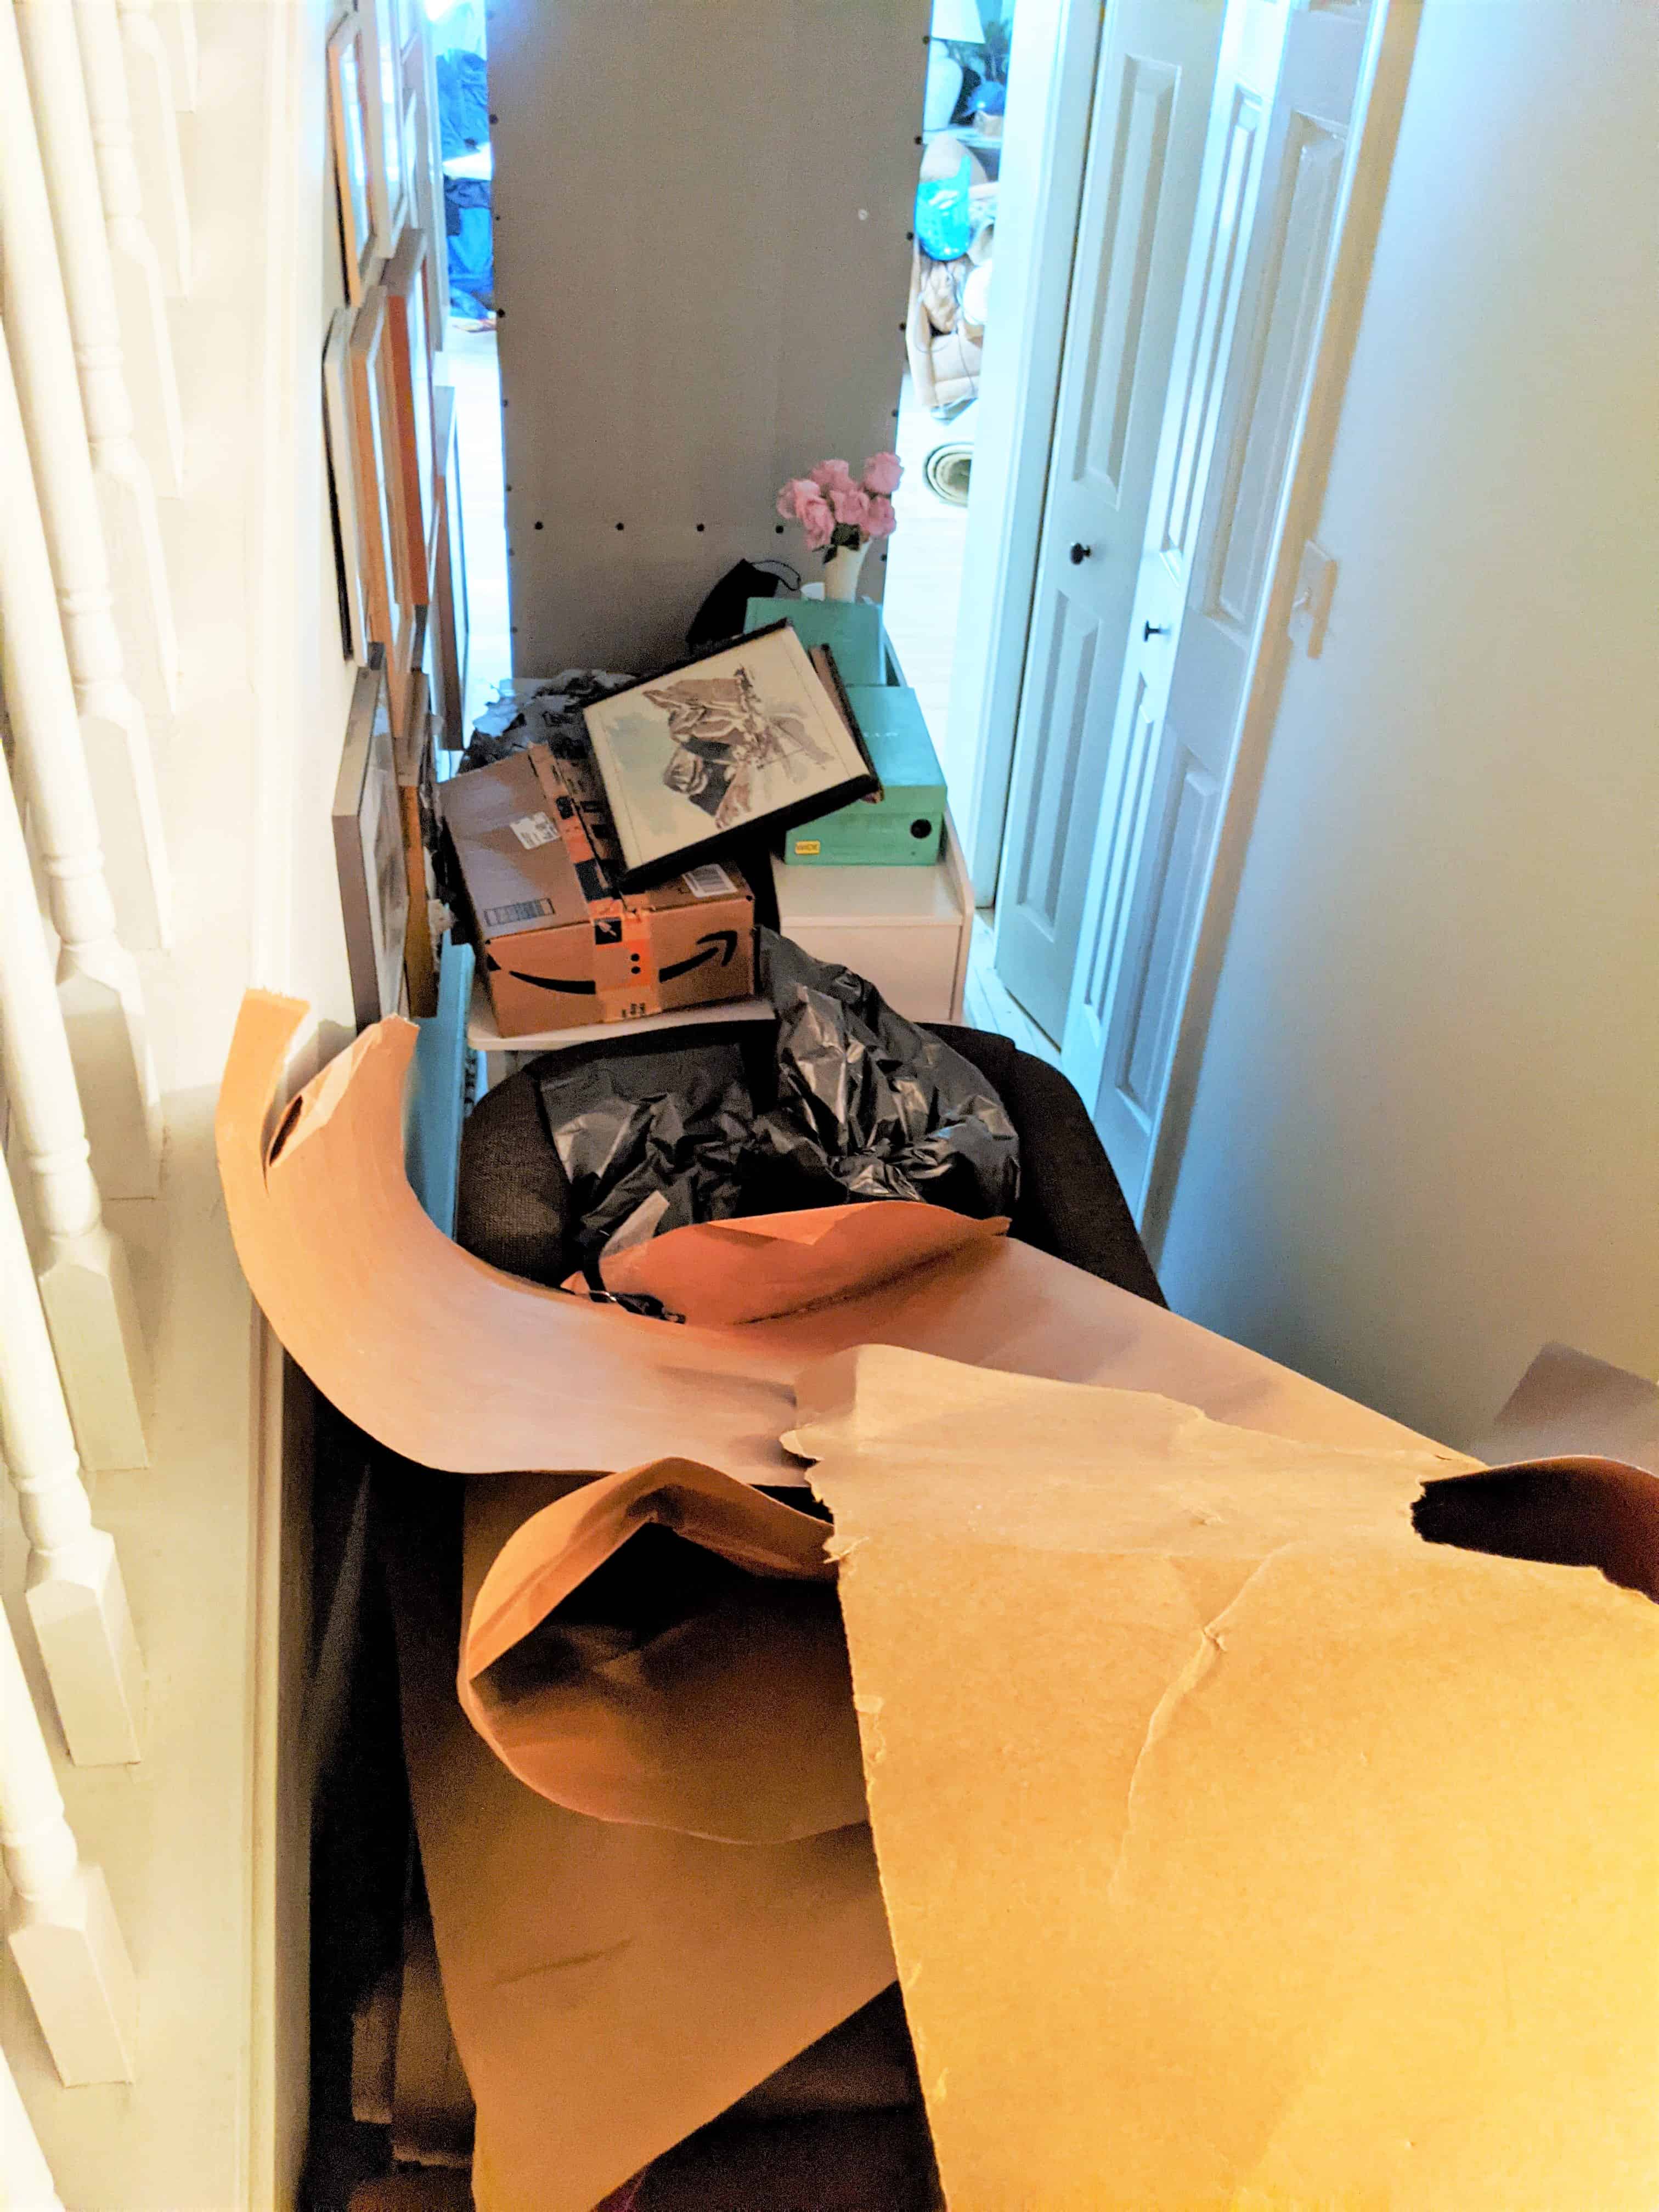
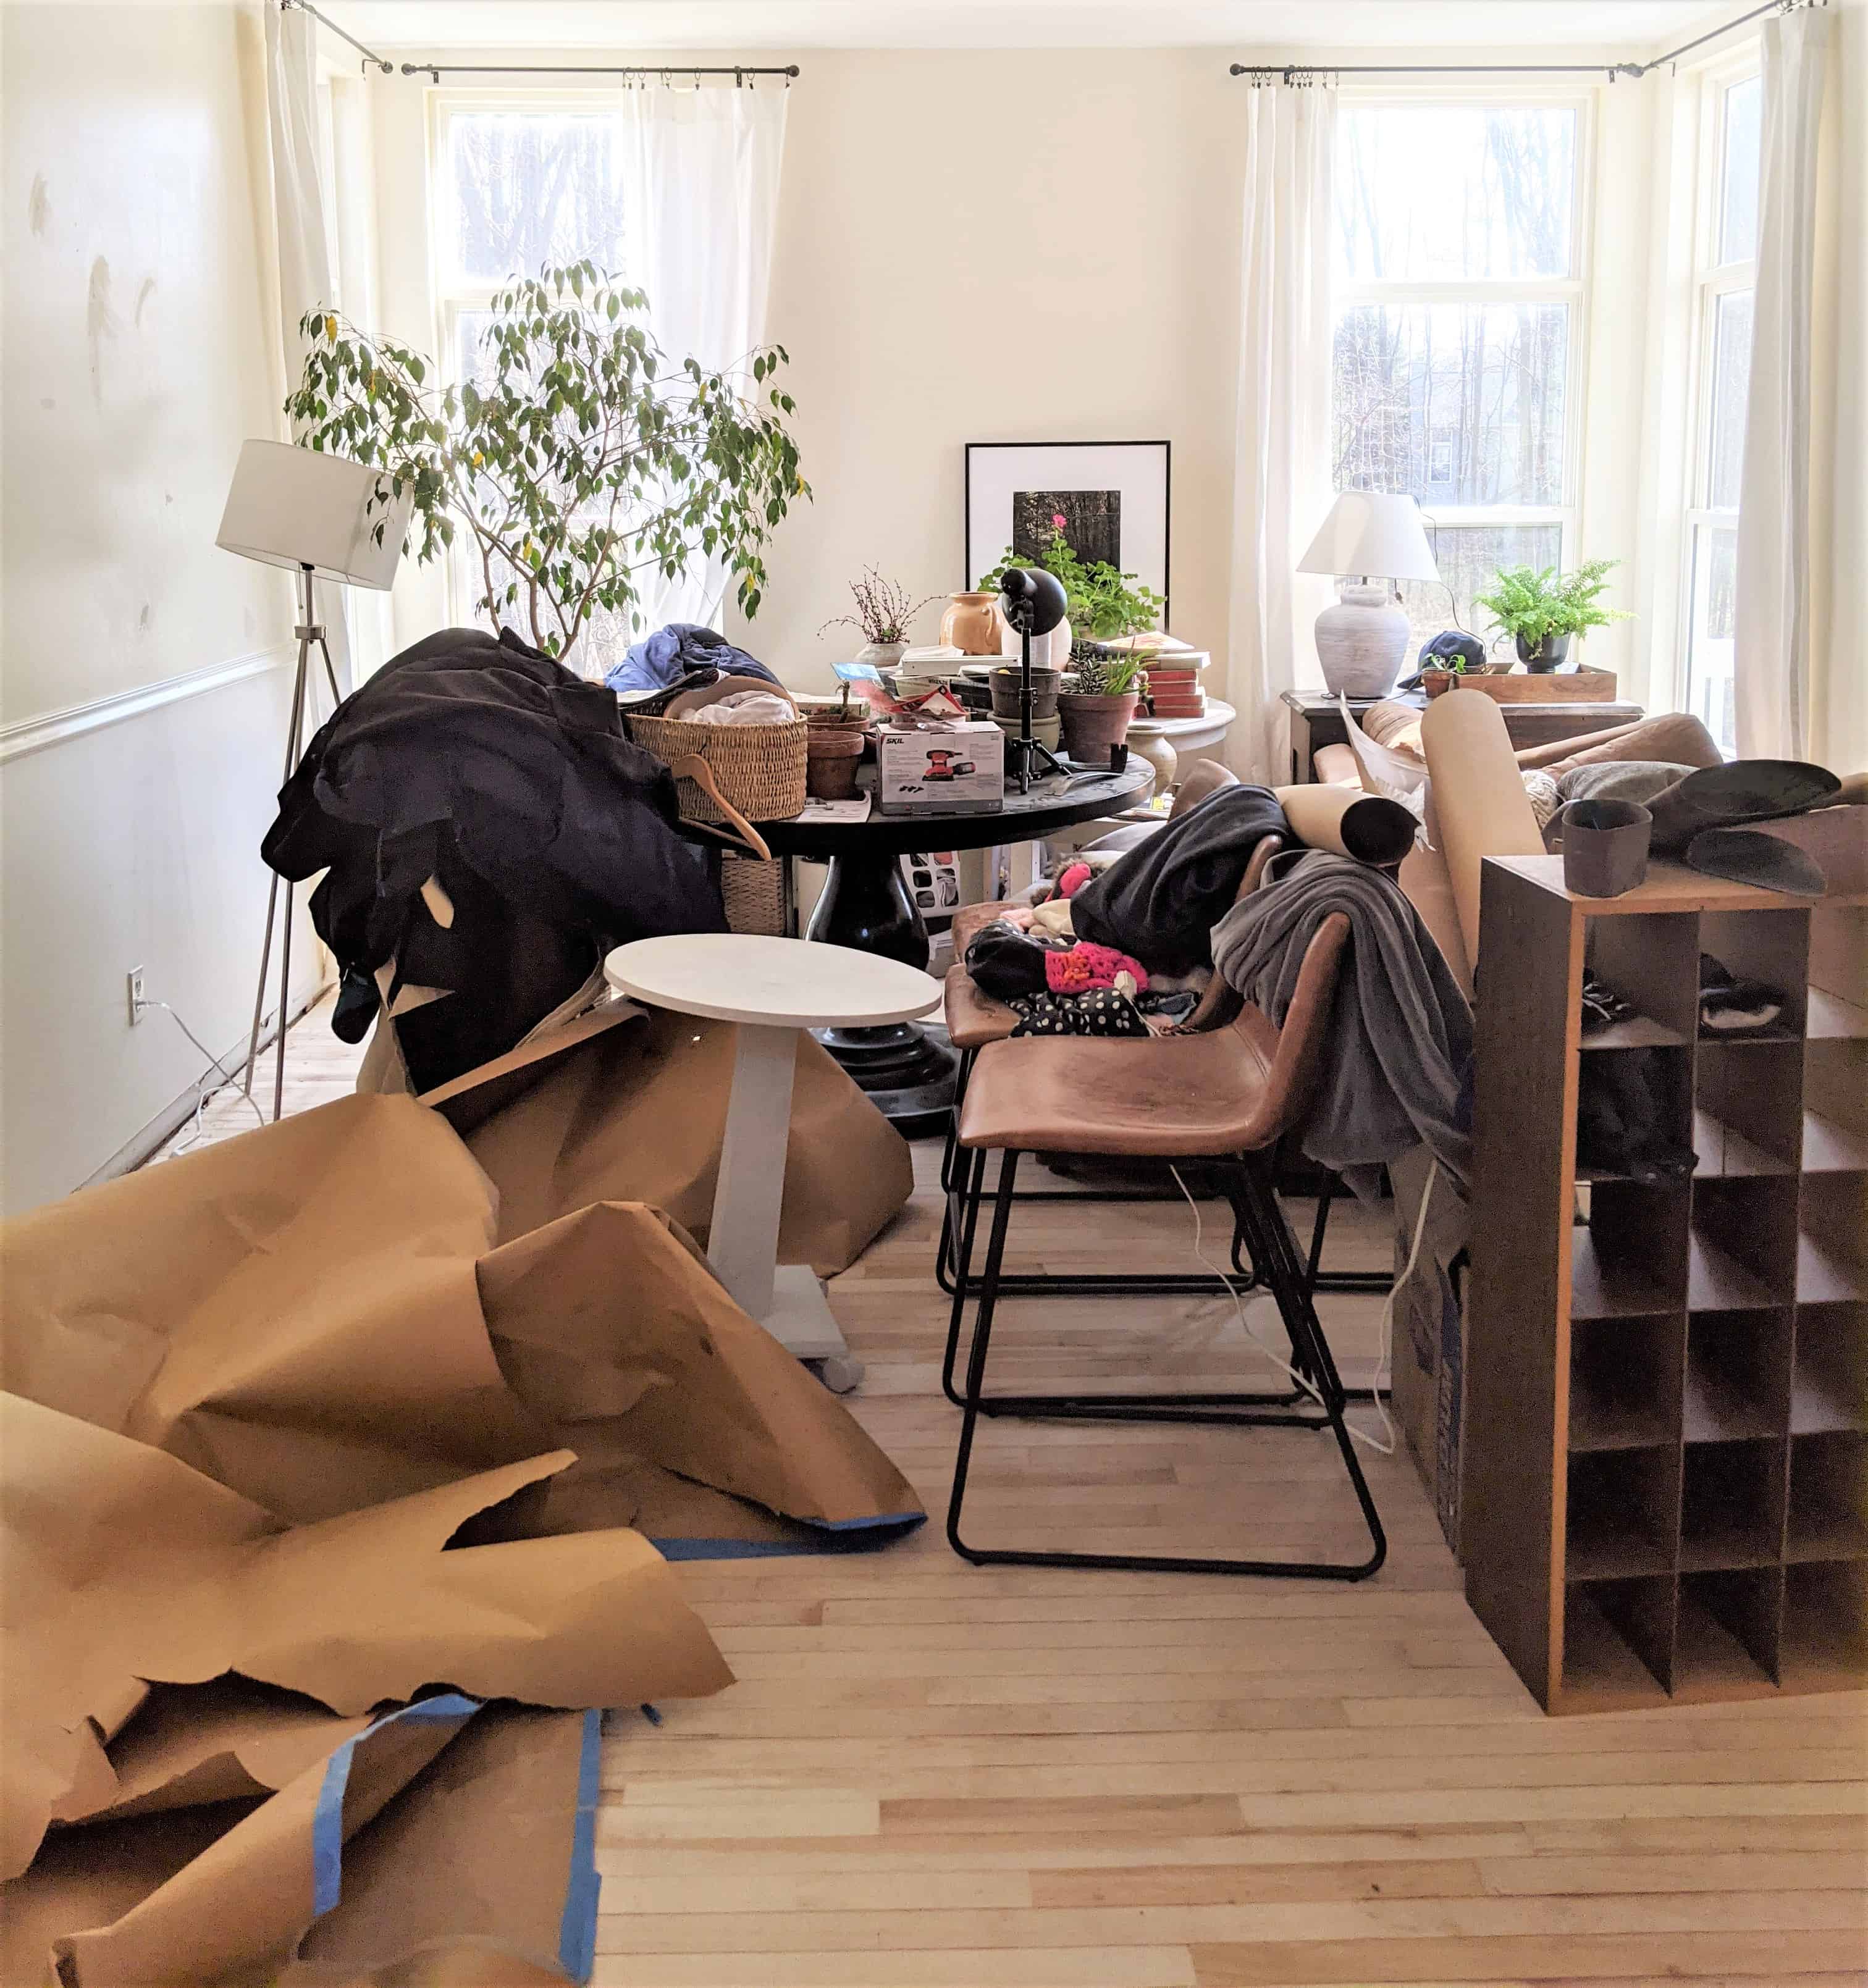
One of the most challenging parts of this flooring project was moving all our stuff around as needed. I realized we really had too much. After this renovation I purged and donated several things to charity.

Even our 8 year old wanted to help and sanded a little bit in tight corners.

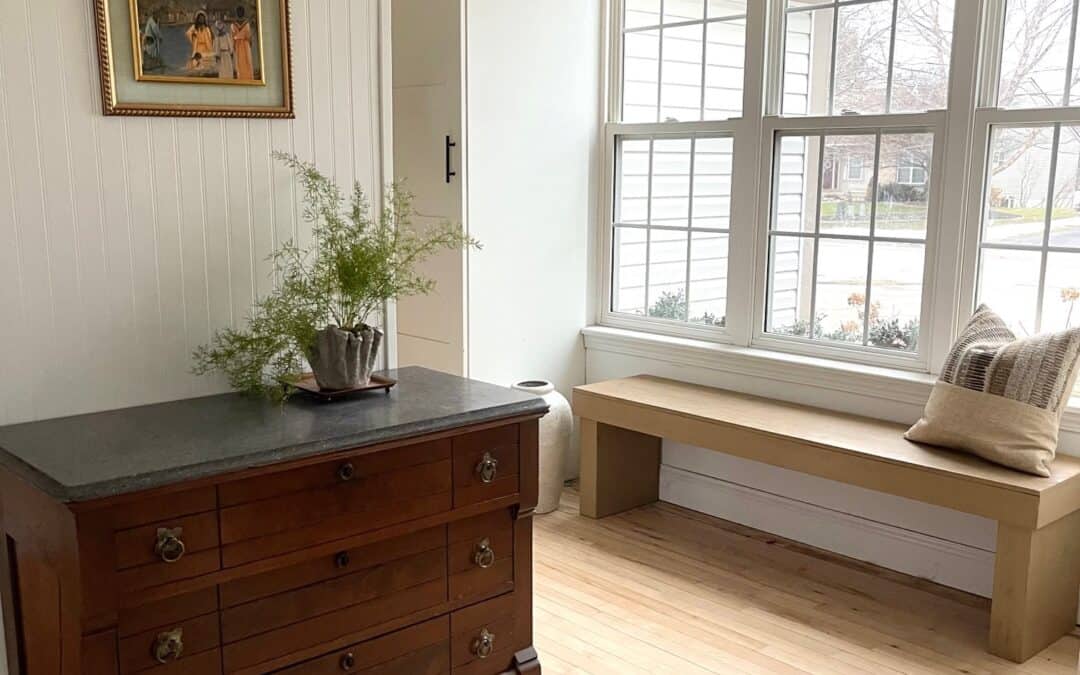
The look of natural maple lightens up our space and we love it so much.

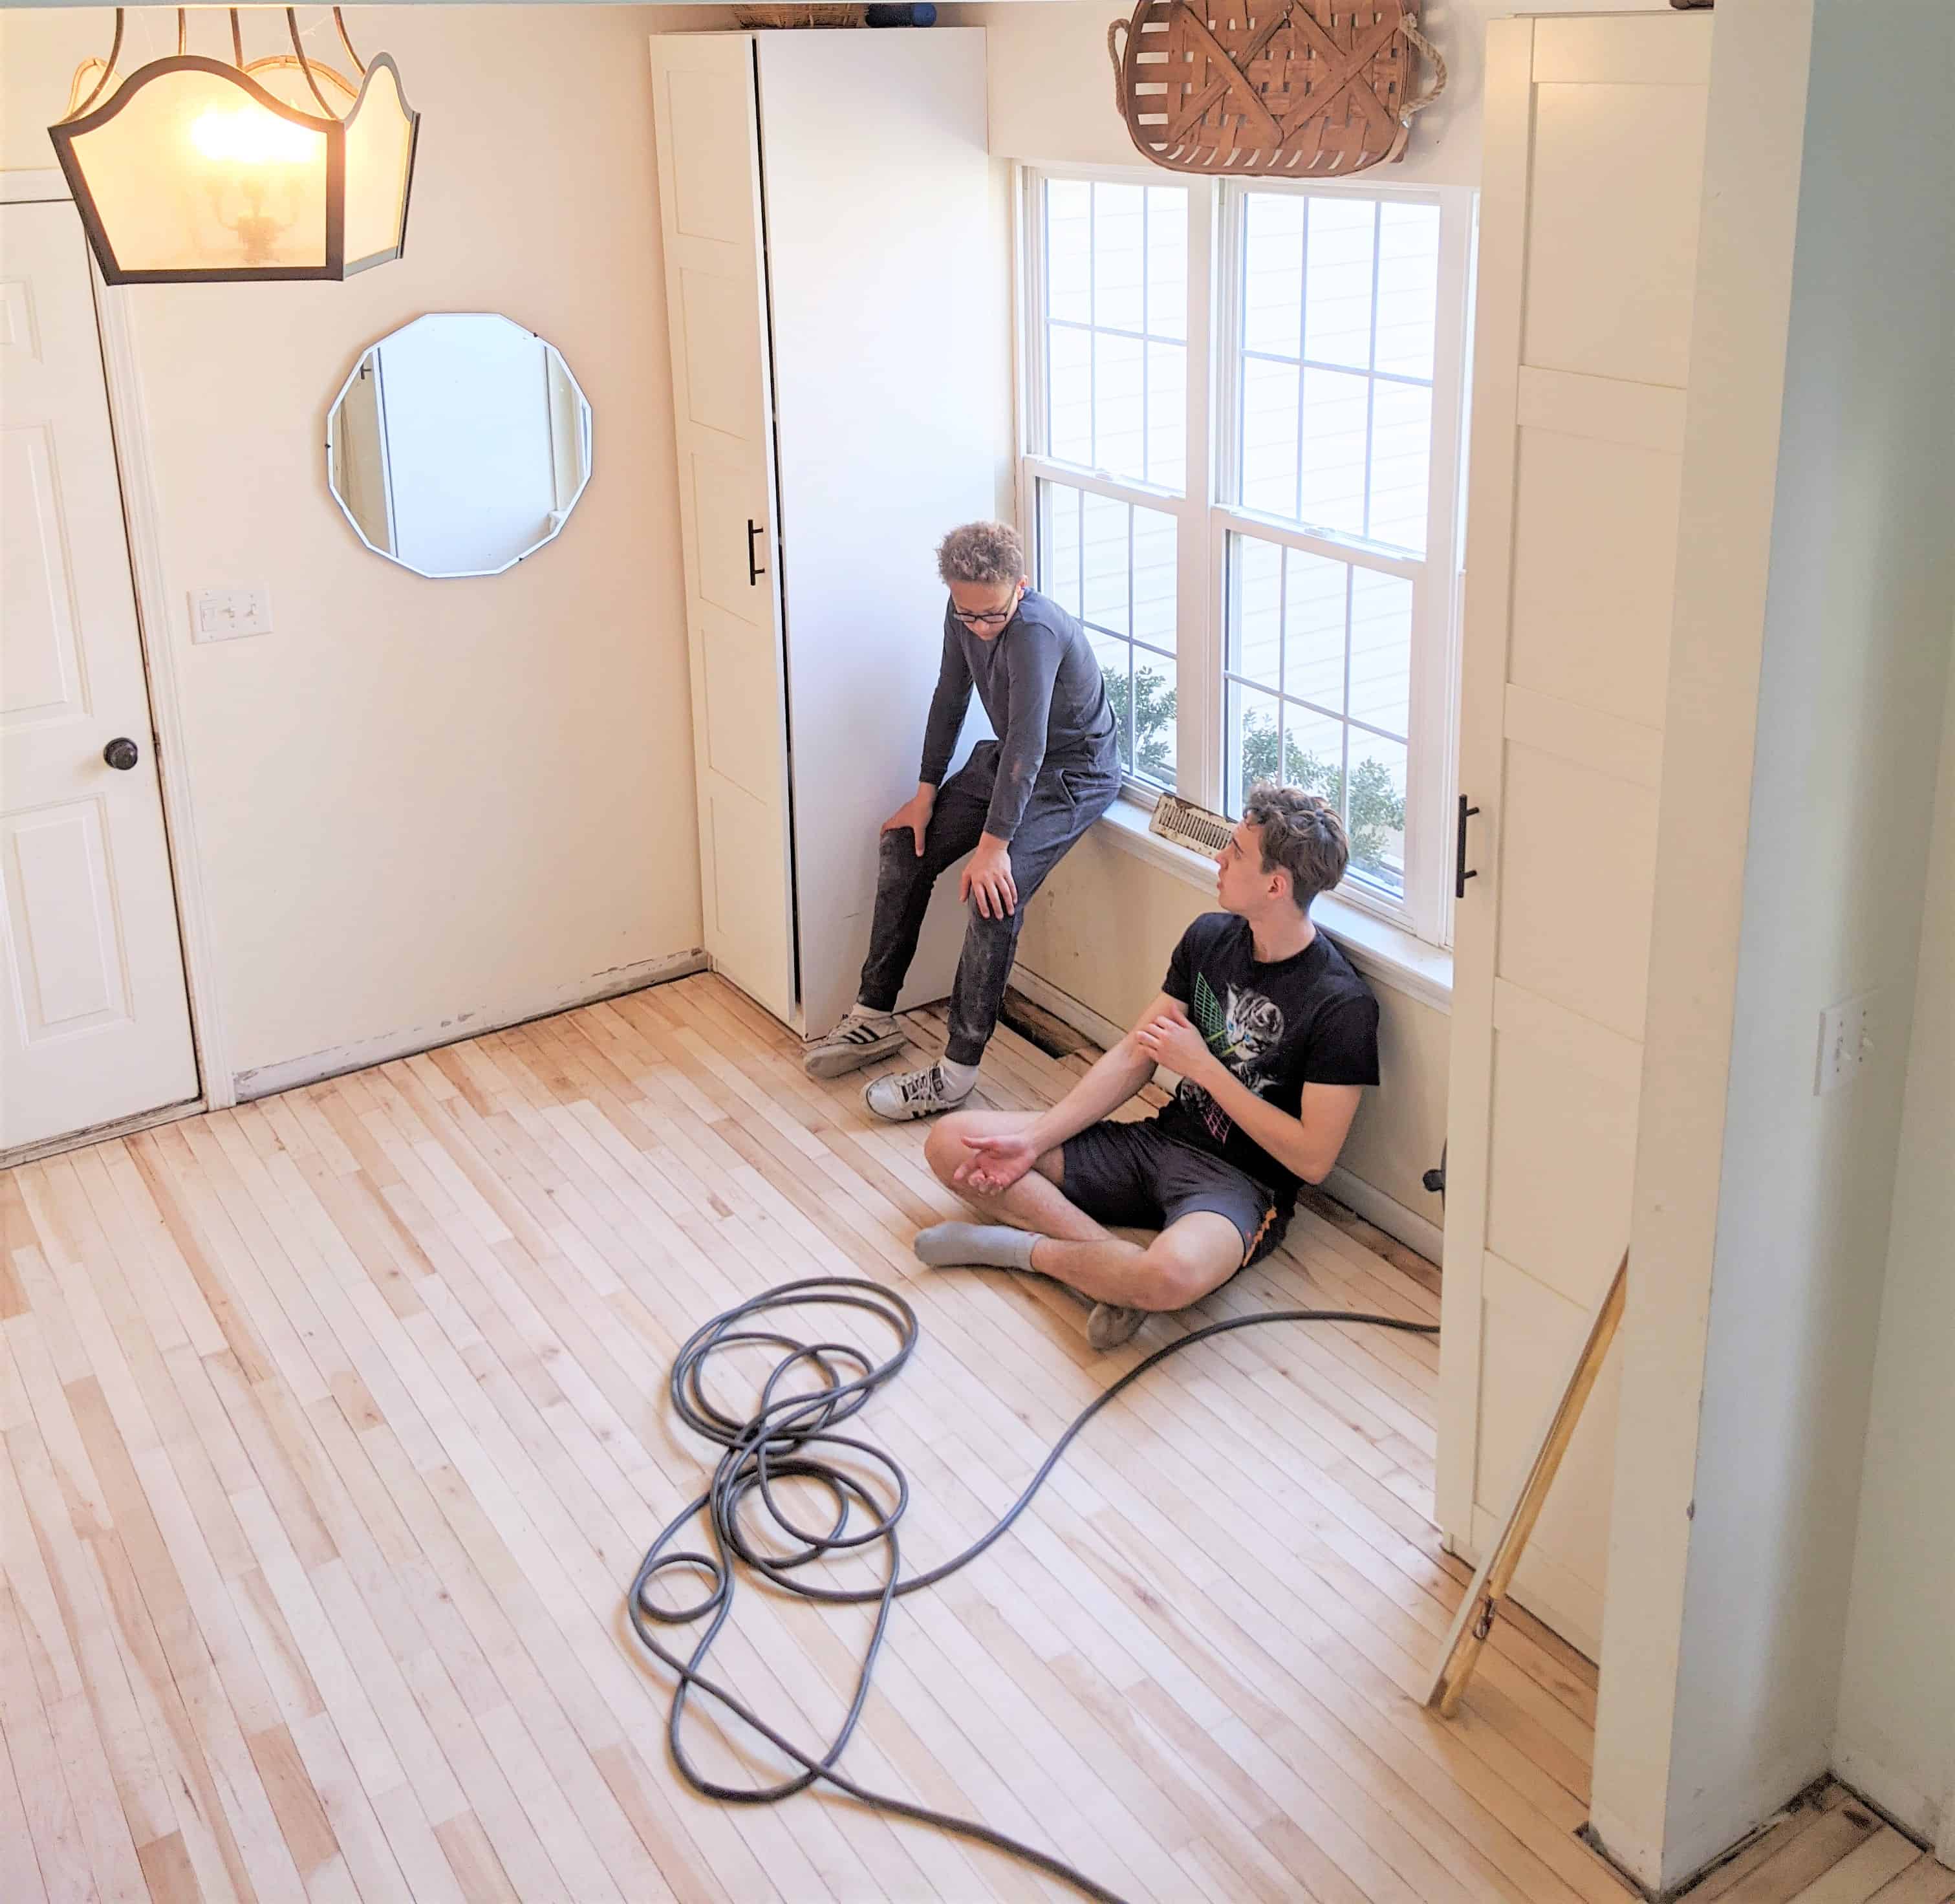
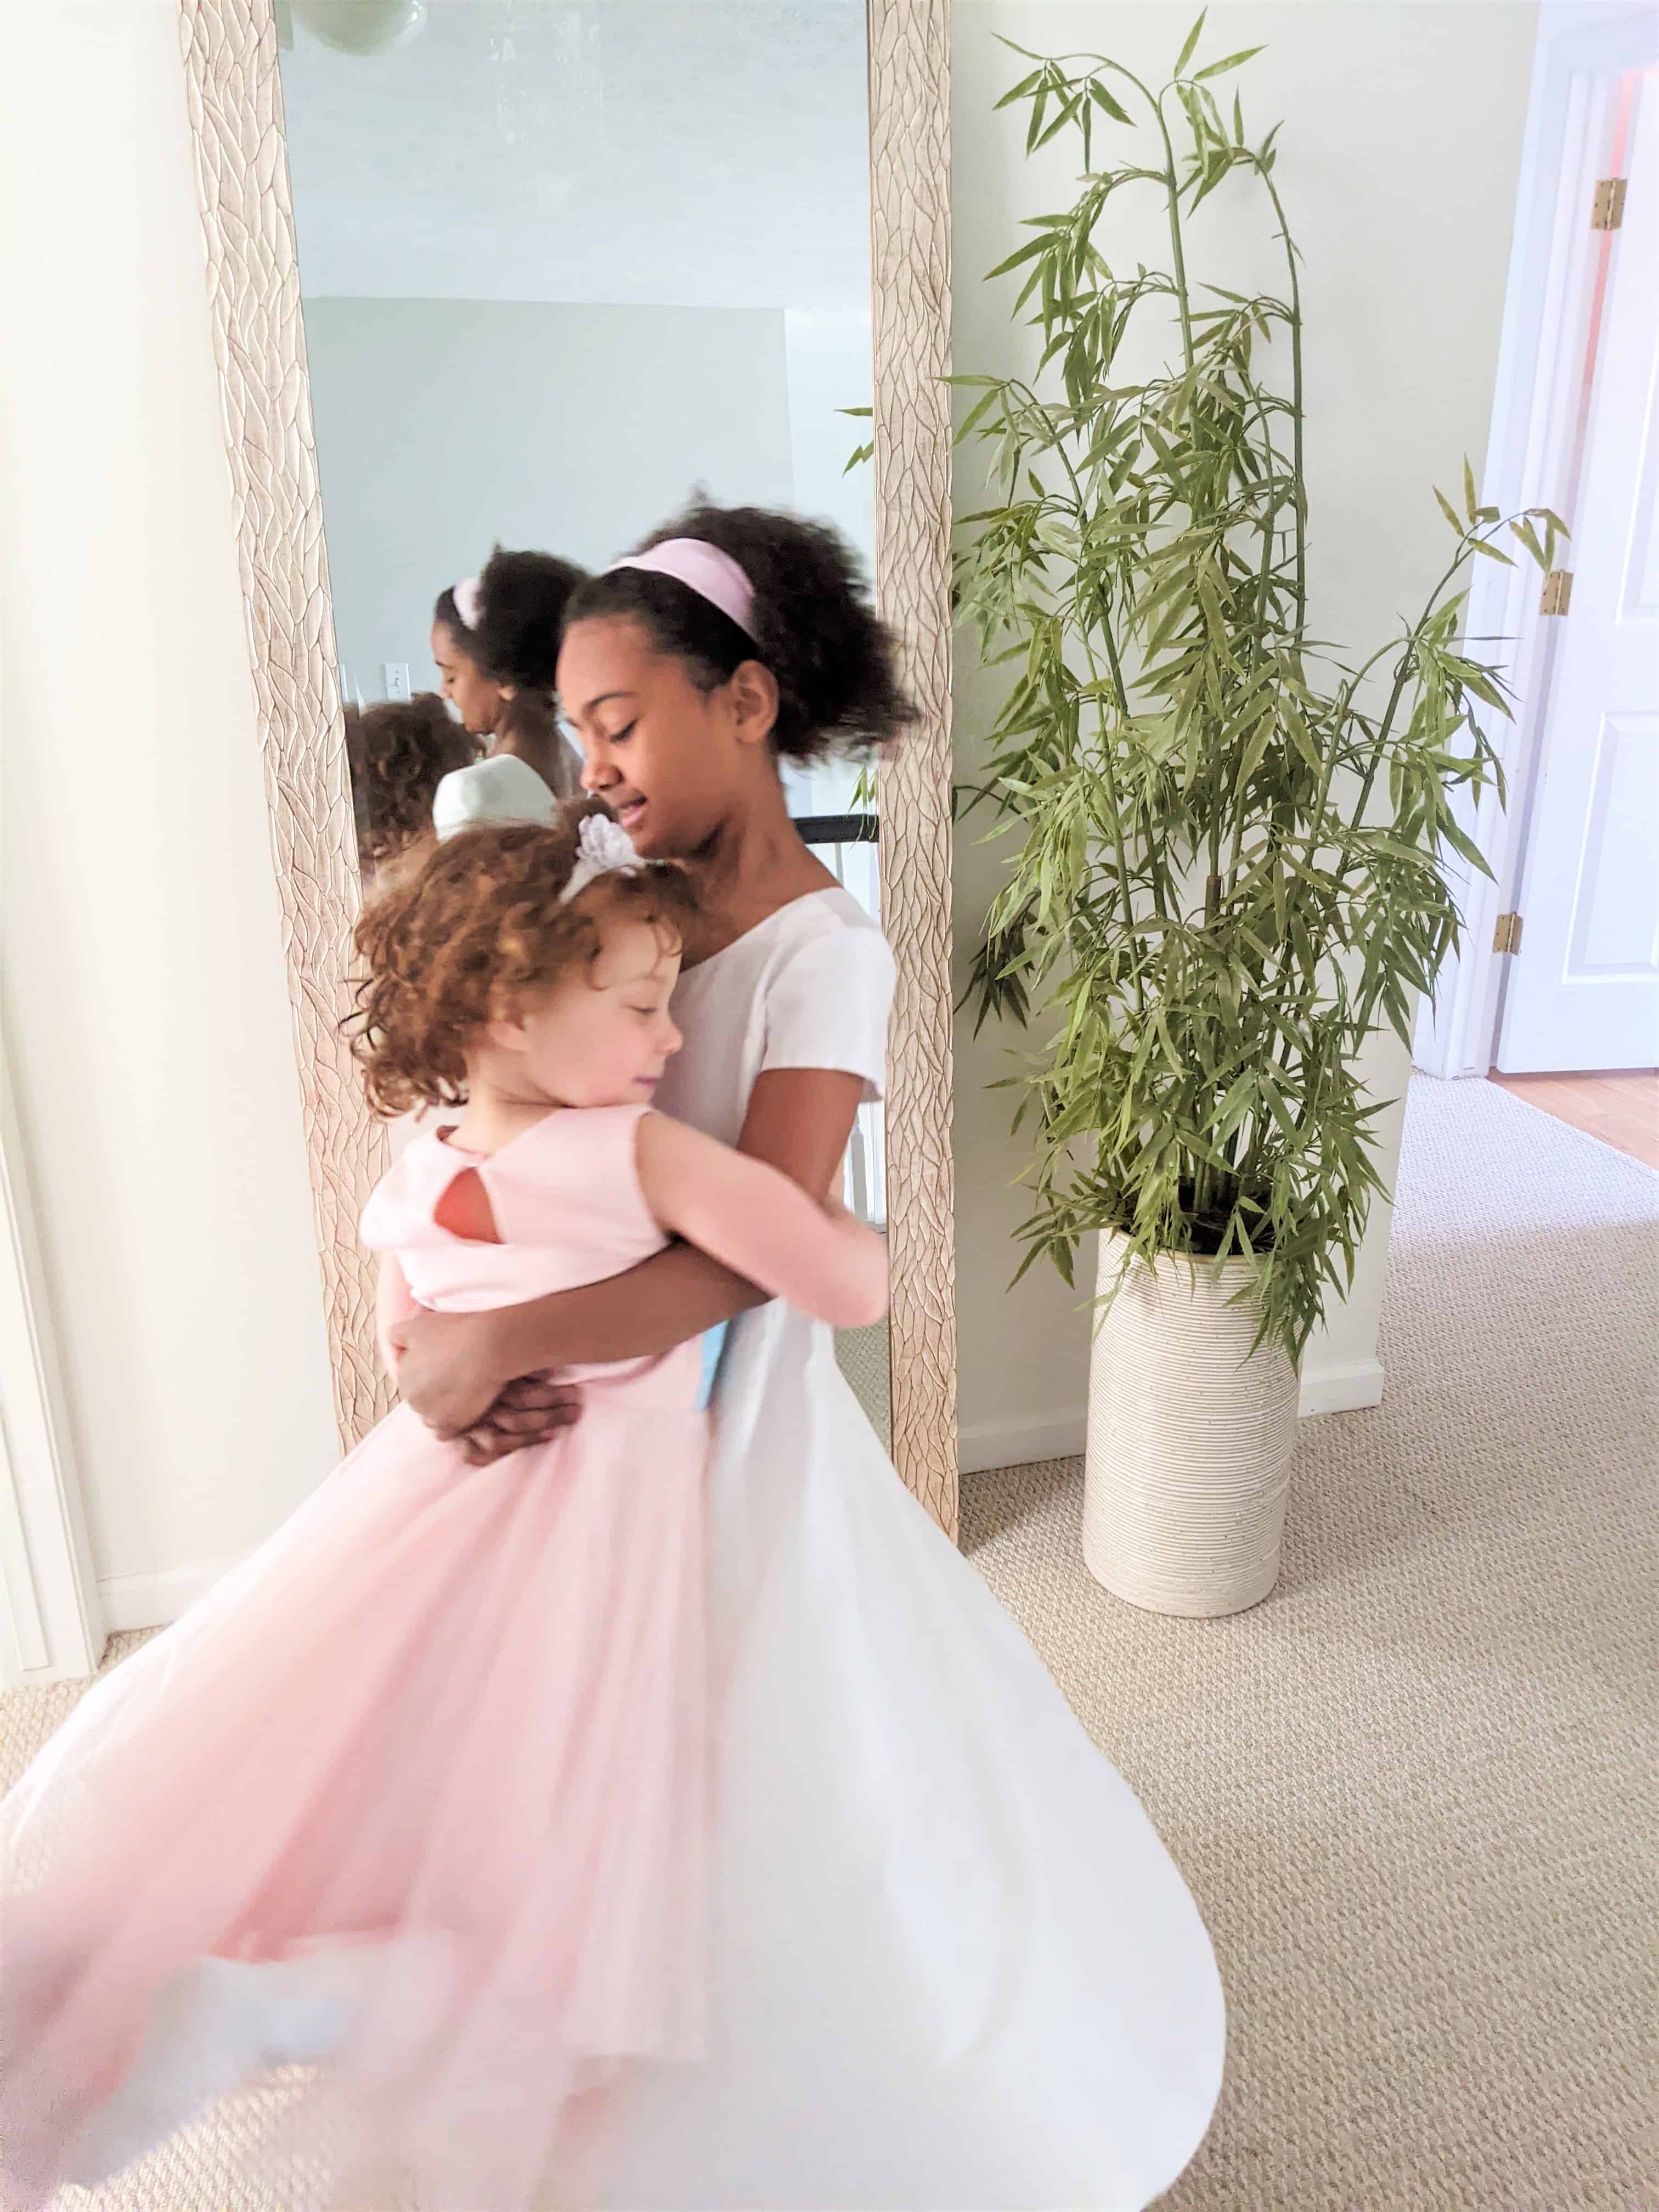
Through all the noise and dust these two played like little angels upstairs away from it all. When you renovate and have kids they seem to find ways to entertain themselves and that’s their way of pitching in to help.

Come back Wednesday for part 2 when I show the final result of sanding our floors. This flooring renovation changed the whole look and feel of our home.

Would you try this project with your family?
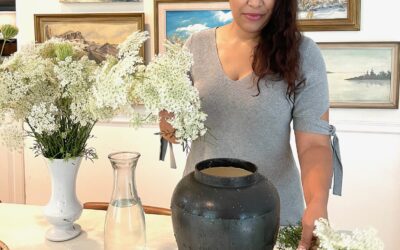
xo Maria

Disclosure: Affiliate links in this post allow me to receive a commission at no extra cost to you.

0 Comments

Trackbacks/Pingbacks

  1. Sanding Our Maple Wood Floors Part 2 - Pure Happy Home - […] In doing this project we took the opportunity to give our house a whole new look by lightening them…

Submit a Comment

Your email address will not be published. Required fields are marked *

Welcome to Pure Happy Home! A home design and DIY blog encouraging and helping you to design spaces you love. Here you’ll find budget makeovers, design tips and creative ideas you can apply to your home. Follow along as our family of 7 works to make our home more beautiful and our relationships closer.

CATEGORIES

TAGS

RECENT POSTS

5 Steps to Quickly Tidy Any Room

5 Steps to Quickly Tidy Any Room

We've all been there. Life gets busy and our spaces get a mess, but I have a strategy to share. Here are 5 steps to quickly tidy any room. And they're quick, oh so quick! I use them to keep our home from getting too out of control. It's my go to way of getting things...

Decorating a Kitchen Wall with Cutting Boards

Decorating a Kitchen Wall with Cutting Boards

If you're looking to add some character to your kitchen, try decorating a kitchen wall with cutting boards. The art on the wall between our two kitchen windows was fine, but I really wanted something kitchen related there. Decorating a Kitchen Wall with Cutting Boards...

 Four Smart Ways to Declutter When You’re Overwhelmed 

 Four Smart Ways to Declutter When You’re Overwhelmed 

 Don't know where to start when decluttering your home? Here are Four Smart Ways to Declutter When You're Overwhelmed.  Feeling swamped by the clutter in your home? You're not alone. Many of us find ourselves hindered by the sheer volume of things we accumulate, often...

GET YOUR FREE GUIDE

5 Easy Home Tips for Hosting Guests

Recent Posts

Decorating a Kitchen Wall with Cutting Boards

Decorating a Kitchen Wall with Cutting Boards

If you're looking to add some character to your kitchen, try decorating a kitchen wall with cutting boards. The art on the wall between our two kitchen windows was fine, but I really wanted something kitchen related there. Decorating a Kitchen Wall with Cutting Boards...

 Four Smart Ways to Declutter When You’re Overwhelmed 

 Four Smart Ways to Declutter When You’re Overwhelmed 

 Don't know where to start when decluttering your home? Here are Four Smart Ways to Declutter When You're Overwhelmed.  Feeling swamped by the clutter in your home? You're not alone. Many of us find ourselves hindered by the sheer volume of things we accumulate, often...

Six Ways to Wear a Long Scarf with a Jacket

Six Ways to Wear a Long Scarf with a Jacket

Looking for a quicky, chic look when you're headed out? Here are six ways to wear a long scarf with a jacket. The other day I had to get ready really fast and so I threw on some jeans, a tank top and a suit jacket. I looked fine, but I wanted to great. That's when I...