How To Turn a Cabinet Into a Partition Part 2

by

shelf

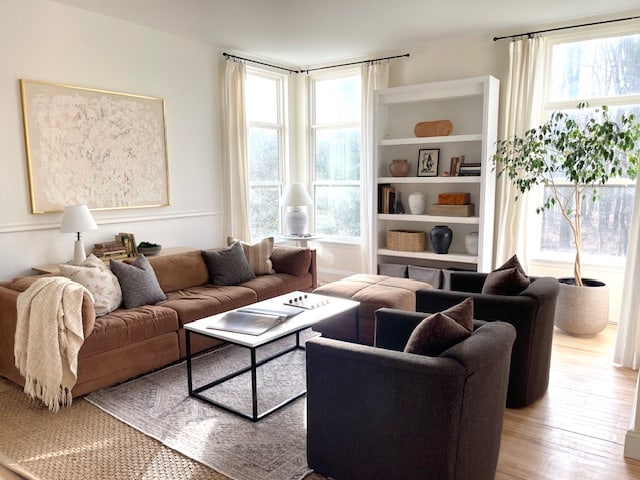
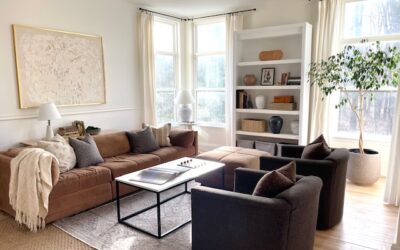
In my last post here, I showed you how we turned a shelf into a partition. As pretty as it was you only got to see the front of the project. Today I’m showing you the back, and it’s full of storage which makes me happy.

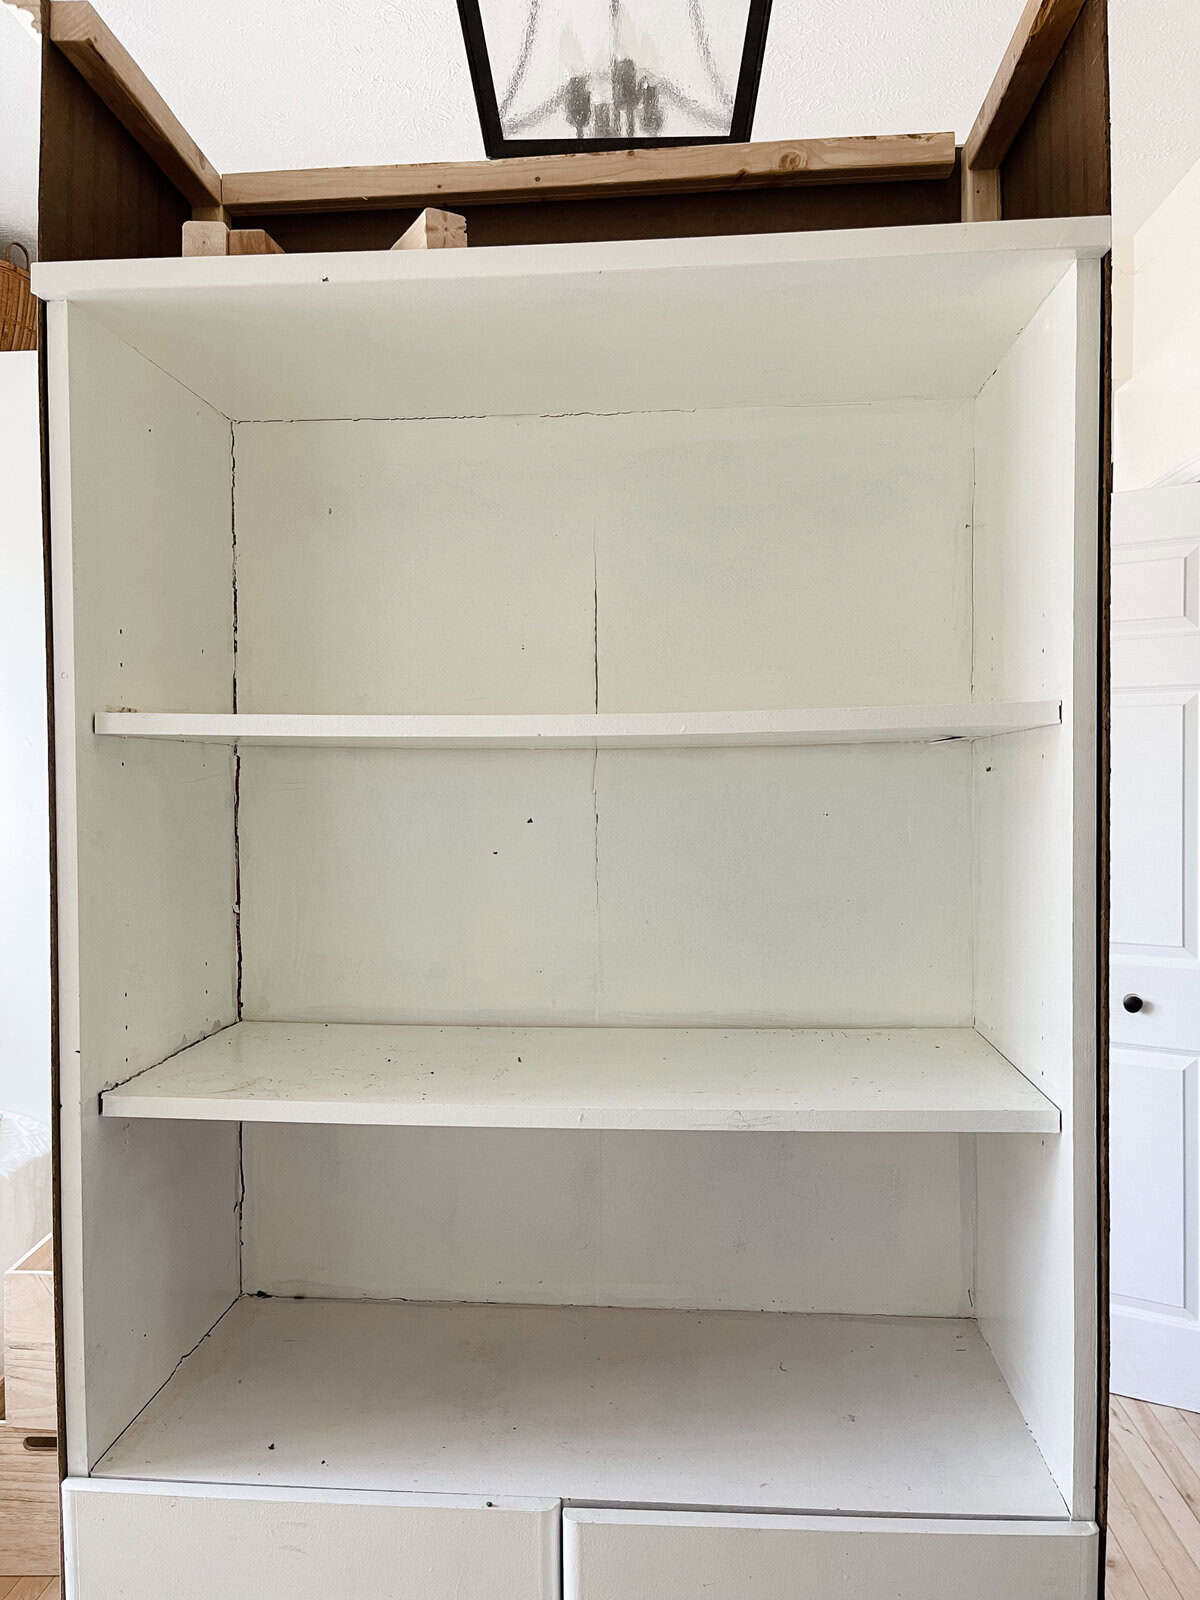
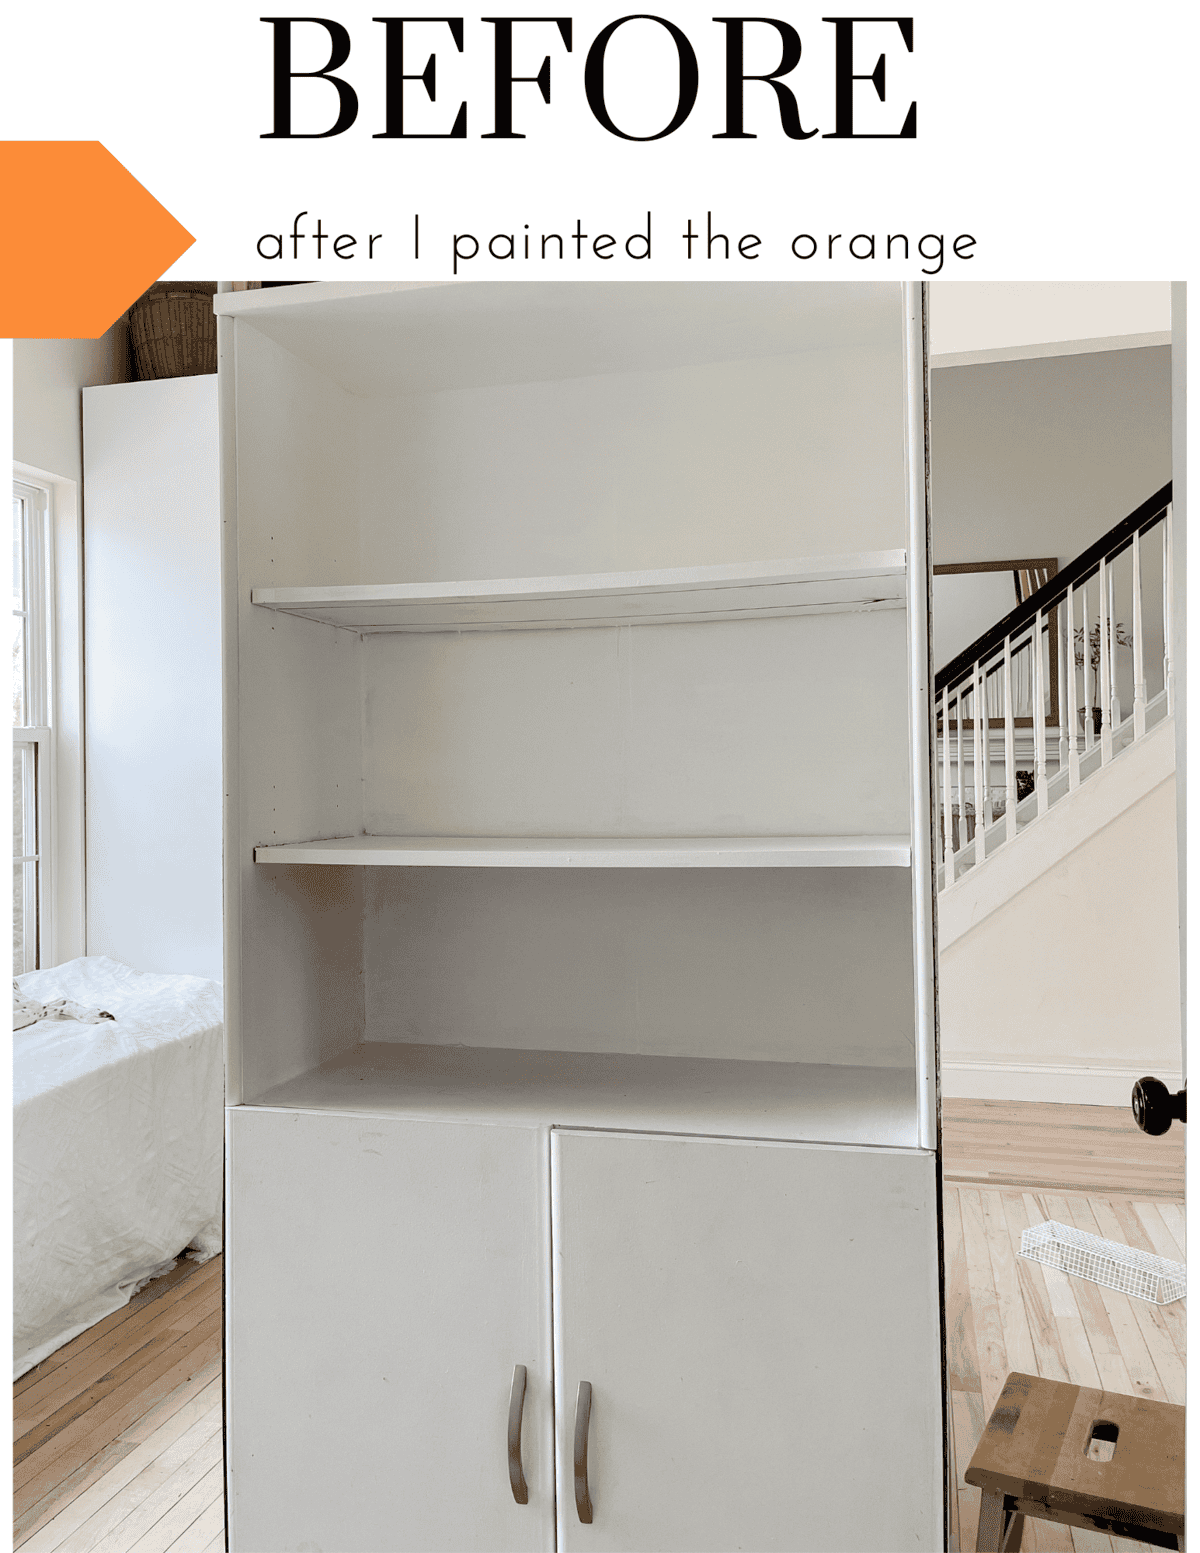
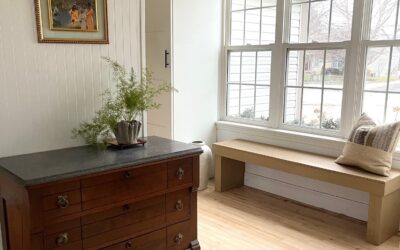
Let’s start with the before photo of the cabinet, which really isn’t the before because I painted it white. Prior to this was an ugly orange which had to go.

back of cabinet

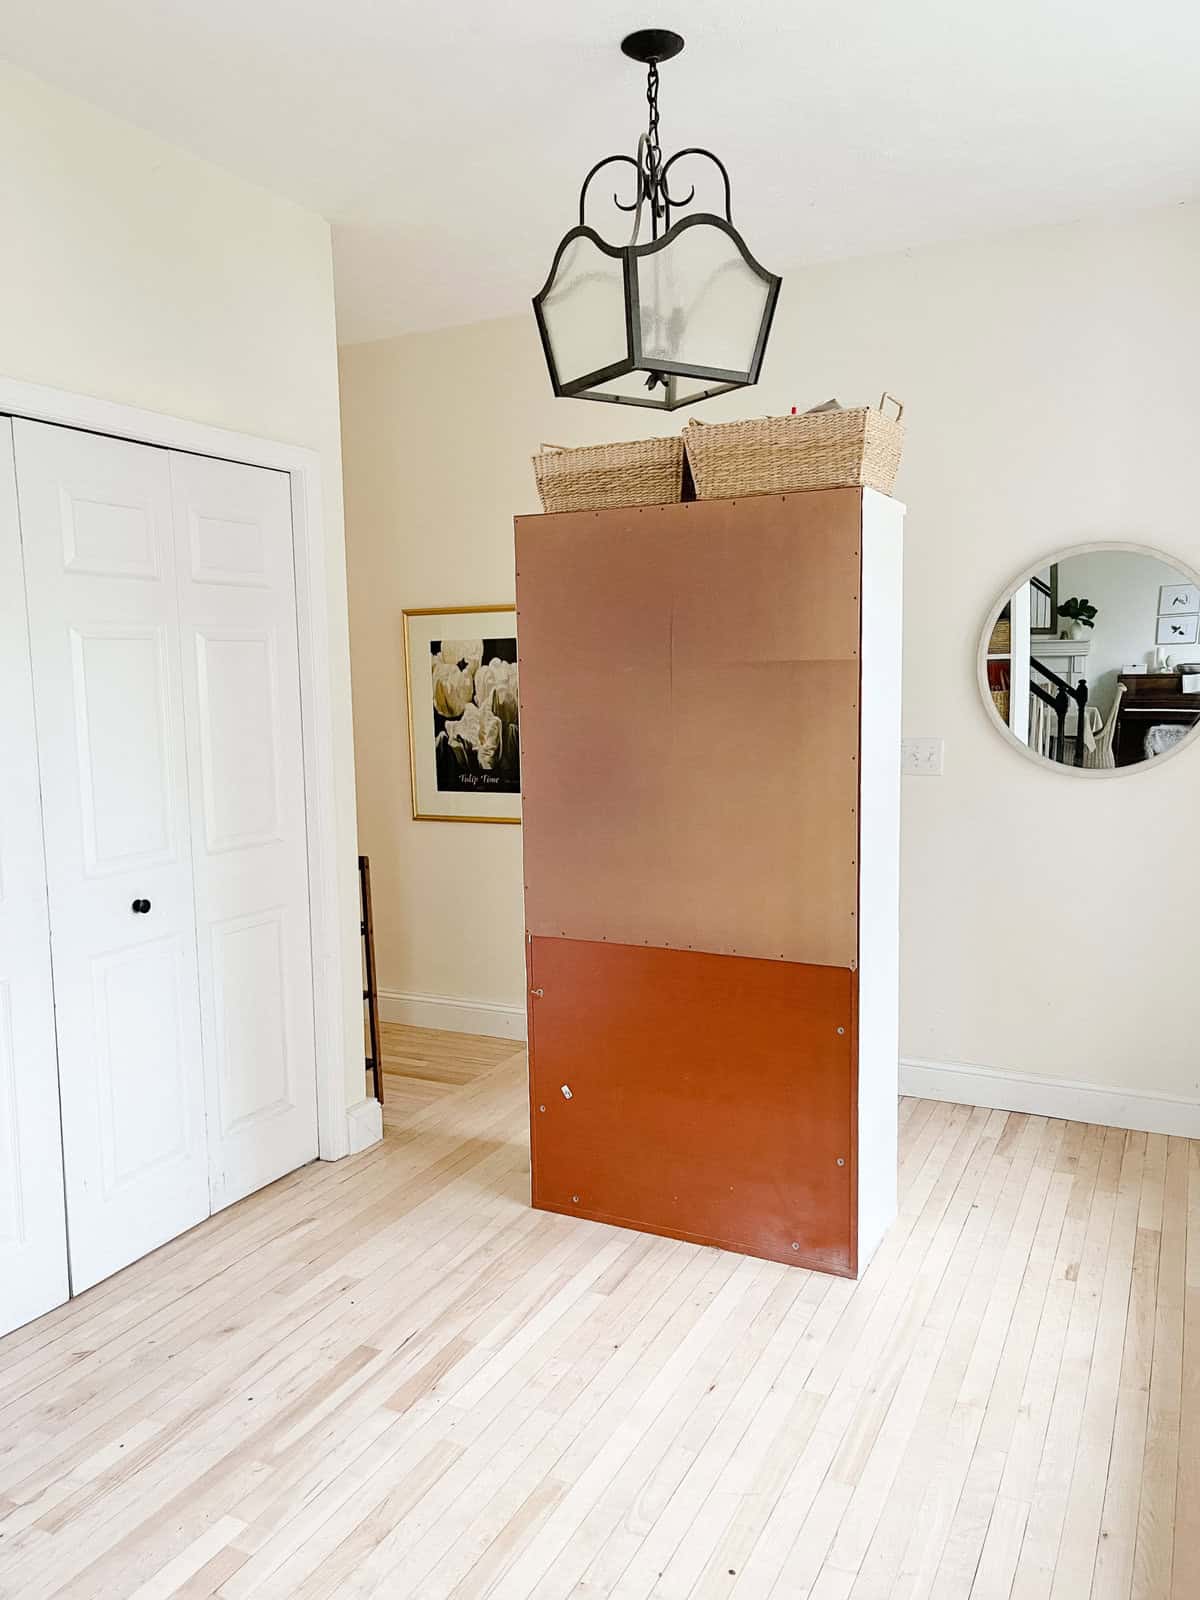
Here’s the back of the cabinet with an example on the bottom of it of the orange, which  we shall never speak of again.

storage shelf

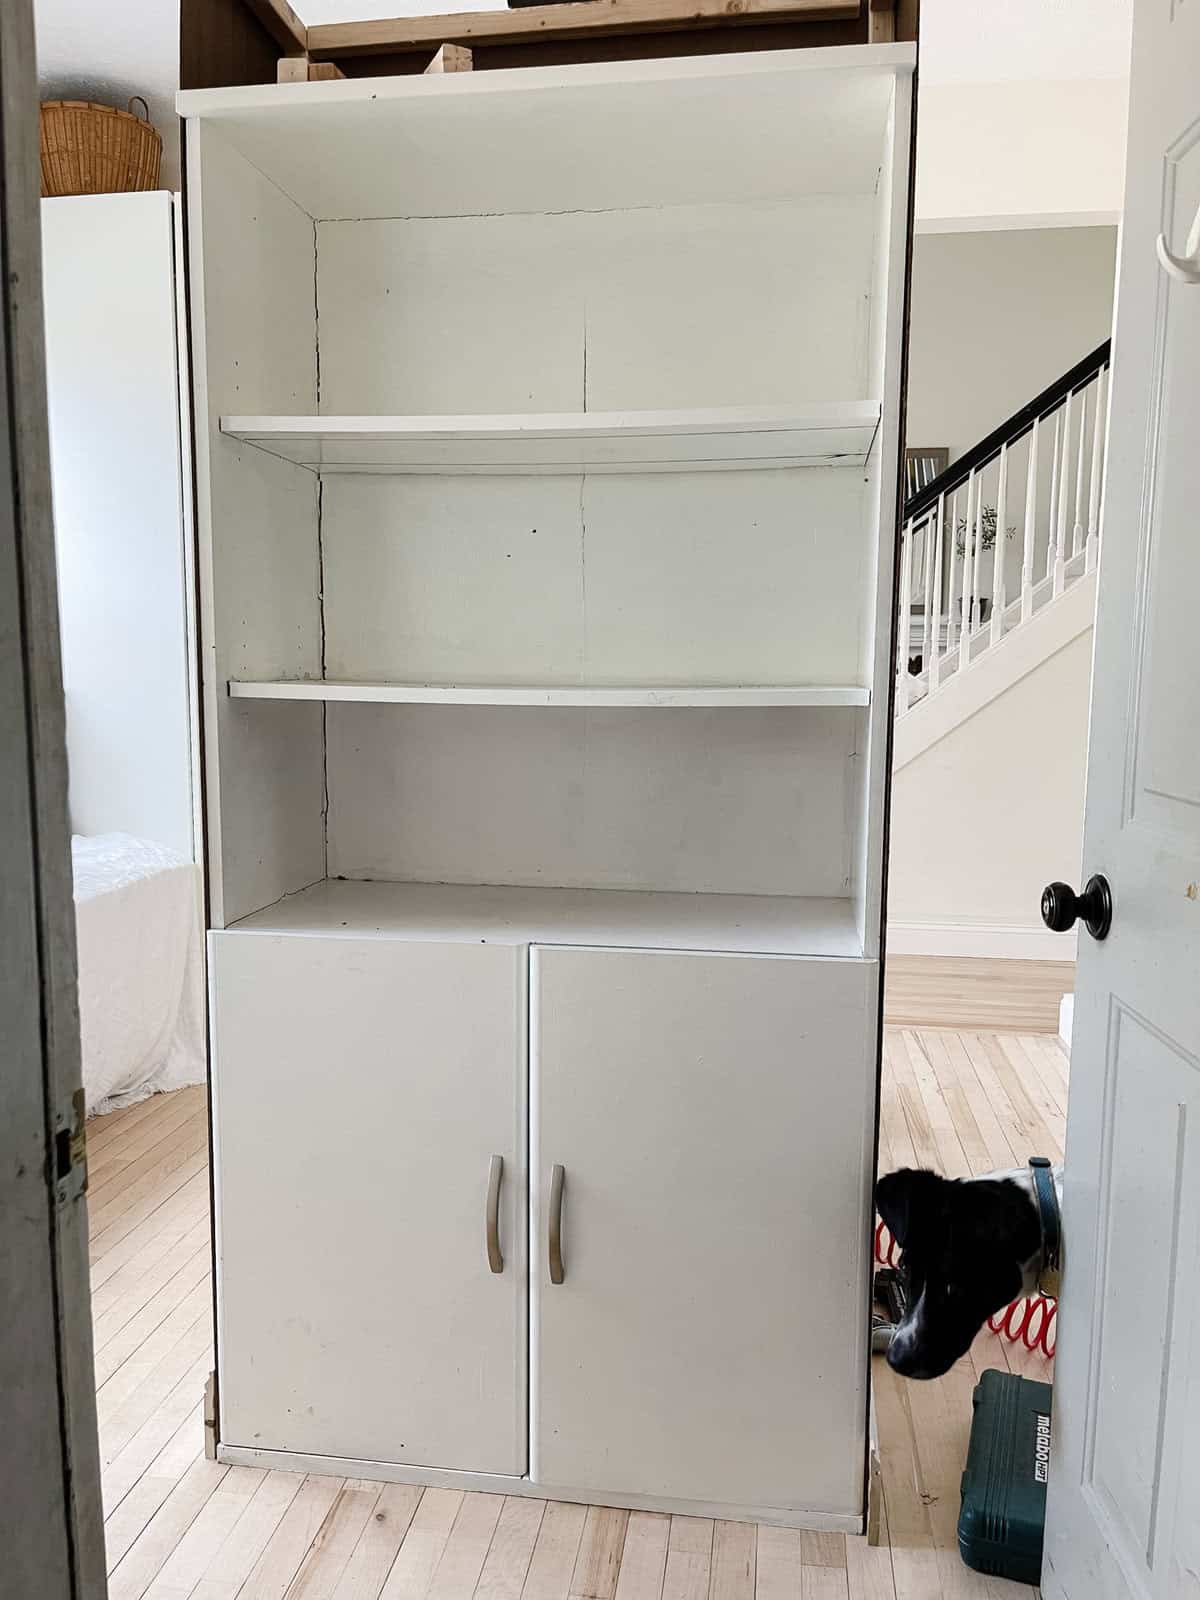
Here’s the front of the cabinet after it had been wrapped with paneling, and Enzo checking up on it’s progress.

storage cabinet

hardware on cabinet doors

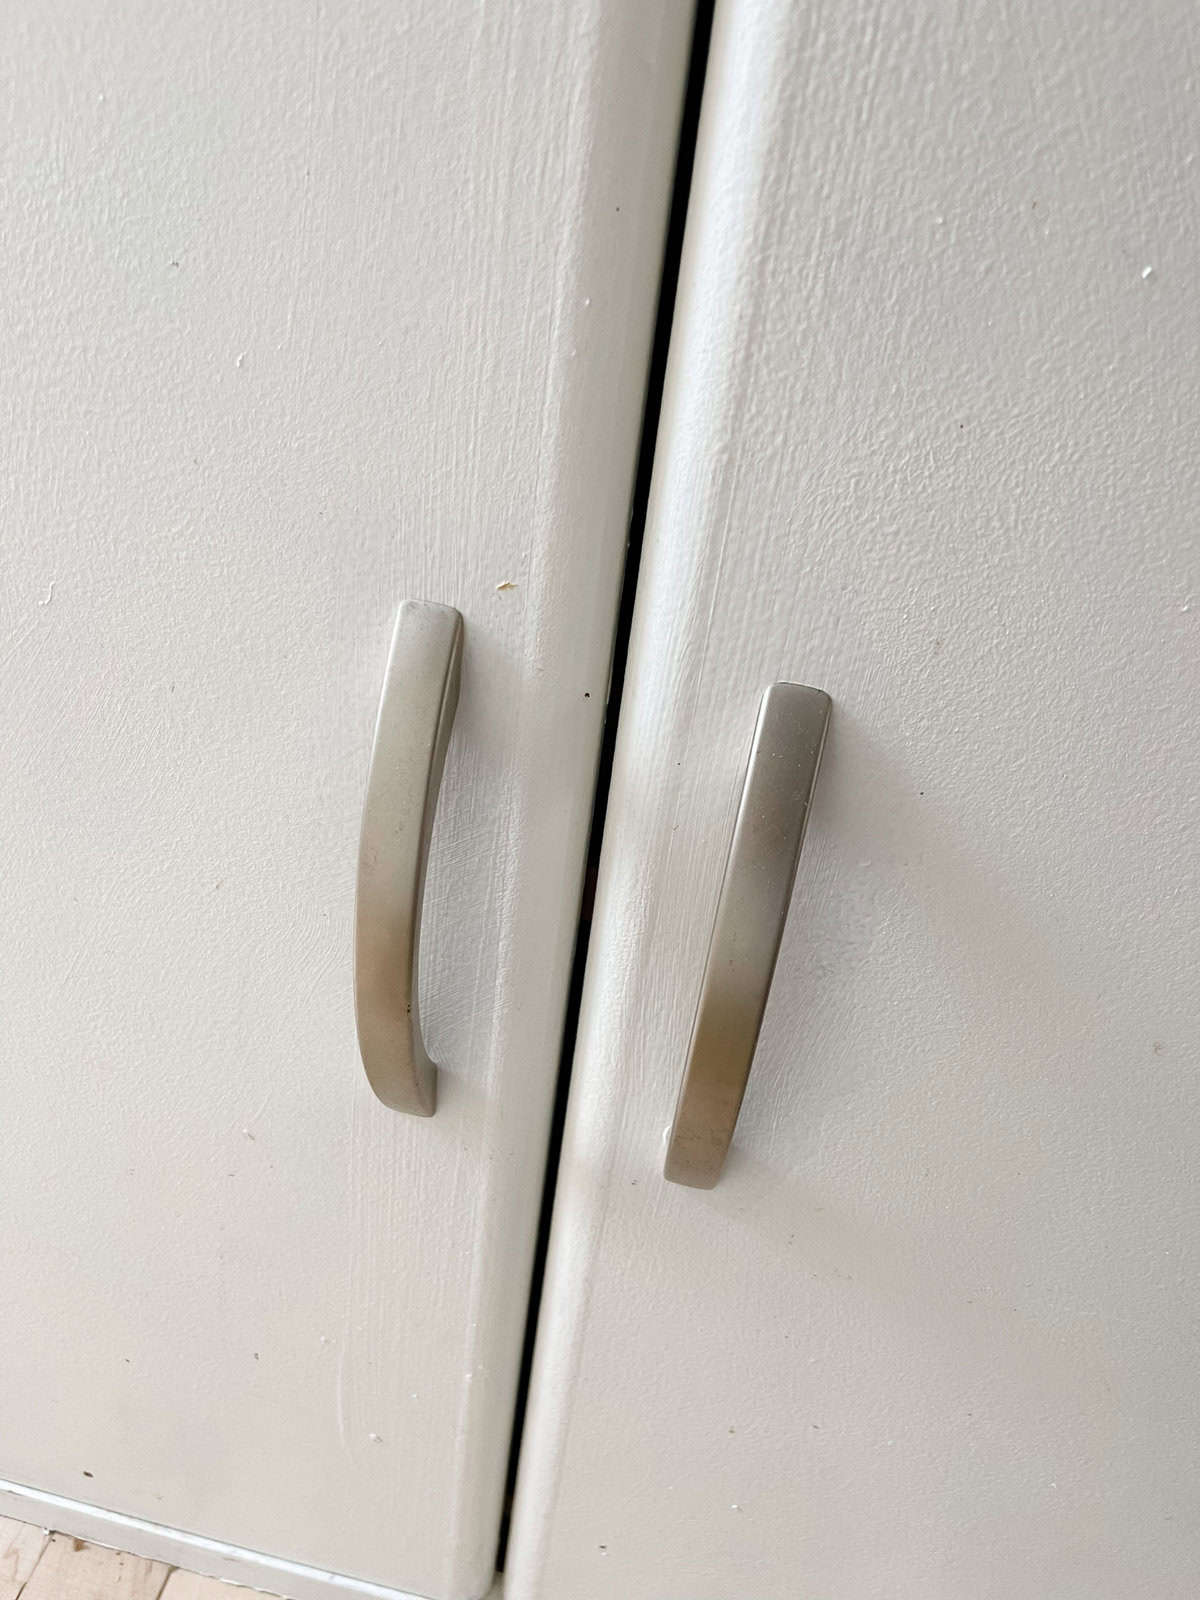
Couldn’t wait to get rid of these cabinet door handles.

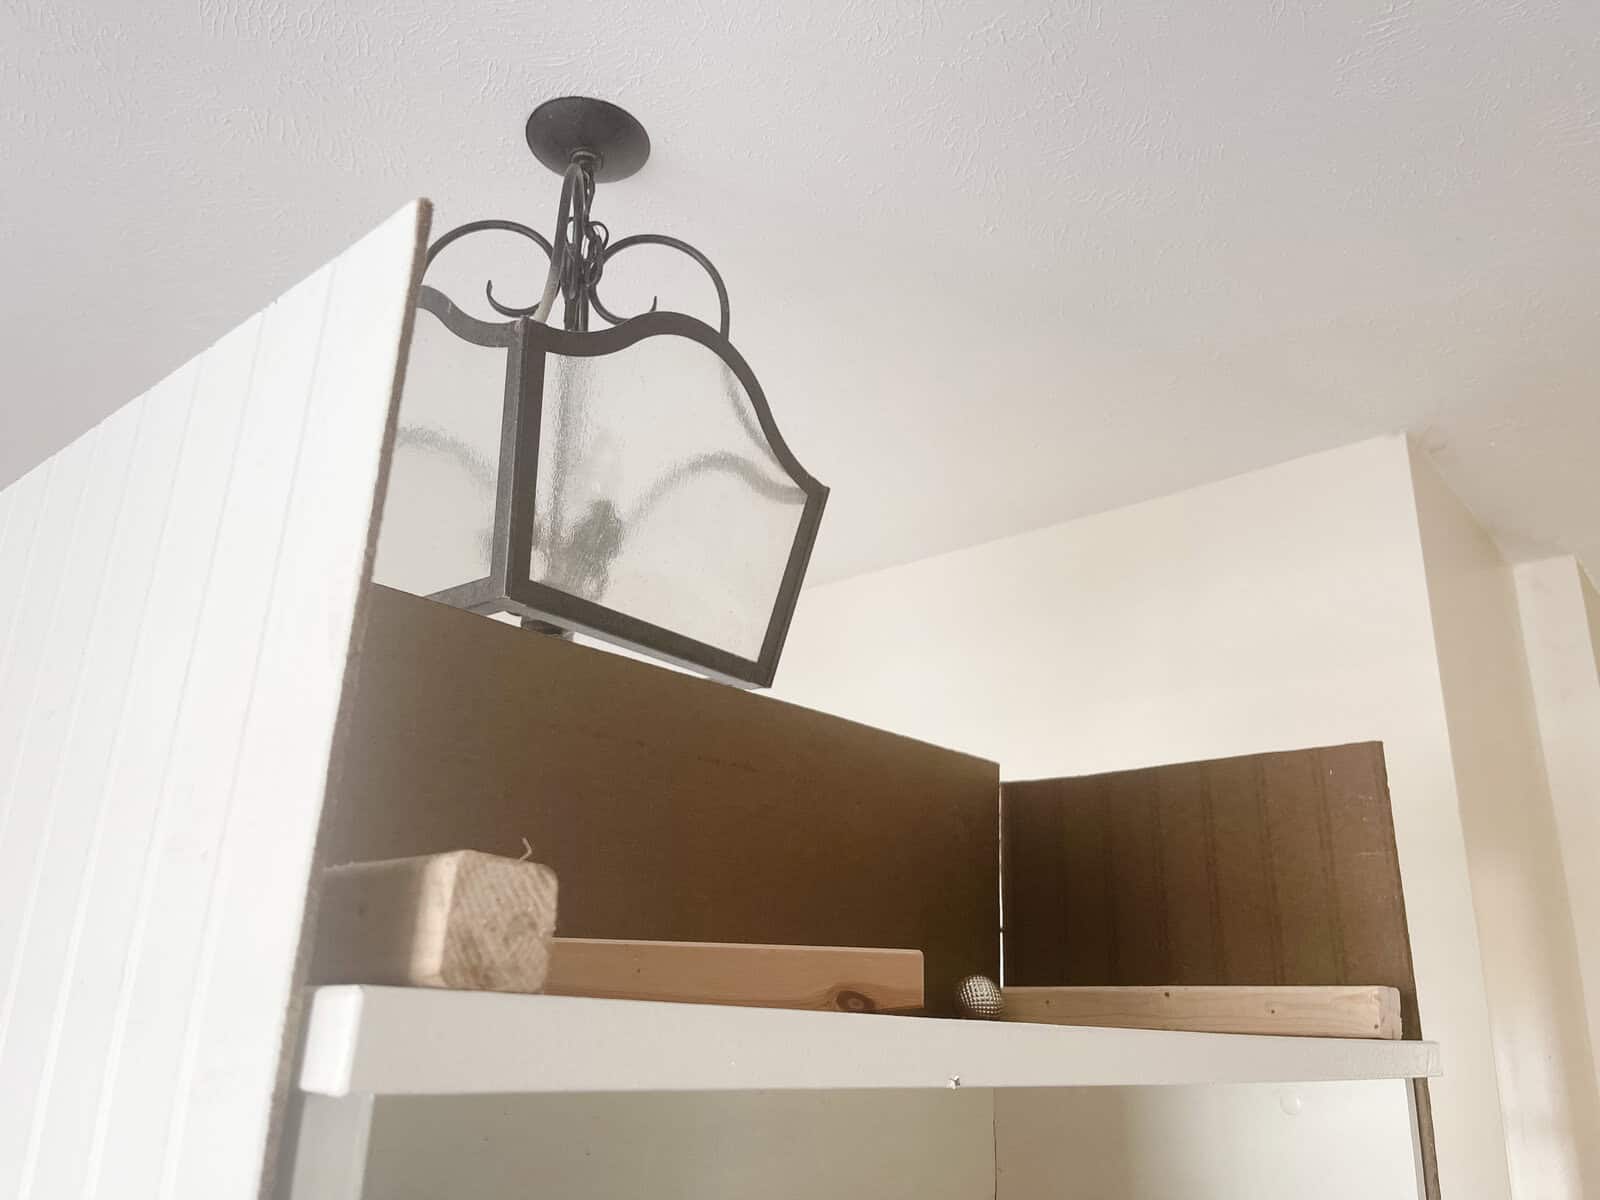
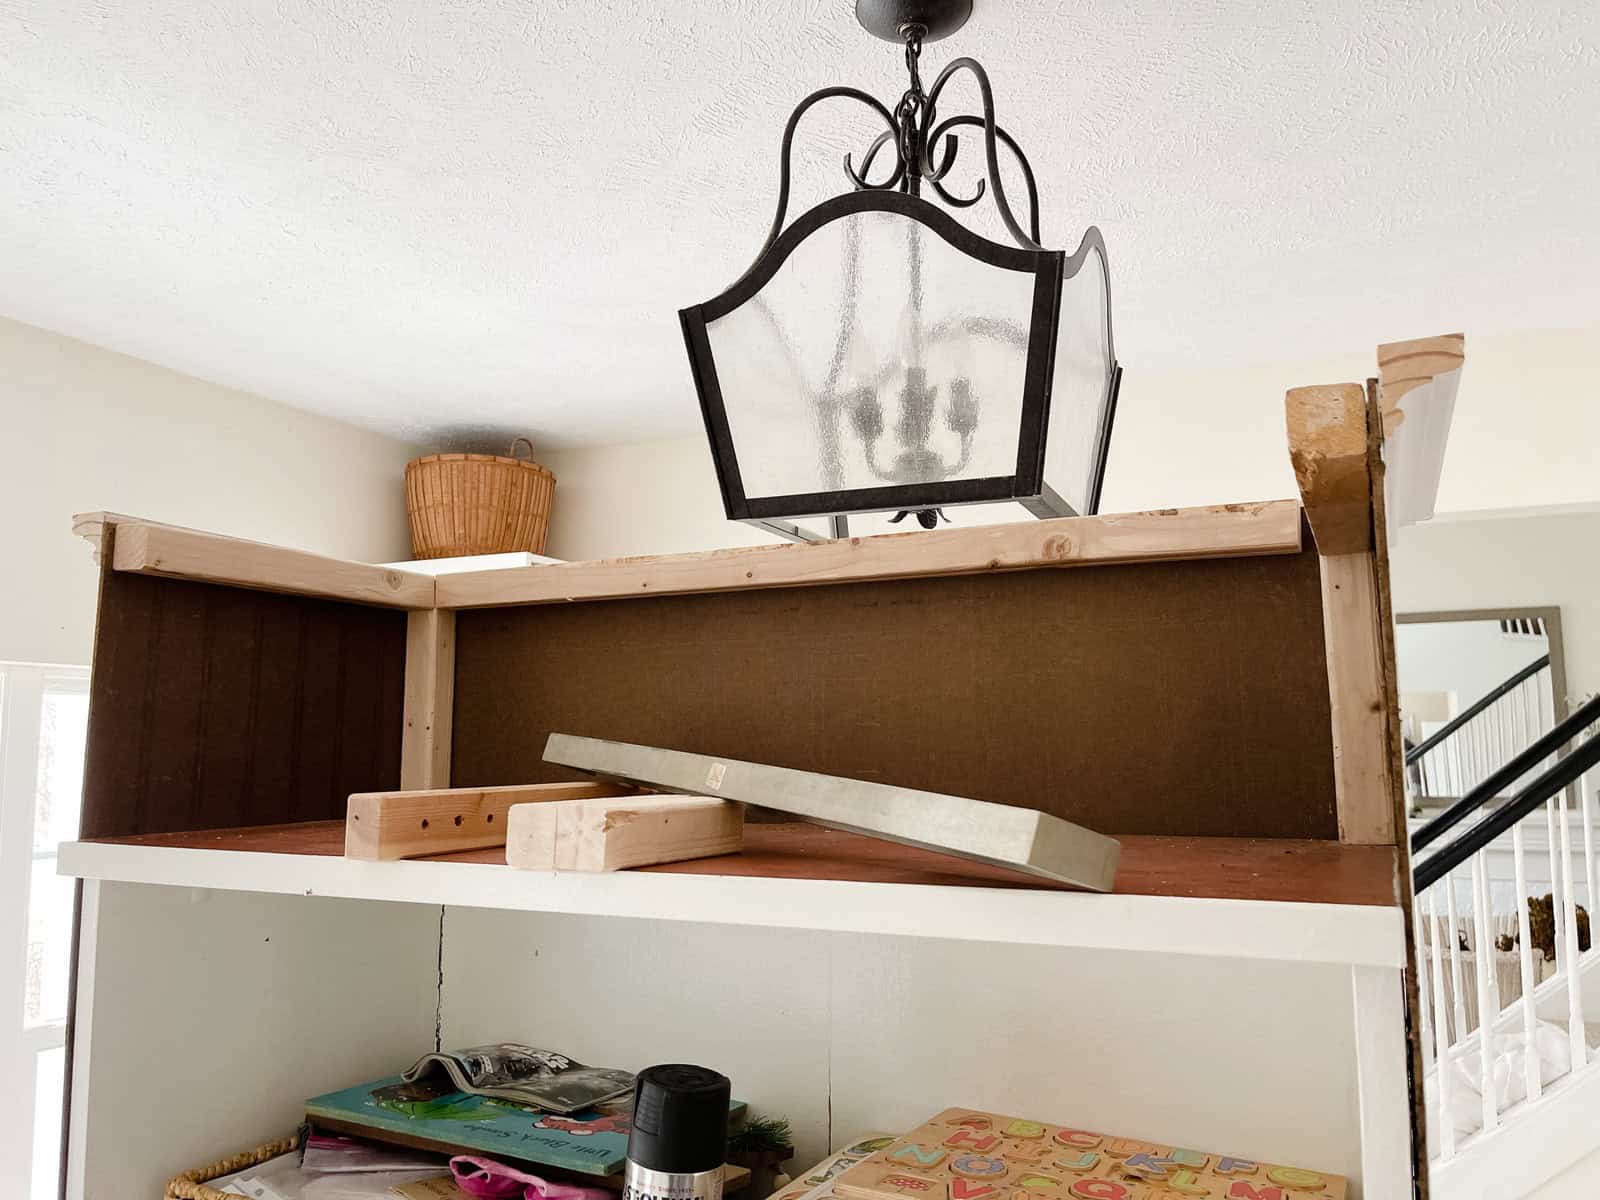
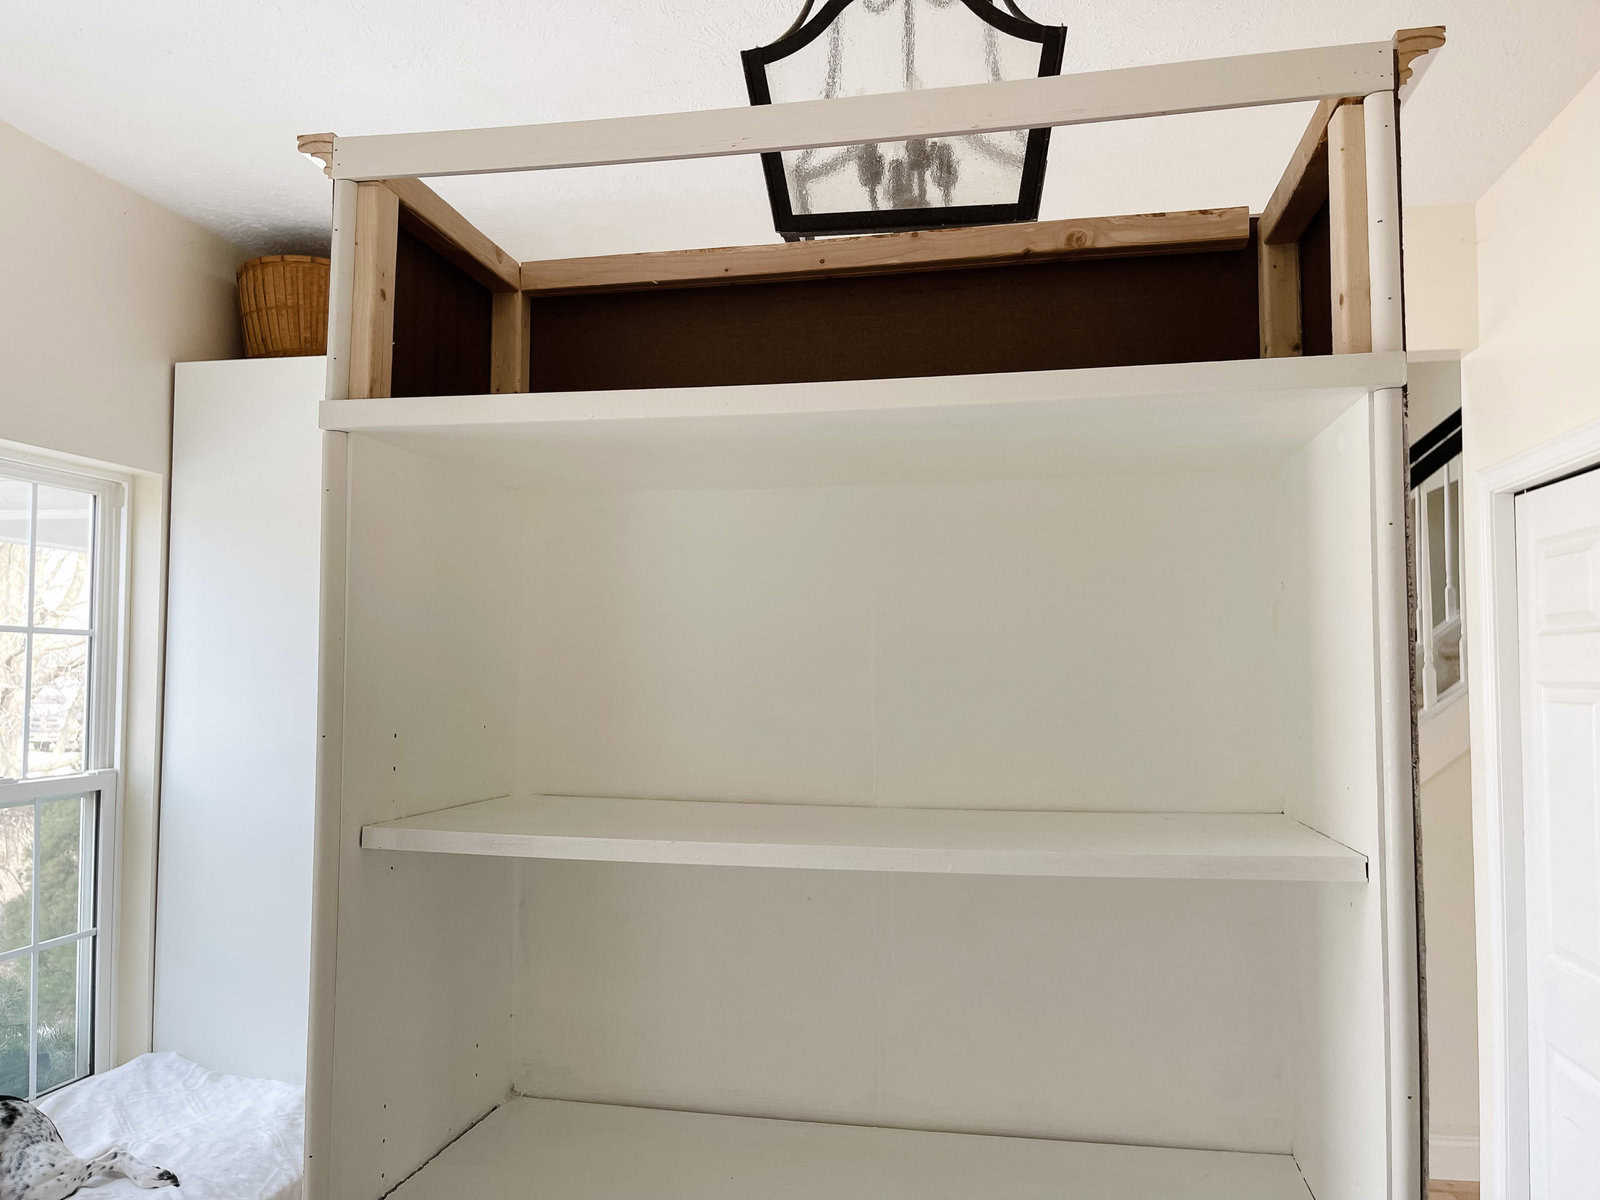
We added height to the shelves by bringing the paneling up above the top and added a wood frame work.

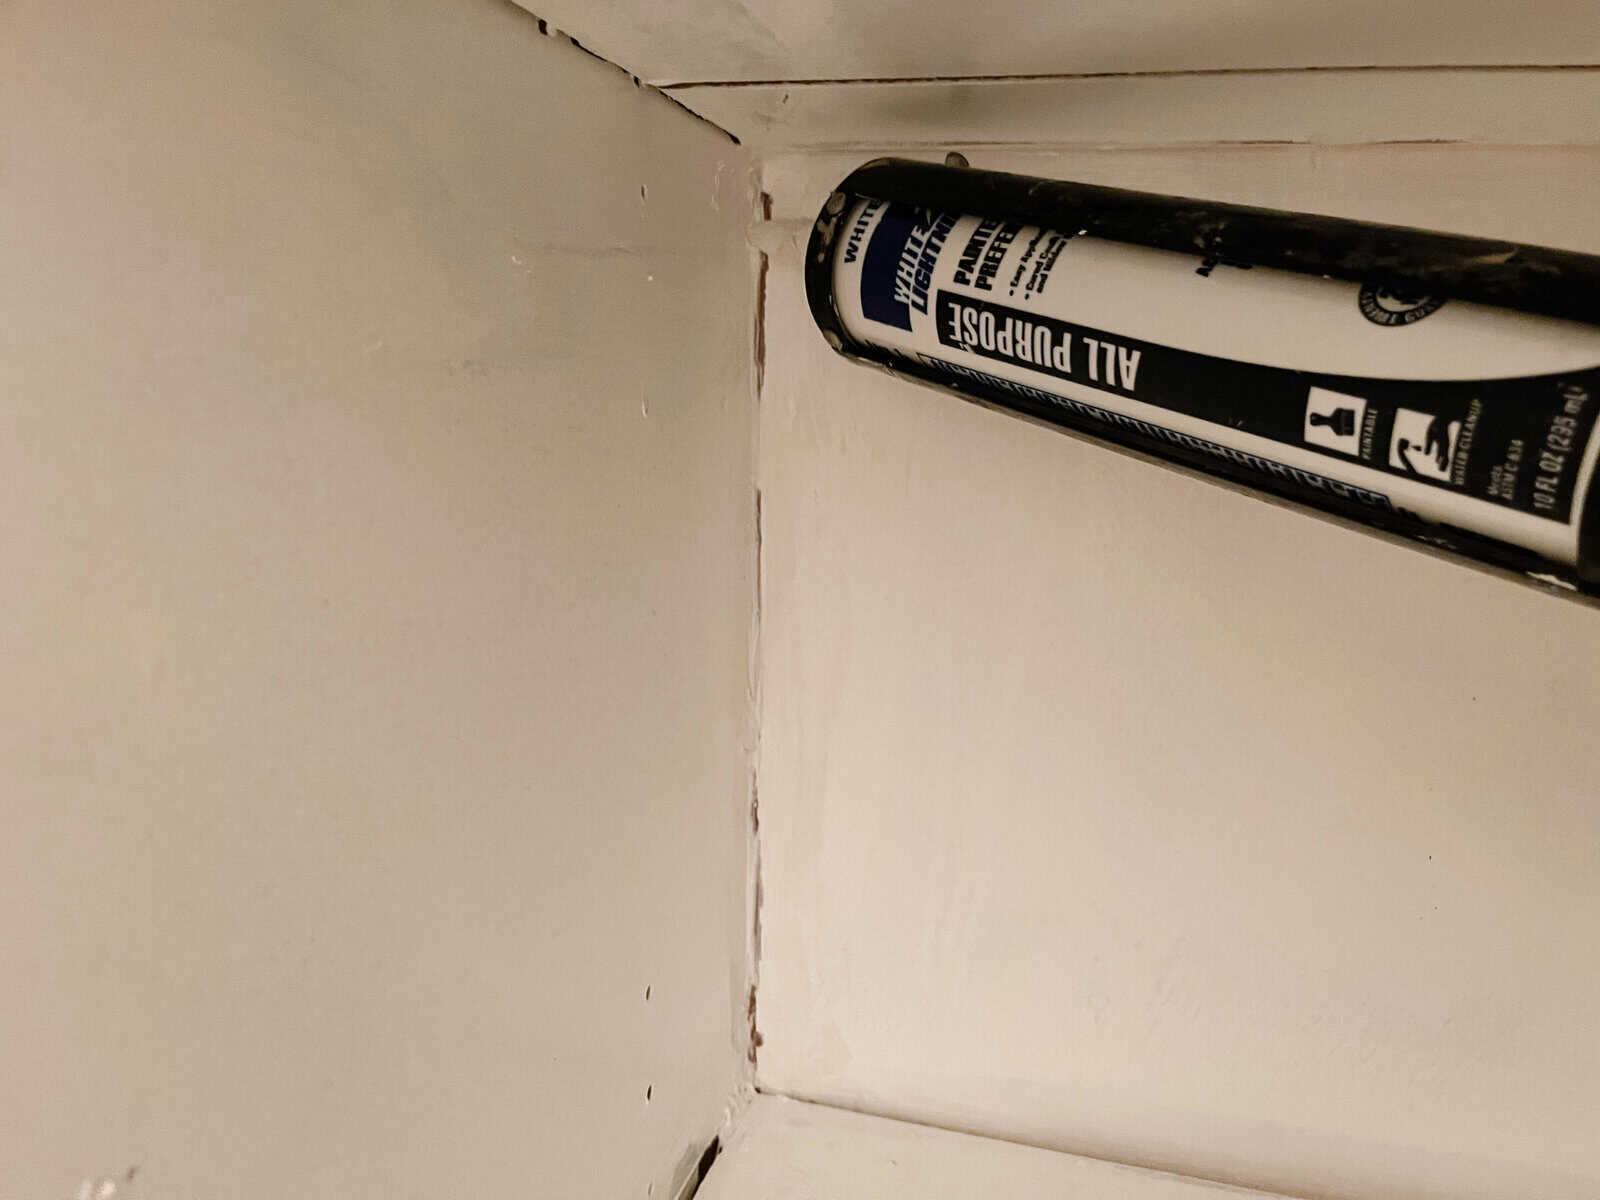
We filled in lots of cracks with caulk. Lots and lots of caulking, but so worth the effort.

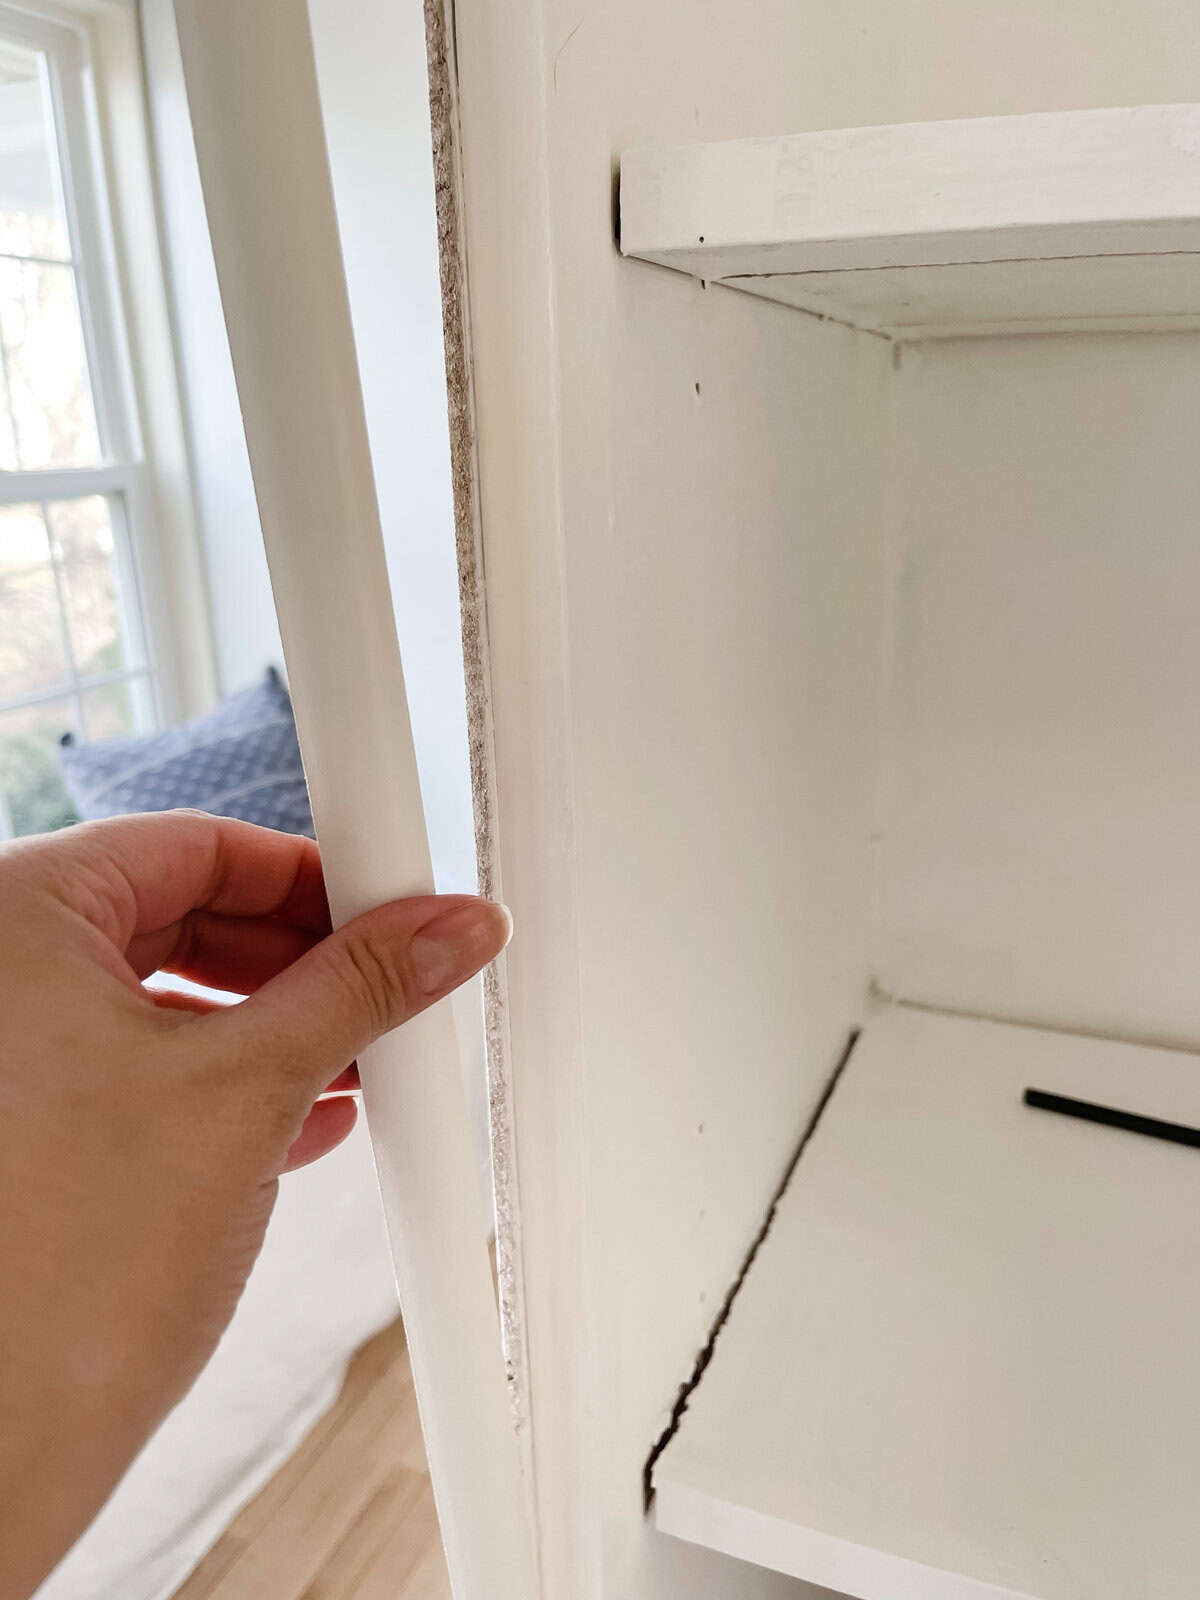
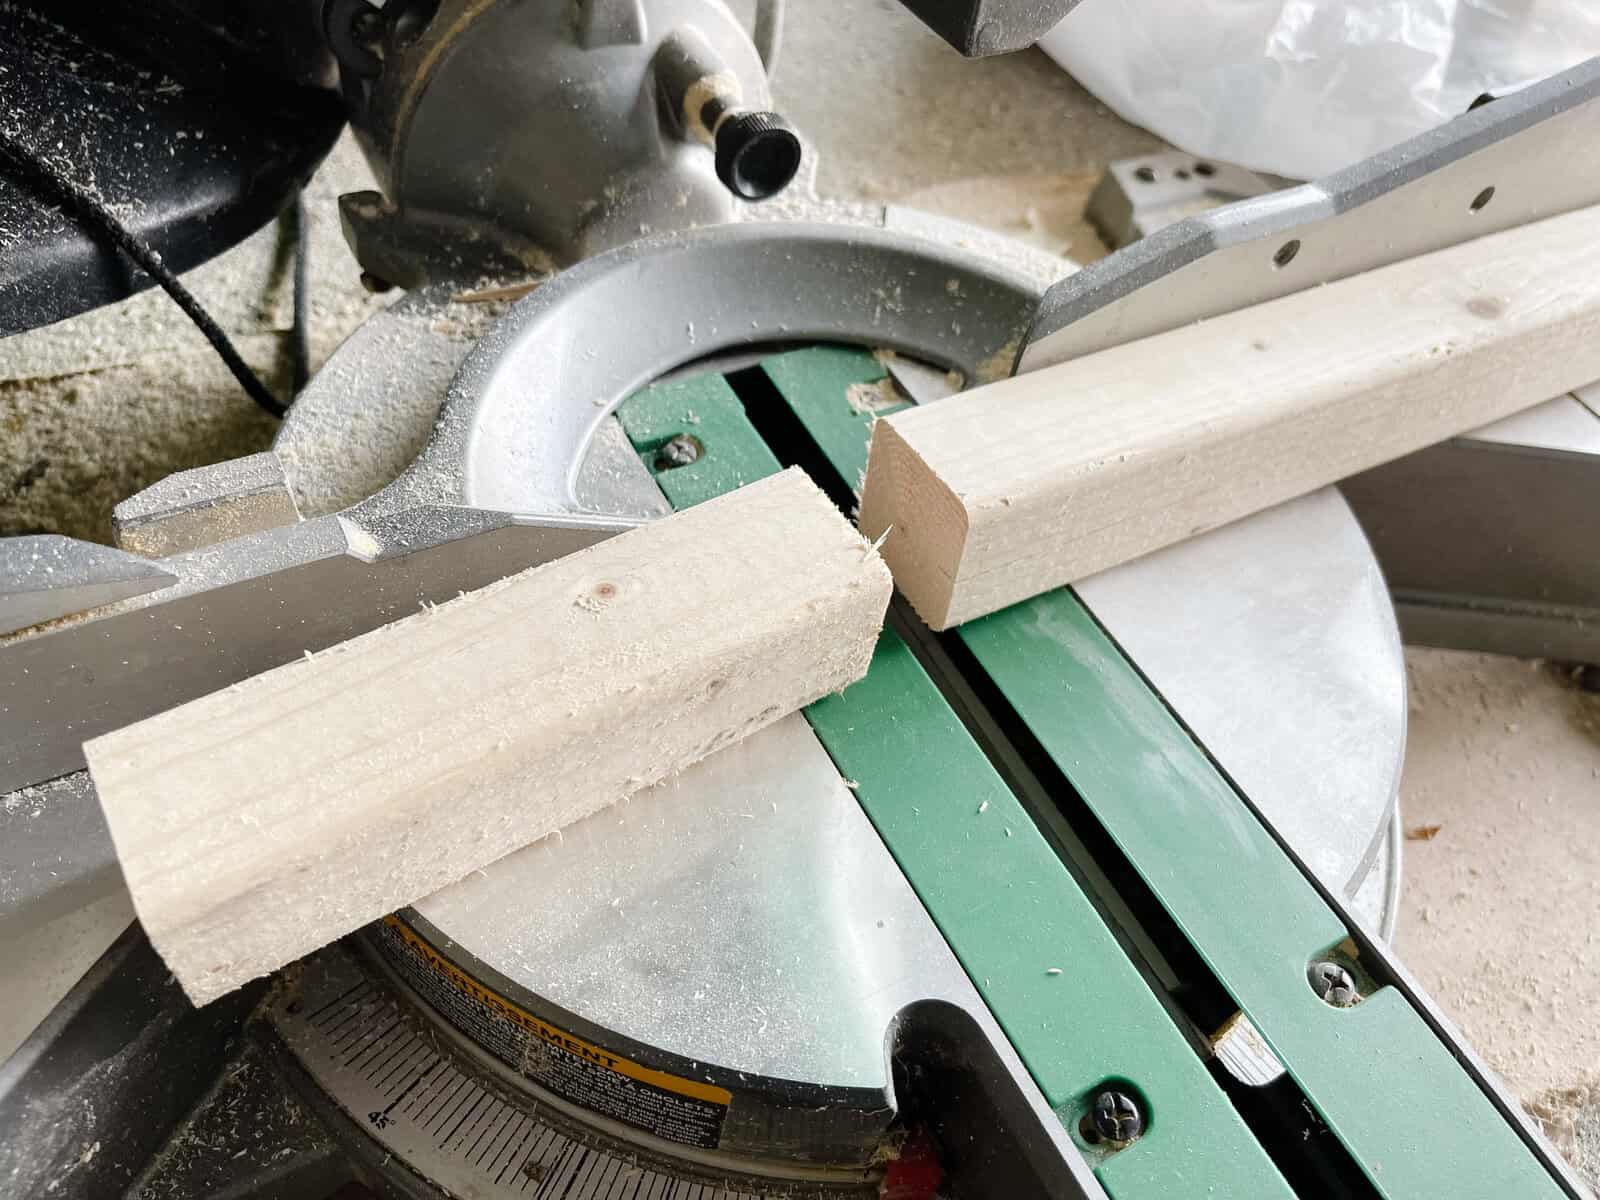
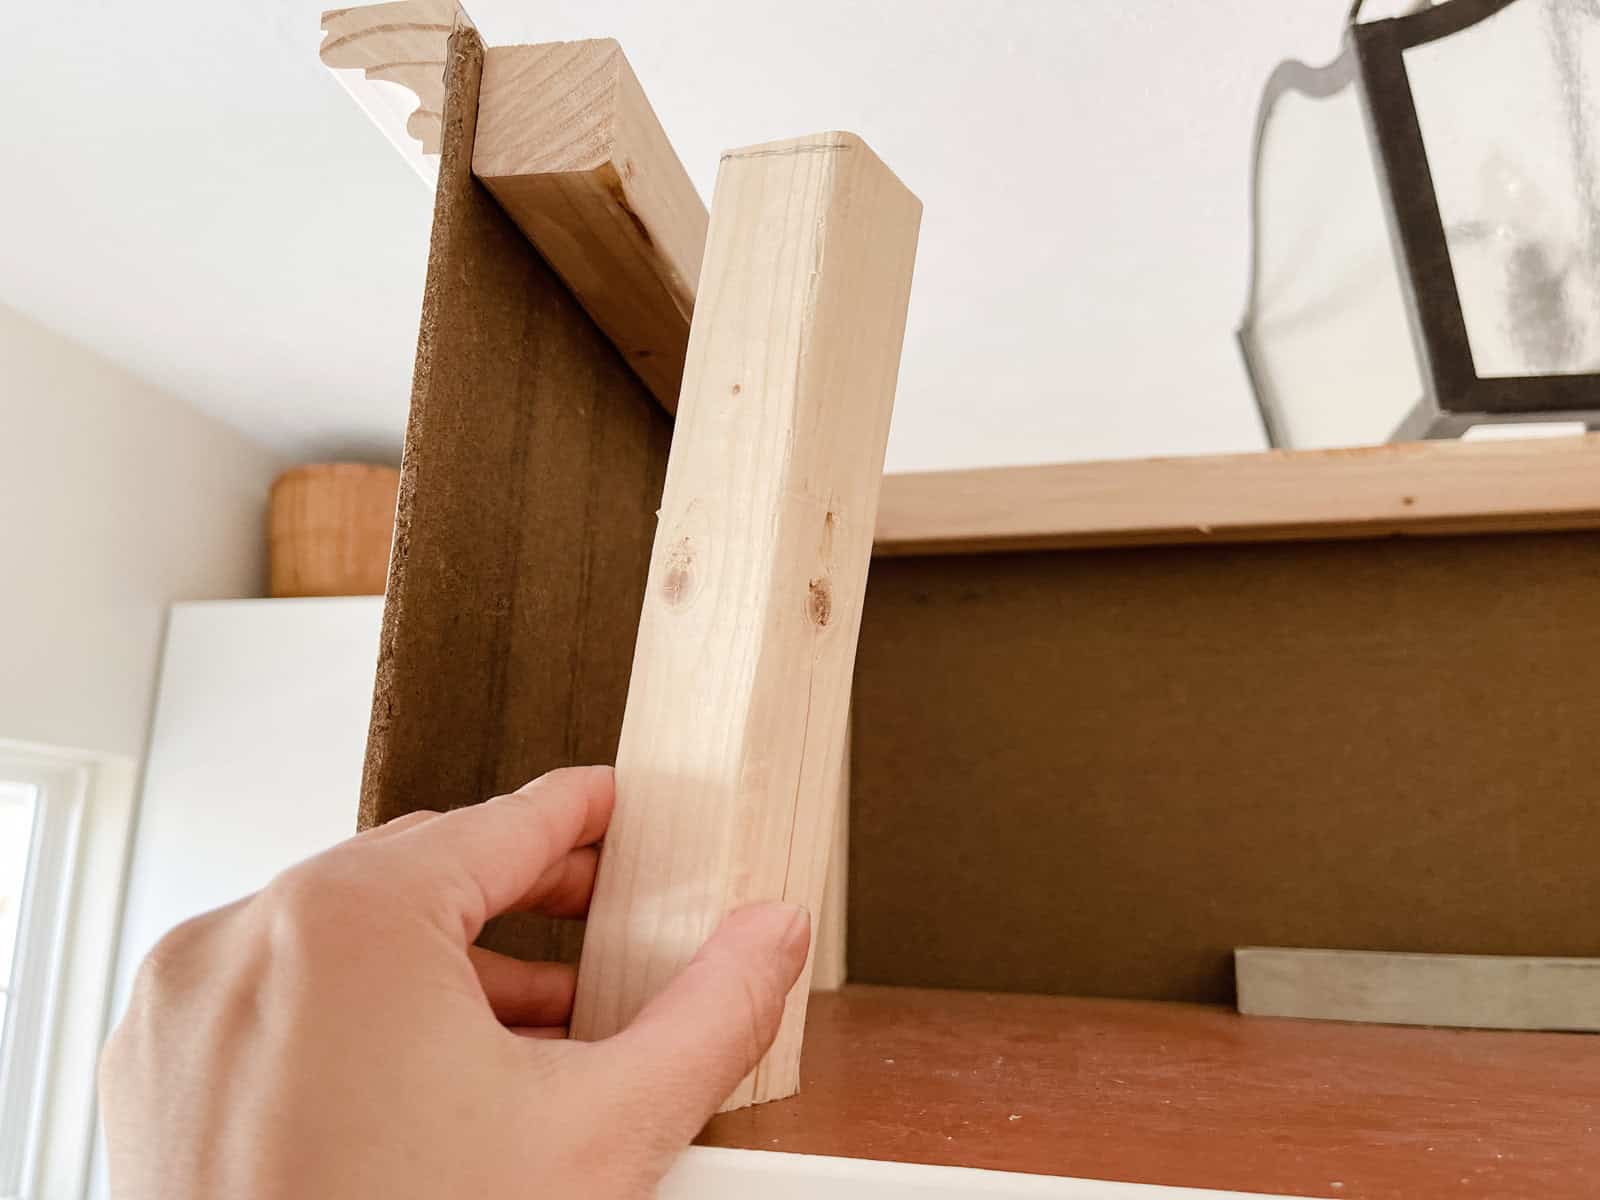
We used three different moldings on the front of the shelves, and used two different moldings on the front. Here we used quarter round on the sides to give a finished look and cover the rough edges of the paneling.shelf molding

shelf with baskets

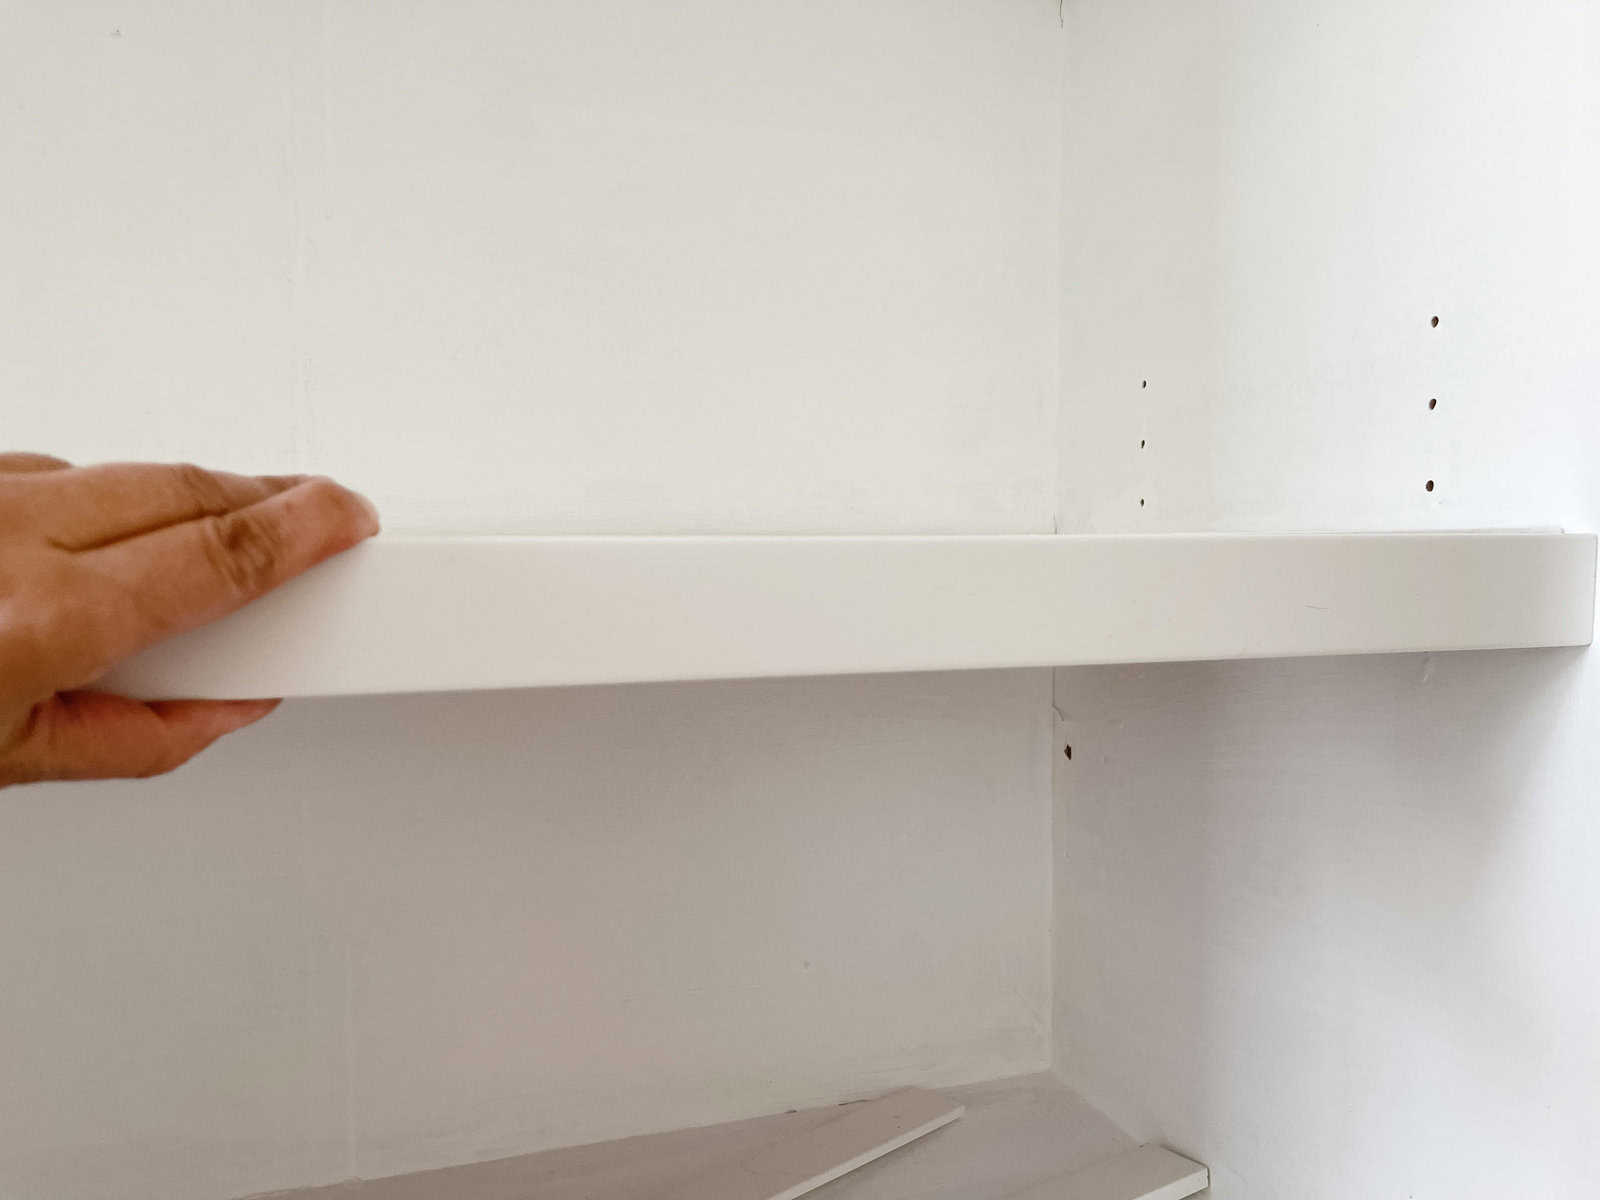
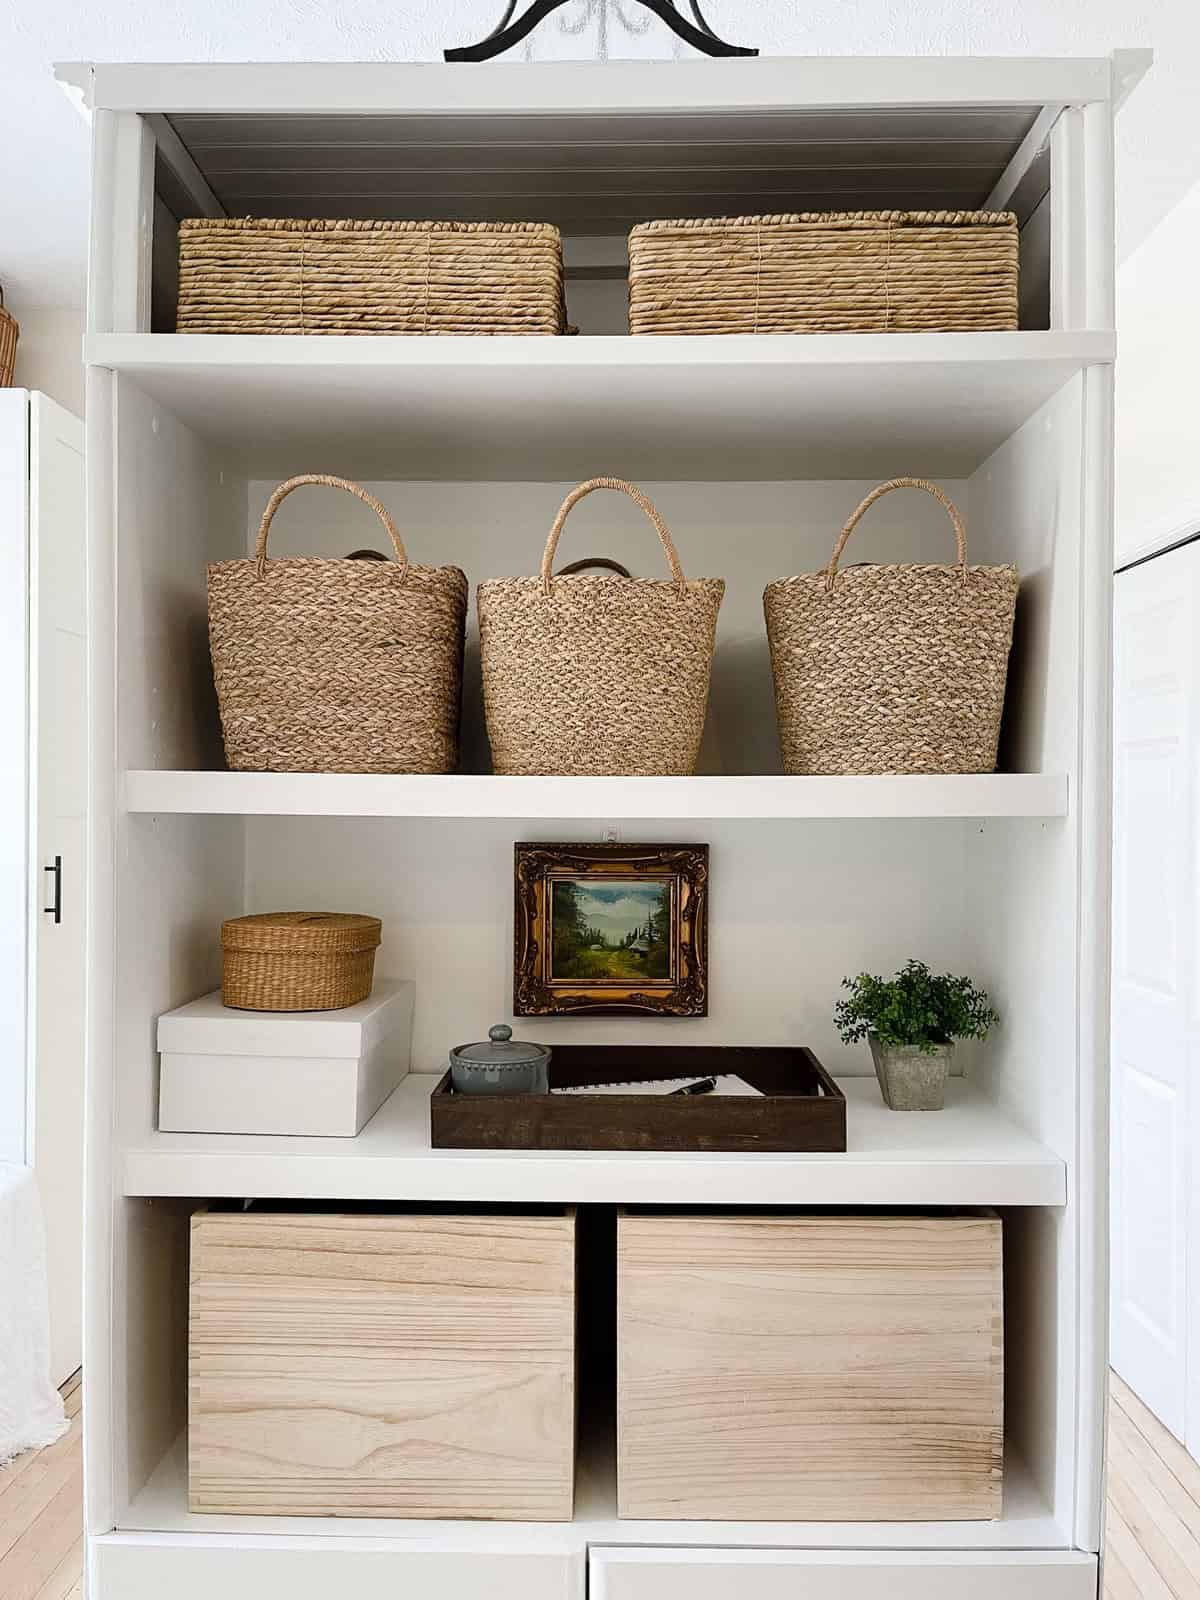
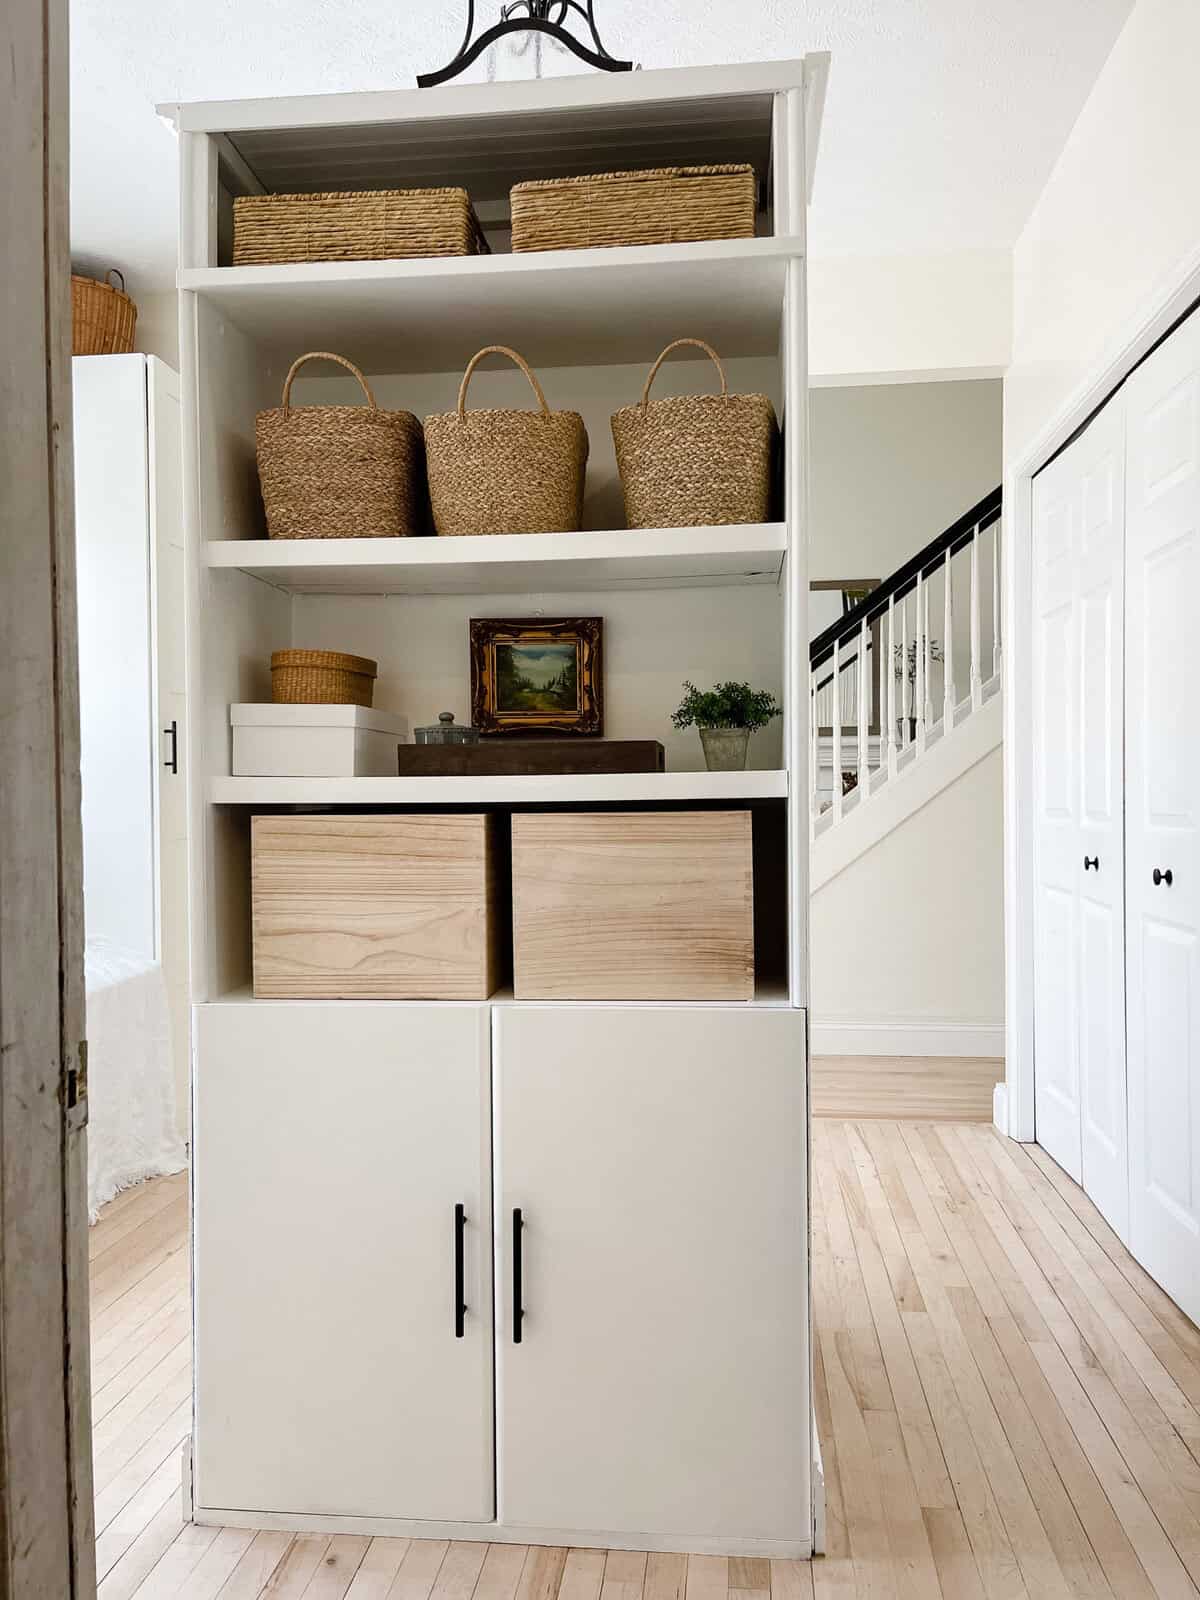
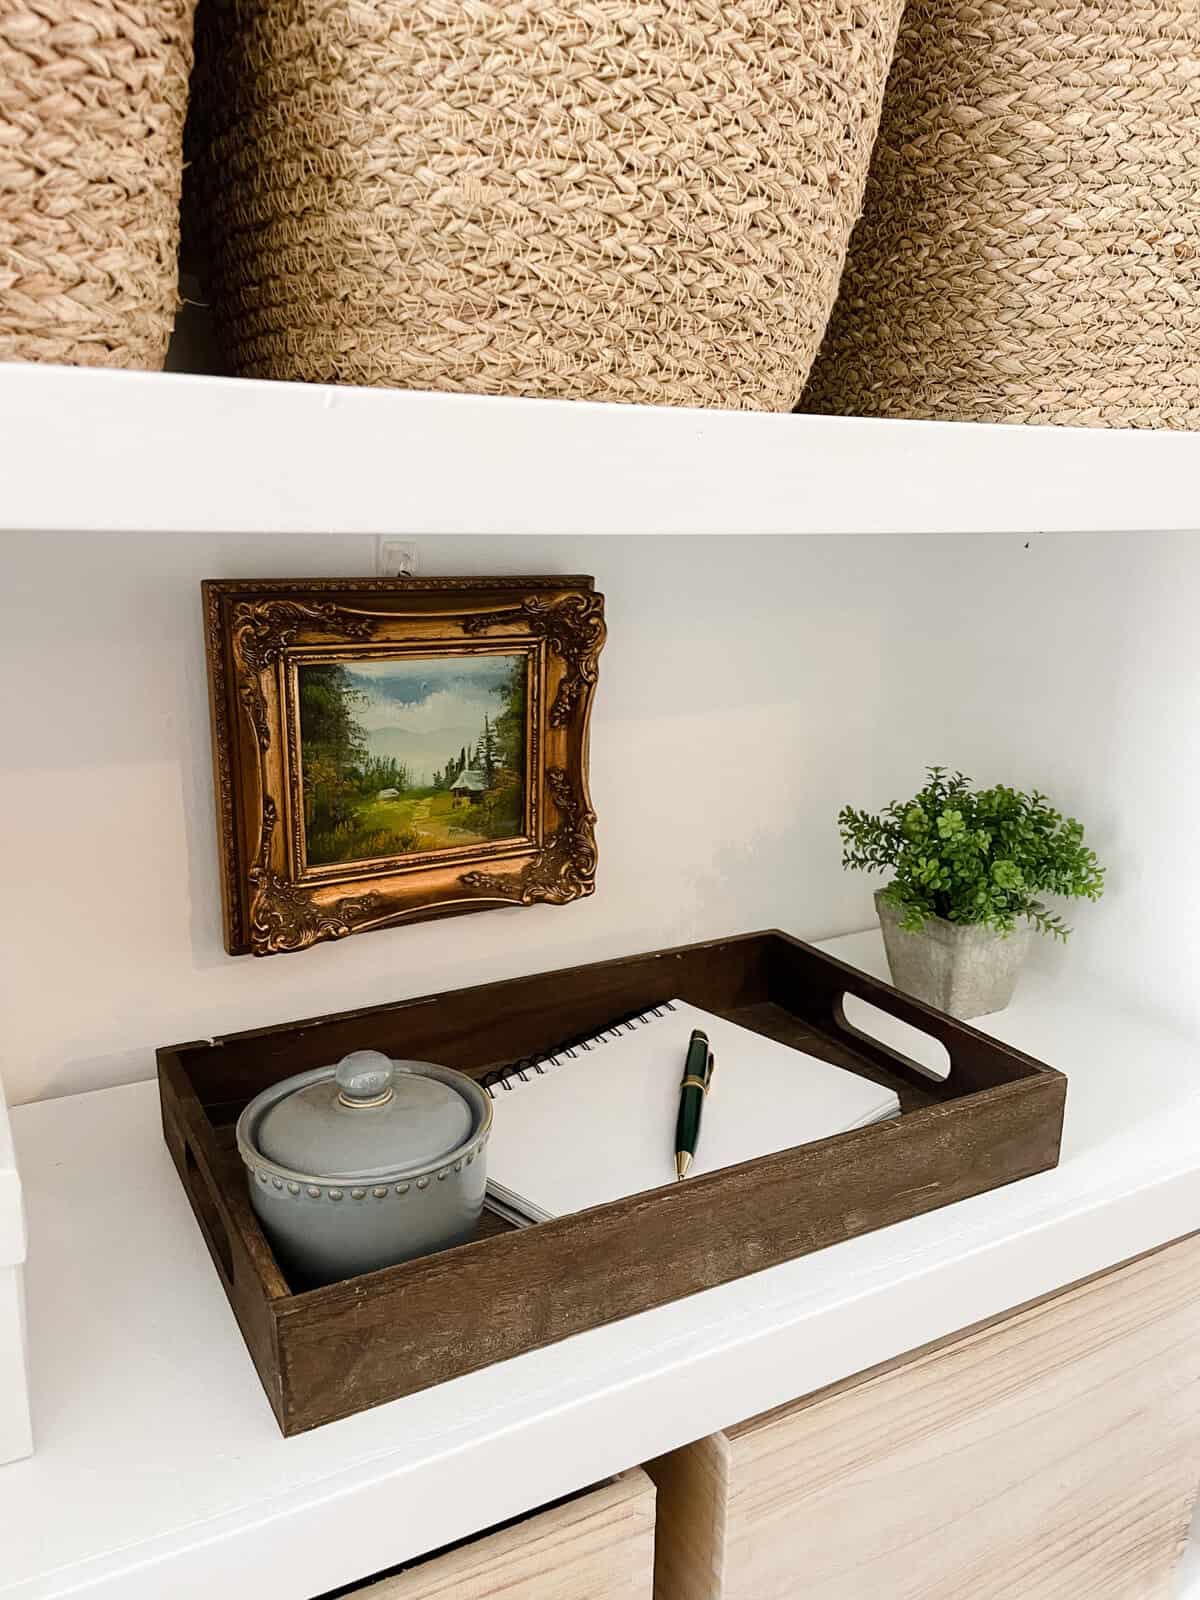
Here’s how it turned out! I used baskets and storage boxes from Target. The middle shelf is perfect to drop items on as we enter, but also to store things we use when coming and going from the house like keys, purses and wallets.

tall white shelf

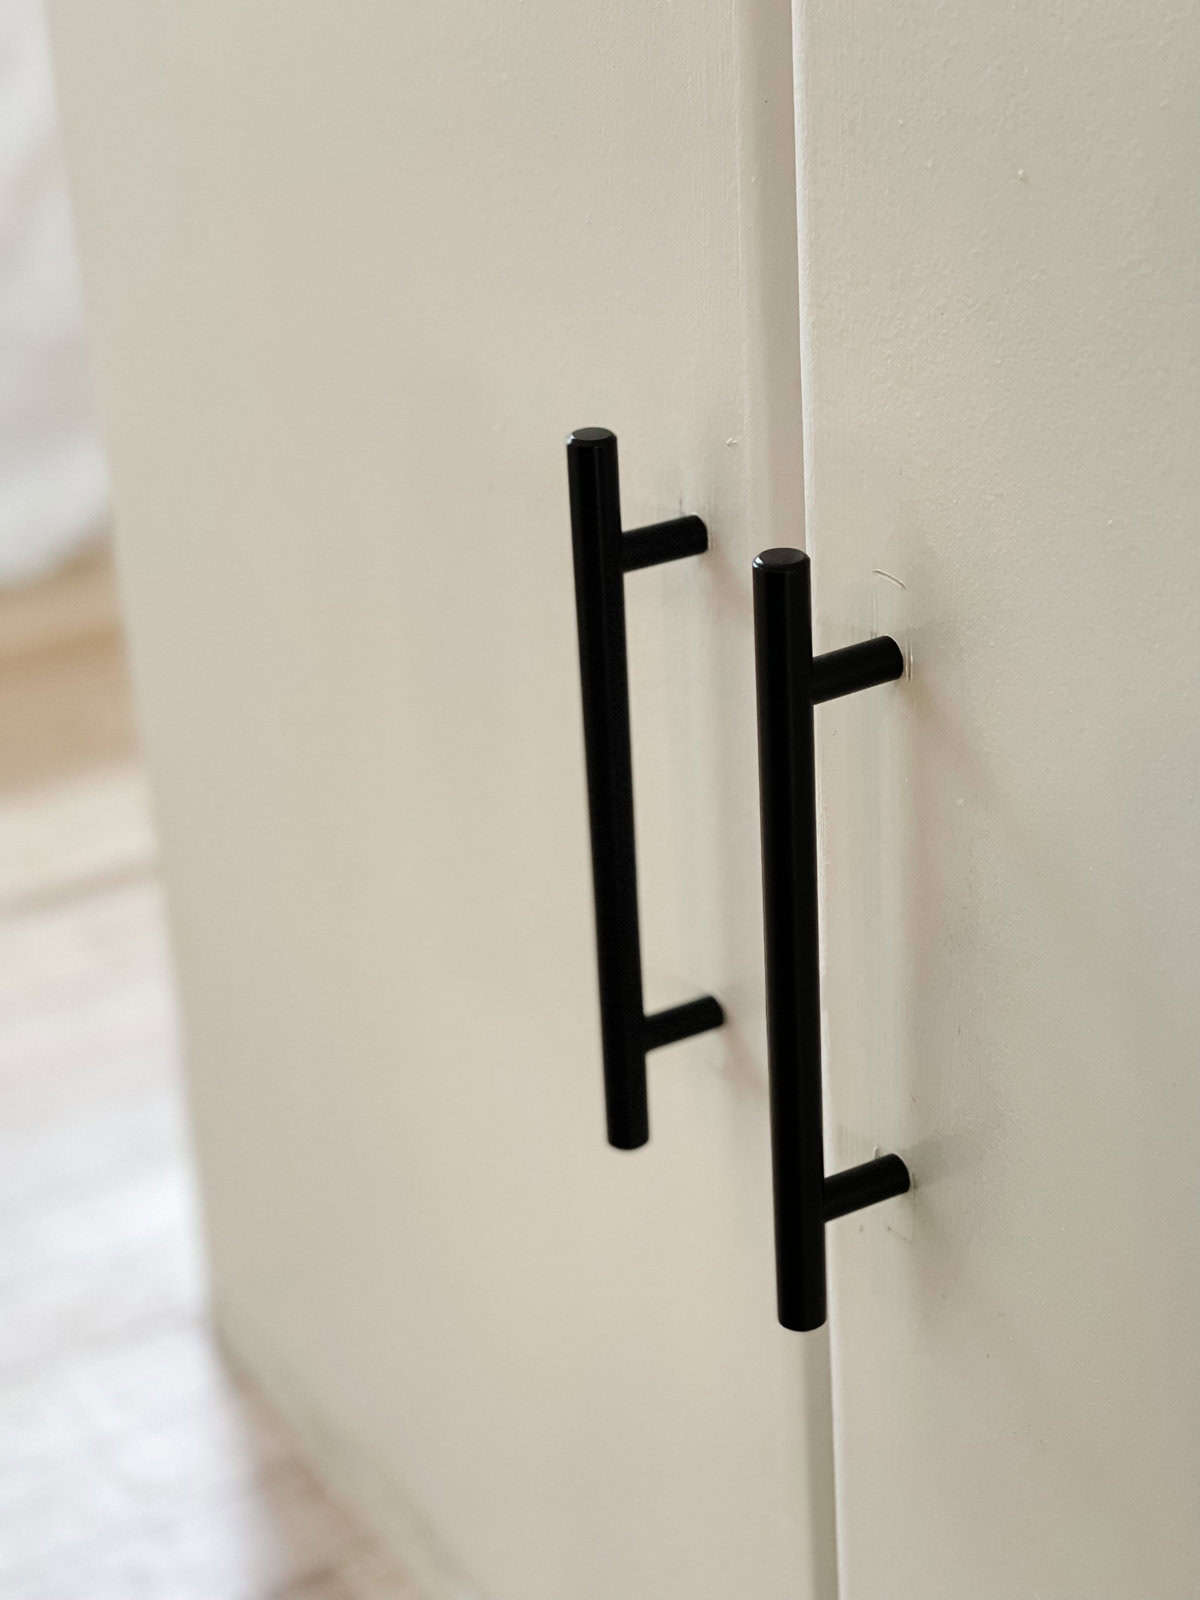
This cabinet hardware matches the hardware we have on our Ikea cabinets which are also in our foyer. So glad we were able to go with the same ones for continuity. Loving how the black pops against the white, that won’t ever get old to me.

shelf with wood boxes

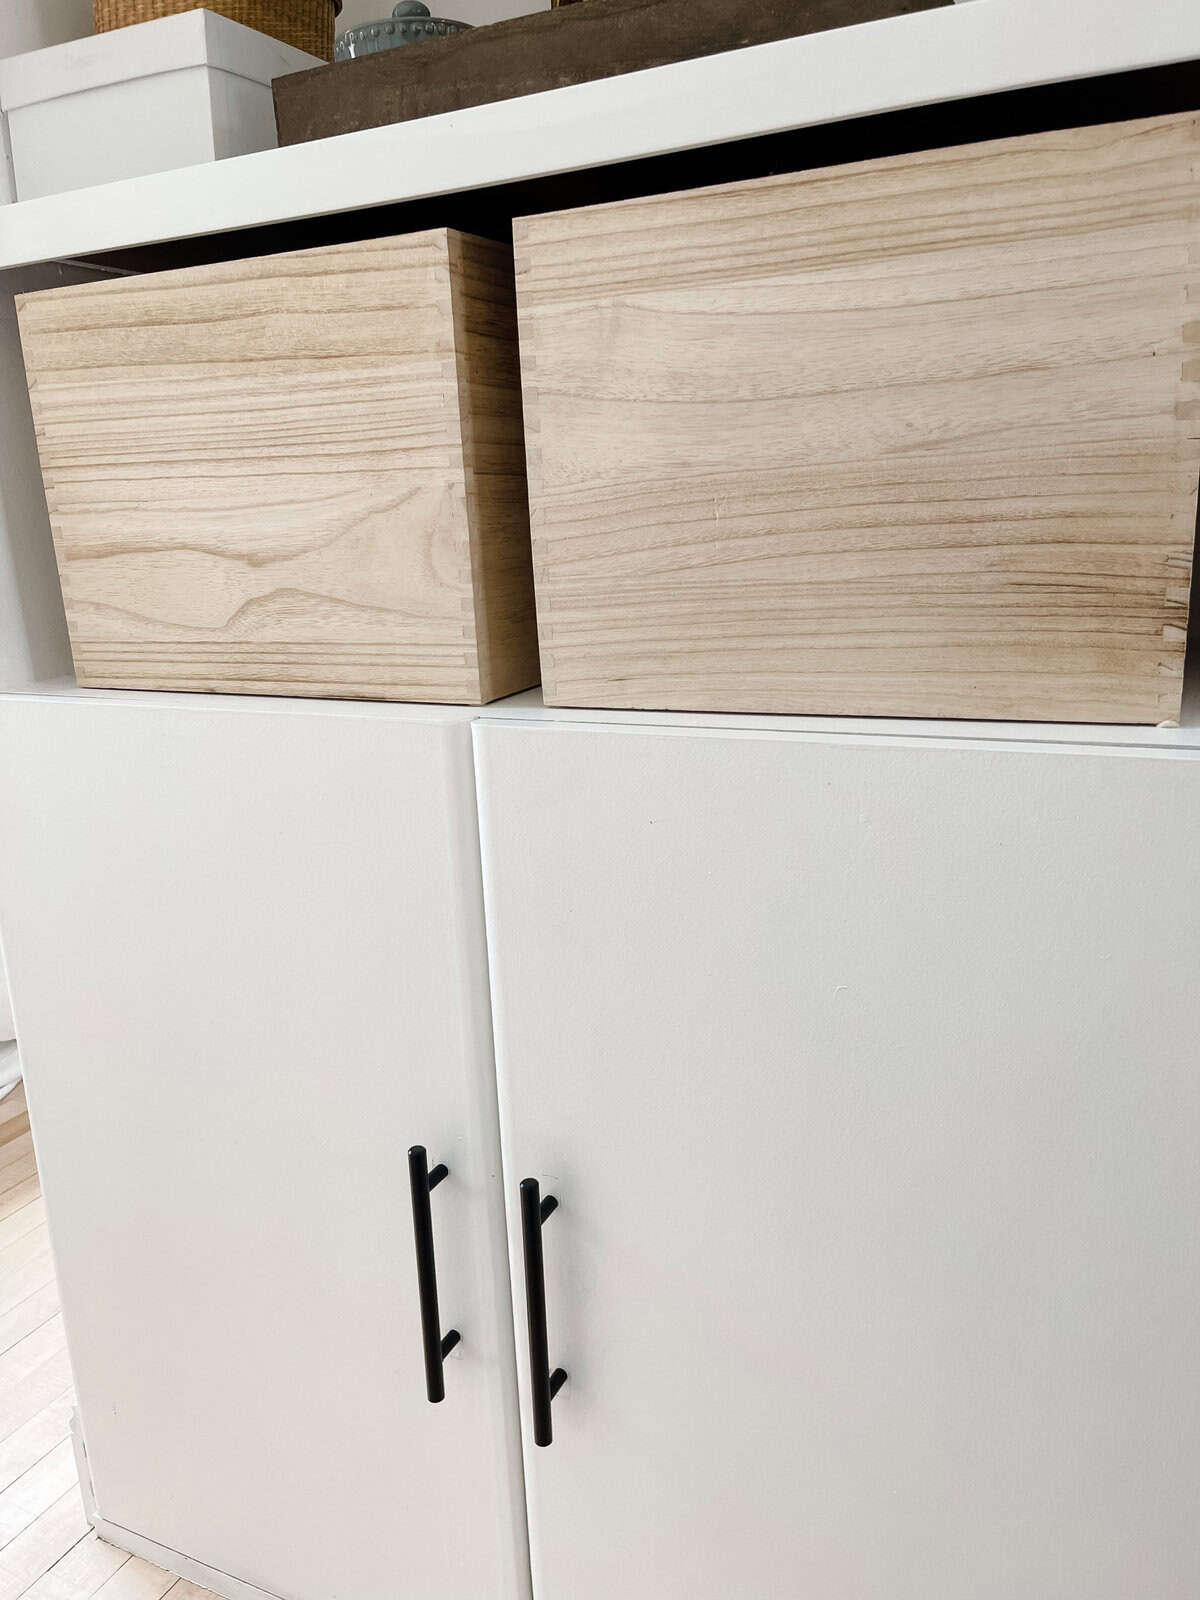
I chose these light wood boxes to mimic with light wood of our maple floors. Both are raw wood that was sealed to protect them yet let their natural elements shine through.

white shelf in foyer

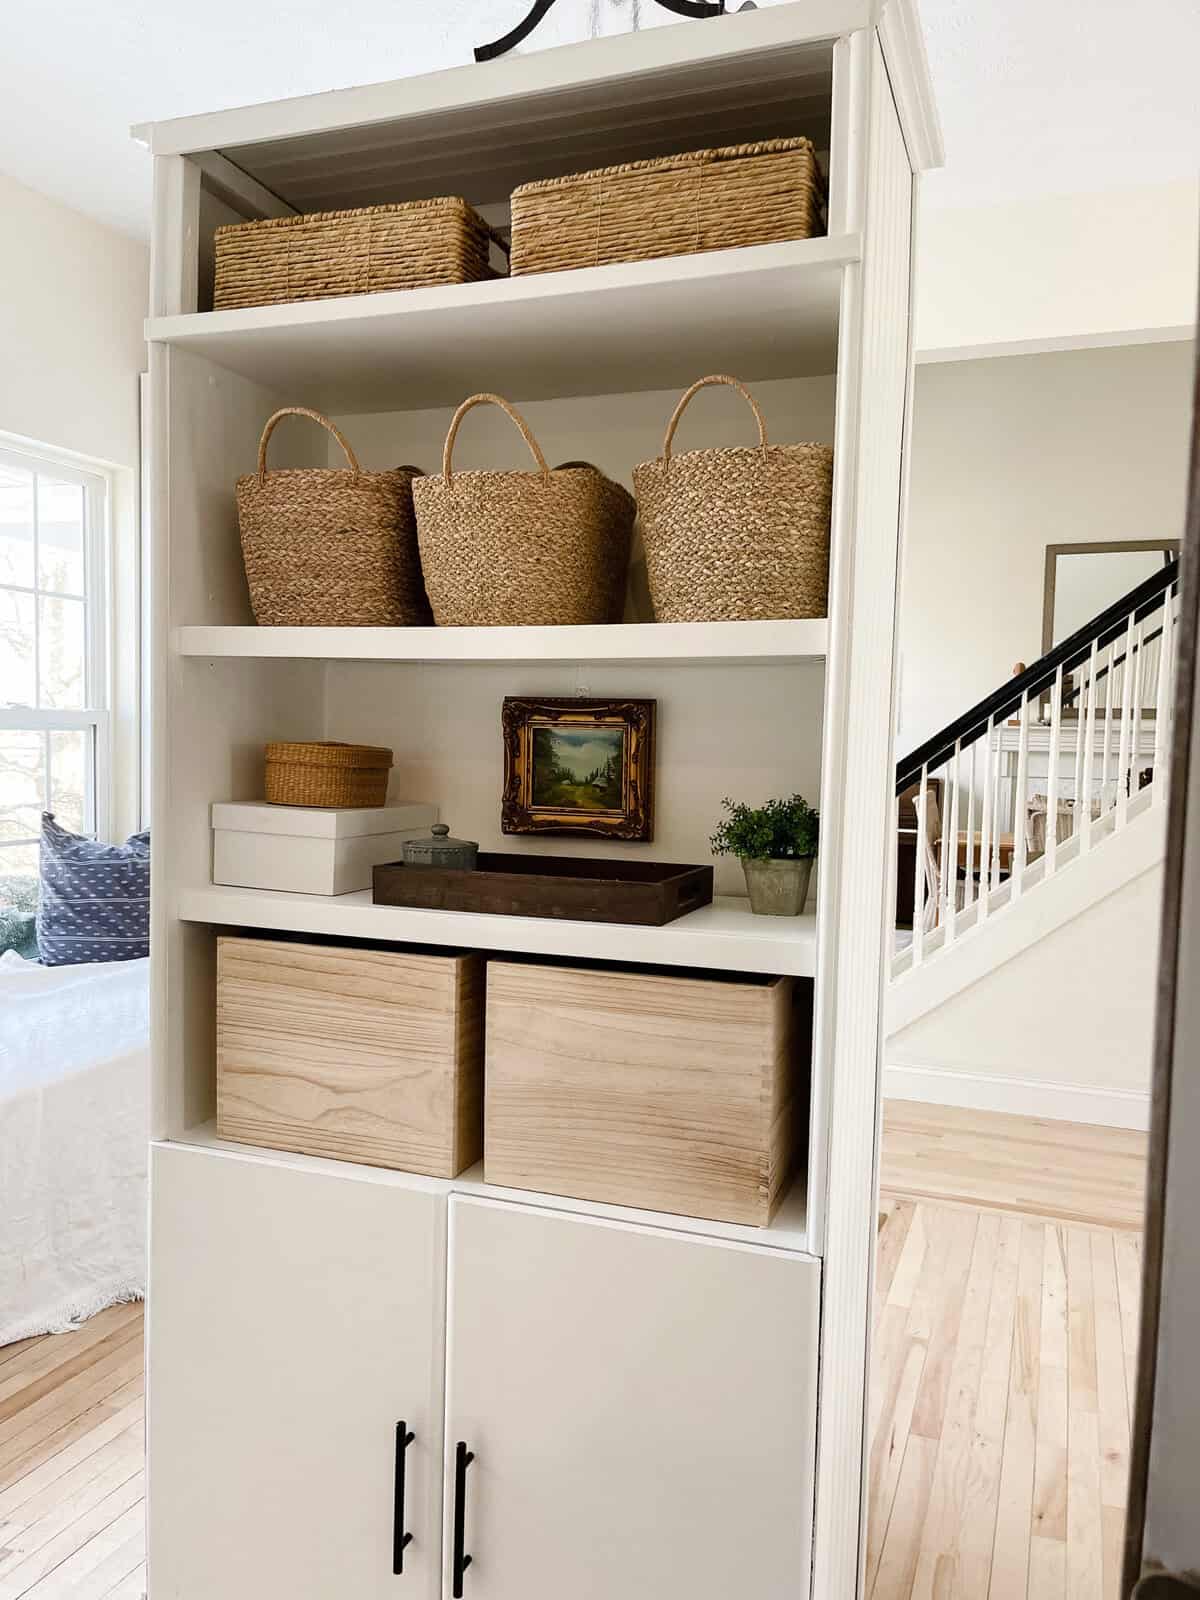
As I mentioned we extended the top of the cabinet to form a fourth shelf. We used paneling on all four sides of it and leftover wood from our floor molding installation. I’ve said it once, but I’ll say it again. In order to save money when you improve you home with diy’s, always save your materials. Leftovers and a resourceful eye have allowed us to create and accomplish many wonderful projects on a modest budget.

before of diy partition

after of diy partition

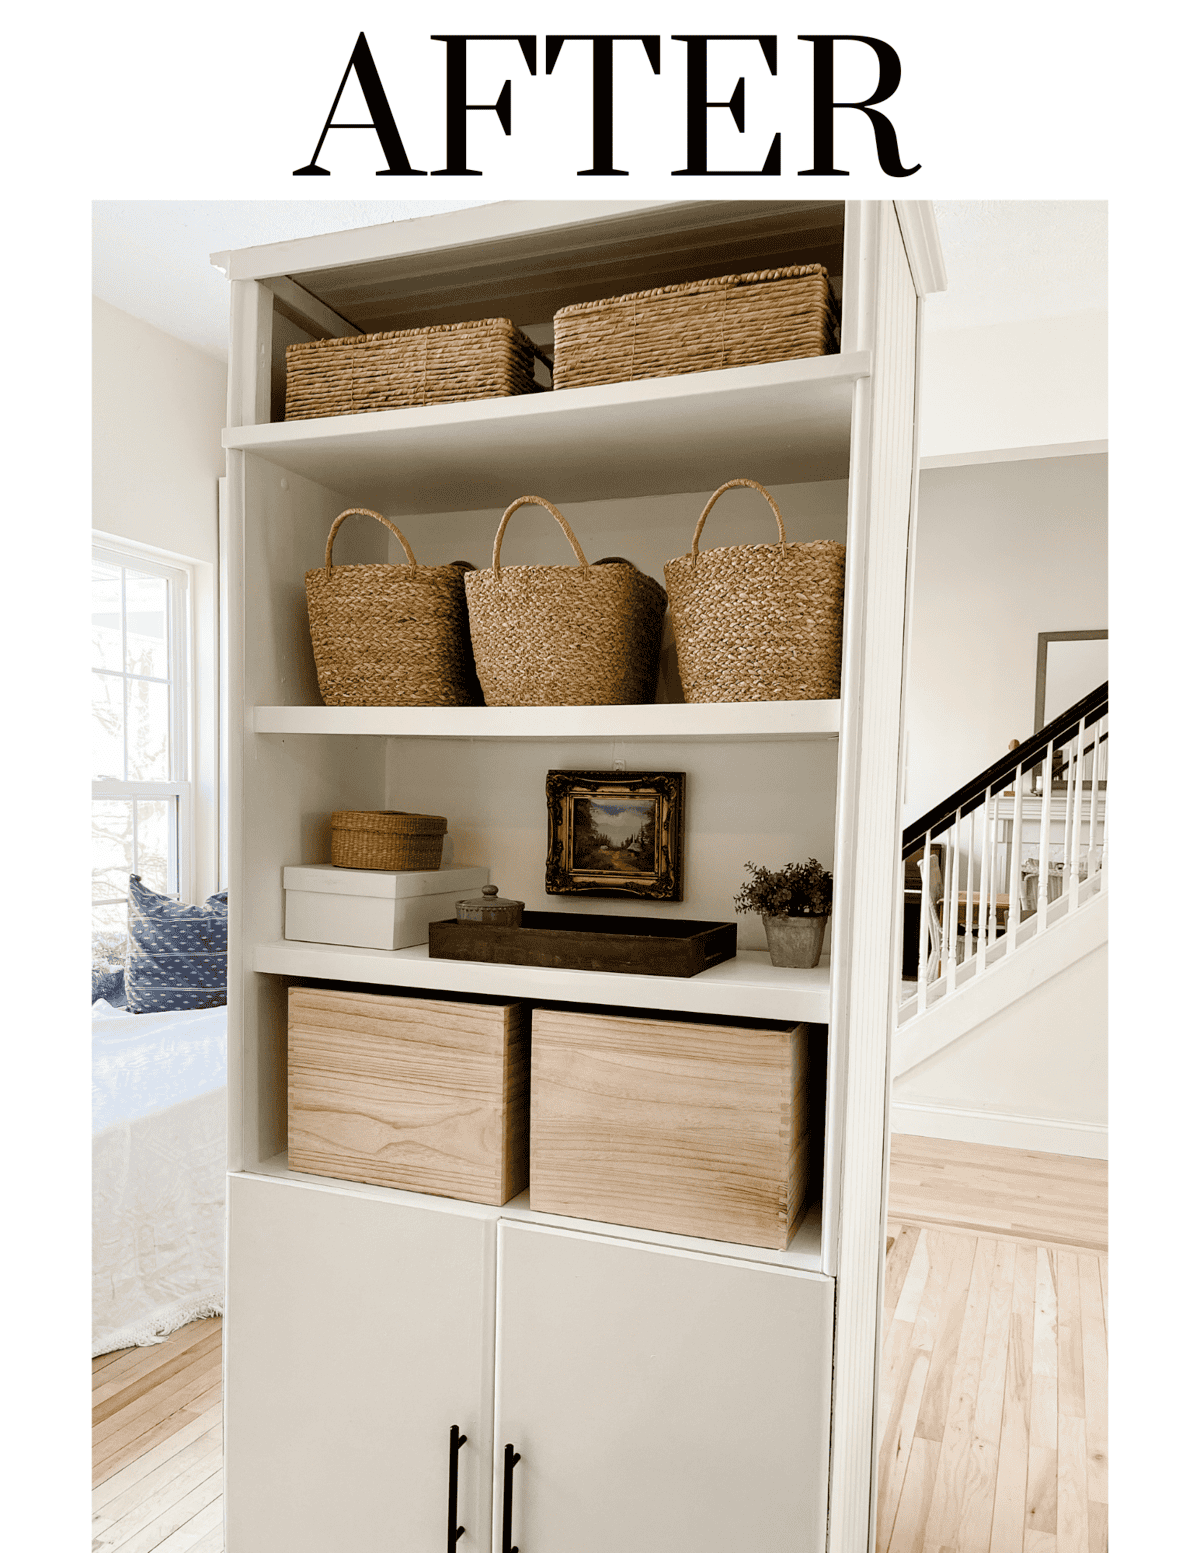
A nice upgrade, don’t you think? I’m estimating that we spend around $90 on material for this project and another $80 on storage baskets. As I said we used material we had leftover from a previous projects. This is a movable shelf that could be used in any area of your home. It solved a problem for us and I hope it gives you some ideas as well. Remember when it comes to diy, where there is a will, there is a way.

xo Maria


Disclosure: Affiliate links in this post allow me to receive a commission at no extra cost to you.

0 Comments

Submit a Comment

Your email address will not be published. Required fields are marked *

Welcome to Pure Happy Home! A home design and DIY blog encouraging and helping you to design spaces you love. Here you’ll find budget makeovers, design tips and creative ideas you can apply to your home. Follow along as our family of 7 works to make our home more beautiful and our relationships closer.

CATEGORIES

TAGS

RECENT POSTS

Healthy Stuffed Pepper Soup with Turkey

Healthy Stuffed Pepper Soup with Turkey

This was the first time I made this healthy stuffed pepper soup, and boy was it a hit! I'll definitely be making it again and wanted to share it here with you because it was fast and a smart choice for feeding a large group of people. Healthy Stuffed Pepper Soup with...

Zero Dollar Room Refresh and Redesign

Zero Dollar Room Refresh and Redesign

Want a new look in your space without spending a dollar? Let me show you how I recently completed a zero dollar room refresh and redesign. I love a good challenge, especially a good design challenge! Our family room got a makeover, but not the kind that costs hundreds...

How To Transform Your Shoes With Spray Paint

How To Transform Your Shoes With Spray Paint

Want to change up your shoe collection, but on a budget? Learn how to transform your shoes with spray paint. Tired of neutral flats and want to change up your wardrobe? I know I do! How To Transform Your Shoes With Spray Paint It occurred to me that I could add some...

GET YOUR FREE GUIDE

5 Easy Home Tips for Hosting Guests

Recent Posts

Zero Dollar Room Refresh and Redesign

Zero Dollar Room Refresh and Redesign

Want a new look in your space without spending a dollar? Let me show you how I recently completed a zero dollar room refresh and redesign. I love a good challenge, especially a good design challenge! Our family room got a makeover, but not the kind that costs hundreds...

How To Transform Your Shoes With Spray Paint

How To Transform Your Shoes With Spray Paint

Want to change up your shoe collection, but on a budget? Learn how to transform your shoes with spray paint. Tired of neutral flats and want to change up your wardrobe? I know I do! How To Transform Your Shoes With Spray Paint It occurred to me that I could add some...

5 Steps to Quickly Tidy Any Room

5 Steps to Quickly Tidy Any Room

We've all been there. Life gets busy and our spaces get a mess, but I have a strategy to share. Here are 5 steps to quickly tidy any room. And they're quick, oh so quick! I use them to keep our home from getting too out of control. It's my go to way of getting things...