Our house originally had a formal dining room right off of the front entry. We knew right away we wouldn’t be using it much at all as a dining room. It was too far away from the kitchen and we rarely had formal meals. During our renovation we changed it into our front foyer. We added a door to the garage, cabinets for accessories and shoes, a window seat and a closet to house coats for all seven of us. It was a good switch and we’ve never regretted the decision. I did however regret seeing the garage door from the front of our house. Through the years I realized the design aesthetic wasn’t right for me.
After thinking on it one for several weeks I decided to go with the “fix” that needed the least amount of energy and money. Big surprise that would be my choice. I dubbed it the foyer fix. Naming projects gives them a better chance of seeing completion at our house.
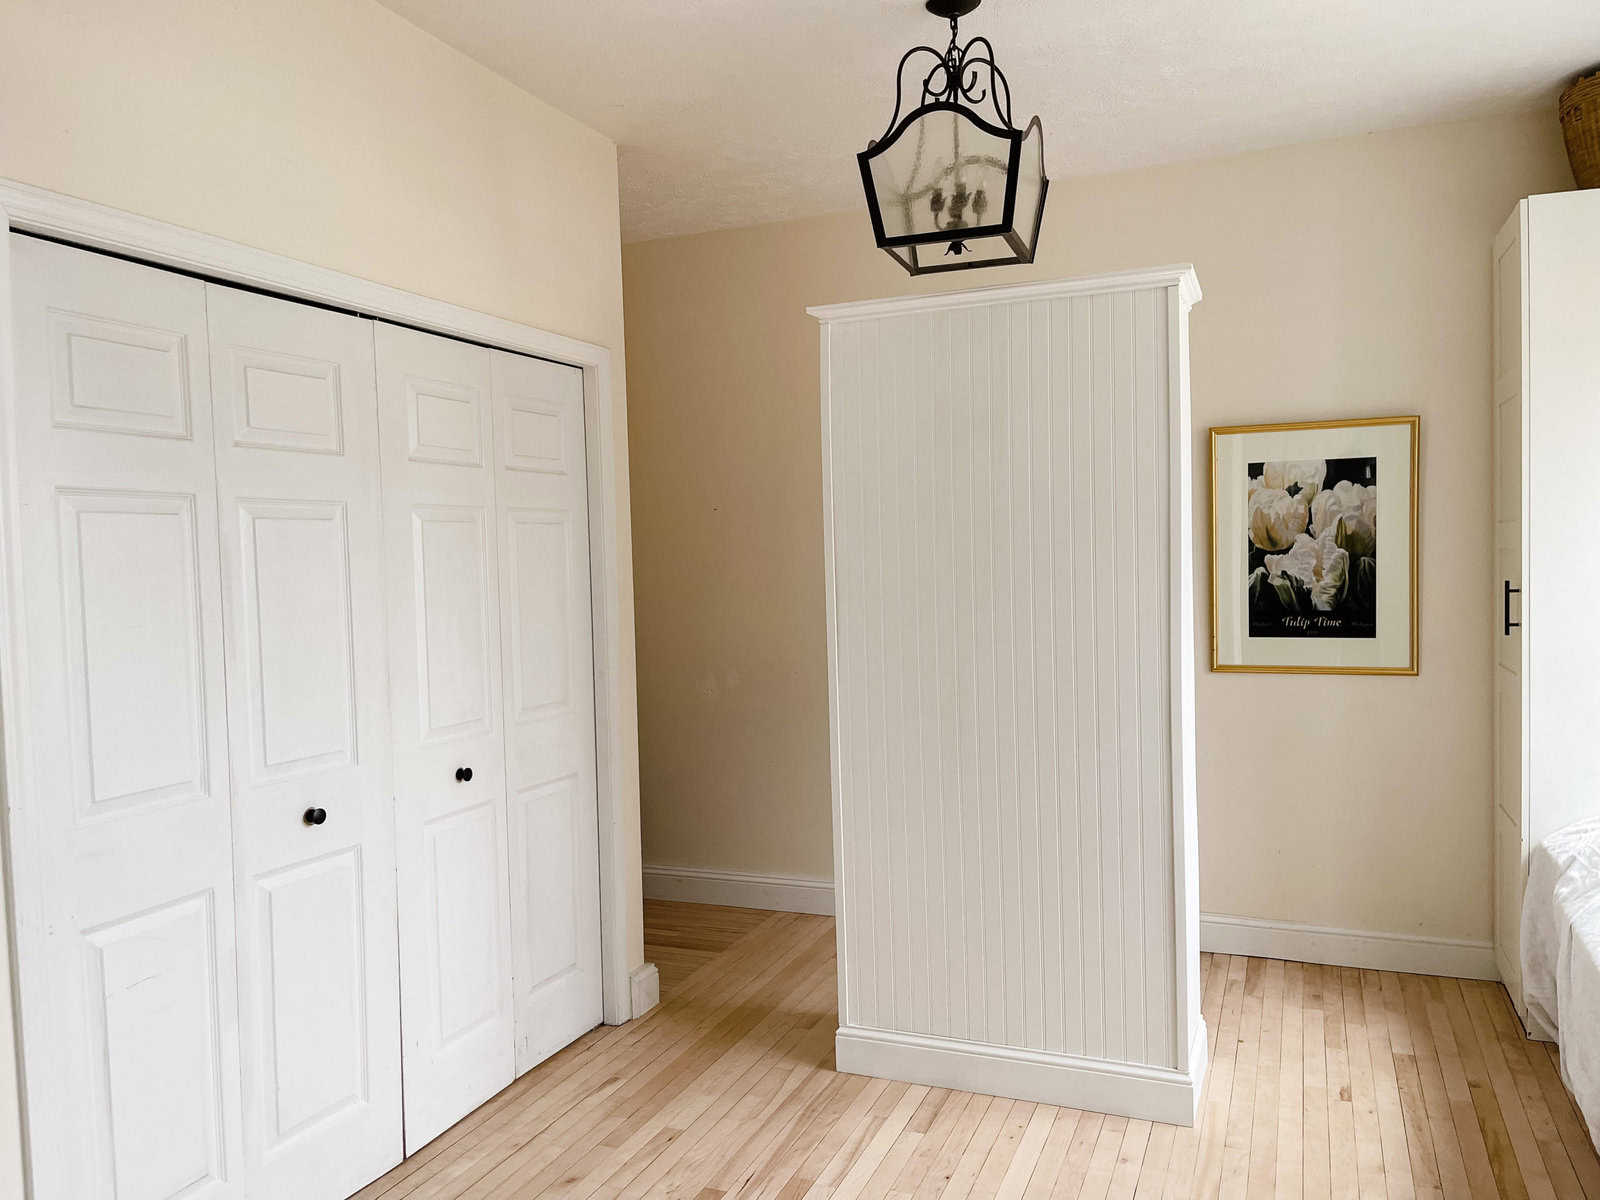
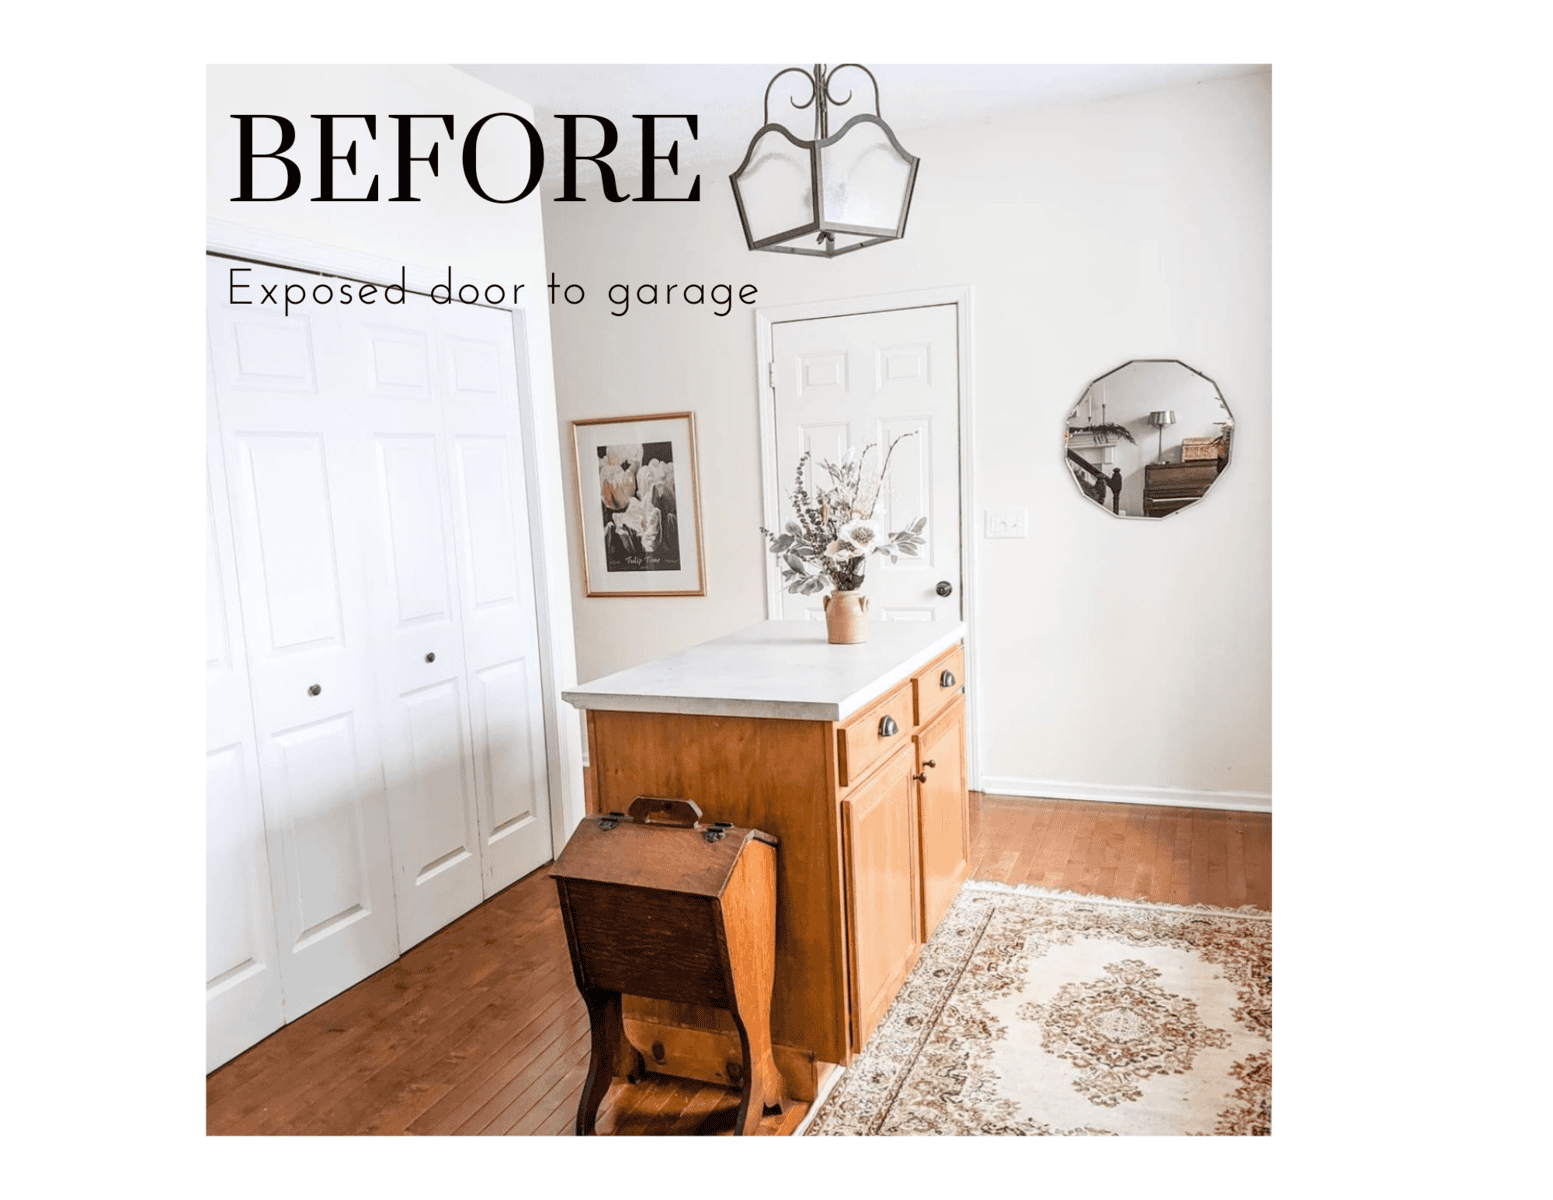
Here’s the before of our foyer.
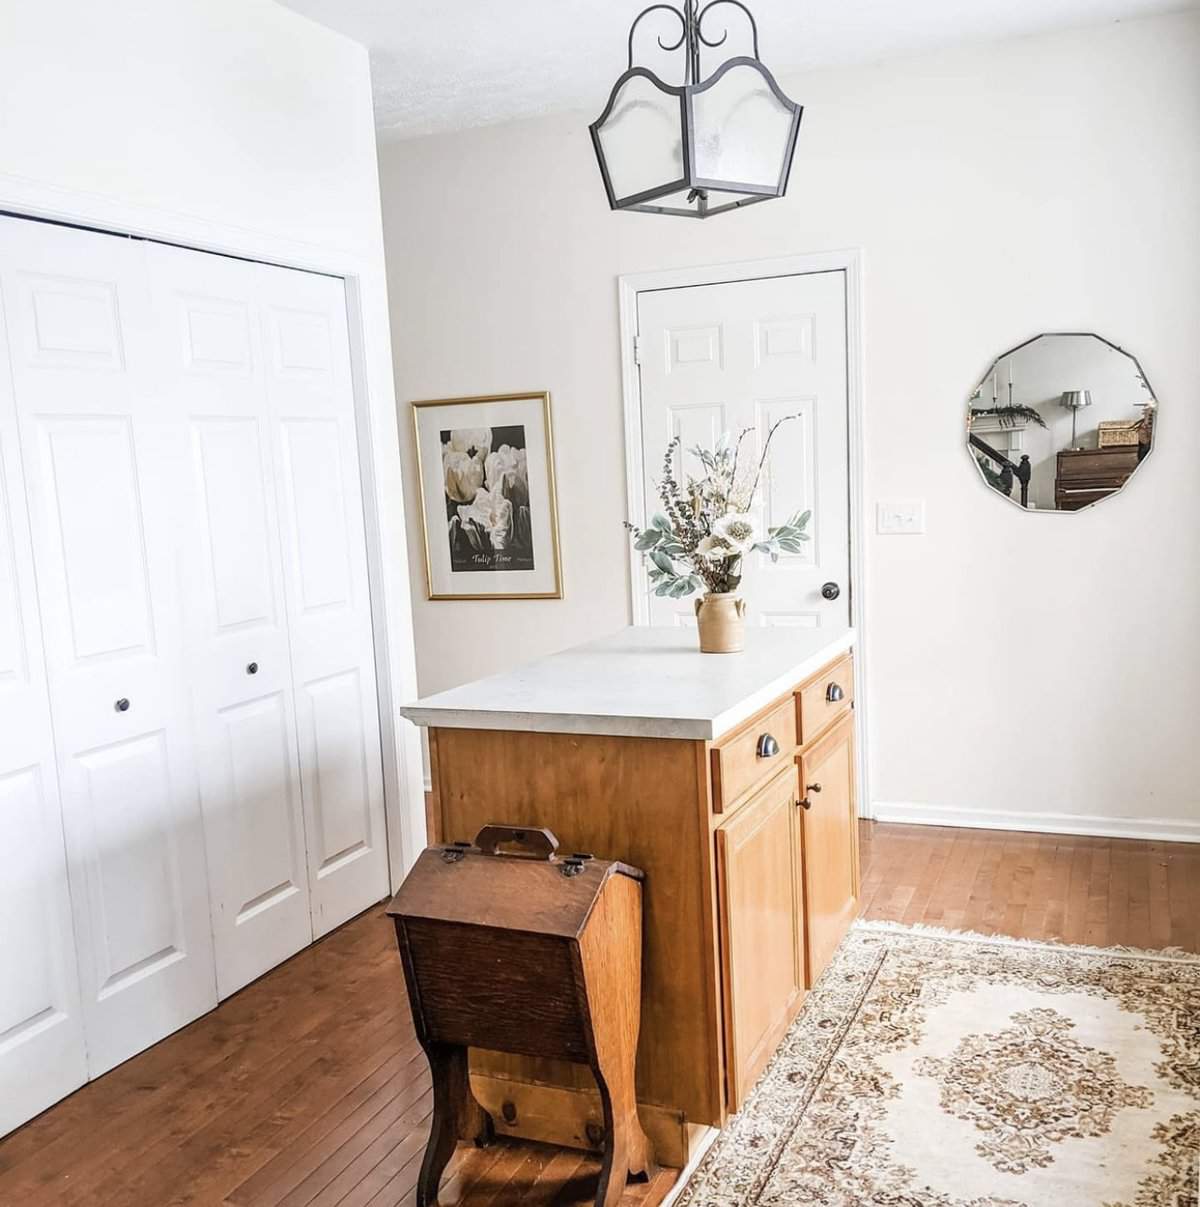
Our Before photo wasn’t a bad situation, but it could be improved for better flow, and to help hide that ugly garage door.
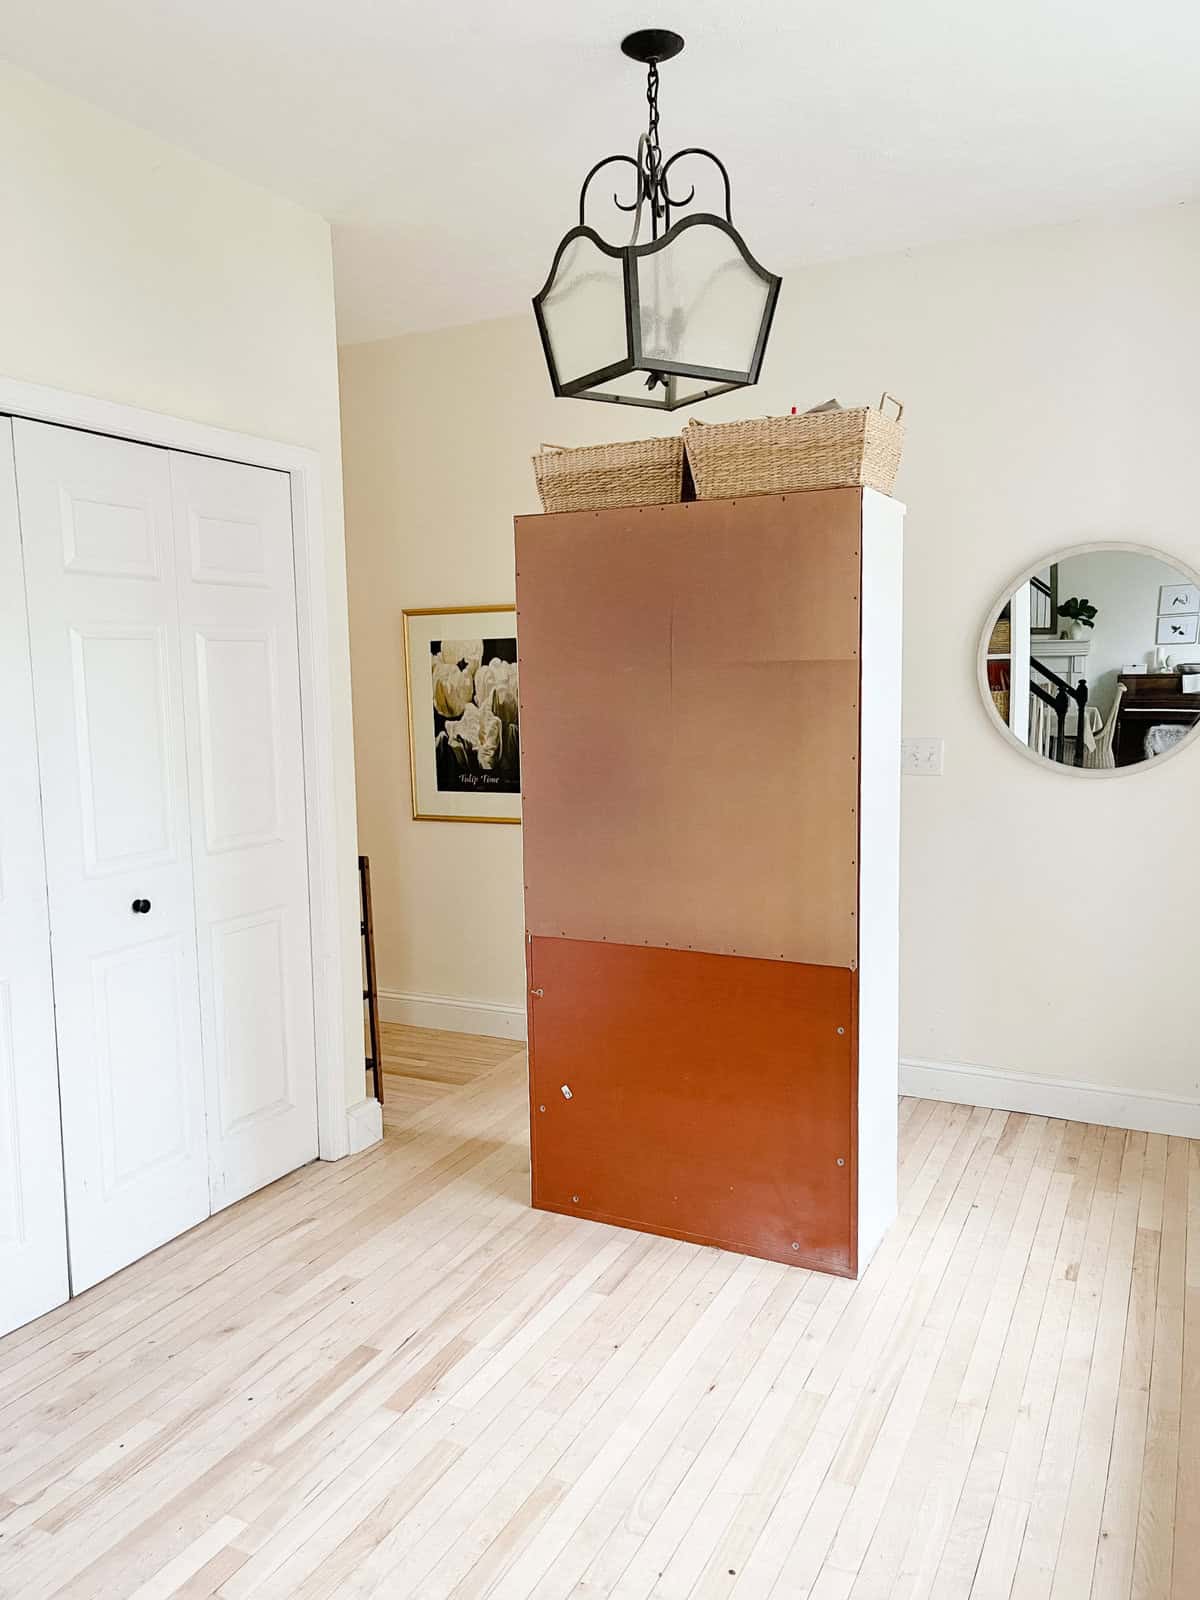
I decided to build a free standing partition in front of the door from a $15 orange cabinet I found. I had painted the front of it white, but the back hadn’t been touch because, well it’s the back of a cabinet.

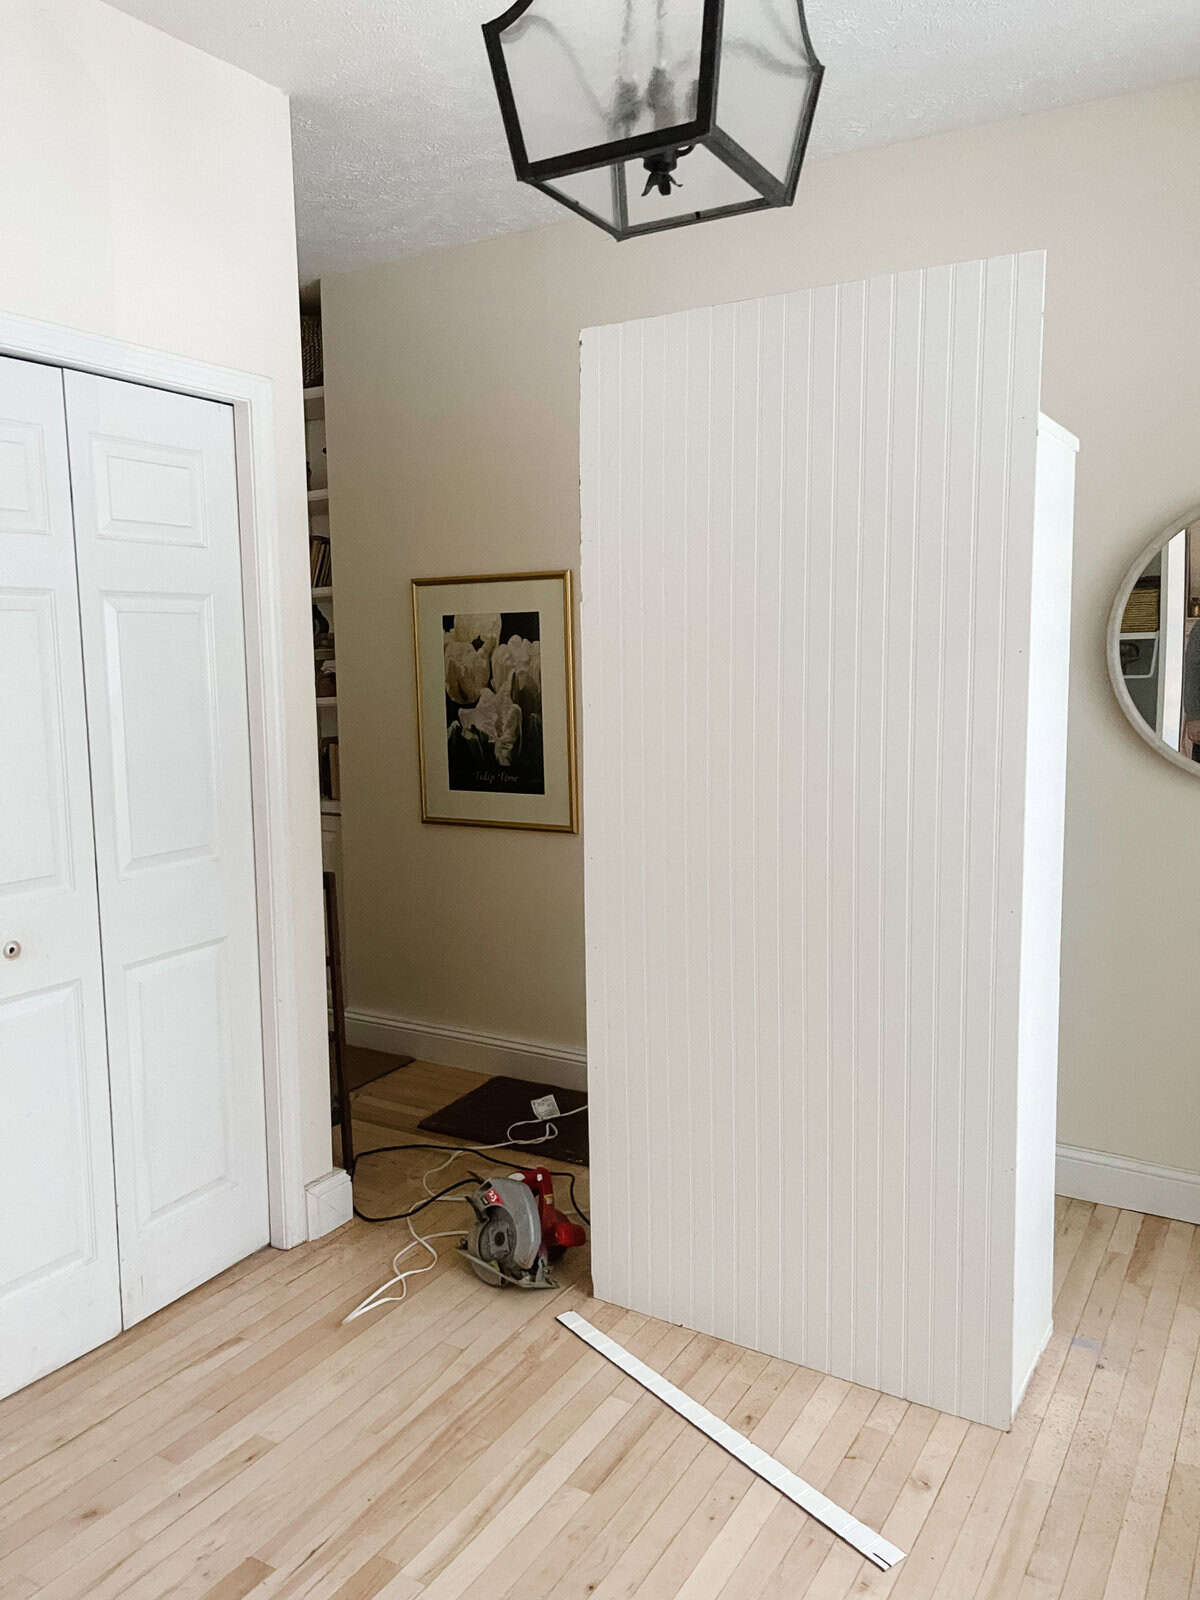
Adding Paneling
This view had to be improved upon so in came my solution. It didn’t take much to turn it into something better. A nail gun and paneling can go a long way, which is very exciting to me as you can tell.

Adjusting the Vintage Light Fixture
After the paneling was up I realized the light fixture would need to be removed and replaced or we’d have to shorten the chain. This is the thing with design, one change makes for a domino effect. Keeping in mind that the goal was to keep this partition addition as low as I could in energy and funds I chose to shorten the chain, but how.
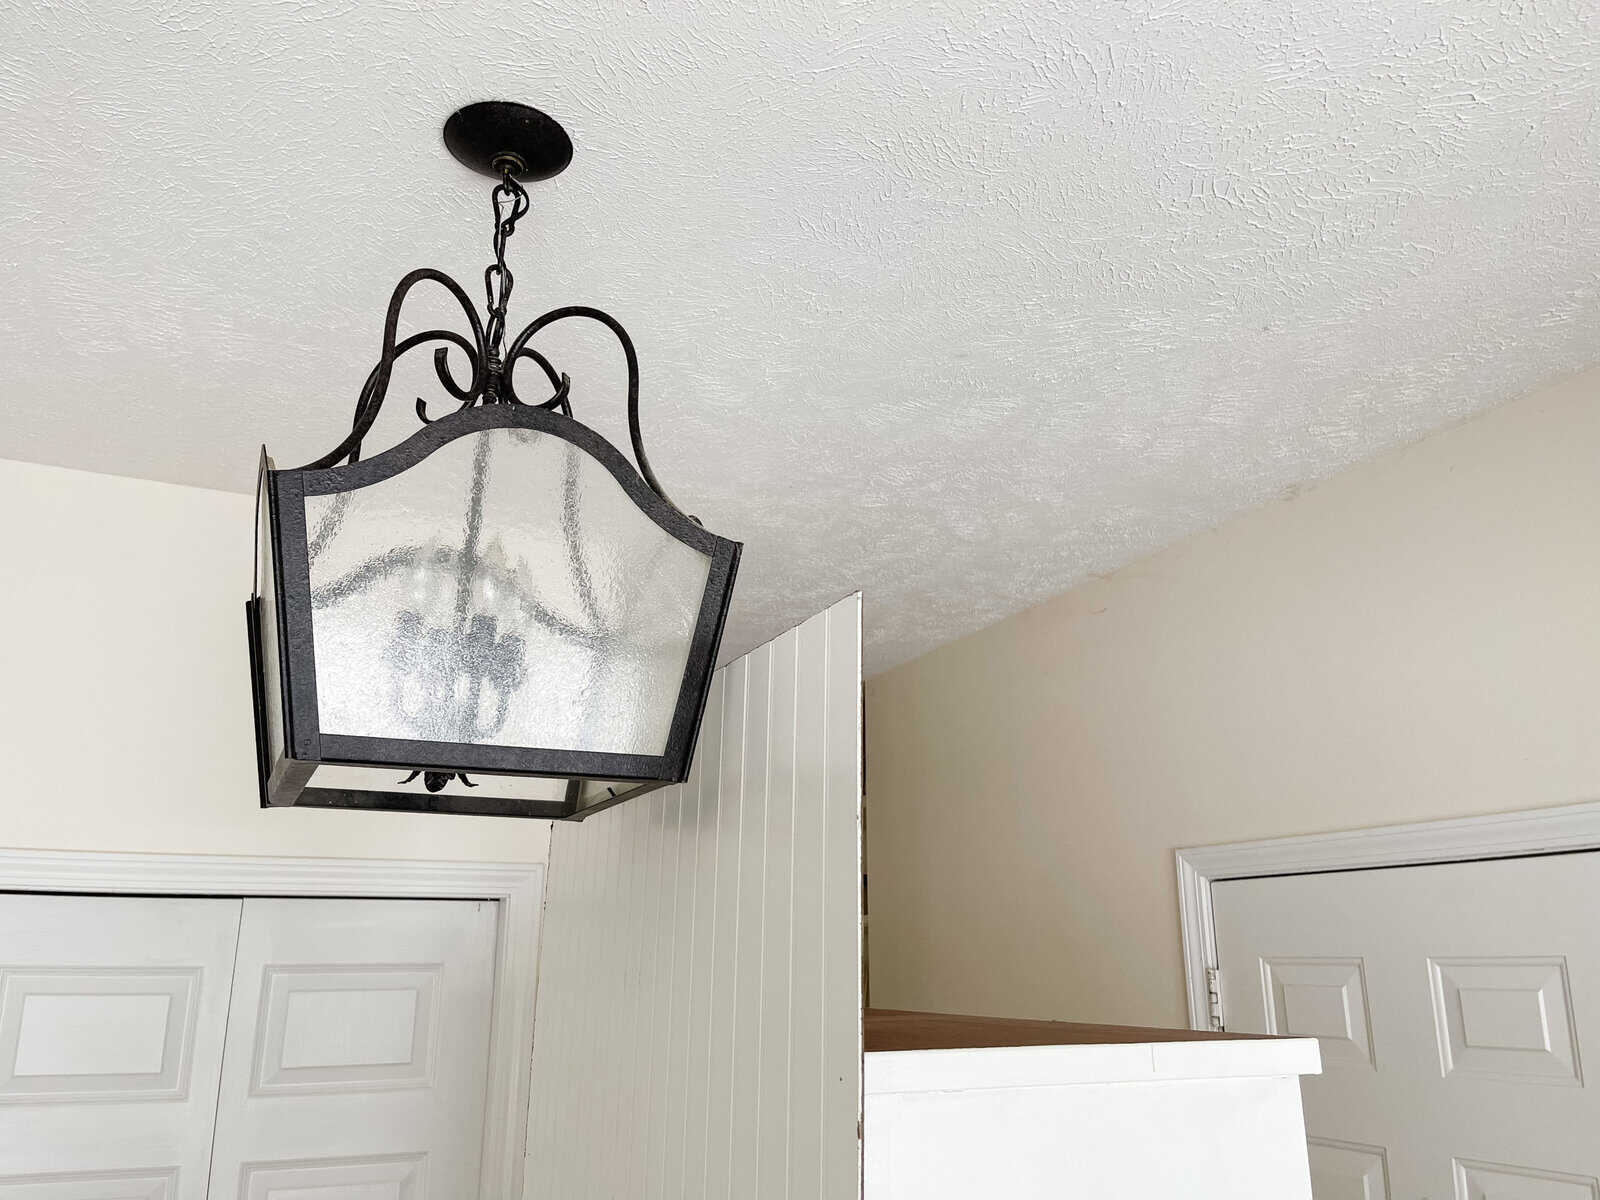
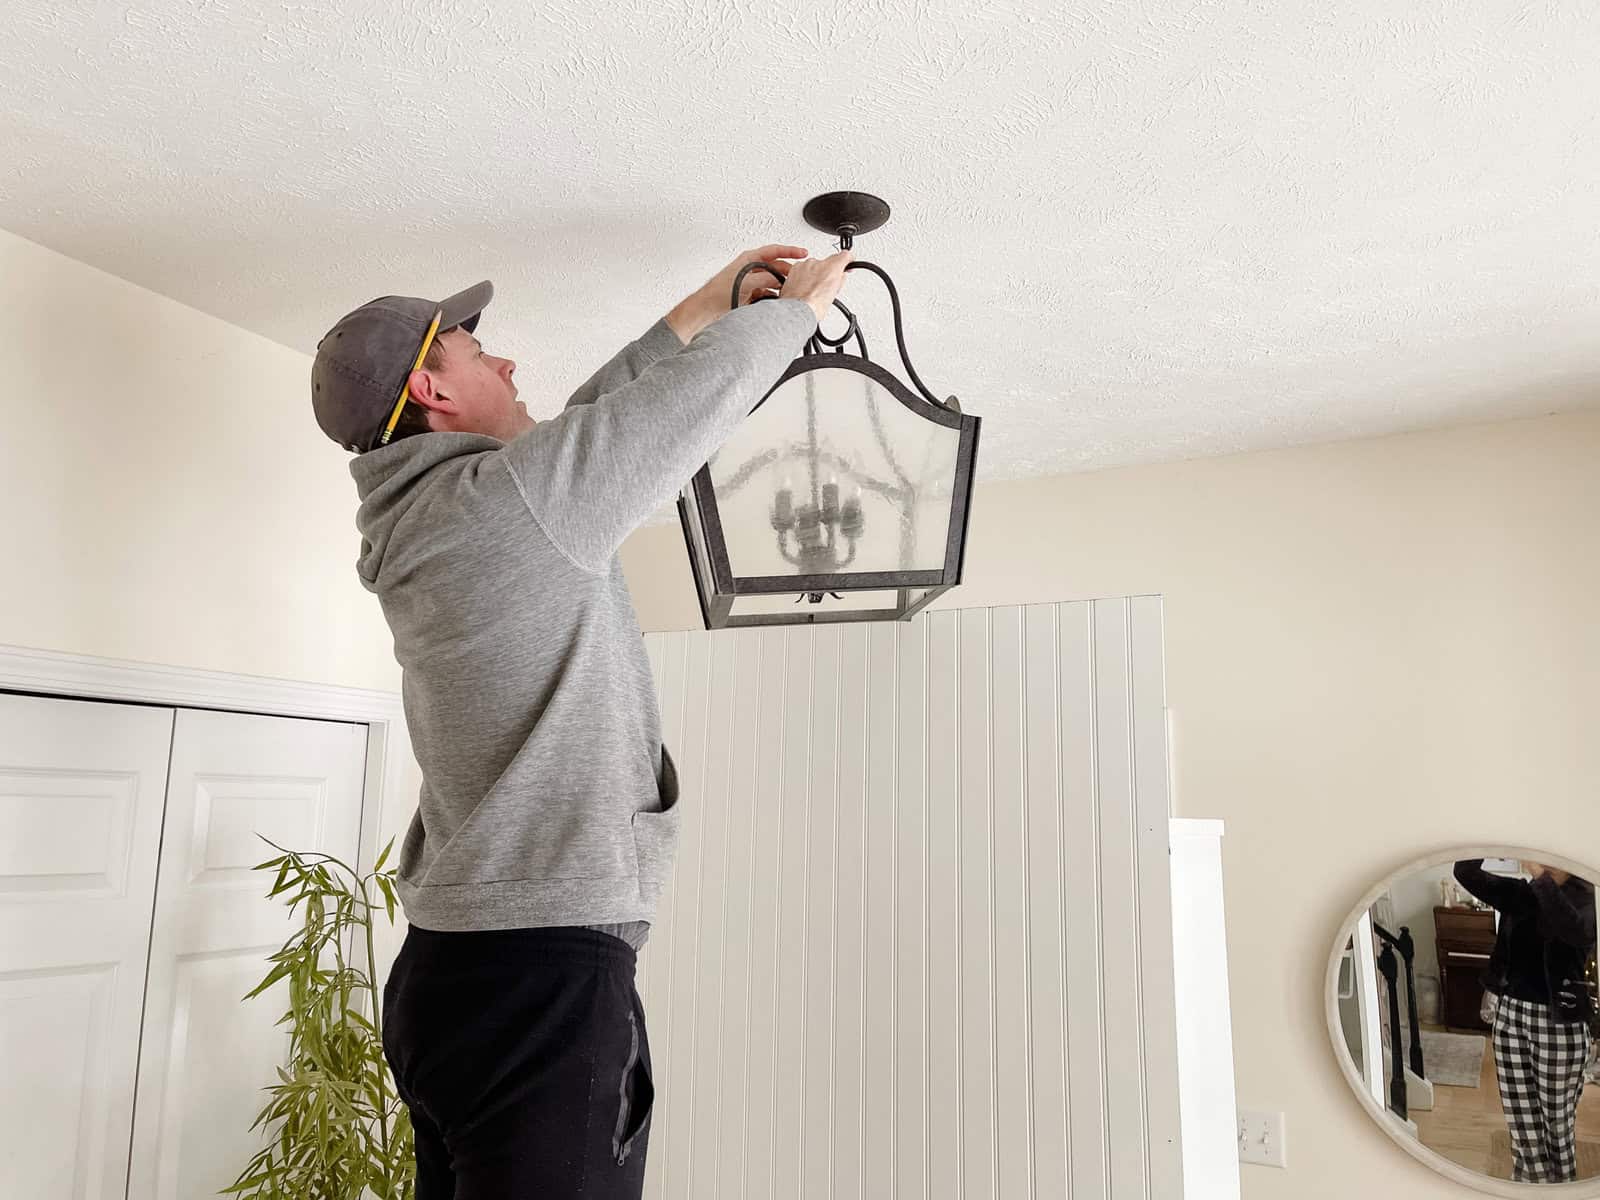
To save time and because this is a vintage light fixture we didn’t remove our light. We simply took clear zip ties and used them to double up the chain allowing it hang closer to the ceiling. Jeremy had the honor of making that job work. I’m documenting his talent by taking photos. See me in the mirror there with the plaid jammies?.
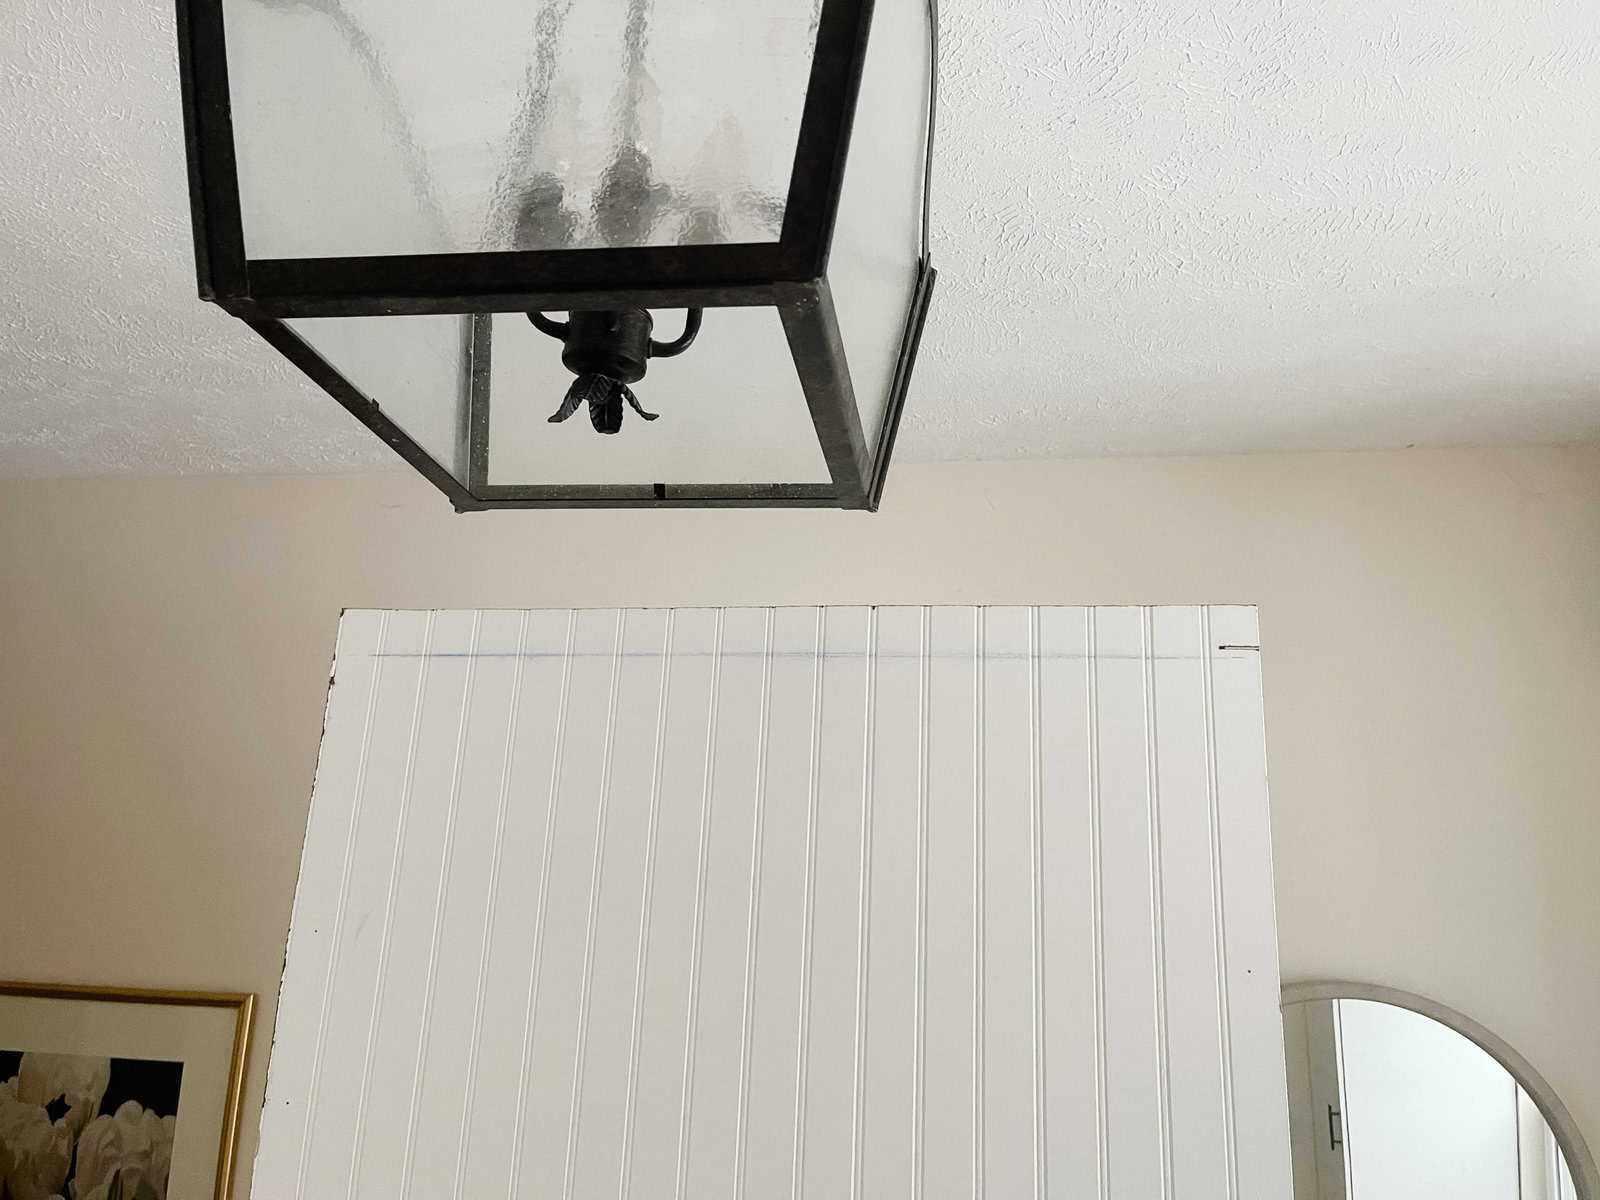
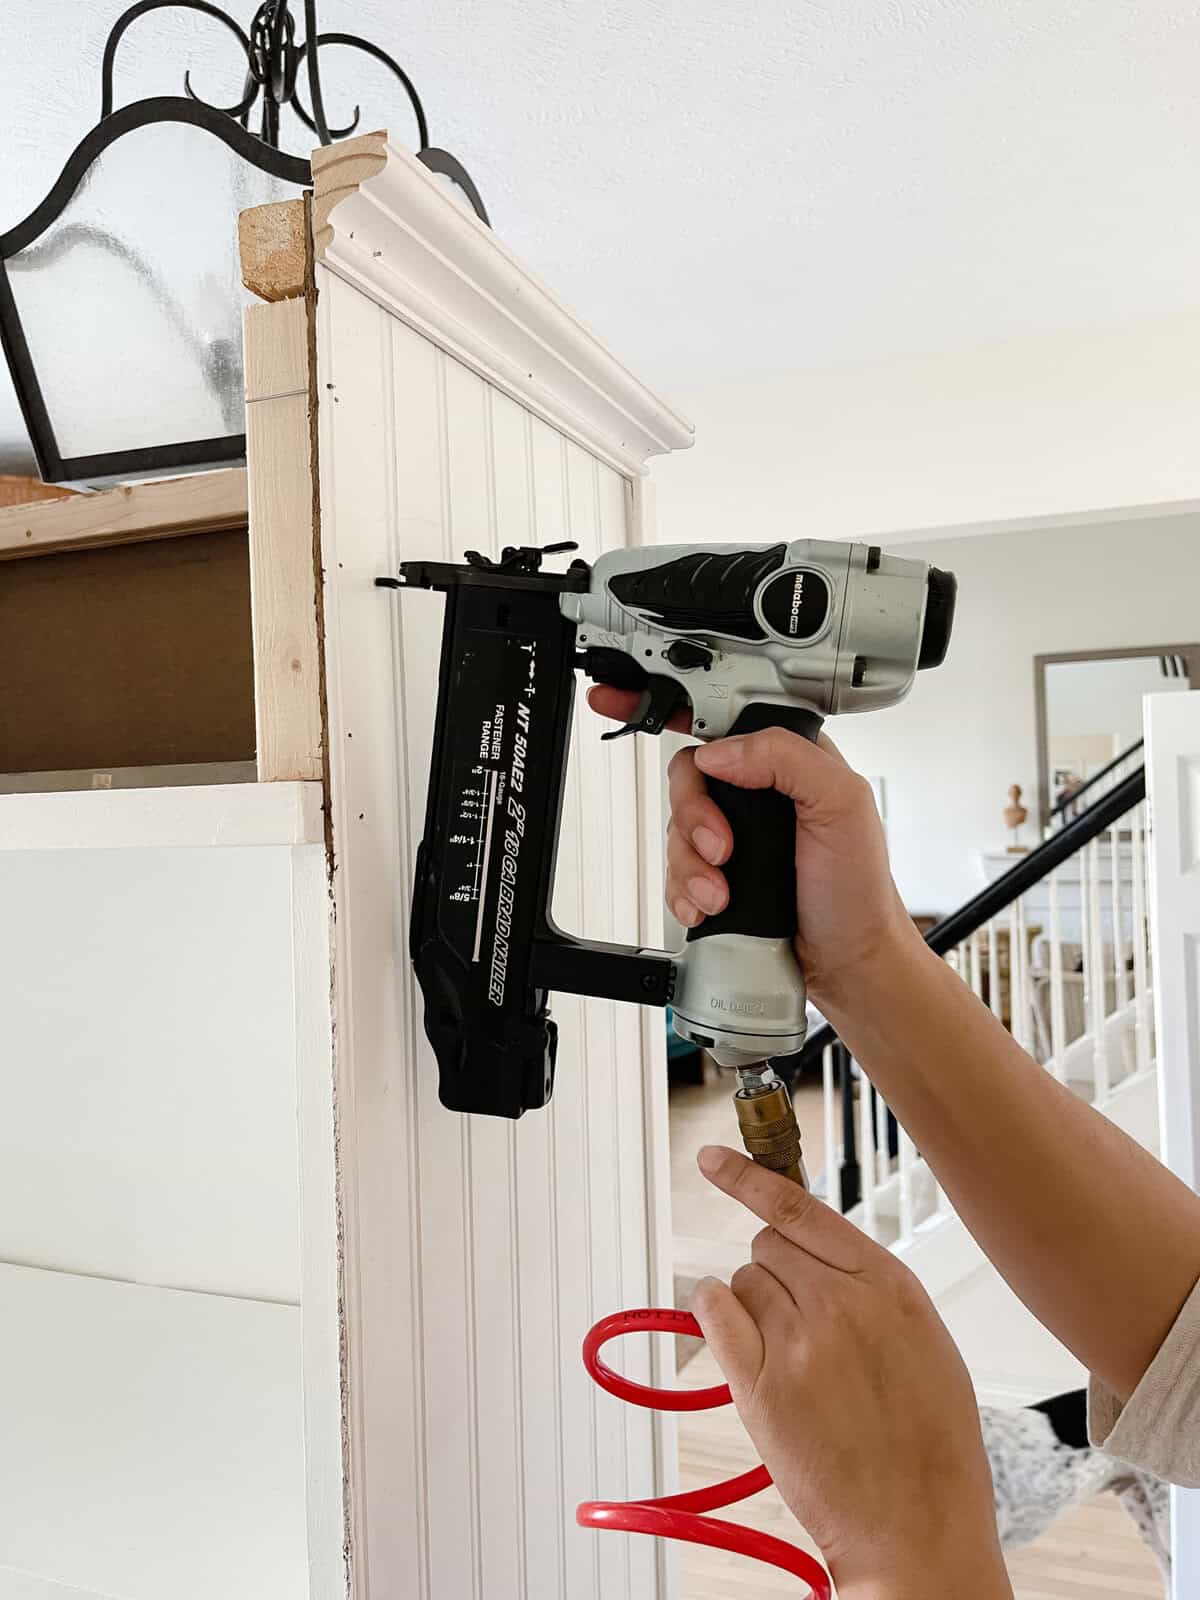
We wrapped the side of the cabinet in paneling as well. Because it’s free standing it has to look good and be finished on all sides.
Choosing Molding
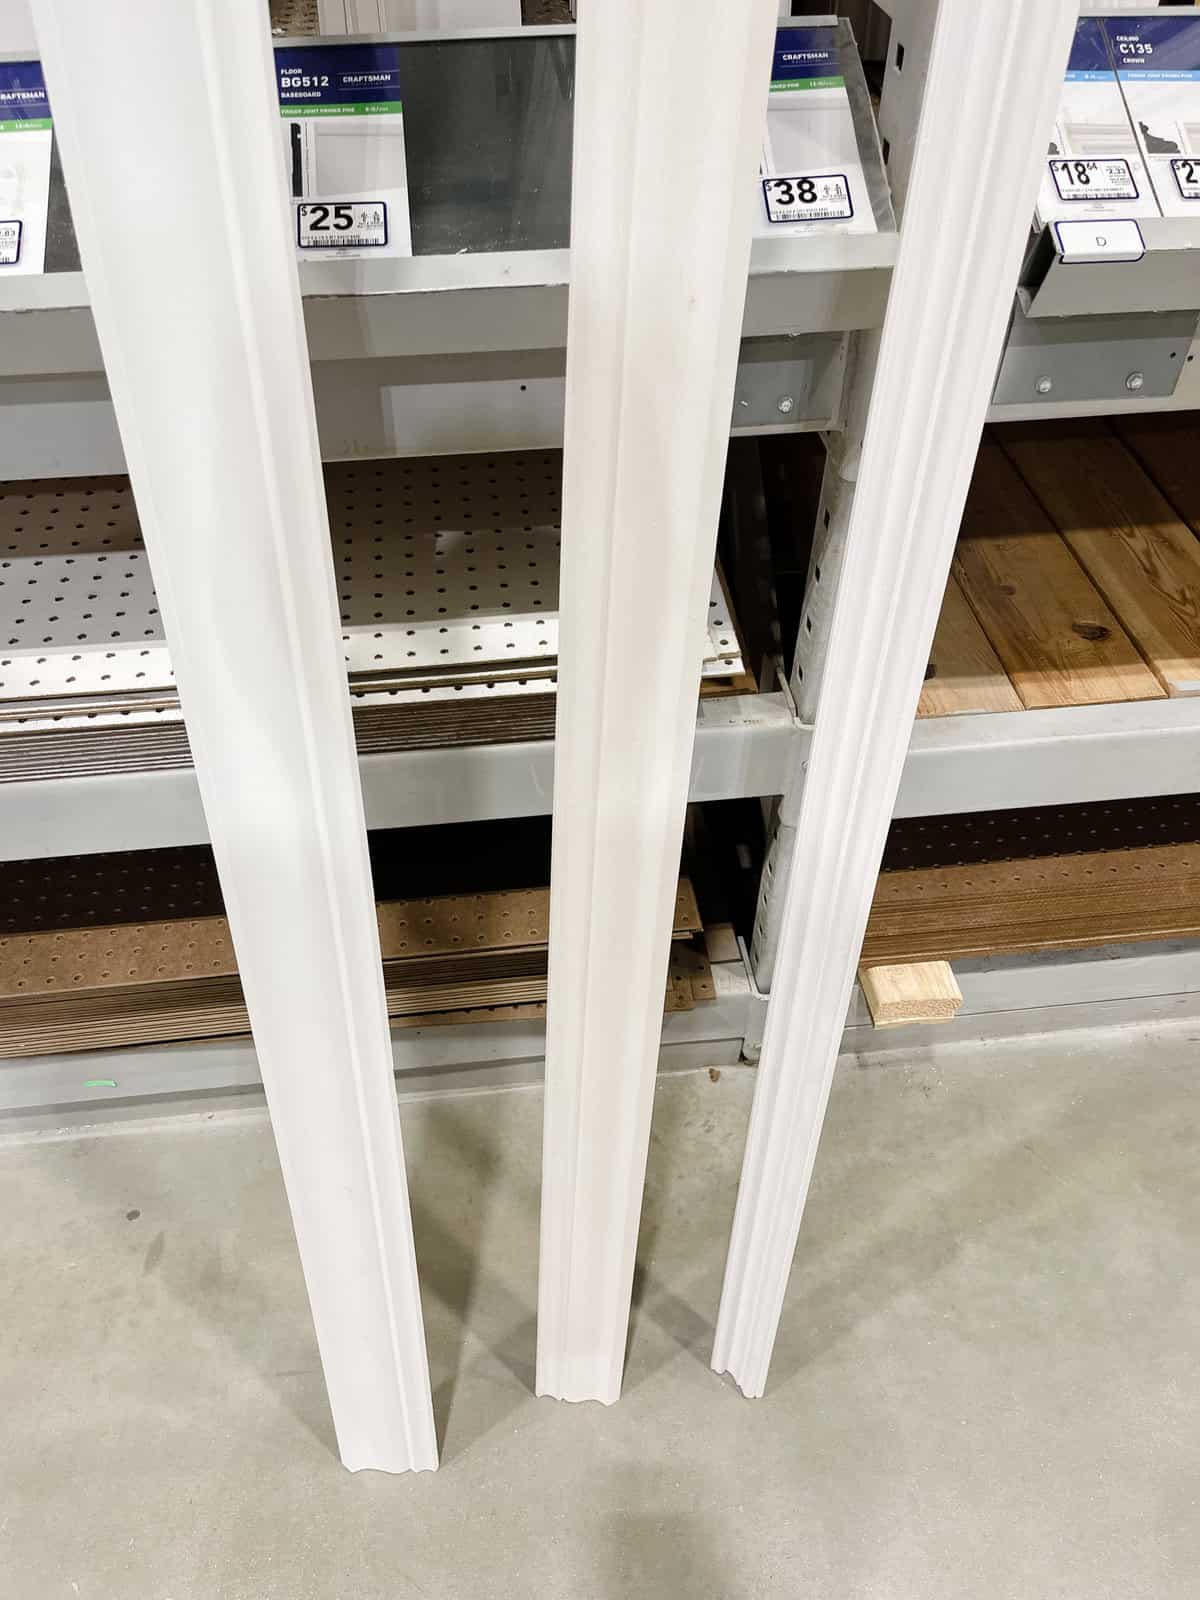
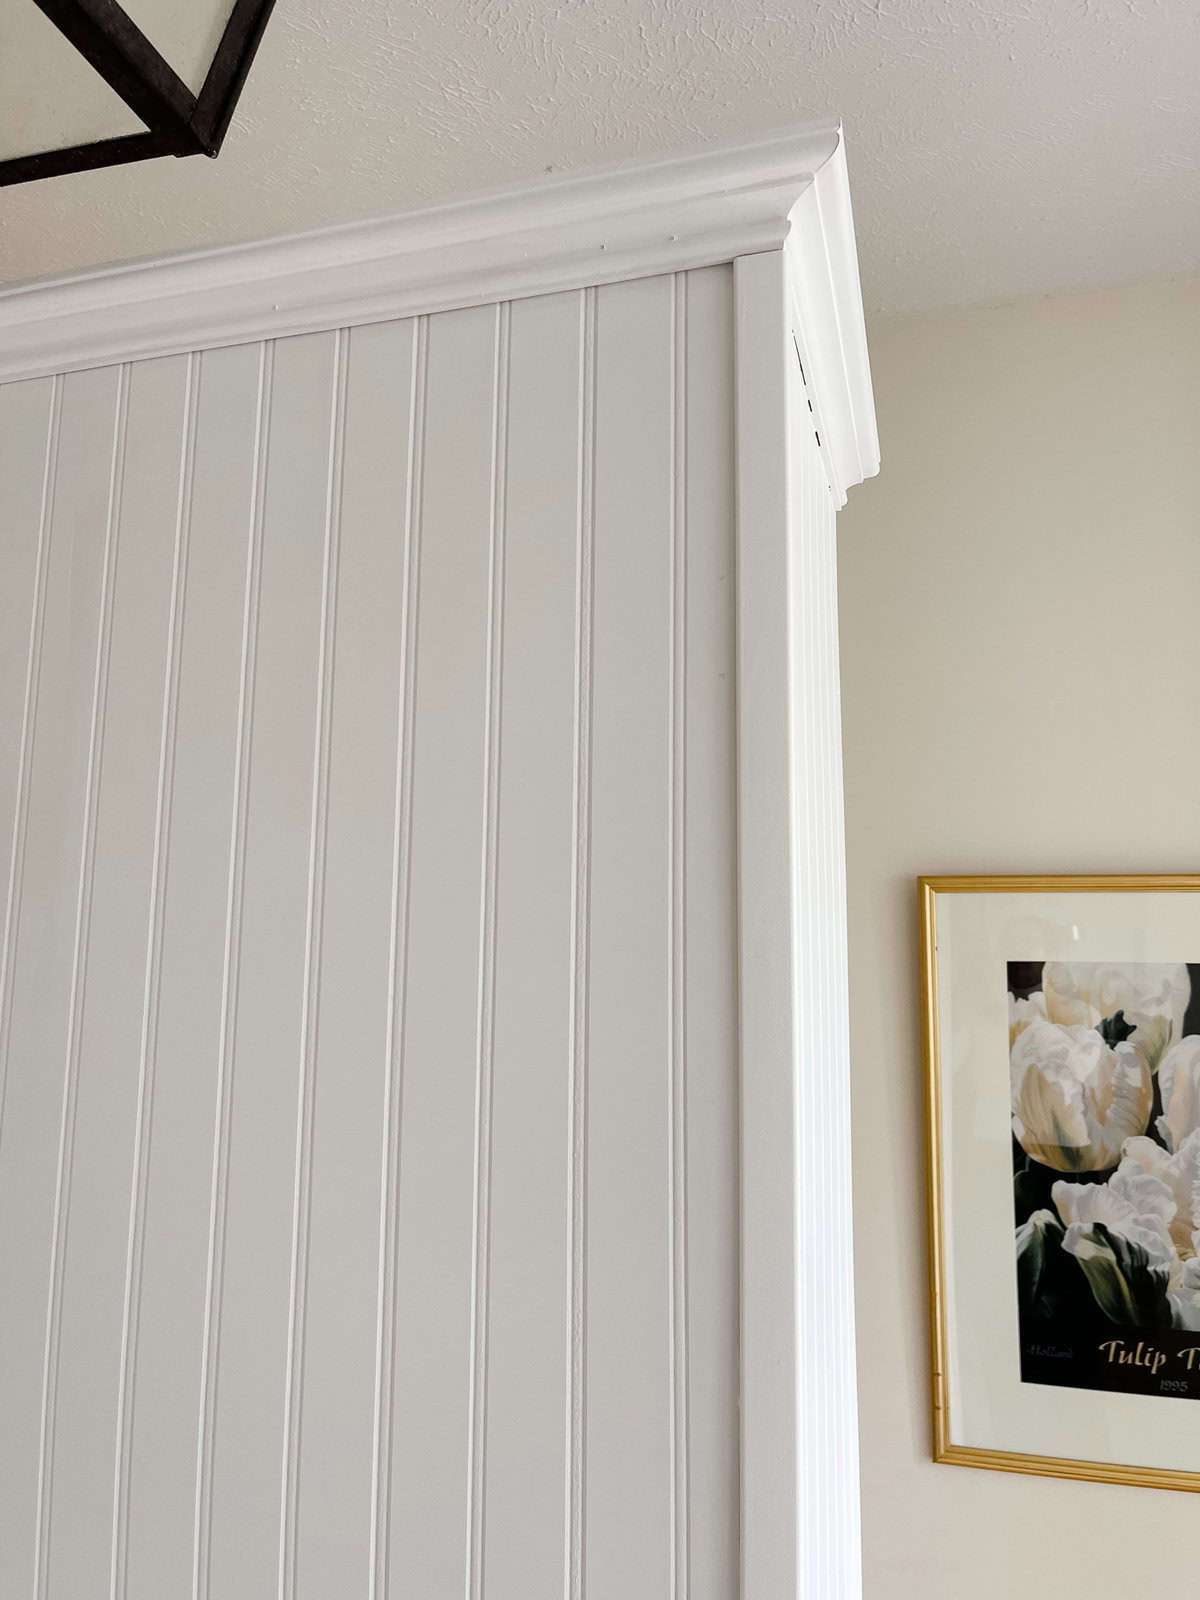
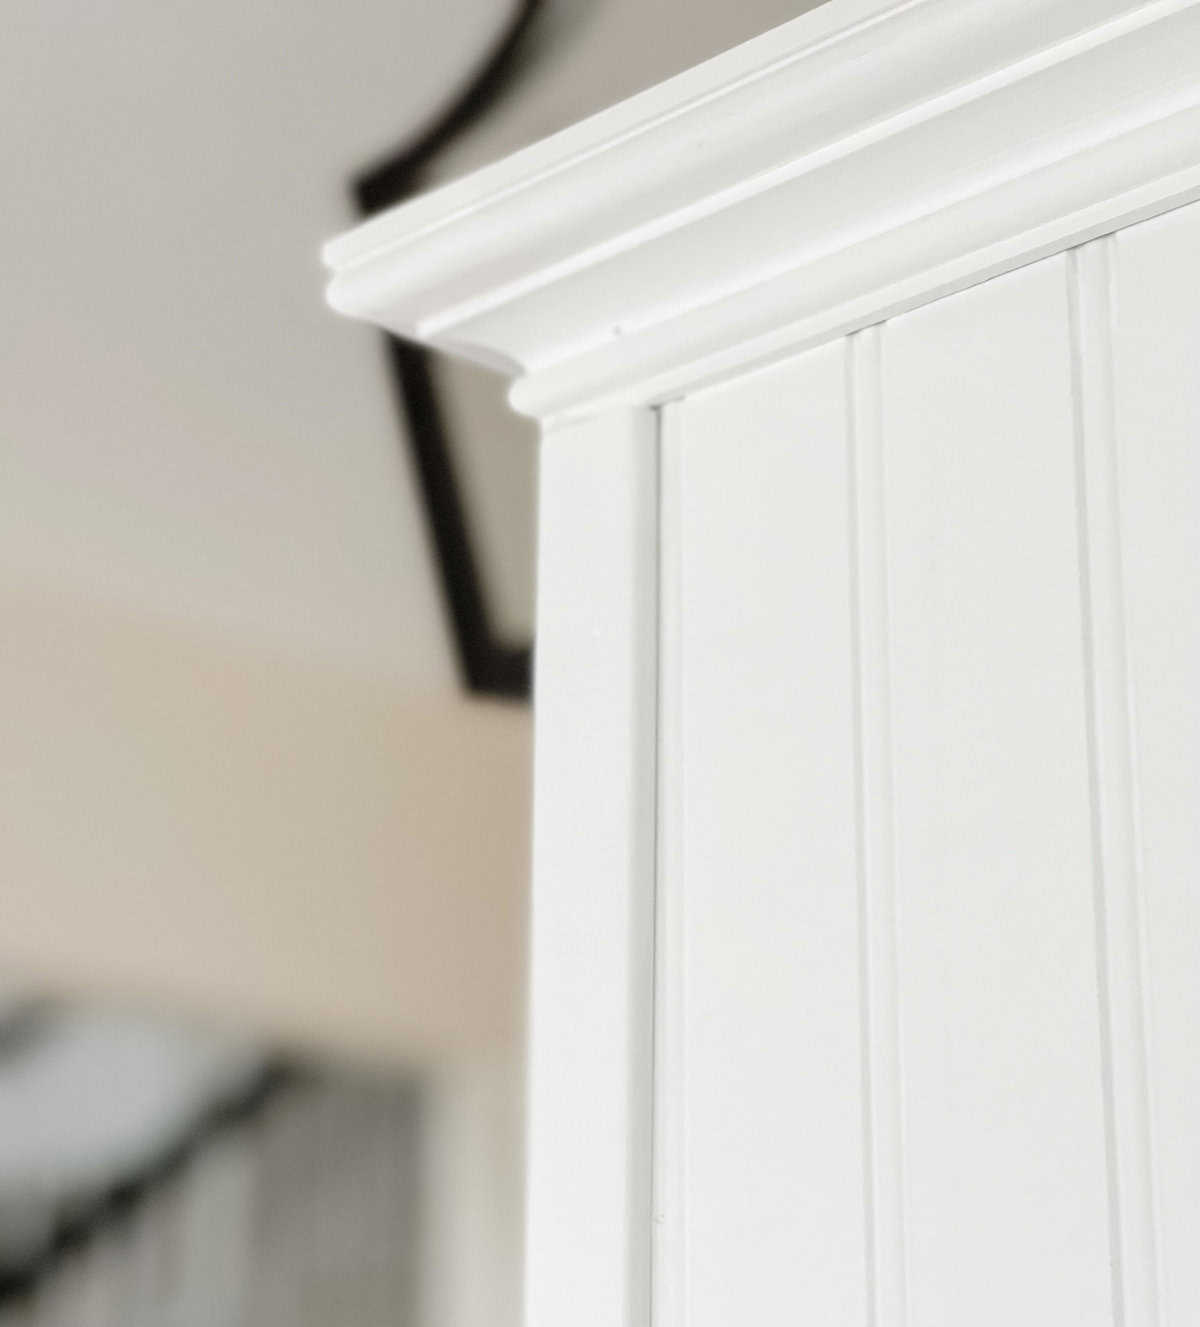
Adding molding was the next step. For this diy room divider to look built in and a part of the foyer I knew molding was key. Which molding did we want to go with was the question. I used several and didn’t worry about the cost because it was important to get the right look. There are times to be frugal and times to go with what is most pleasing to the eye.
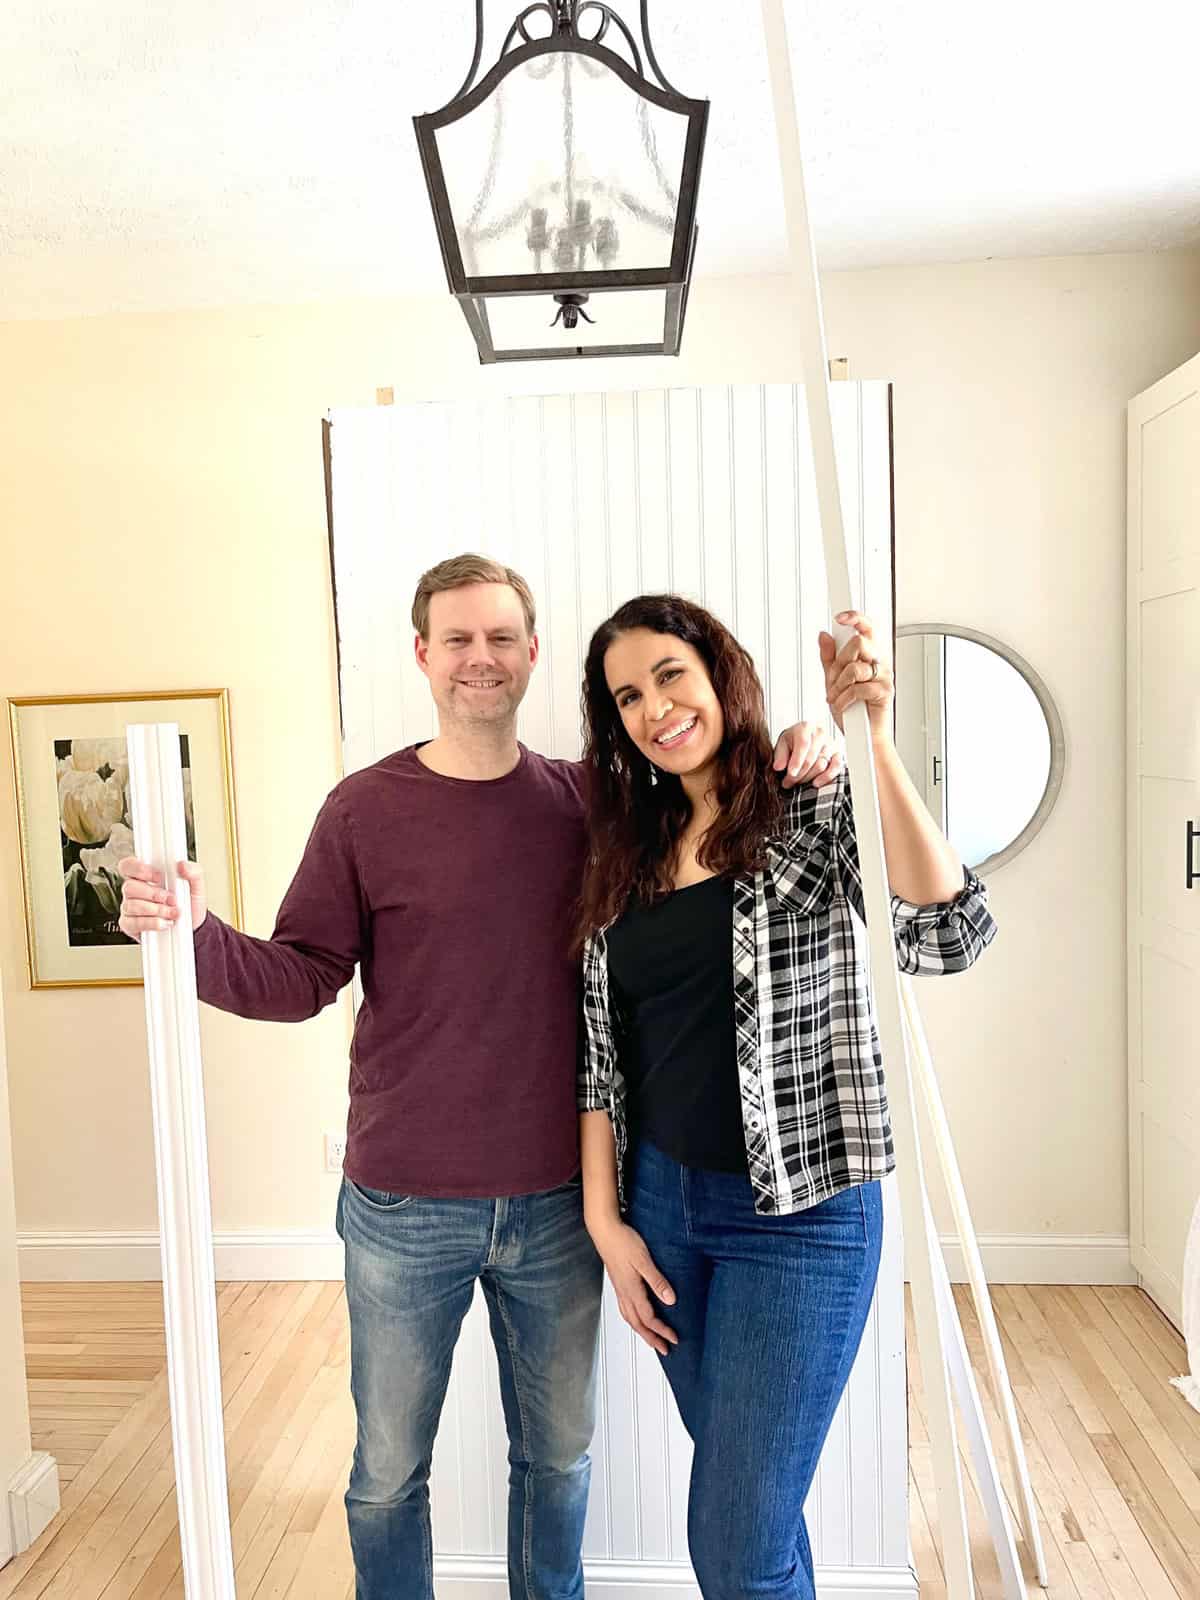
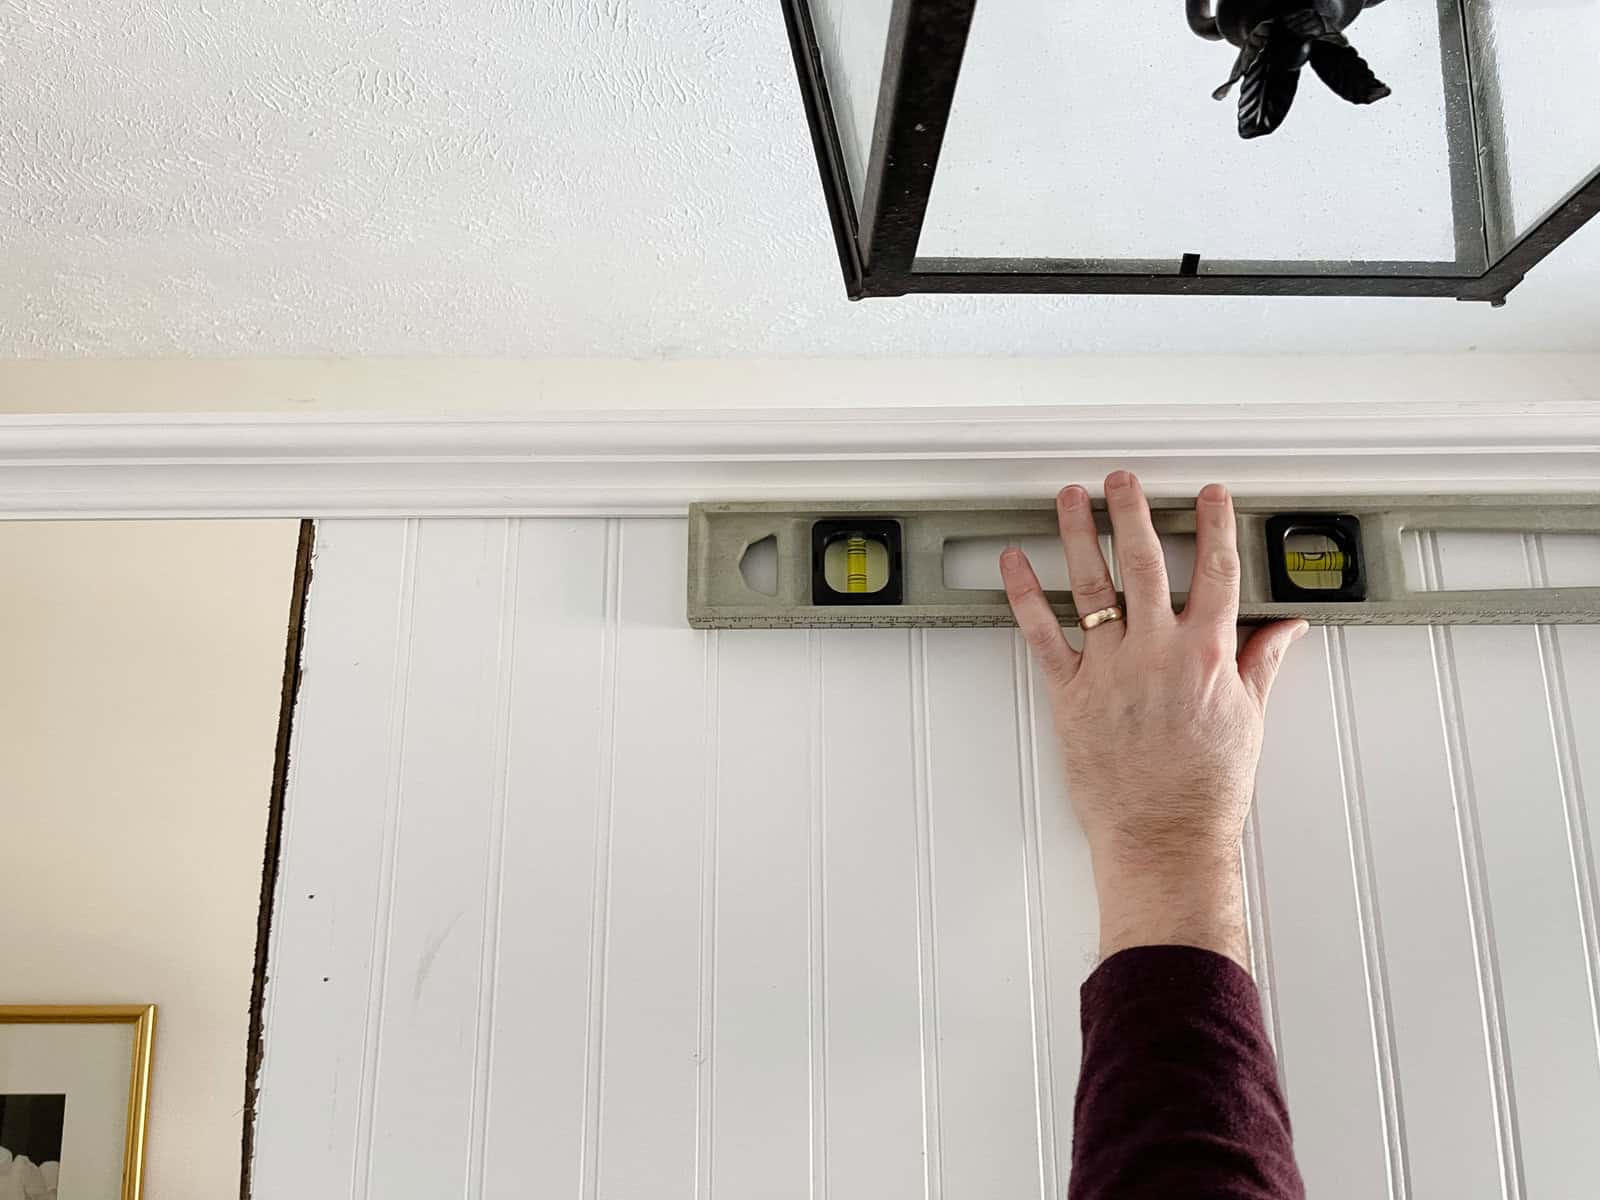
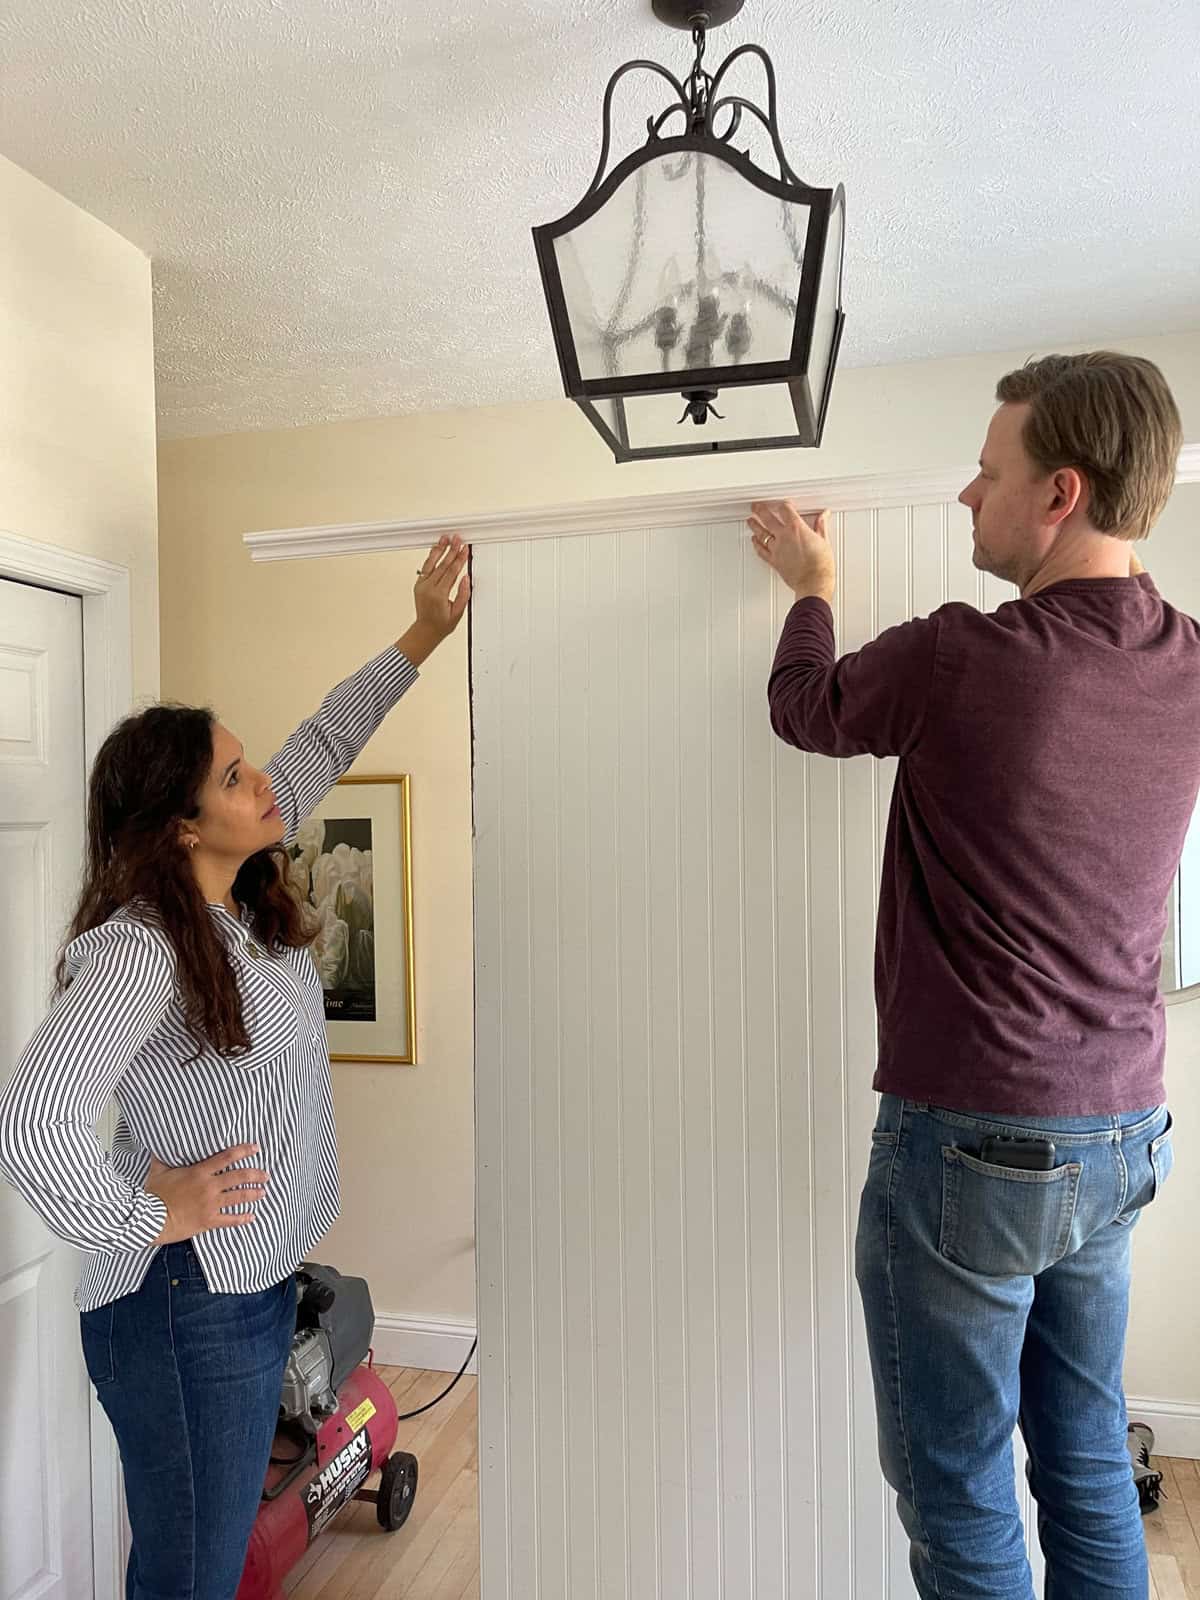
With supply shortages being the norm I had a small selection of crown molding, but I’m happy with what I found. The result is a partition with a bult in look.
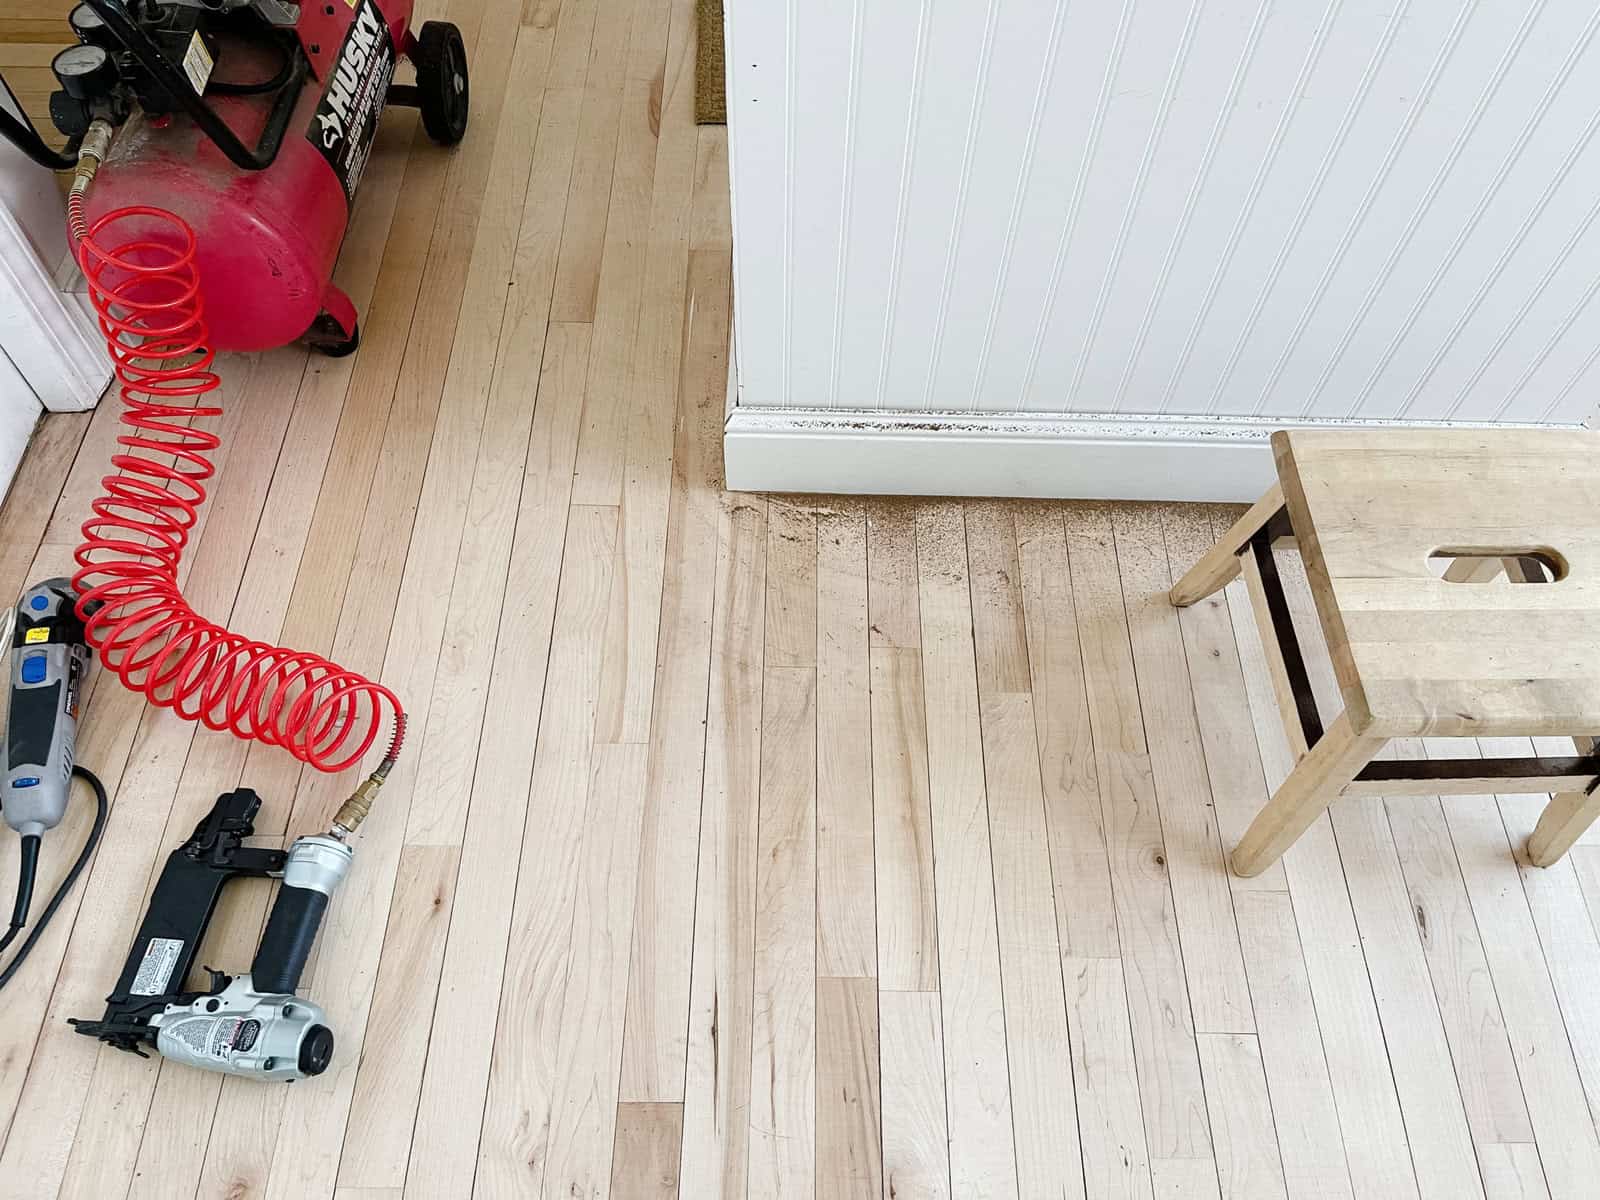
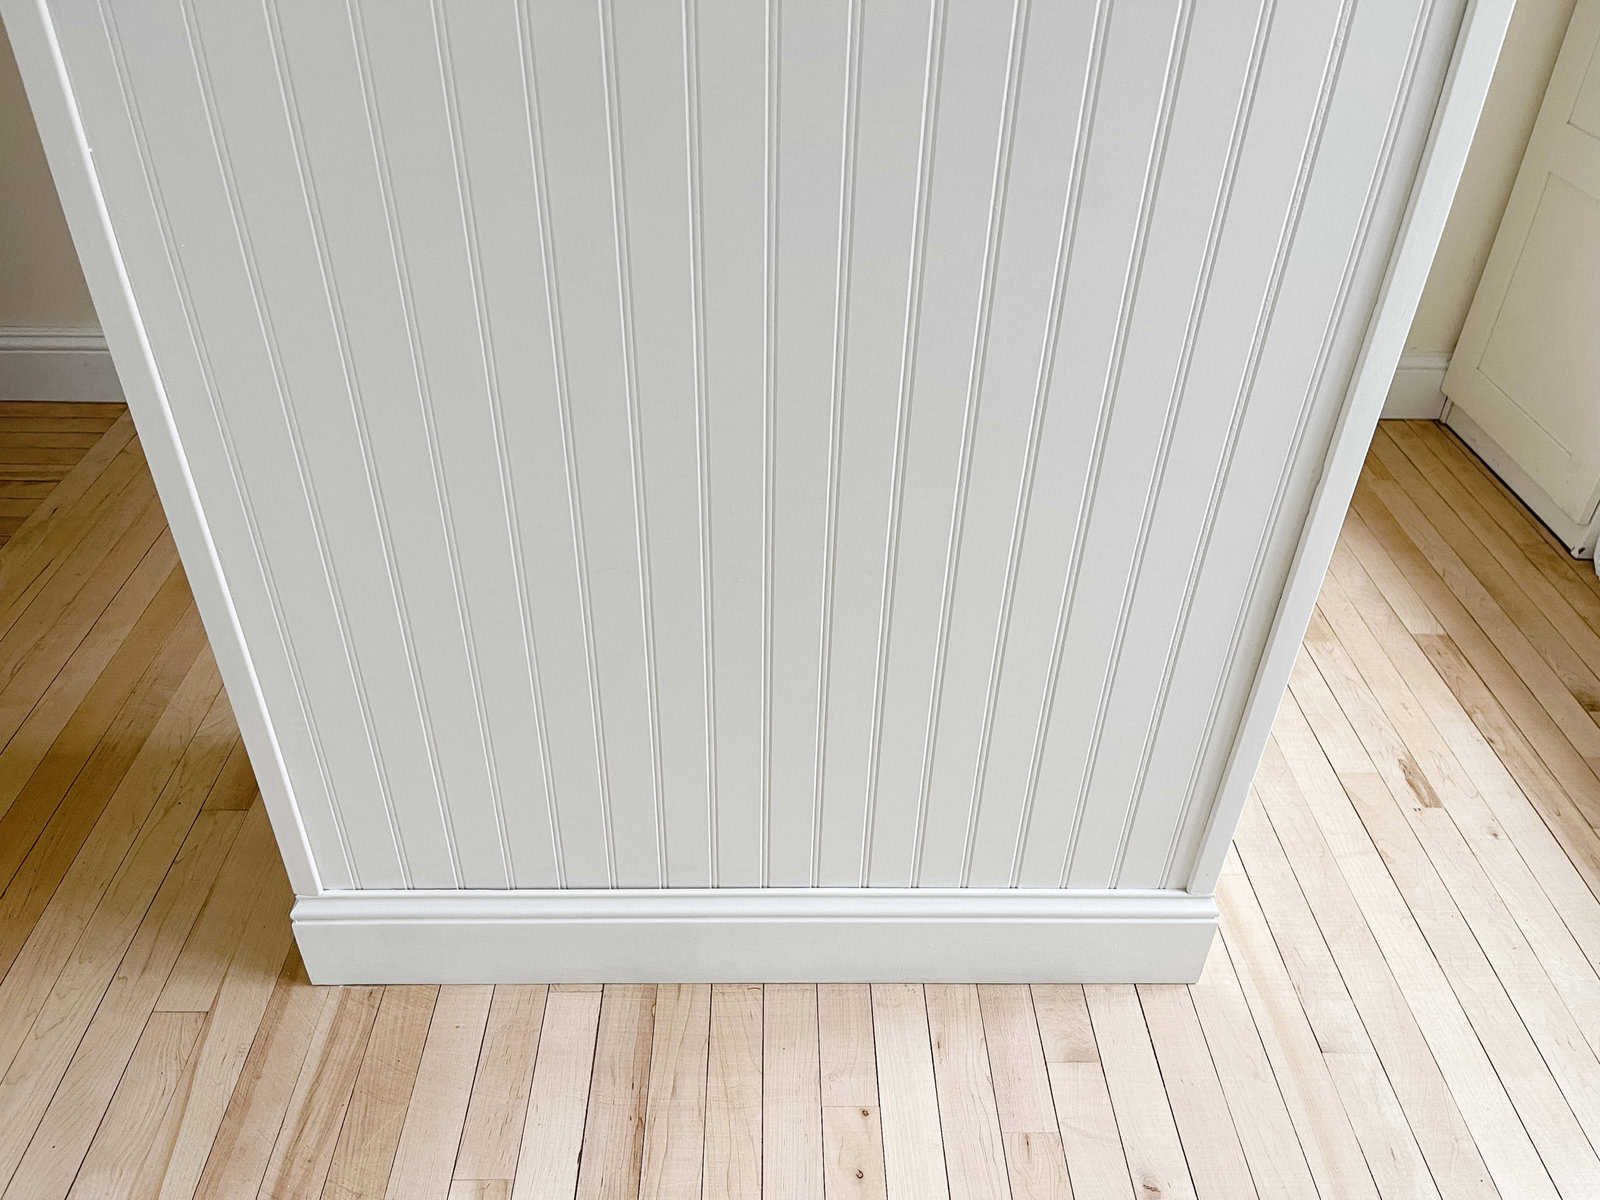
For continuities sack and in order to stay within an acceptable budget we used left over floor molding from our floor project last year. The molding works beautifully with the partition project and kept cost low.
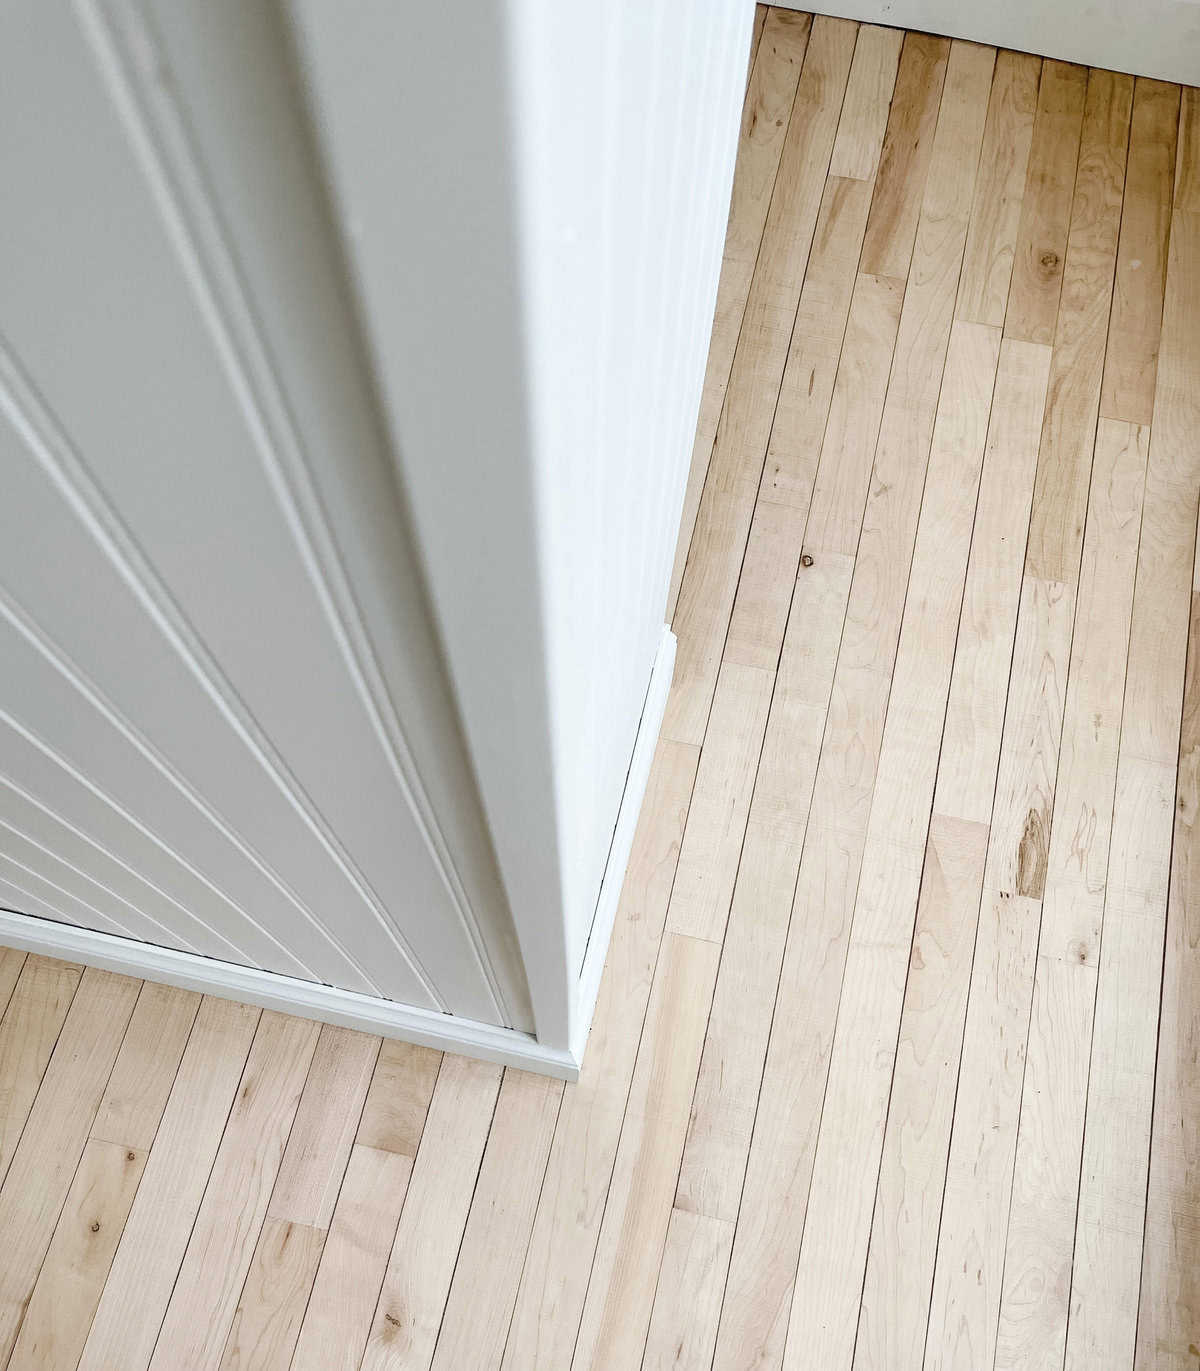
The corner molding finished the piece off and was very easy to install. The cost of molding is worth every penny.
DIY Tip: always keep your left over supplies, they’ll save you hundred of dollars as well as time and energy spent sources material.
Fill in Nail Holes and Paint
After everything was nailed in we filled nail holes with wood filler and painted the whole piece a matte white. We’re talking a good two hours of work here but super easy in terms of skill level. Lots of patience required, but we all need to work on that skill.
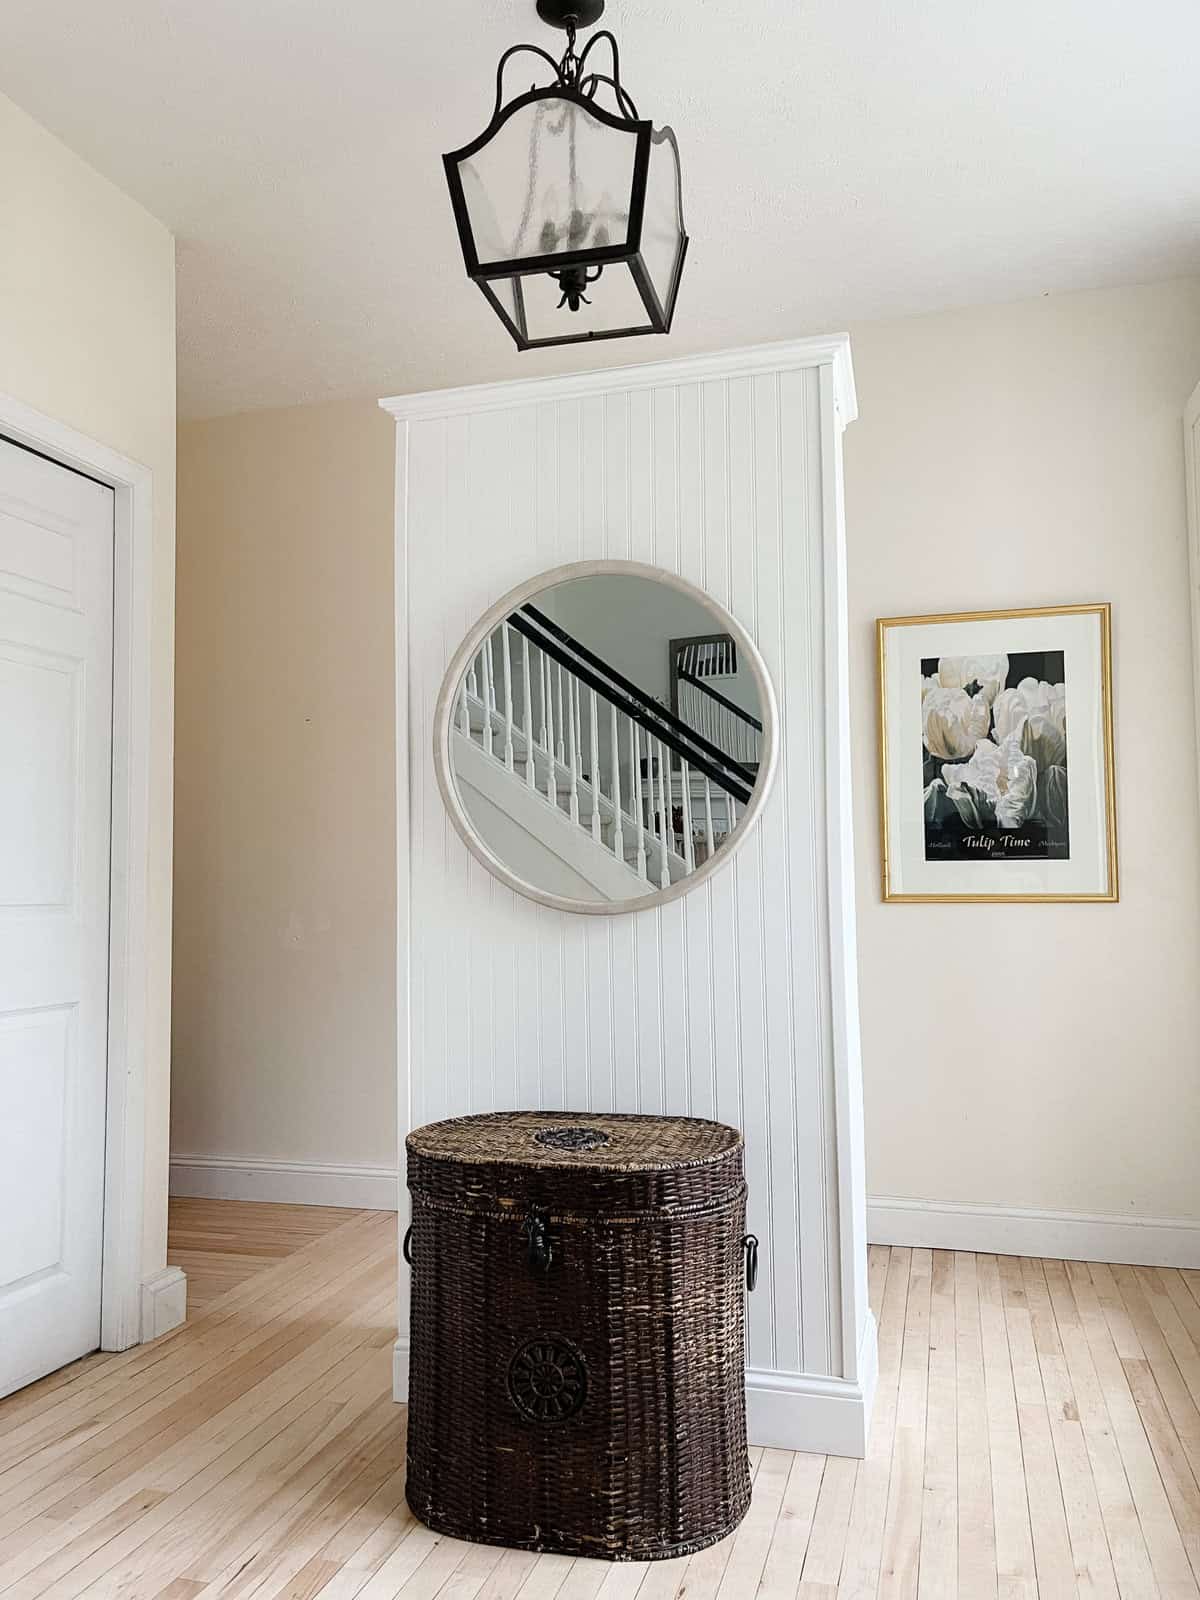
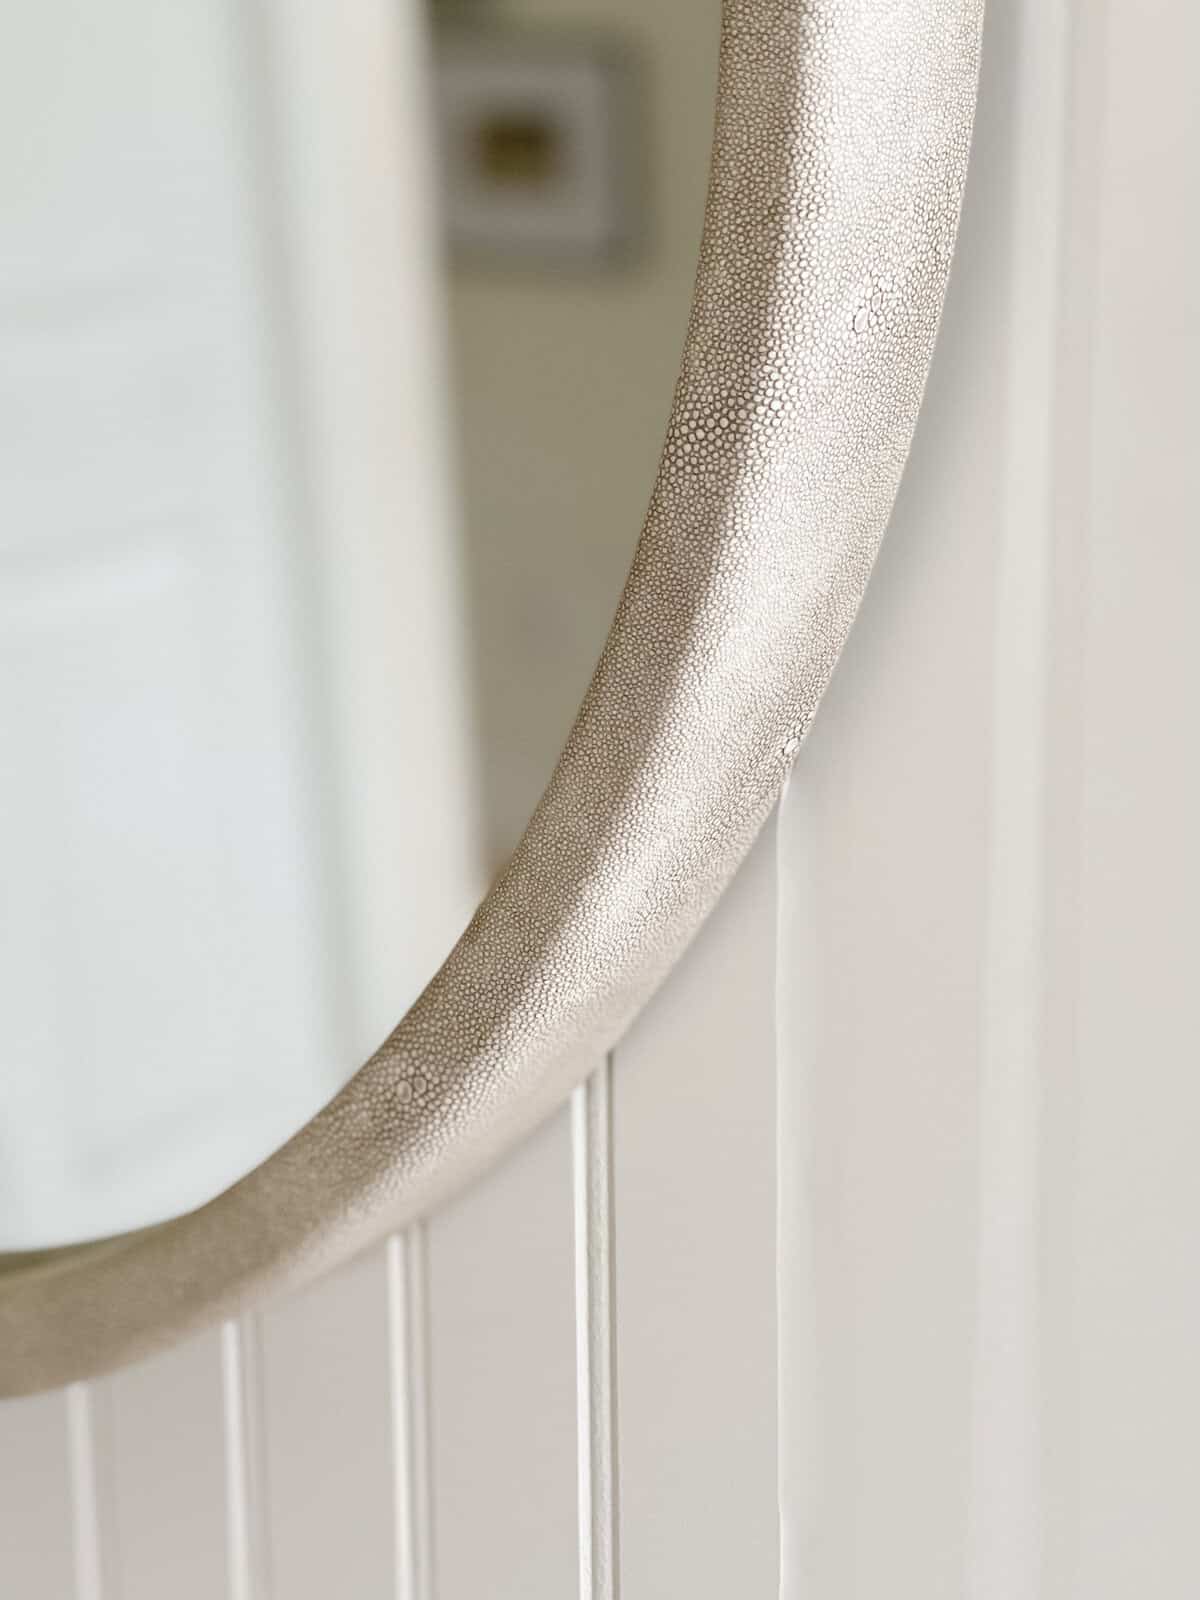
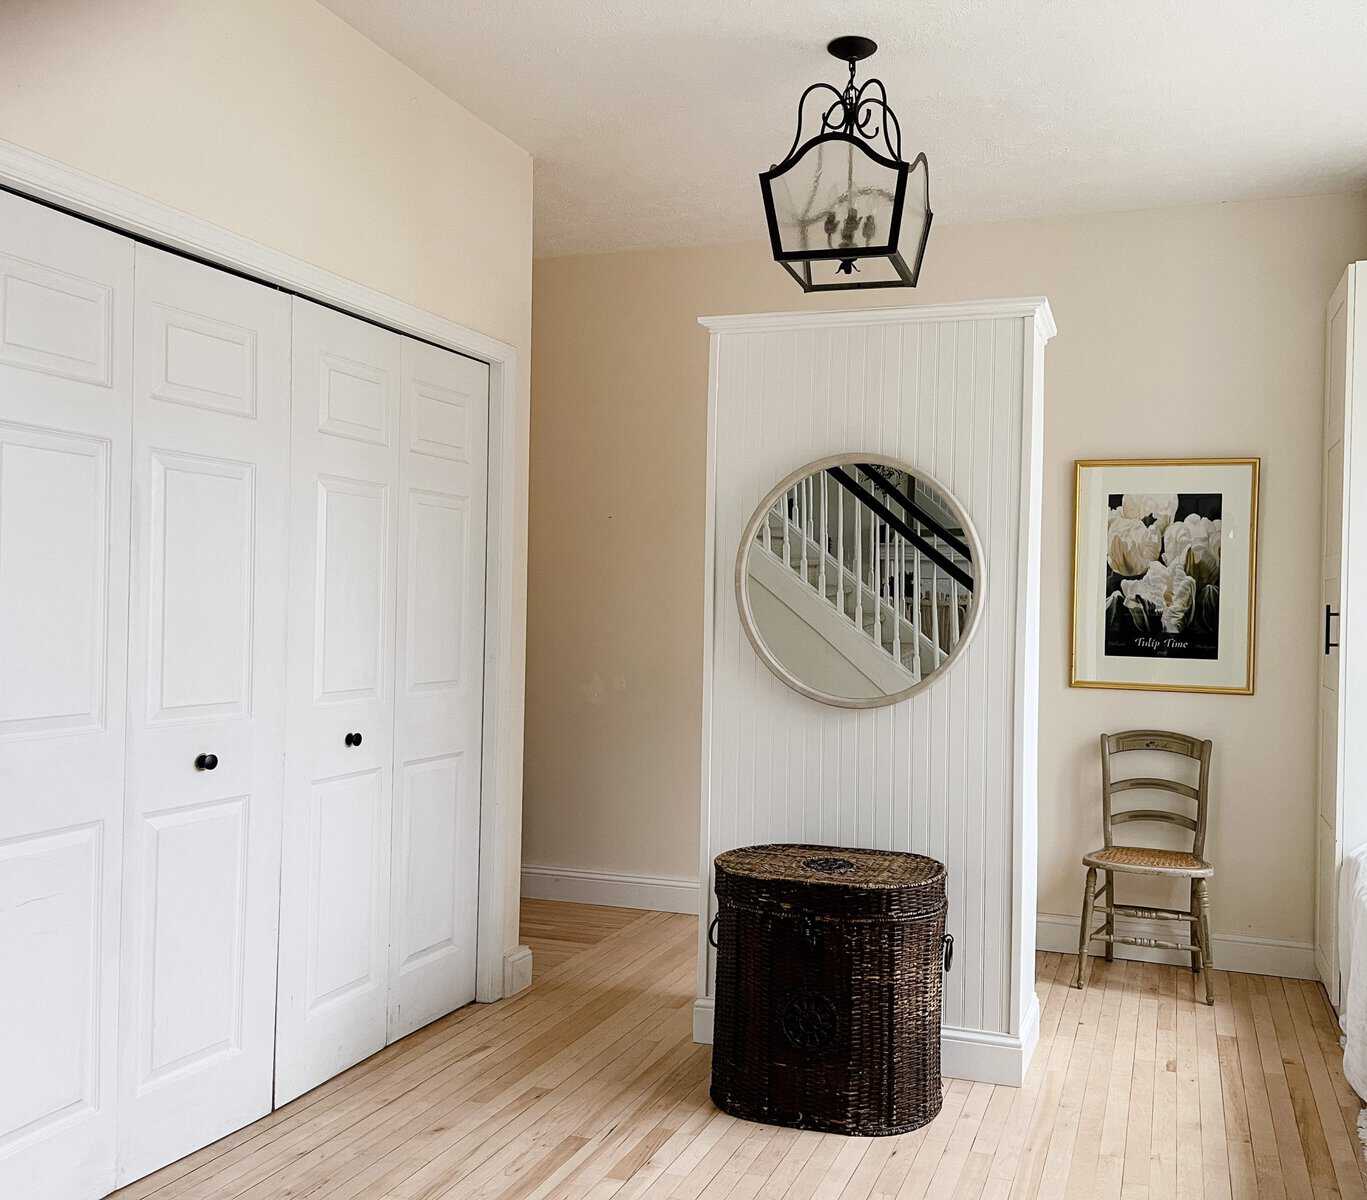
The partition or room divider is heavy enough to hold a large mirror which is always nice for last minute check ups before heading out. We hold some of the kids sport backpacks in the basket container. I chose not to have any surface in our foyer because when we did have one it always seemed to be where things went instead of where things were supposed to go. Now we’re forced to put things away in the cabinets when we get home.

The result makes me very happy. The garage door is blocked by the partition which also stops the wind from blowing into the foyer. With the garage door covered from most angles I love the look of our foyer now.
Next it’s onto the back of our diy partition! Even though we won’t be seeing that view nearly as much, I still have plans to make it functional and pretty. Make sure to come back and see what I do there.
In the meantime, tell me what you think. Was it worth the time and energy? I sure think so.





Great job you two! 👏🏾👏🏾👏🏾👏🏾
Thanks so much Joy! It was a painless project. Wish they were all that way. 🙂