In this post I’m sharing how we added beautiful DIY plywood plank flooring in our large music room for only a few hundred dollars.
It’s so interesting to me how renovating a home can lead to design decisions you thought you might never choose. That’s what happened in our music room.
When we first bought our house the large room off the entrance had carpet. The rest of the first level had laminate wood flooring. We wanted solid hardwood floors and chose to put them in ourselves. (What can I say, we were young and crazy.) Due to the expense and intense labor we left the carpet in the music room.
A couple years ago we tore out the carpet and put in brown paper bag flooring, then painted it. A grand total of $60 for the whole floor. Obviously being the frugal gal that I am, the cost effectiveness made me love it.
Beautiful DIY Plywood Plank Flooring
Cut to now when we decided it was time for a long term flooring solution. More on that decision making process here. Since we were unable to match our maple flooring we decided to go another direction. It also happened to be a very inexpensive route. Plywood plank flooring!
Shop your Local Lumber Yard for Plywood Flooring
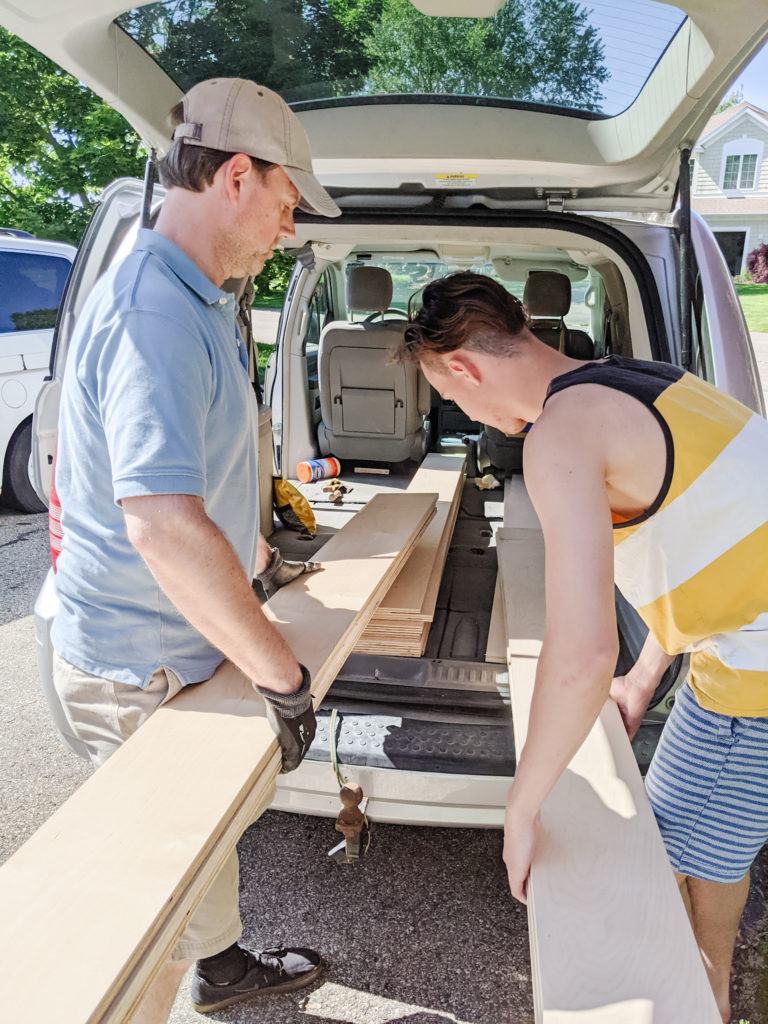
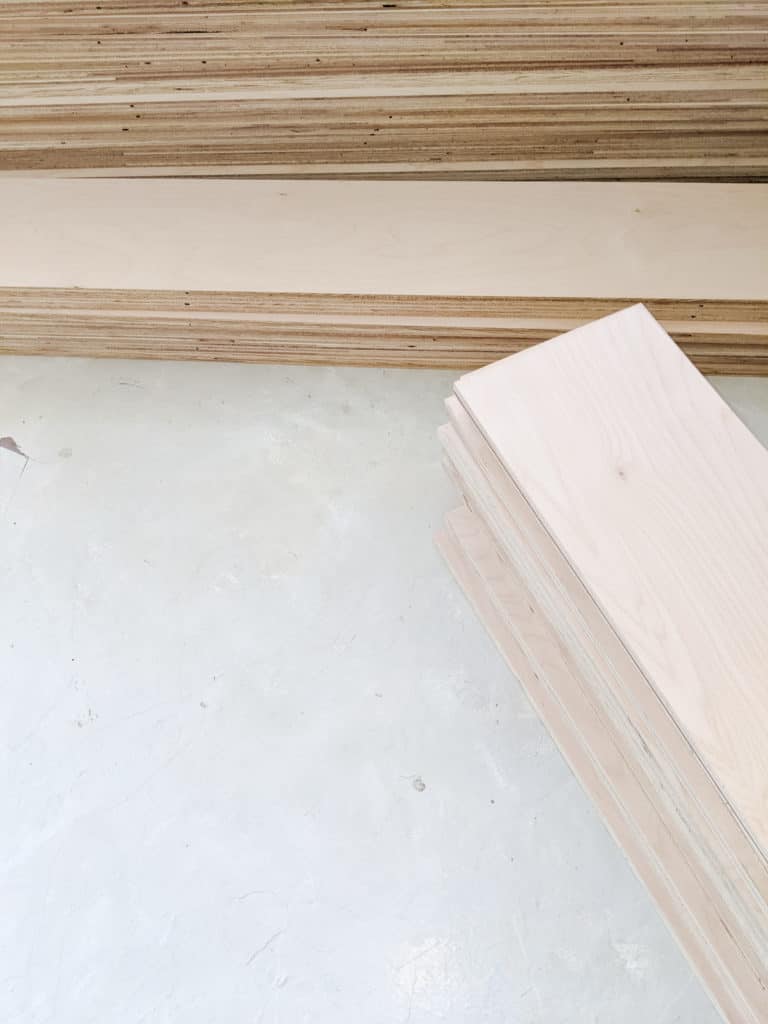
Our local lumber yard had beautiful, pre-sanded birch plywood sheets. We had them cut the the 4’x8′ sheets into planks for us. Best decision ever because it saved us a day’s work because we had never done that job before. Grand total was around $500 for plywood to cover our large music room. Can’t beat that for wood floors as thick as our solid wood floors.
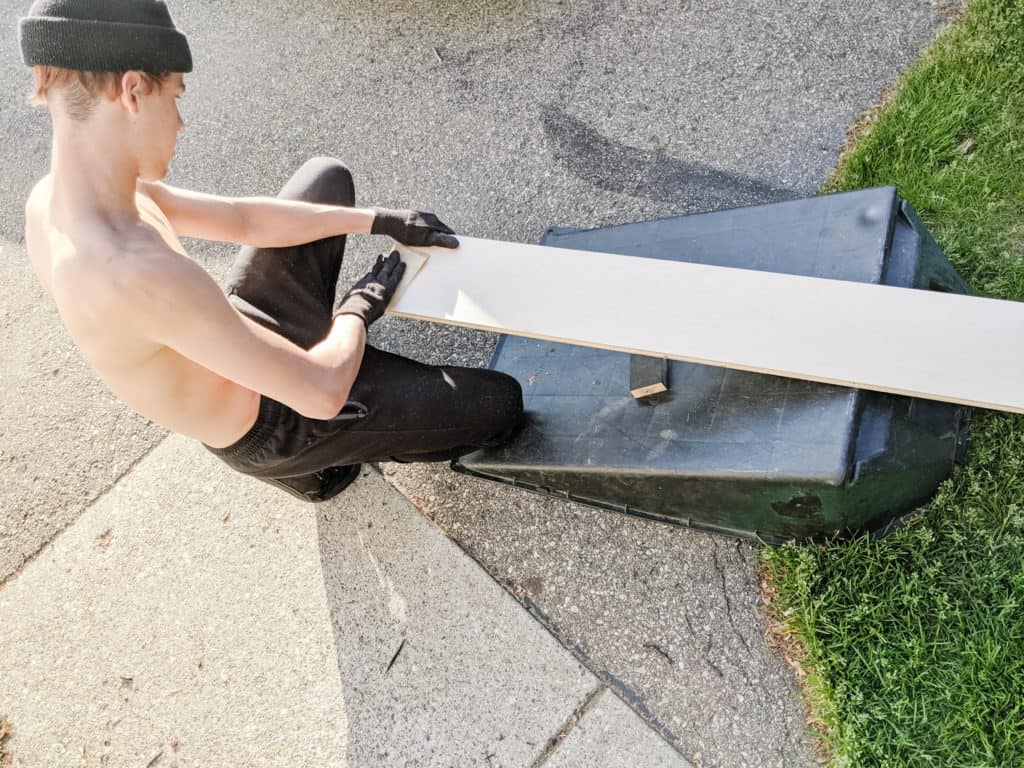
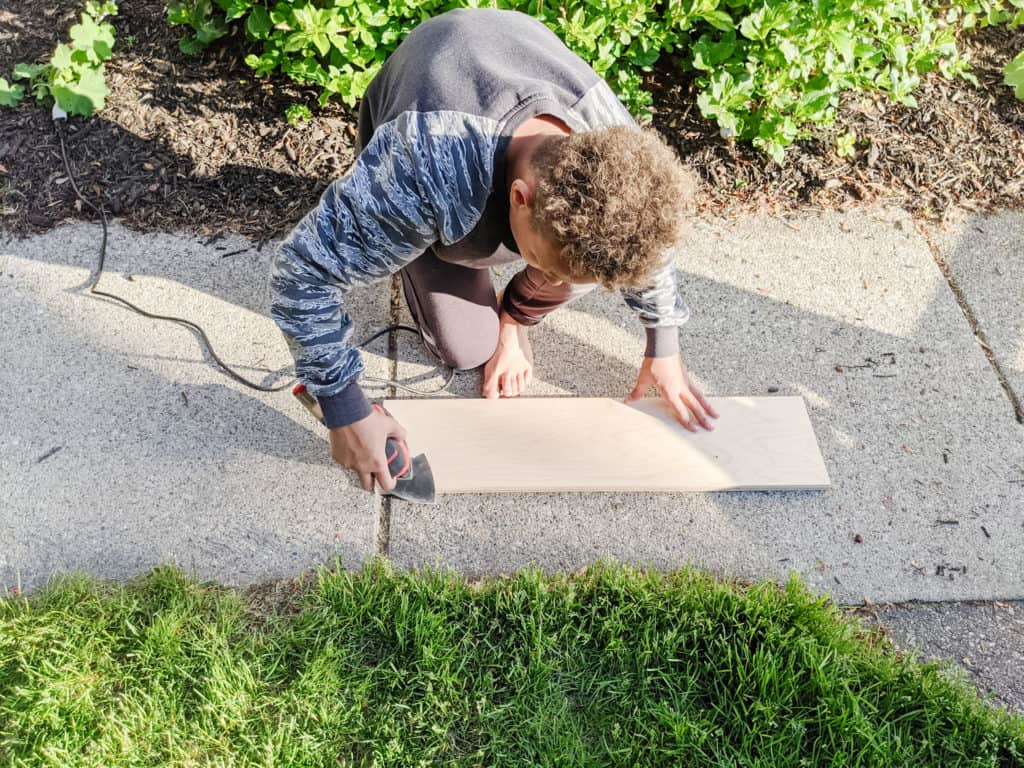
Take the Time to Sand the Edges of Your Planks
Our boys sanded all the edges to give a more finished look to the planks.
Lay Our the Planks Like a Puzzle
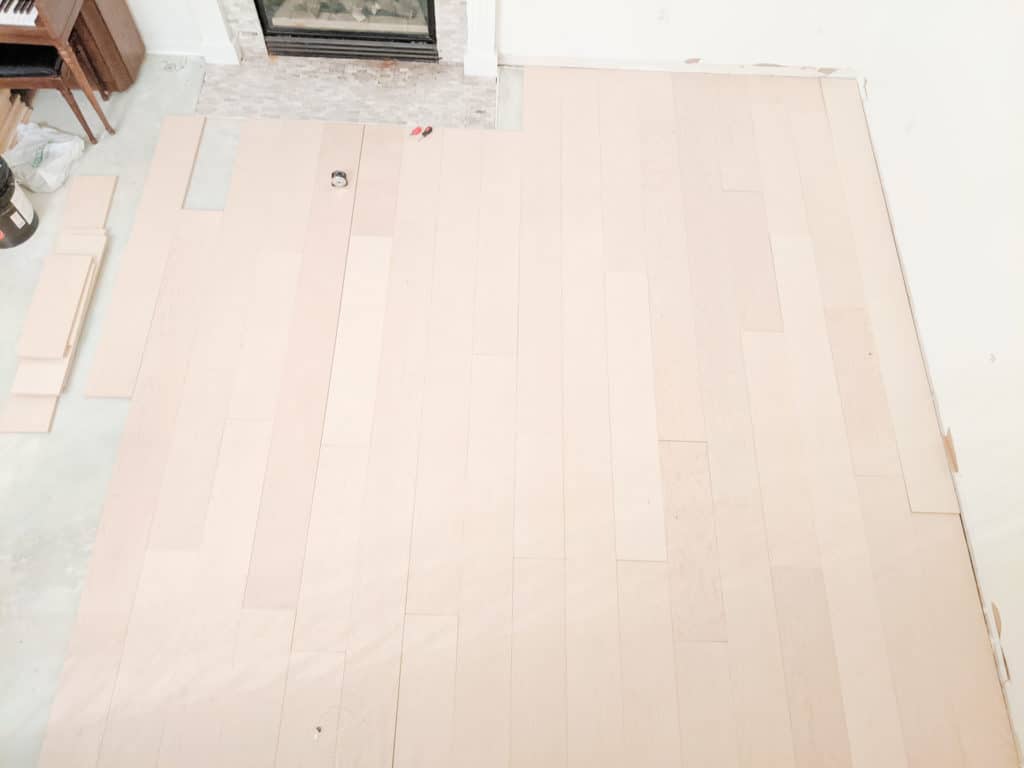
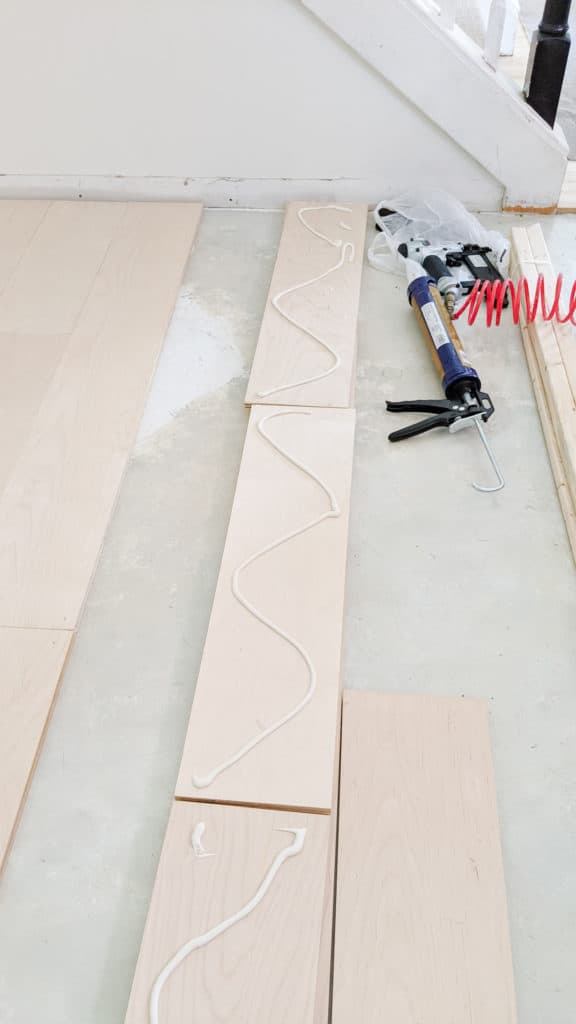
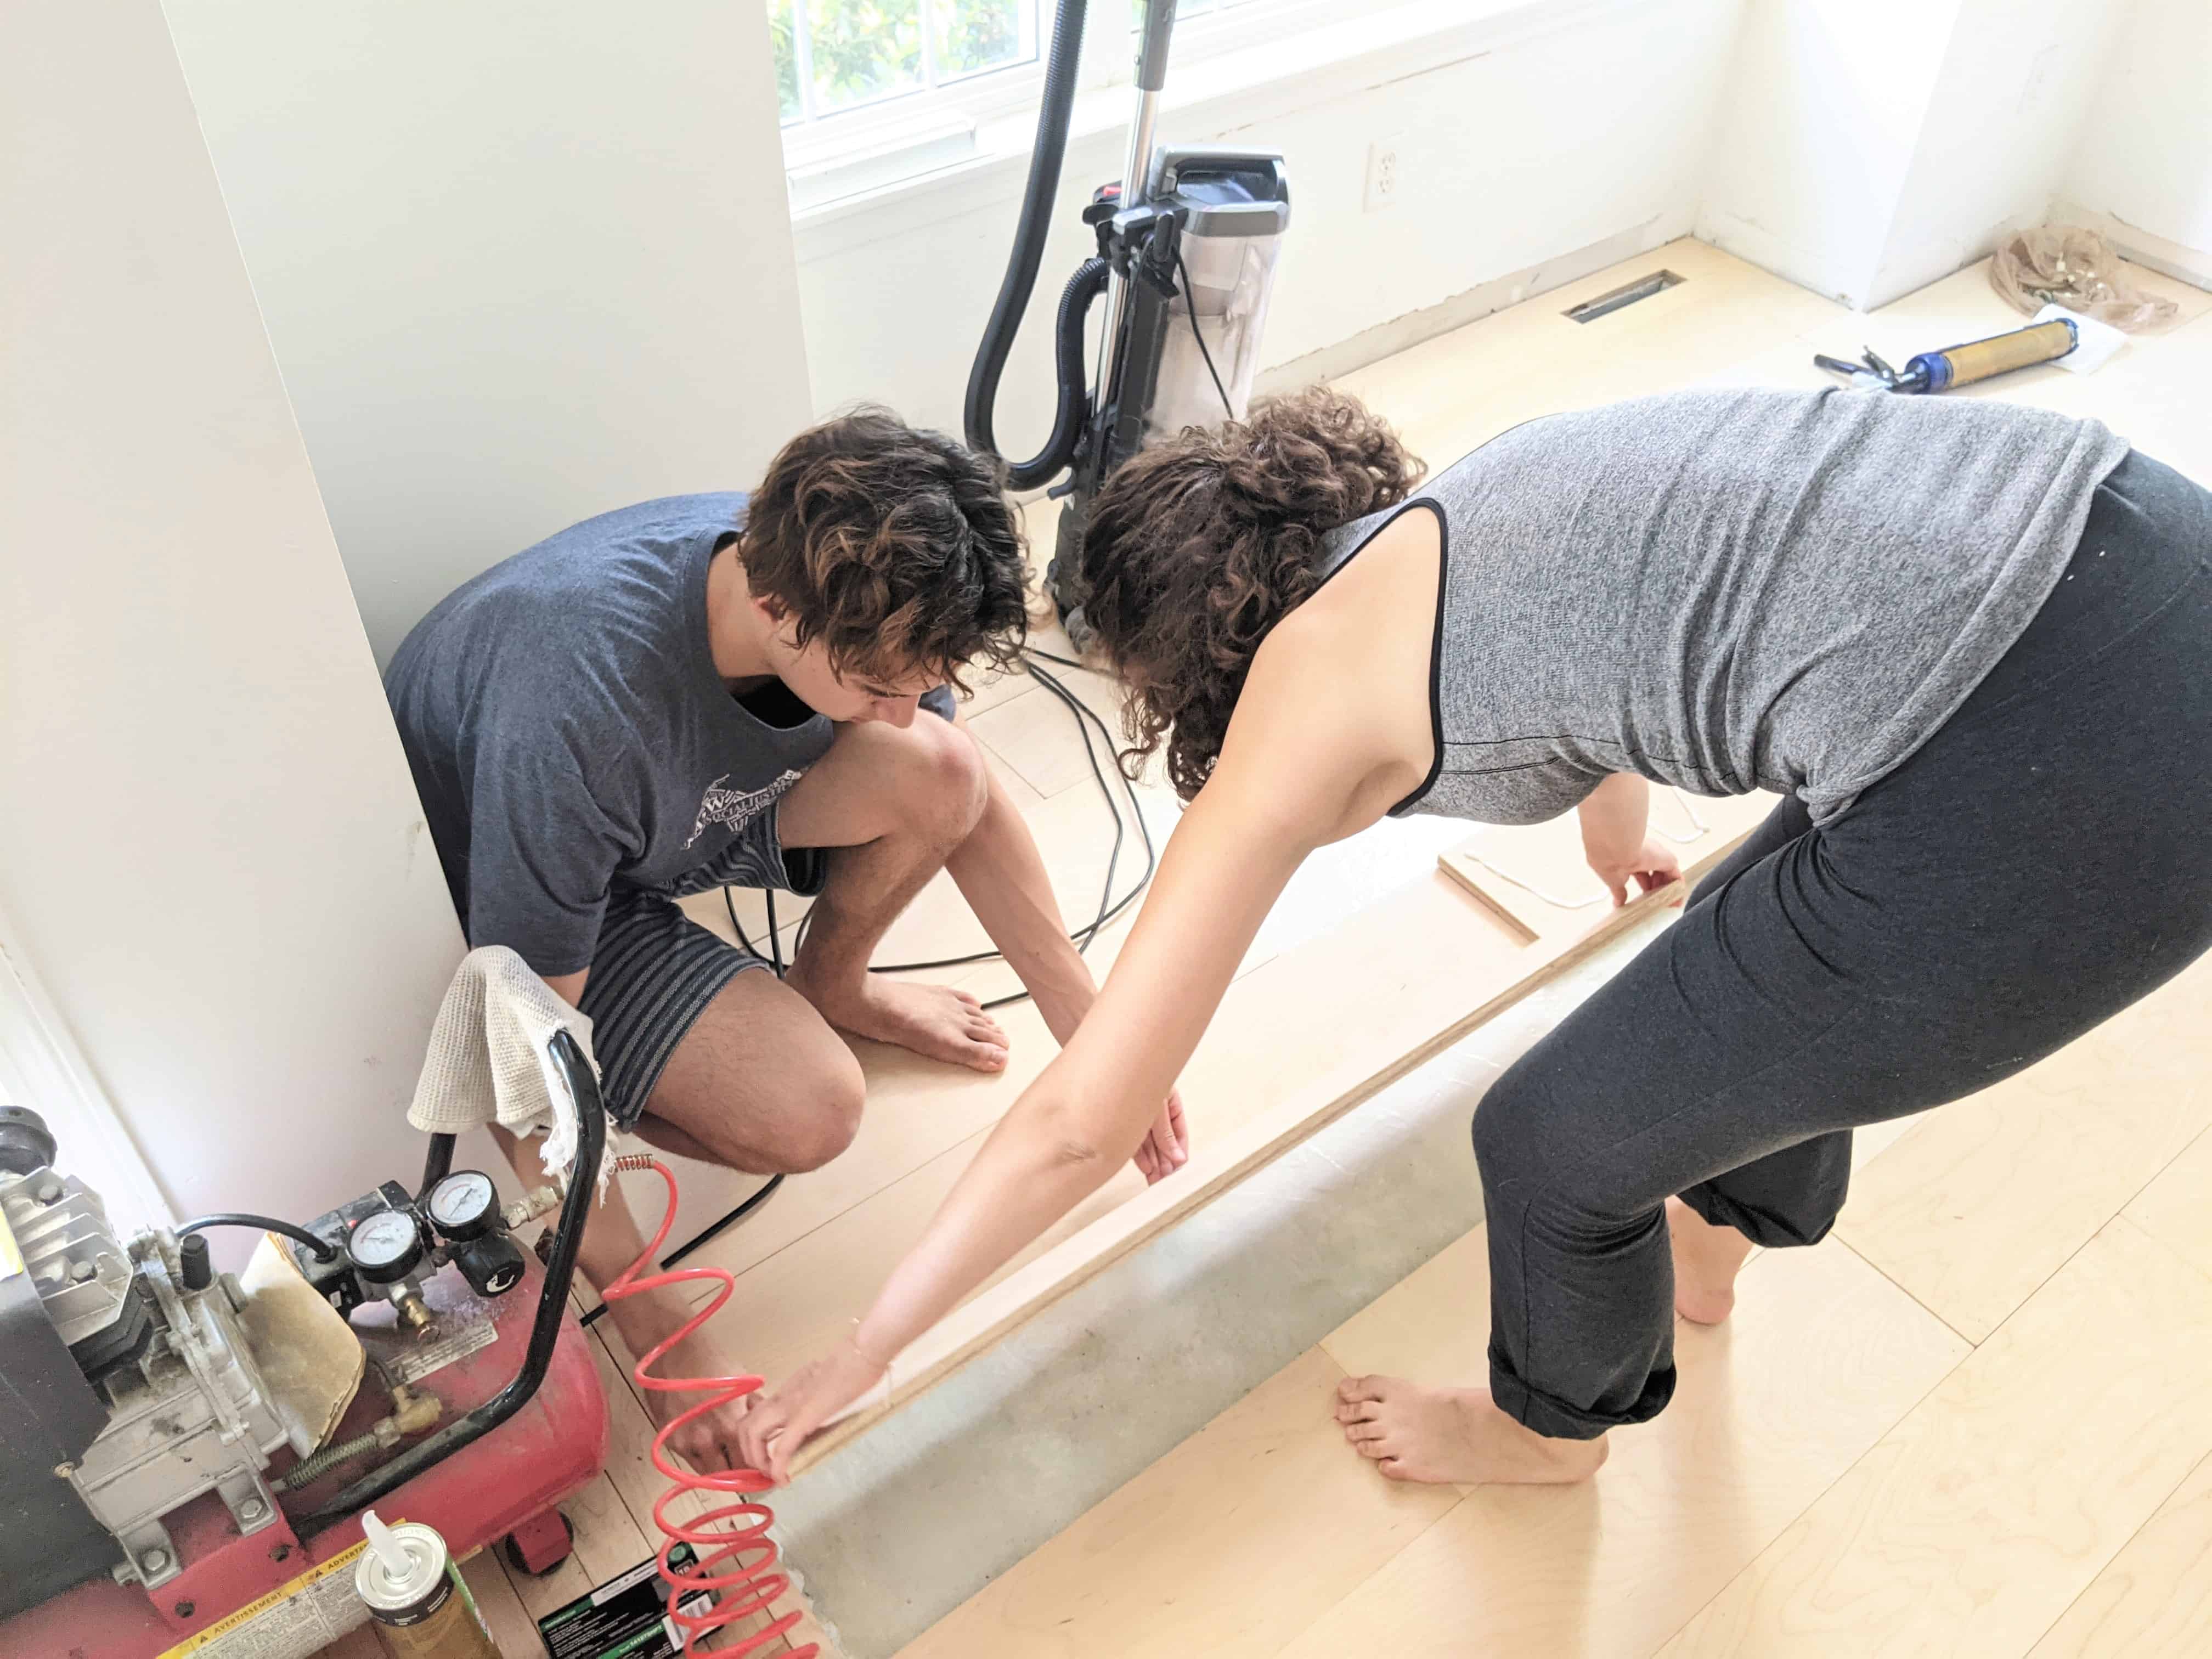
We laid about half of the floor down and arranged the planks. After we knew we liked the look we began gluing them down. While the glue was still wet we used a nail gun and nailed each plank into place.
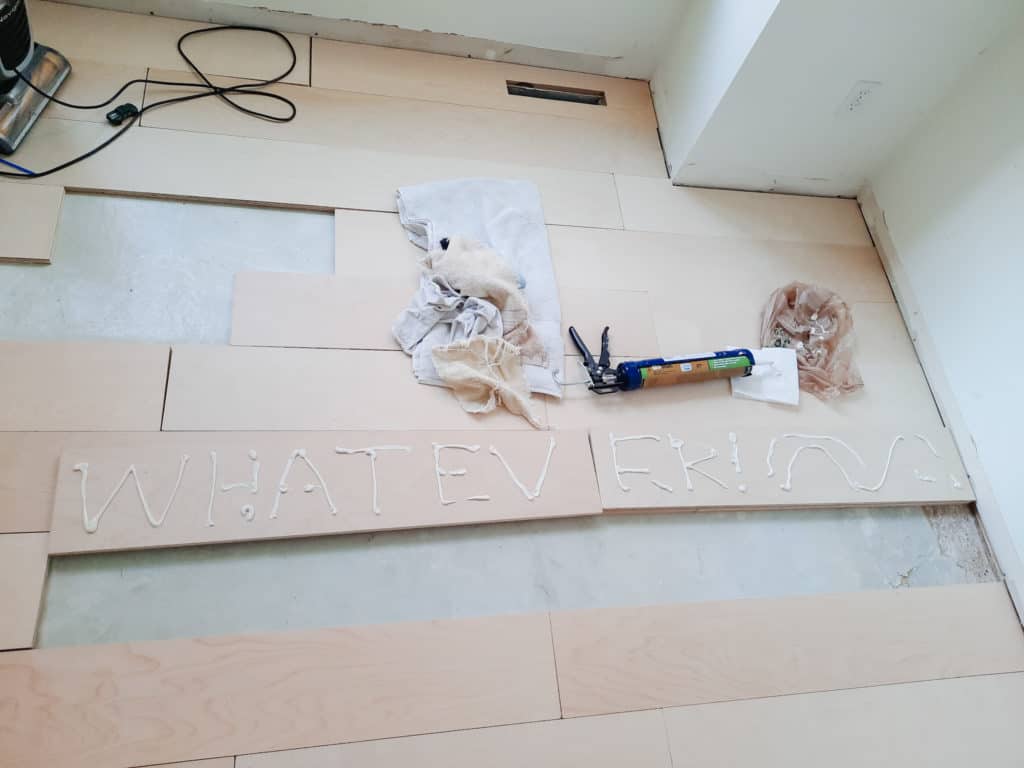
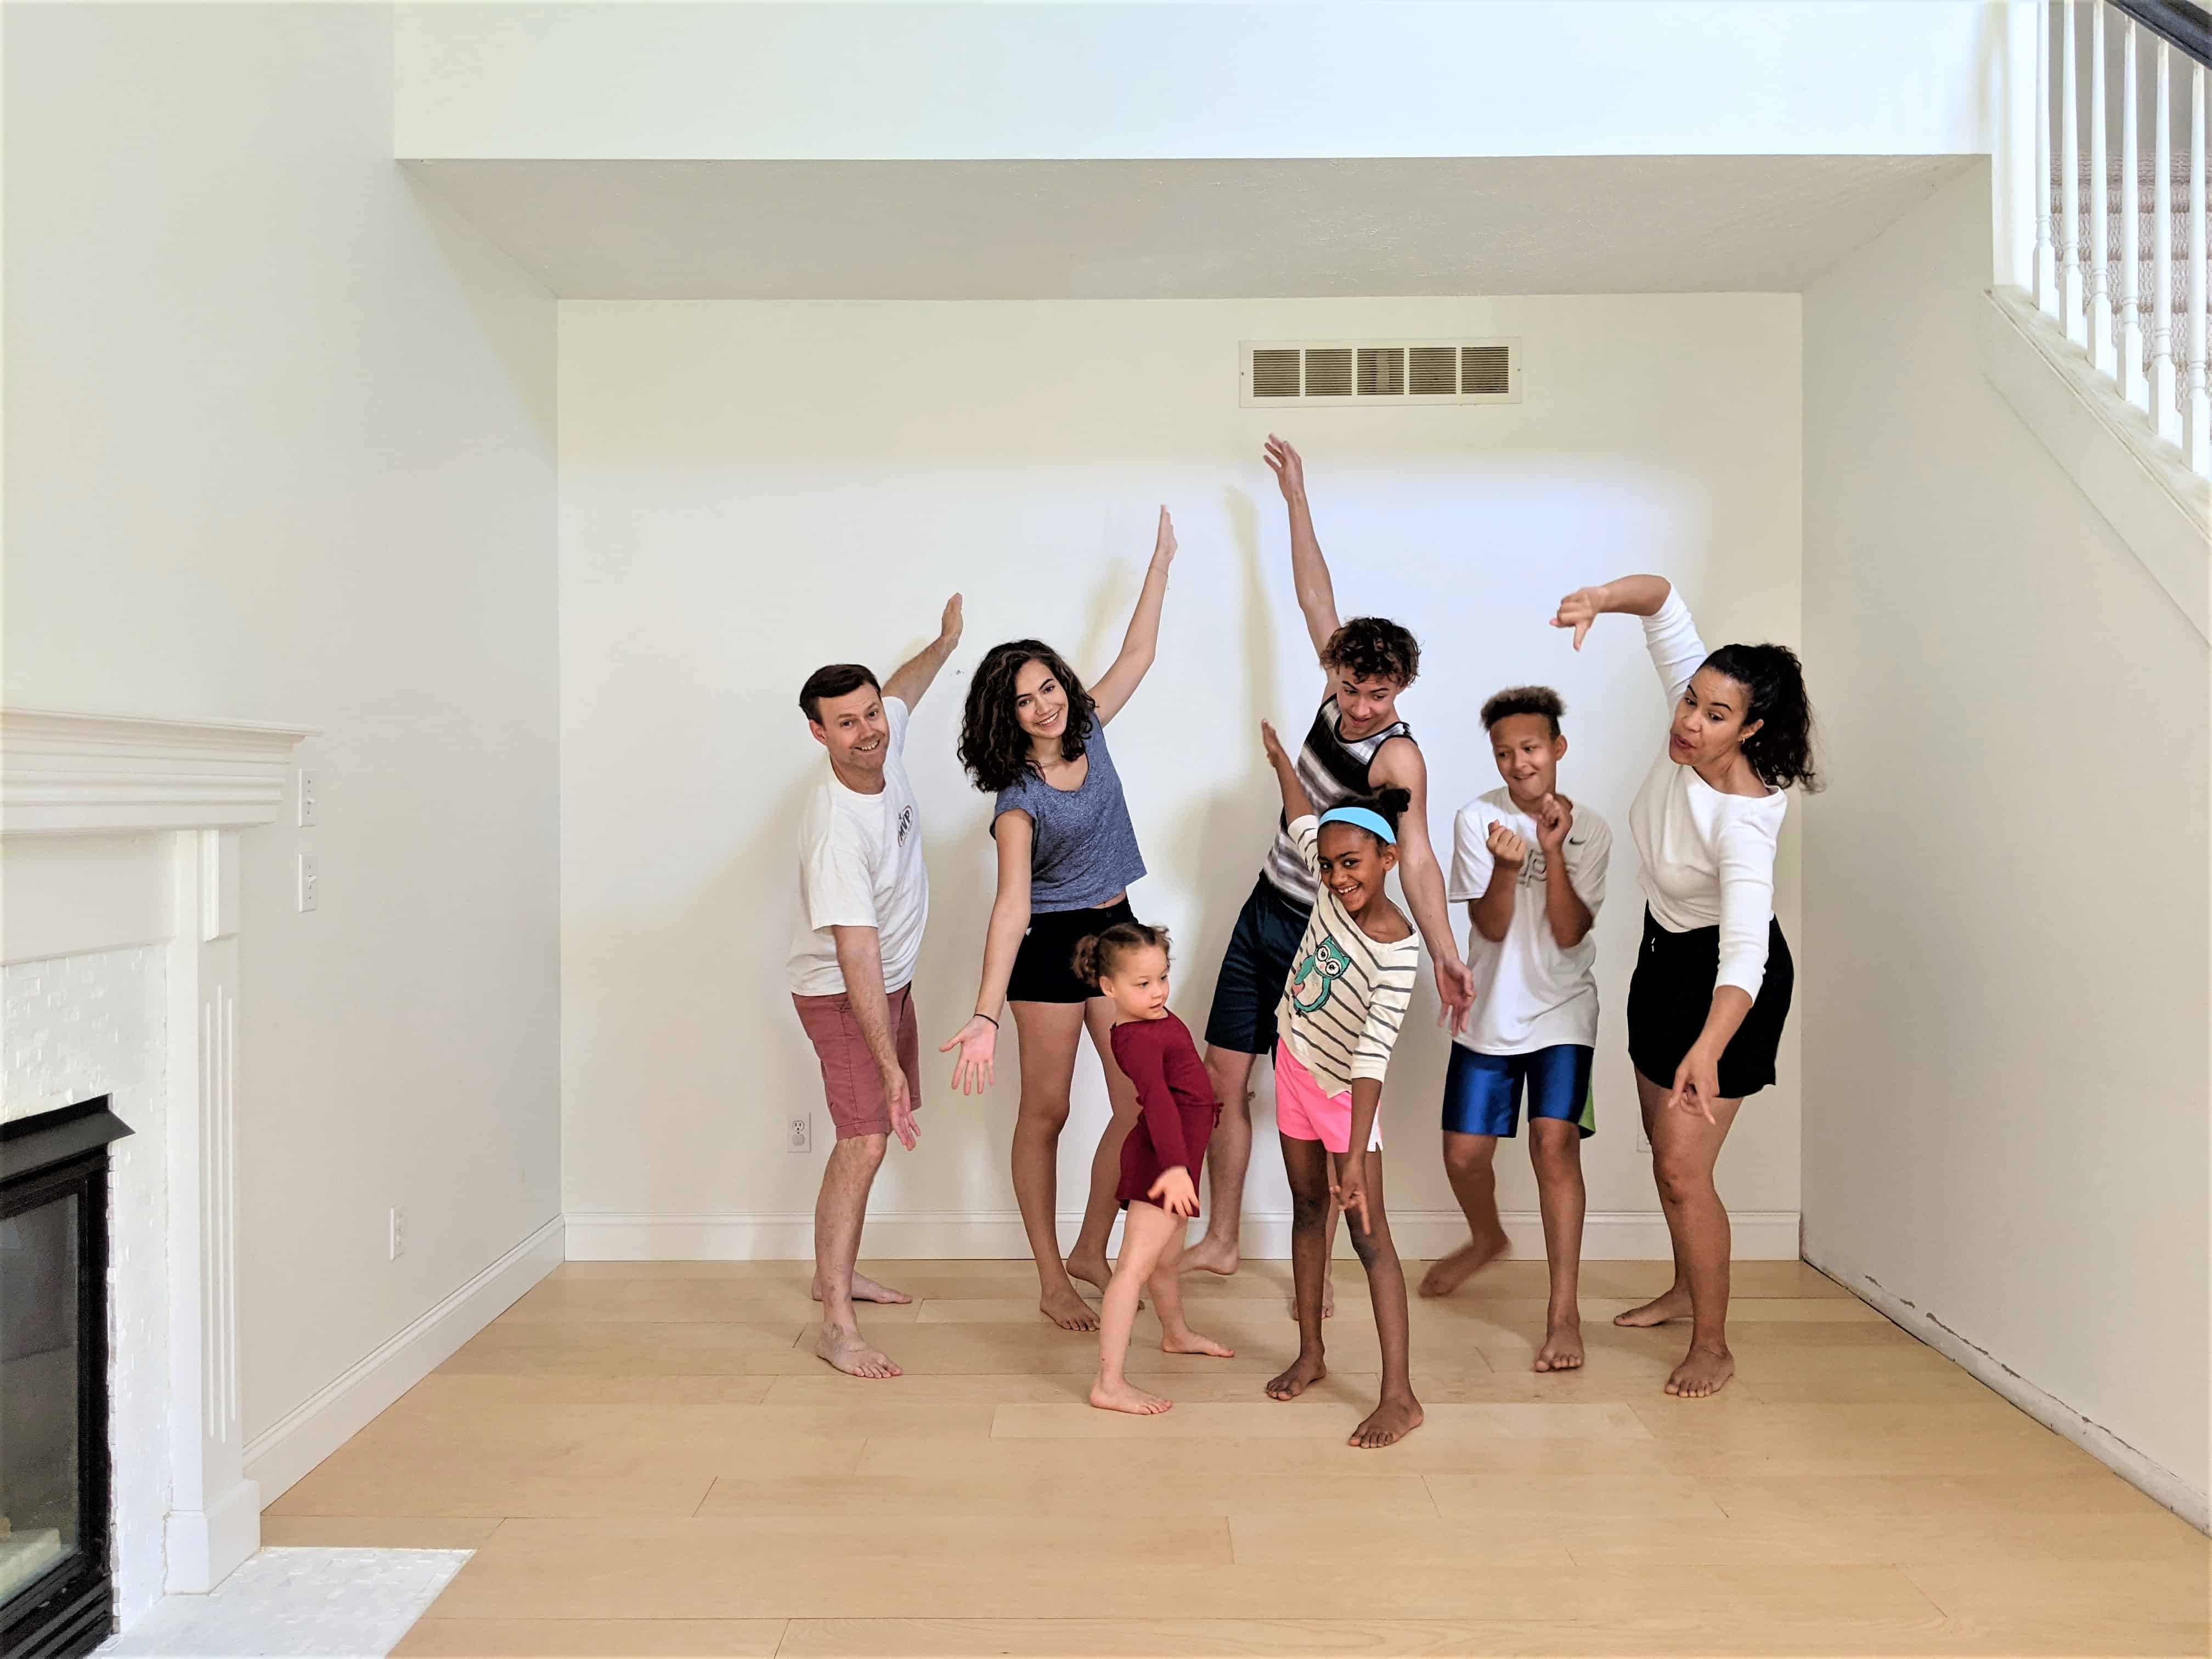
As you can see one of our kids is a comedian.
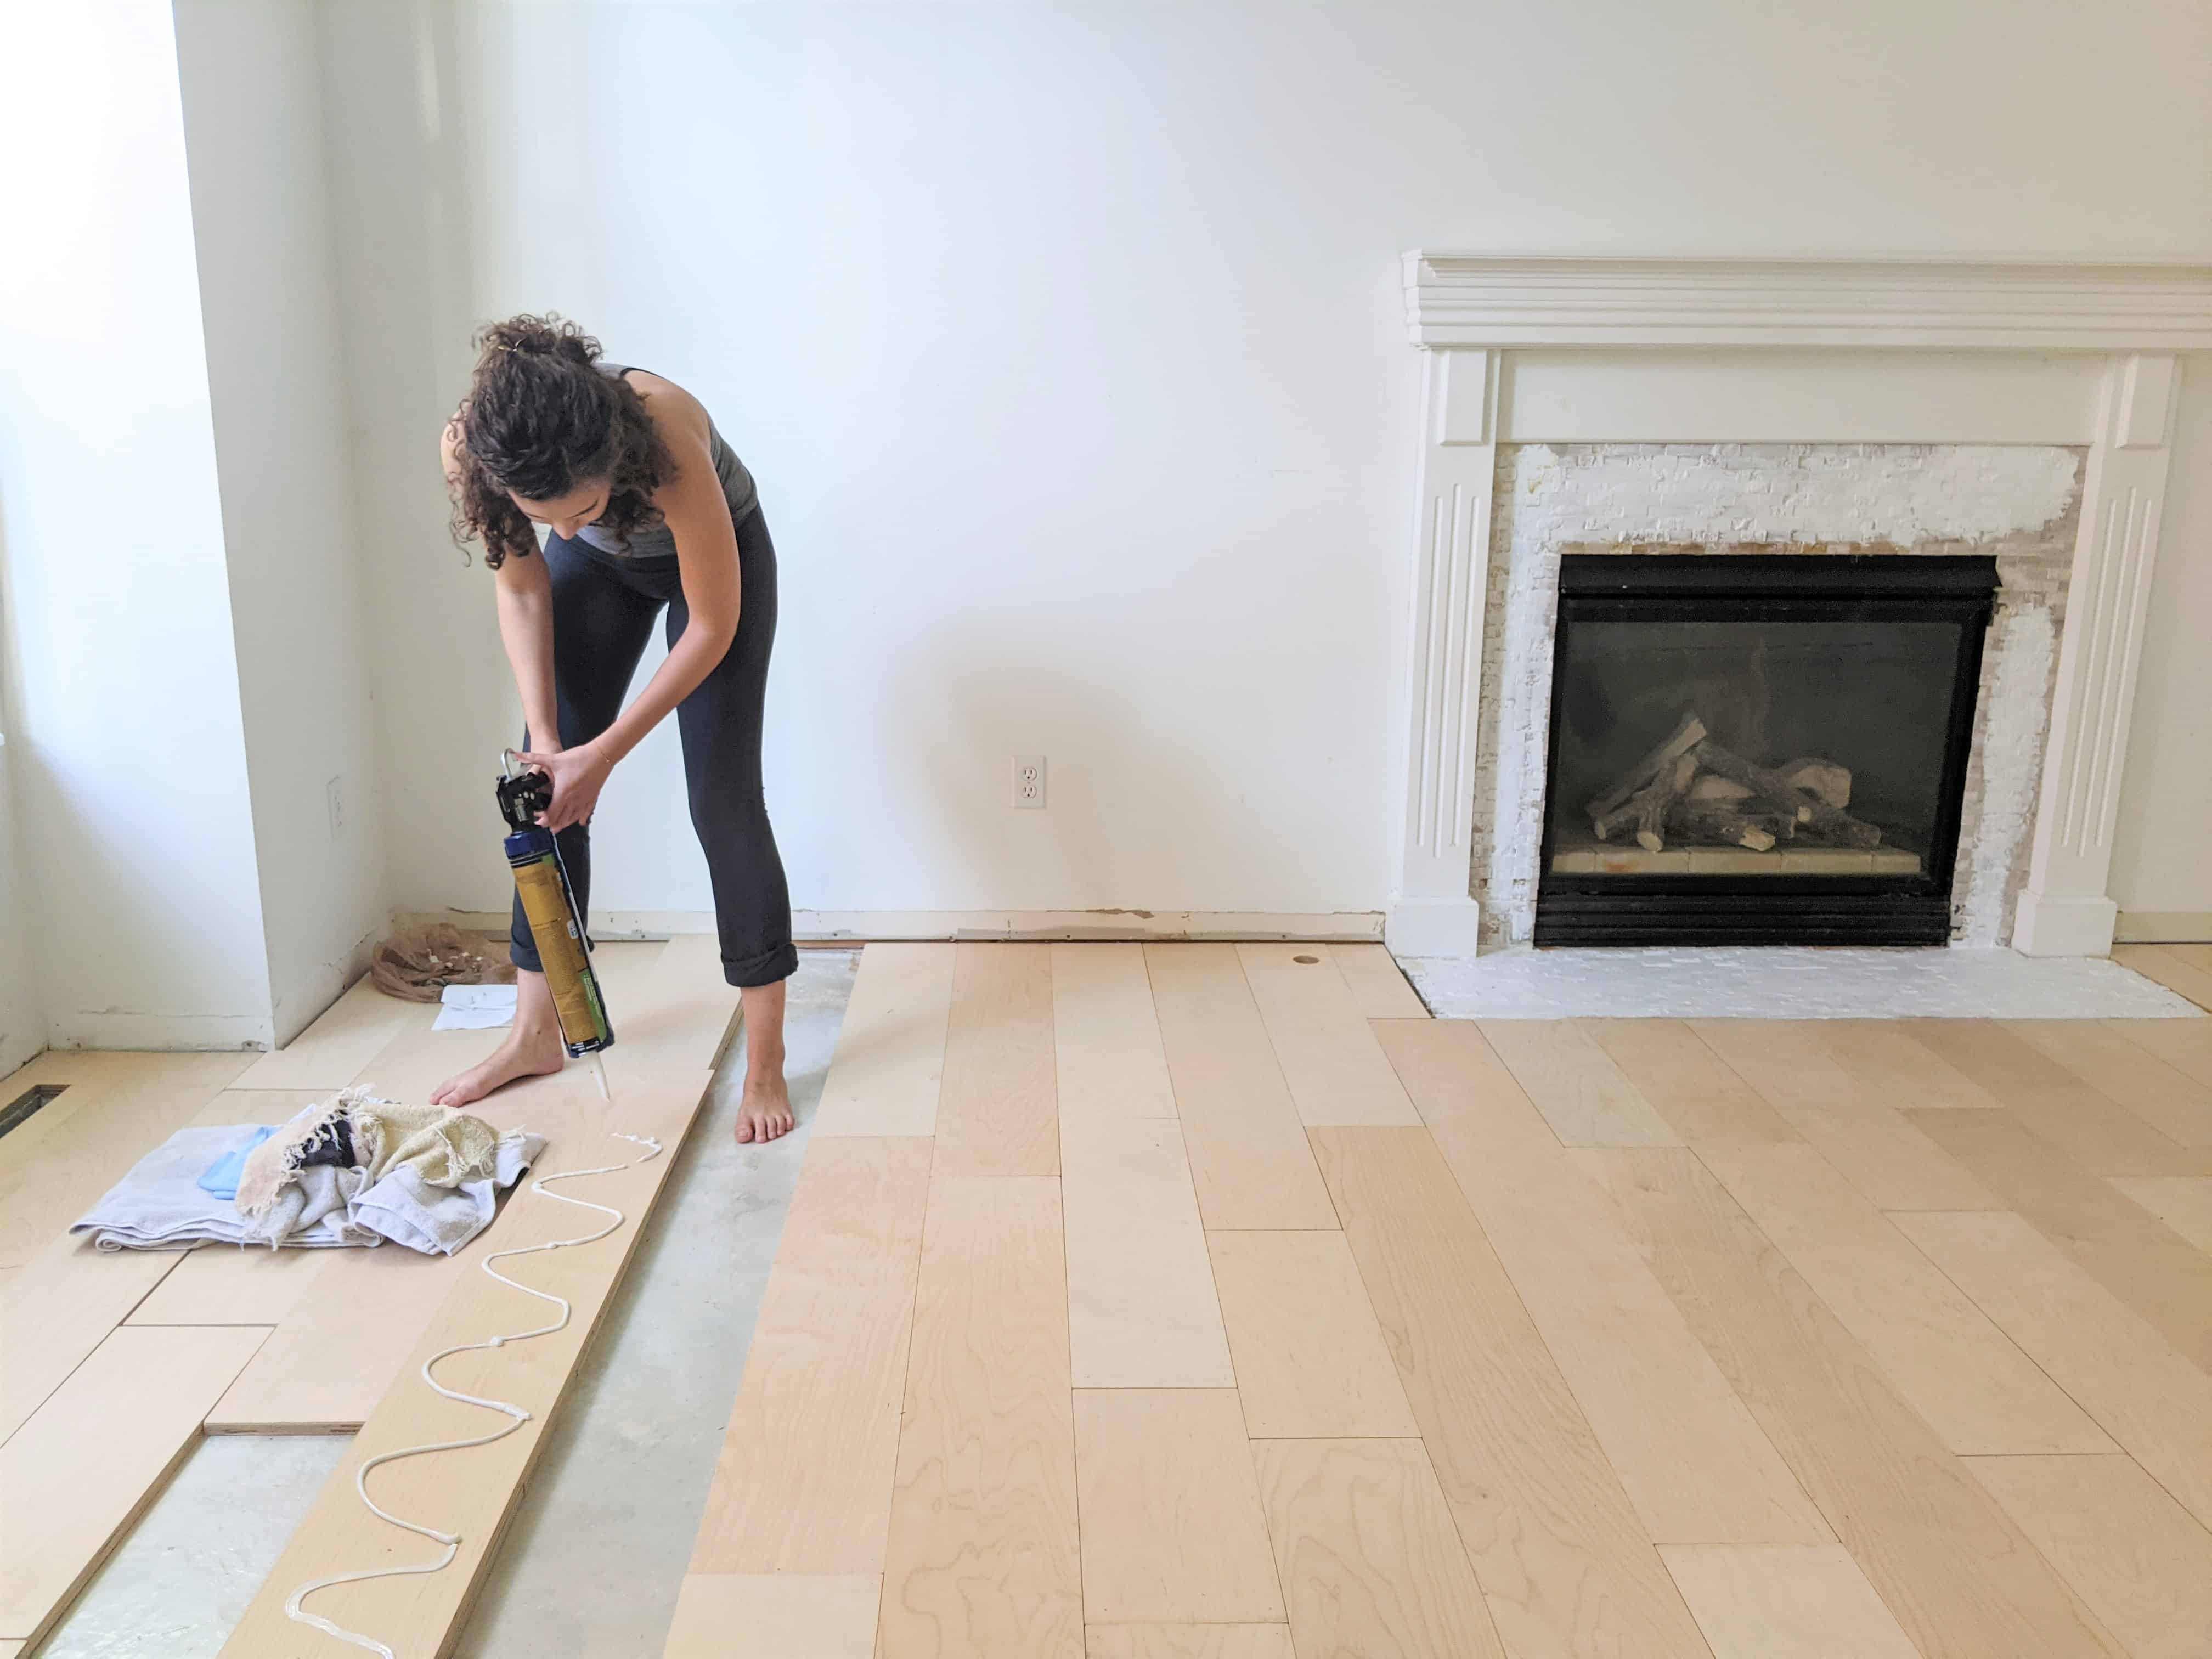
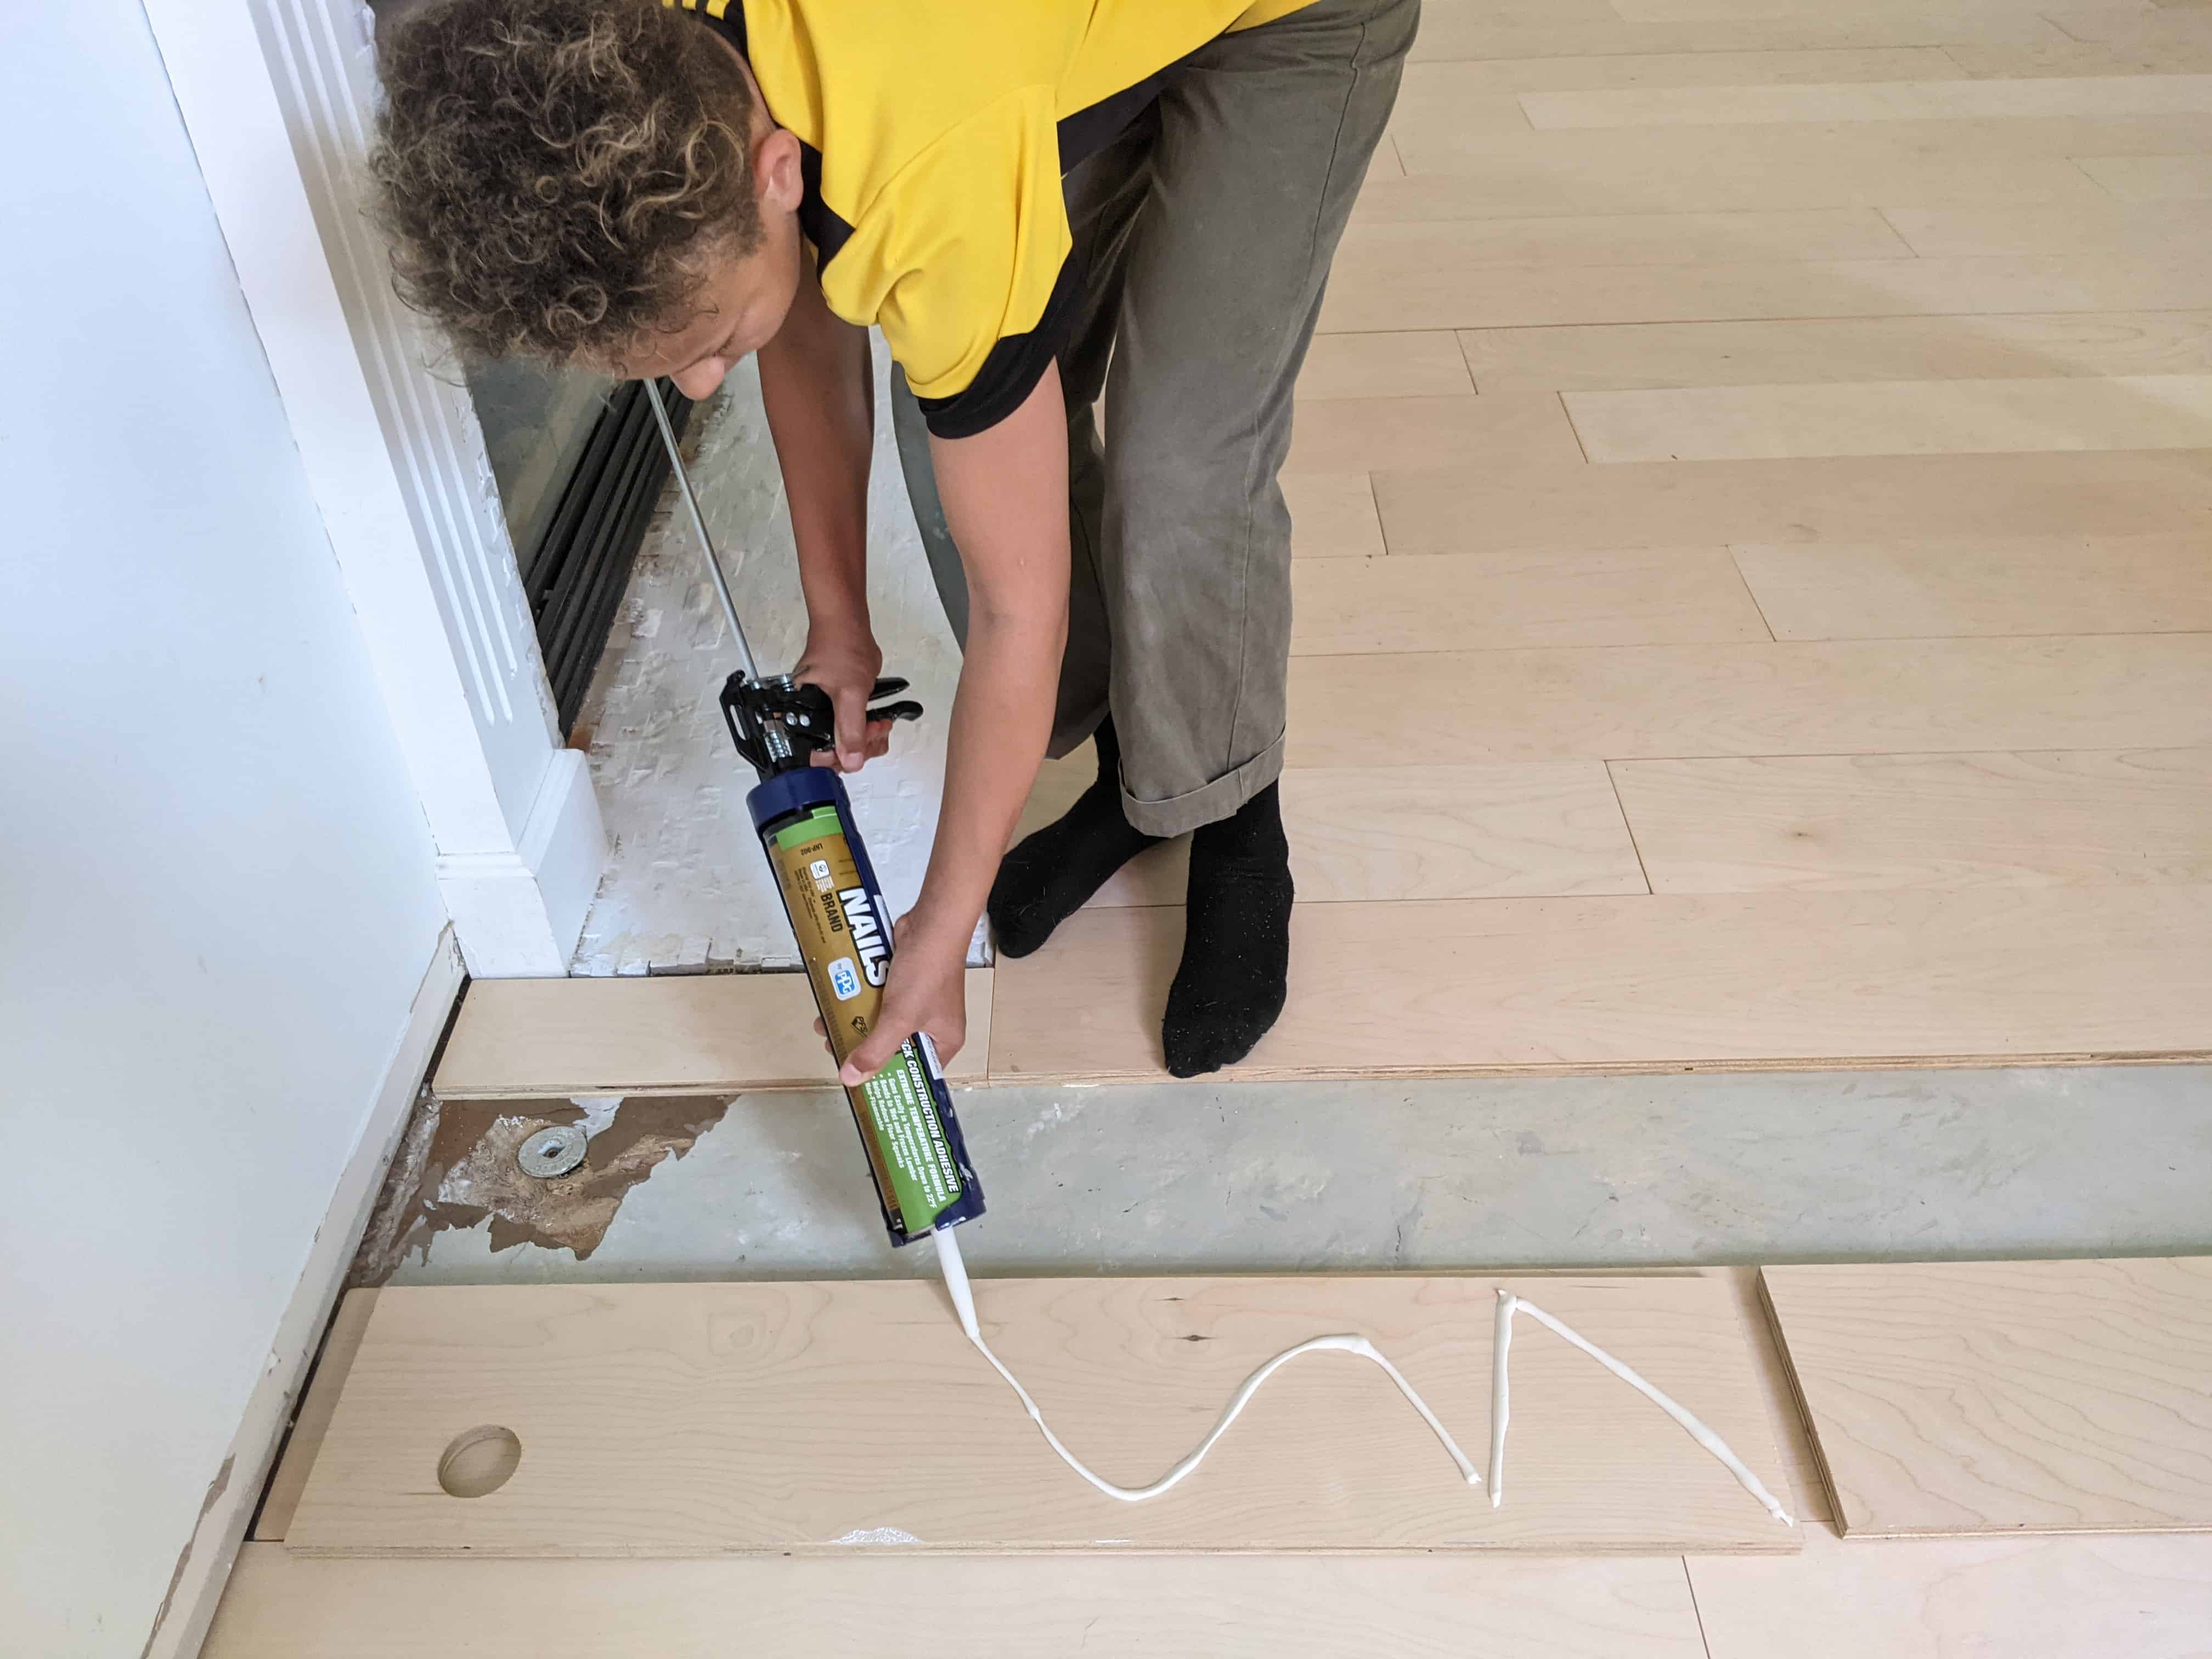
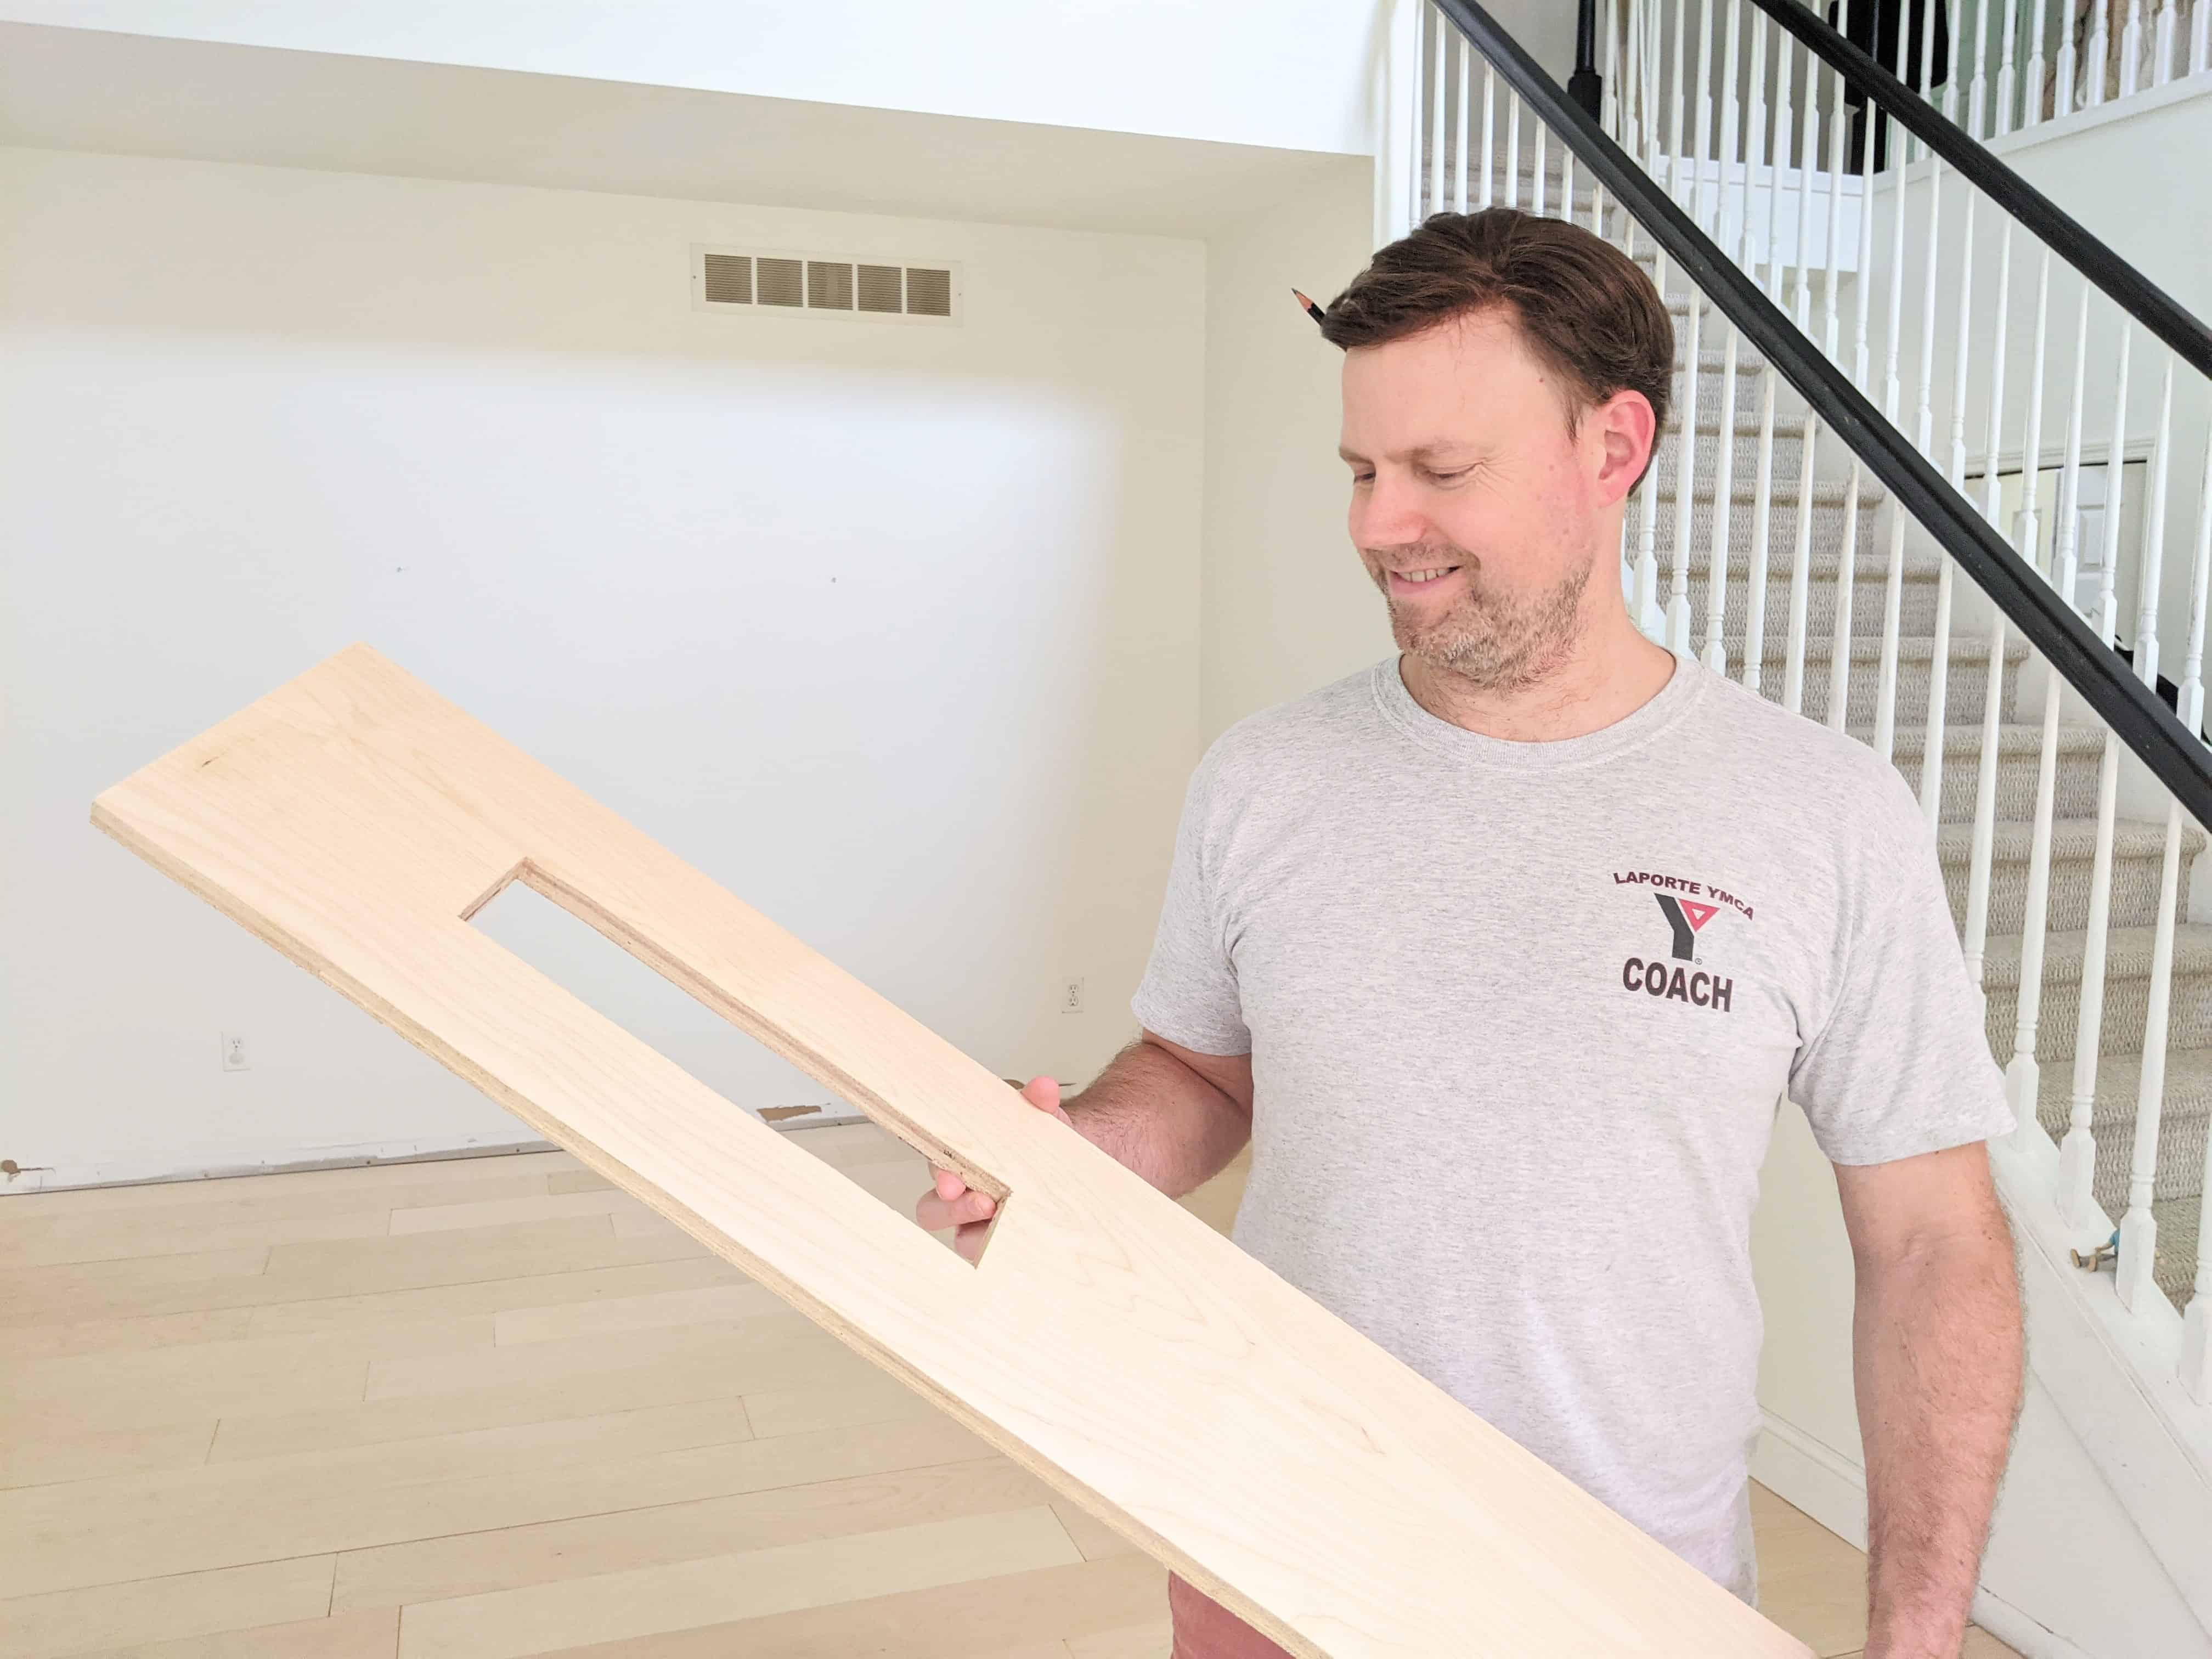
The whole family helped with this project. Difficult cuts were left to Jeremy, He has the patience of a saint and the determination of a marathon runner.
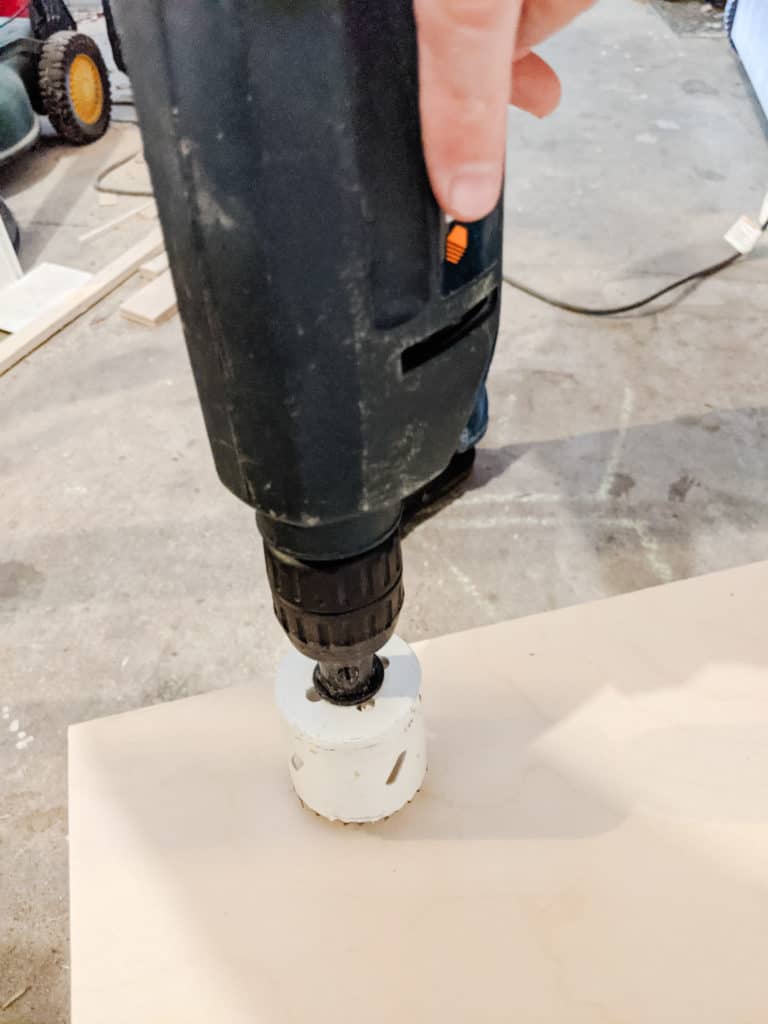
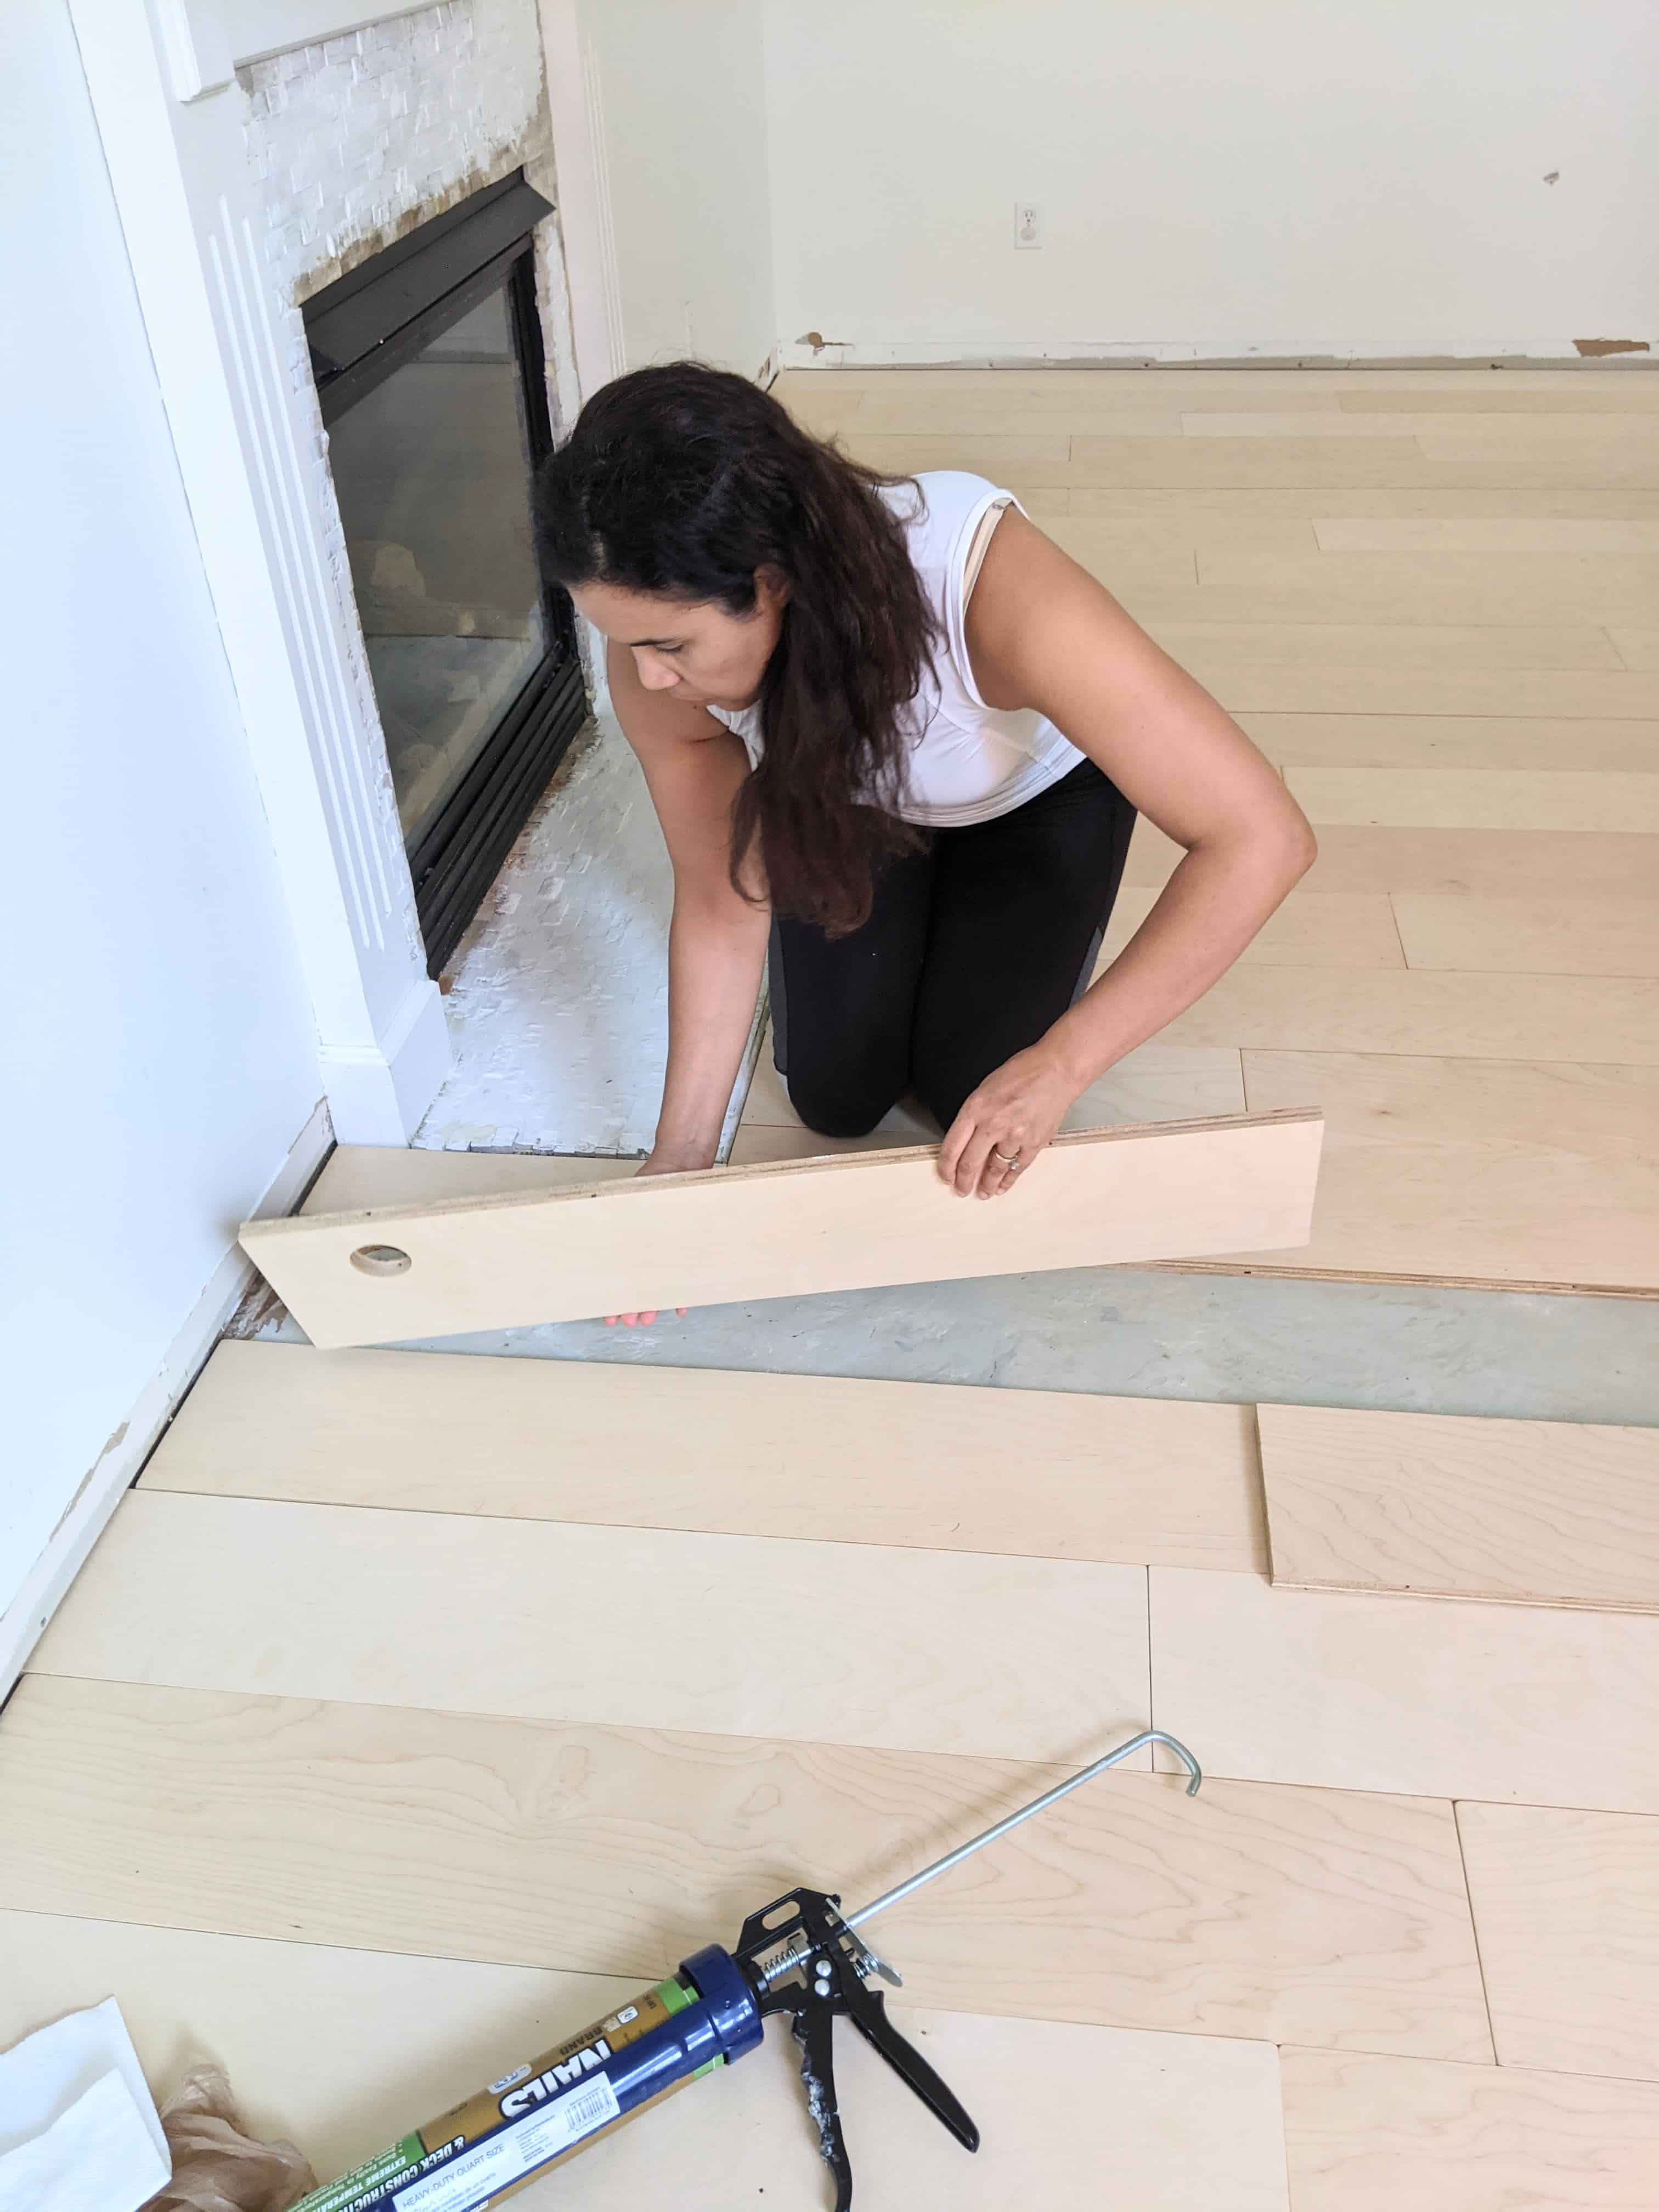
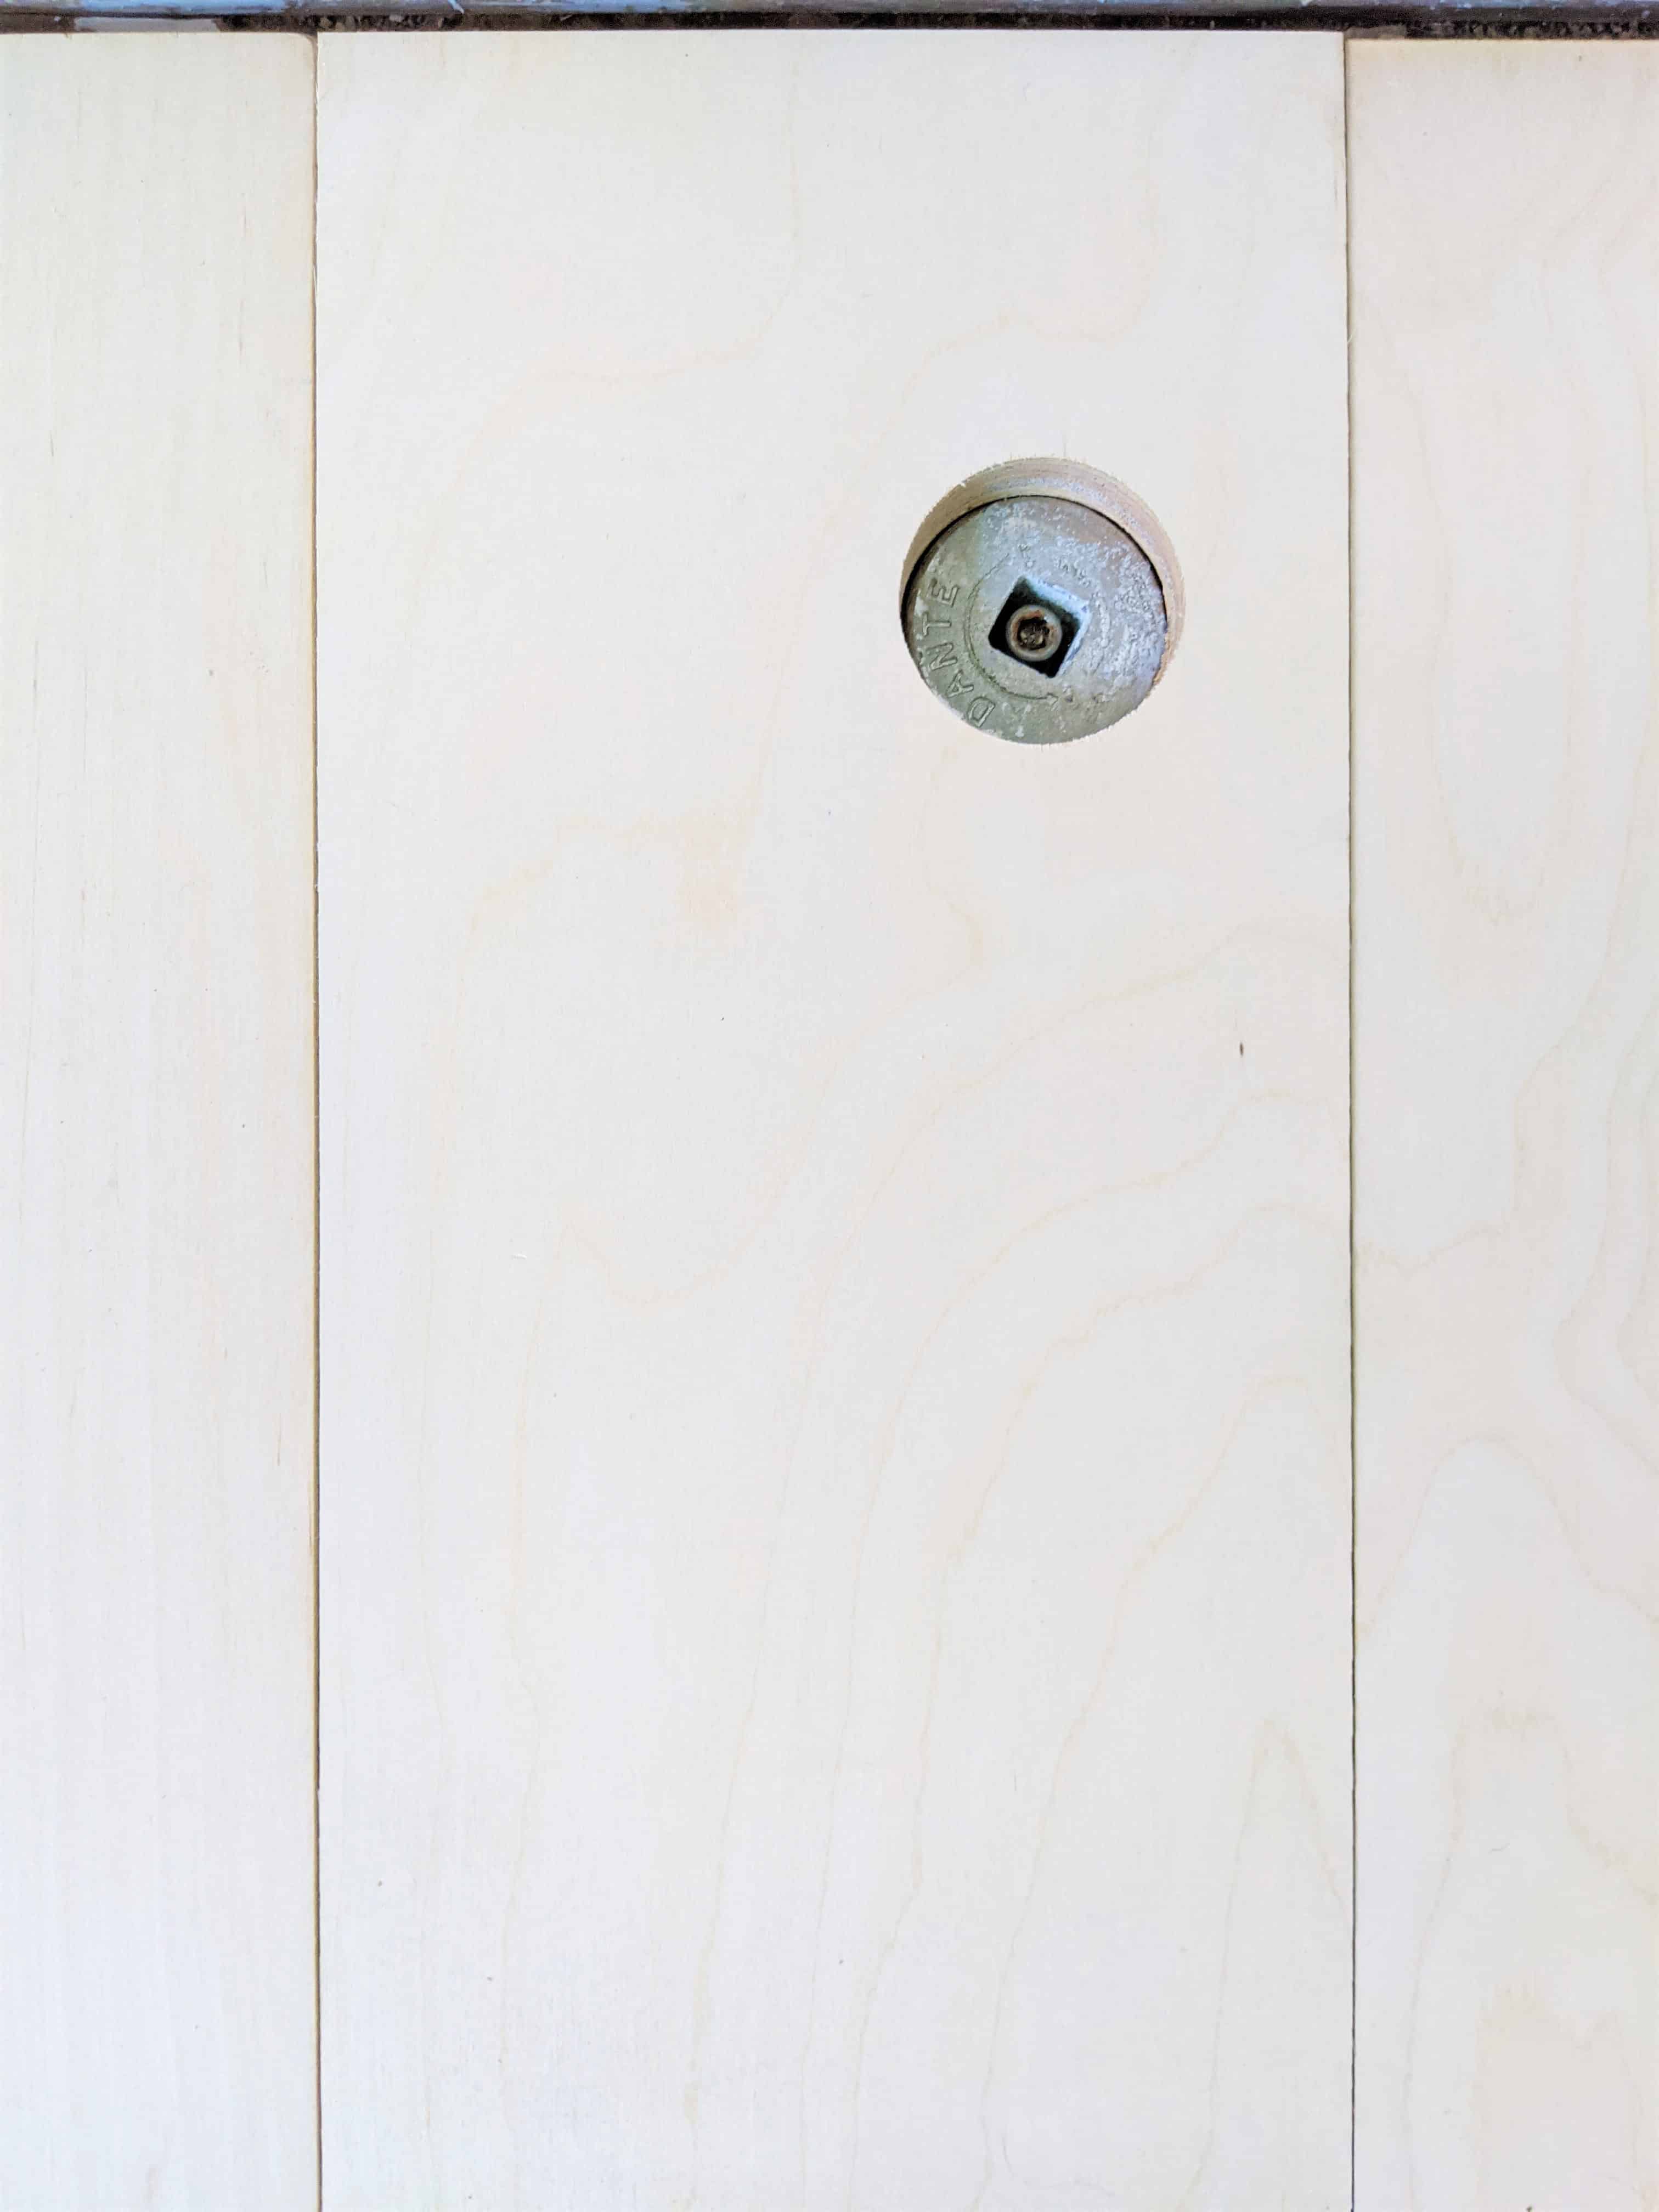
I mean, look how happy he is with the precision of this cut.
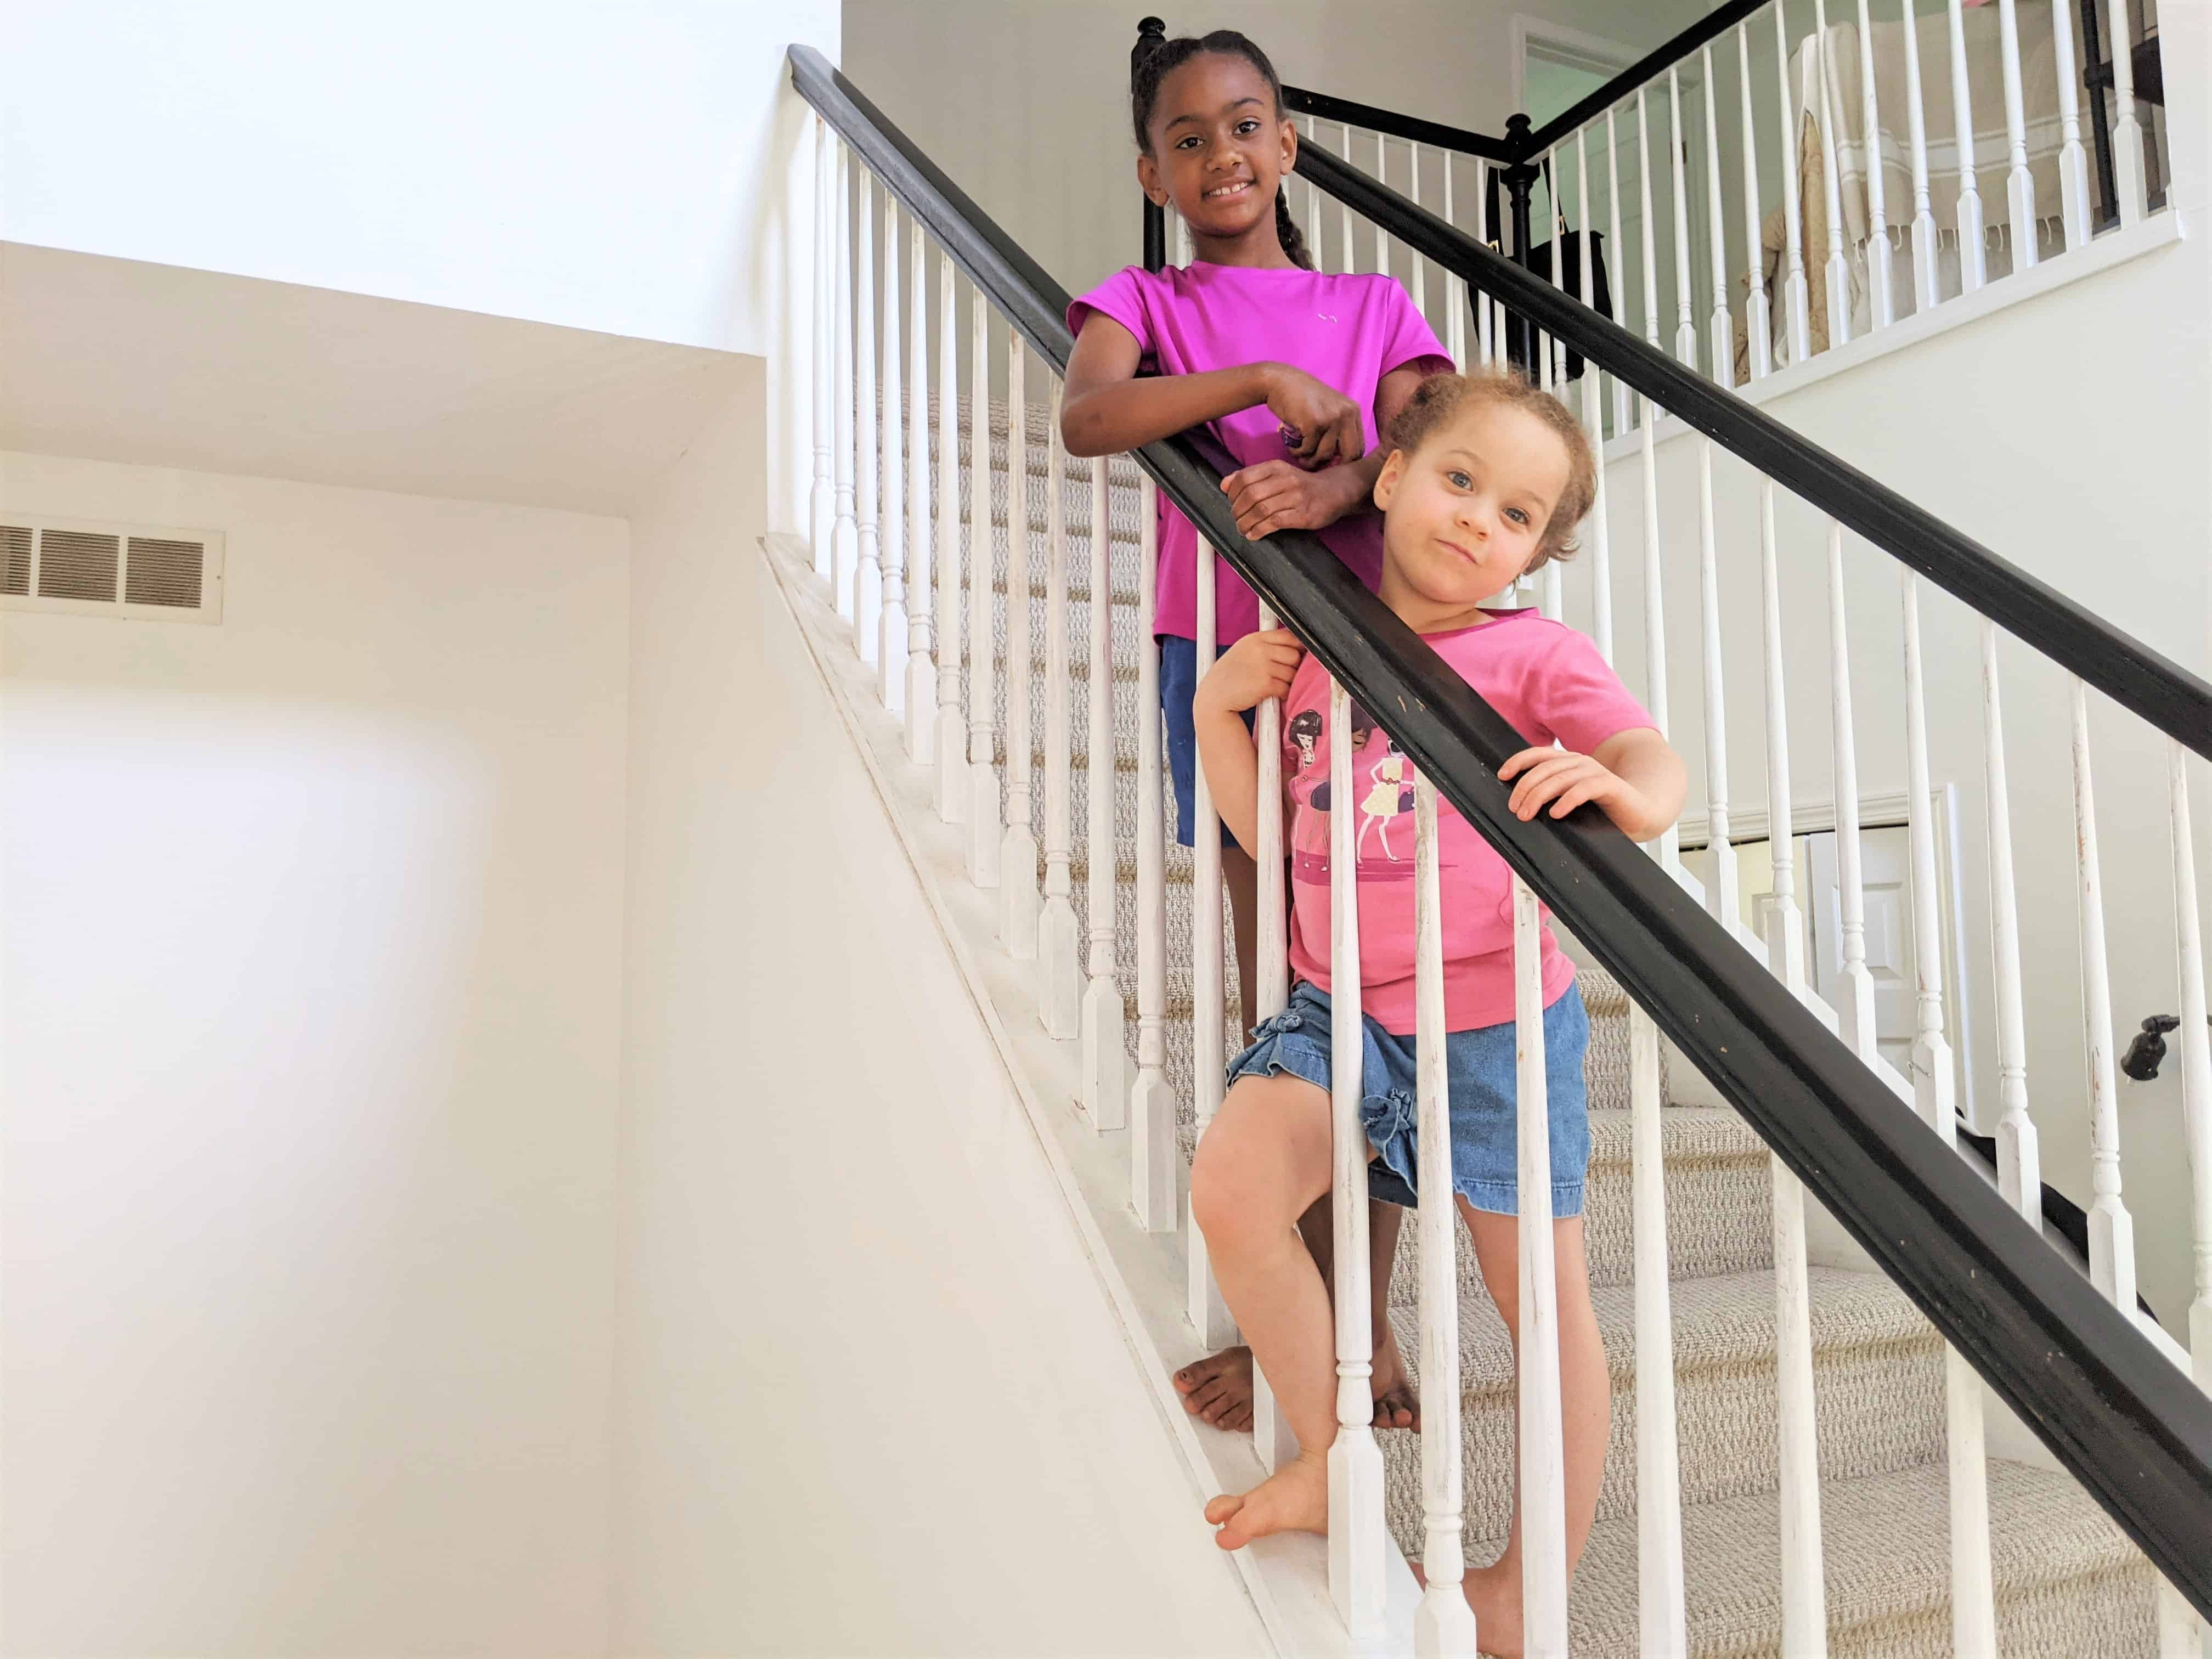
The little girls were our cheering section. Both liked to watch from the stairs when they weren’t entertaining themselves playing. I make sure they know that this is them helping us to get things done. Everybody in the family does their part.
The last planks going in were cause for celebration! DIY is no fun if you don’t celebrate your hard-earned wins.
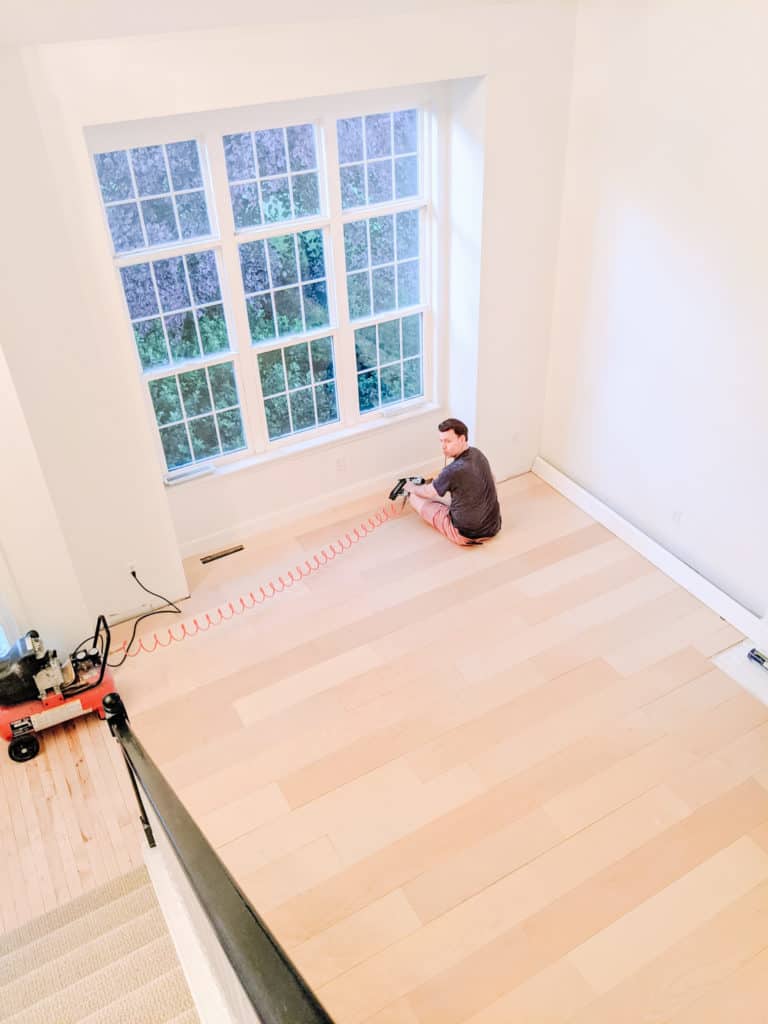
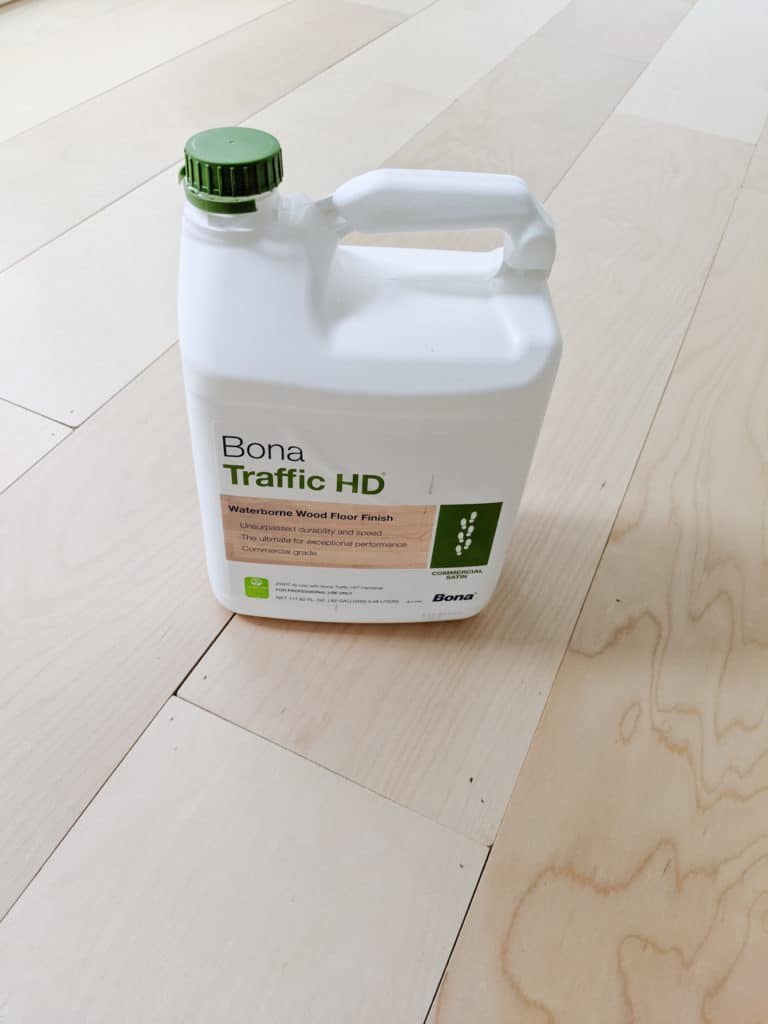
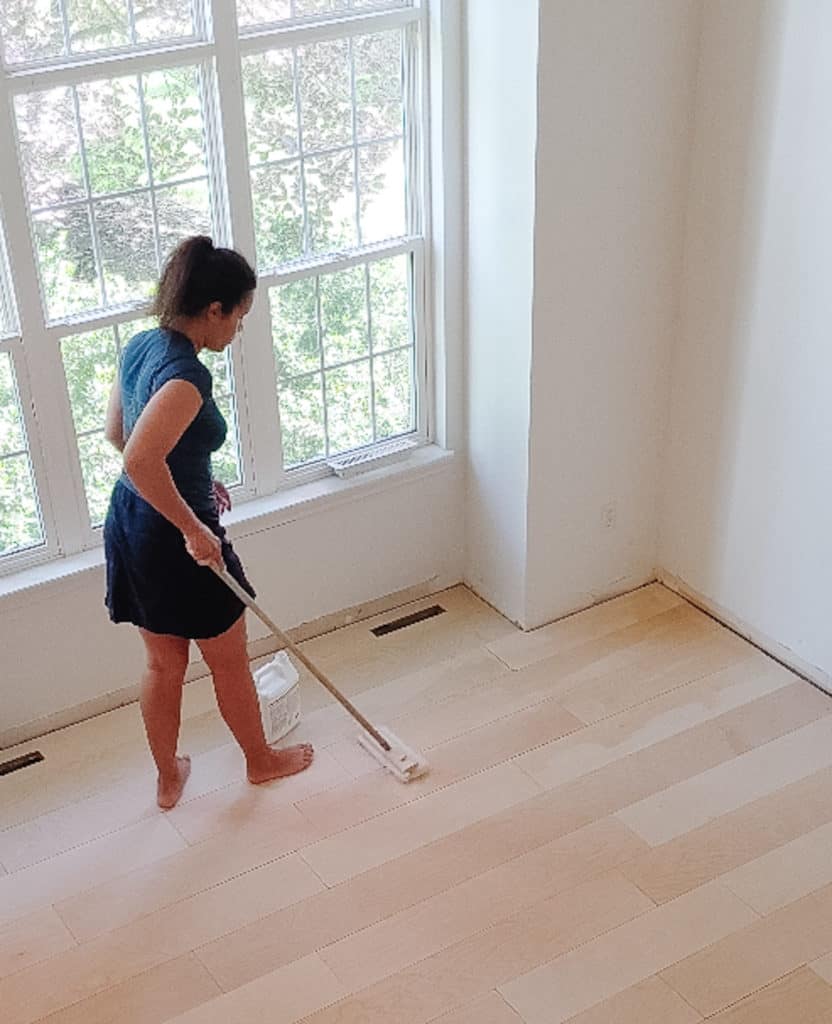
Seal Your Plywood Floors with Two Coats.
Bona Traffic HD is one of my best DIY finds in recent years. No yellowing, low odor and great coverage. We used this to seal our maple floors as well after we sanded them. You can see that huge floor renovation here.
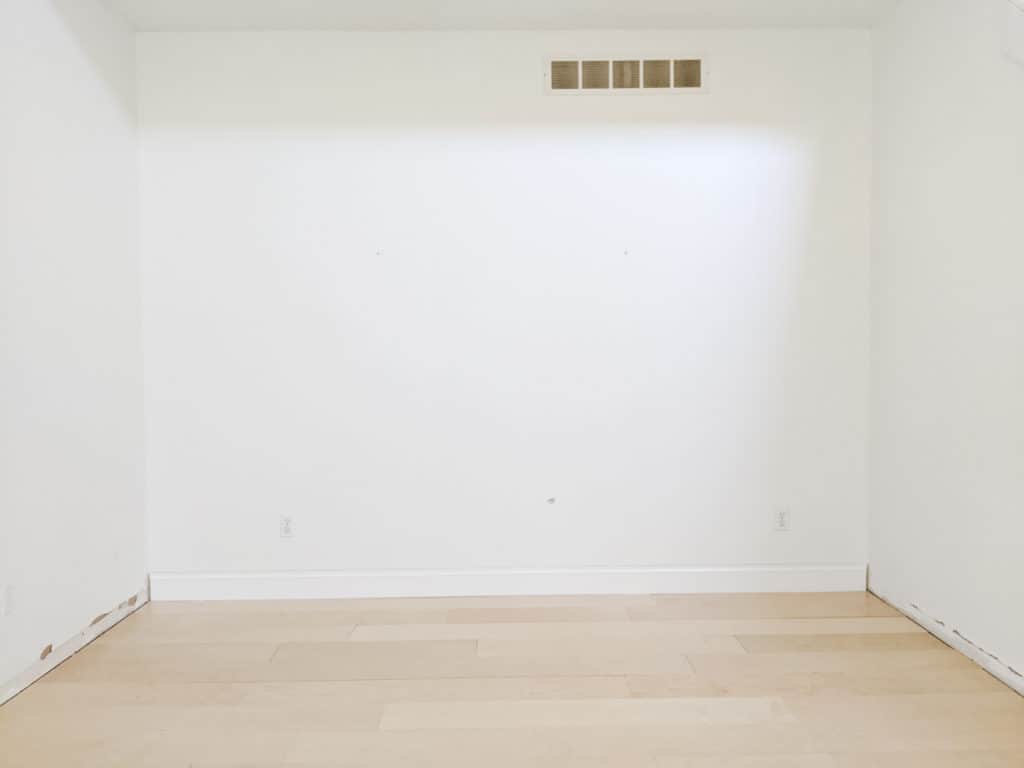
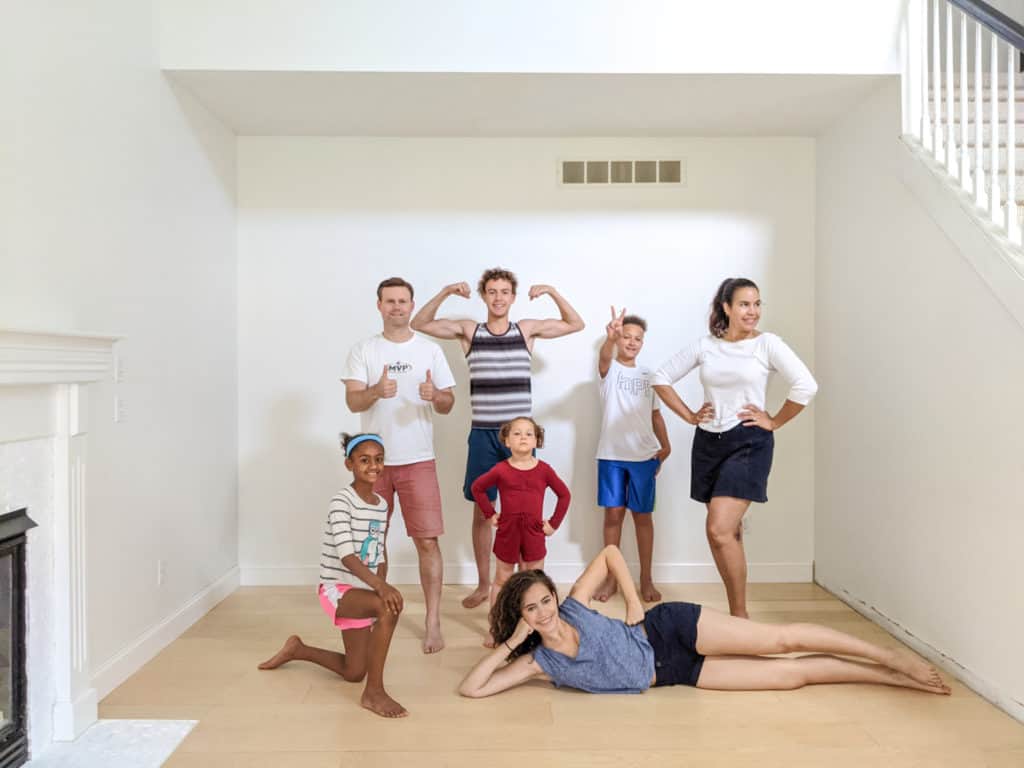
Like I said, Celebrate Your DIY Wins!
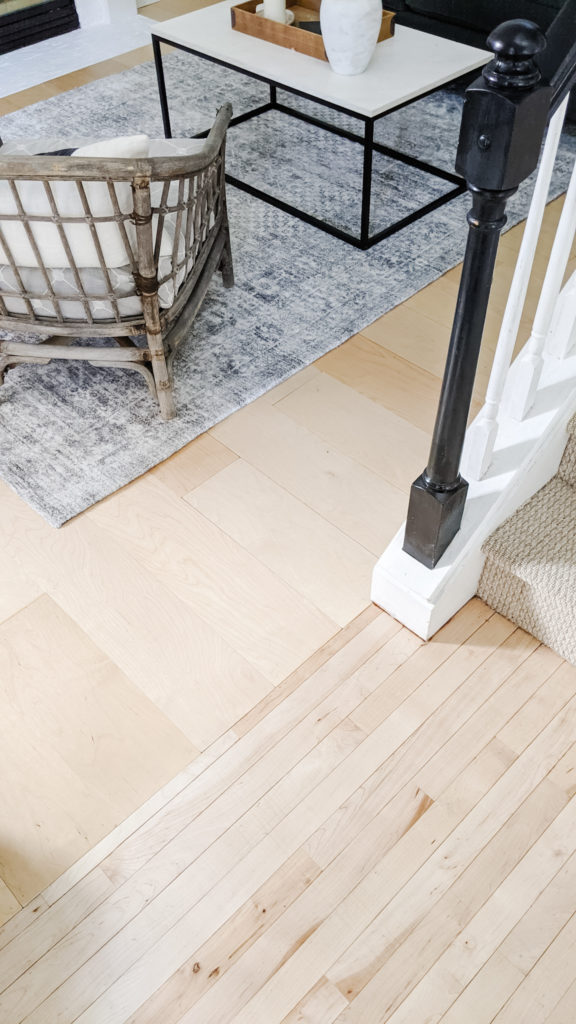
Here’s the area where our solid maple floors connect with the new plywood plank floors. Same exact height and so similar in color and tone. Renovation kismet!
Cost Breakdown
Plywood $500
Labor to cut into planks $70
Subfloor Glue $50
Bona Traffic Sealer $120
Grand Total $740

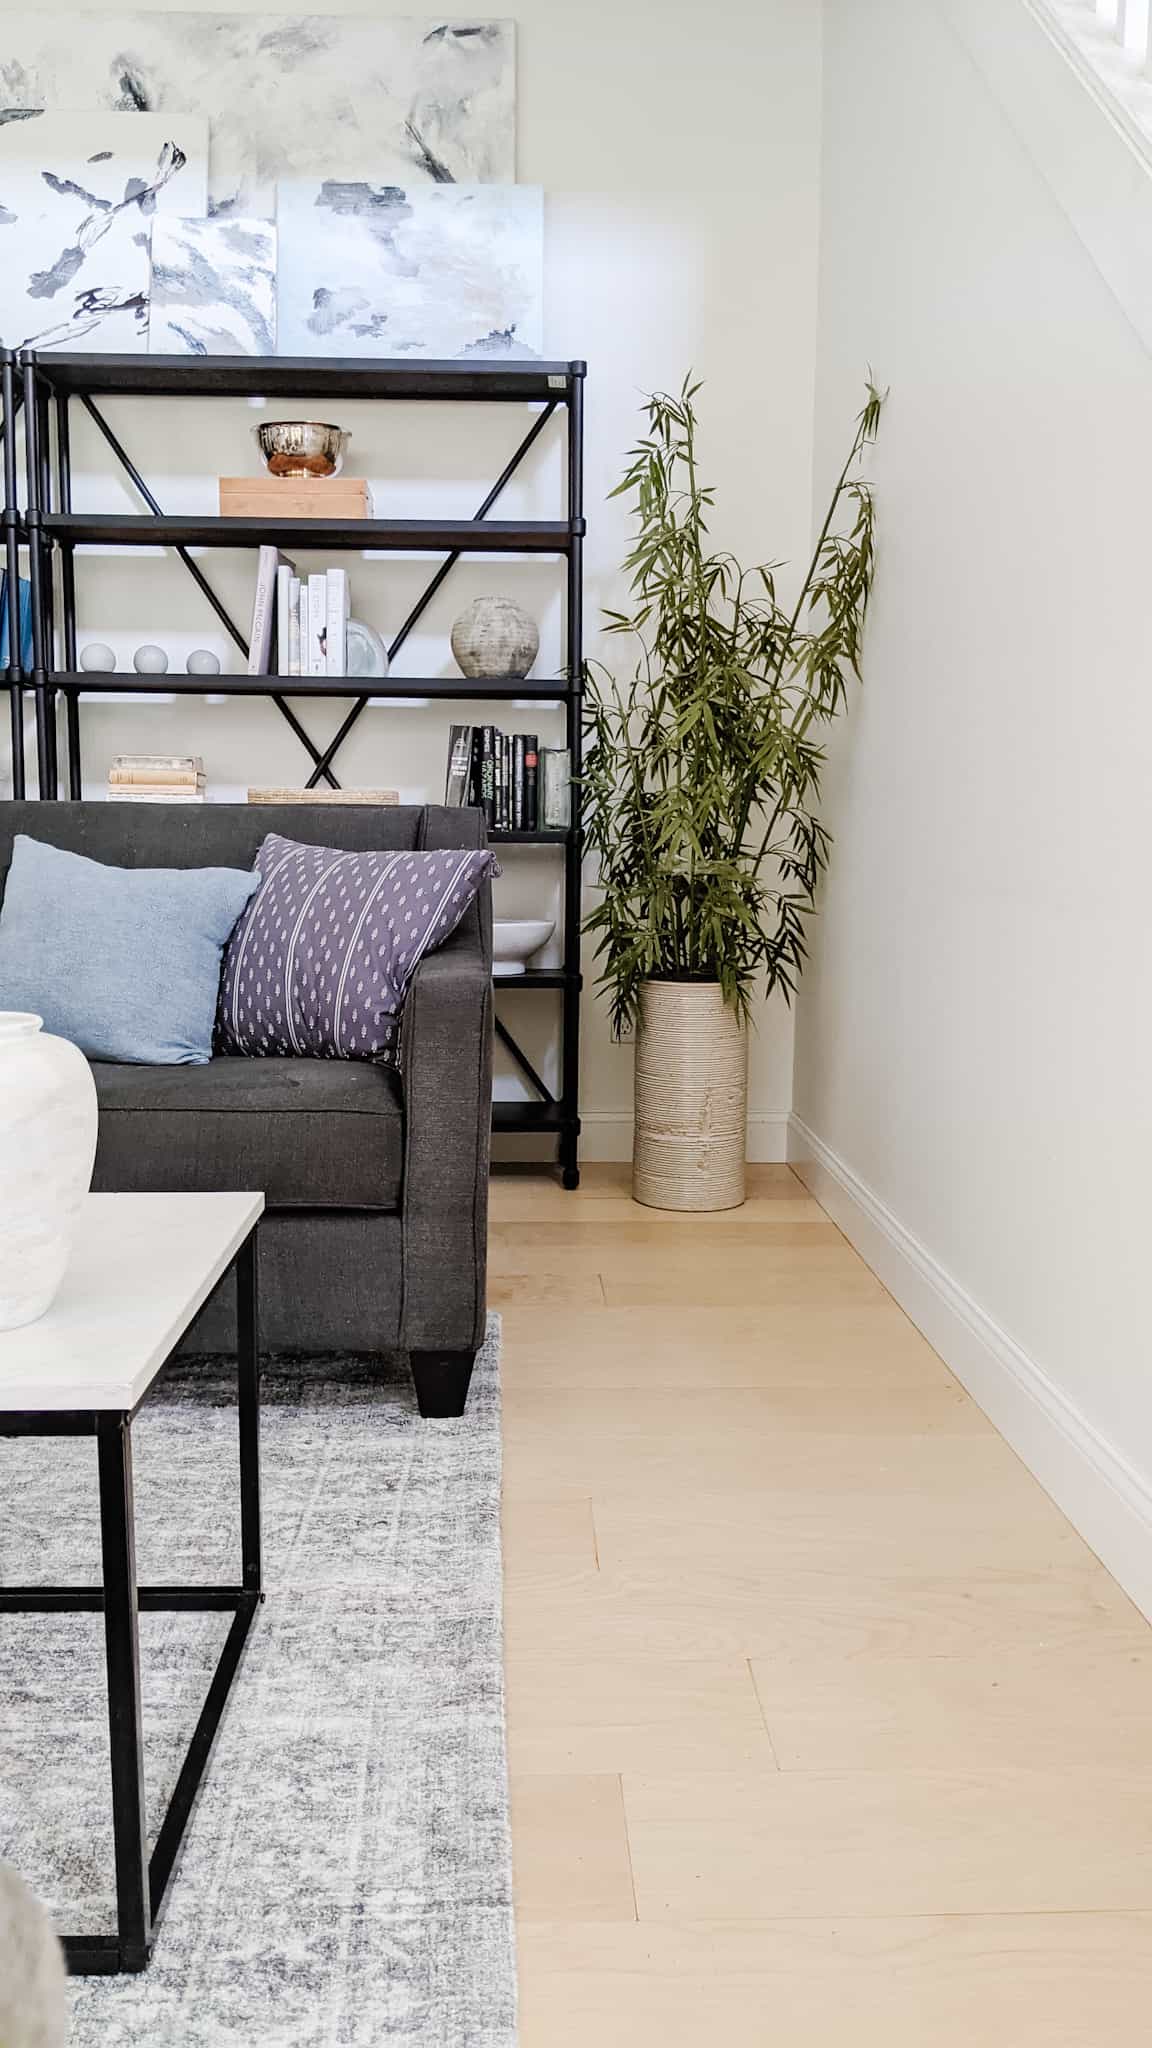
We’re thrilled with this flooring option. Plywood plank floors are a legitimate design choice when you don’t want to spend seven or eight thousand dollars on your floor. These floors went in so easily. The hardest part was the tricky cuts.
What do you think? Would you choose plywood plank flooring as a floor covering?
I’d love to answer any questions you might have.



0 Comments