

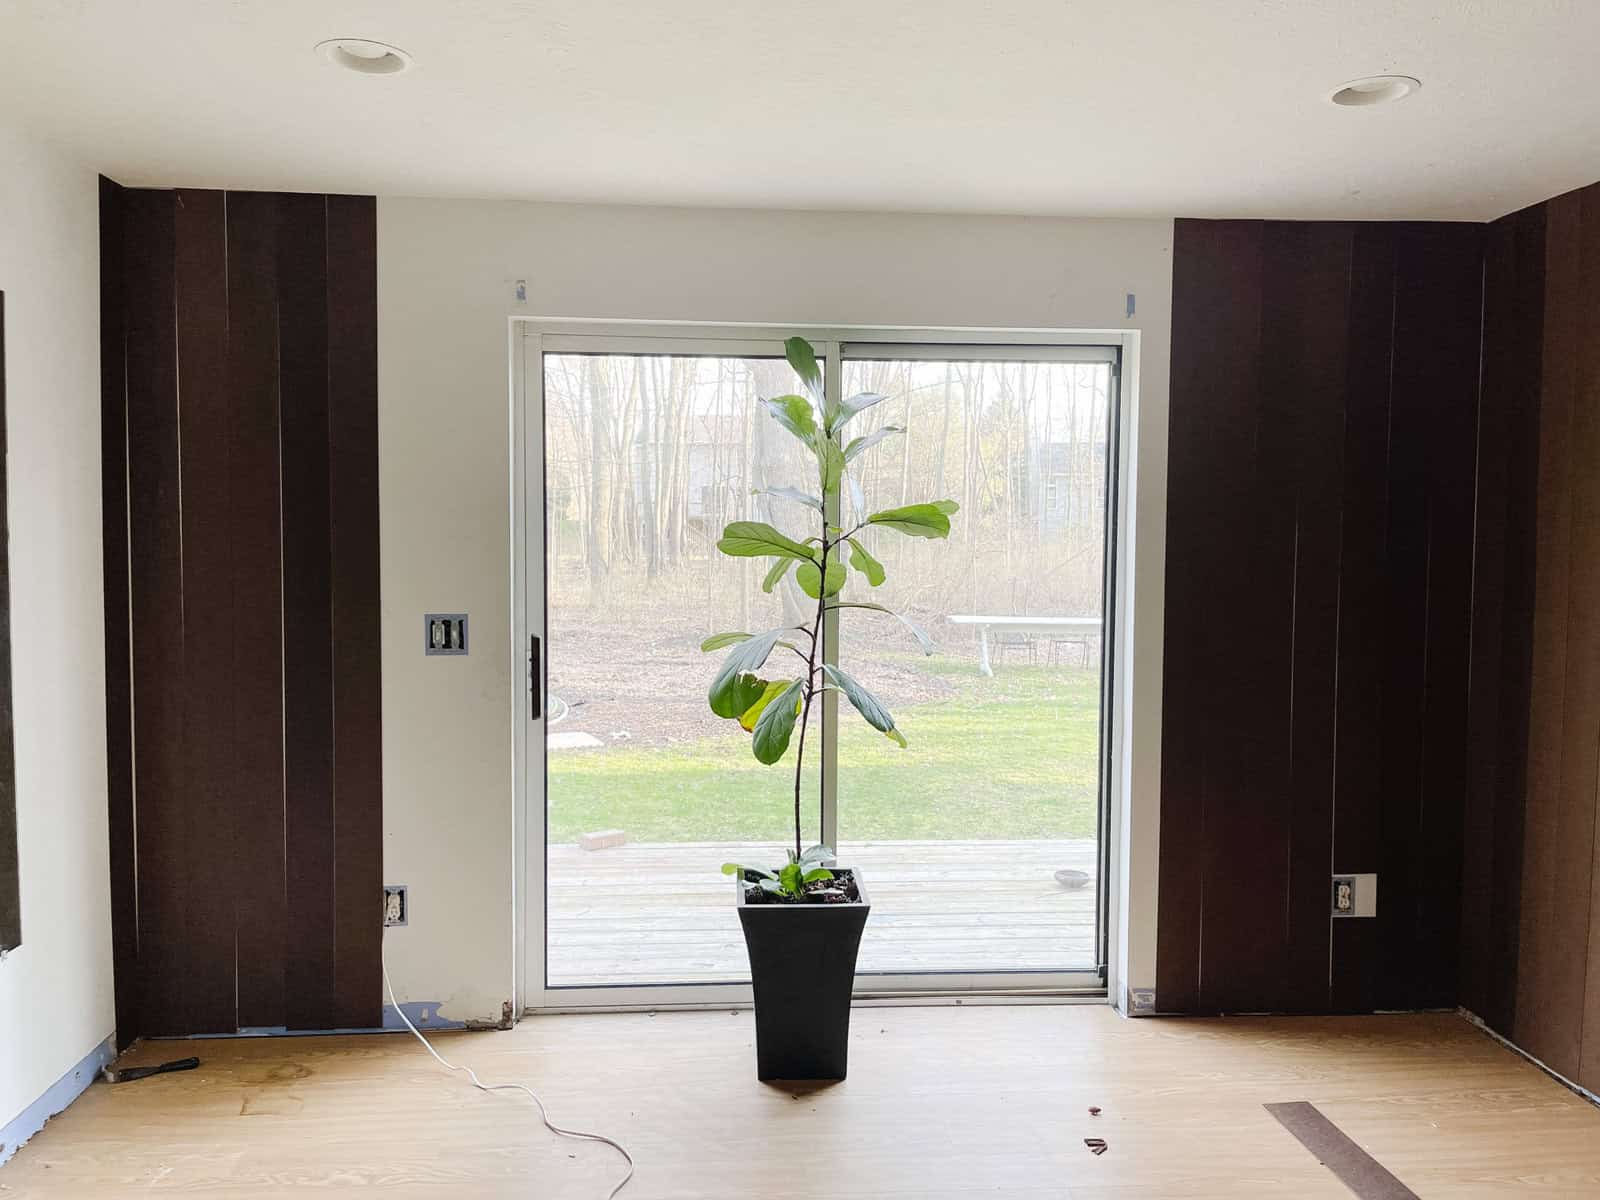
Right now you can’t look anywhere without seeing vertical plank paneling. When I first started seeing it I immediately preferred it over horizontal paneling or the shiplap look so popular at the time. Why? Who knows, but as a DIY enthusiast I’m certain it’s a lot easier to install than it’s vertical cousin. Plank paneling is a simple, clean look, a classic style and I’ve been thinking for awhile now on where I could use it in our home.
I decided I had to Plank Walls in the Spring One Room Challenge!

Problem is, I have so many projects going on in my head right now and I don’t have the budget for them all. And yet, I want to do then all. My mantra for 2022 is, “Where there’s a will, there’s a way.” With this in mind I set out to research and brain storms ways I could get the look I wanted for less. This one took me a bit longer than I expected. I headed to Lowes and researched prices of shiplap, wood and plywood. Prices were high, very high. Although the cost of lumber went down in the New Year it has started to soar again. After pricing lumber I went to look at the 4×8 paneling, and that’s when an idea started to percolate in my head.
Hardboard
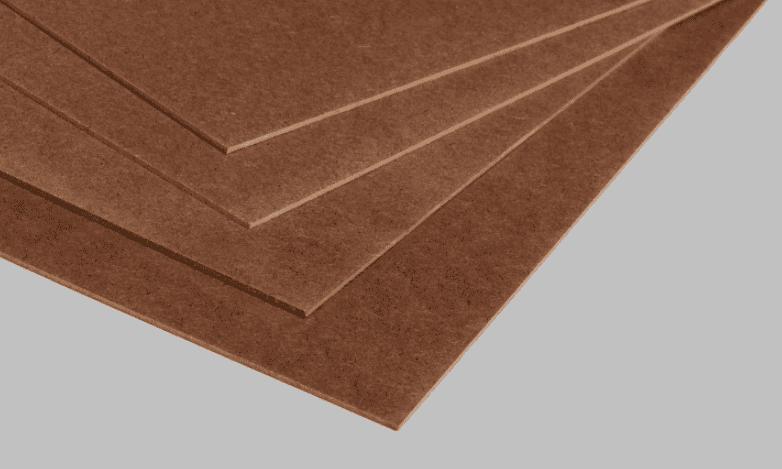
Do you know what hardboard is? It’s thinner than plywood, but made from wood products. Basically it’s just a stiff board made from compressed wood pulp. I realized it was time to invest in that table saw Jeremy and I had been thinking about. We would make planks out of hardboard and stay within our budget. Here’s how we made our own plank paneling walls.
Supply List
- 4×8 Hardboard
- Adhesive Glue
- Brad Nails
Tools Used
- Table Saw
- Miter Saw
- Caulk Gun
- Nail Gun
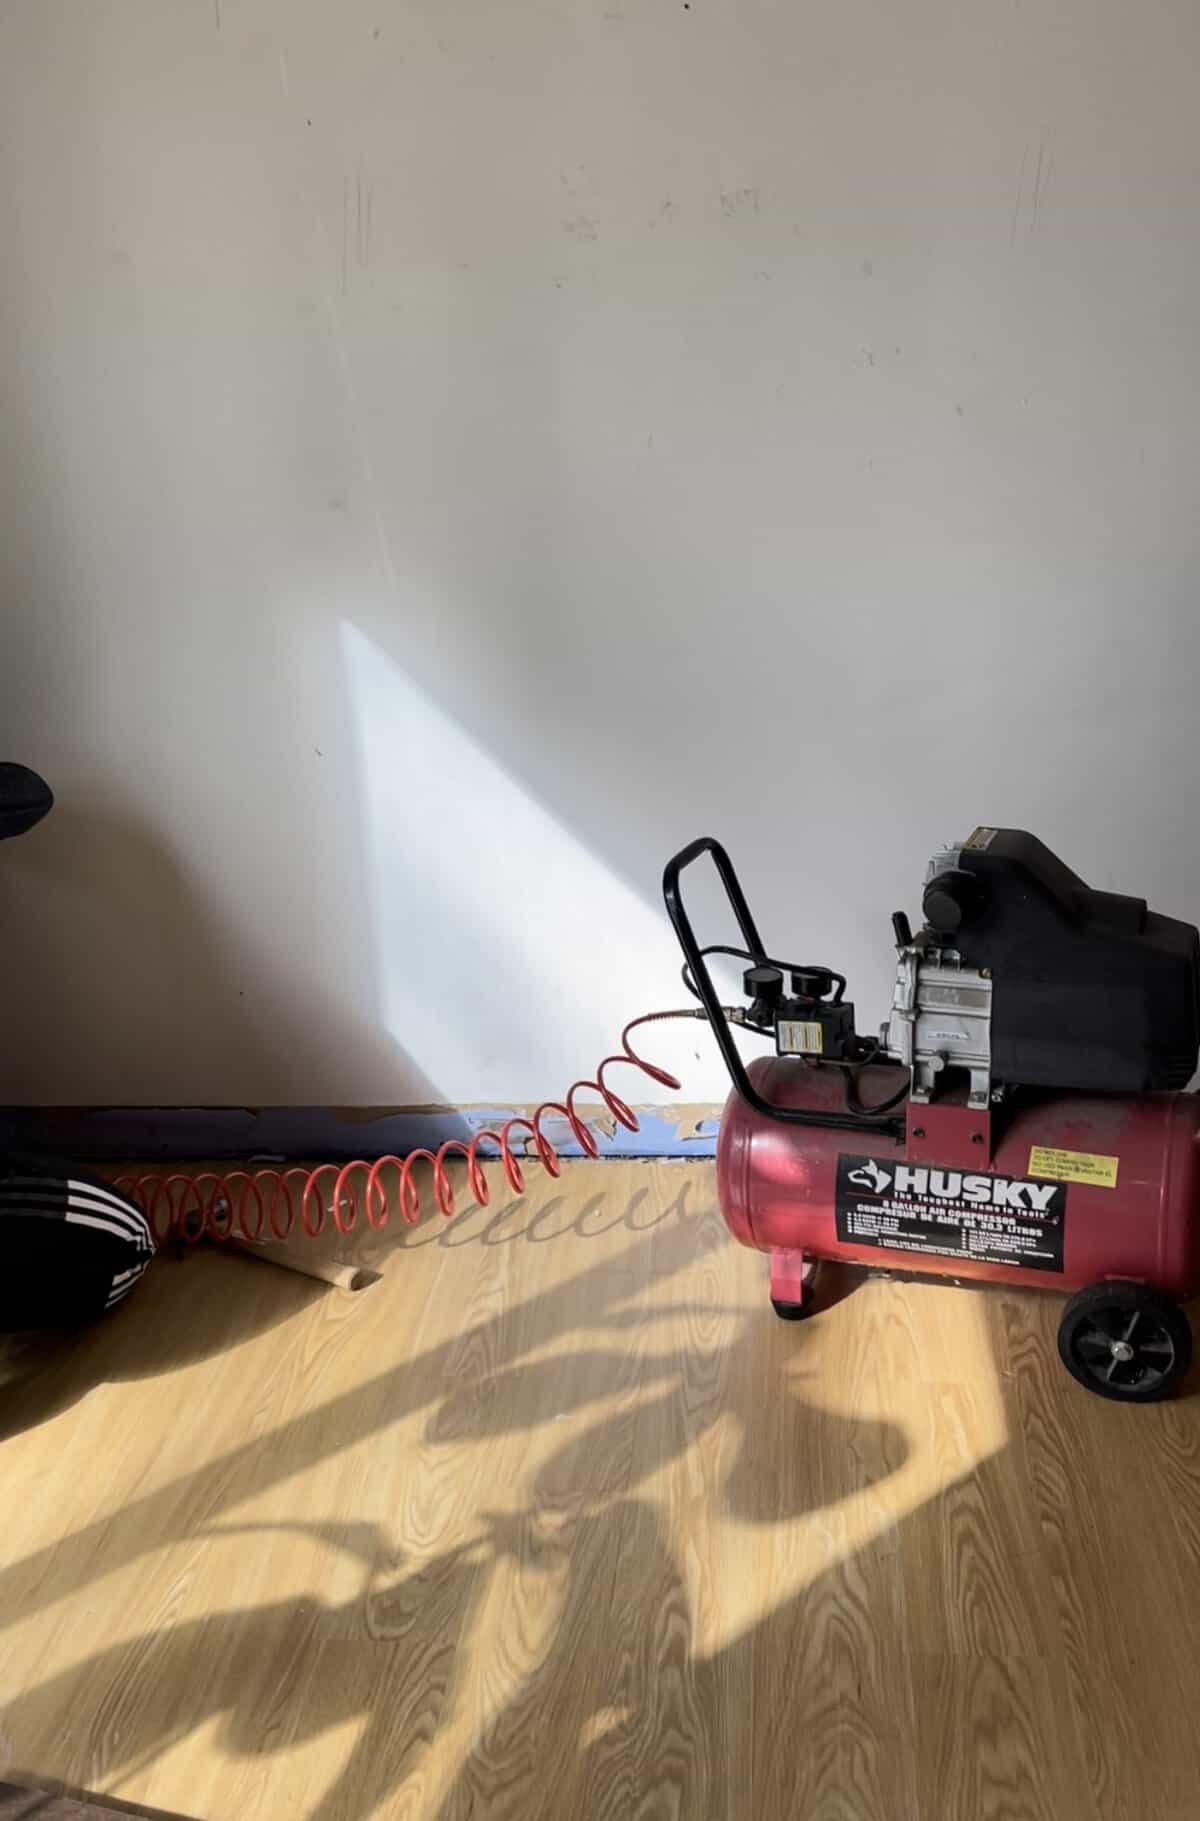
- Air Compressor
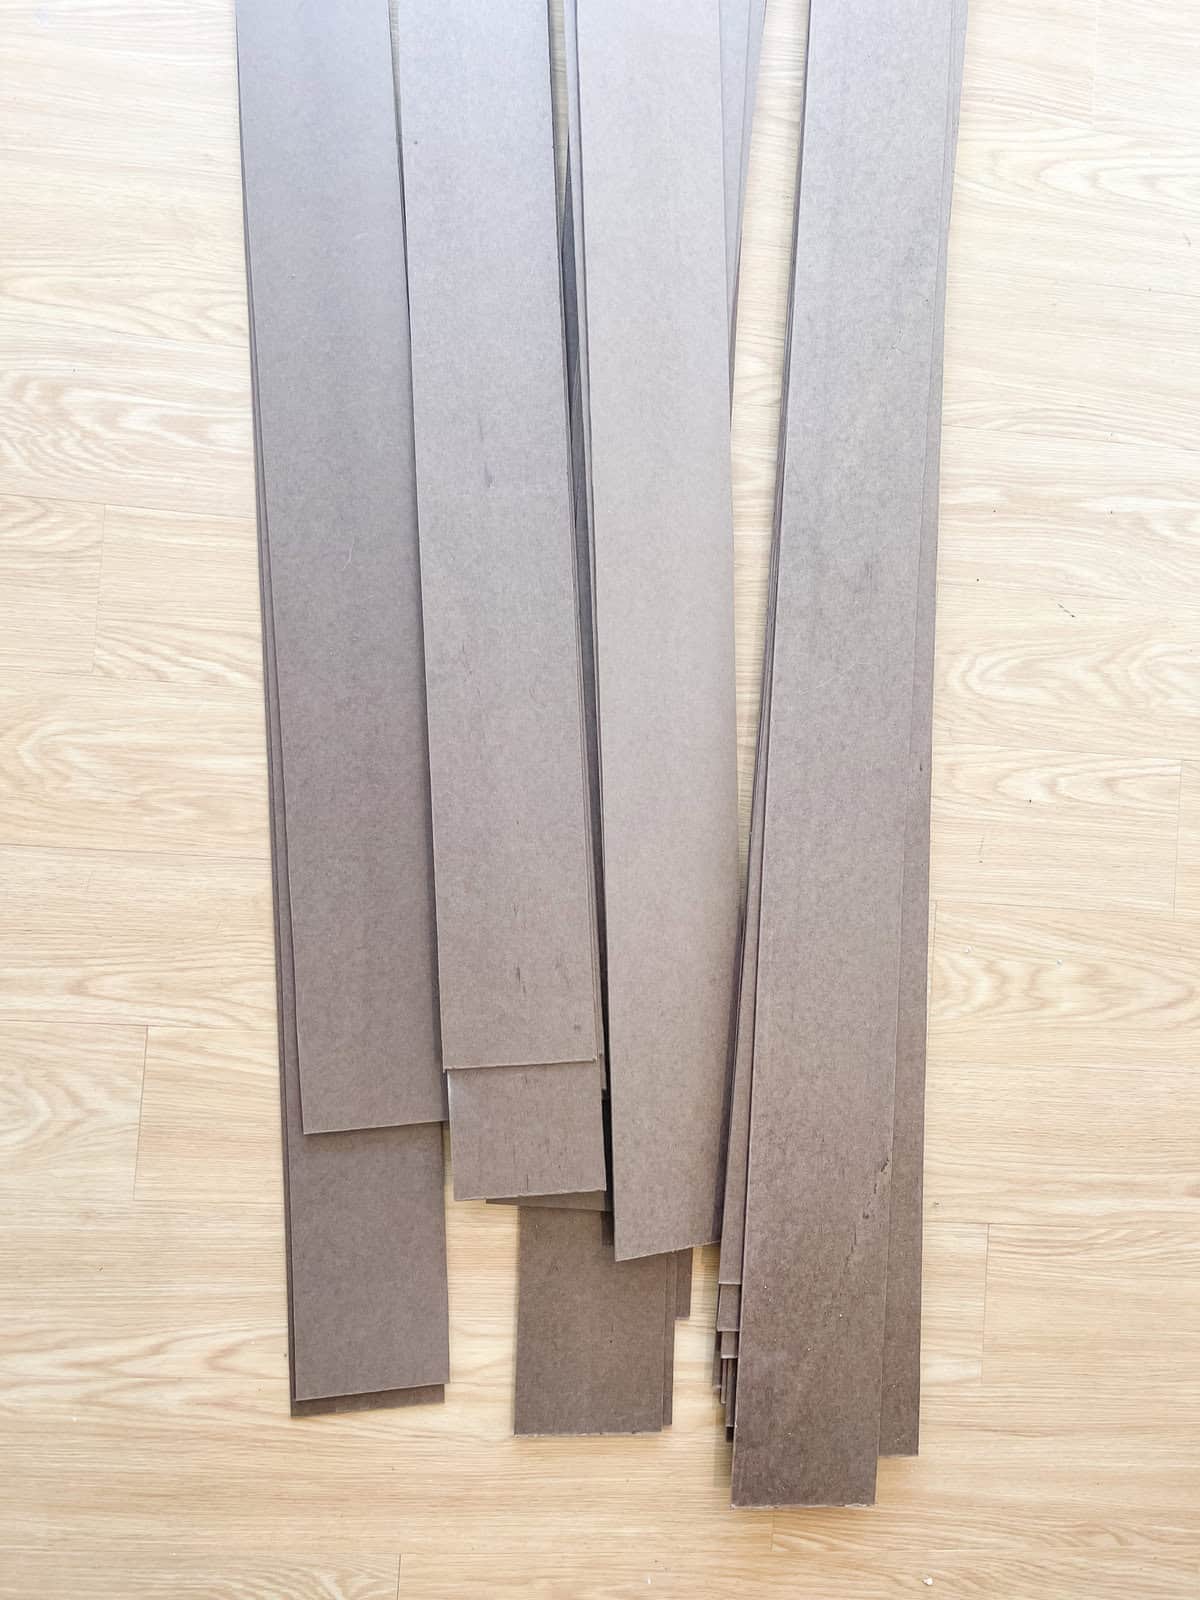
We bought this 4×8 hardboard and Jeremy cut it into 6 inch planks with our new table saw. We often rent tools, but this is something we knew we would be using again and again. We hope DIY will be part of our lives for a long time.
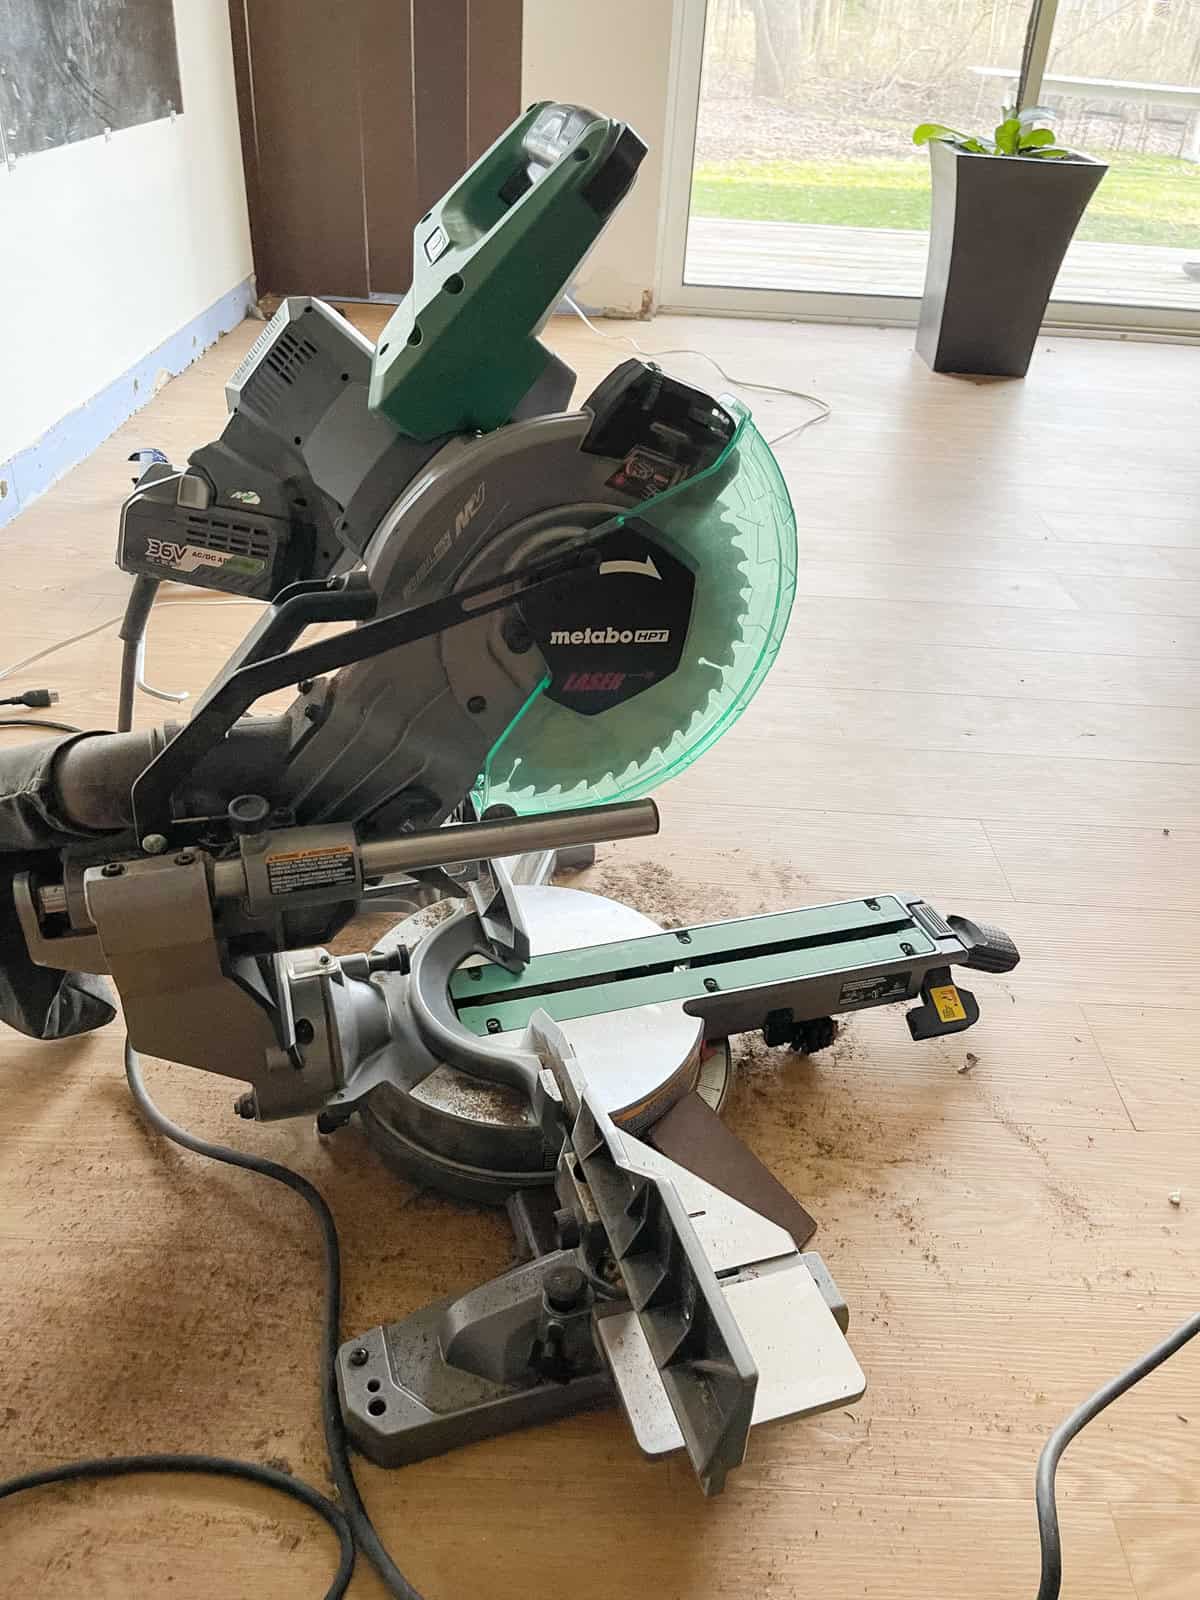
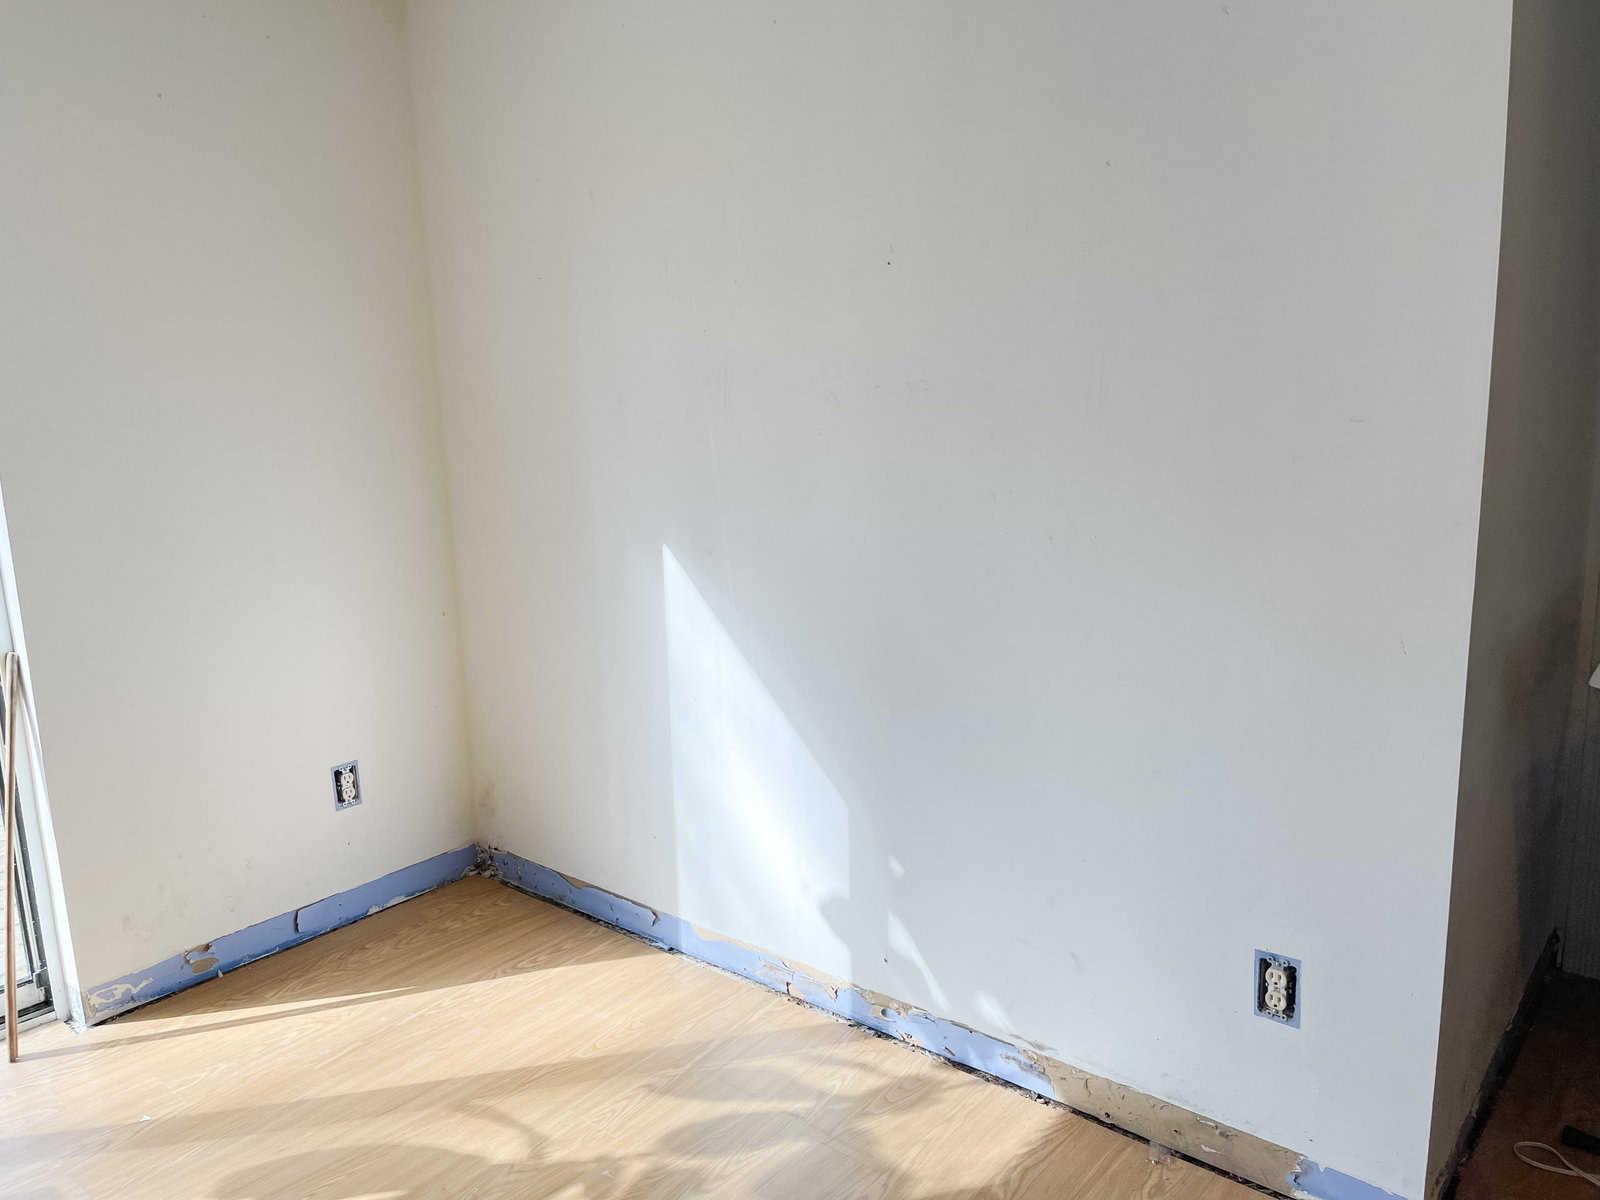
We brought our miter saw into the basement where we’re installing the paneling. Having it so close by is much easier than going up and down the stairs to the garage. It’s still pretty wet and cold to have it outside. Hopefully it’ll warm up in the next few days so we can do our cutting in the backyard. Our basement has quite a few angels so the miter saw works for straight cuts as well as the trickier ones.
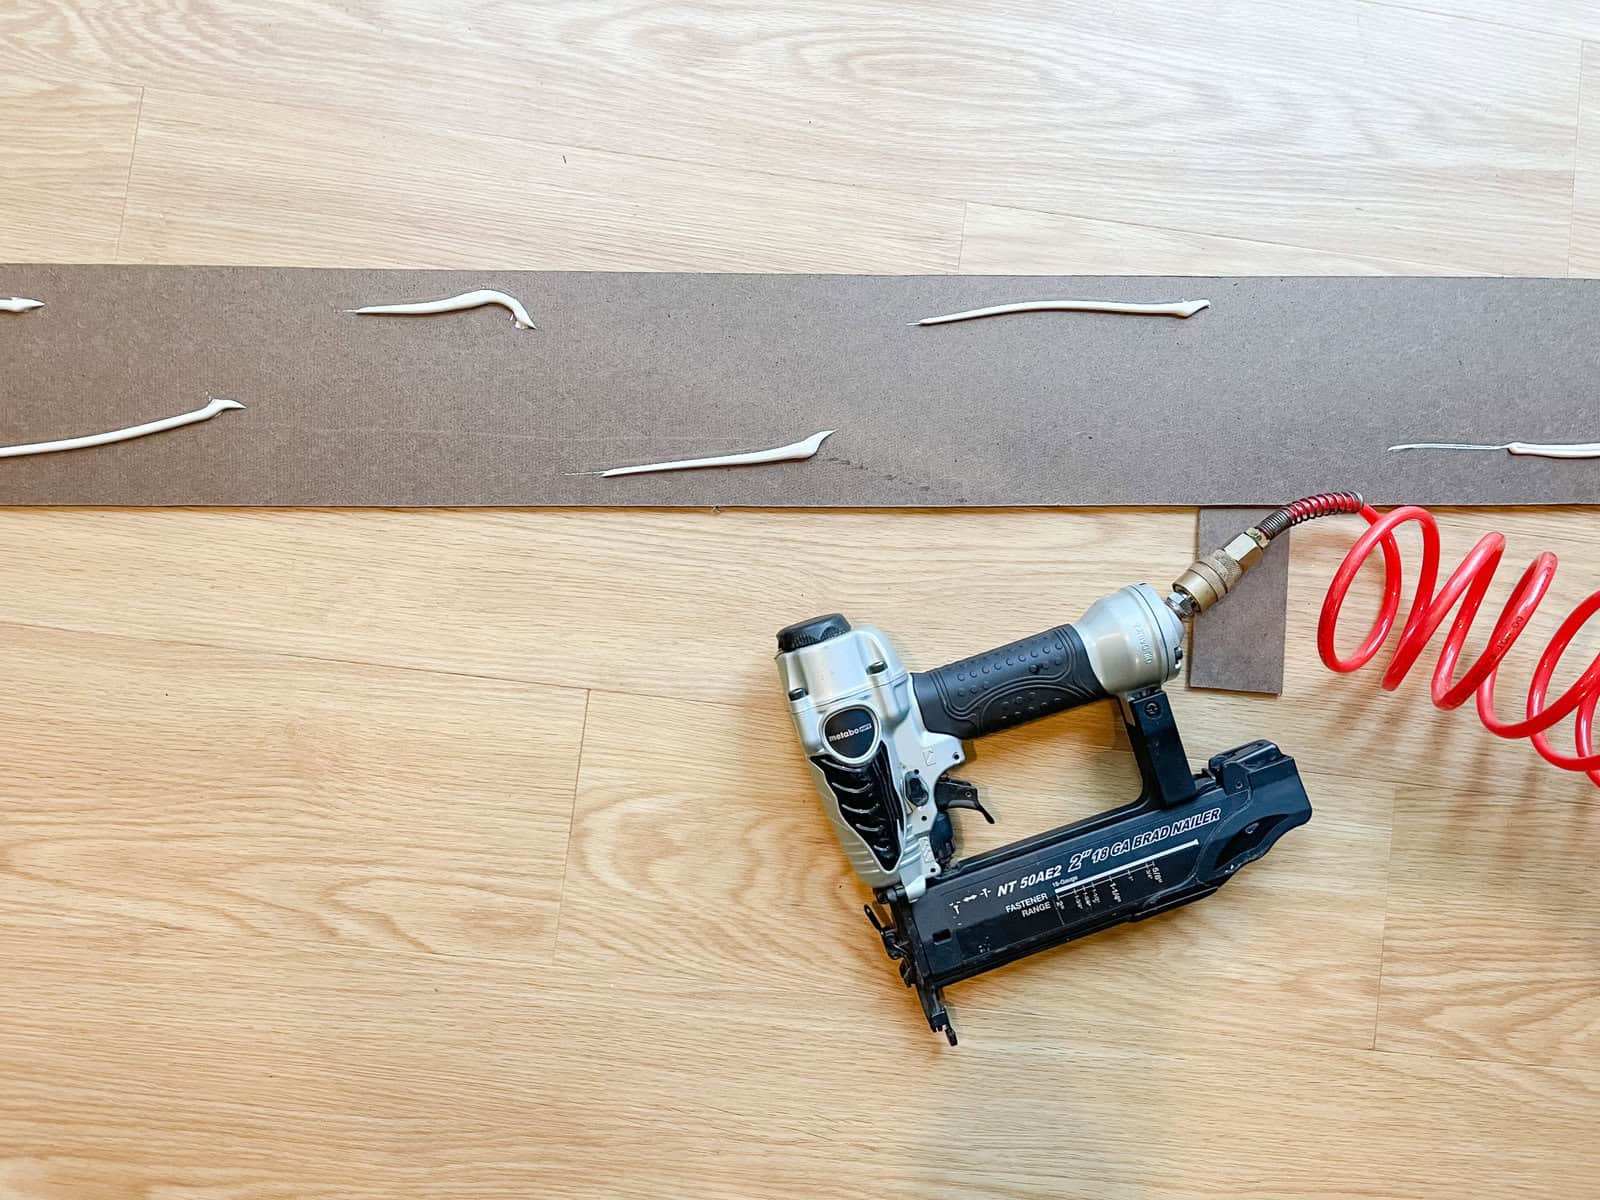
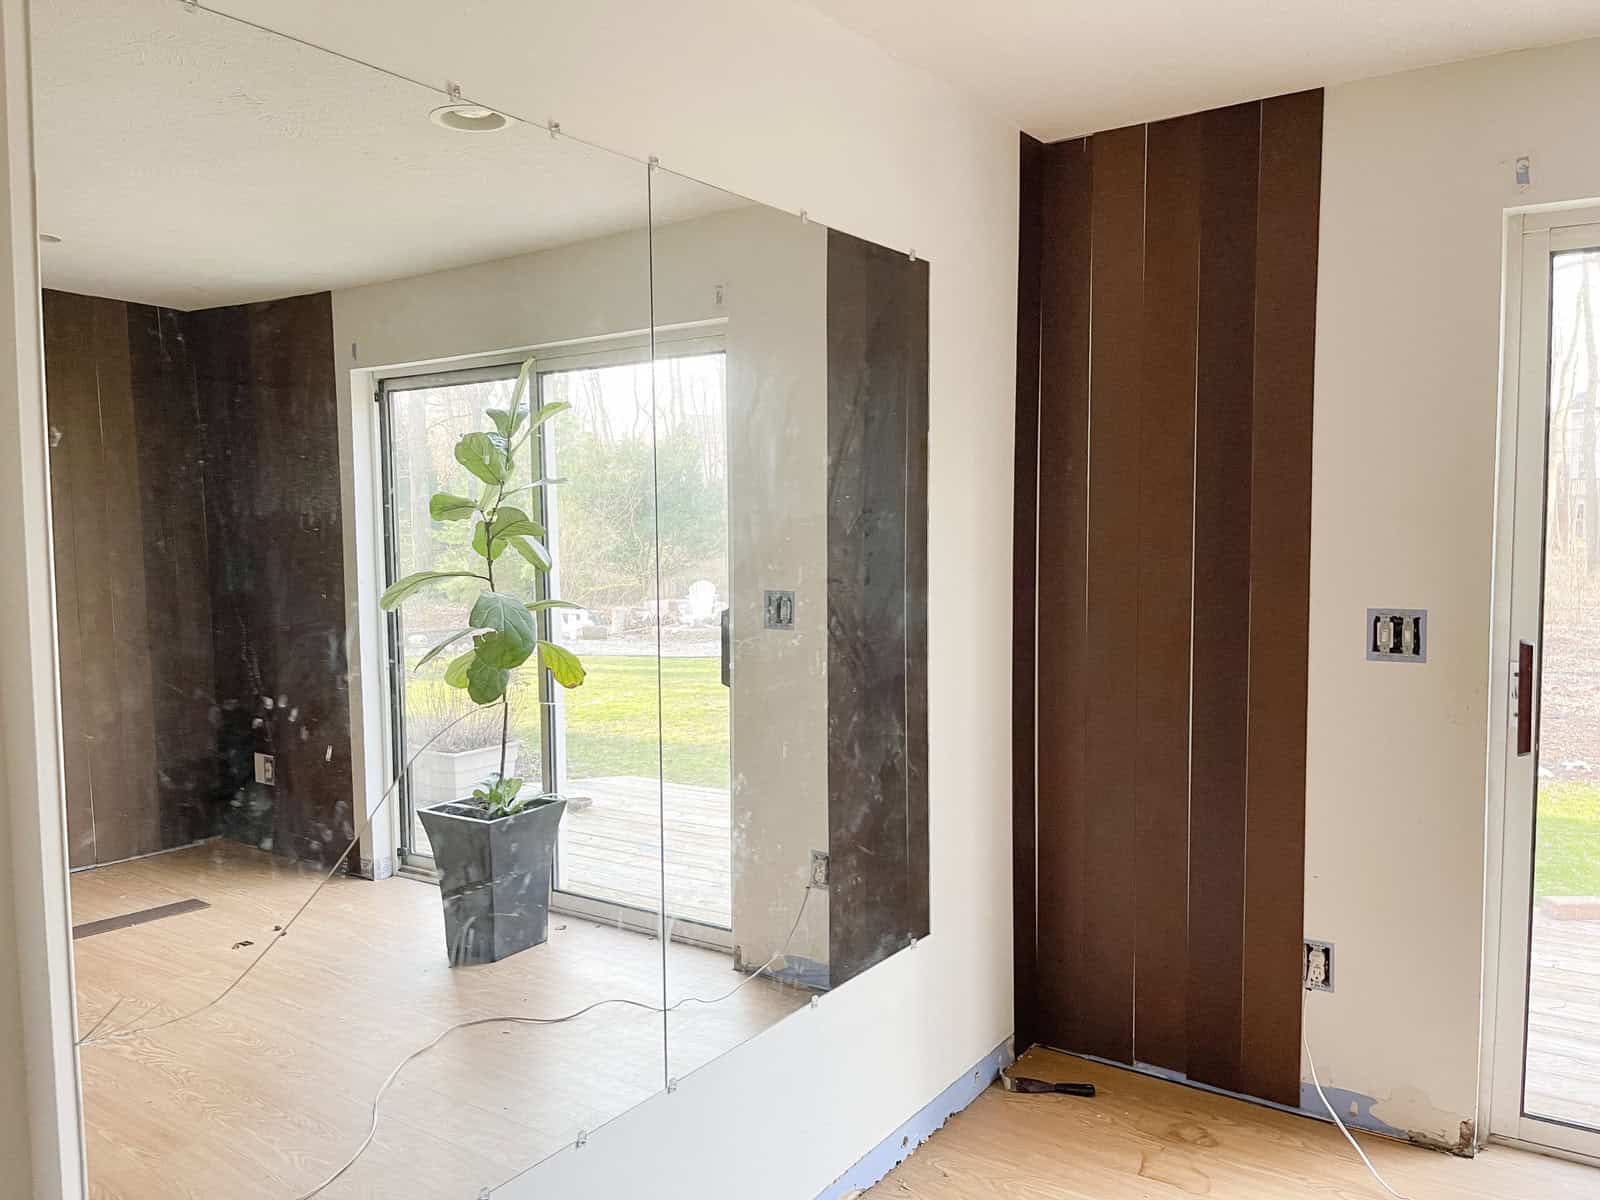
Glue was added to the backs of the hardboard. We also secured each panel with about five nail brads.

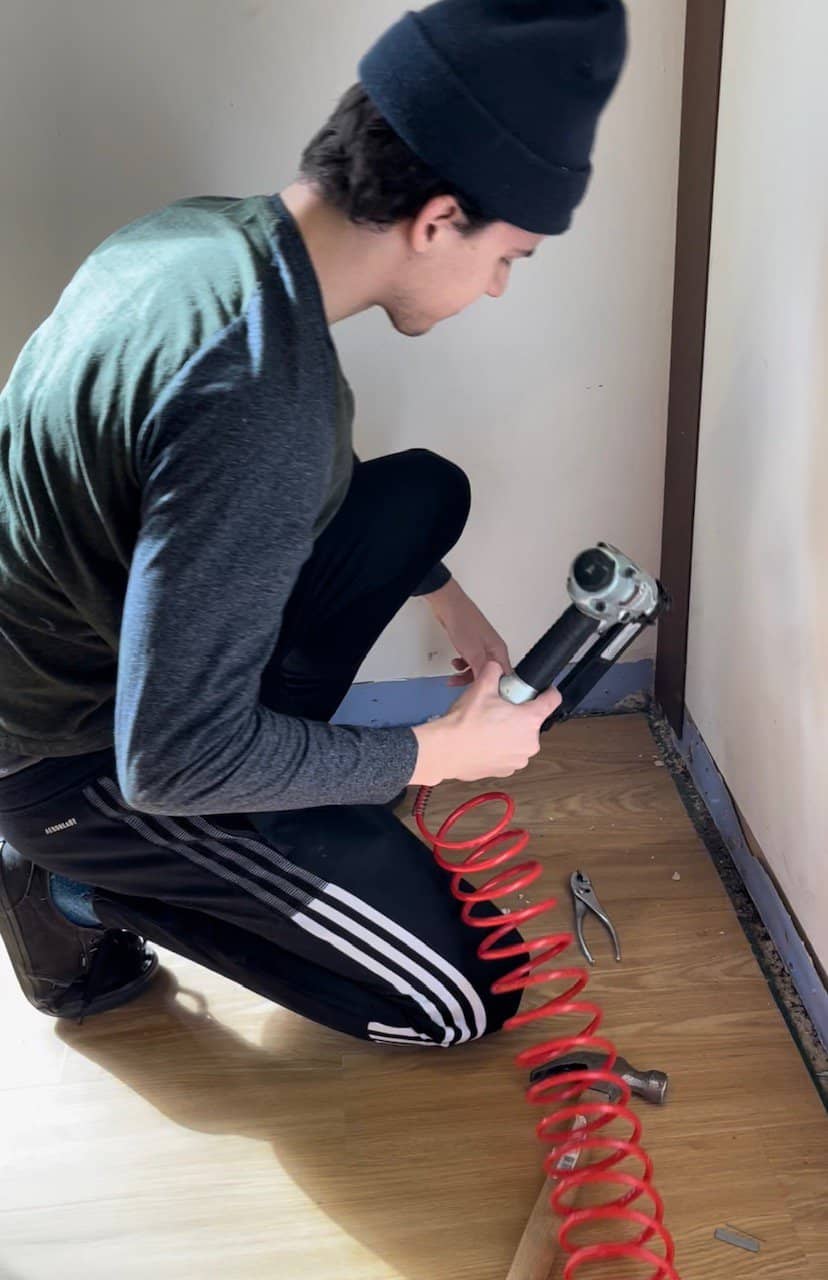
Our boys have been huge helpers on this project. Jeremy’s had some extra long hours at work so the teens have stepped up. It’s their soon to be family room and entertainment space as well.
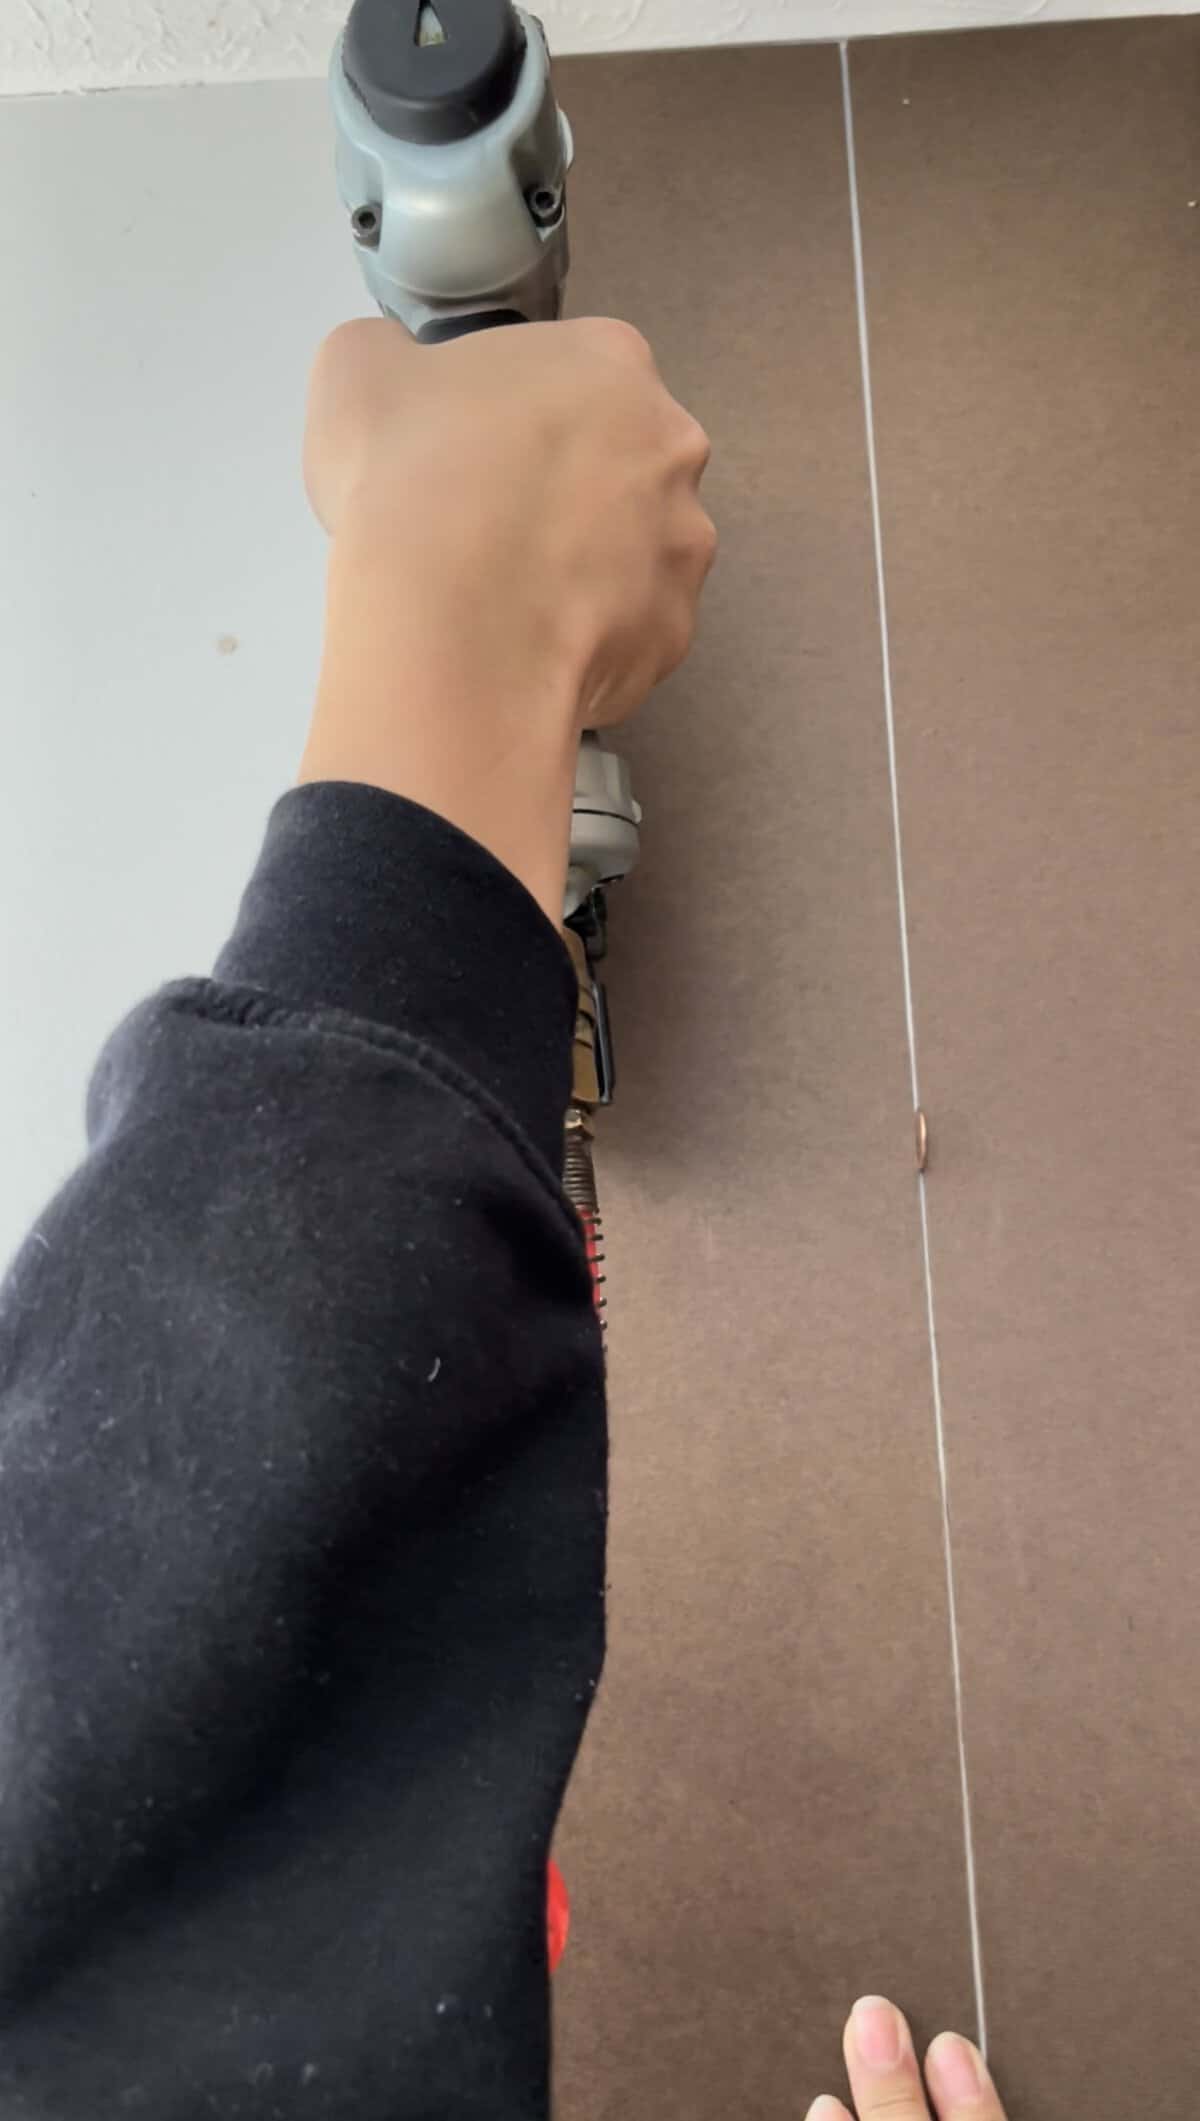
We placed a penny in between each plank to better space them apart. One negative about making planks out of hardboard is the warp. I’m hoping that after we paint them all white the uneven seams won’t be noticed at all. If they are we’re going to call it “rustic” and be good.

With this project ear plugs are essential! Between the air compressor loudly turning on and the nail gun noisily going off, your ears can really take a beating. When in doubt, wear ear plugs.
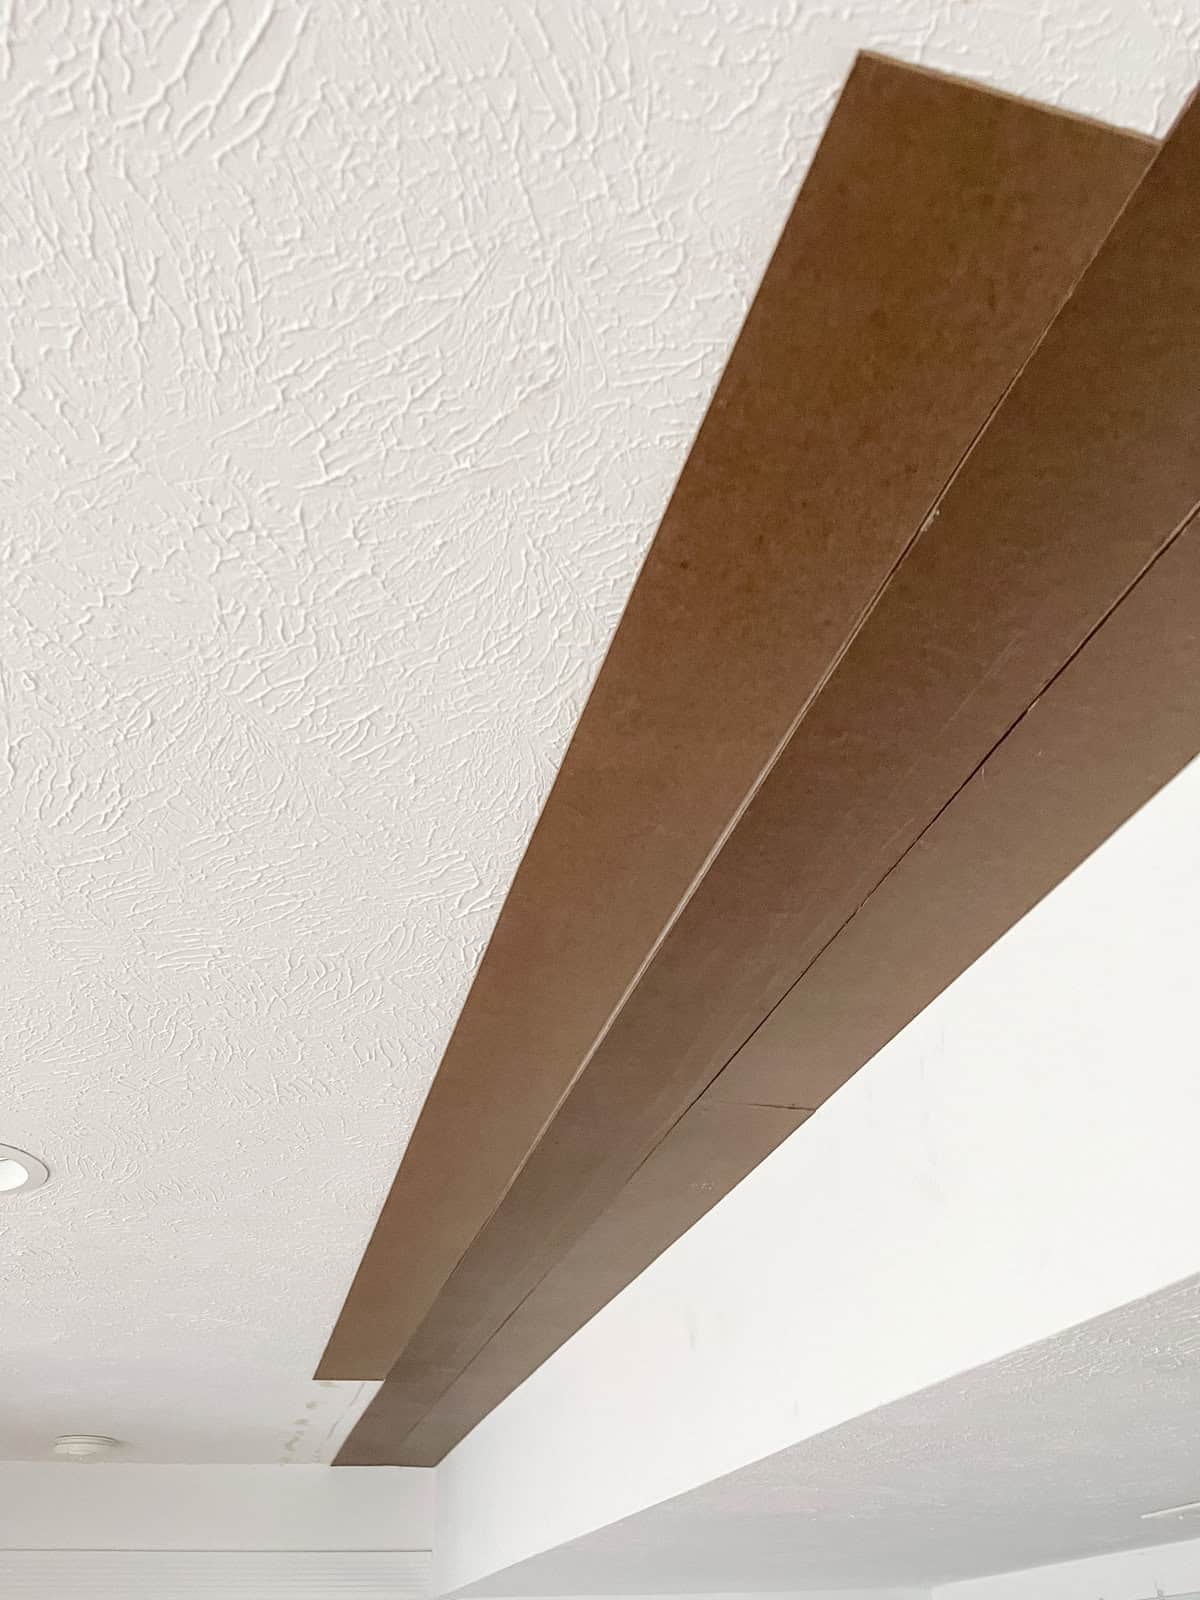
Oh, did I mention I can’t stand our semi popcorn ceilings and that we’re paneling them as well? That’s basically how I broke the news to Jeremy. Ready or not it’s happening. Paneling the ceiling with plank hardboard panels is more challenging than I thought. Thankfully I’m tall and our oldest son who’s working on this with me is very tall.
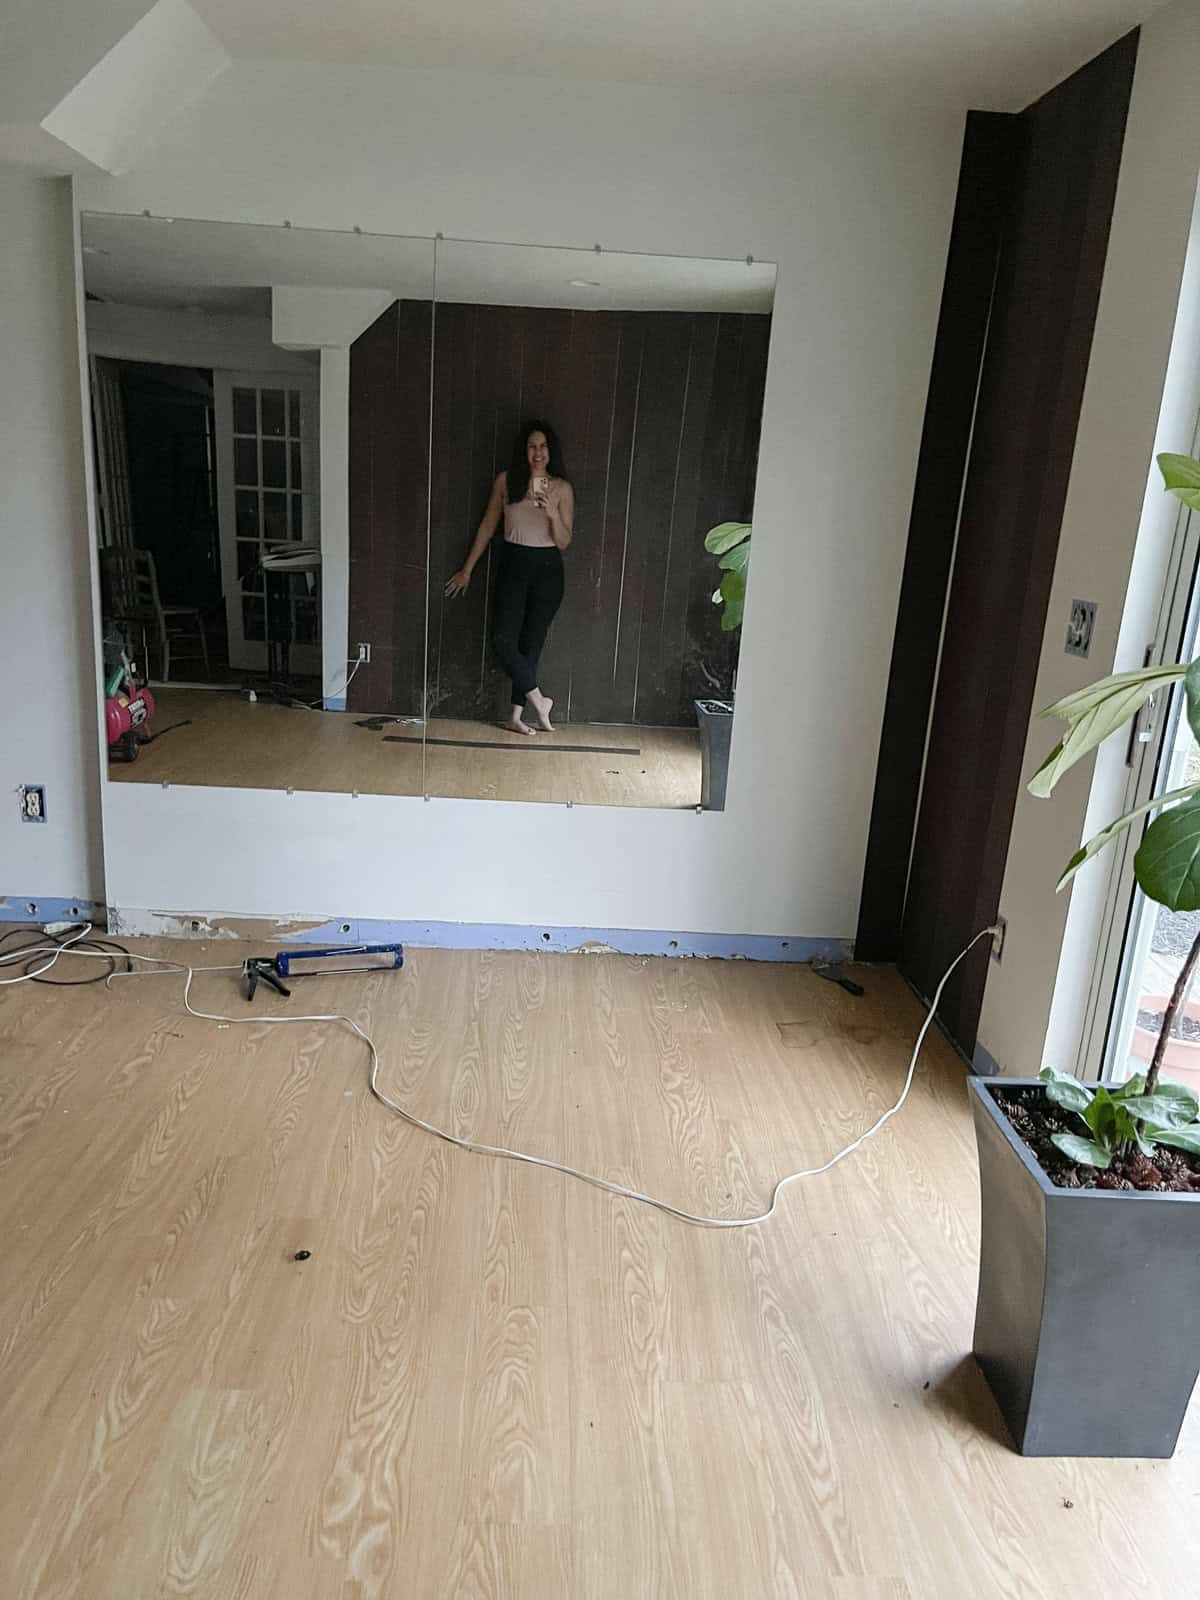
We have a long ways to go, but progress is being made. I keep trying to push myself to do more so that I won’t have to be stressed out when we’re on Week 6 of ORC. It’s not working though. My brain knows we’re still in the early honey moon stage of, “sure we can make this all work out somehow”.
Next week hopefully I’ll be able to show you a completed wall situation happening here. Thinking good thoughts. How about you? How are you coming on your One Room Challenge?
Leave a comment below if you’re participating. Also, let me know if you have any questions about the hardboard plank wall process.


What a great idea! I love the idea of planking the ceiling as well. Looking forward to following along!
Thanks Lynne, it’s a lot more work but I know we’ll be glad we did it. I’ve lived long enough with those overly textured ceilings! 🙂
So exciting! It’s going to look fabulous. Great job of the “in progress” photos. Thank you for sharing this with us.
Thank you so much Anna, I appreciate your encouragement!
This is great! And I’m a big believer in Where there’s a will, there’s a way!!! Can’t wait to see the next projects you have up your sleeve!
Thanks Diana! It’s a good challenge and so fun to get the kids involved.
What a great idea! I used peel and stick wood vinyl flooring for my kitchen to get the shiplap look. I like this material too – great idea and job on this!
Smart Kristin, always think out of the box!
How fun to have your boys Choo in and help! They will appreciate the space so much more. Can’t wait to see your finished project.
Yes, I think because they help so much they will definitely appreciate it more as well.
What a great budget friendly idea!
Thanks Juliet! It’s doing a great job of giving our walls character. The textured ceiling (which was painted so we couldn’t smooth it) as well.