

https://www.oneroomchallenge.com/orc-blog/
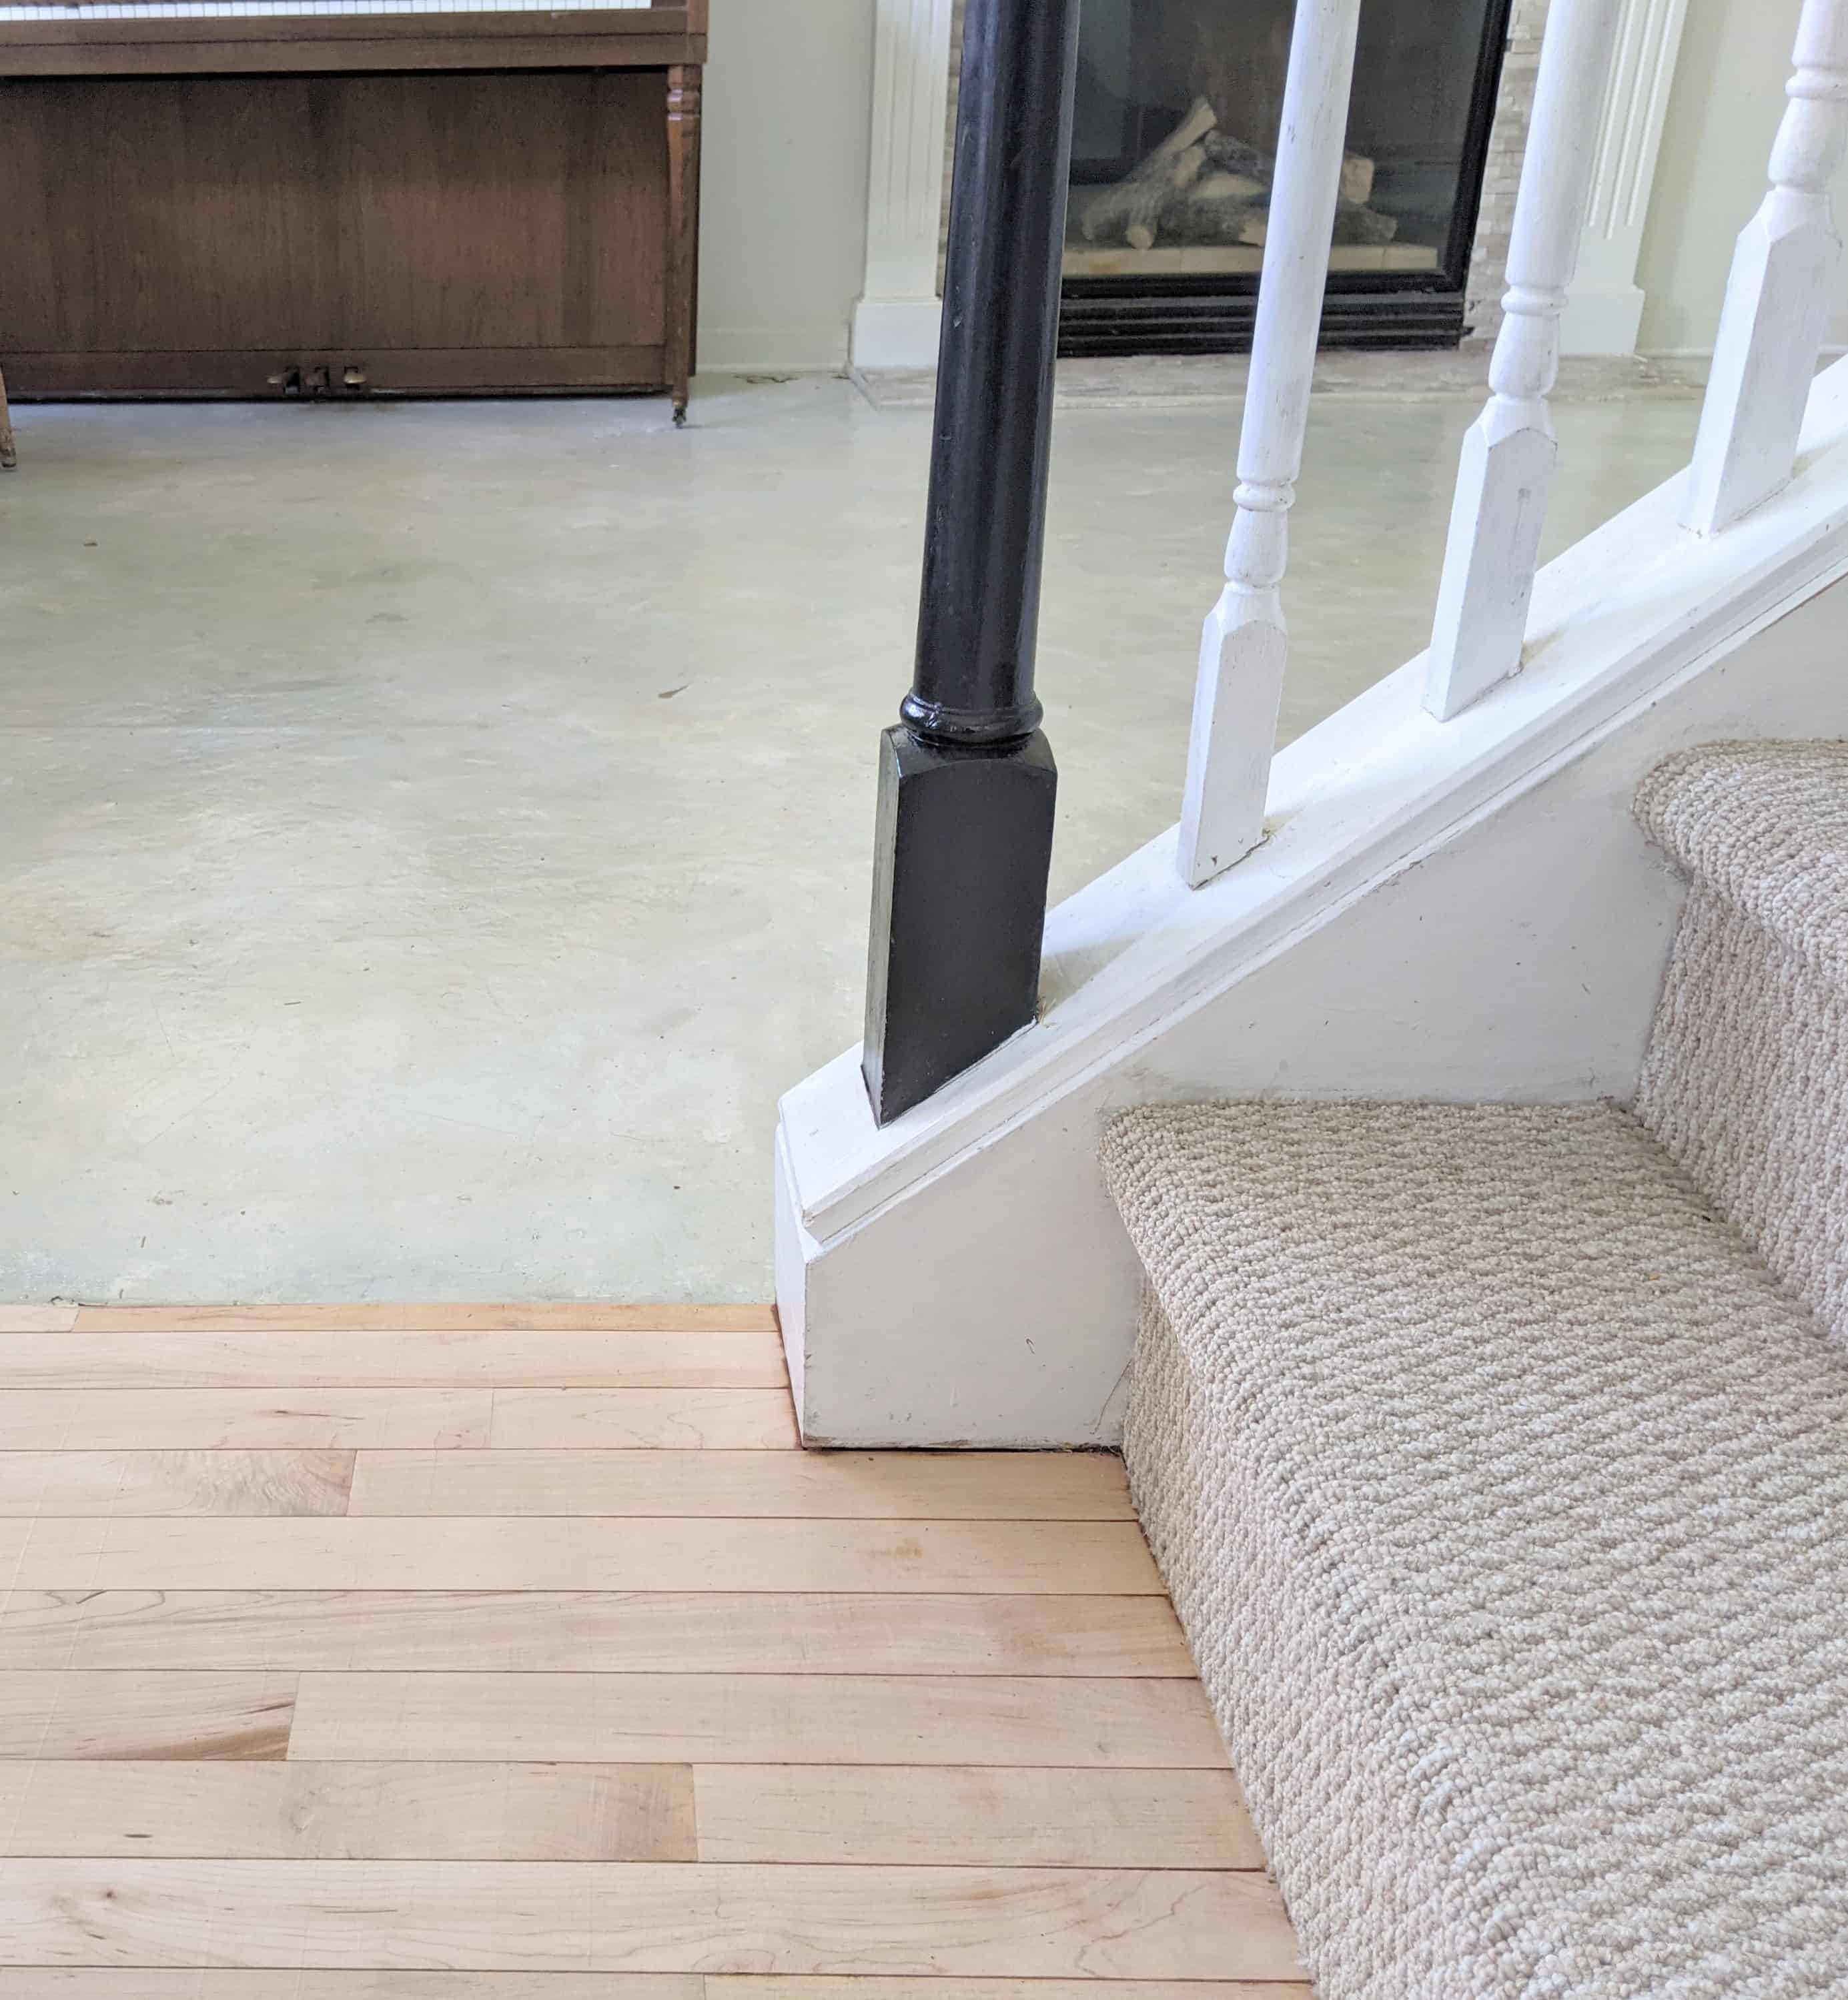
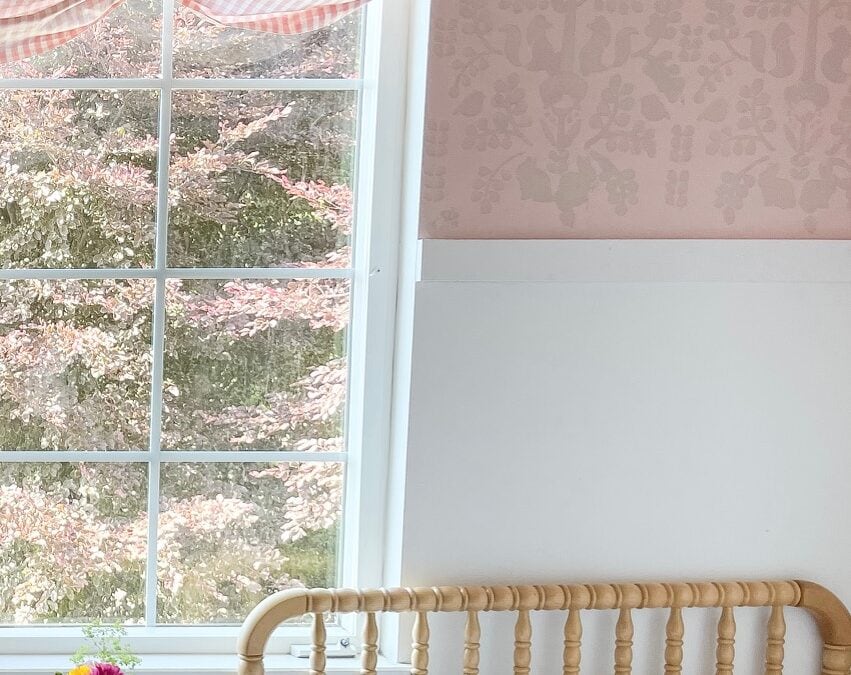
For the second week of One Room Challenge the first task to figure out in our music room was flooring. Right now we have brown paper bag flooring that has held up well over the last 18 months but it’s time for permanent flooring. The floors in this open space are right next to our wood maple floors which we recently refinished and stripped down to their natural color. During this time the music room became our catch all/storage/don’t know where to put it so put it here space. Clearing it all out so we could get to the floors was a big job.
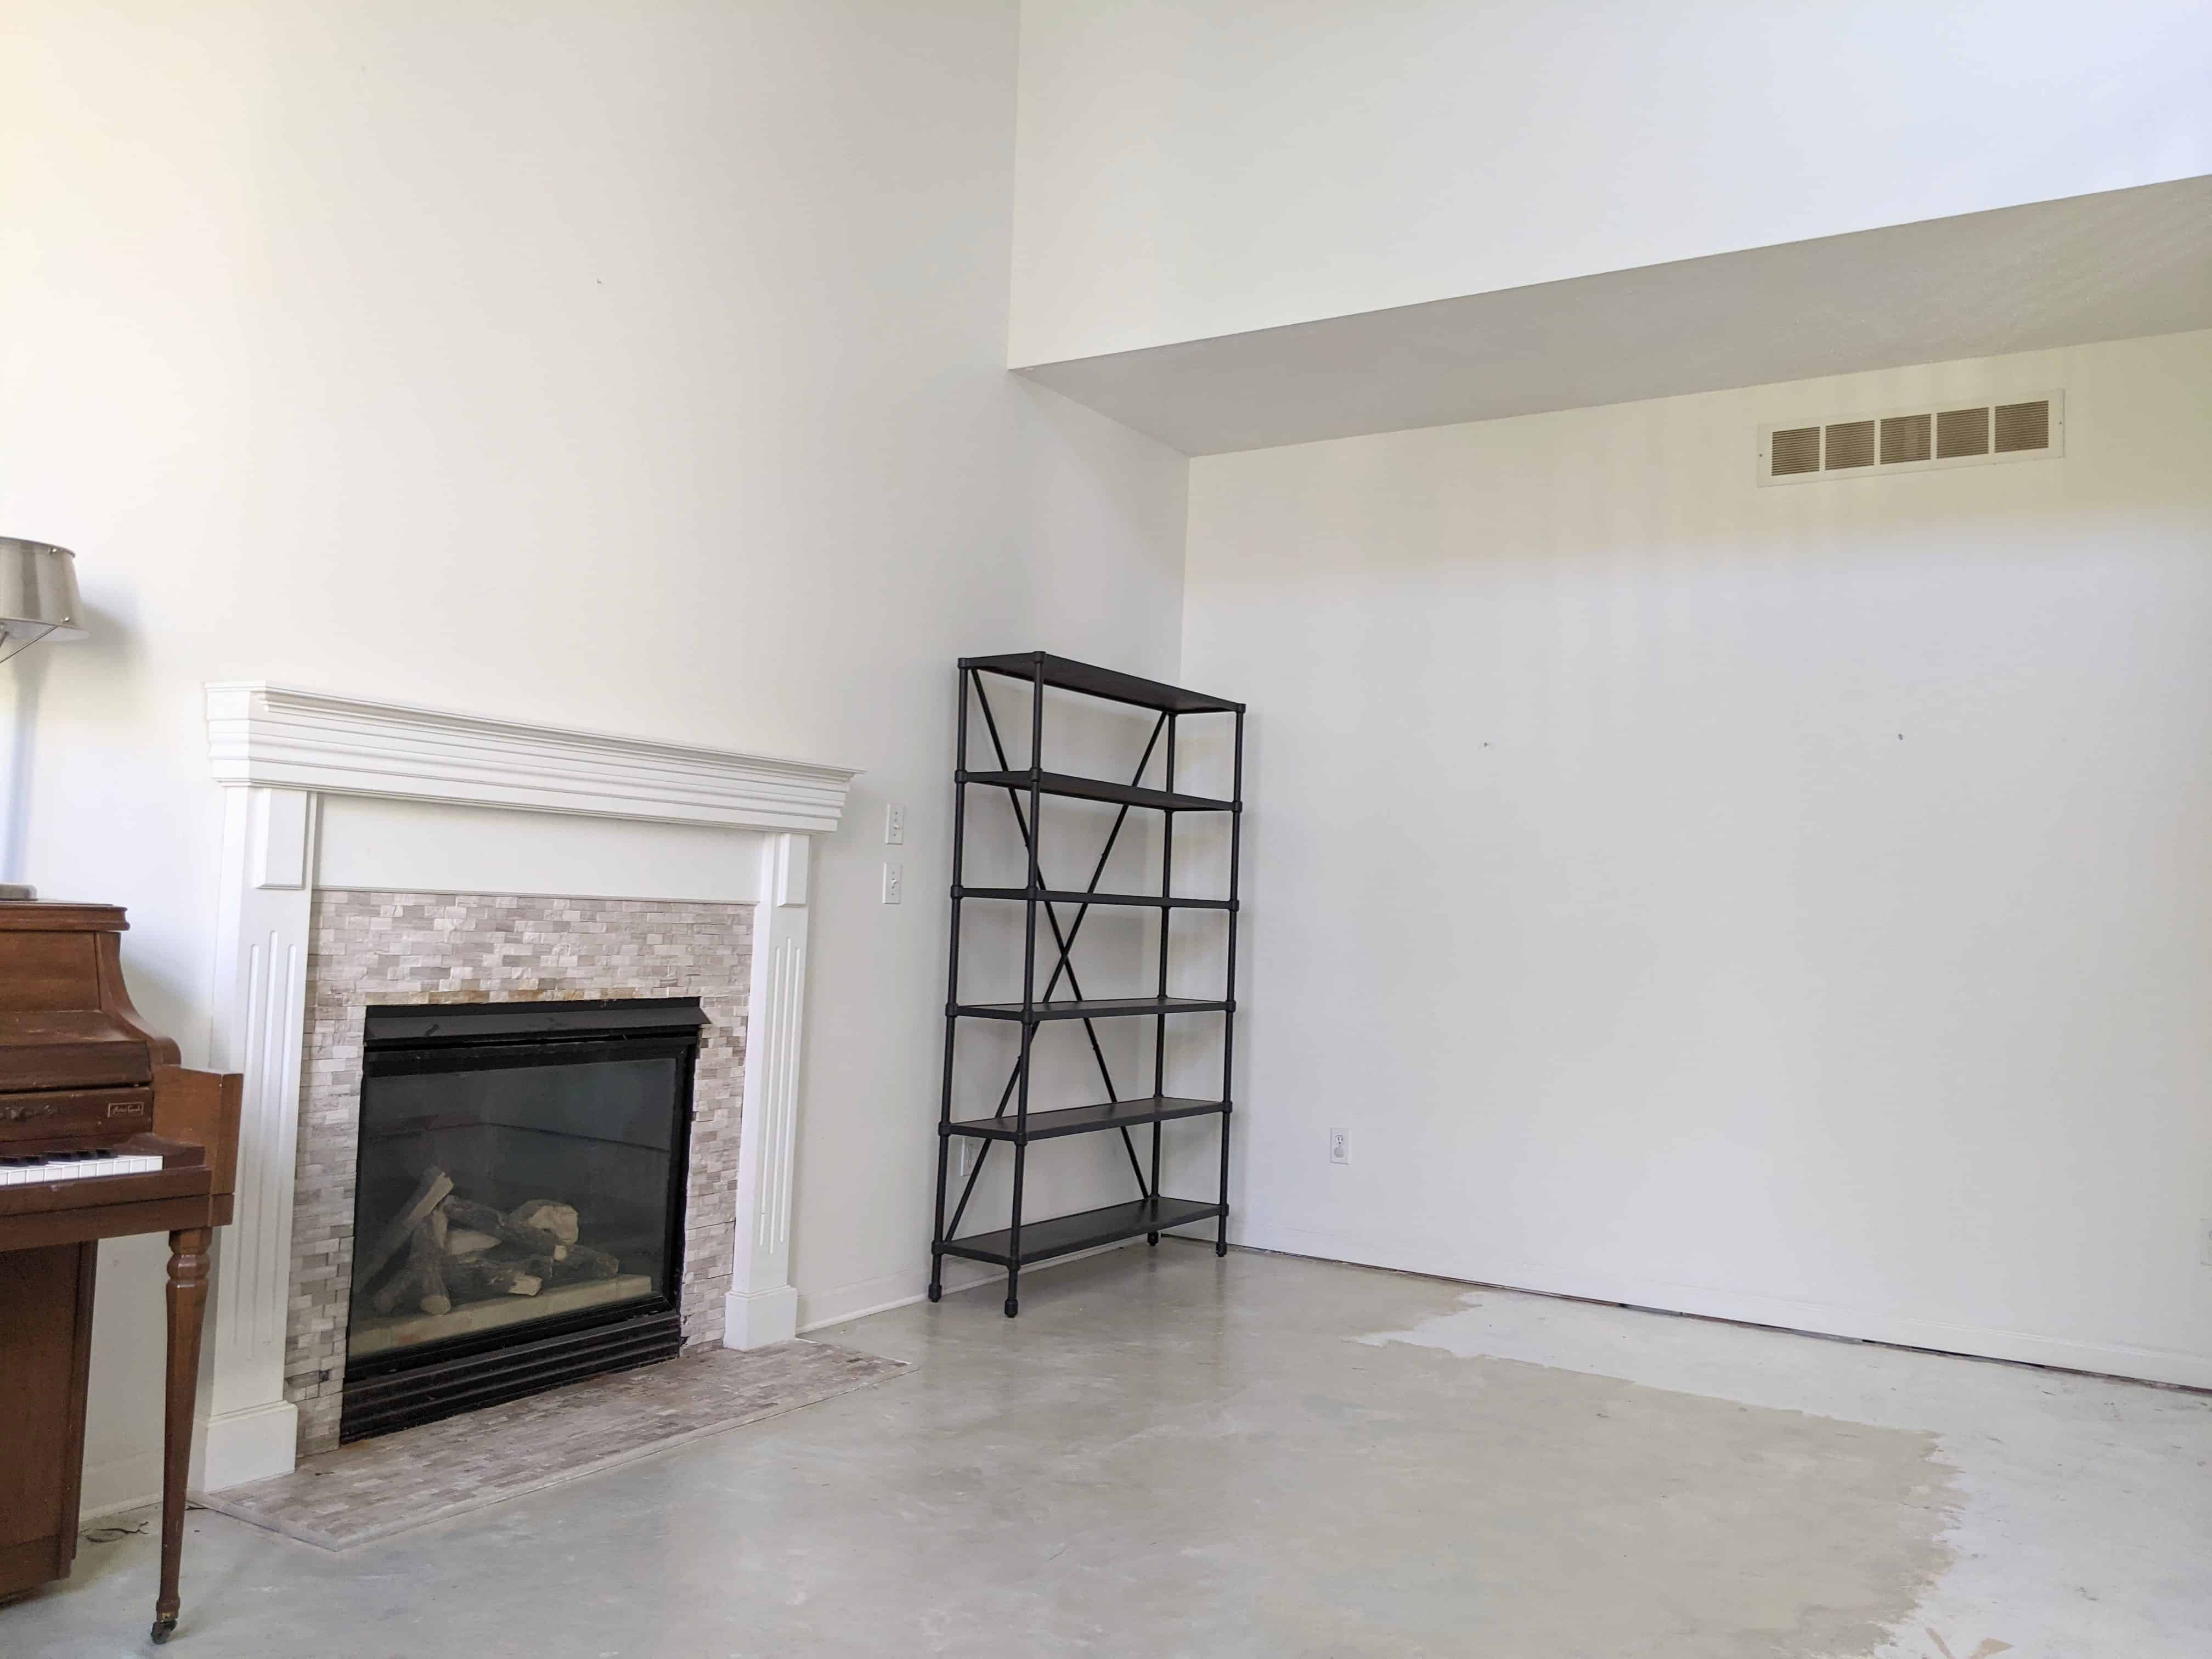
The light maple floors turned out to be gorgeous and one of a kind but matching it to new flooring nearly impossible. The goal was to find a floor design for the music room that complements the maple flooring throughout the first level. Of course, we also wanted to honor the frugal budget challenge we set for ourselves.
I shared on Instagram Stories the laminate samples I was considering for a checker board pattern. Ceramic tile is out because we don’t like how hard and cold it can be. Great for bathrooms, not so much for in front of the fireplace in Michigan Winters. For a check pattern I wanted the squares to be at least 24″ x 24″, but I wasn’t finding color and price points that worked in laminate.
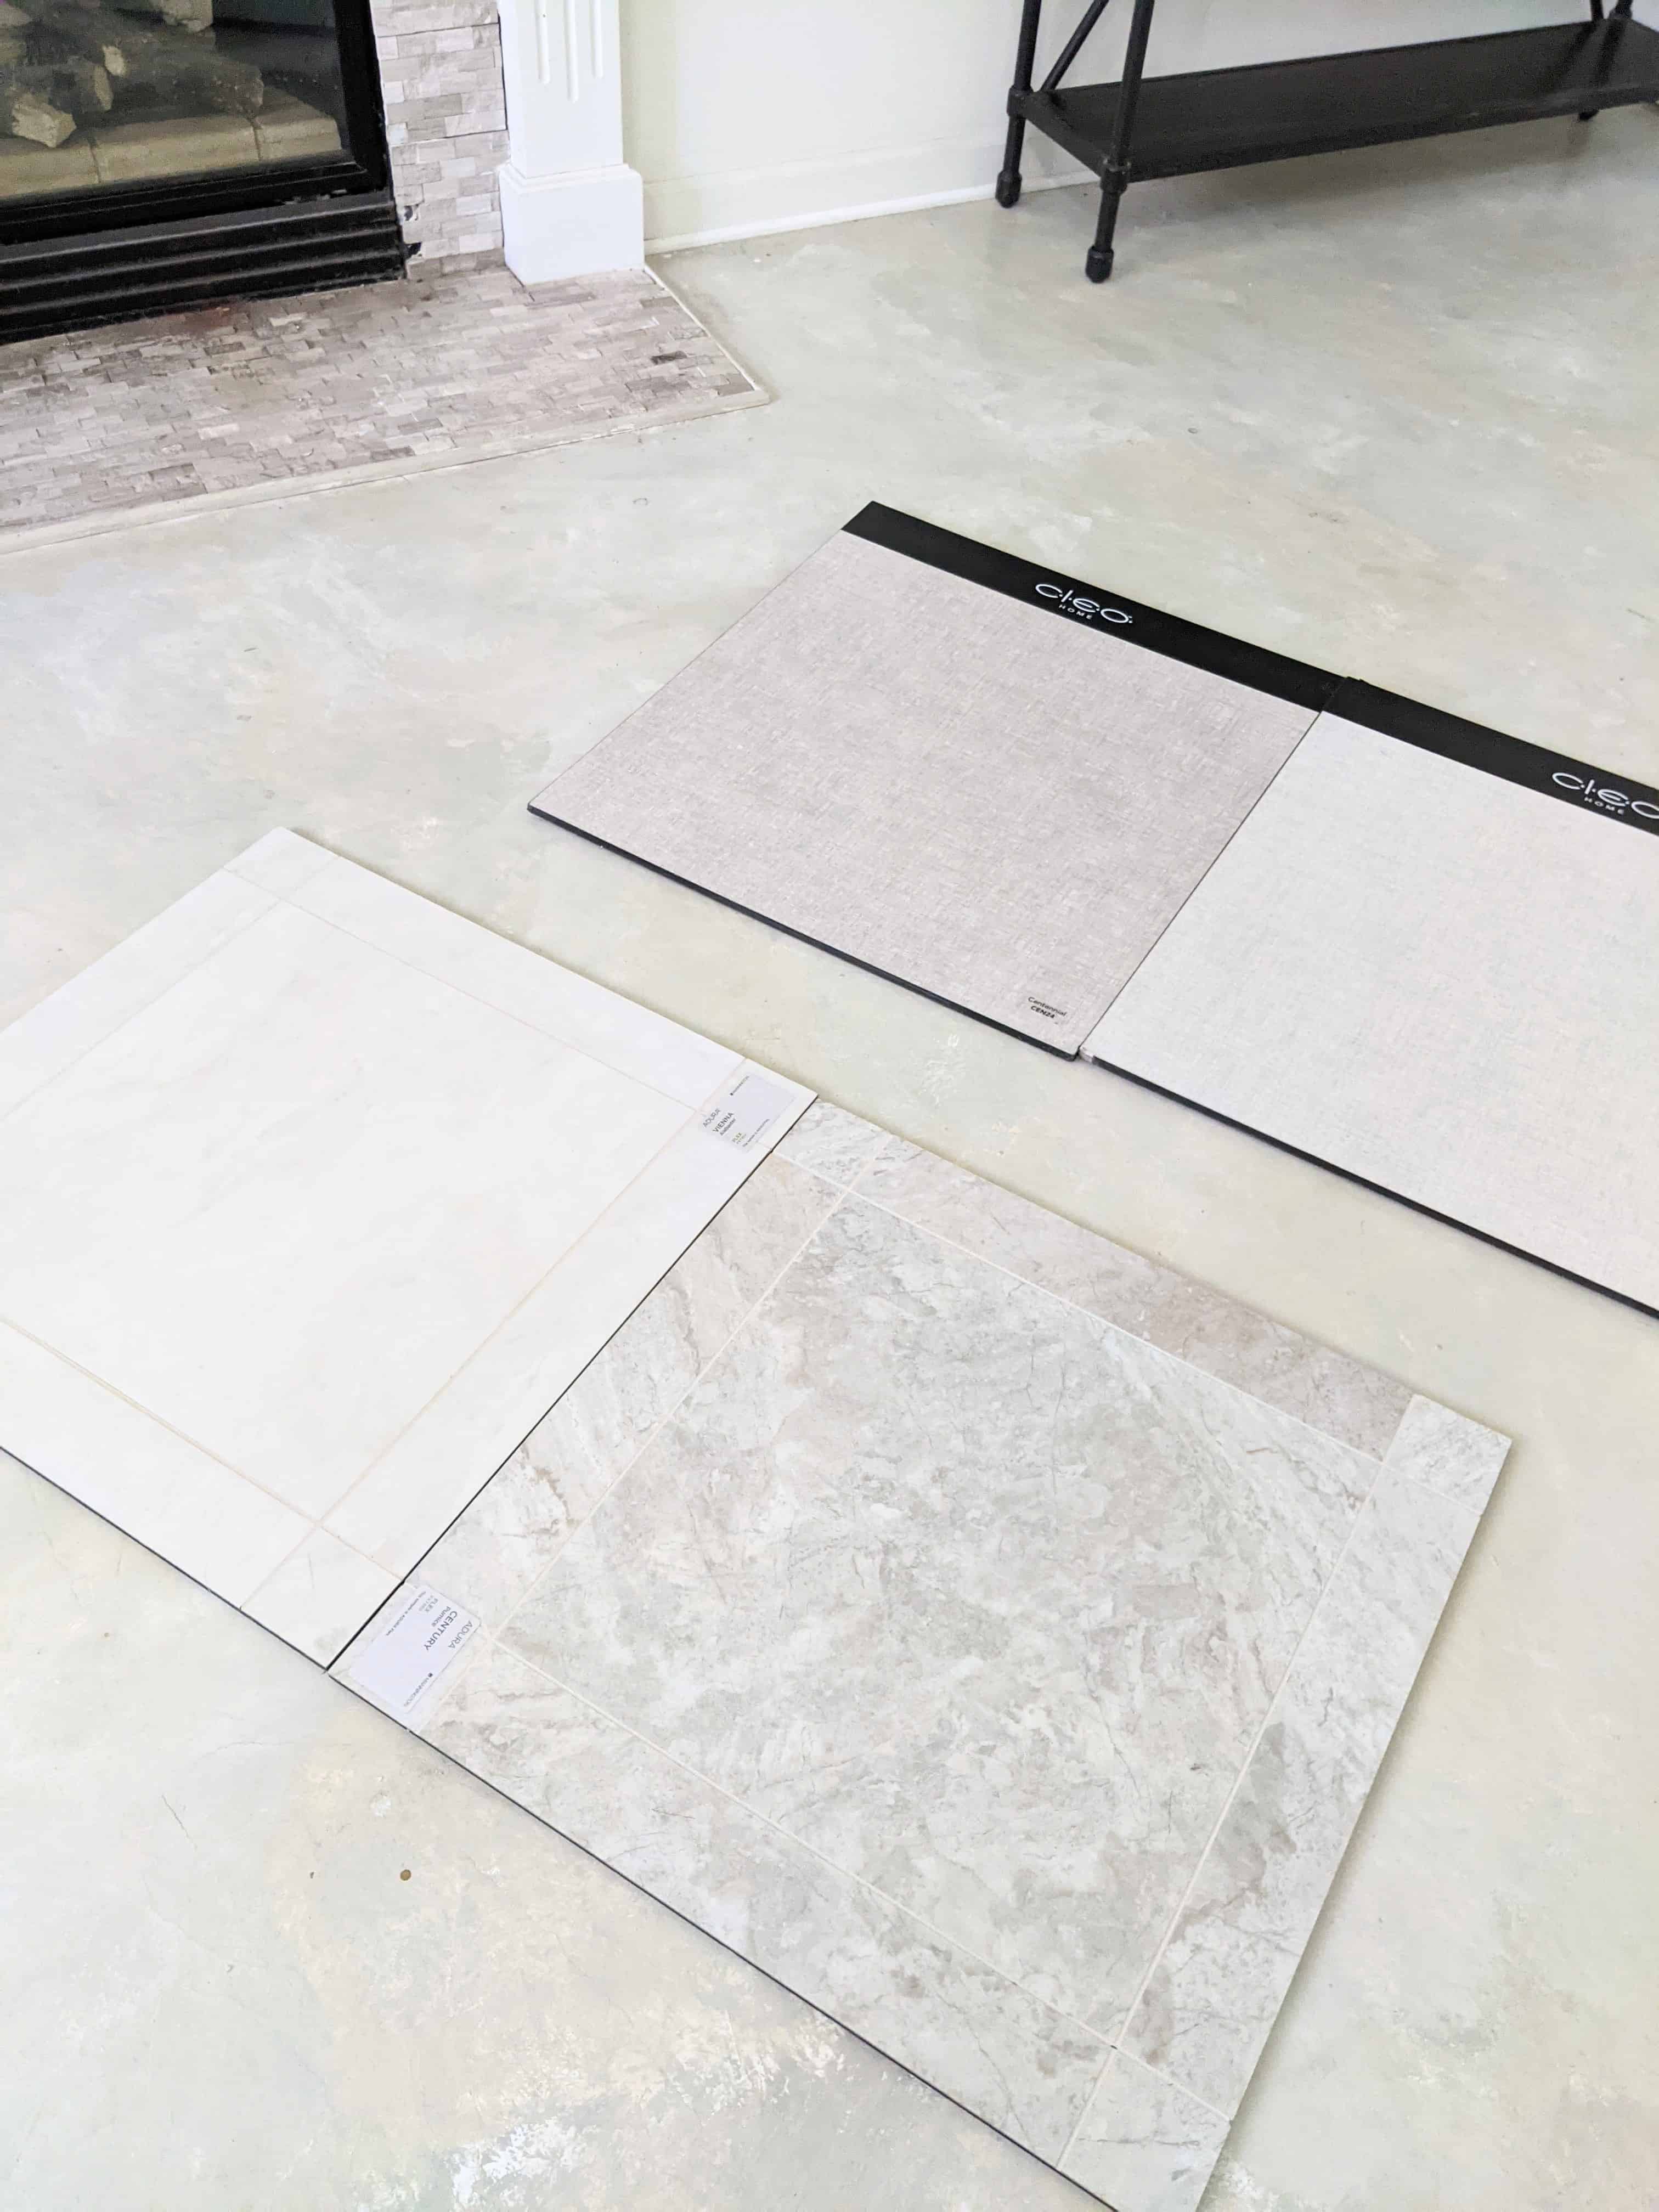

We also realized that none of the laminate floor samples were thick enough to meet the level of our wood floors that connect to this room. That meant the transition between the music room floor and our foyer floor would not be even. We didn’t like the idea of a lip or tiny step between the two at all. Not a big fan of transition trim, but when renovating transitions are a common challenge and transition trim fixes the problem.

We narrowed down our choices to either unfinished wood floor that we will paint, laminate wood flooring with a white painted finish, or wood sub floors with a 24″ x 24′ vinyl on top. but after thinking about these three options I STILL wasn’t happy about the choices.
Why? We put in our wood floors years ago and it was a time consuming DIY. The 8 weeks we have to finish this room made that a no. Painting laminate seems like a risky idea (although I would be game in the right circumstance), and I just wasn’t feeling the vinyl next to our wood floors. Then it hit me.
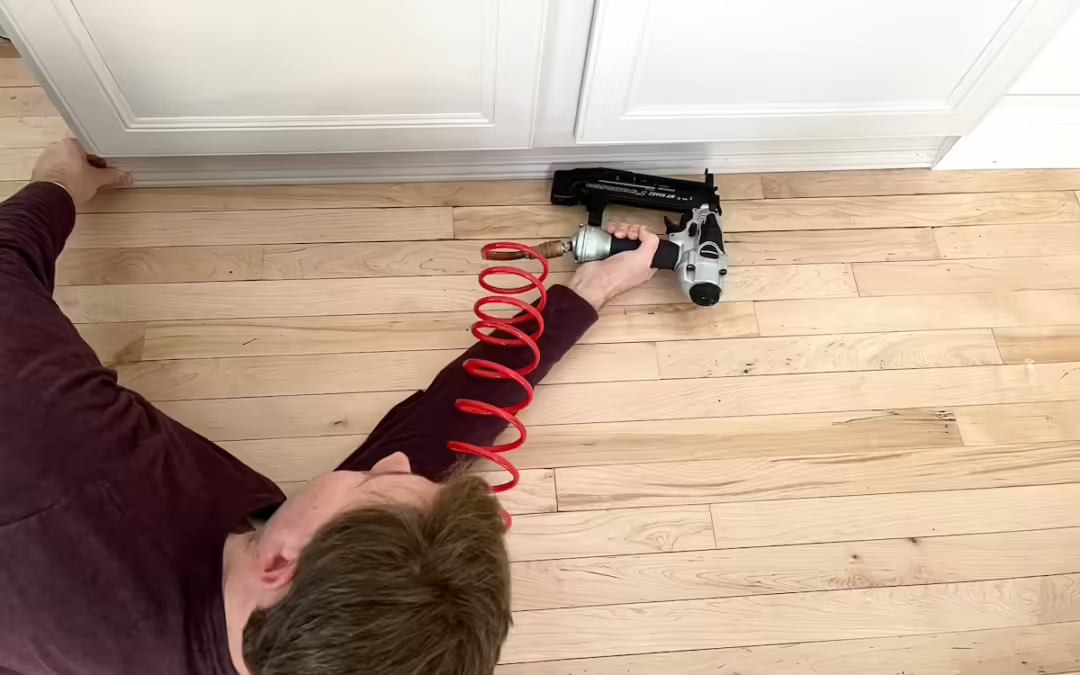
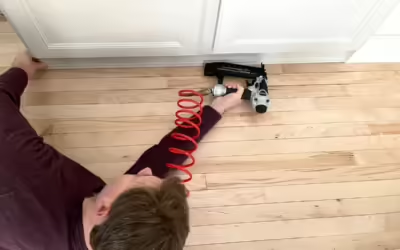
Plywood plank flooring!

I’d been fascinated with the idea of plywood plank flooring ever since I saw how Jenny Komenda installed them in her home office. Wide 8″ plywood plank flooring will be perfect in our music room. Our plan is to lay it in the opposite direction of our thinner 2″ maple floors. It took some convincing for Jeremy to agree, but when I told him how cost effective it was he liked the idea much more. He’ll be cutting the plywood, we’ll lay it down together and I’ll do the painting.

Decision made = Small Victory
Even if it took awhile to figure it out, Jeremy and I are both relieved and excited to have a flooring plan in place. Now on to implementing it and getting this DIY plywood plank flooring started
Let me know if you’ve tried this project, or if you’ve ever considered it for flooring in your home. I’d love to hear!
xo Maria


Maria! I just looked at your link and the projects you have done! Would you be willing to come and look at our kitchen and living room and give your suggestions? Would love your input. Do you do counsulting?
Hi Marj, Yes, I give home consults! It would be so fun to come imagine your space with you! I’ll reach out via email.